June 11, 2026
What Is Drywall Finishing? Process, Levels (0-5), Tools
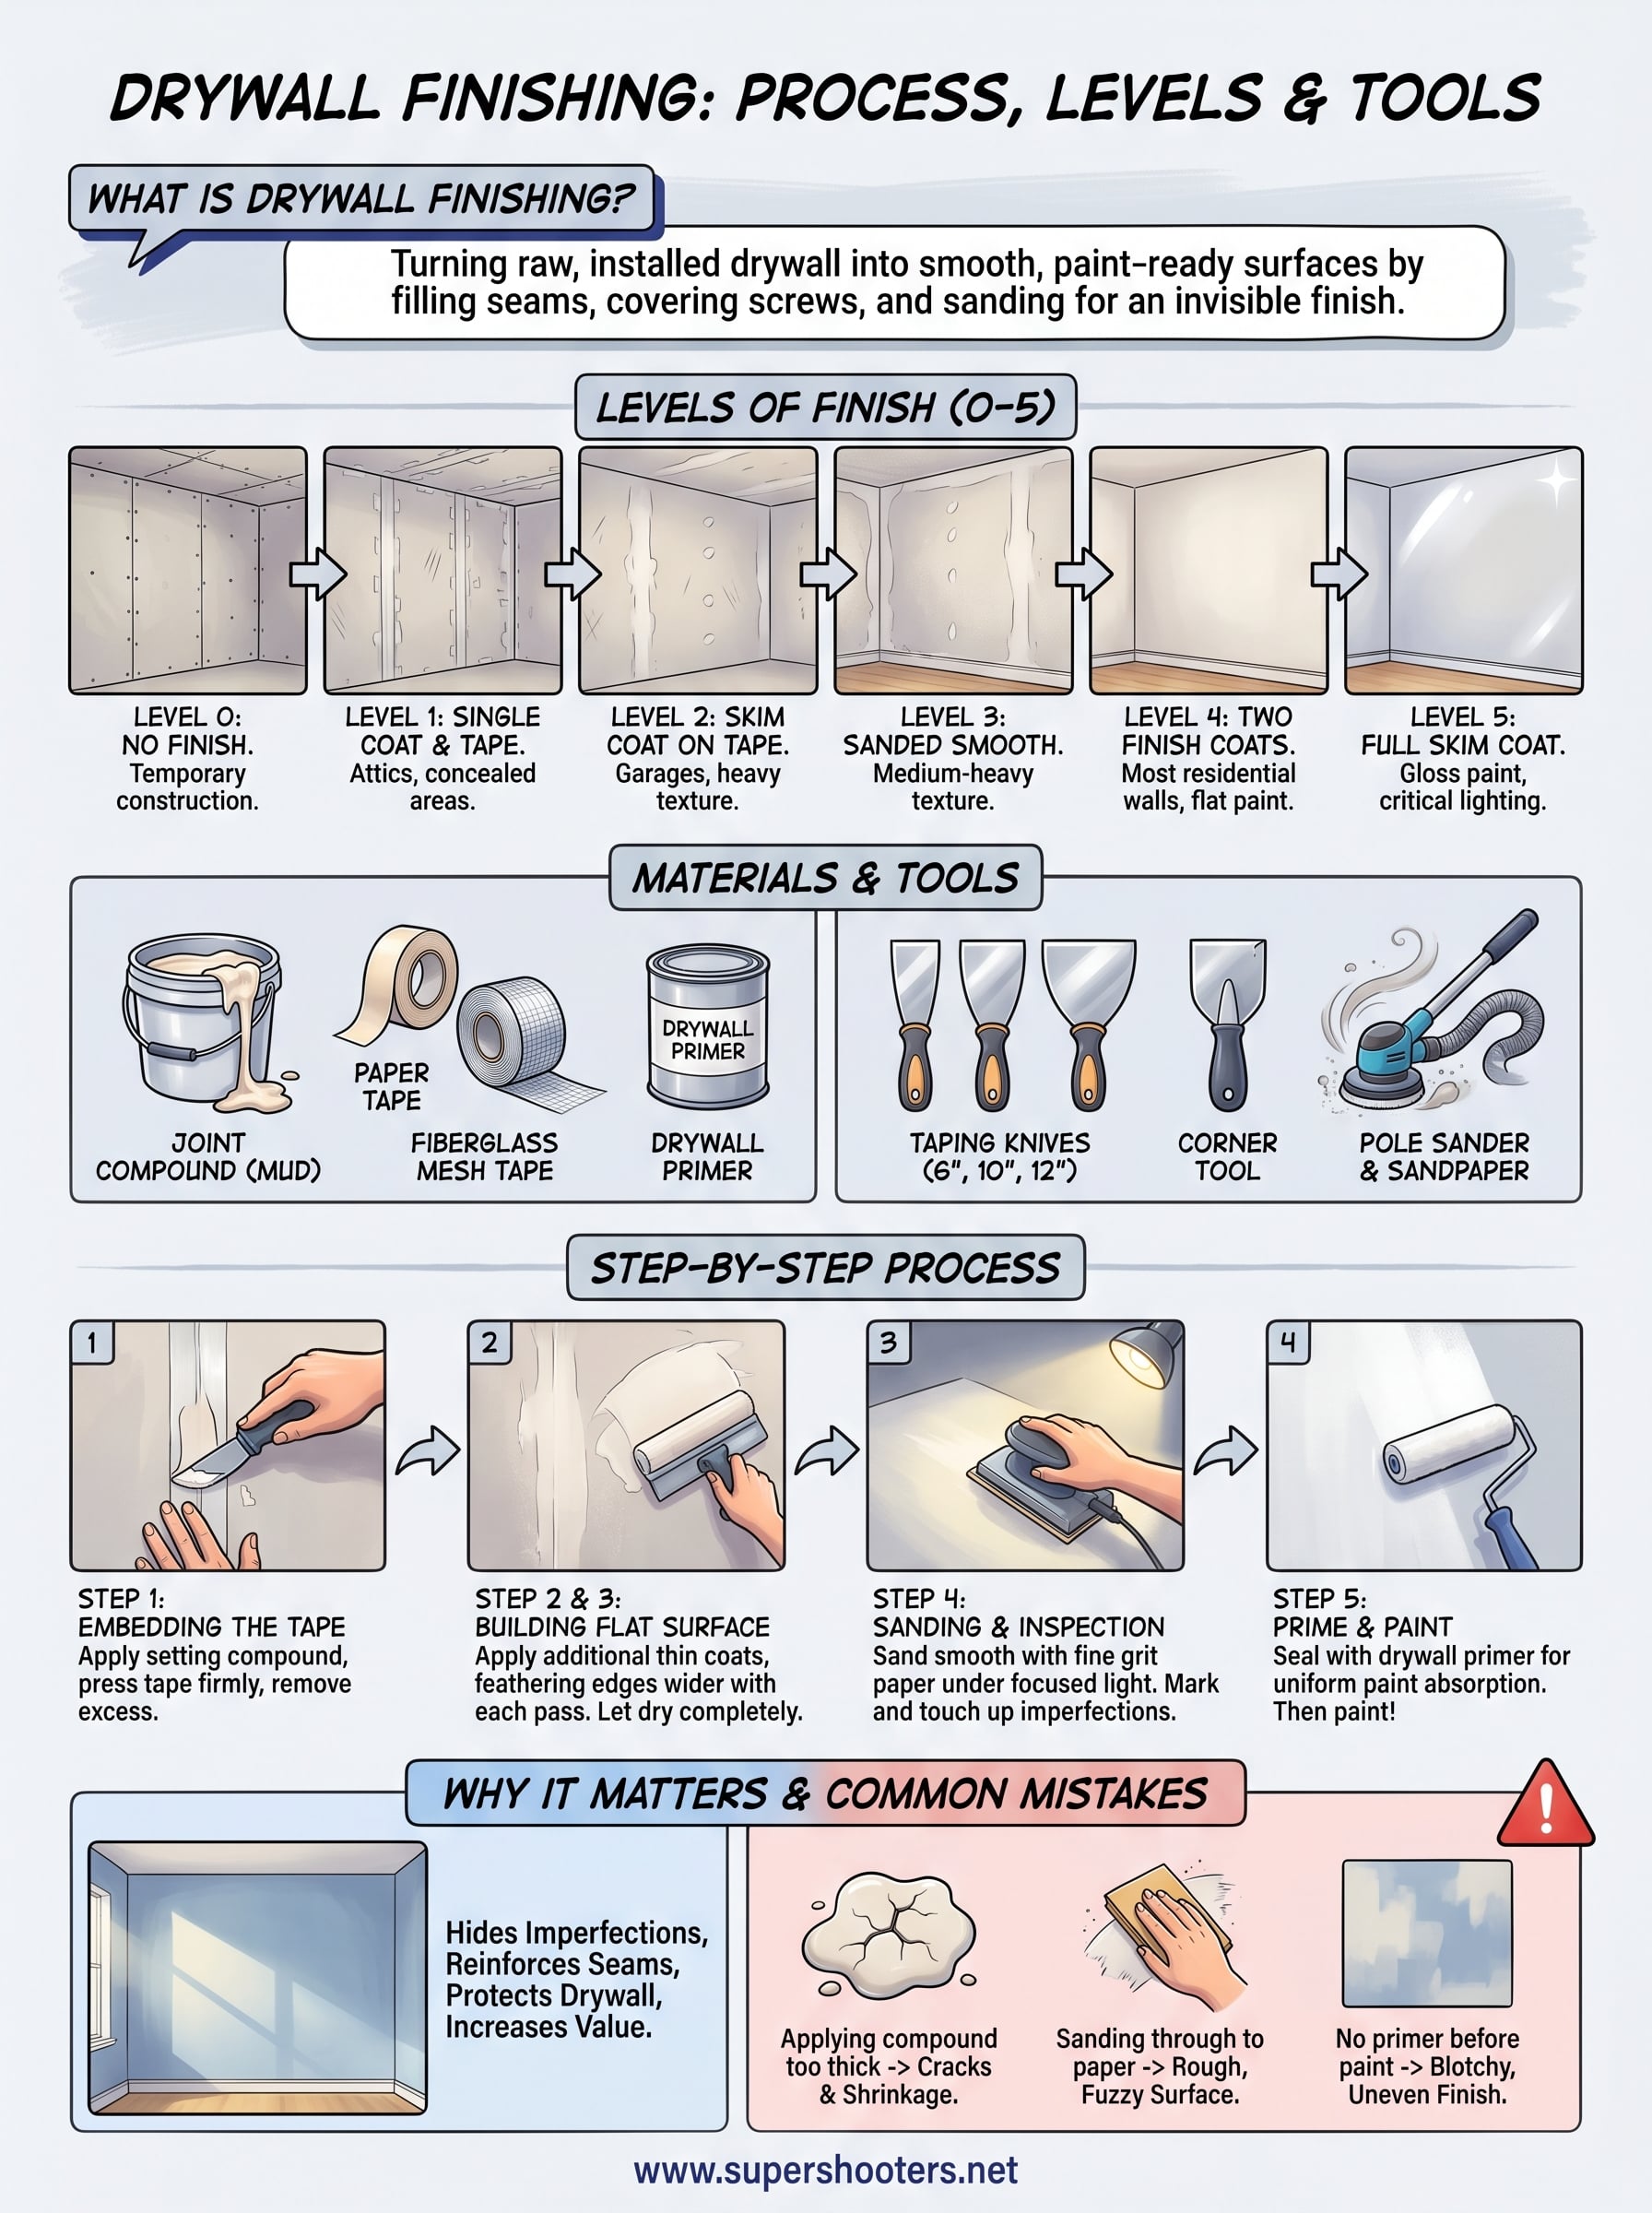
If you've ever hung drywall and wondered why the seams, screw holes, and joints still look rough, you're missing the most critical step. What is drywall finishing? It's the process of turning raw, installed drywall panels into smooth, paint-ready surfaces, and it involves far more technique and precision than most homeowners expect. Without proper finishing, every seam and fastener shows through your paint, and the entire room looks unfinished.
Drywall finishing follows a standardized system of levels ranging from 0 to 5 , each one specifying how much joint compound, taping, and sanding goes into the final surface. The level you need depends on the room's purpose, the type of paint or texture you plan to apply, and how much scrutiny the walls will face under lighting. Choosing the wrong level wastes money, or worse, leaves you with visible imperfections that no coat of paint can hide.
At Super Shooters, we've completed over 10,000 drywall and ceiling projects across the Sacramento Valley in our 30-plus years of business. That hands-on experience is exactly what shaped this guide. Below, we break down the full drywall finishing process, explain each finish level in plain terms, and cover the tools and materials professionals rely on to get walls right the first time.
Why drywall finishing matters
Drywall panels are just the skeleton of a wall. Raw gypsum board seams, screw dimples, and joint edges create a surface that telegraphs every imperfection straight through paint once the room is complete. Understanding what is drywall finishing and why each stage exists helps you make smarter decisions before your project begins, and it explains why proper finishing is worth every hour it takes to do correctly.
What you see after the paint dries
When light hits a wall at an angle, it reveals everything underneath the surface. Ridges from tape lines, uneven compound layers, and proud screw heads all cast visible shadows once your paint dries. This effect is especially obvious under recessed ceiling lighting, natural window light, or any fixture that throws light across the wall rather than directly at it.
Paint carries zero ability to hide texture inconsistencies underneath it. Primer and topcoats follow the surface exactly , which means they amplify ridges and depressions rather than fill them. Rushing the finishing process locks you into looking at those flaws in your finished living space for years, and no decorating choice can fully compensate for walls that catch light badly.
A professional finish level matched to your lighting conditions and paint sheen is the only reliable way to get walls that look intentionally smooth rather than patched together.
How finishing protects the drywall itself
Joint compound and tape do more than create a smooth surface. Properly applied tape reinforces the seams between drywall panels, preventing cracks from forming as the structure settles or shifts with seasonal temperature and humidity changes. Without tape embedded correctly in compound, those seams open and grow over time, especially in older Sacramento Valley homes where foundation movement is common.
Finishing also seals the paper face and exposed gypsum core against moisture absorption. Bare or poorly finished drywall is vulnerable to humidity cycles, which are a real factor in bathrooms, kitchens, garages, and any room with exterior walls. Multiple coats of compound followed by primer together form a protective barrier that extends the working life of the wall system and reduces the likelihood of mold taking hold behind the surface.
Why skipping steps always costs more later
Cutting corners during finishing shows up every time after the fact. Repairing visible seams, sanding through existing paint, and recoating entire walls are significantly more expensive than completing the job correctly the first time because the room needs to be cleared, furniture moved again, and the entire surface re-primed and repainted once repairs are complete. You're essentially paying for the work twice.
Buyers and home inspectors also notice wall quality faster than most homeowners expect. Poorly finished walls signal rushed construction or deferred maintenance to anyone evaluating a property for purchase, and that perception affects your asking price directly. Real estate agents in the Sacramento area consistently point to interior finish quality as one of the first things buyers comment on during walkthroughs.
Beyond resale, the daily experience of living in a well-finished room is simply better. Walls that hold up under all lighting conditions and don't require constant touch-ups give you a clean, stable backdrop for everything else in the space. Investing in the right finish level from the start protects both your living quality and your long-term return on the home.
Drywall finishing terms you'll hear on a job
Before you can evaluate a contractor's work or follow along on a job site, you need to understand the vocabulary professionals use during the finishing process. These terms describe specific materials, techniques, and stages that each play a defined role in the sequence. Knowing them helps you ask sharper questions , catch mistakes early, and understand exactly what you're paying for on any project.
Joint compound, mud, and tape
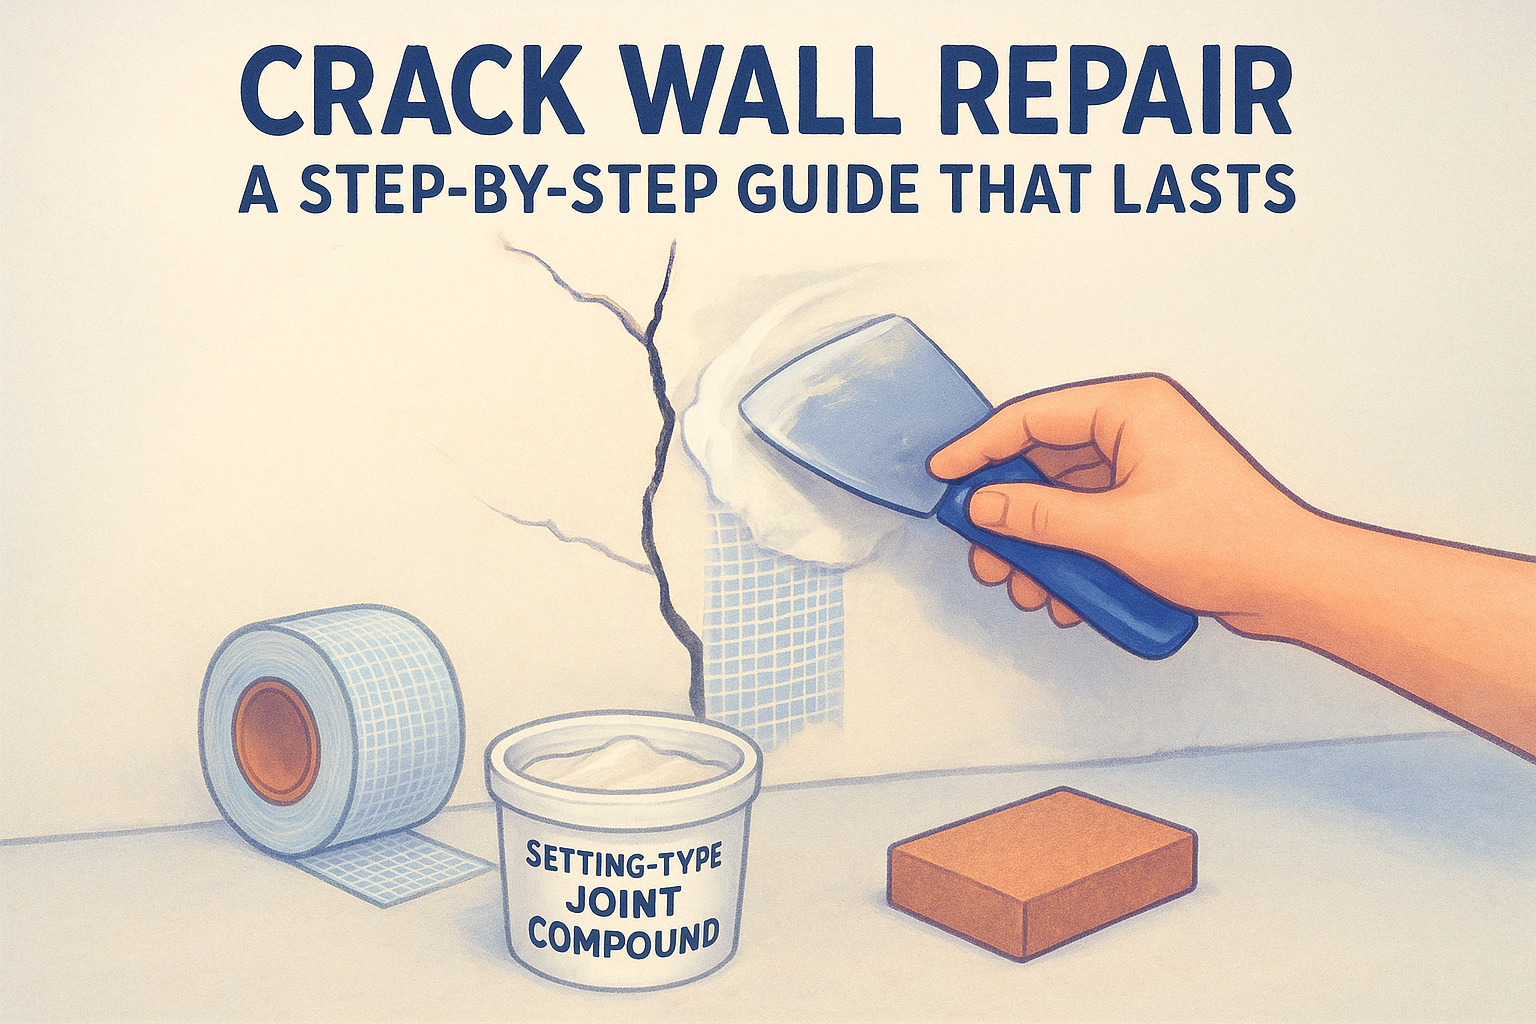
Joint compound is the paste-like material used to fill seams, cover fastener heads, and build smooth surfaces across drywall panels. Professionals call it "mud" , and you'll hear that word constantly on any drywall job. It comes in pre-mixed buckets or as a powder you mix with water, and different formulas serve different stages of the process. Setting-type compound hardens through a chemical reaction and dries faster, while all-purpose compound dries by evaporation and sands more easily.
Drywall tape reinforces the seams between panels and comes in two main types: paper tape and fiberglass mesh tape . Paper tape is stronger and less likely to bubble when embedded correctly in compound. Fiberglass mesh is self-adhesive and easier to apply, but it requires a stronger setting compound to hold up over time without cracking.
Paper tape embedded in the first coat of compound consistently produces more durable seams than mesh tape for standard wall applications.
Feathering, setting time, and skim coating
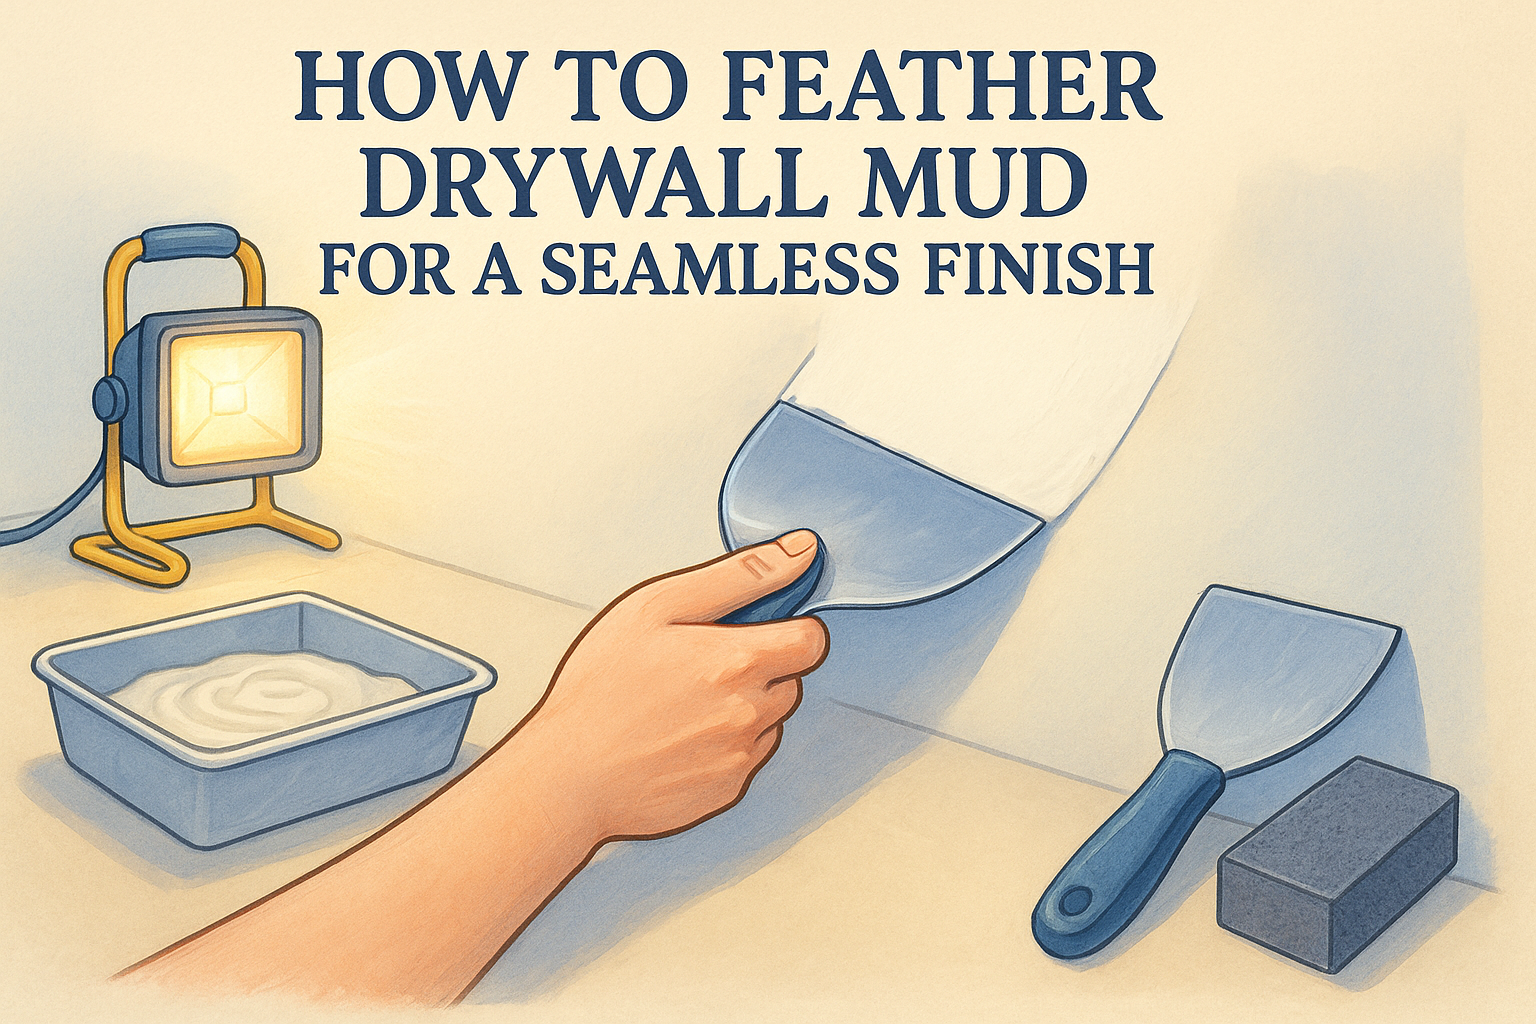
Feathering is the technique of blending compound edges so thinly that the transition from coated surface to bare drywall becomes invisible. You feather compound outward with each successive coat, widening the coverage area until the surface reads flat under any lighting angle. Poor feathering leaves ridge lines that show straight through paint regardless of how many coats you apply.
Setting time describes how long a specific compound needs to harden before you apply the next coat. Rushing the next application before the previous coat fully sets causes shrinkage cracks and adhesion failures that require repairs later. Skim coating is the process of applying a very thin, full-coverage layer of compound across an entire wall surface to correct uneven texture or prepare damaged walls for paint. Understanding what is drywall finishing at a technical level means recognizing that skim coating demands more skill than any other single step in the process.
Levels of drywall finish 0 through 5
The Gypsum Association standardized the finishing level system to give contractors and homeowners a shared language for specifying wall quality. Each level from 0 to 5 describes a defined amount of work applied to the surface, and choosing the right level depends on your end use , not personal preference alone. Knowing these levels helps you communicate clearly with any contractor you hire and verify you're getting what you paid for.
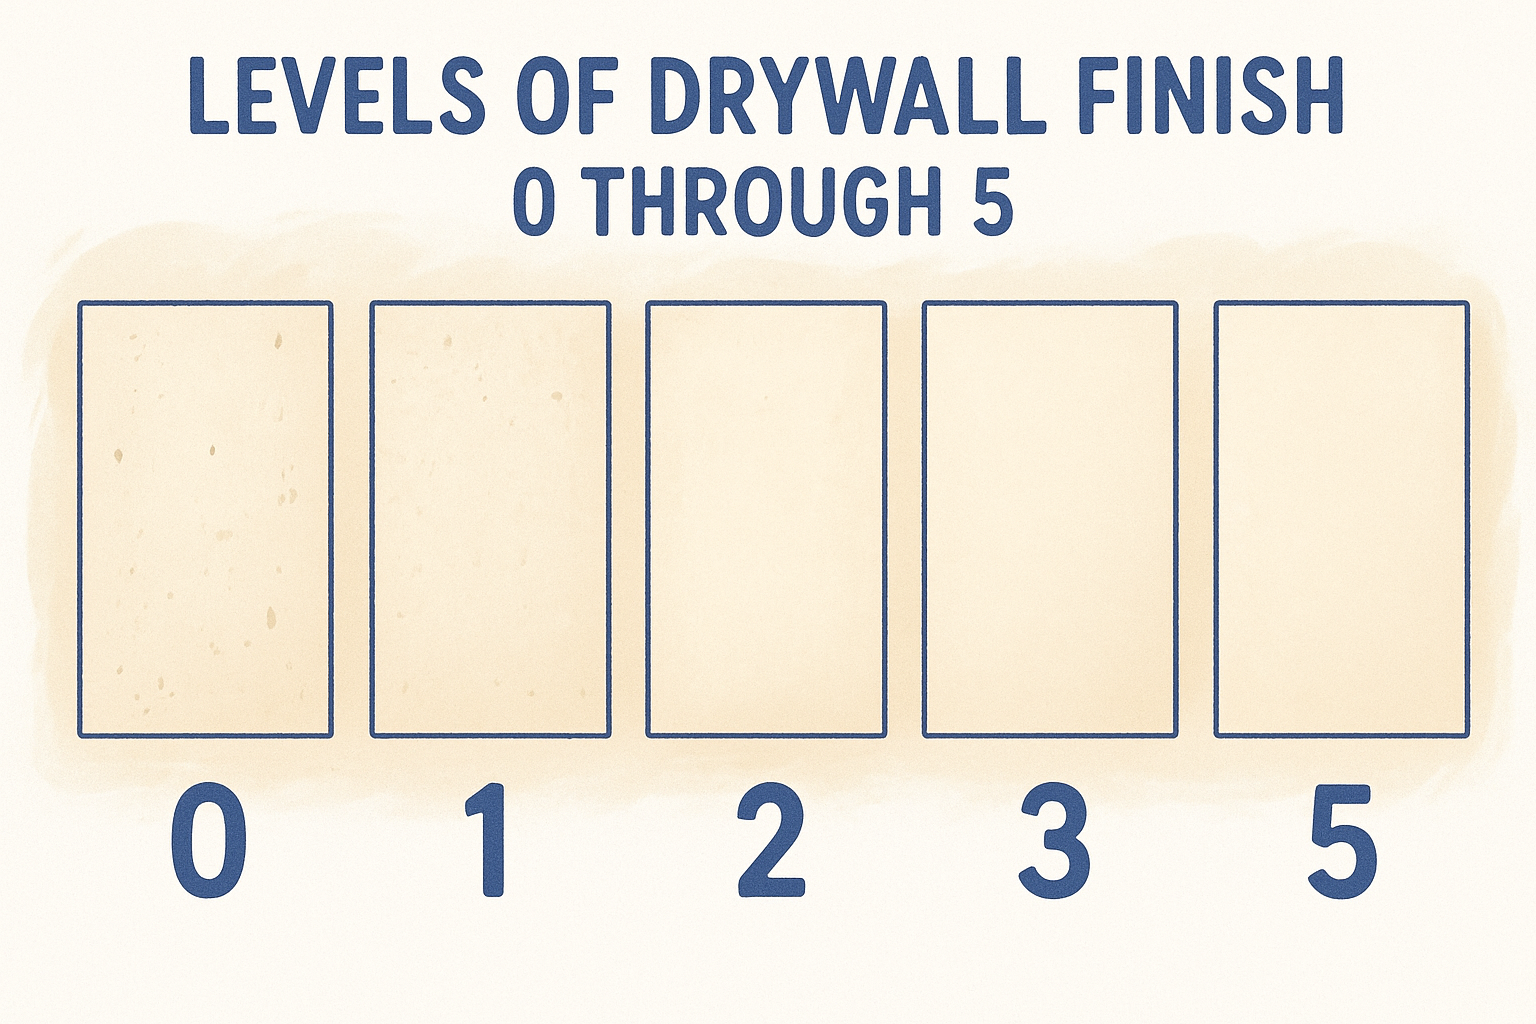
Levels 0, 1, and 2: base and utility applications
Level 0 means no finishing at all. Contractors assign this during temporary construction phases or when the final surface treatment hasn't been decided yet. Level 1 involves a single coat of compound over all joints and fastener heads, with tape embedded but tool marks left untouched. You'll see this inside attic spaces, plenum areas, and anywhere walls stay permanently concealed.
Level 2 adds a thin skim coat over the tape and fastener heads while still allowing surface tool marks. This level works for garage walls, storage rooms, and surfaces that will receive heavy texture like skip-trowel or orange peel, which masks the underlying work effectively.
Levels 3 and 4: the residential standard
Level 3 applies one additional coat over all joints and corners, with all surfaces sanded smooth . This level suits walls that will carry heavy or medium texture, where the texture itself provides the finished look and covers minor surface variation underneath.
Level 4 is the most common finish in residential construction. It requires two finish coats over tape and fastener heads, fully sanded and free of visible tool marks or ridges . Most painted walls in Sacramento Valley homes land here, and any contractor quoting standard residential drywall work is almost certainly bidding Level 4.
If you're applying flat or matte paint in a room with standard overhead lighting, Level 4 gives you the right balance of quality and cost.
Level 5: the highest standard
Understanding what is drywall finishing at its peak means understanding Level 5. This level adds a full skim coat across the entire wall surface after all joints and fasteners reach Level 4 standards. The skim coat eliminates porosity differences between the paper face and compound, producing a completely uniform surface that performs consistently under any paint sheen.
You need Level 5 any time you plan to apply semi-gloss or gloss paint, or in rooms where light sources rake across walls at low angles . Bathrooms, kitchens, and rooms with large windows all benefit from that extra step.
Materials and tools used for drywall finishing
Getting the right materials and tools in place before you start is half the battle. Joint compound and drywall tape form the foundation of any finishing job, and the hand and power tools you use determine how cleanly and efficiently you apply them. Knowing what each material does helps you understand what is drywall finishing at a practical level and lets you verify that a contractor is using the right products for your specific project.
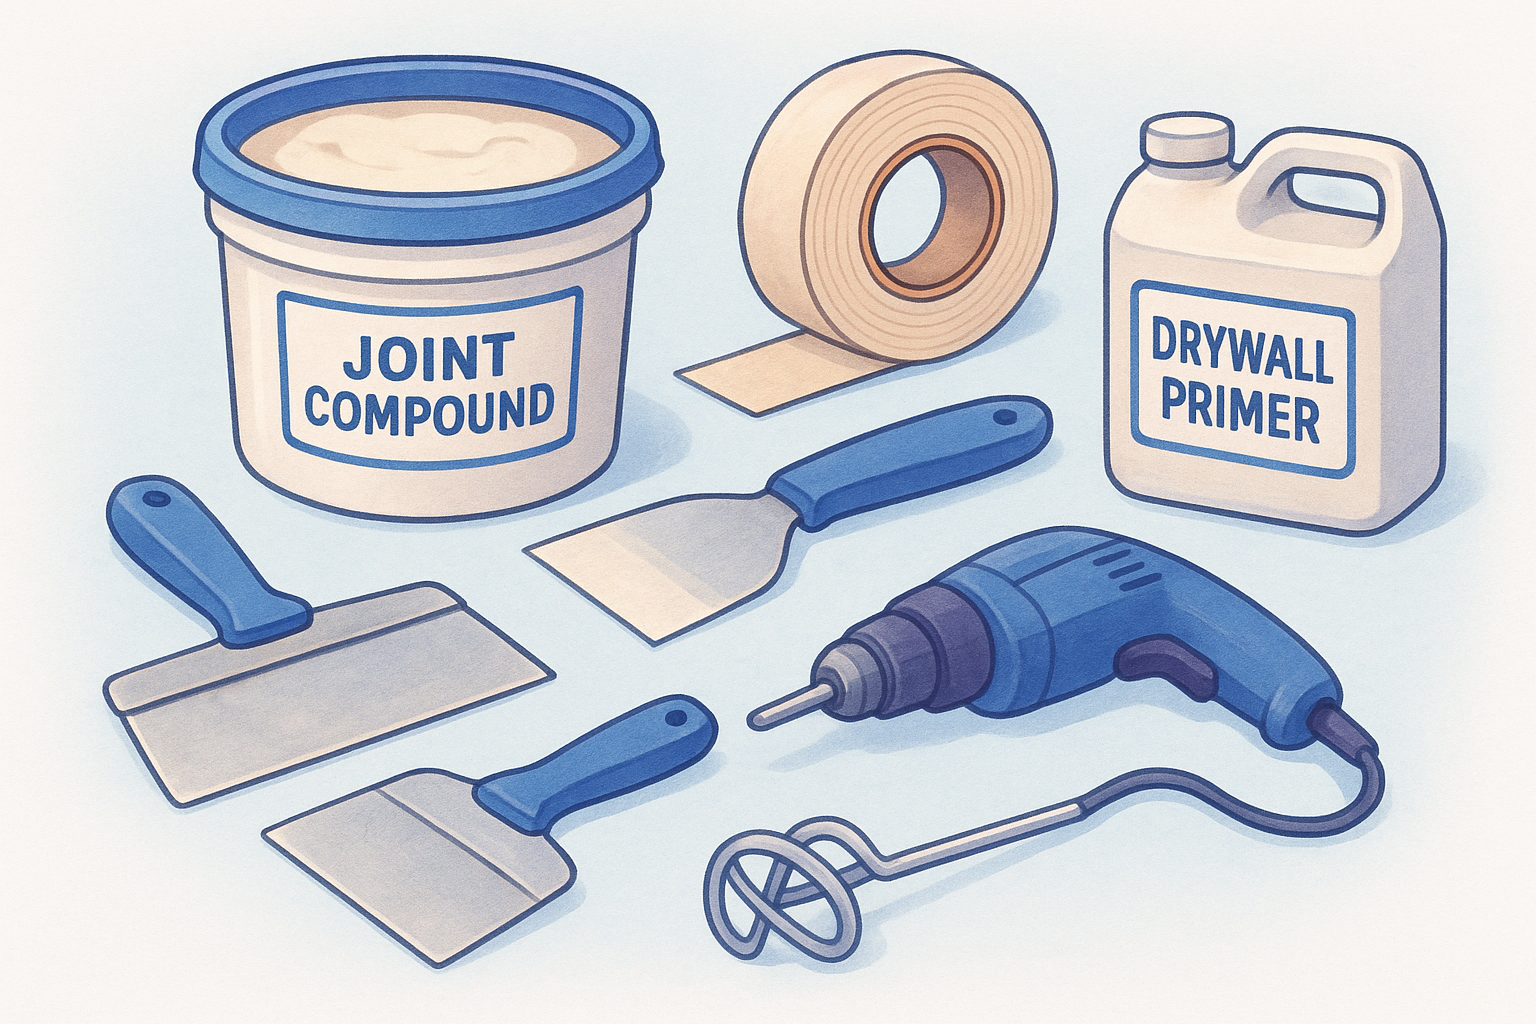
Compounds, tape, and primer
The compound you select for each coat matters more than most homeowners realize. Setting-type compound (sold as a powder with time ratings like 20, 45, or 90 minutes) hardens through a chemical reaction and works best for embedding tape and filling deep repairs because it resists shrinkage. All-purpose or topping compound dries by evaporation, sands more smoothly, and suits finish coats where you need a workable surface you can feather cleanly.
Your tape choice also affects long-term durability. Paper tape produces stronger, crack-resistant seams on flat joints and butt edges. Fiberglass mesh tape is self-adhesive and easier to position, but it requires a harder setting compound beneath it to hold up over time without developing hairline cracks.
Prime the finished surface with a drywall-specific primer before painting to lock down the compound and prevent uneven paint absorption.
Drywall primer seals the porosity difference between the paper face and dried compound. Skipping it causes topcoats to absorb unevenly and look blotchy regardless of how many paint layers you apply on top.
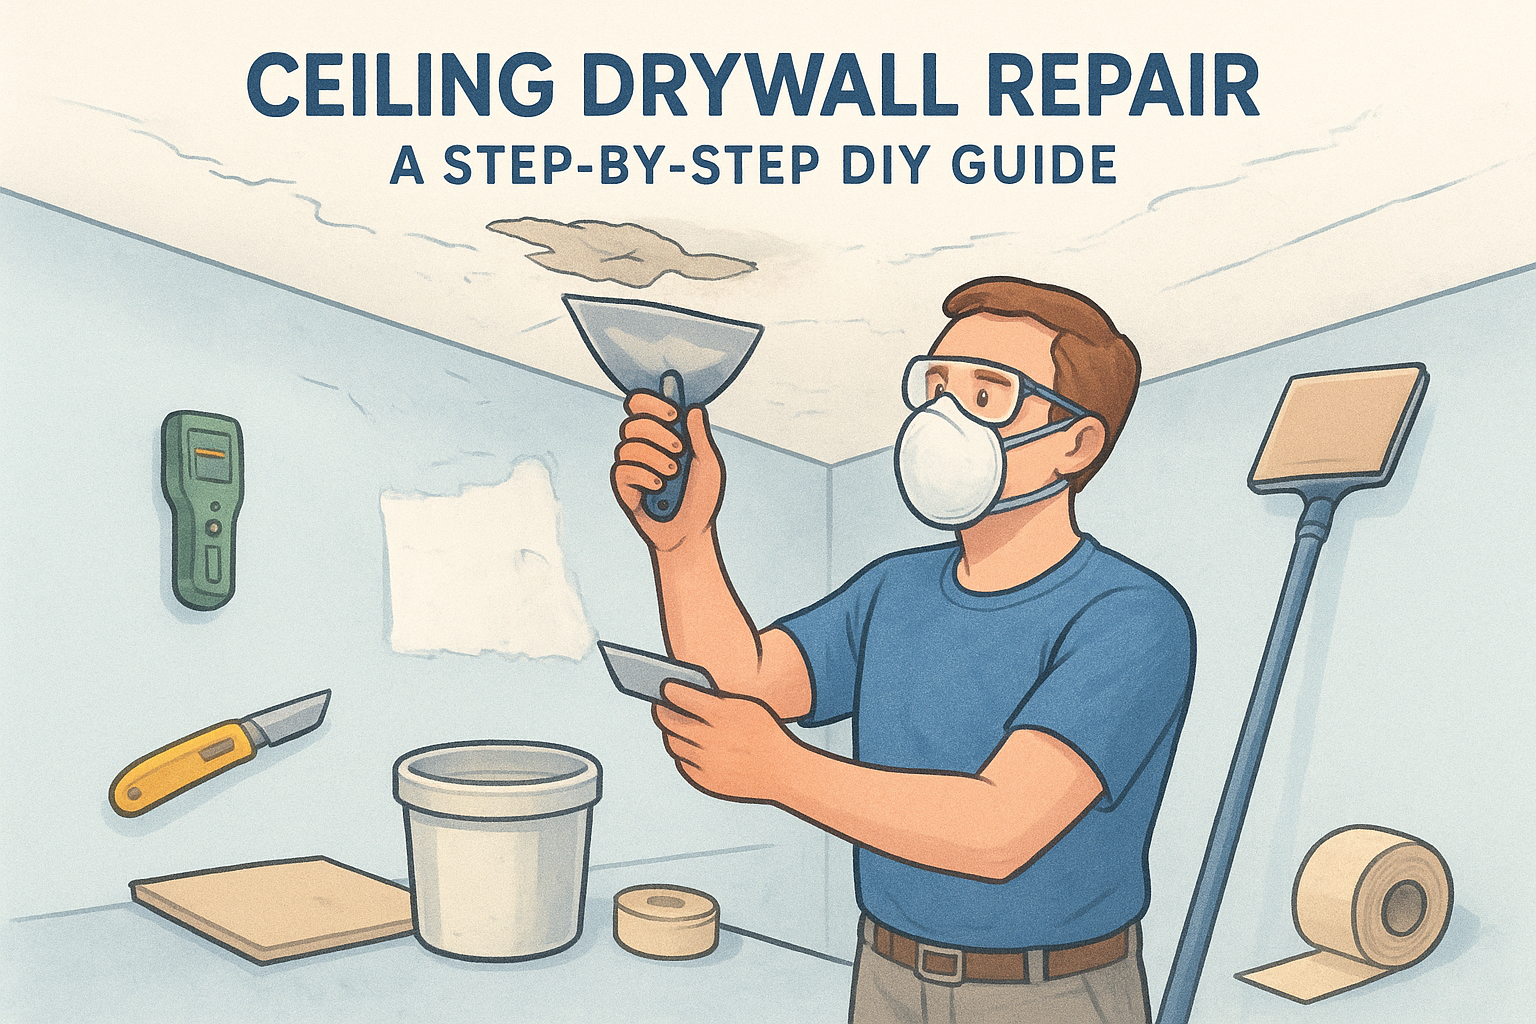
Hand tools and power equipment
Taping knives in multiple widths (typically 6-inch, 10-inch, and 12-inch) let you apply compound in progressively wider passes as you feather each layer outward across the seam. A corner knife or corner bead tool helps you achieve clean, straight inside corners, which are among the most scrutinized areas in any finished room.
For power work, a mixing paddle attached to a variable-speed drill keeps compound at a consistent, lump-free texture throughout the job. A pole sander or power drywall sander with the correct grit paper removes ridges between coats without cutting through to the paper face underneath. A vacuum-assisted sanding system reduces airborne dust significantly, which matters in any occupied home.
Step-by-step drywall finishing process
Understanding what is drywall finishing becomes much clearer when you see the process laid out in sequence. Each stage builds directly on the one before it , and skipping or rushing any step creates problems that compound through every layer that follows. The materials you use and the drying time you allow between coats determine your final result more than any single technique.
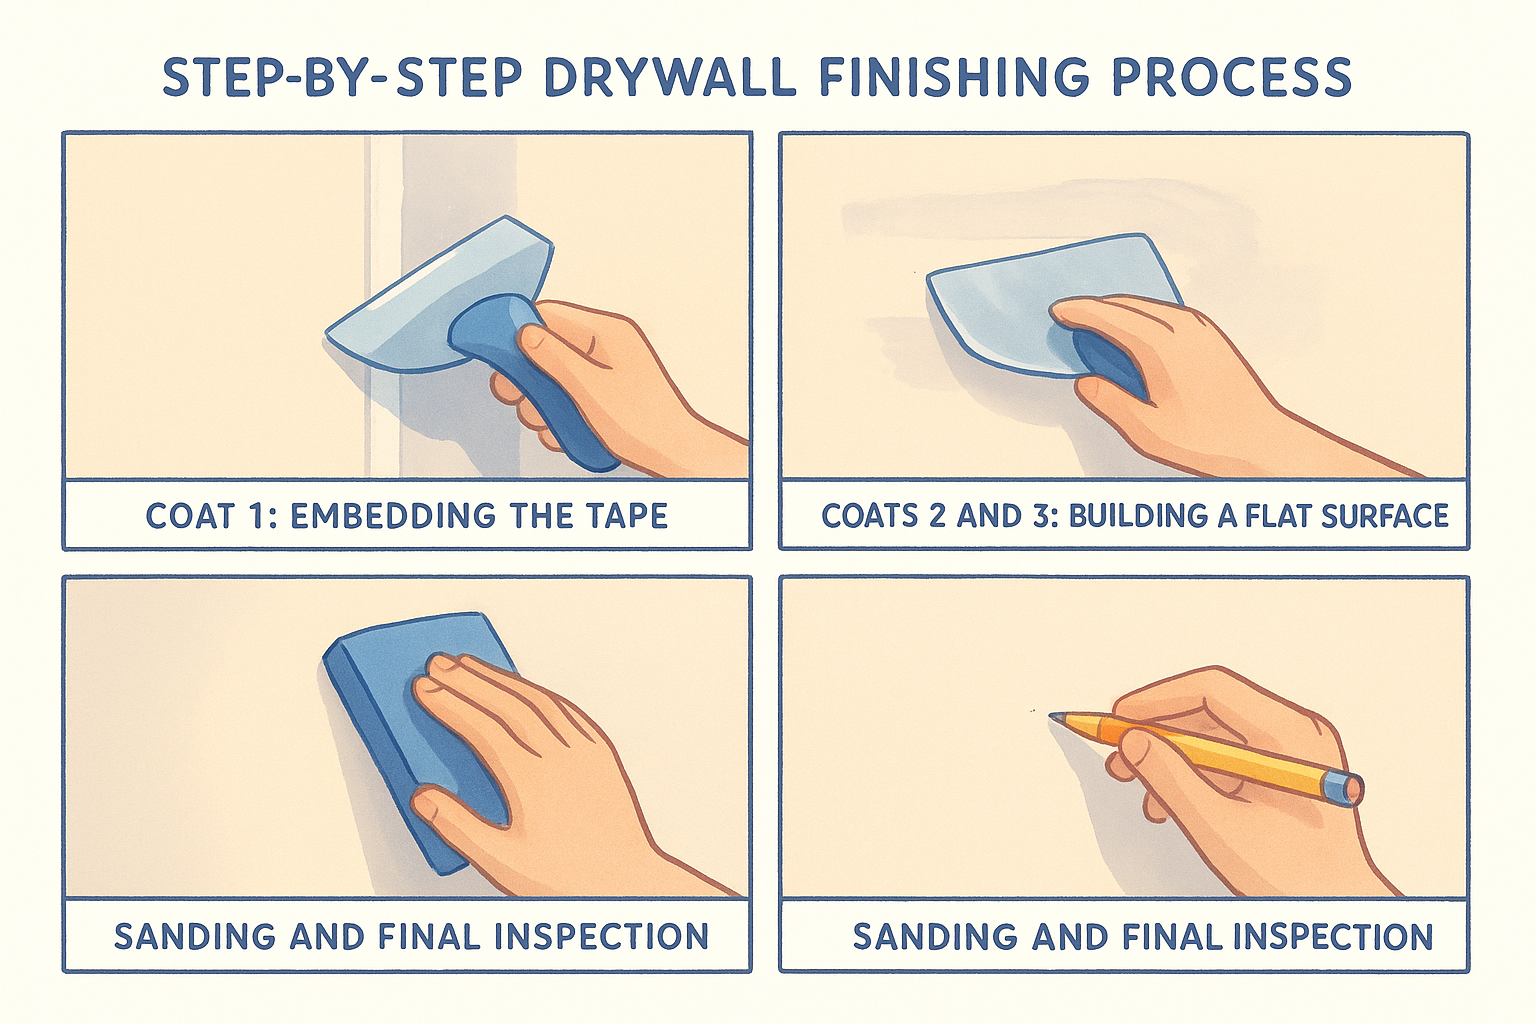
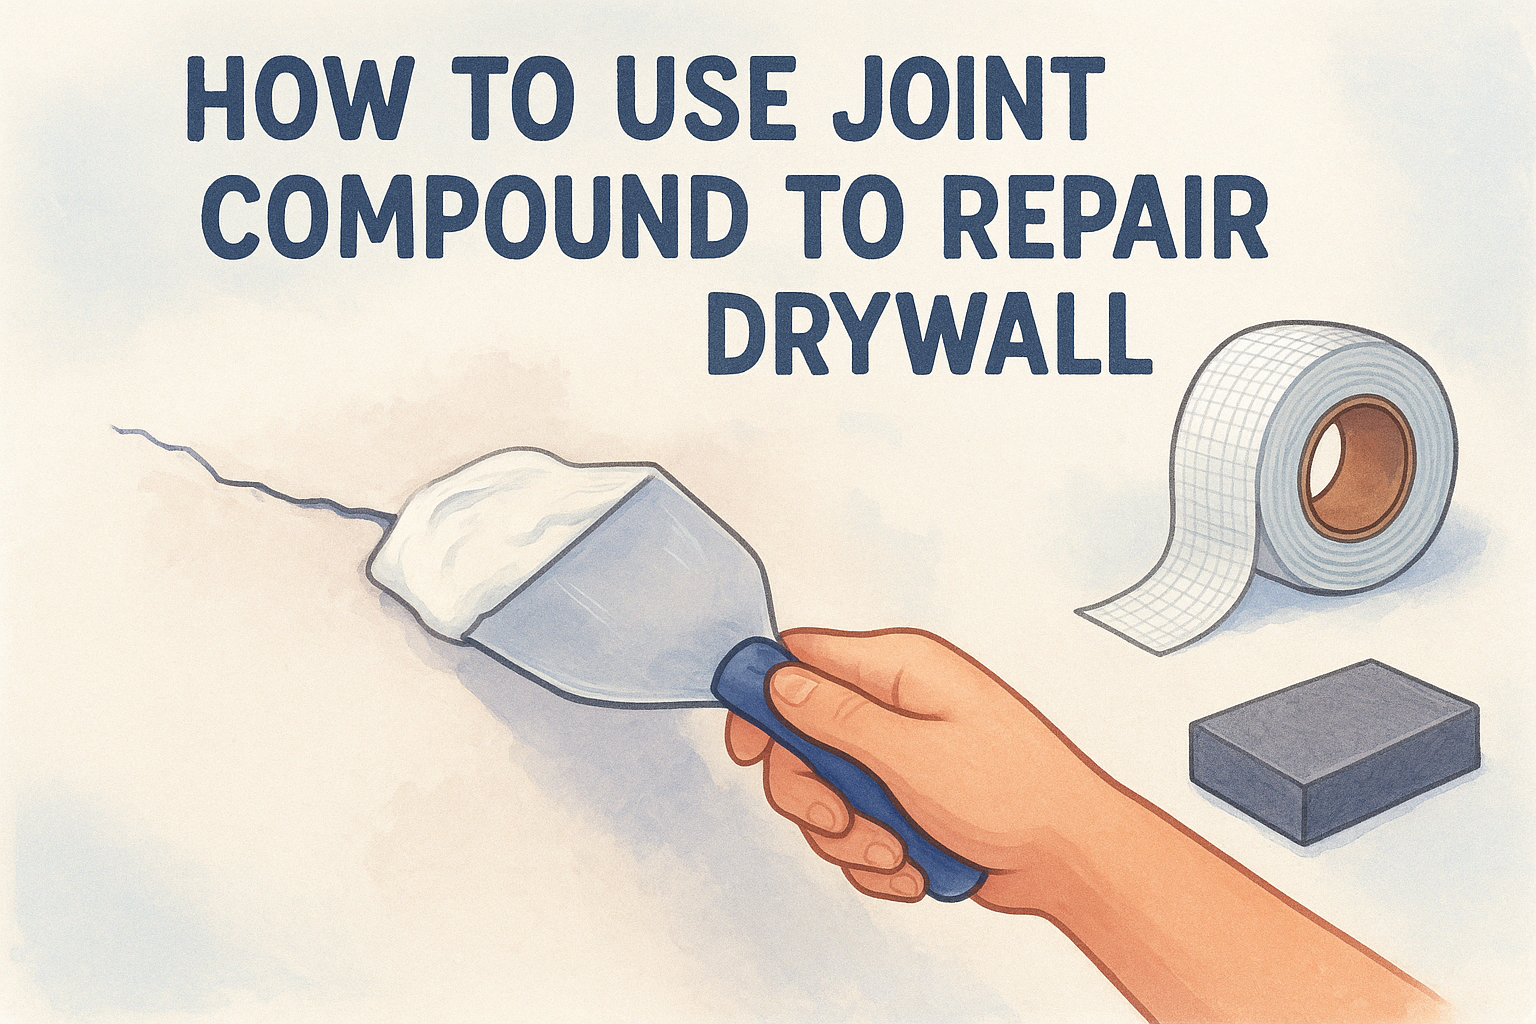
Coat 1: embedding the tape
Your first coat establishes the foundation for everything above it. Apply a thin bed of setting-type compound over the seam, press the tape firmly into it, and run your knife along the tape to squeeze out excess compound and eliminate air pockets. Flat seams need paper tape embedded straight into wet compound. Corner bead and inside corners require the same careful embedding to avoid lifting or bubbling later as the surface dries.
Let this coat dry completely before touching the surface again. Setting compound cures hard within its rated time window, but full moisture evaporation takes longer than the label implies in humid conditions. Check corners and butt joints by pressing lightly; any give at all means the coat needs more time.
Coats 2 and 3: building a flat surface
Second and third coats widen the coverage area on every joint and feather the edges outward to close the transition to bare drywall. Use all-purpose or topping compound for this stage because it sands more cleanly than setting compound once dry. Fill all fastener dimples with a single smooth pass and let each coat dry fully before sanding lightly with 120-grit paper to knock down any ridges.
Sand between every coat to remove tool marks, but stop before you cut through to the paper face of the drywall.
Apply the third coat as thin as possible, feather it aggressively at the margins , and let it dry completely before final sanding. Each successive coat should be slightly wider than the one before it to produce that gradual, invisible transition.
Sanding and final inspection
Final sanding with 150- or 220-grit paper levels the entire surface before primer goes on. Work under a focused light source held at a low angle to your wall so any remaining ridges or depressions cast a shadow and show their exact location. Mark problem spots with a pencil as you find them, skim those areas with a thin touch-up coat, and re-sand once dry.
Common drywall finishing mistakes and fixes
Even experienced DIYers run into the same recurring problems when working through what is drywall finishing in practice. Most mistakes trace back to rushing the process or misreading how compound behaves as it dries and shrinks. Catching these errors early saves you from stripping back layers and starting over, which costs significantly more time and material than doing each step correctly the first time.
Applying compound too thick in a single pass
One of the most common errors is loading too much compound onto a seam in a single coat to try to level the joint faster. Thick coats shrink heavily as they dry , pulling away from the edges and cracking down the center of the seam. The fix is to apply multiple thin coats , letting each one dry completely before adding the next. You cannot shortcut the number of coats by making each one thicker; the physics of compound shrinkage work against you every time.
Thin coats applied over multiple passes always produce flatter, crack-free seams compared to attempting to build up thickness in a single application.
Sanding too aggressively between coats
You need to sand between coats to remove ridges, but cutting through the paper face of the drywall with overly aggressive sanding creates a fuzzy surface that refuses to accept compound smoothly. Fuzzing raises the paper fibers and causes your next coat to look rough and uneven no matter how carefully you apply it. Use 120-grit paper between coats and switch to 150 or 220-grit for your final pass. If you do fuzz the paper face, seal the area with a thin coat of drywall primer before continuing.
Skipping primer before paint
Applying paint directly over finished compound without primer is one of the most reliable ways to ruin the appearance of an otherwise clean job. Dried compound absorbs paint at a different rate than the paper face of the drywall, which produces visible sheen variations and blotchy patches once the topcoat dries. These patches look like water stains and do not disappear with additional paint layers.
Drywall-specific primer seals both surfaces uniformly so your topcoat applies evenly and the finished wall holds its appearance under any lighting condition. Skipping primer saves almost no time compared to the repair work it creates.
Cost, timeline, and when to hire a pro
Knowing what is drywall finishing helps you budget accurately and set realistic expectations before work begins. Costs and timelines vary based on the finish level you choose, the size of your space, and whether you're finishing new drywall or repairing an existing surface. Getting a clear picture upfront prevents surprises once the job is underway.
What drywall finishing costs per square foot
Professional drywall finishing in the Sacramento Valley typically runs between $1.50 and $3.50 per square foot for Levels 3 through 5, depending on the complexity of the room and the number of angles, archways, and corners involved. Level 5 finishes cost more because the full skim coat adds both material and labor time compared to a standard Level 4 application.
Always get a written line-item estimate that specifies the finish level so you can compare bids accurately across multiple contractors.
Repair work on existing walls carries its own pricing structure. Patching water damage, skim coating textured walls, or correcting a previous contractor's poor finish often costs more per square foot than new work because preparation takes longer and results are harder to guarantee without first seeing the full scope in person.
How long the process takes
A standard residential room at Level 4 typically takes three to four days from tape embed to final sanding , assuming normal drying conditions. Each coat needs a full overnight dry minimum, and Sacramento Valley summers with high heat can speed drying while winter humidity extends it. Larger open-plan areas or rooms requiring Level 5 finishing add at least one full day for the skim coat and a second sanding pass.
Signs you should hire a professional
DIY finishing produces acceptable results on small repairs or storage spaces, but certain conditions consistently call for professional help . If your walls will carry semi-gloss or gloss paint, receive scrutinizing light from large windows, or represent the primary living areas of your home, the margin for error is too small to absorb through trial and error. Professionals carry the right tools, understand compound behavior across different humidity conditions , and can guarantee a Level 4 or Level 5 result that holds up over time without requiring costly re-work.
Next steps for your drywall project
Now that you understand what is drywall finishing, you can approach your project with a clear picture of what each stage involves and what results to expect. Finish level selection and material choices both determine whether your walls look professionally done or reveal the work behind them. Whether you're finishing new drywall after a remodel or repairing damaged walls, matching the right level to your end use protects both your investment and your time.
Working with an experienced contractor removes the guesswork from every coat when your project involves new installation or patching existing walls. Super Shooters has completed over 10,000 projects across the Sacramento Valley with a team that has held together for over 30 years. Schedule your free in-home estimate before any work begins and get a clear scope and price upfront with no payment required until the job is done. Request your free drywall installation estimate today.
Recent Posts