Share this article

July 26, 2026

How to Use Joint Compound to Repair Drywall

That crack running along your hallway ceiling or the dent your kid's doorknob left in the bedroom wall doesn't need a full drywall replacement. In most cases, joint compound to repair drywall damage is the right call, and knowing how to apply it makes the difference between a patch that disappears and one that shows up every time the light hits it wrong. Homeowners across Sacramento, Roseville, and Folsom deal with these small repairs constantly, especially in older homes where walls have settled and shifted over the decades.

This guide walks you through exactly when joint compound beats spackle, how to prep the damaged area, and the layering technique that gets you a smooth, paint-ready surface instead of a lumpy mess. You'll learn why one thick coat almost always fails and how thin, feathered layers with proper drying time between them solve that problem.

We've spent over 30 years patching walls and ceilings across the Sacramento Valley, so this isn't theory. It's the same process our crews use on job sites, scaled down for a weekend project. If your damage turns out bigger than a simple patch, or you're staring at a wall that needs more than DIY can fix, that's where a professional estimate makes sense.

What you need before you start

Before you crack open a tub of compound, take five minutes to gather everything and confirm you're grabbing the right product for the job. Most botched patches come from rushing this step, not from bad technique.

Tools and materials to gather

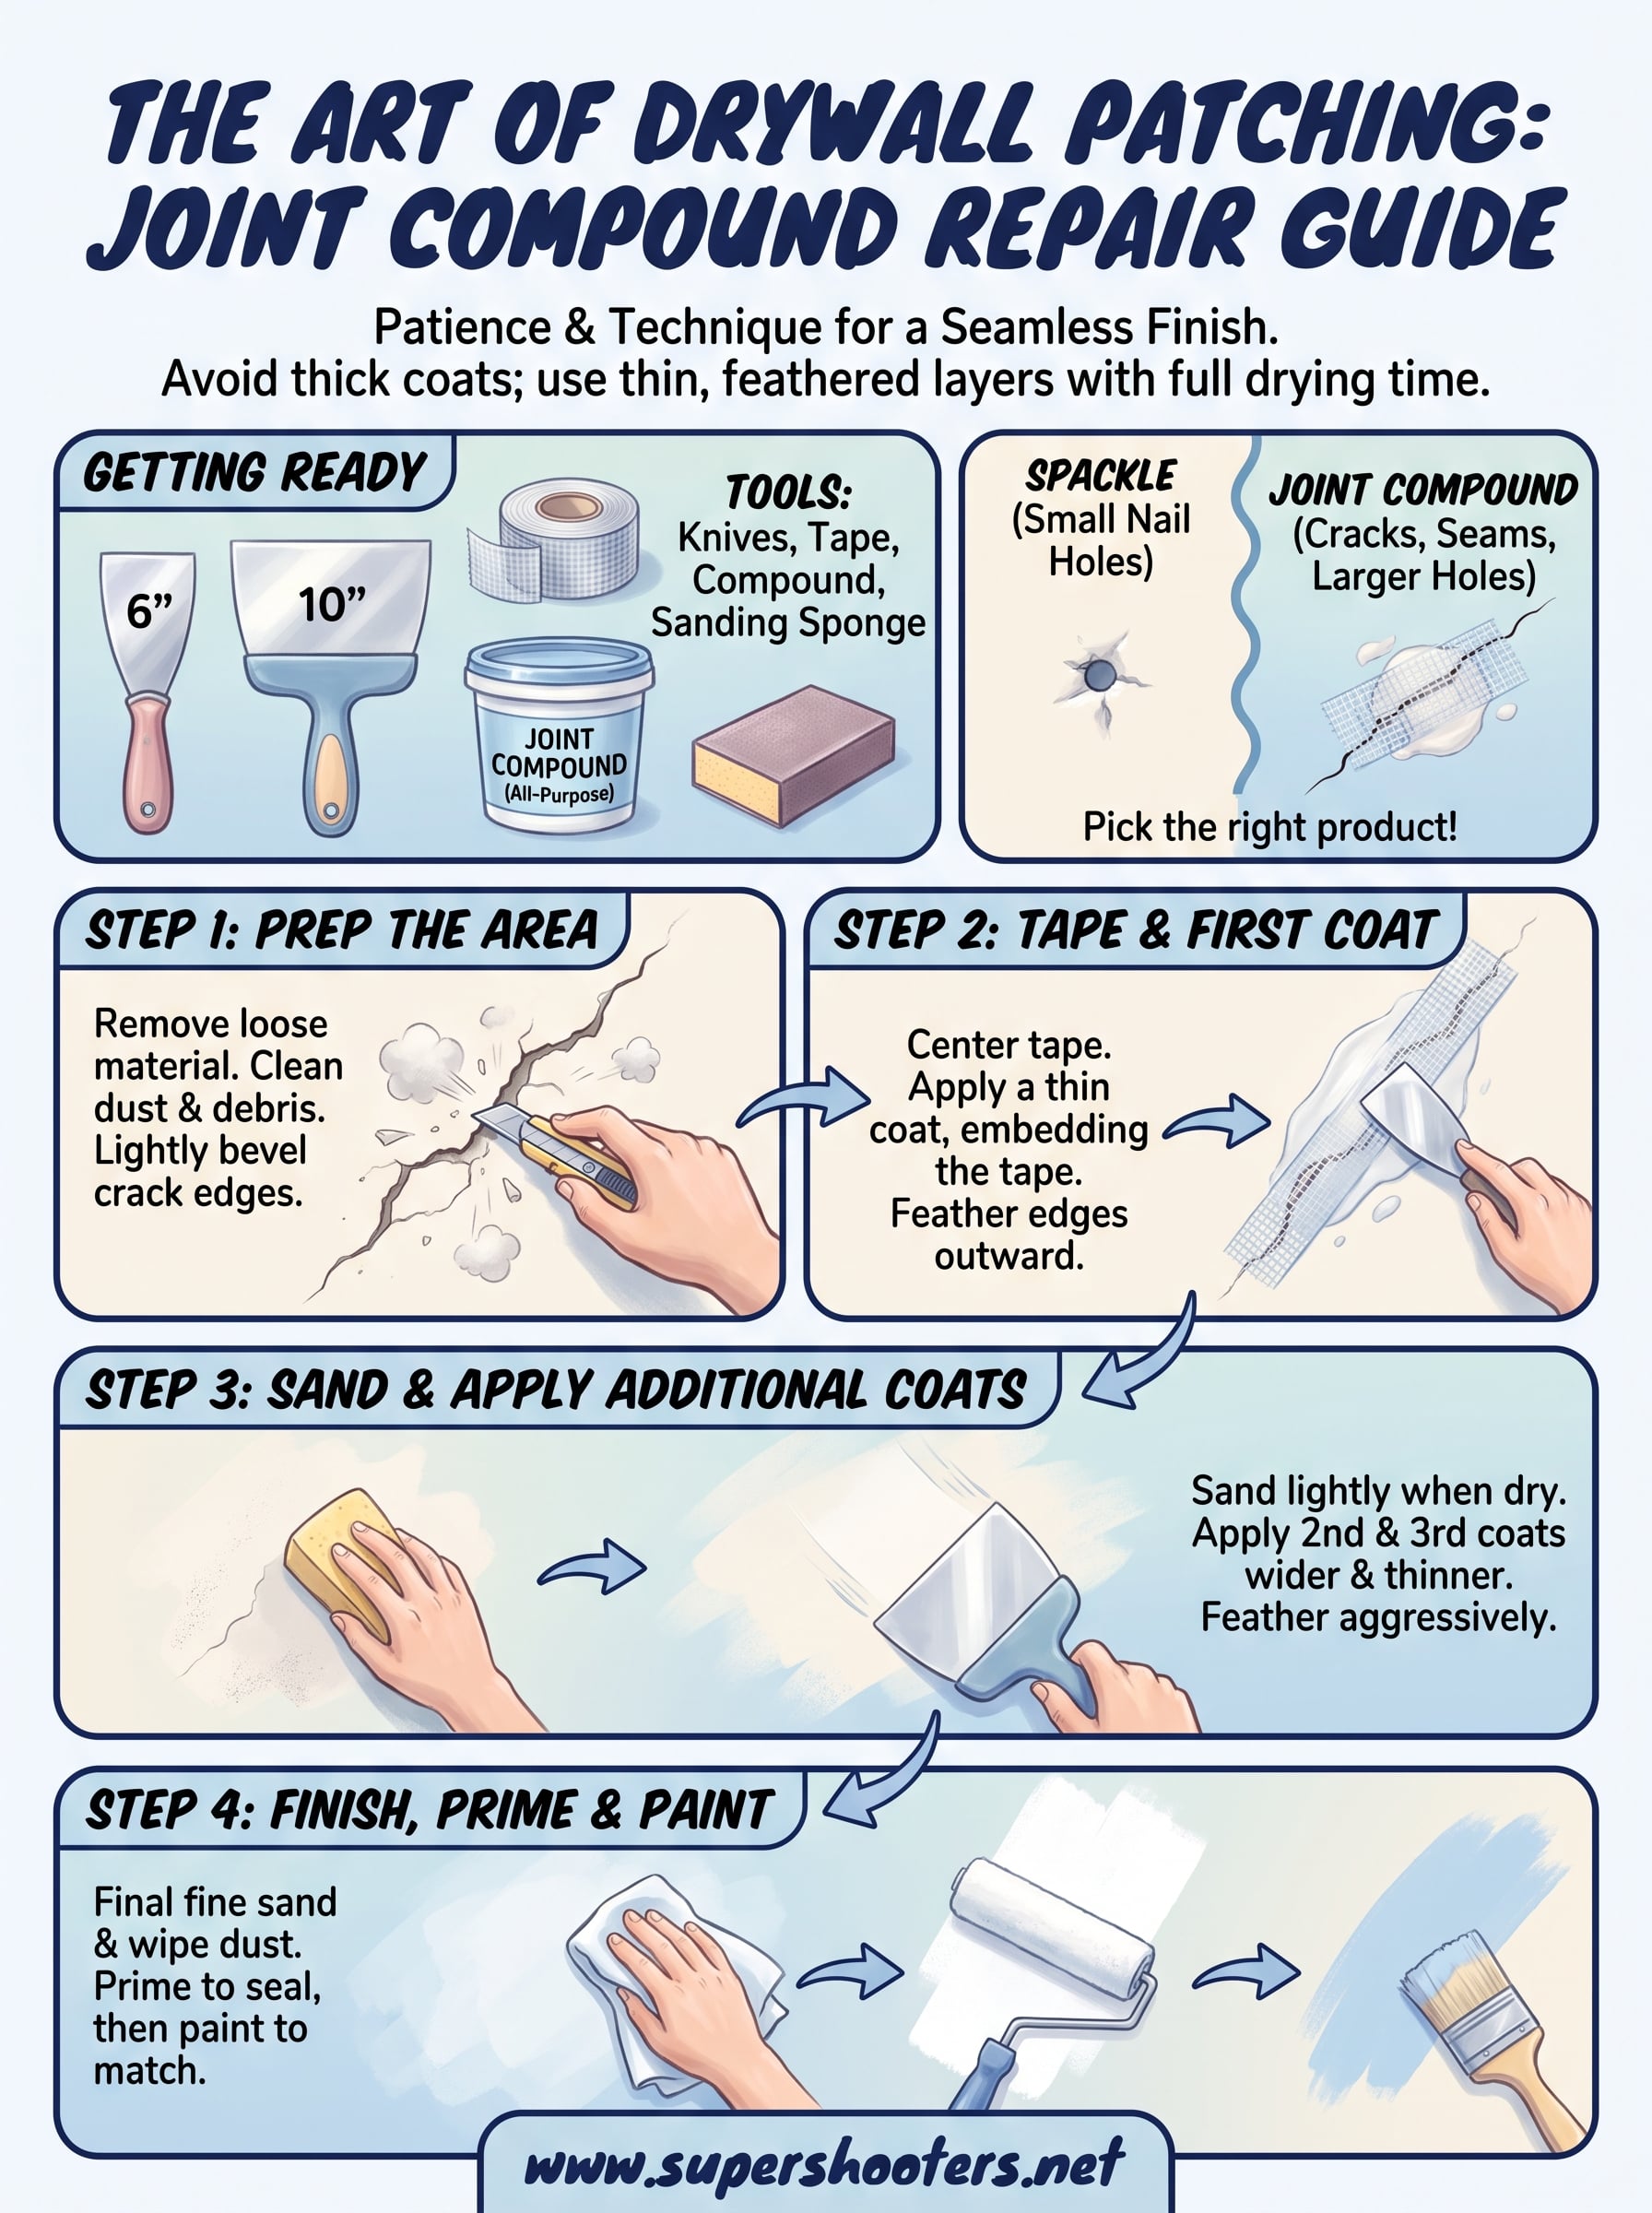
You don't need a contractor's toolbox for a standard patch. Here's what covers 90% of residential drywall repairs:

  • Joint compound (pre-mixed "all-purpose" tub for most jobs, or "setting-type" compound for deep holes)
  • Self-adhesive mesh tape or paper tape for cracks and seams
  • A 6-inch and a 10-inch putty knife
  • 120-150 grit sanding sponge or sandpaper
  • A putty knife or utility knife for cutting away loose drywall
  • A drop cloth and painter's tape to protect flooring and trim
  • Primer and matching paint for the final finish

Joint compound vs. spackle: pick the right one

A lot of homeowners grab spackle out of habit, but it's not built for every repair. Spackle works fine for small nail holes, while joint compound handles cracks, seams, and anything wider than a coin because it spreads thinner and bonds better over tape.

Damage type Best product
Nail holes, small dings Spackle
Cracks, seams, corner damage Joint compound with tape
Holes over 1 inch wide Joint compound with patch and tape
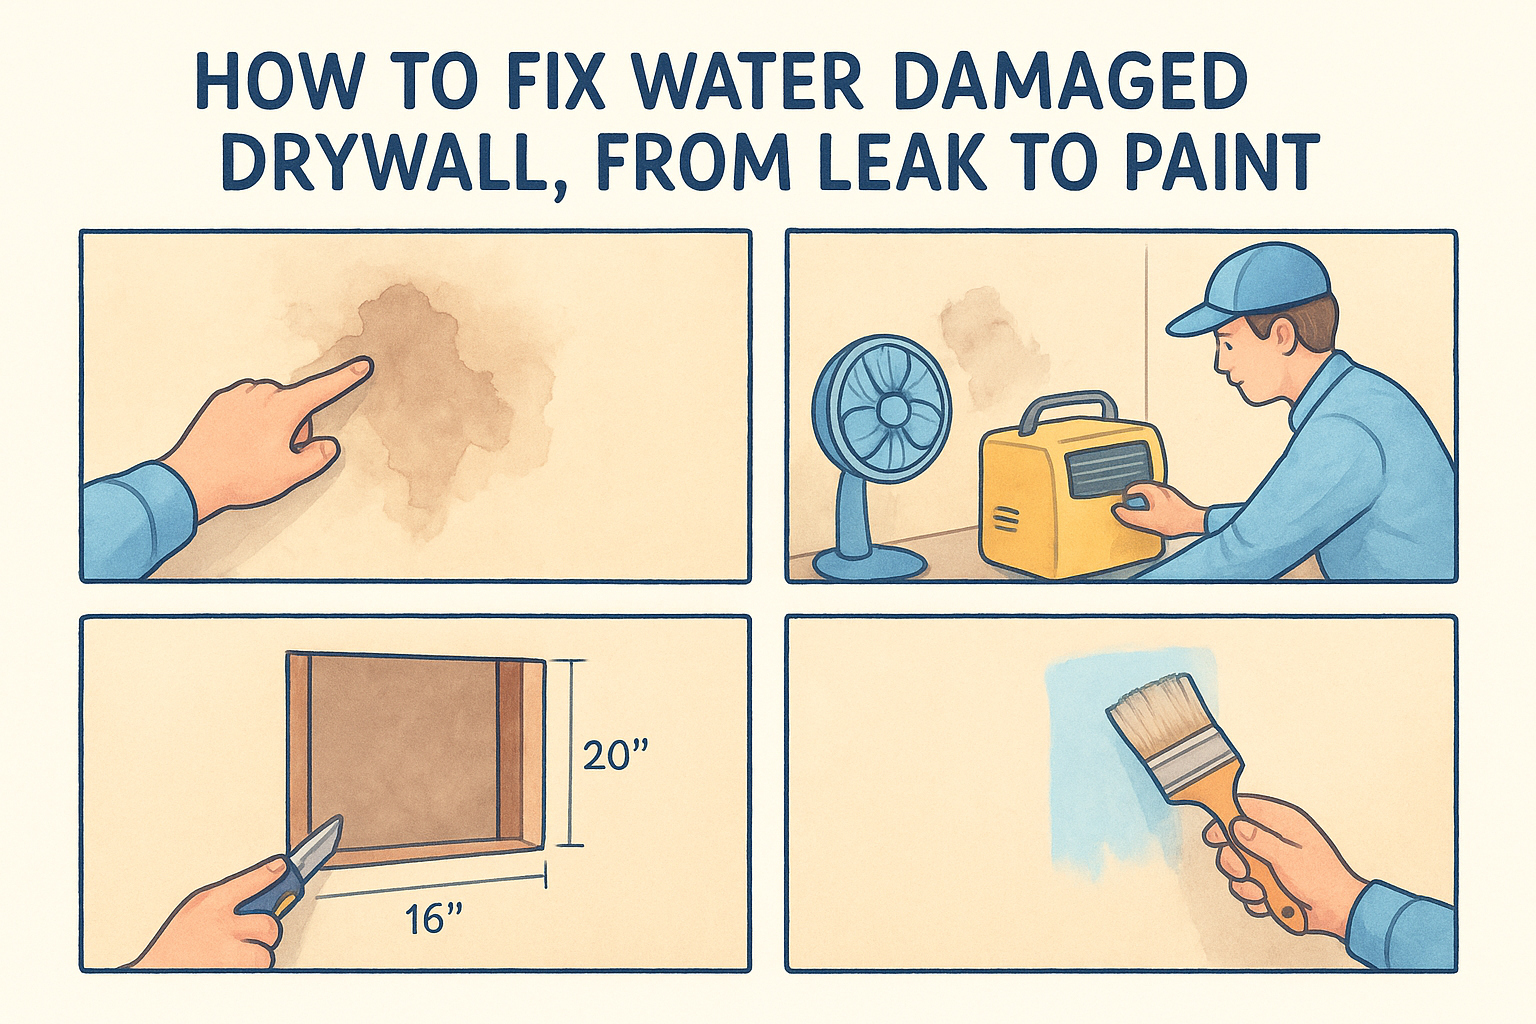
Water-damaged sections Joint compound after full drywall replacement of the affected panel

If the damage is bigger than your palm or involves a seam, joint compound and tape will outlast spackle every time.

One more thing worth checking before you start: if your home was built before 1980 and the ceiling has that classic popcorn texture, don't sand or disturb it without testing for asbestos first. That's a job for a professional, not a Saturday afternoon fix.

Step 1. Prep the damaged area

Good prep decides whether your patch holds for years or cracks again in six months. Skipping this step is the number one reason DIY repairs fail, so don't rush past it just to get to the fun part.

Clear away loose material

Start by removing anything that's already crumbling. Press around the edges of the damage with your fingers, and if drywall paper is peeling or the gypsum core feels soft, cut it back to solid material with a utility knife. Loose debris under fresh compound guarantees the patch will fail, so don't skip this even if it means the hole gets slightly bigger before it gets smaller.

A patch is only as strong as the surface underneath it, so remove every bit of loose material before you touch the compound.

Clean, widen, and dust

Follow these quick steps before mixing anything:

  • Wipe away dust and debris with a dry cloth or a shop vac
  • Lightly bevel the edges of cracks with a utility knife so compound has something to grip
  • Vacuum drywall dust out of the cavity if the hole goes through to the wall interior
  • Lay your drop cloth now, since joint compound drips more than you expect

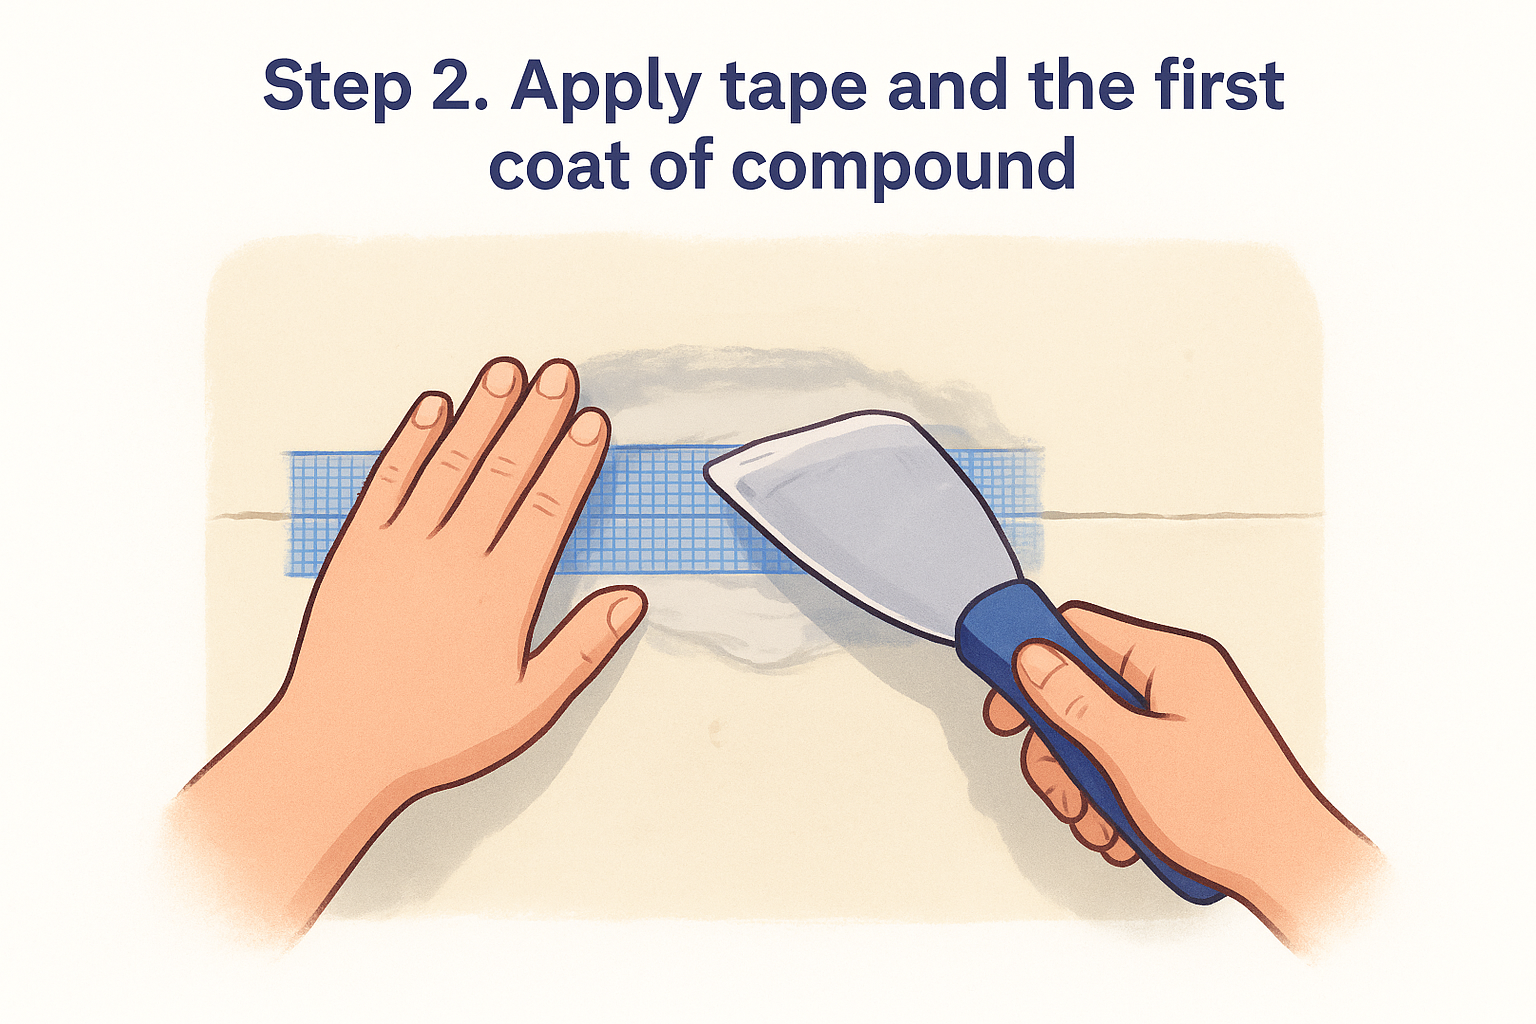
Step 2. Apply tape and the first coat of compound

Now that the area is clean and stable, it's time to bridge the gap. This step sets the foundation for every layer that follows, so take your time getting the tape flat and the first coat even.

Bed the tape

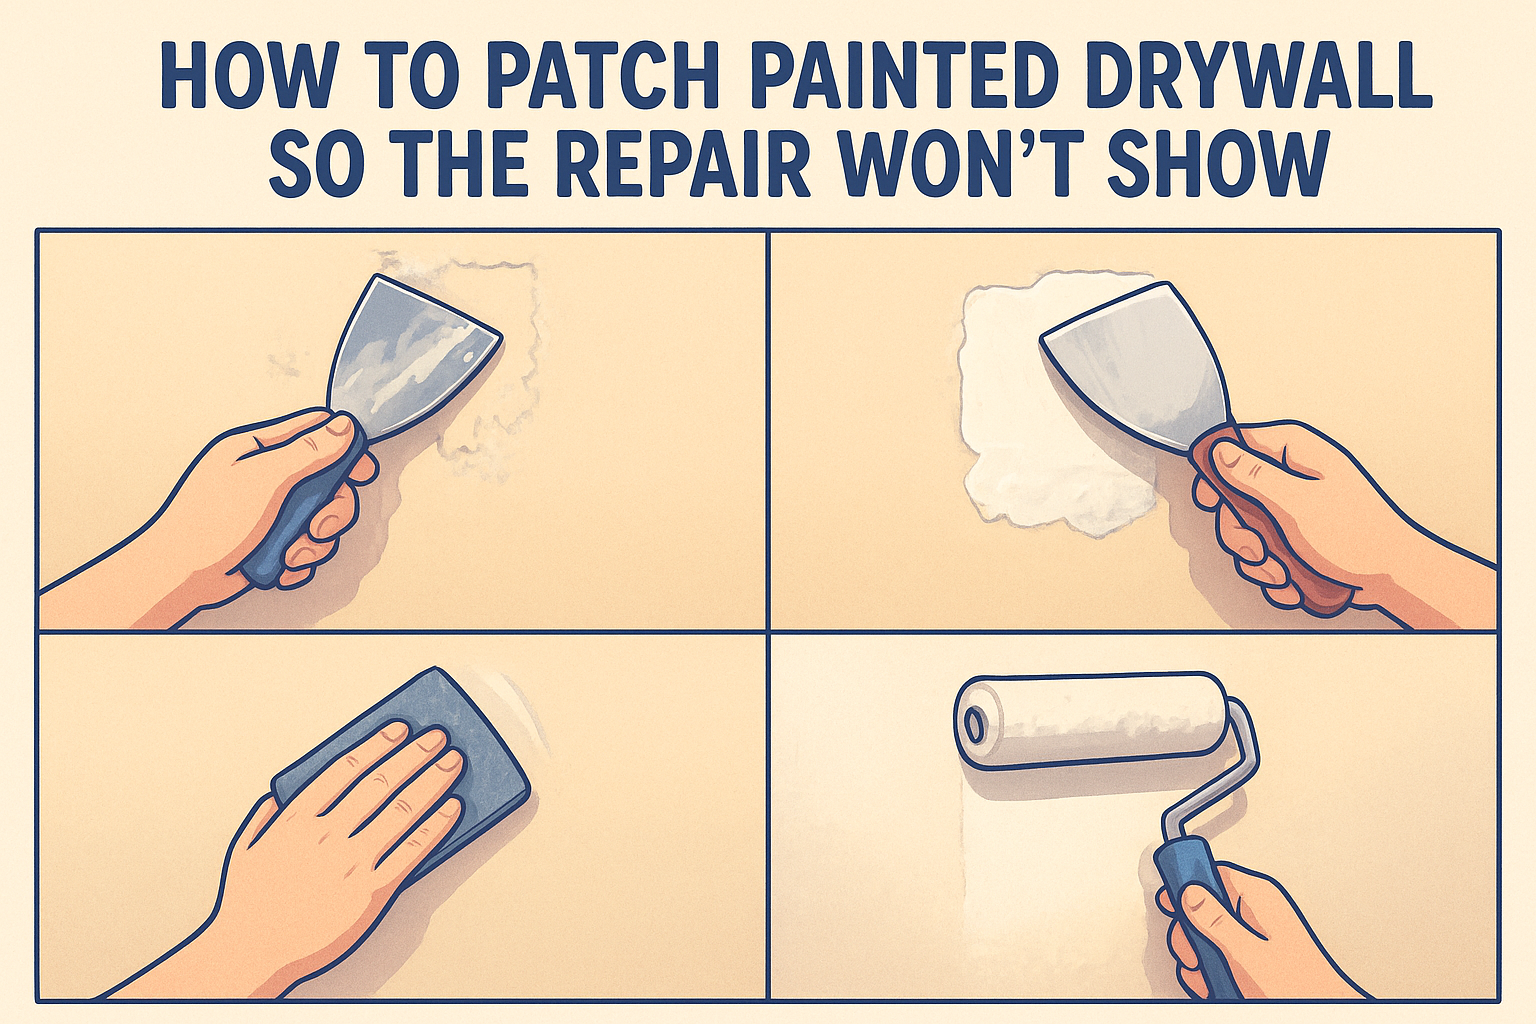
Center your mesh or paper tape directly over the crack or seam, pressing it firmly so no air bubbles sit underneath. Using a 6-inch putty knife, spread a thin layer of joint compound over the tape , working from the center outward. If you're using paper tape, embed it into a bed of wet compound first, then smooth a second thin layer on top.

Tape that isn't fully bedded in compound is the number one reason cracks come back within a year.

Feather the edges

Apply your first full coat over the tape and surrounding area, extending it about 2 inches beyond the damage on each side. Keep this coat thin, around 1/8 inch, and feather the edges by lightening pressure on your putty knife as you move outward.

  • Let this coat dry fully, usually 24 hours
  • Avoid the temptation to add a second coat while it's still tacky
  • Check for shrinkage cracks once dry, which are normal at this stage

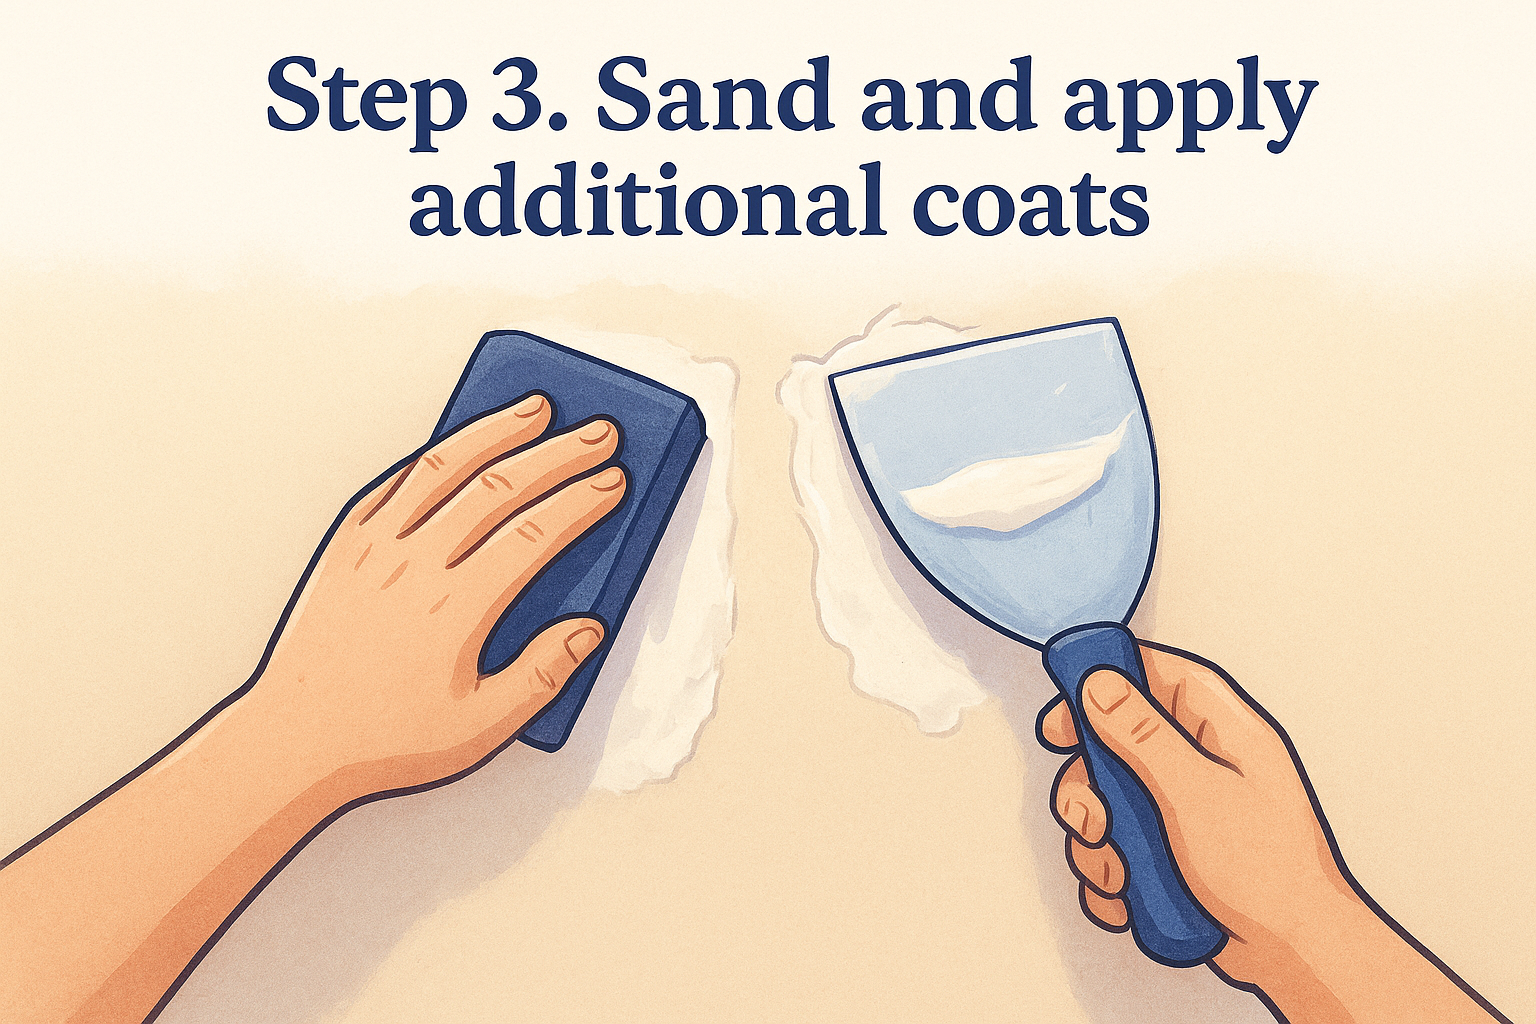
Step 3. Sand and apply additional coats

Once that first coat is bone dry, grab your sanding sponge and knock down any ridges or shrinkage cracks before you add more compound. Sanding between coats keeps your patch flat instead of building up a hump that shows under paint.

Sand lightly, then reload

Use a 120-150 grit sponge and light pressure, just enough to smooth ridges without gouging the paper tape underneath. Wipe away the dust with a damp cloth so it doesn't mix into your next layer. Then load your 10-inch putty knife with a second coat of joint compound , spreading it wider than the first, about 4 inches beyond the damage on each side.

Each coat should be wider and thinner than the last, that's what makes the repair invisible once it's painted.

Build up thin layers

Repeat this process for a third coat if needed, following the same pattern:

  • Sand lightly after each coat dries fully, at least 24 hours apart
  • Widen each successive coat by another inch or two
  • Feather edges aggressively so there's no visible ridge when you run your hand across the wall
  • Stop once the surface feels level with the surrounding drywall, not before

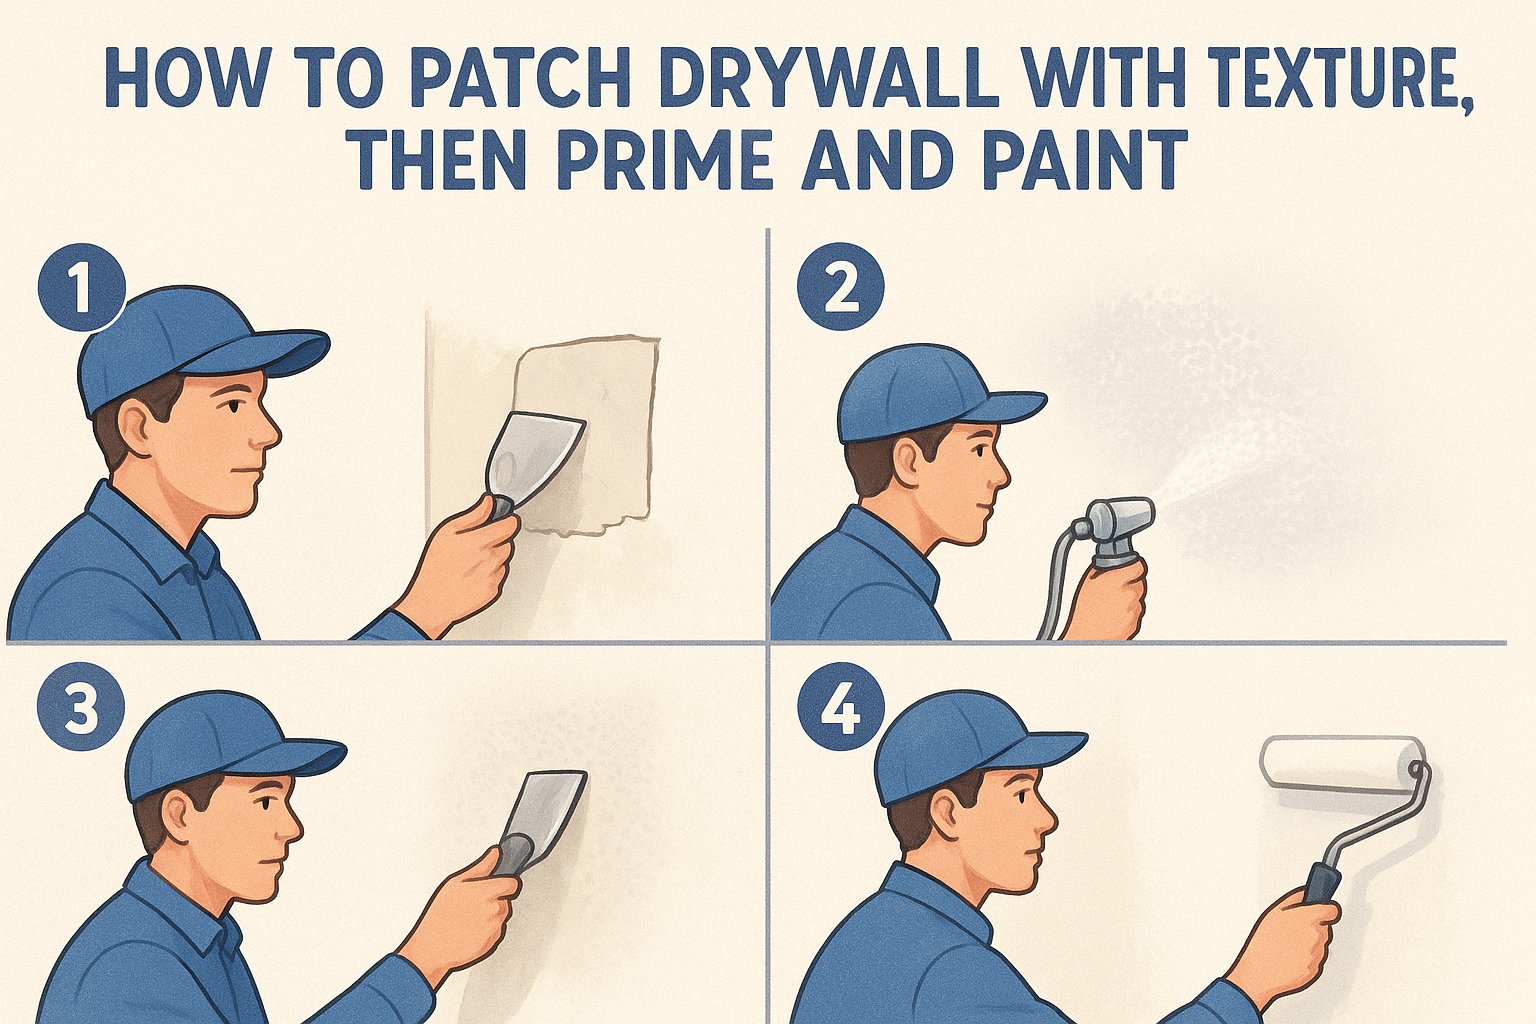
Step 4. Finish, prime, and paint the repair

Once your final coat is dry and sanded smooth, run your hand across the wall in a couple of directions. If you feel any ridges or dips, hit them with a quick pass of the sanding sponge before moving on. This is your last chance to fix flaws while they're easy to see under raking light from a work lamp.

Do a final sand and wipe-down

Sand the entire patch area with a fine 150-220 grit sponge, blending the edges into the surrounding wall so there's no visible transition. Wipe the whole section with a damp cloth or tack cloth to pull off every trace of dust, because leftover dust ruins paint adhesion and shows up as a flat patch even after painting.

Prime before you paint

Joint compound is porous and soaks up paint differently than the surrounding drywall, which is why skipping primer is the most common reason patches show through as a dull spot called "flashing." Apply a coat of PVA or drywall primer over the repair, let it dry, then paint with your wall's existing color using the same sheen.

Skipping primer is why most DIY patches show up as a faint shadow, even with a perfect texture match.

Getting a repair you won't notice again

A good drywall patch comes down to patience more than skill. Thin coats, full drying time between them, and a final sand that blends into the surrounding wall will beat a rushed thick coat every single time. Follow the steps in order and you'll end up with a seamless patch that holds up for years, not months.

But some damage isn't a weekend job. Cracks that keep coming back, holes bigger than a dinner plate, or water stains that hint at a bigger problem behind the wall mean it's time to call in help instead of fighting it yourself. Our crews have handled these repairs across the Sacramento Valley for over three decades, and we'd rather point you toward the right fix than watch you patch the same spot twice. If your project has grown past DIY, reach out for professional drywall repair and patching and get it done right the first time.

Recent Posts

By cinchweb July 27, 2026
Learn a lasting crack wall repair method: tools, V-groove prep, mesh tape, setting compound, and when to call a Sacramento Valley pro.
By cinchweb July 25, 2026
Learn step-by-step ceiling drywall repair: prep, patch, tape, texture & paint—plus when to call Super Shooters for Sacramento Valley jobs.
By cinchweb July 25, 2026
Find cheap drywall repair near me without overpaying: get real Sacramento Valley price ranges, quote tips, and vetting steps from Super Shooters.
By cinchweb July 24, 2026
Learn how to feather drywall mud step by step—thin, widening coats, sanding tips, and raking-light checks for a seamless, ridge-free repair.
By cinchweb July 22, 2026
Learn how to repair wall texture step-by-step, from matching patterns to blending patches, plus when to call Super Shooters in Sacramento Valley.
By cinchweb July 22, 2026
Learn how to cover ceiling water stains for good: fix the leak, prime with shellac, and repaint to stop bleed-through permanently.
By cinchweb July 20, 2026
Learn how to fix water damaged ceiling drywall: find the leak source, cut and patch drywall, match texture, and know when to call Super Shooters.
By cinchweb July 18, 2026
See a full asbestos popcorn ceiling removal cost breakdown by room, plus testing, disposal, and finishing fees. Get a free itemized estimate today.
By cinchweb July 18, 2026
Paper tape vs mesh tape drywall: learn which suits butt joints, corners, and patches to avoid bubbling, cracking, and seam failures in Sacramento homes.
Show More