
Share this article

July 24, 2026

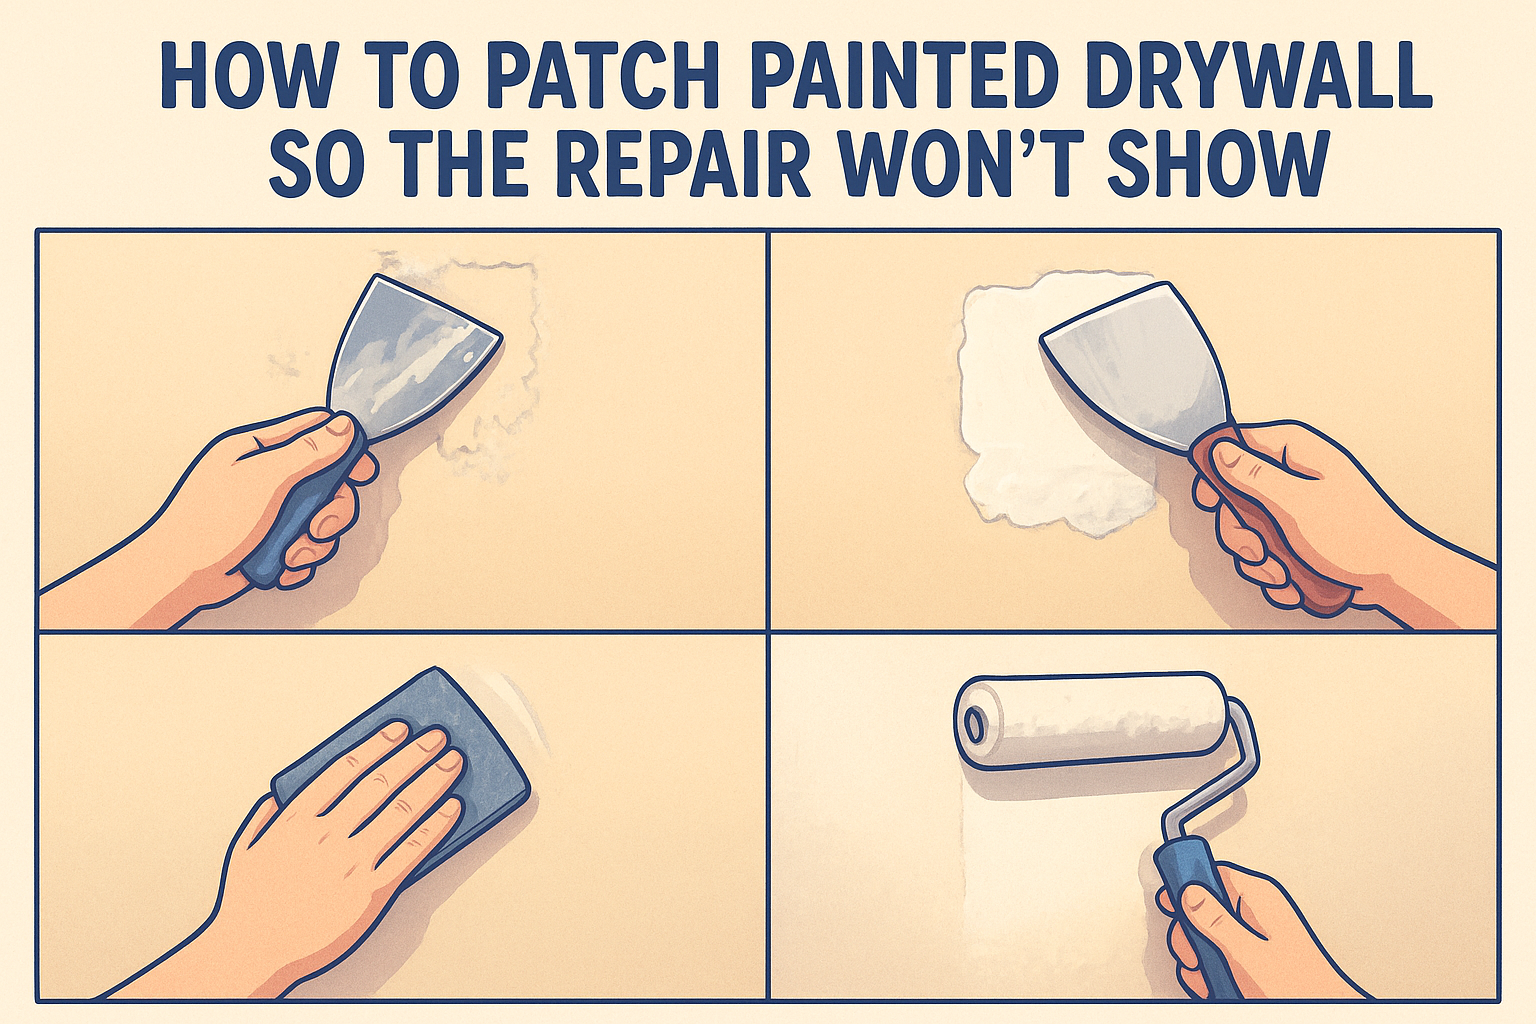
How to Feather Drywall Mud for a Seamless Finish

That ridge running along your drywall patch isn't going away with a heavier coat of mud. It usually gets worse. If you've ever sanded through paper trying to hide a repair, you already know the problem isn't the mud, it's the technique. Learning how to feather drywall mud is what separates a patch you can see from three feet away from one that disappears under paint.

Feathering means spreading each coat of mud thinner and wider than the last, so the edges taper down to nothing instead of stopping in a hard line. Get the knife angle right, keep your pressure light at the edges, and you'll build a repair that blends into the surrounding wall with almost no sanding afterward. It's a skill, not a secret, and it comes down to a handful of consistent moves repeated over two or three coats.

Below, we walk through the tools you need, the coat-by-coat process, and the mistakes that leave visible edges. If a repair turns out bigger than a weekend project, or you're dealing with texture matching, water damage, or old plaster, that's exactly the kind of job our crew at Super Shooters handles across the Sacramento Valley every week.

What is feathering drywall mud and why it matters

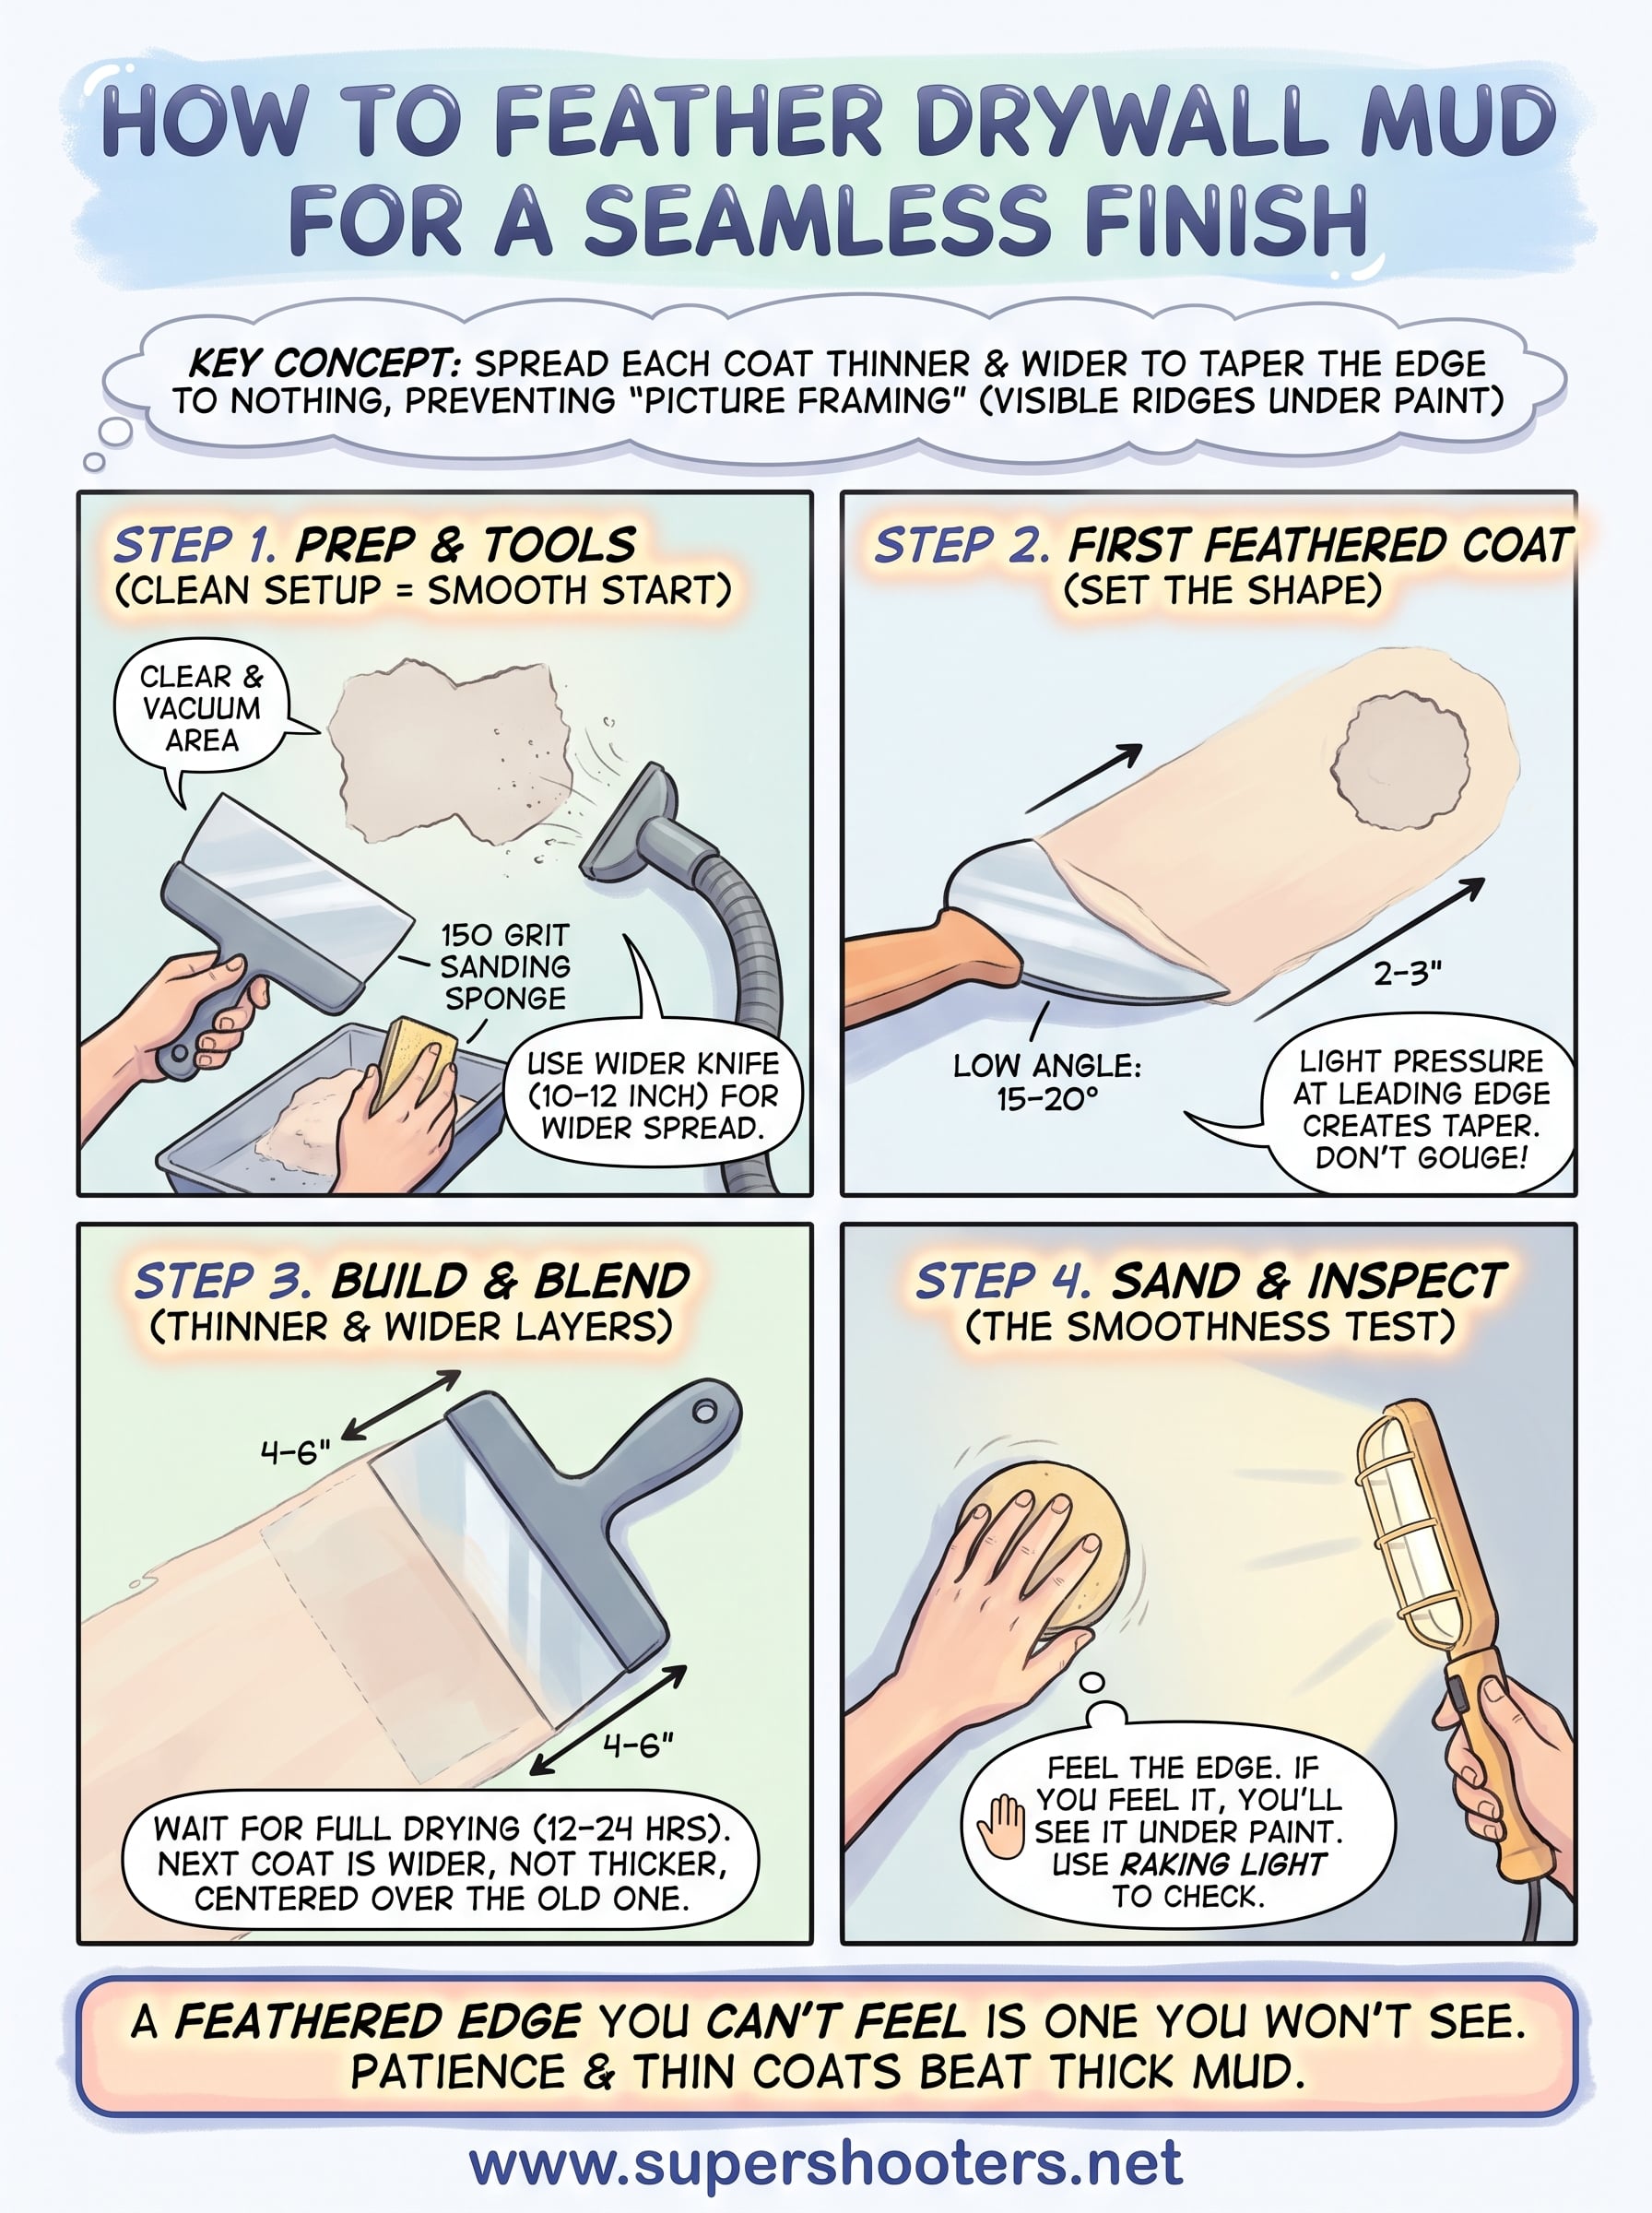
Feathering is the process of tapering joint compound outward from a patch or seam so the edge thickness drops to almost zero before it meets the surrounding wall. Instead of one thick coat with a visible border, you build up several thin layers, each one wider than the last, so light hitting the wall doesn't catch a ridge or a shadow line. Drywall mud behaves like paint in this sense: thin layers dry flatter and blend better than one heavy application ever will.

Without feathering, you get what pros call "picture framing," a raised outline around the repair that shows up the moment paint hits it, especially under angled light from a window or lamp. Homeowners usually notice this after they've already painted, which means redoing the texture, priming, and repainting all over again. That's hours of extra work for a mistake that takes seconds to avoid during the mudding stage.

A feathered edge you can't feel with your hand is one you won't see under paint.

The payoff for doing it right the first time is real. A properly feathered patch needs only light sanding, takes texture evenly, and holds up over years without cracking along the edge. This matters most on flat or eggshell paint , which shows every imperfection, and in hallways or stairwells where light rakes across the wall at an angle.

Getting the technique down also saves you money if you're comparing DIY against a contractor. A skilled drywall finisher feathers instinctively, using muscle memory built over hundreds of repairs. You're building that same muscle memory now, one coat at a time, and the next four steps will show you exactly how.

Step 1. Prep the area and gather your tools

Clear and Protect the Work Area

Before you touch a knife to mud, clear the space around the repair. Move furniture, lay a drop cloth, and vacuum any loose drywall dust or debris from the damaged area. Wipe the surface with a damp sponge if it's dusty, then let it dry fully. Skipping this step is the fastest way to trap grit under your first coat, which shows up as bumps you'll be sanding out later.

Gather Tools Before You Start

Having everything within reach keeps your strokes smooth and consistent, which matters more than people expect once mud starts drying on the knife.

A clean, organized setup is half of what makes feathering look easy.

  • 6-inch and 10-inch (or 12-inch) taping knives
  • Pre-mixed lightweight joint compound
  • Mud pan
  • 120- or 150-grit sanding sponge
  • Bright work light or clamp lamp
  • Damp rag for cleanup

Buy a larger knife than you think you need. A 10-inch blade forces you to spread mud wider automatically, which is most of the battle when you're learning to feather.

Step 2. Apply the first feathered coat

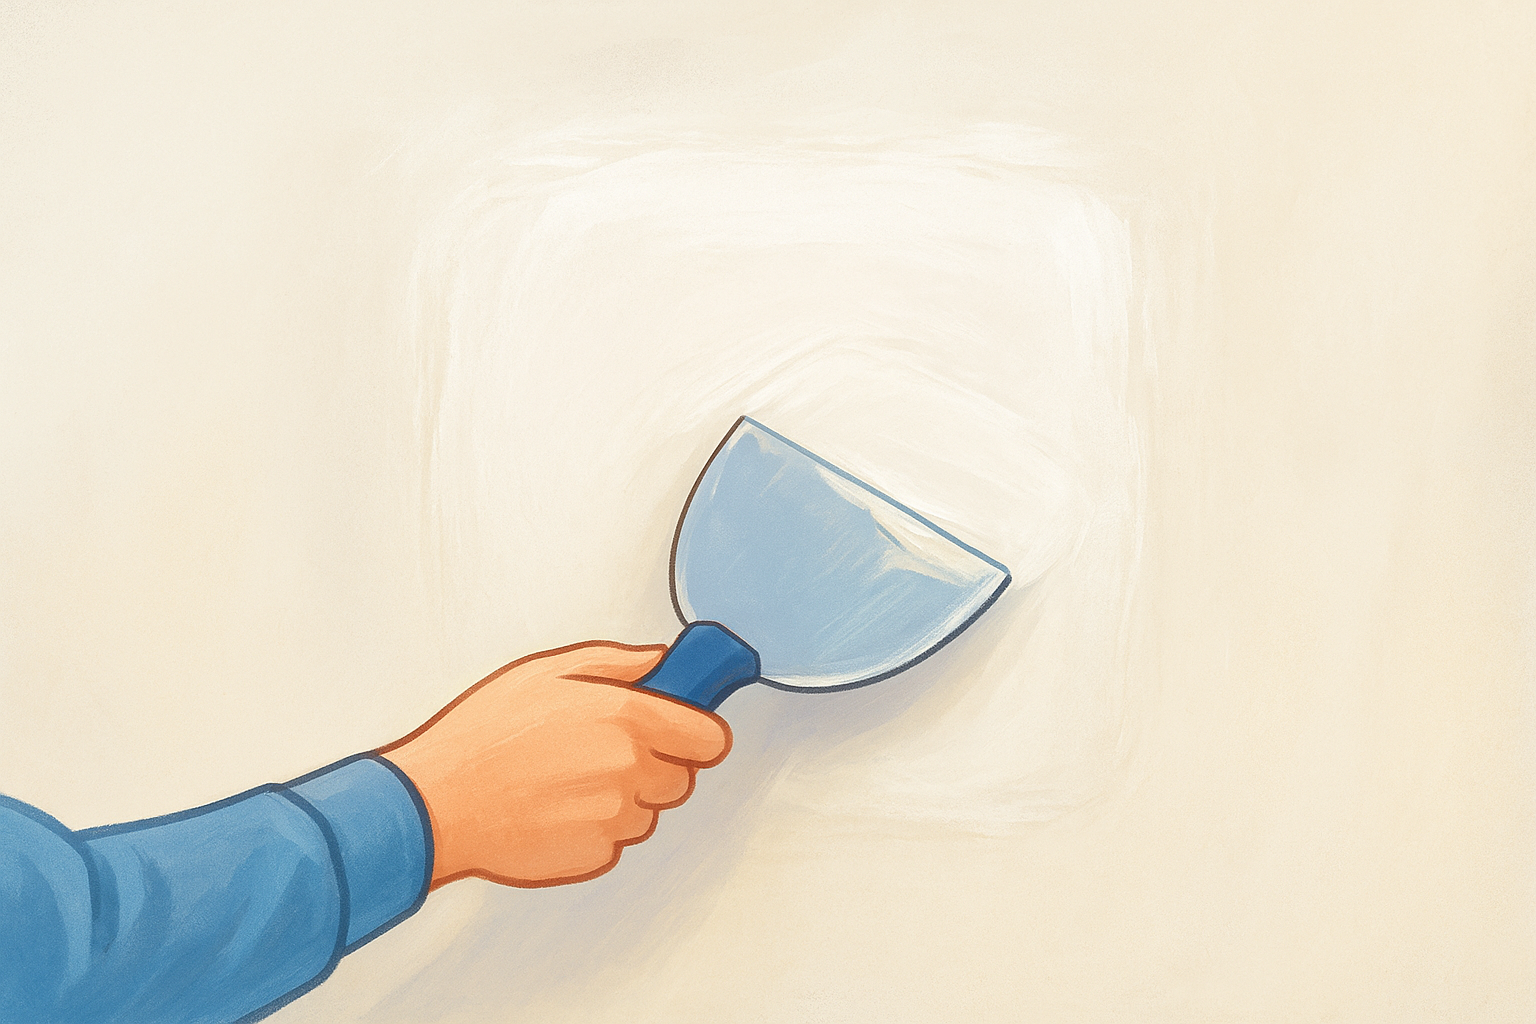
Load a small amount of joint compound onto your smaller taping knife, then transfer it to the center of the patch or seam using the wider blade. Press the knife at a low angle, close to flat against the wall, and drag outward from the center in one smooth pass. Light pressure at the leading edge is what creates the taper. Squeeze harder and you'll gouge a trough; ease up too much and you'll leave a ridge.

Work the mud past the damaged area by two or three inches on every side, feathering that outer edge until you can barely feel it with a fingertip. Keep your knife angle consistent, somewhere around 15 to 20 degrees off the wall, since a steeper angle scrapes mud off instead of laying it down.

The first coat sets the shape every later coat has to follow, so get the edge thin now.

Check your knife angle against the wall before you commit to the full stroke. Wipe excess compound off the blade between passes so you're not dragging dried clumps across wet mud. Let this coat dry fully, usually 24 hours, before moving on.

Step 3. Build and blend additional coats

Once the first coat is bone dry, run your hand over it before adding more mud. Any ridge you feel now will still be there under paint, so sand down high spots with 150-grit before starting the second coat. Second and third coats exist to widen the feather, not thicken it, so switch to your 10-inch or 12-inch knife and extend the mud four to six inches past the previous edge on every side.

Load less mud than you did on the first pass. Thinner layers dry flatter and blend faster into the surrounding wall, which is the whole point of feathering drywall mud in stages instead of forcing one thick coat to do all the work. Center each new pass directly over the old one, then drag outward with the same low knife angle so the new edge lands past where the last one stopped.

Each coat should be wider and thinner than the one before it, never the reverse.

Most repairs need two to three coats total. Drying time between coats runs 12 to 24 hours depending on humidity and mud thickness, so don't rush the wall before it's ready.

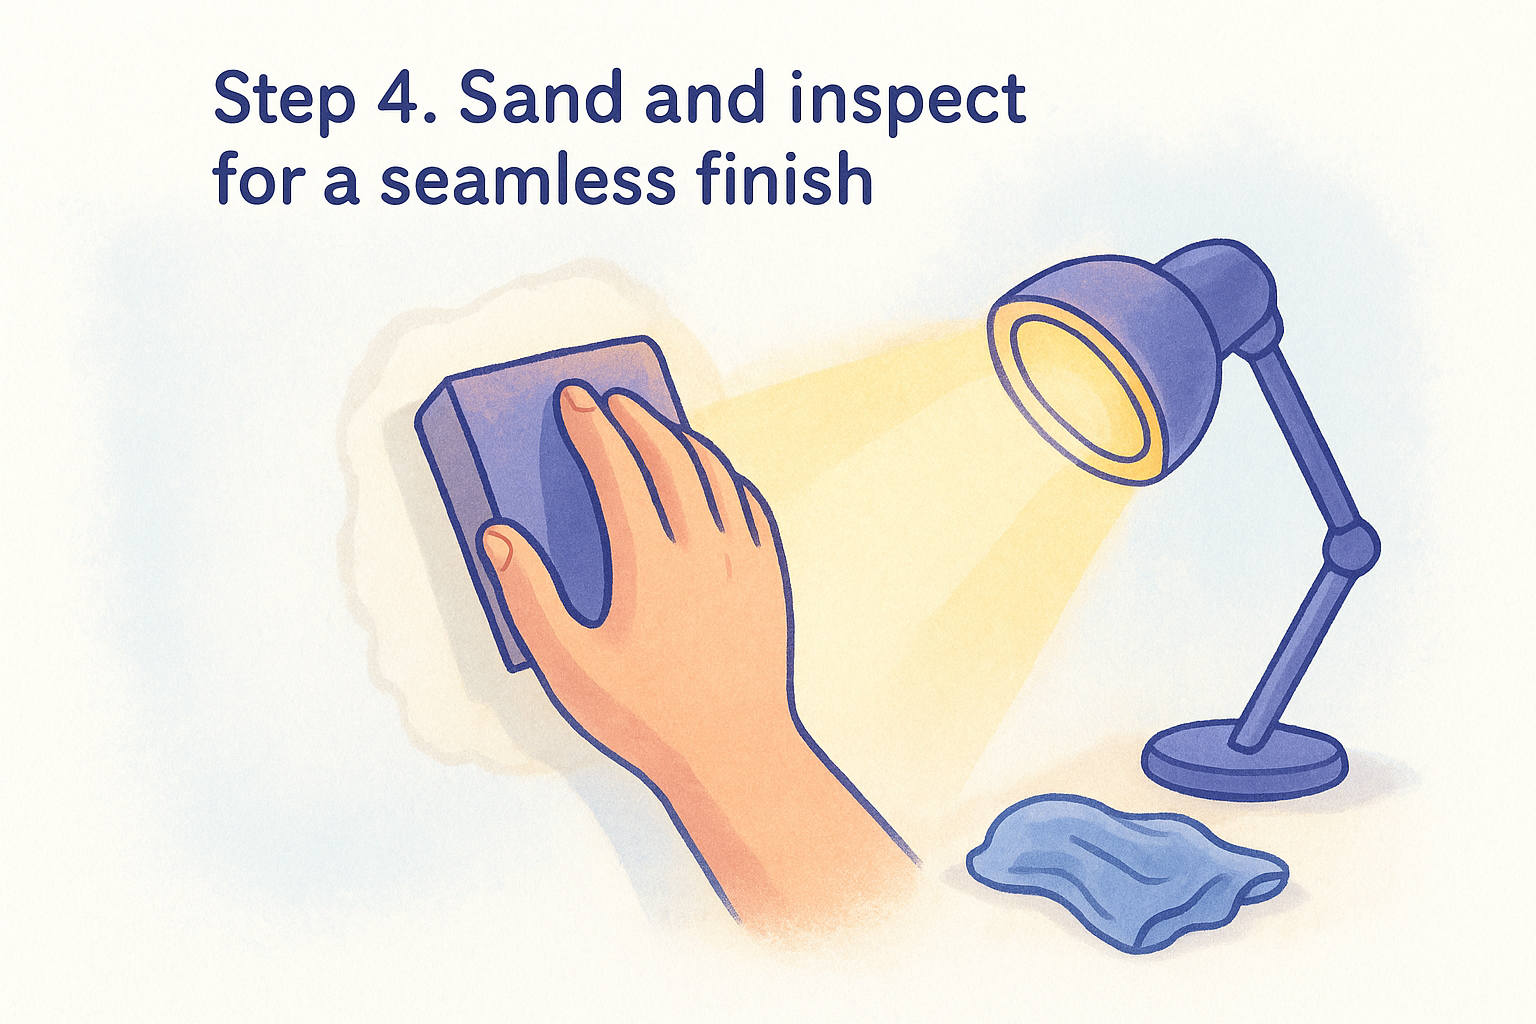
Step 4. Sand and inspect for a seamless finish

Once the final coat is completely dry, switch to a 150-grit sanding sponge and work in light, circular motions over the entire patch, not just the center. Press just hard enough to knock down ridges without gouging into the surrounding drywall paper. A pole sander helps on larger repairs, but for anything under two feet, a hand sponge gives you better control over pressure.

Run your palm across the wall before you call it finished. If you feel it, you'll see it under paint.

Check your work with a raking light , holding a work lamp at a low angle a few inches from the wall. This is the same lighting condition that exposes flaws after painting, so catching them now saves a repaint later. Look for shadow lines circling the patch edge, which mean the feather needs another thin skim coat before you sand again.

Wipe down the wall with a damp rag to remove dust, then feel the surface one more time with clean hands. If it's smooth to the touch and invisible under raking light, you're ready for primer and paint.

Getting a smooth wall every time

Feathering comes down to patience more than skill. Thin coats , wide passes, and a light hand at the edges will beat one thick application every single time, and now you've got the four-step process to prove it. Practice on a small patch before you tackle a whole hallway wall, and don't rush the drying time between coats. That's where most DIY repairs fall apart.

Some jobs go beyond a weekend fix, though. Larger cracks, water-damaged sections, or old popcorn ceilings hiding asbestos aren't projects to feather your way through with a taping knife and a sanding sponge. If your repair calls for professional-grade results or you're just tired of sanding through paper, our team at Super Shooters handles drywall repairs across the Sacramento Valley every day. Get a free estimate on our drywall repair and patching services and let us finish the job right.

Recent Posts

By cinchweb July 25, 2026
Learn step-by-step ceiling drywall repair: prep, patch, tape, texture & paint—plus when to call Super Shooters for Sacramento Valley jobs.
By cinchweb July 25, 2026
Find cheap drywall repair near me without overpaying: get real Sacramento Valley price ranges, quote tips, and vetting steps from Super Shooters.
By cinchweb July 22, 2026
Learn how to repair wall texture step-by-step, from matching patterns to blending patches, plus when to call Super Shooters in Sacramento Valley.
By cinchweb July 22, 2026
Learn how to cover ceiling water stains for good: fix the leak, prime with shellac, and repaint to stop bleed-through permanently.
By cinchweb July 20, 2026
Learn how to fix water damaged ceiling drywall: find the leak source, cut and patch drywall, match texture, and know when to call Super Shooters.
By cinchweb July 18, 2026
See a full asbestos popcorn ceiling removal cost breakdown by room, plus testing, disposal, and finishing fees. Get a free itemized estimate today.
By cinchweb July 18, 2026
Paper tape vs mesh tape drywall: learn which suits butt joints, corners, and patches to avoid bubbling, cracking, and seam failures in Sacramento homes.
By cinchweb July 17, 2026
See the real popcorn ceiling asbestos removal cost per room and square foot, plus permits, testing, and disposal fees homeowners often miss.
By cinchweb July 16, 2026
Learn how to install drywall on ceiling alone using a DIY T-brace, chalk lines, and screw patterns—plus when to call Super Shooters for help.
Show More