
Share this article

July 22, 2026

How to Cover Ceiling Water Stains for Good

That brown ring on your ceiling isn't going away on its own, and painting over it with regular ceiling paint almost never works. Within a few weeks, the stain bleeds right back through, and you're staring at the same ugly mark again. If you're searching for how to cover ceiling water stains so they actually stay hidden, you're dealing with a common problem that has a specific fix, not a guessing game.

The short answer: you need a stain-blocking primer made for water damage, applied correctly, before any topcoat goes on. Skip that step and no amount of paint will hide the discoloration for long. The right approach also depends on whether the stain is old and dry or a sign of an active leak still causing damage behind the surface.

In this guide, we'll walk through the exact steps for covering water stains for good, from checking the source of the leak to choosing between shellac-based sealers and oil primers, texturing to match your ceiling, and finishing with paint that blends in. If the damage runs deeper than a stain, our team at Super Shooters handles wall and ceiling repair across the Sacramento Valley, so you know when it's time to call in a pro.

Before you paint: why stains reappear and what you need

Regular latex ceiling paint isn't built to stop tannins and mineral residue from migrating upward through a fresh coat. Water-soluble stains contain compounds that dissolve back into wet paint as you apply it, then reappear as the paint dries and the moisture evaporates. This is why homeowners often paint over a stain twice, sometimes three times, and watch the same brown outline ghost through each time. The stain isn't beating your paint job because you did something wrong. It's beating you because you used the wrong product for the job.

A water stain will bleed through ordinary paint no matter how many coats you apply, because only a sealing primer can block it permanently.

Before you touch a paintbrush, you need to confirm one thing: is the source of the leak fixed? Painting over an active leak buys you a few weeks of clean-looking ceiling before the stain returns, often larger than before. Old, dry stains from a resolved issue, like a one-time roof leak that's already been patched, are safe to cover right away. Active leaks need attention first, which we'll cover in the next step.

What you'll need before you start

Gathering the right supplies upfront saves you a second trip to the hardware store mid-project. Here's what a typical ceiling stain job requires:

  • Stain-blocking primer (shellac-based or oil-based, not standard latex primer)
  • Mild detergent or a diluted bleach solution for cleaning
  • Sandpaper (150-220 grit) for flaking paint or texture
  • Drop cloths and painter's tape
  • A roller with a 3/8-inch nap for textured ceilings
  • Ceiling paint that matches your existing sheen (usually flat or matte)
  • Ventilation, since shellac primers have a strong smell
  • Safety glasses and a respirator mask rated for solvents

A quick word on asbestos and older homes

If your home was built before 1980 and has a popcorn or acoustic ceiling, don't start sanding or scraping until you know what you're dealing with. Many textured ceilings from that era contain asbestos , and disturbing it releases fibers into the air that are dangerous to breathe. The EPA's guidance on asbestos in the home is worth reading if you're unsure about your ceiling's age or material. When in doubt, have a sample tested or bring in a licensed contractor who handles acoustic ceiling removal safely, rather than risk exposure to save a weekend of work.

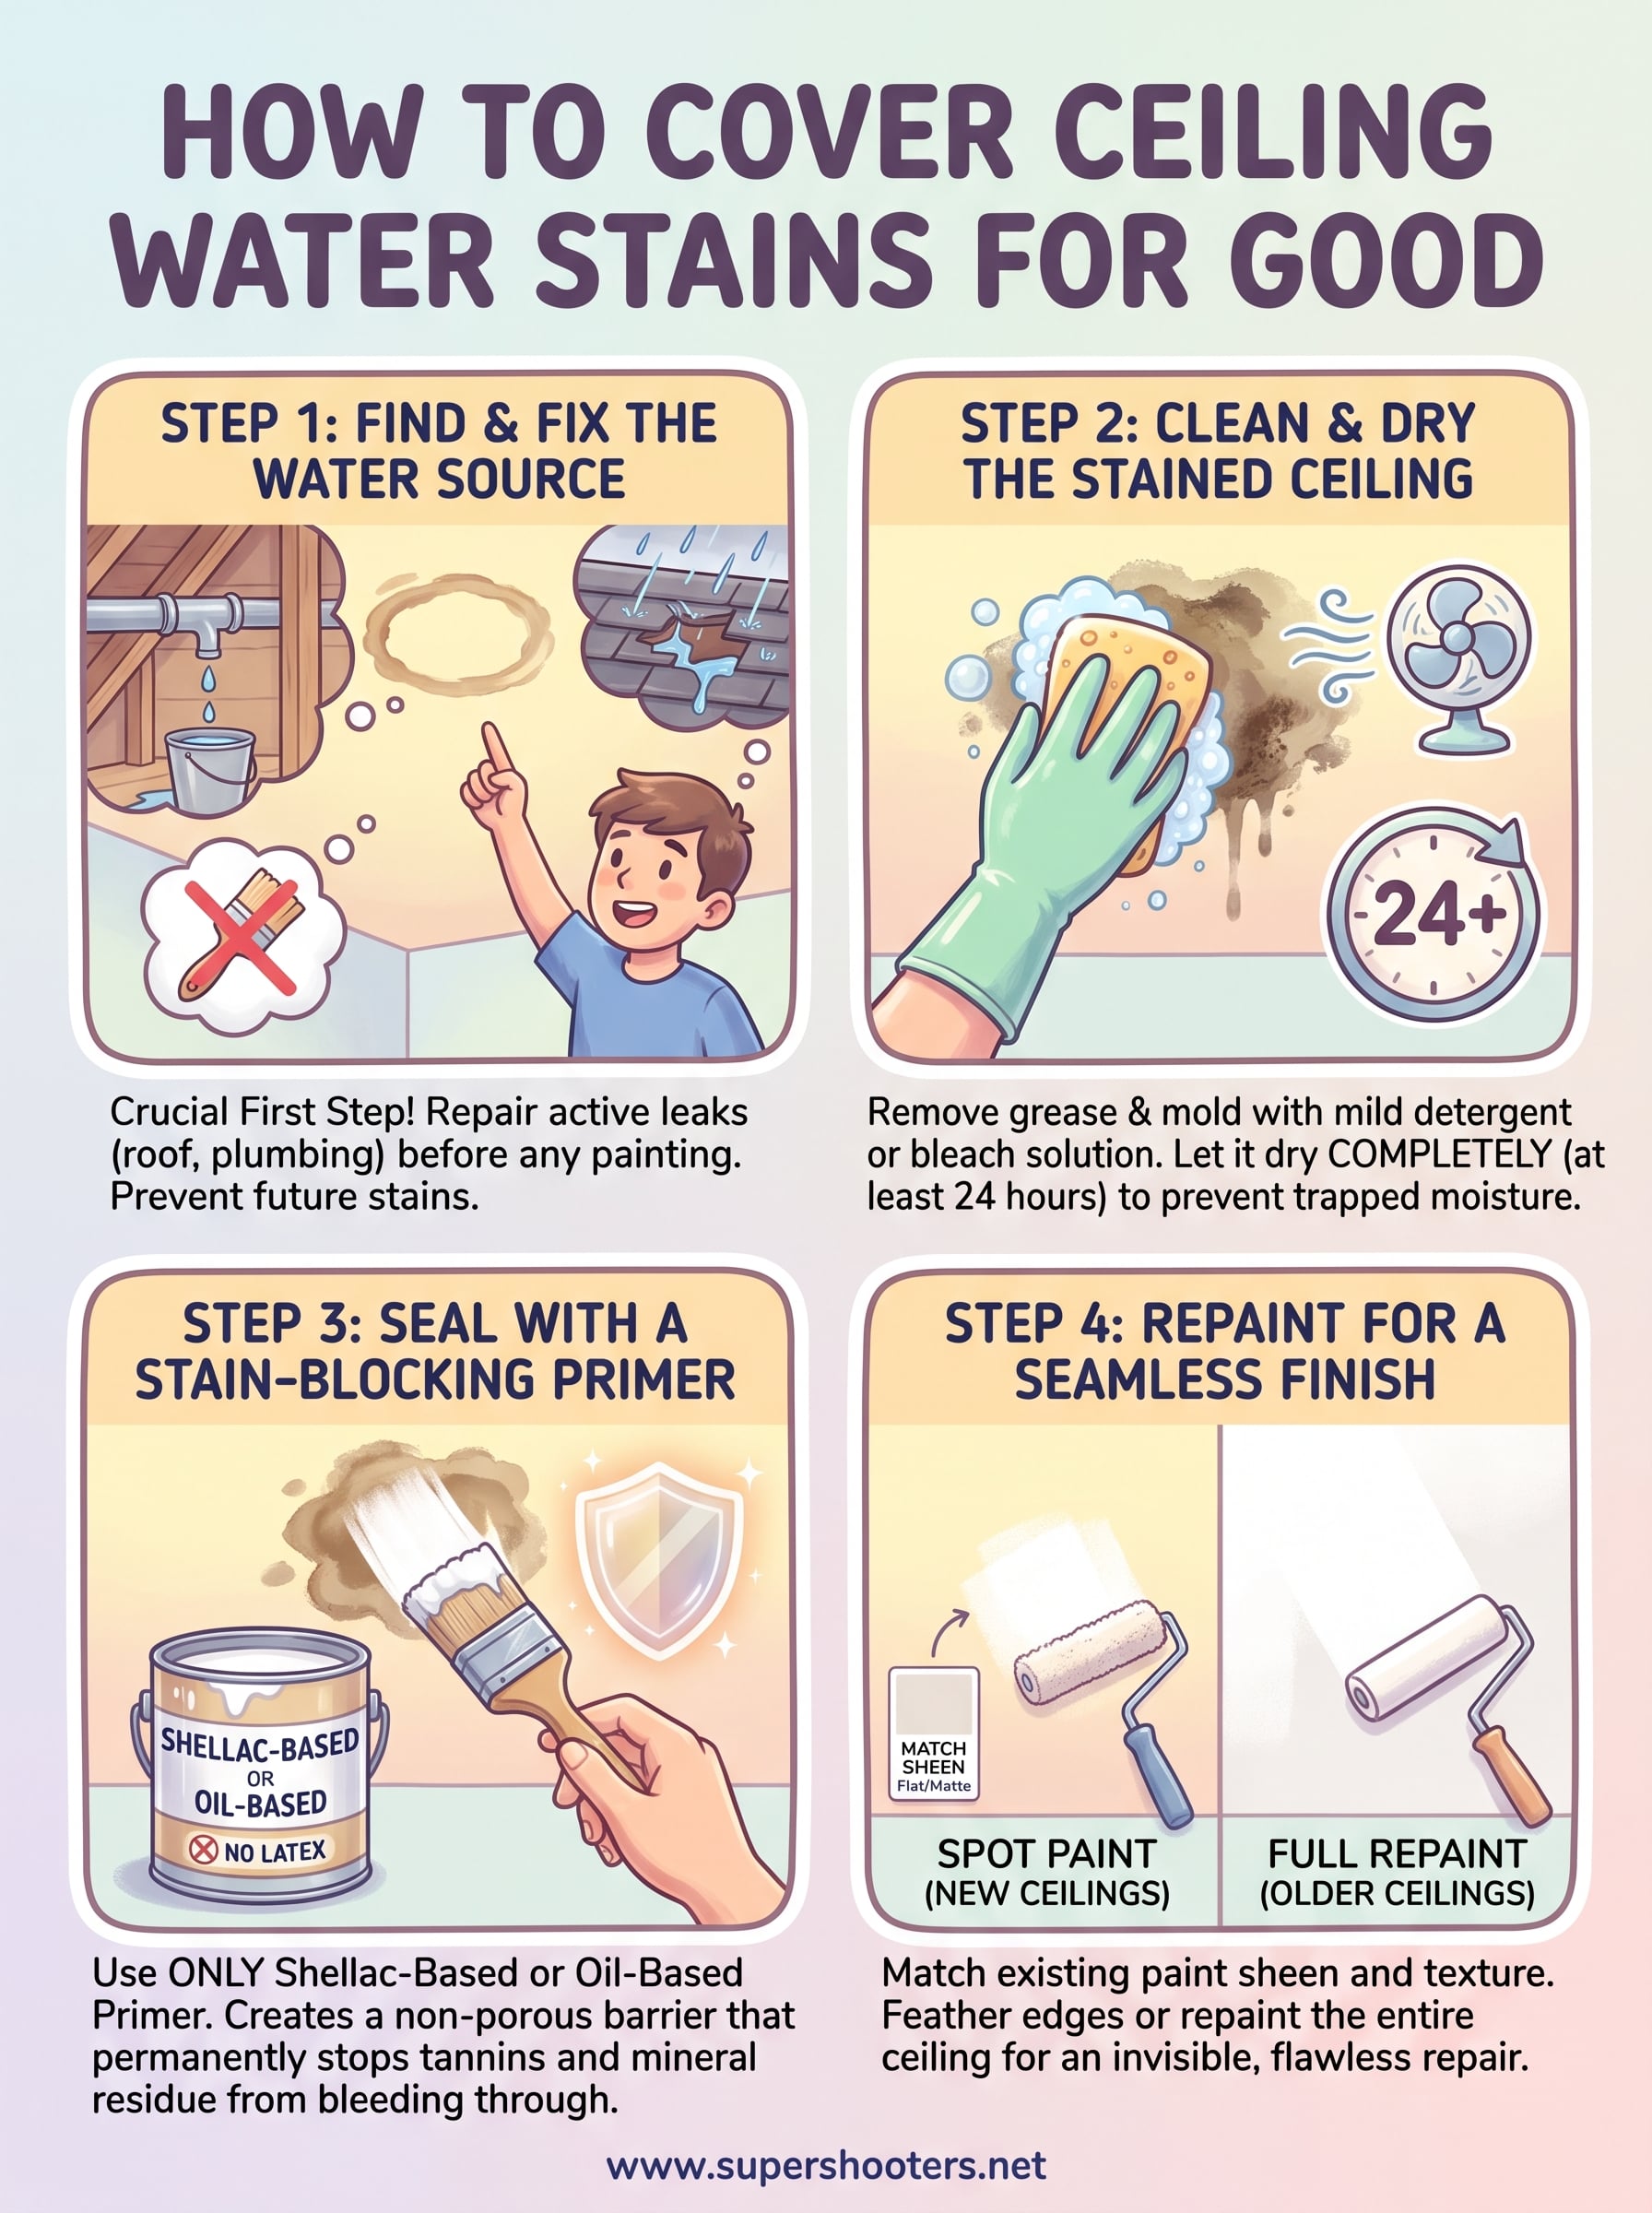
Step 1. Find and fix the water source

Before you mix a single drop of primer, figure out where the water actually came from. Tracking the source takes patience, but skipping it guarantees the stain returns, usually within a month or two. Start by checking the room directly above the stain. A bathroom, laundry room, or kitchen overhead points to plumbing. A stain near an exterior wall or under a roofline points to the roof, flashing, or gutters instead.

Fixing the leak always comes before fixing the ceiling, or you're just painting over a problem that's still growing.

Work through this checklist before you touch the ceiling itself:

  • Inspect the attic or crawlspace above the stain for damp insulation, rusted nails, or daylight showing through roof boards
  • Check bathroom fixtures directly overhead, including tub caulking, toilet wax rings, and supply line connections
  • Look at exterior walls near the stain for cracked stucco, gaps around windows, or missing flashing
  • Run water in upstairs sinks and tubs for several minutes, then recheck the ceiling for new dampness
  • Examine gutters and downspouts for clogs that force water back under the roofline

If you find an active leak , get it repaired first, whether that means resealing a tub surround, replacing a section of flashing, or calling a plumber for a pipe issue. Painting over a ceiling that's still wet behind the surface wastes your time and materials completely. For roofing and plumbing repairs specifically, the source problem sits outside general drywall work, so bring in a specialist for that piece.

Once the leak is fixed, give the ceiling time to dry out fully, ideally a few days with a fan or dehumidifier running in the room. A moisture meter, available cheap at any hardware store, tells you for certain when the drywall behind the paint has returned to a normal reading. Rushing this step is the single most common reason stains come back after homeowners think they've solved the problem.

Step 2. Clean and dry the stained ceiling

Once you've confirmed the leak is fixed and dry, turn your attention to the surface itself. Loose debris and grime sitting on top of the stain will stop primer from bonding properly, so a quick cleaning pass matters more than most homeowners expect. Mix a mild detergent with warm water, or use a diluted bleach solution (one part bleach to three parts water) if you see any dark mold spotting mixed in with the water stain. Wipe the area gently with a sponge, working from the outer edge of the stain toward the center to avoid spreading discoloration further across clean ceiling.

Skipping the cleaning step leaves grease, mold spores, and loose debris under your primer, which shows up as texture problems later.

After washing, let the ceiling dry completely before moving forward. This isn't a ten-minute wait. Give it at least 24 hours with good airflow, and longer in humid weather or poorly ventilated rooms. Run a box fan pointed at the ceiling or crack a window if the season allows it. Painting or priming over a damp surface traps moisture behind the new coat, which sets you up for a repeat stain down the road, sometimes worse than the original.

Check the surface for flaking or bubbled paint while you're at this stage, since old water damage often leaves the existing paint film loose even after it dries. Lightly sand any rough or peeling spots with 150 to 220 grit sandpaper until you reach a stable surface, then wipe away the dust with a dry cloth. A smooth, dry, debris-free ceiling gives the stain-blocking primer something solid to grip, and that grip is what determines whether your fix lasts one year or ten.

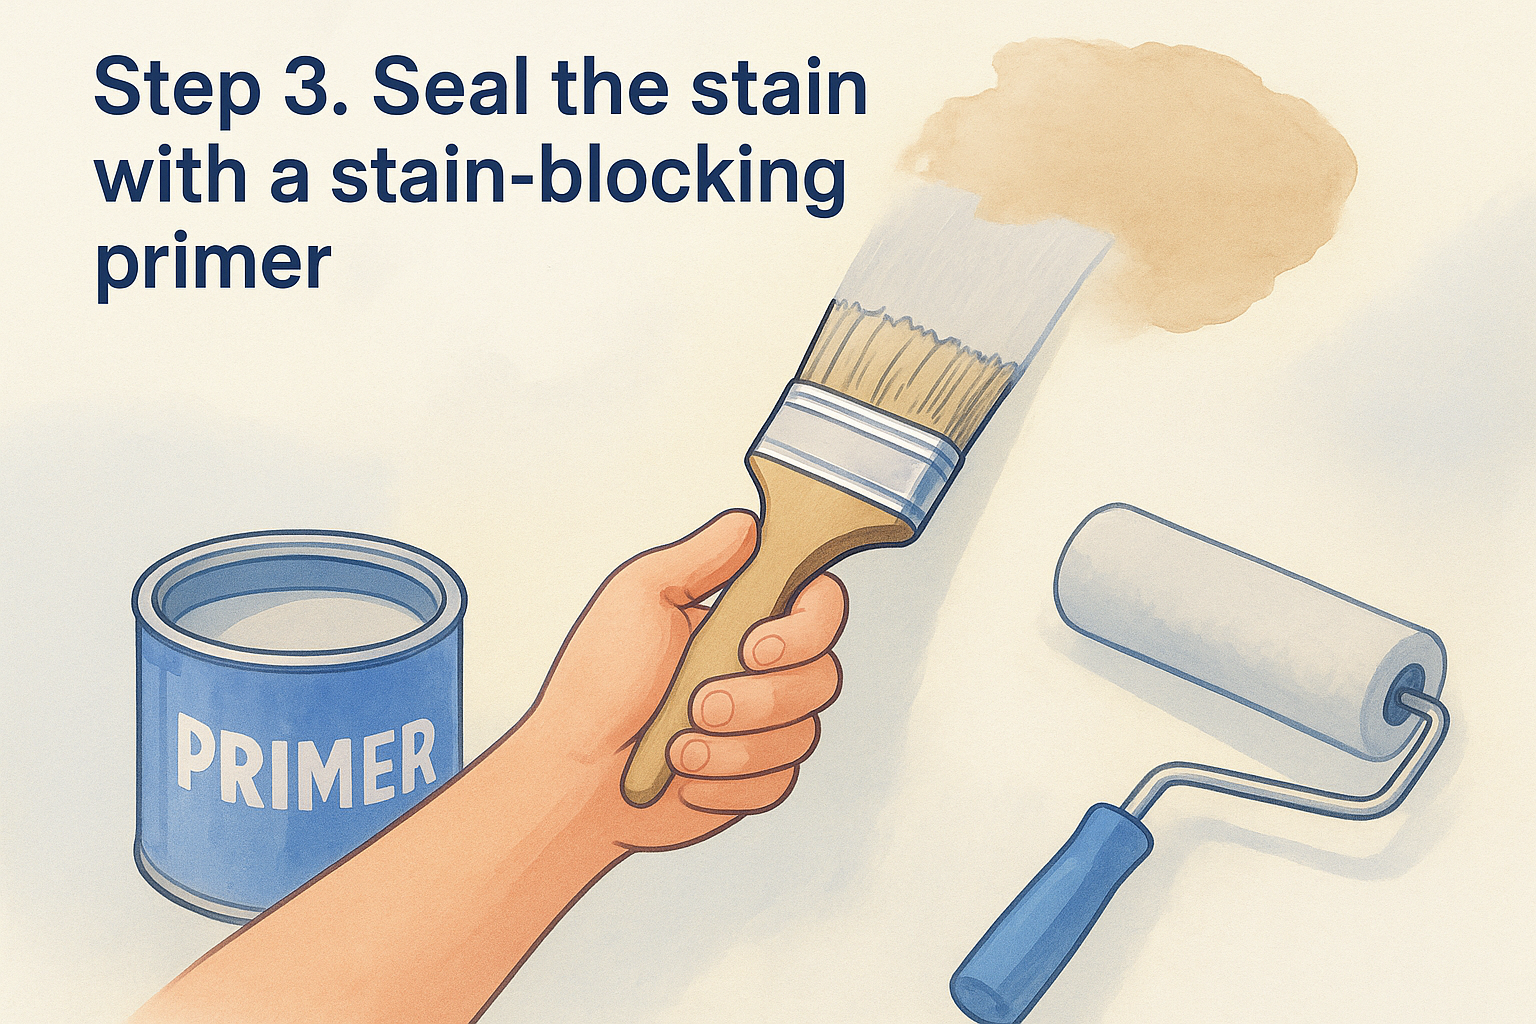
Step 3. Seal the stain with a stain-blocking primer

With the ceiling clean and dry, you're at the step that actually solves the problem. Shellac-based primers like BIN outperform everything else on the market for blocking water stains, because shellac dries into a hard, non-porous film that tannins and mineral salts physically cannot pass through. Oil-based primers work too, and they cost less, but they need a second coat more often on stubborn or older stains. Skip latex stain-blocking primers marketed for this job. They handle light discoloration fine, but a true water ring will bleed through within days.

A shellac-based primer creates a barrier that stains can't cross, which is the one product upgrade that actually fixes this problem for good.

Apply primer only to the stained area plus a few inches of buffer around it, not the entire ceiling, unless you're repainting the whole surface anyway. Use a natural bristle brush or a foam roller for shellac primers, since the solvent breaks down standard synthetic rollers fast. Work in one direction, keep a wet edge, and resist the urge to go back over spots that already skinned over, since that lifts the film and creates streaks.

Applying primer step by step

  1. Open windows and run a fan; shellac fumes are strong and need real ventilation
  2. Stir the primer, don't shake it, to avoid trapping air bubbles
  3. Brush a border around the stain first, then fill in with a roller
  4. Apply one coat and let it dry 30 to 45 minutes before checking coverage
  5. Add a second coat if any discoloration shows through the first

Let the primer cure fully, usually two to three hours, before moving on. Rushing into paint over tacky primer ruins the seal you just built.

Step 4. Repaint the ceiling for a seamless finish

Once the primer has cured, you're ready for the topcoat that ties everything together. Matching the finish matters as much as covering the stain, since a patch that's shinier or flatter than the surrounding ceiling draws the eye right back to the spot you're trying to hide. Grab a sample of your existing ceiling paint if you have it, or check old receipts and paint cans in the garage for the brand and sheen. Most residential ceilings use flat or matte white, but some older homes have a slight eggshell sheen worth checking under a bright light before you commit.

A primed spot that isn't blended into the surrounding texture and sheen still looks like a repair, even if the stain itself is fully gone.

Texture and blending first

If your ceiling has any texture, orange peel, knockdown, or a light popcorn pattern, you'll need to match it before painting or the patch will read as a flat, obvious rectangle. Small texture kits from any hardware store handle this for spot repairs. Feather the edges out several inches past the primed area so the new texture tapers into the old rather than stopping in a hard line.

Painting the full ceiling versus spot painting

Deciding between a full repaint and a spot job depends on your ceiling's age and paint condition:

  • Spot painting works fine on newer paint jobs where color hasn't shifted from age or sunlight
  • Full ceiling repaint is safer on older ceilings, since a single patch of fresh white paint often stands out against yellowed surrounding paint

Apply two coats with a 3/8-inch nap roller, letting each coat dry fully before the next, and cut in edges with a brush for a clean, seamless result.

Keeping your ceiling stain-free

Follow these four steps in order, fix the leak, clean and dry, seal with shellac primer, then repaint, and you're left with a ceiling that actually stays white instead of ghosting brown again in a few weeks. Skipping the primer step is the mistake that sends homeowners back to the paint aisle every single time, so don't shortcut it just to finish faster.

Some jobs go beyond a simple stain, though. If the drywall behind the paint has sagged, crumbled, or stayed damp long after the leak stopped, you're looking at a repair job rather than a paint job. Sagging or crumbling drywall means the water did real structural damage, and no primer fixes that.

If that's what you're facing, or you'd rather hand the whole project to someone who's done it thousands of times, reach out to our team about drywall repair and patching and we'll get your ceiling looking new again.

Recent Posts

By cinchweb July 25, 2026
Learn step-by-step ceiling drywall repair: prep, patch, tape, texture & paint—plus when to call Super Shooters for Sacramento Valley jobs.
By cinchweb July 25, 2026
Find cheap drywall repair near me without overpaying: get real Sacramento Valley price ranges, quote tips, and vetting steps from Super Shooters.
By cinchweb July 24, 2026
Learn how to feather drywall mud step by step—thin, widening coats, sanding tips, and raking-light checks for a seamless, ridge-free repair.
By cinchweb July 22, 2026
Learn how to repair wall texture step-by-step, from matching patterns to blending patches, plus when to call Super Shooters in Sacramento Valley.
By cinchweb July 20, 2026
Learn how to fix water damaged ceiling drywall: find the leak source, cut and patch drywall, match texture, and know when to call Super Shooters.
By cinchweb July 18, 2026
See a full asbestos popcorn ceiling removal cost breakdown by room, plus testing, disposal, and finishing fees. Get a free itemized estimate today.
By cinchweb July 18, 2026
Paper tape vs mesh tape drywall: learn which suits butt joints, corners, and patches to avoid bubbling, cracking, and seam failures in Sacramento homes.
By cinchweb July 17, 2026
See the real popcorn ceiling asbestos removal cost per room and square foot, plus permits, testing, and disposal fees homeowners often miss.
By cinchweb July 16, 2026
Learn how to install drywall on ceiling alone using a DIY T-brace, chalk lines, and screw patterns—plus when to call Super Shooters for help.
Show More