July 22, 2026
How to Repair Wall Texture: A Step-by-Step DIY Guide
Every wall tells a story, and a chunk of missing texture next to a smooth drywall patch tells everyone exactly where you fixed a hole. If you've searched how to repair wall texture , you're probably staring at a dent, a nail pop, or a patch job that dried flat while the rest of the wall has that familiar orange peel or knockdown pattern. Getting the texture to blend is the part most DIYers get wrong, not the patching itself.
The good news is that matching texture is a repeatable skill once you know the right tools and the correct technique for your specific pattern, whether that's orange peel, knockdown, or a heavier hand-troweled finish. This guide walks through the exact steps, from prepping the surface to mixing your mud to the right consistency to spraying or troweling it on so the repair disappears.
We'll cover surface prep , texture matching , drying times, and the small mistakes that leave a repair looking patchy under daylight. And if a section turns out bigger than expected, or you're dealing with plaster or a wall that's cracked from settling, our crew at Super Shooters handles those larger repairs across the Sacramento Valley every day.
What you need before you start
Getting a good match starts long before you touch the wall. Rushing to the hardware store without knowing your texture pattern or gathering the right supplies is the number one reason DIY patches stand out instead of blending in. Spend fifteen minutes gathering everything below, and you'll save yourself two trips back to the store and one frustrating do-over.
Tools you'll need
Most of these tools cost less than a pizza, and you likely already own a few. A hawk and trowel work for hand-applied textures like knockdown or skip trowel, while an aerosol texture spray or hopper gun handles orange peel and popcorn patterns. Skip the hopper gun for small repairs under two square feet; a spray can is faster and easier to control for a first-timer.
- Putty knife (4-inch and 6-inch)
- Drywall taping knife
- Sanding sponge (medium grit)
- Texture spray can or hopper gun with air compressor
- Mud pan or disposable tray
- Paint roller and angled brush
- Utility knife
- Bright work light (a clip-on LED works well)
Materials and supplies
The materials list depends on the size and severity of the damage, but a few items belong in every repair kit. Joint compound (also called drywall mud) fills small holes and skims over patches, while a drywall patch kit or scrap of drywall handles anything larger than a golf ball. Buy premixed lightweight compound for small jobs; it dries faster and sands easier than the powder you mix yourself.
| Item | Use Case | Approx. Cost |
|---|---|---|
| Lightweight joint compound | Filling holes, skim coats | $12-$18 per gallon |
| Self-adhesive mesh patch | Holes 1-6 inches | $5-$8 |
| Drywall texture spray | Orange peel, popcorn match | $8-$12 per can |
| Primer (stain-blocking) | Sealing patch before paint | $20-$30 per gallon |
| Matching paint (same sheen) | Final coat over patch | Varies by brand |
Buy more texture spray than you think you'll need. Running out mid-application forces you to stop, and the pattern will show a seam where you paused.
A texture repair only looks invisible when you test it on scrap drywall first, not directly on your living room wall.
Safety gear and workspace prep
Older homes, especially anything built before 1980, can have asbestos-containing texture or joint compound , and you should never sand or scrape it without testing first. If your home predates 1980 and you're unsure about the ceiling or wall material, stop and get it tested before you do any sanding, scraping, or spraying. The EPA has clear guidance on identifying and handling asbestos safely, and it's worth a five-minute read before you pick up a scraper.
Cover the floor with a drop cloth, tape off baseboards and trim, and open a window for ventilation, especially when spraying aerosol texture indoors. Goggles and an N95 mask protect you from dust and overspray, and gloves keep joint compound off your hands while you work. If you're at all uncertain about the material you're dealing with, our team offers free in-home consultations and can flag anything that needs professional handling before you start a DIY project that turns into a bigger headache.
Step 1. Identify your wall texture type
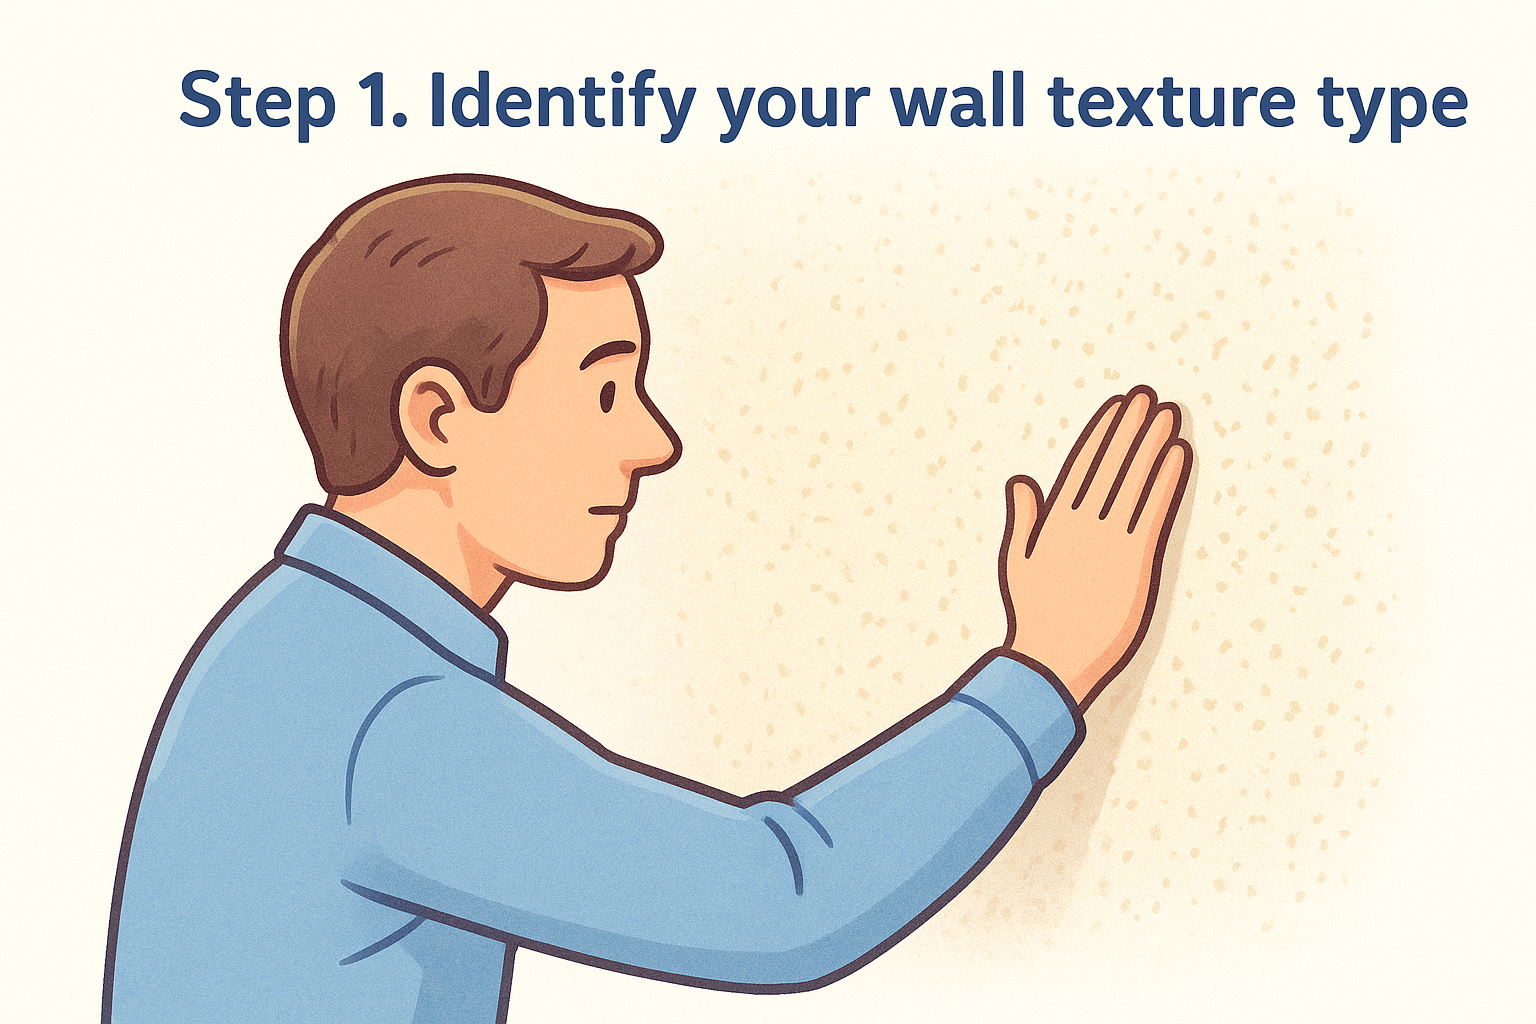
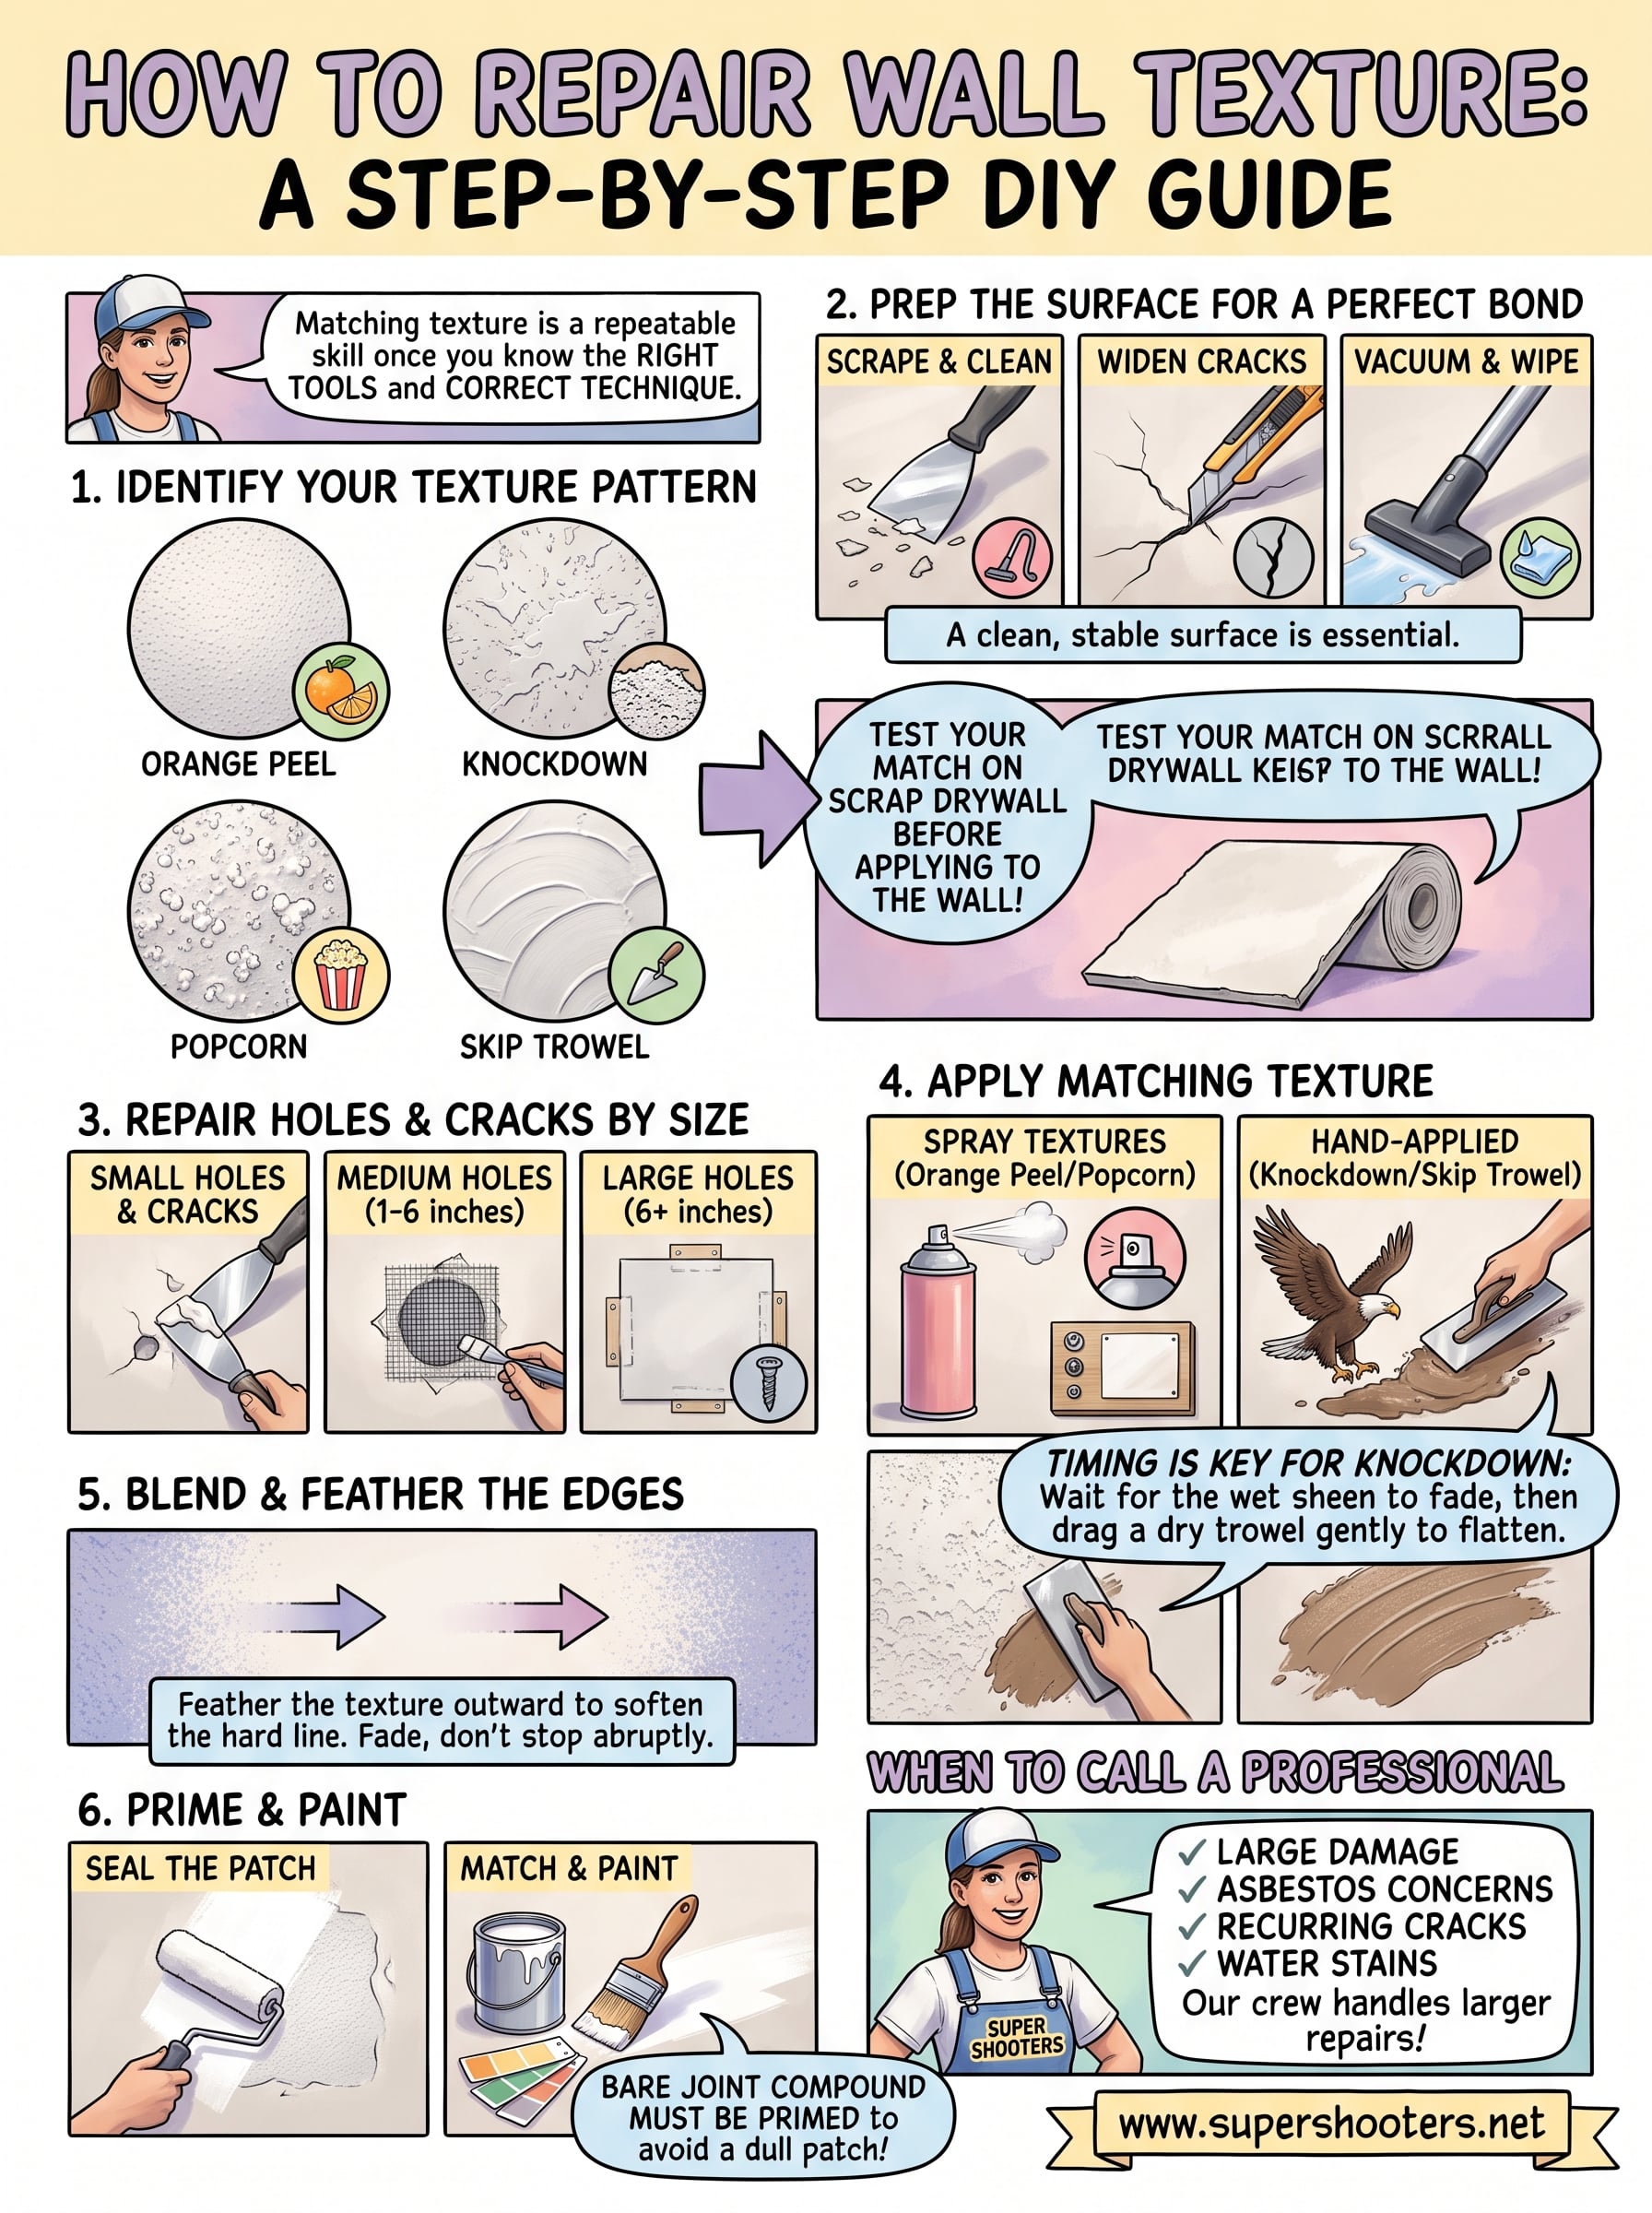
Matching texture is impossible if you don't know what pattern you're matching. Orange peel looks like the surface of citrus fruit, a fine, bumpy stipple with no defined direction. Knockdown starts as the same splattered pattern, then gets flattened with a trowel while wet, leaving irregular flat spots surrounded by texture, almost like stucco. Popcorn ceilings use a heavier, clumpier spray that stands taller off the surface, and hand-troweled or skip-trowel finishes show visible arcs and ridges from a trowel dragged across wet mud. Stand back about six feet from the wall in good light and compare what you see against these descriptions before you buy a single can of spray.
Testing your match before you buy
Once you think you know the pattern, buy the smallest can of matching spray you can find and test it on a scrap piece of drywall or cardboard, never directly on the wall. Spray from the same distance you'll use during the real repair, usually 12 to 18 inches, and let it dry fully before judging the result. Compare the dried texture against your wall in daylight, not under a single lamp, since artificial light hides inconsistencies that jump out the moment the sun comes through a window.
Buying the wrong texture spray wastes more time than any other step in this whole process.
Common texture types at a glance
Use this table as a quick reference while you're standing in the paint aisle trying to remember what your wall actually looks like.
| Texture Type | Visual Description | Best Application Tool |
|---|---|---|
| Orange peel | Fine, even stipple | Aerosol spray can |
| Knockdown | Splatter flattened with trowel | Hopper gun + trowel |
| Popcorn | Heavy, clumped, textured | Hopper gun |
| Skip trowel | Arced ridges, hand-applied | Trowel only |
| Smooth/flat | No visible texture | Not applicable |
Older Sacramento Valley homes, especially those built in the 1970s and 1980s, often have popcorn ceilings or heavier knockdown walls that newer construction rarely uses. If your home falls into that era and the texture looks inconsistent or crumbly rather than uniform, that's a signal to test for asbestos before you touch it, not a signal to guess harder at the pattern. Once you've confirmed both the pattern and the material's safety, you're ready to move on to prepping the actual damaged area.
Step 2. Prep the damaged area
Good prep work decides whether your patch blends in or sticks out like a bandage. Skipping this step is the second-biggest reason DIY texture repairs fail, right behind buying the wrong spray pattern. Before any mud goes on the wall, you need a clean, stable surface with no loose material, dust, or crumbling edges left behind.
Clear the area and inspect the damage
Start by moving furniture away from the wall and laying down a drop cloth to catch dust and drips. Examine the damaged spot closely with your work light held at an angle, since raking light reveals loose flakes and hairline cracks that direct light hides. Check the surrounding texture for any soft spots, since water damage sometimes spreads further than the visible stain, and pressing your fingers gently against the drywall around the damage tells you if the material underneath has gone soft or crumbly.
Remove loose material and square up the edges
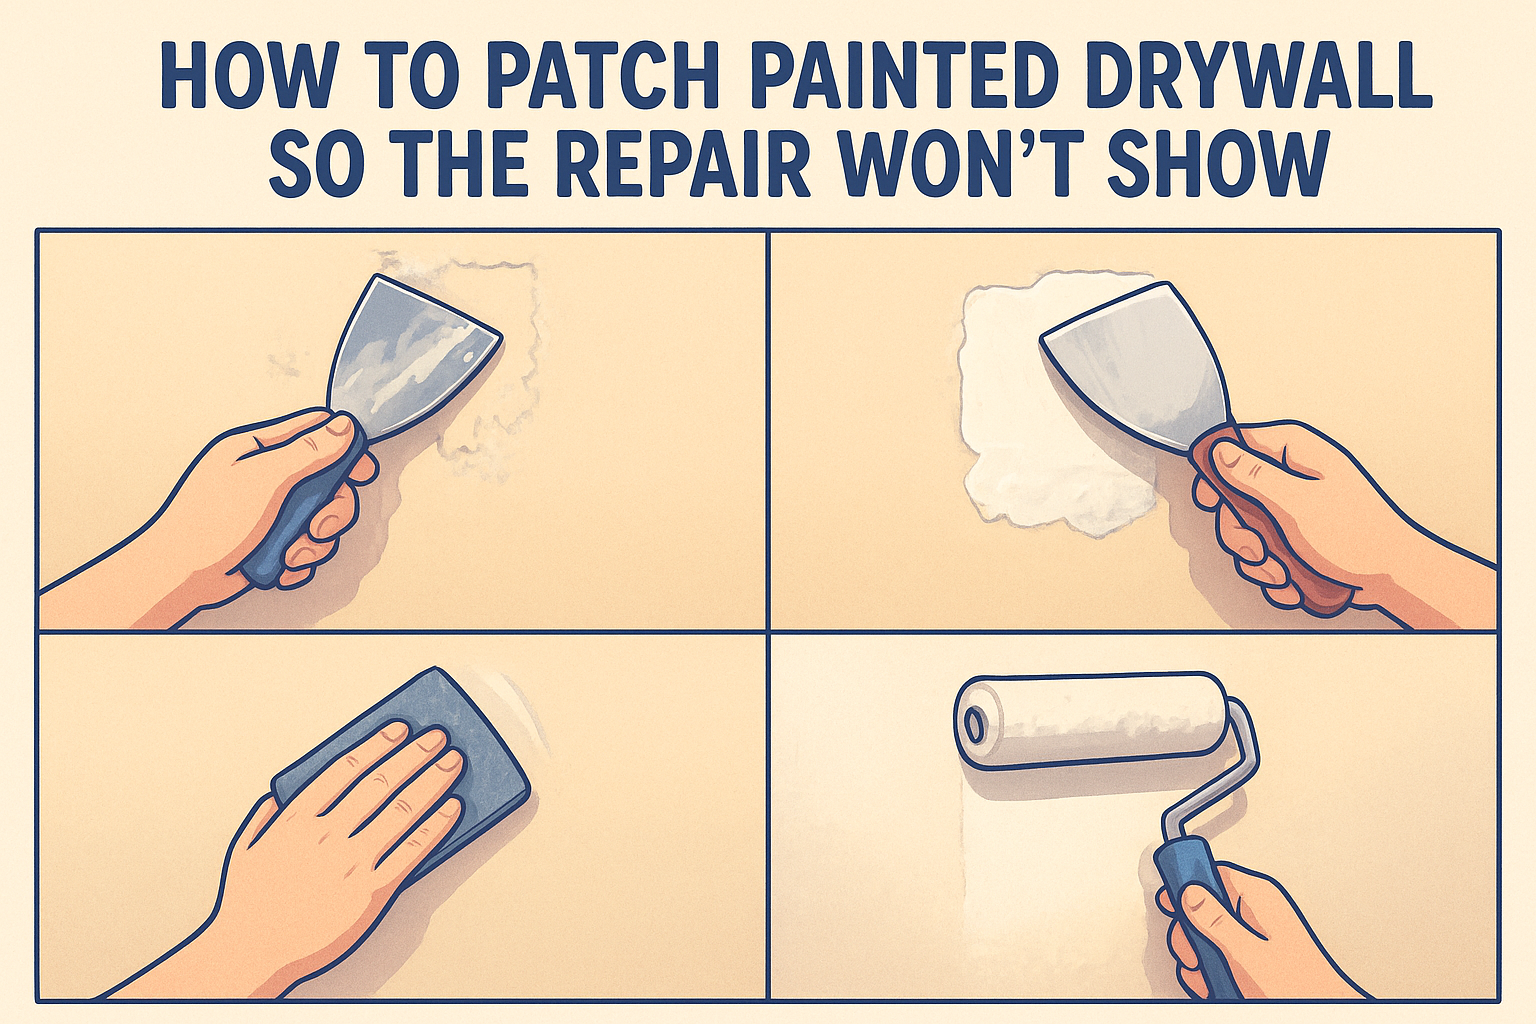
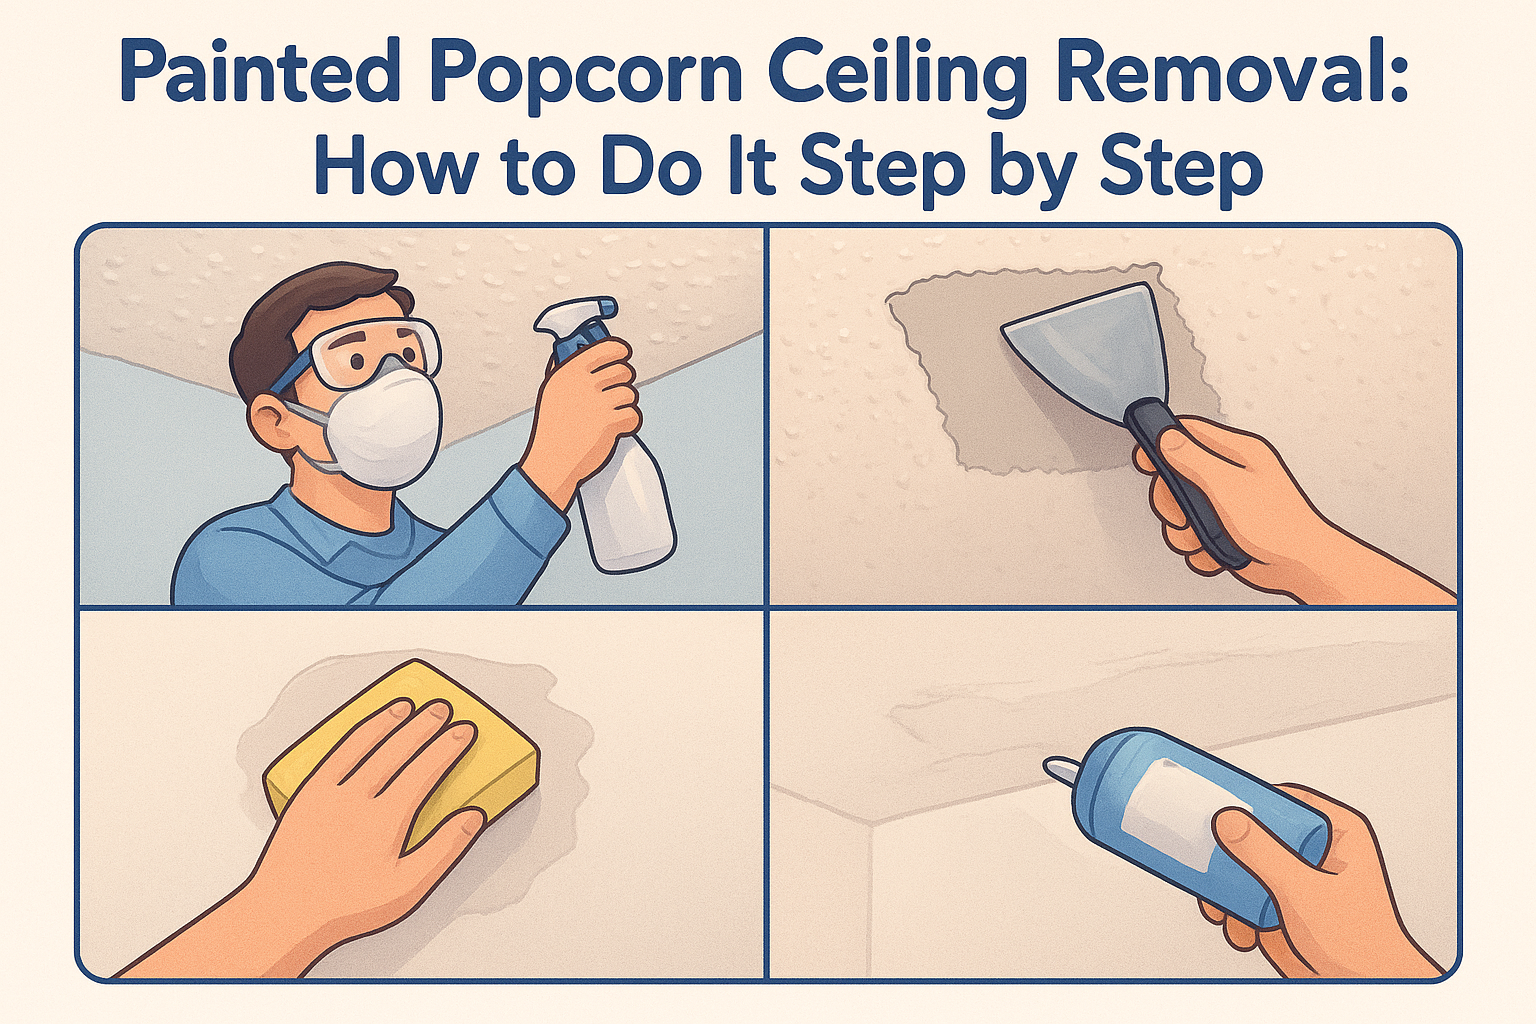
Use your putty knife to scrape away any loose or flaking texture around the damaged area, working outward until you hit solid, well-adhered material. For cracks, widen the gap slightly with a utility knife to create a shallow V-shape, which gives the joint compound something to grip instead of sitting on a thin surface line. Vacuum the area afterward with a brush attachment to pull dust out of the crack or hole before you apply anything wet.
A patch only bonds as well as the surface underneath it, so five extra minutes of scraping saves you a redo next month.
Follow this quick sequence before moving to repairs:
- Scrape loose texture back 2 to 3 inches beyond visible damage
- Widen cracks into a shallow V with a utility knife
- Vacuum dust from the hole, crack, or gouge
- Wipe the area with a damp cloth and let it dry fully
- Tape off trim, outlets, and switch plates nearby
Wipe the prepped area with a slightly damp cloth to remove fine dust that a vacuum leaves behind, then let it dry completely before mixing any compound. Damp joint compound applied over dusty drywall won't bond properly, and you'll see it lift or crack within weeks. Once the surface is clean, dry, and free of loose debris, you're ready to tackle the actual hole, crack, or gouge in the next step.
Step 3. Repair holes, cracks, or gouges
Now that the surface is clean and stable, it's time to fill the actual damage. The repair method changes based on size: a nail hole needs nothing more than a dab of compound, while anything bigger than your fist needs a patch behind it, not just mud piled on top. Matching your technique to the size of the damage keeps the repair flat and prevents it from cracking again in a few months.
Small holes and hairline cracks
For holes under an inch and hairline cracks, load your 4-inch putty knife with joint compound and press it into the damage at an angle, dragging flat to avoid trapping air pockets. Let this first coat dry for at least 24 hours, then apply a second thin coat since compound shrinks slightly as it cures. Sand lightly with your medium-grit sponge once the second coat is fully dry, feathering the edges so there's no ridge you can feel with your palm.
Medium holes needing a patch
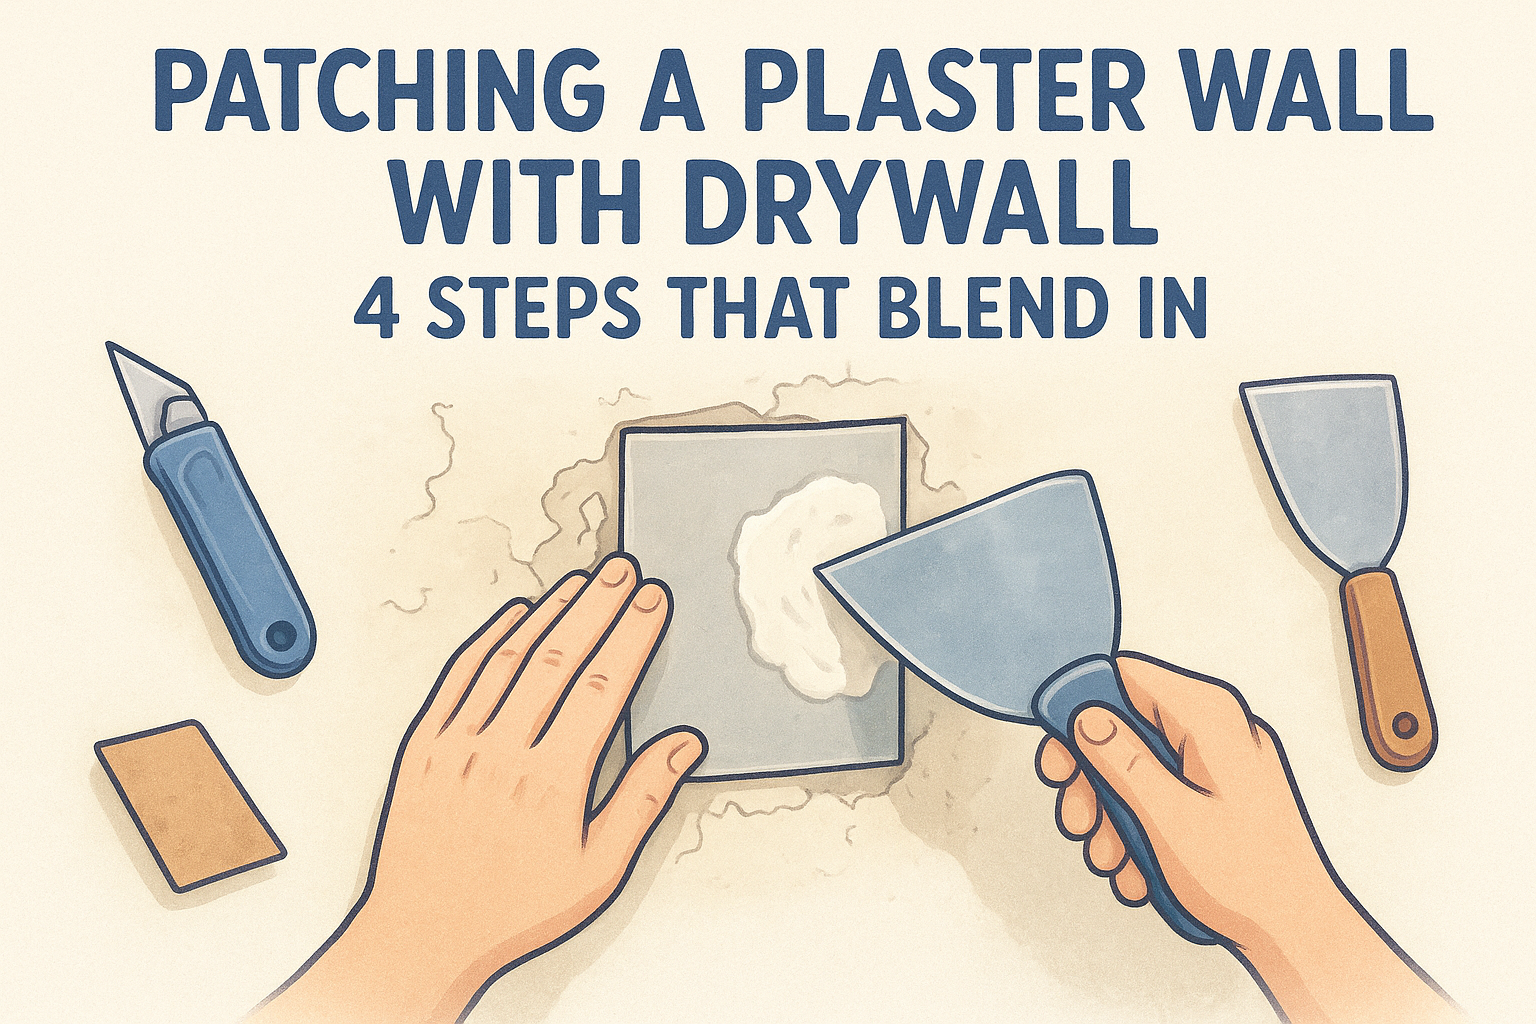
Holes between 1 and 6 inches call for a self-adhesive mesh patch. Center the patch over the hole, press it flat against the wall, and smooth out any air bubbles with your putty knife before the adhesive sets. Apply joint compound directly over the mesh in thin layers, letting each layer dry before adding the next, and extend each coat a couple inches wider than the last to avoid a visible edge.
Large holes and gouges
Anything larger than 6 inches usually needs a drywall patch cut from a scrap piece , screwed or glued to a backing strip behind the hole. This is where DIY repairs start getting tricky, since an unsupported patch flexes and cracks along the seams within a year.
A patch without solid backing behind it always fails eventually, no matter how many coats of mud you add on top.
For settlement cracks that reappear along the same line year after year, standard mudding won't hold; you need flexible joint tape and compound designed to move with the house, or the crack returns within a season.
Work through repairs in this order for consistent results:
- Apply first coat and let it dry fully (24 hours)
- Apply second coat, feathering edges wider than the first
- Sand smooth with medium-grit sponge
- Check with raking light for high or low spots
- Spot-fill any dips before moving to texture matching
Once the patch is flat, dry, and sanded smooth, you're ready to bring the texture back to life.
Step 4. Mix and apply matching texture
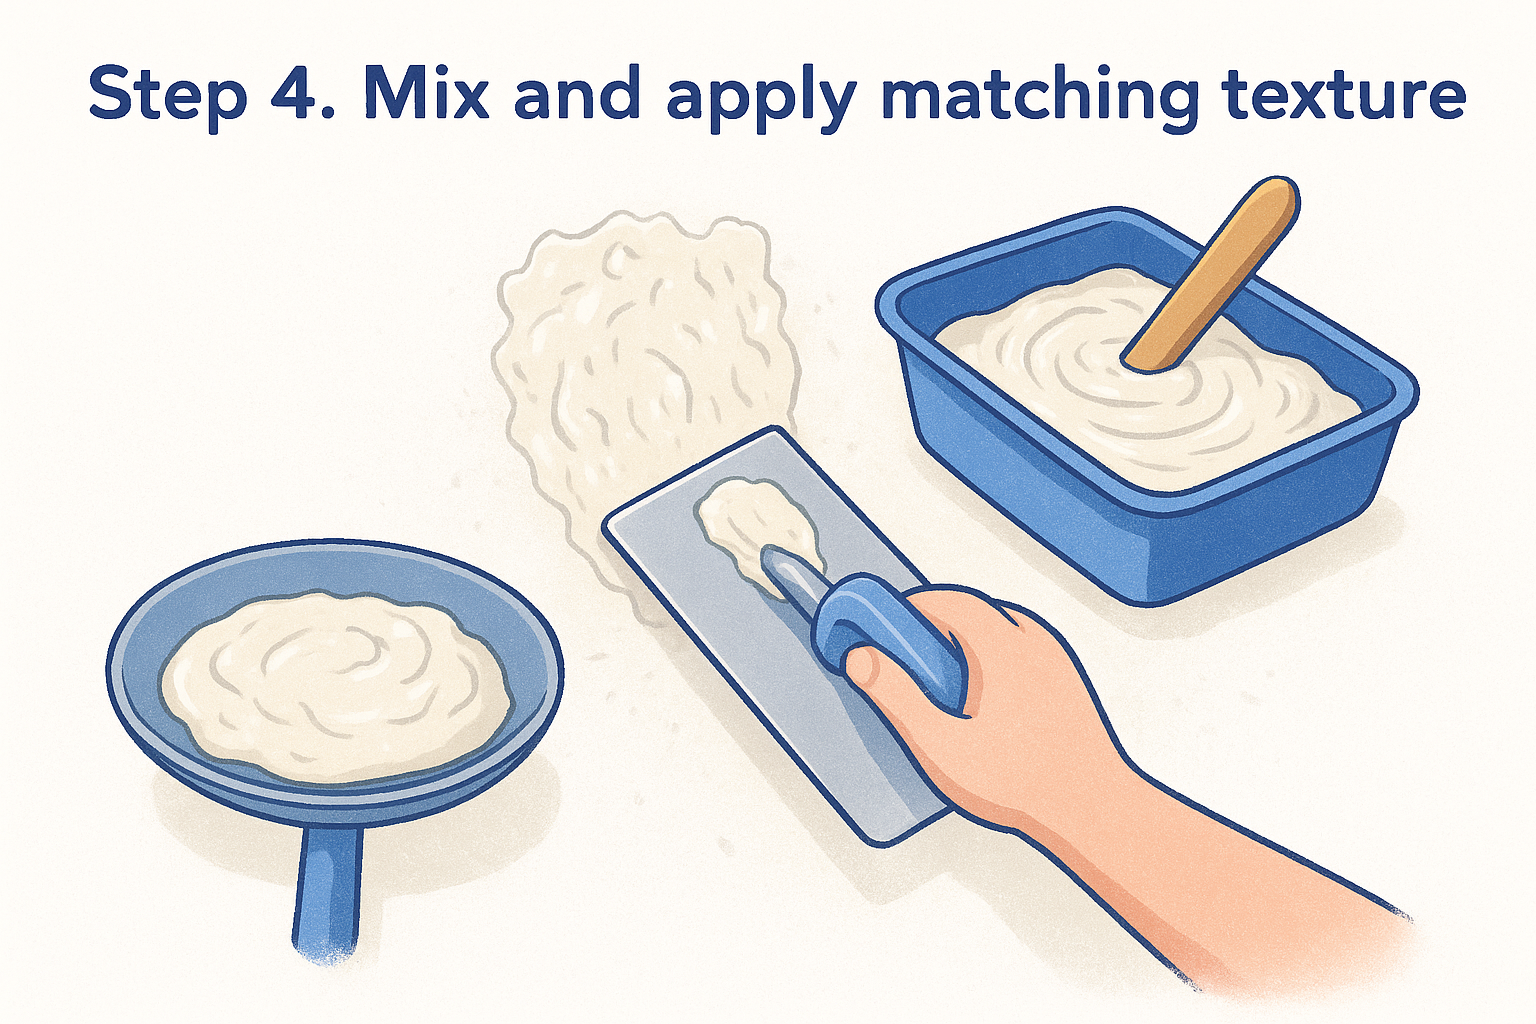
With the patch sanded flat and dry, it's time to bring the texture back. Getting the consistency right matters more than any spray technique, since mud that's too thick clumps out of the can unevenly and mud that's too thin runs before it sets up. If you're using premixed compound thinned for spraying, stir it thoroughly and check it against your test board from Step 1 before touching the actual wall.
Mixing joint compound for hand-applied textures
For knockdown or skip-trowel patterns, thin premixed joint compound with a small amount of water, adding it a tablespoon at a time until the mud reaches a pancake-batter consistency that drips slowly off your trowel. Load a small amount onto your hawk, then flick or dab it onto the patch using the same motion you tested earlier, whether that's a splatter technique for knockdown or dragged arcs for skip trowel. Work in small sections about a foot wide so the mud doesn't start setting before you've matched the pattern across the whole repair.
Applying spray texture for orange peel or popcorn
Shake the aerosol can for a full minute before your first spray, since settled propellant sprays unevenly and ruins the pattern. Hold the can 12 to 18 inches from the wall, exactly like your test run, and use short, even bursts rather than one long continuous spray that oversaturates the center. Popcorn texture needs a slightly closer distance and a heavier hand than orange peel, so lean on your test board results rather than guessing fresh on the wall.
Matching the distance and angle from your test spray is the single biggest factor in whether the new texture disappears or announces itself.
Timing your knockdown pass
If your pattern requires knockdown, timing decides everything. Spray or apply the texture, then wait until it loses its wet sheen but hasn't fully hardened, usually 10 to 20 minutes depending on humidity in your area. Drag a clean, dry trowel lightly across the surface at a low angle to flatten the high points without smearing the whole pattern into mush.
- Test consistency on scrap board first
- Apply texture to patch in small sections
- Wait for the knockdown window if applicable
- Trowel lightly to flatten peaks
- Let the full patch dry 24 hours before blending
Once the texture has dried completely, you'll see how close the match really is, and that's what the next step is all about.
Step 5. Blend the texture into surrounding walls
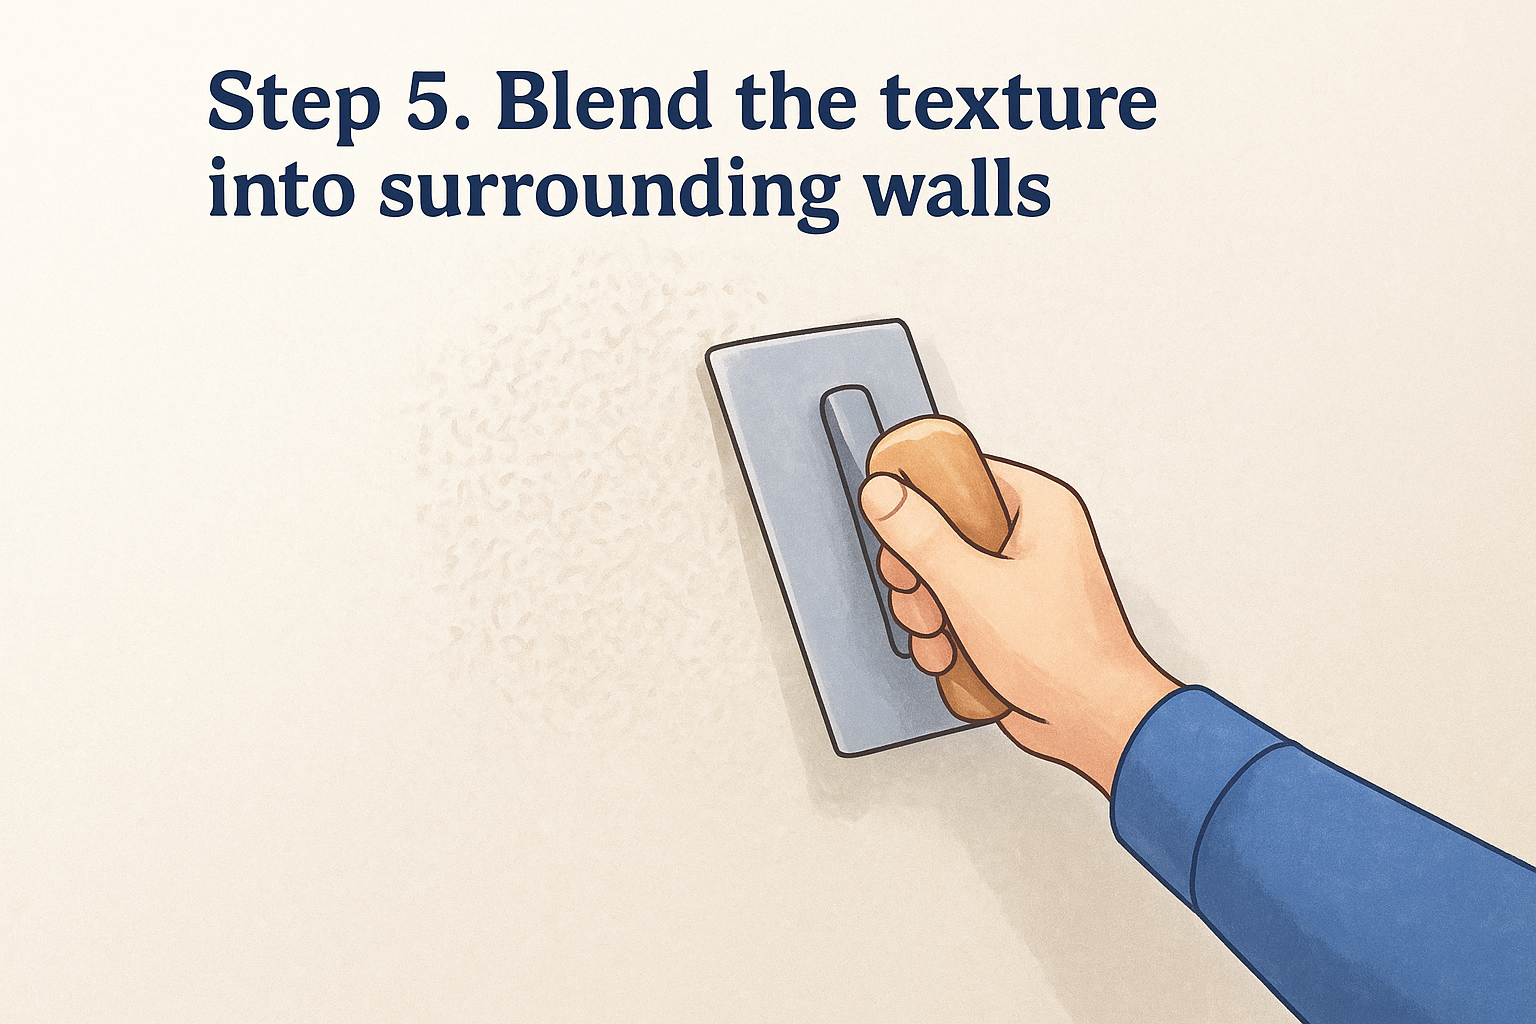
Once the new texture has dried for a full 24 hours, step back six feet and look at the wall in the same daylight you used earlier to identify the pattern. Blending the edges is what separates a repair you can see from one you can't, and it usually takes a little feathering rather than a full redo. If the patch looks too heavy, too light, or slightly off in pattern density compared to the surrounding wall, don't panic; small adjustments at this stage fix most mismatches.
Feathering the transition zone
Work a thin, light pass of the same texture material about two to three inches beyond the edge of your patch, tapering the amount you apply as you move outward. This softens the hard line between old and new texture instead of leaving a visible ring around the repair. For sprayed textures, hold the can slightly farther back, around 18 to 24 inches, and use lighter bursts along this transition zone so the pattern thins out gradually rather than stopping abruptly.
The edge of a texture repair should fade, not stop, and that fade is what fools the eye into missing it entirely.
Checking for density and height mismatches
Run your hand flat across the dried patch and the surrounding wall to feel for differences in height, since your fingers catch inconsistencies that your eyes miss under normal lighting. If the new texture sits noticeably higher, knock it down gently with a dry trowel at a low angle. If it looks too sparse compared to the original pattern, add a light second pass only in the thin spots rather than respraying the whole area, which risks overcorrecting.
Letting it cure before judging the final look
Give the blended texture another 24 hours to cure fully before making your final call on whether it passes inspection. Wet or freshly dried compound often looks slightly different once fully cured, and judging too early leads to unnecessary rework. Check the area again with your work light held at a raking angle, since this is the same trick that revealed hidden damage back in Step 2, and it will just as reliably reveal any texture inconsistency you missed.
Here's a quick gut check before moving to paint:
- Does the patch disappear from six feet away in daylight?
- Does raking light reveal any ridges, dips, or bare spots?
- Does the pattern density match the surrounding wall?
- Has the area cured a full 24 hours since the last pass?
If you answered yes to all four, you're ready to seal and paint the repair in the next step.
Step 6. Prime and paint the repaired area
Once the texture has cured and passed the raking-light check, you're almost done, but skipping primer is where a lot of otherwise solid repairs fall apart visually. Bare joint compound absorbs paint differently than the rest of your wall, and that difference shows up as a dull or flat patch even when the texture itself matches perfectly. A stain-blocking primer seals the porous patch so your topcoat lays down evenly across old and new material alike.
Priming the patch correctly
Use a small foam roller or angled brush to apply primer directly over the repaired area, extending it a few inches past the texture blend zone so you don't leave a hard edge in sheen. Let the primer dry fully, usually one to two hours depending on humidity, before touching it again. Skip spot-priming with a rag or sponge; rollers and brushes leave a more even film that won't flash under lamp light later.
Paint sheen differences are the last thing people notice on a repair, and primer is the cheapest insurance against that problem.
Matching and applying the final coat
Grab your original paint can if you still have it, since even a slight color drift from a new mix at the store becomes obvious once it's dry on the wall. If you're buying fresh paint, bring a chip of the old paint or a photo of the sheen and color code to the store, and always match the exact sheen , whether that's flat, eggshell, or satin, since mismatched sheen catches light differently even when the color is identical. Roll paint over the primed patch using the same nap roller you'd use on the rest of the wall, feathering the edges of your roller strokes a couple inches beyond the primed area.
Work through this final sequence:
- Prime the patch and let it dry 1-2 hours
- Confirm paint sheen and color match before opening the can
- Apply first coat, feathering roller strokes past the primer line
- Let dry per label instructions (usually 2-4 hours)
- Apply second coat if the first shows any patchiness
Check the wall again in daylight once the second coat dries fully, usually the next day. If the color and sheen disappear into the surrounding wall, you're finished. If you still see a faint outline, a full-wall repaint might be the only fix, since spot-painting rarely blends perfectly on walls that have faded slightly with age or sun exposure.
When it's time to call a professional
Most small patches, nail holes, and single cracks are within reach for a patient DIYer with the right test board and a little practice. But large-scale damage changes the math fast. Whole-wall texture mismatches, repeated settlement cracks, or a patch that keeps failing no matter how many coats you add usually point to a bigger problem behind the drywall, not a technique issue you can sand your way out of.
Water stains that keep returning, walls with suspected asbestos-containing texture , or ceilings from the popcorn era all call for a professional look before you touch a scraper. That's exactly the kind of work our crew handles across the Sacramento Valley every week, and we never charge until the job's done. If your repair has grown past a weekend project, get a free drywall repair estimate and let us finish it right.
Recent Posts