July 25, 2026
How to Find Cheap Drywall Repair Near Me Without Overpaying
Searching cheap drywall repair near me usually means you've already spotted a crack, hole, or water stain and you want it fixed without getting overcharged for a job that takes an afternoon. The problem is that "cheap" and "reliable" don't always show up in the same search result, and plenty of homeowners end up paying twice: once for a rushed patch job, then again for the contractor who fixes it correctly.
This guide gives you a straightforward way to compare local quotes and spot red flags before you hire anyone. You'll learn what a fair price actually looks like for common repairs, from nail pops to settlement cracks, and how to avoid the hidden fees that turn a budget job into an expensive one.
We'll walk through what to ask during a free estimate, how licensing and warranties protect you long after the crew leaves, and why a company's track record in your specific area matters more than a low headline price. If you're in the Sacramento Valley, that includes knowing which local contractors have handled thousands of repairs without cutting corners, so you get honest pricing the first time around.
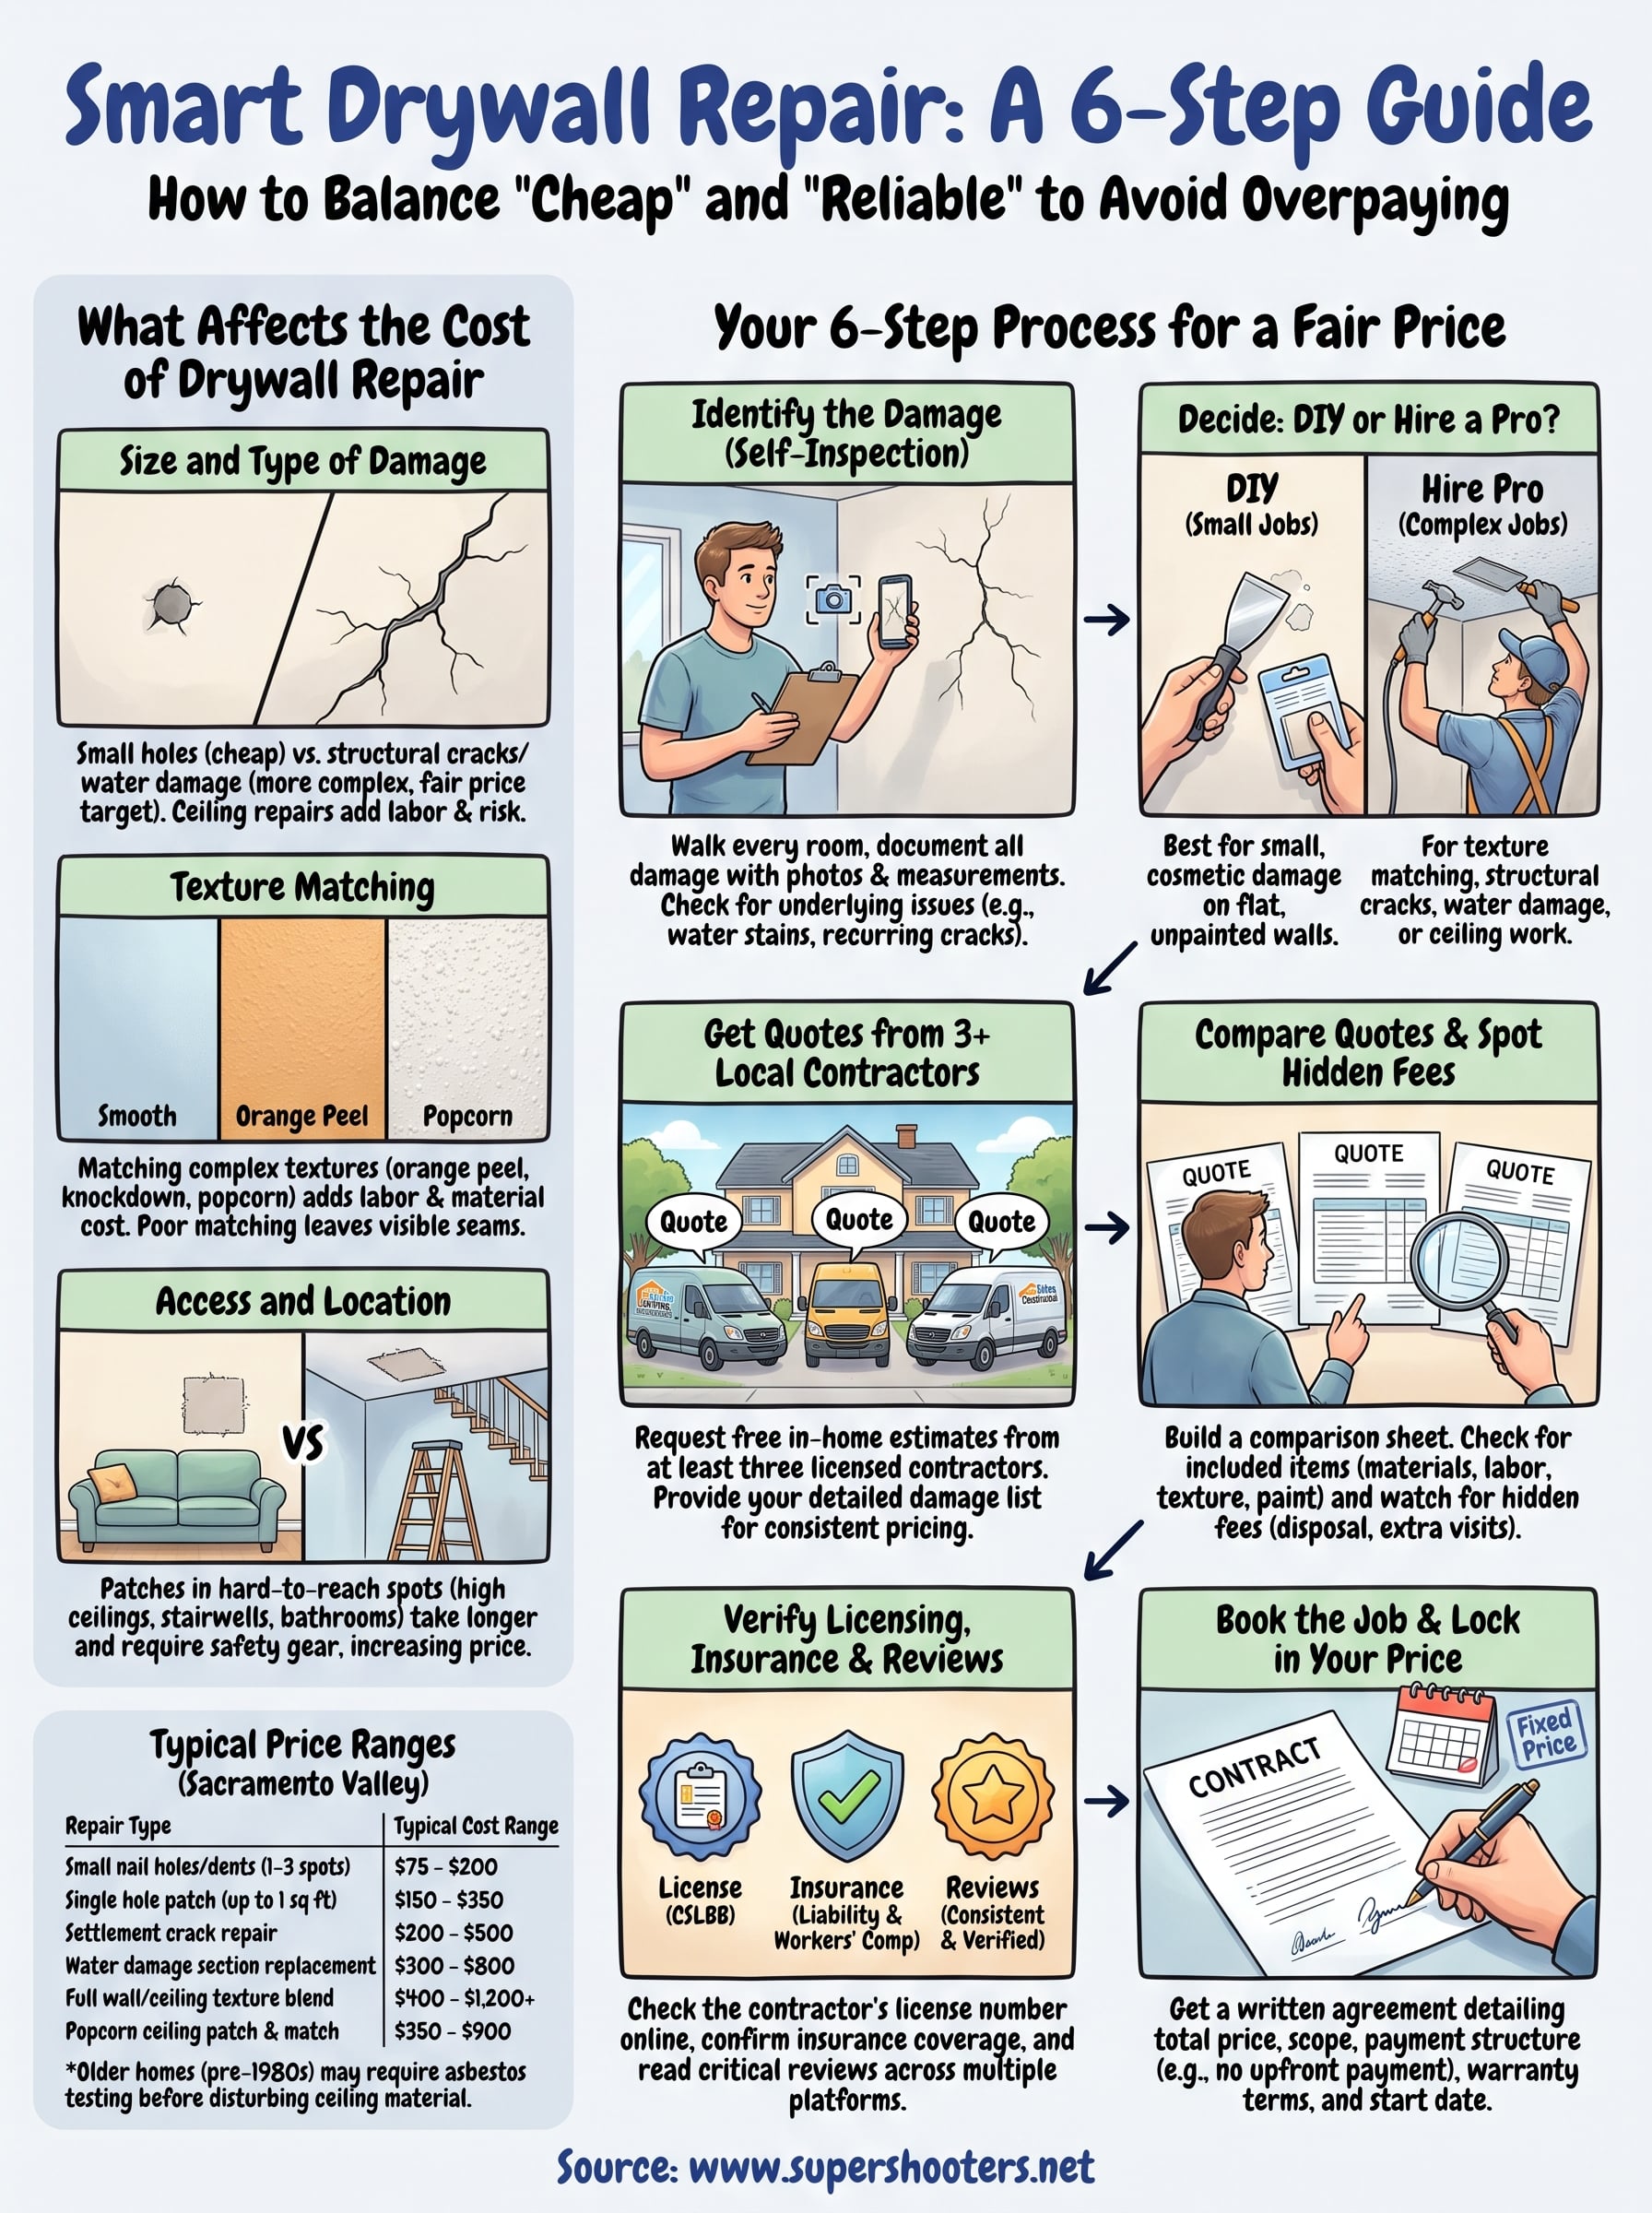
What affects the cost of drywall repair
Before you can spot a fair quote, you need to know what actually drives the price up or down. Drywall repair pricing isn't random. Contractors calculate it based on a handful of factors that you can check yourself before a pro ever walks through your door.
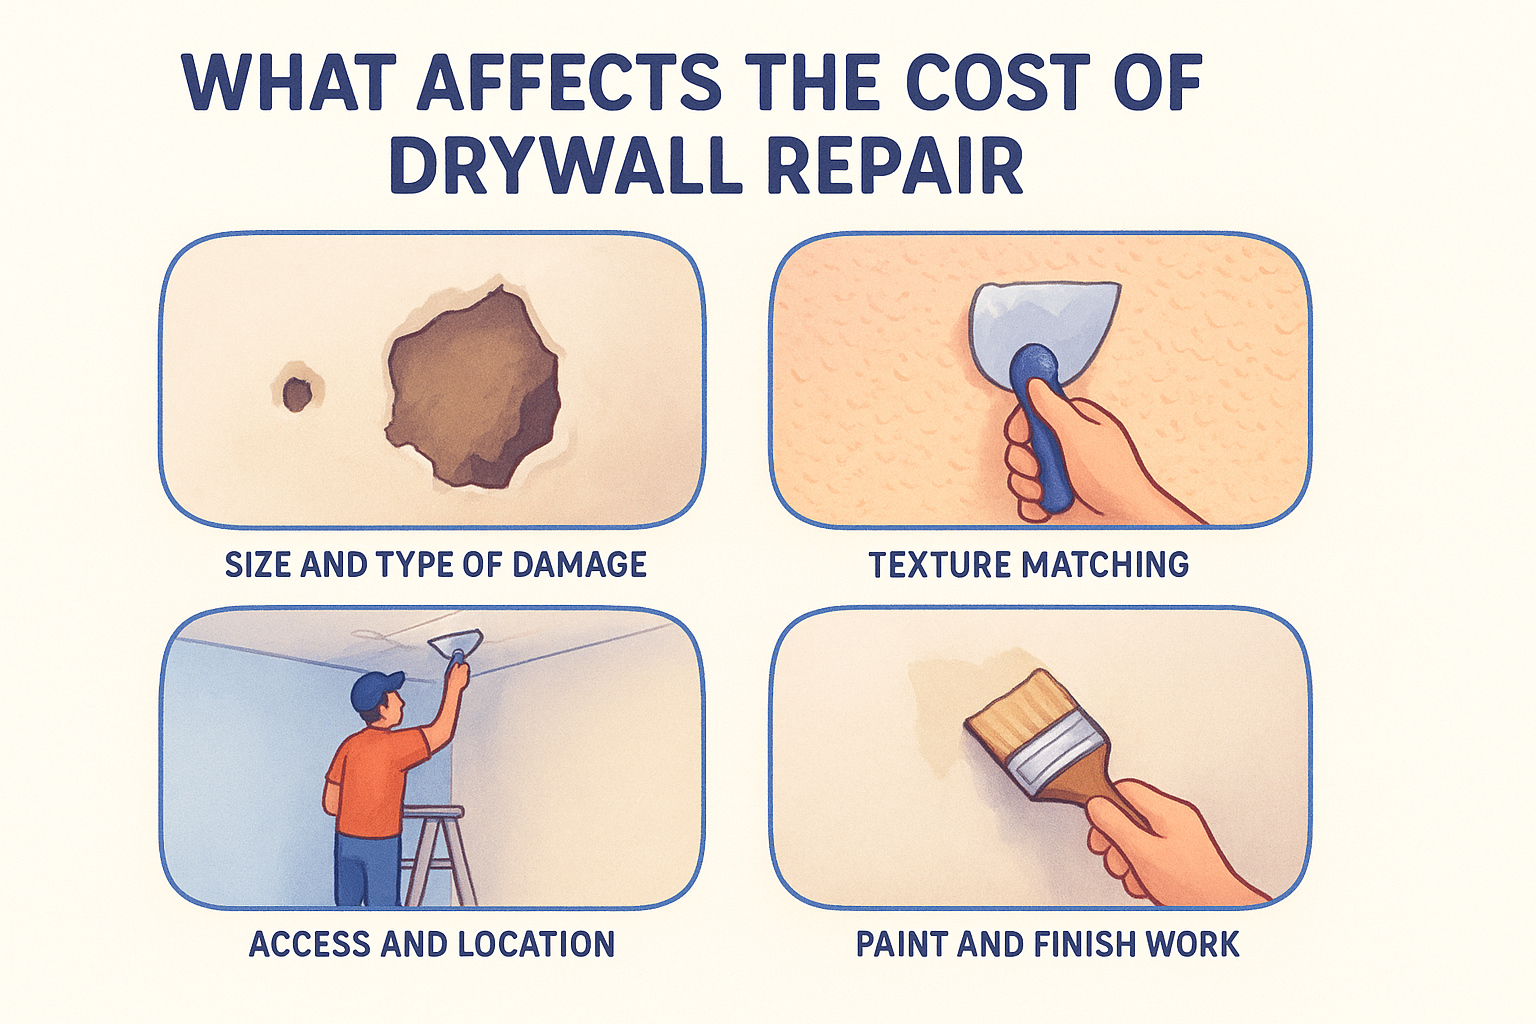
Size and type of damage
A small nail hole costs almost nothing to fix, sometimes as little as $75 to $150 for a single patch. A settlement crack running along a wall or a section of water-damaged drywall that needs to be cut out and replaced costs significantly more because it involves cutting, framing checks, and multiple coats of joint compound. Ceiling repairs typically run higher than wall repairs of the same size because the contractor has to work overhead, often from a ladder or scaffold, which slows the job down and adds risk.
The bigger and more structural the damage, the less "cheap" becomes a realistic goal, and the more "fair" should be your target instead.
Texture matching
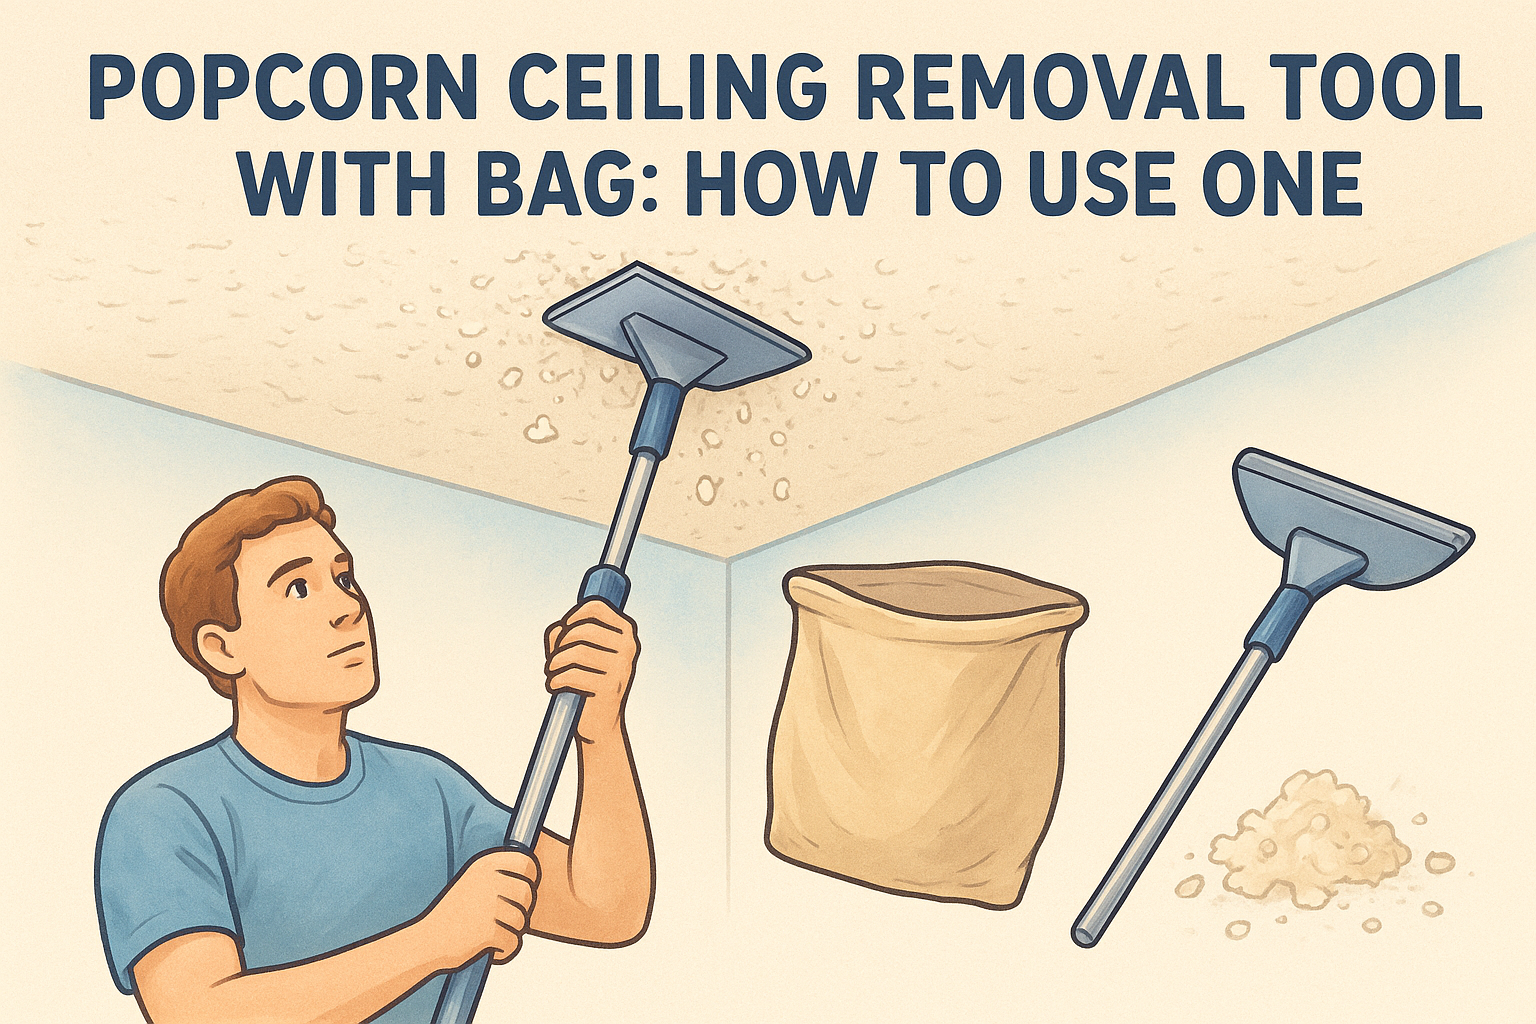
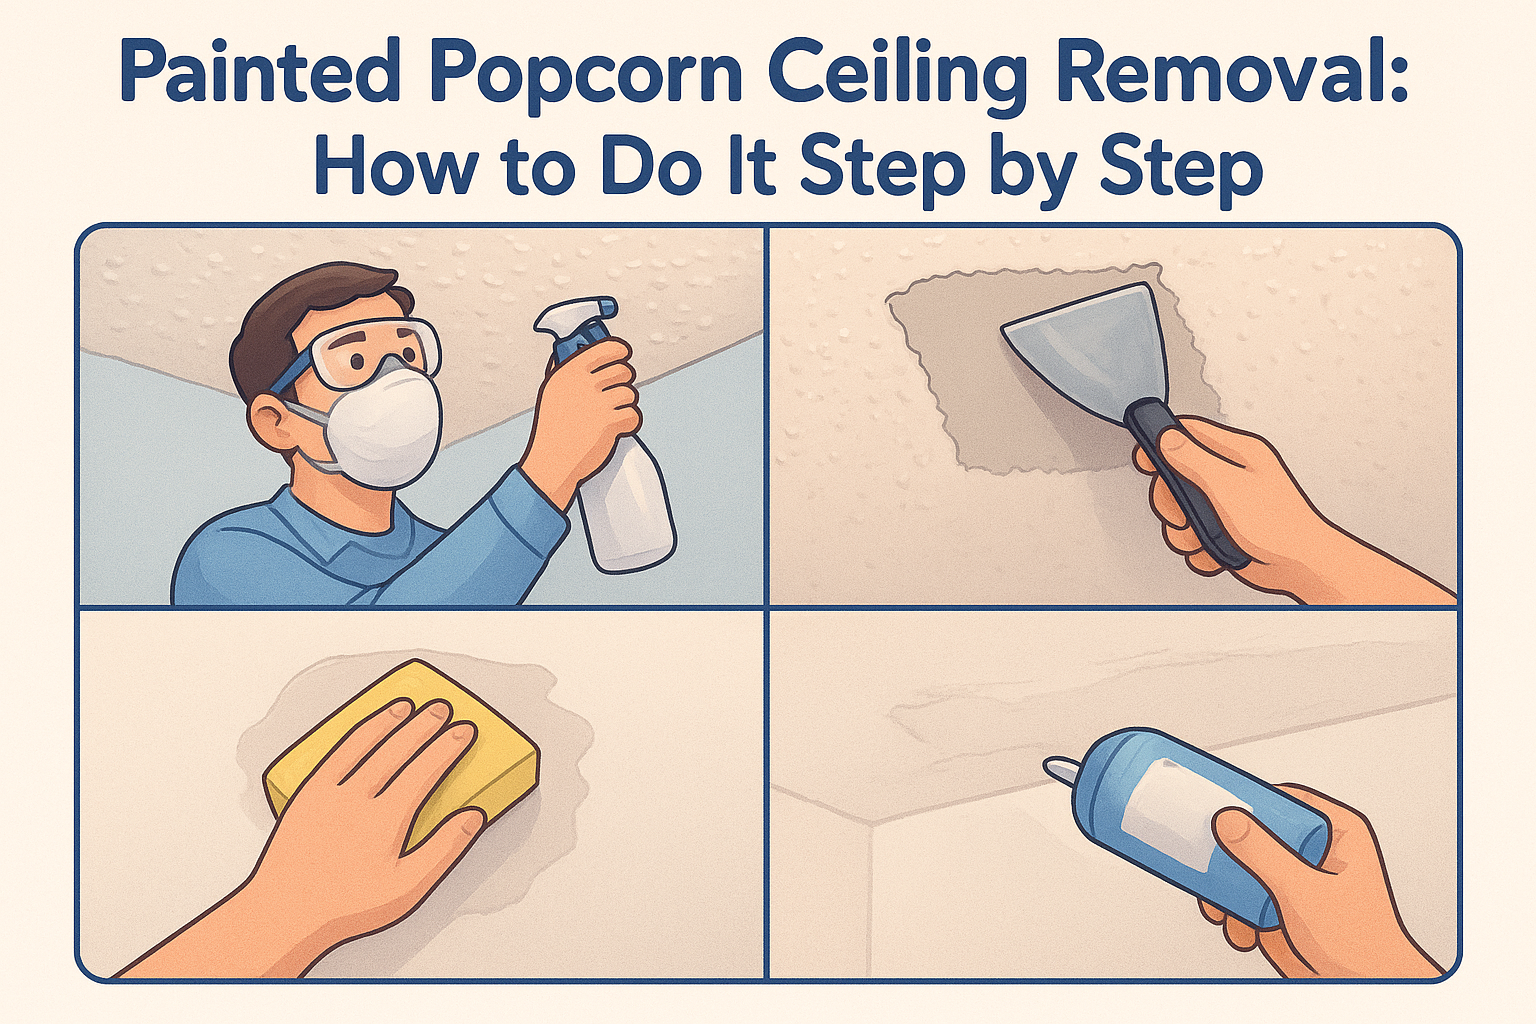
If your walls or ceiling have texture, orange peel, knockdown, or popcorn, matching it adds labor and material cost that a smooth patch doesn't require. Skilled texture matching is one of the more common places where cheap repairs go wrong, because an inexperienced patcher leaves a visible seam that you'll notice every time the light hits it. Expect texture work to add $50 to $200 to a small job depending on the pattern's complexity.
Access and location in the home
A patch behind a couch in a first-floor living room is quick. The same size patch in a stairwell, above a bathtub, or in a garage with high ceilings takes longer and often requires extra safety equipment. Location factors like these are why two "identical" holes can carry different price tags from the same contractor.
Paint and finish work
Many quotes for drywall repair don't include painting. That's a detail homeowners frequently miss, then get surprised by an added cost or a patch that doesn't match the surrounding wall color. Ask upfront whether the quote includes priming and painting the repaired area, and whether they'll blend it into the existing wall or just spot-paint the patch itself.
Underlying causes
Sometimes the hole or crack is a symptom, not the whole problem. Water stains can point to a roof or plumbing leak. Recurring cracks near doors and windows often trace back to foundation settlement. If the underlying cause isn't addressed, you'll pay for the same repair again in a year or two. A contractor who points this out during the estimate, rather than just patching over it, is doing you a favor even if their initial quote is a bit higher.
Typical price ranges
Here's a rough breakdown of what homeowners in the Sacramento Valley area typically see for common drywall repairs, based on job size and complexity:
| Repair Type | Typical Cost Range |
|---|---|
| Small nail holes/dents (1-3 spots) | $75 - $200 |
| Single hole patch (up to 1 sq ft) | $150 - $350 |
| Settlement crack repair | $200 - $500 |
| Water damage section replacement | $300 - $800 |
| Full wall or ceiling texture blend | $400 - $1,200+ |
| Popcorn ceiling patch with texture match | $350 - $900 |
These ranges assume standard access and no asbestos concerns. If your home was built before the 1980s and the ceiling has never been tested, factor in the possibility that asbestos testing could be recommended before any disturbance of the material, which is a separate cost but an important safety step according to guidance from the U.S. Environmental Protection Agency ( https://www.epa.gov/asbestos).
Step 1. Identify the damage before you call anyone
Before you dial a single contractor, walk through your home and catalog every spot that needs attention. A thorough self-inspection saves you money because it lets you describe the job accurately when you request quotes, and it stops a contractor from padding an estimate for damage you didn't even know existed. Homeowners who skip this step often end up with vague quotes that balloon once the crew arrives and finds three more problem areas nobody mentioned on the phone.

Walk every room, not just the obvious spot
Start in the room where you noticed the original crack or hole, then check adjacent walls and ceilings for related damage. Settlement cracks rarely stay isolated. If you see one near a doorframe, check the opposite side of that same wall and the ceiling corners nearby, since foundation movement tends to show up in a pattern rather than a single spot.
Photograph, measure, and write it down
Grab your phone and document what you find before you forget the details. This record becomes your negotiating tool when you compare bids later.
- Take a photo of each damaged area with a tape measure in frame for scale
- Note the exact location (which wall, how high, near a window or vent)
- Write down whether the texture is smooth, orange peel, knockdown, or popcorn
- Mention any recent events tied to the damage, like a leak, a move-in accident, or a storm
- Flag ceilings if your home was built before 1980, since older acoustic ceilings may need testing
A contractor can only give you an honest number if you can describe the damage honestly first.
Look past the surface for warning signs
Some damage points to something bigger than drywall. A soft or bulging patch on a wall often means water is getting in from behind, not just cosmetic cracking. Press gently on any water-stained section; if it feels spongy, that's a moisture problem that needs to be traced to its source before anyone patches it. Cracks that reappear in the same spot after a previous repair usually mean the house is still settling, and that's worth mentioning to every contractor you call so their quote reflects the real scope of work rather than a quick cosmetic fix that won't hold.
Step 2. Decide between DIY and hiring a pro
Once you know exactly what needs fixing, you have a real decision to make: patch it yourself or call in a professional. DIY drywall repair can save you real money on small jobs, but it's not automatically the cheaper choice once you factor in your time, the tools you don't already own, and the risk of a redo. Before you buy a tub of joint compound, be honest about which category your repair actually falls into.
When DIY makes sense
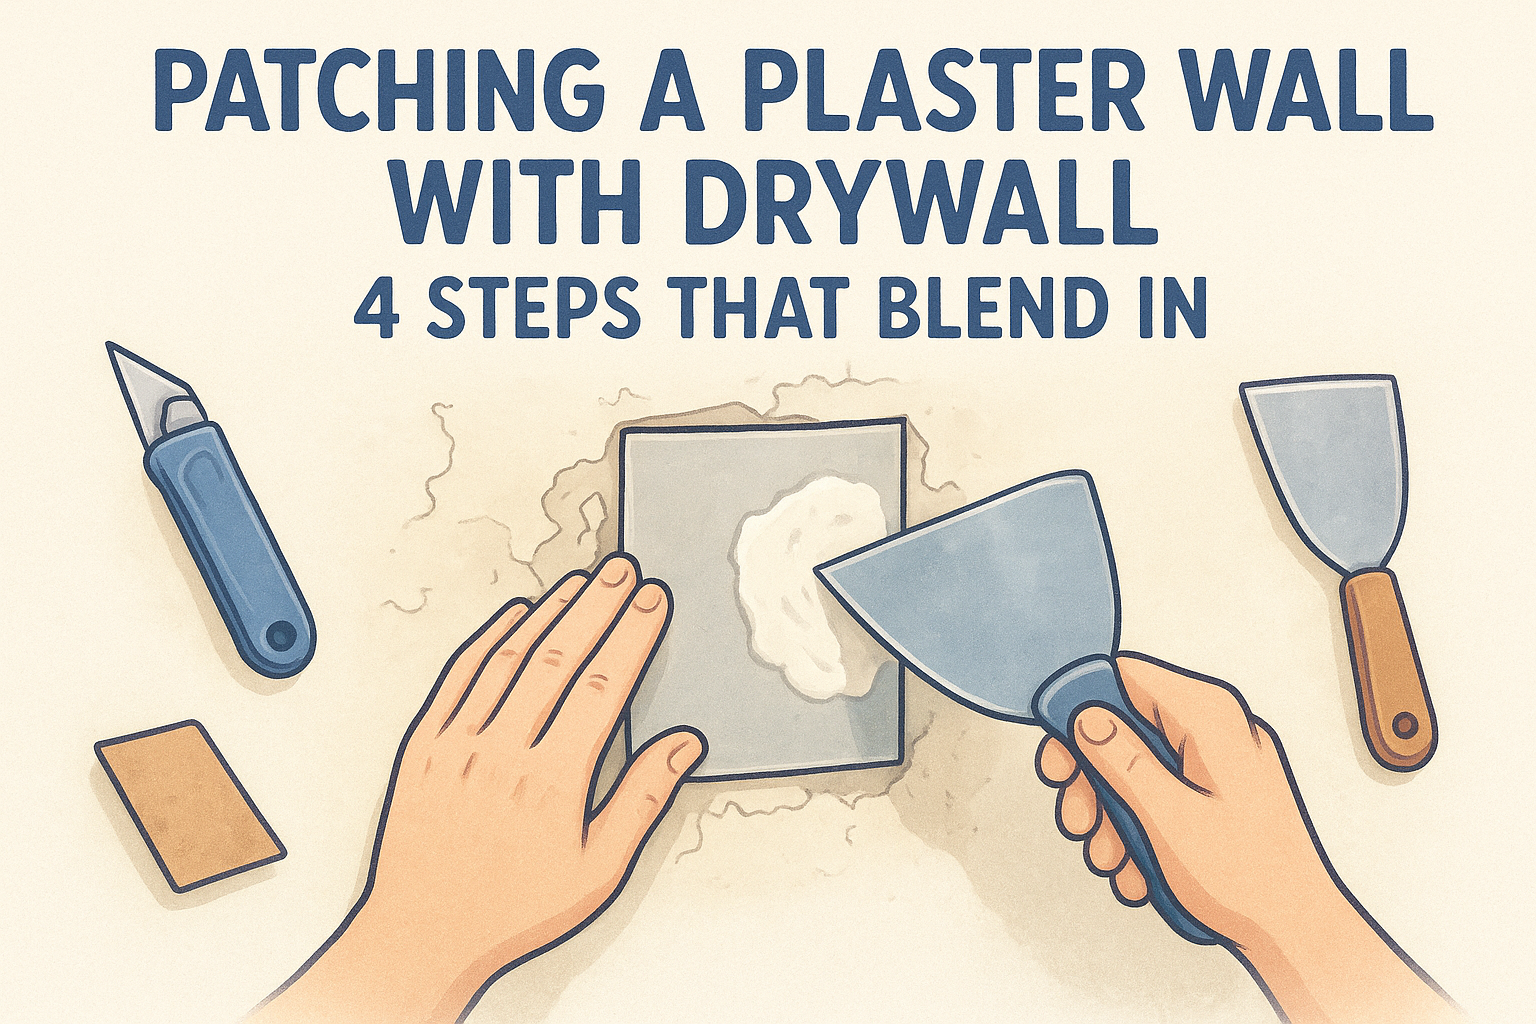
Small, cosmetic damage on a flat, unpainted wall is the sweet spot for doing it yourself. A single nail hole, a shallow dent from a doorknob, or a hairline crack on a smooth wall can be fixed in an afternoon with a patch kit that costs under $20 at any hardware store. If the area has no texture to match and you're not repainting the whole wall anyway, DIY is a smart way to keep costs down.
If the damage is smaller than your hand and the wall is smooth, grab a putty knife before you grab your phone.
When to call a professional instead
Hand the job to a pro once you're dealing with texture matching, structural cracks, water damage, or anything above head height. These jobs require experience most homeowners don't have, and a botched attempt often costs more to fix than if you'd hired someone from the start.
- Holes larger than a fist or spanning a stud
- Any ceiling repair, especially popcorn or acoustic texture
- Water-damaged sections where the source hasn't been identified
- Cracks that have reappeared after a previous repair
- Homes built before 1980 where the ceiling material hasn't been tested
- Repairs near electrical boxes, vents, or plumbing chases
Weigh the real cost of a DIY mistake
A mismatched texture or an uneven patch doesn't just look bad, it can lower your home's resale value if you're prepping to sell. Hidden costs like buying the wrong compound, sanding through the paper on the drywall face, or having to repaint an entire wall because a spot patch stands out can quickly erase whatever you saved by skipping a contractor. If your damage checklist from Step 1 includes anything on the professional list above, treat the contractor's quote as the real budget number, not the DIY materials list, and move on to gathering estimates.
Step 3. Get quotes from at least three local contractors
Once you've got your damage list and you've decided this is a job for a pro, resist the urge to hire the first contractor who answers the phone. Getting multiple quotes is the single biggest lever you have for finding cheap drywall repair near you without ending up with sloppy work. One quote tells you what one company charges. Three quotes tell you what the job is actually worth in your area.
Contact contractors the right way
Start with a free in-home estimate whenever a company offers one, since drywall repair pricing depends so heavily on access, texture, and underlying damage that a phone quote alone rarely holds up once someone actually sees the wall. Reach out to a mix of contractors, not just the ones with the flashiest ads, and use your notes from Step 1 to give each one the same information.
- Call or request a quote from at least three licensed local contractors
- Share your photos, measurements, and texture notes with every one of them
- Ask each contractor to visit in person before finalizing a number
- Request a written estimate, not just a verbal number over the phone
- Ask if the estimate includes materials, labor, texture matching, and paint
Three quotes for the same job, described the same way, is the fastest way to see who's pricing fairly and who's padding the bill.
Ask the same questions every time
Consistency is what makes quotes comparable. If you ask one contractor about warranty coverage and forget to ask the next, you're not really comparing apples to apples anymore. Use a short script so nothing slips through the cracks:
 1. What's included in this price? (materials, labor, texture, paint)
2. How long will the job take, start to finish?
3. Do you charge extra for ceiling work or hard-to-reach areas?
4. What warranty do you offer on the repair?
5. When can you start, and is a deposit required upfront?
Give quotes time to arrive before deciding
Don't rush this step just because the crack in your wall is annoying you every time you walk past it. Local pricing can vary by a couple hundred dollars for the exact same repair depending on the company's overhead and how busy their schedule is that month. Give each contractor a day or two to send a written estimate after their visit, and hold off on picking one until you've got all three side by side. That patience is what turns a random search into an informed decision in Step 4.
Step 4. Compare quotes and spot hidden fees
With three written estimates in hand, lay them side by side and look past the bottom-line number. Comparing quotes properly means checking that each contractor priced the same scope of work, because a quote that looks cheap on paper often leaves out something the next company included. This is where a lot of homeowners get burned searching for cheap drywall repair near me, they pick the lowest number without confirming it covers the whole job.
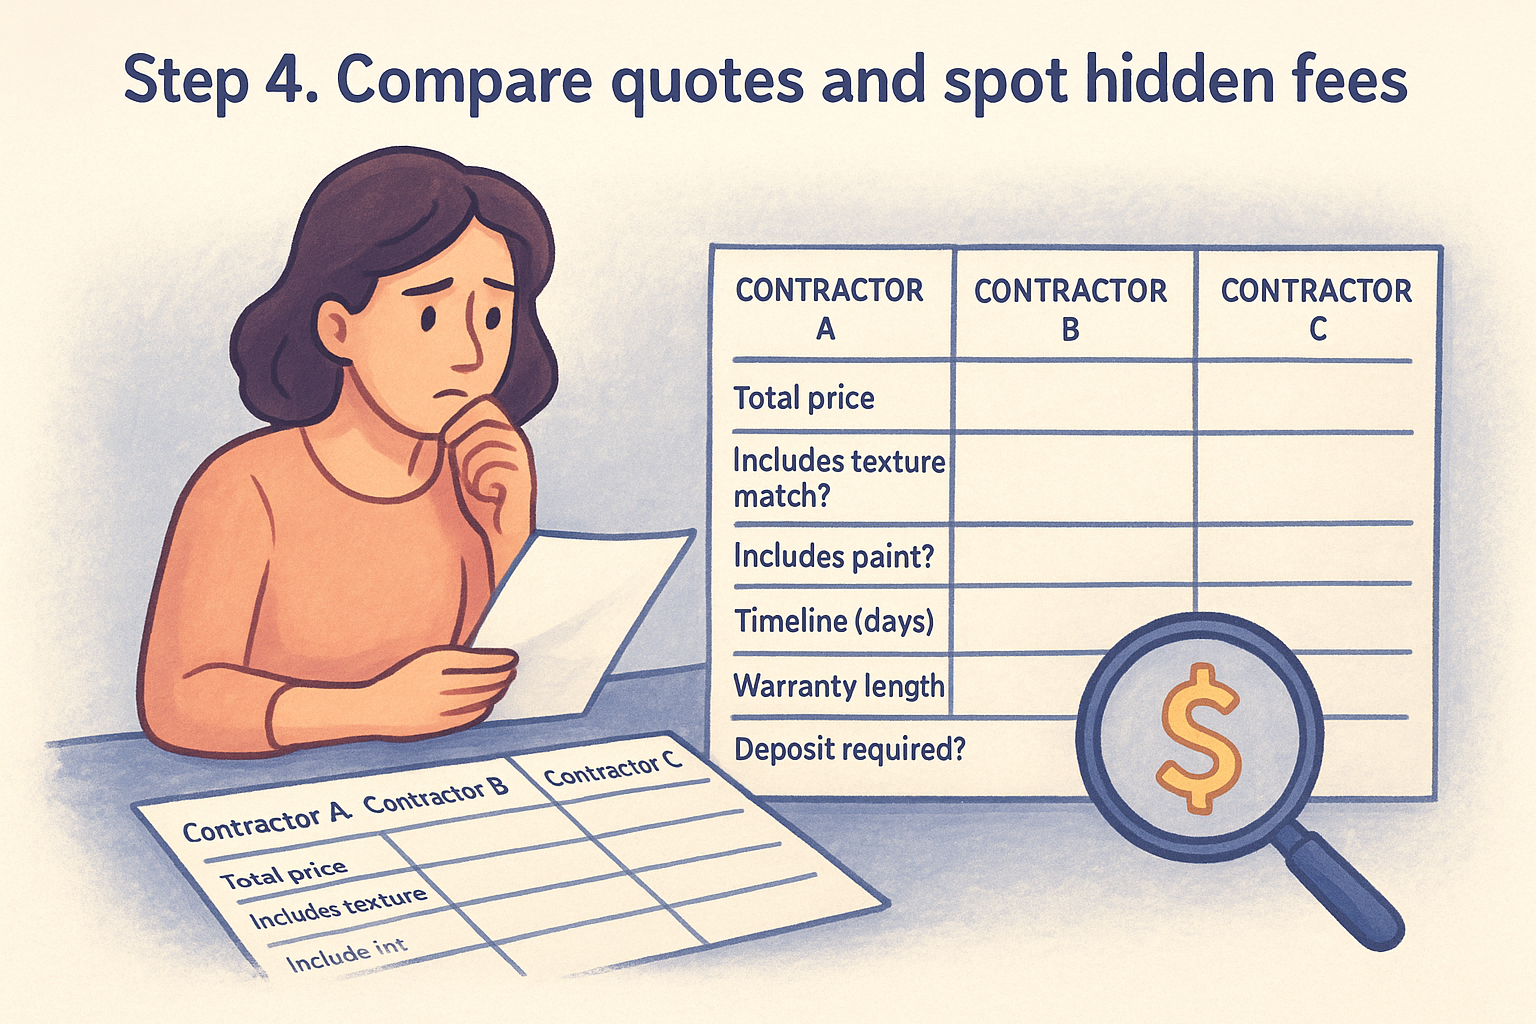
Build a simple comparison sheet
Put each quote into a table so the differences jump out instead of getting lost in three separate PDFs or handwritten estimates.
| Item | Contractor A | Contractor B | Contractor C |
|---|---|---|---|
| Total price | |||
| Includes texture match? | |||
| Includes paint? | |||
| Timeline (days) | |||
| Warranty length | |||
| Deposit required? |
The lowest total on the page means nothing until you know what's missing from it.
Watch for these common hidden fees
Certain costs have a habit of showing up after the work starts rather than on the original estimate. Ask about each of these directly before you sign anything.
- Disposal or dump fees for old drywall and debris
- Separate charges for texture matching beyond the base patch
- Paint and primer billed as an add-on instead of included
- Trip charges for a second visit if paint needs a follow-up coat
- Extra labor fees for ceiling work versus wall work
- Charges for moving furniture or covering floors
Ask why one quote is dramatically lower
If one estimate comes in far below the other two, don't assume you found a bargain. Underpriced quotes usually mean one of three things: the contractor is inexperienced and doesn't know how to scope the job correctly, they're planning to skip texture matching or paint, or they're counting on a change order once they're already inside your house and you feel stuck. Call that contractor and ask them directly why their number is lower, then compare their answer against what the other two included. A confident, specific answer is a good sign. A vague one is a reason to walk away.
Confirm the payment structure
Check when payment is actually due. A contractor who asks for a large deposit before starting carries more risk for you than one who collects payment after the job passes inspection. Companies that require no upfront payment until the work is finished have less incentive to rush or cut corners, since they only get paid once you're satisfied with the result.
Step 5. Verify licensing, insurance, and reviews
Before you sign anything, confirm that the contractor with the winning quote is actually who they claim to be. Licensing verification takes five minutes online and protects you from a much bigger headache if the job goes wrong or the company disappears halfway through. Skipping this step to save a few minutes is how homeowners end up with unlicensed crews doing structural repairs in their walls.
Check the license number yourself
Every legitimate drywall contractor in California should have a license number they're willing to hand over without hesitation. Look up that number through the Contractors State License Board ( https://www.cslb.ca.gov) to confirm it's active, matches the business name on your quote, and covers the type of work they're bidding on. A contractor who hesitates to share their license number, or whose number doesn't match, is a red flag no low price should override.
A license number you can verify online is worth more than any promise made over the phone.
Confirm insurance covers the job
Insurance coverage matters just as much as licensing, because it's what protects your home if something goes wrong during the repair. Ask for proof of general liability insurance and, if the company has employees rather than subcontractors, workers' compensation coverage too. Without it, you could be financially responsible for an injury on your own property or damage caused during the job.
Read reviews with a critical eye
Online reviews tell you how a company behaves after the estimate, not just how they price a job. Look for patterns across multiple platforms rather than trusting a handful of five-star reviews on the company's own site.
- Search the company name plus "reviews" on Google and check the star average alongside the number of reviews
- Look for mentions of the specific service you need, like ceiling texture matching or settlement crack repair
- Read a few negative reviews and see how the company responded, since the response tells you more than the complaint itself
- Check how long the business has operated, since a company with decades of local history has a track record you can actually evaluate
- Ask the contractor for references from recent jobs similar to yours
A contractor who's licensed, insured, and backed by consistent reviews over many years has already proven they can deliver the work you're paying for, which sets up the final step: locking in that price before anything changes.
Step 6. Book the job and lock in your price
Once you've picked a contractor, get the agreed price and scope down in writing before any work starts. Locking in your price protects you from the classic bait-and-switch where a low estimate turns into a higher final bill once the crew is already inside your house. Verbal promises don't hold up if a dispute comes up later, so treat the written agreement as the real contract, not just a formality to skim and sign.
Get a written agreement, not just an estimate
An estimate tells you what a job might cost. A signed agreement tells you what it will cost. Before the crew shows up, make sure the paperwork spells out the total price, what's included, and what happens if the scope changes once they open up the wall.
 Agreement checklist:
- Total price in writing, not a range
- Detailed scope (texture match, paint, cleanup included)
- Start date and estimated completion date
- Payment schedule (deposit amount, if any, and final payment terms)
- Warranty terms and length in writing
- Process for handling unexpected issues (e.g., water damage found behind the patch)
If it's not in writing, it's not part of the deal once the drywall dust starts flying.
Confirm the payment terms one more time
Payment structure deserves a second look right before you sign, even if you covered it during the quote comparison in Step 4. A company that asks for no money upfront and only collects payment once the job is complete has every incentive to do the work right the first time, since a rushed or sloppy patch means they don't get paid on schedule. If a contractor suddenly asks for a large deposit at booking after quoting a different structure earlier, that's worth a direct question before you commit.
Ask about the warranty in plain terms
A warranty is only useful if you understand what it actually covers. Ask the contractor to explain, in plain language, what happens if the texture doesn't match, the crack comes back, or the paint peels within a few months. A company backing its work with something like a Super Shield warranty gives you a concrete guarantee to point to instead of a vague promise that the crew "stands behind their work."
Set a start date and stick to it
Get a firm start date in writing, not a rough window. Scheduling clarity matters because a contractor who's vague about timing before the job starts is often the same one who's vague about completion dates once they're already inside your house.
Getting quality repair work without overpaying
Finding cheap drywall repair near you isn't really about chasing the lowest number on a page. It's about knowing what a fair price includes, so you can spot the quote that's cutting corners before you sign anything. Walk through your damage first, get three written estimates, check licensing and insurance, and lock the price and warranty in writing. Follow those six steps and you'll land on a contractor who charges fairly instead of one who just bids low and makes it up later with change orders.
If you're in the Sacramento Valley and want a quote from a crew with over 30 years of local history and 10,000 completed projects behind them, get a free drywall repair estimate from Super Shooters. No upfront payment, a written scope, and a warranty you can actually read in plain English.
Recent Posts