June 1, 2026
Smooth Walls Every Time: Drywall Finishing Tips From Pros
A freshly hung sheet of drywall looks like a blank canvas, until you realize the hard part hasn't even started. Mudding, taping, and sanding are where most DIY projects either come together or fall apart. If you've ever searched for drywall finishing tips only to end up with visible seams, bubbling tape, or sanding dust in every corner of your house, you're not alone. The finishing stage is what separates a wall that looks professional from one that clearly doesn't.
At Super Shooters, we've completed over 10,000 drywall and ceiling projects across the Sacramento Valley in our 30+ years of business. Our crews have seen every mistake in the book, and fixed most of them. That hands-on experience is exactly what we're drawing from here. These aren't generic suggestions pulled from a textbook. They're the same techniques our team uses on job sites every day, from new construction installs to full-room renovations.
This guide walks you through the entire finishing process step by step, from choosing the right joint compound to final sanding. Whether you're tackling a garage remodel, patching water damage, or finishing an ADU, you'll learn how to avoid the most common errors and get smooth, seamless walls. And if you'd rather leave the mud knife to someone with a few thousand projects under their belt, we're always a phone call away for a free estimate.
What a smooth drywall finish really takes
Getting a smooth wall isn't just about spreading mud and sanding it down. Every professional drywall finish depends on three things working together: the right materials, proper technique, and enough patience to let each coat dry completely before moving on. Skip any one of those, and you'll see the results the moment paint goes on. Most of the best drywall finishing tips come down to understanding what actually causes imperfections before you even pick up a mud knife.
The three factors that determine your result
Your finish quality comes down to materials, method, and time. Each factor plays a specific and non-negotiable role , and a weakness in any one of them will show up in your final wall. Here's what each one means in practice:
- Materials: The type of joint compound, tape, and tools you use directly affects how well your seams and fasteners disappear. Using the wrong compound for a particular coat, or low-quality tape that doesn't embed cleanly, creates problems that are difficult to fix later without starting over.
- Method: Technique matters more than speed. How you hold the knife, how much pressure you apply, and how far you feather each coat determines whether seams blend invisibly or leave raised ridges that show through paint.
- Time: Rushing the dry time between coats is the single most common reason DIY finishes crack, bubble, or shrink. Every coat needs to be completely dry before you sand or apply the next layer.
Why most DIY finishes fall short
Most homeowners run into trouble because they underestimate how many coats a clean finish actually requires. A professional result typically involves three or more separate coats of compound , each applied thinner and wider than the last. Skipping a coat doesn't save meaningful time. It just means you're sanding deeper into a seam that was never properly built up, which usually leaves visible lines once paint goes on.
The other common issue is applying mud that's too thick or too wet in a single application. Thick coats shrink significantly as they cure , which leaves low spots and hairline cracks that sanding won't fix. Getting the mud consistency right before you start each coat is one of the most practical habits you can build. We'll cover exactly how to do that in Step 3.
Rushing dry time between coats is the leading cause of cracked, bubbled, and sunken seams on DIY drywall jobs.
Understanding drywall finish levels
The construction industry uses a standardized scale from Level 0 through Level 5 to describe how complete a drywall finish is. Knowing your target before you start helps you plan the correct number of coats and choose the right products for each stage.
| Level | Description | Typical Use |
|---|---|---|
| 0 | No finishing applied | Temporary construction only |
| 1 | Tape embedded, compound not smoothed | Fire-rated assemblies, concealed areas |
| 2 | Single skim over tape and fasteners | Garages, areas receiving heavy texture |
| 3 | Two coats, light sanding | Walls receiving medium or heavy texture |
| 4 | Three coats, smooth surface | Standard residential rooms with flat paint |
| 5 | Full skim coat over entire surface | High-gloss paint, critical lighting conditions |
Most residential living spaces need a Level 4 or Level 5 finish , especially if you plan to use flat or satin paint. Flat paint is unforgiving and will highlight every imperfection the light catches at an angle. If you're finishing a garage or utility space, a Level 2 or Level 3 finish is usually acceptable and saves you significant time.
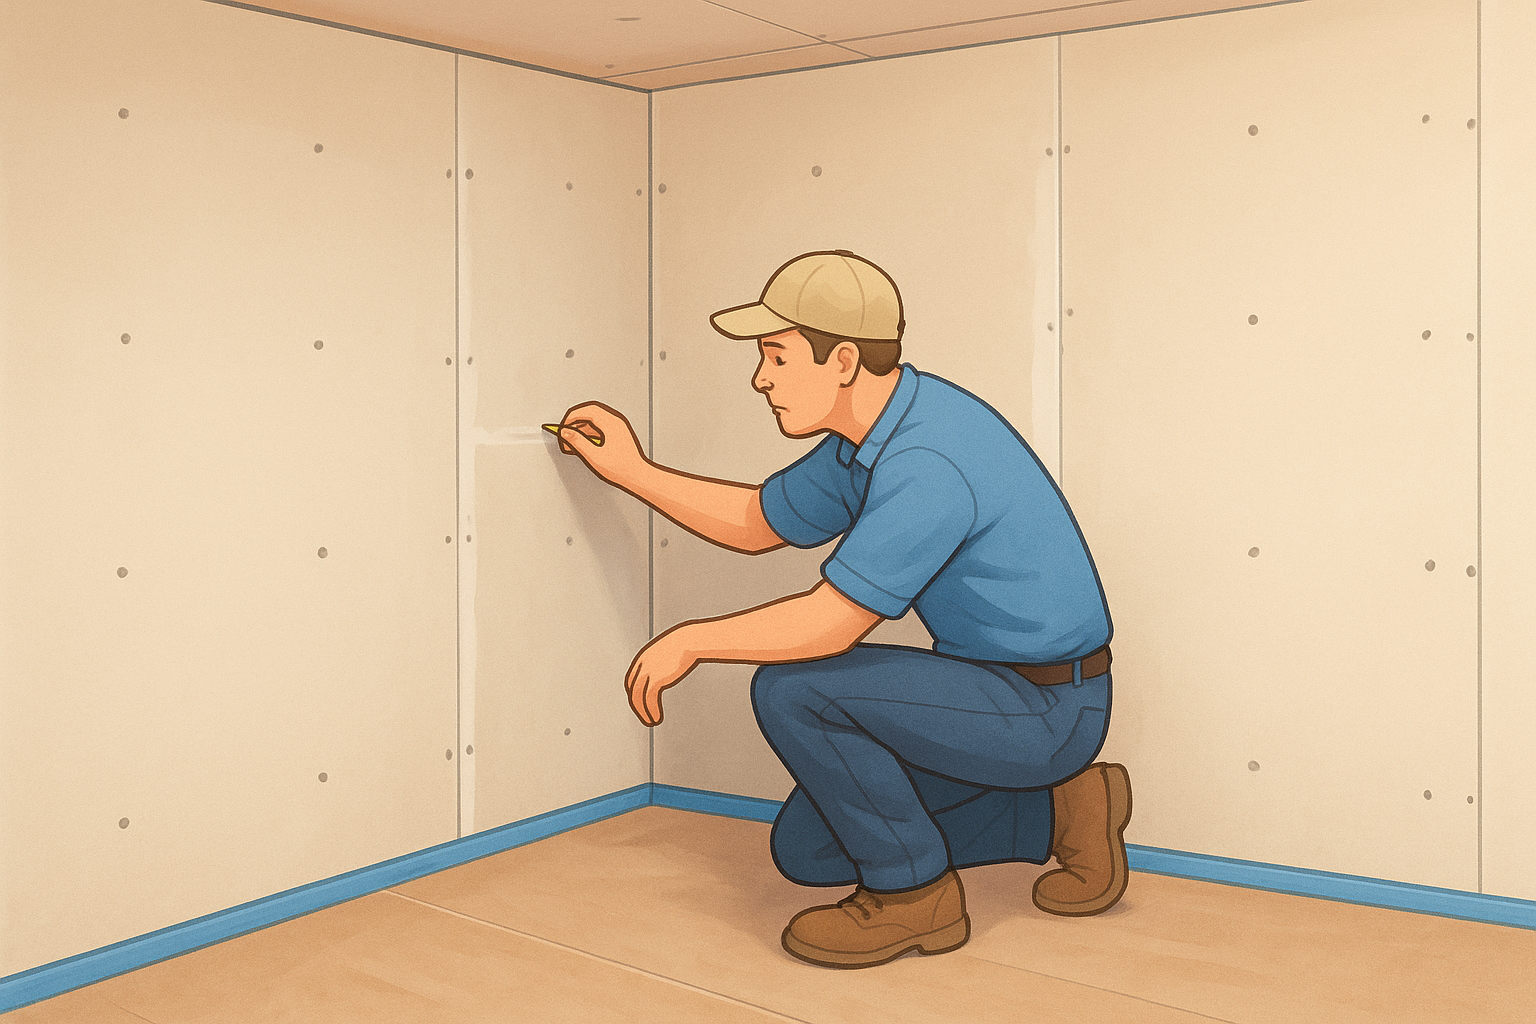
Step 1. Prep the room and inspect the drywall hang
Before you open a single bucket of joint compound, the condition of your drywall hang determines how well your finish holds up over time. Fixing a problem at this stage takes minutes. Fixing the same problem after three coats of mud takes hours and usually means cutting sections out and starting over. Every experienced finisher treats this inspection as a required step , not an optional one, because the mud can only hide so much.
Clear the space and protect the floors
Good prep starts with the room itself. Move all furniture out completely rather than pushing it to the center, because you'll need full access to every wall at floor level without maneuvering around obstacles. Cover floors with rosin paper or heavy plastic sheeting and tape the edges down firmly. Joint compound drips, sanding dust drifts into every corner, and cleanup time adds up fast if you didn't protect the surfaces first.
Run through this checklist before you touch any compound:
- Remove outlet covers and light switch plates so you can finish edges cleanly
- Turn off the HVAC system to stop dust from spreading through the ducts
- Tape plastic sheeting over doorways to contain sanding dust to the work area
- Set a bucket of water and a sponge nearby to wipe up fresh mud drips before they harden on the floor
Check every sheet before you pick up the mud knife
Walk the entire room and inspect every wall and ceiling panel before mixing anything. Look for screws that sit proud of the surface or are driven too deep , and correct them now. Screws should sit just below the paper face without breaking through it. Any torn paper face needs to be cut flat with a utility knife and pressed back down firmly, because mud applied over torn paper will bubble and peel no matter how many coats you add on top.
Check your seams as well. Gaps wider than 1/8 inch between panels need to be filled with a setting-type compound before you tape. Panels that are crowned or bowed at the joint will require additional coats to flatten, so mark those spots with a pencil now and plan accordingly. These drywall finishing tips applied at the inspection stage prevent you from chasing the same defects through every coat that follows.
A proud screw or torn paper face left uncorrected before taping will telegraph straight through your finish coat regardless of how many layers you apply over it.
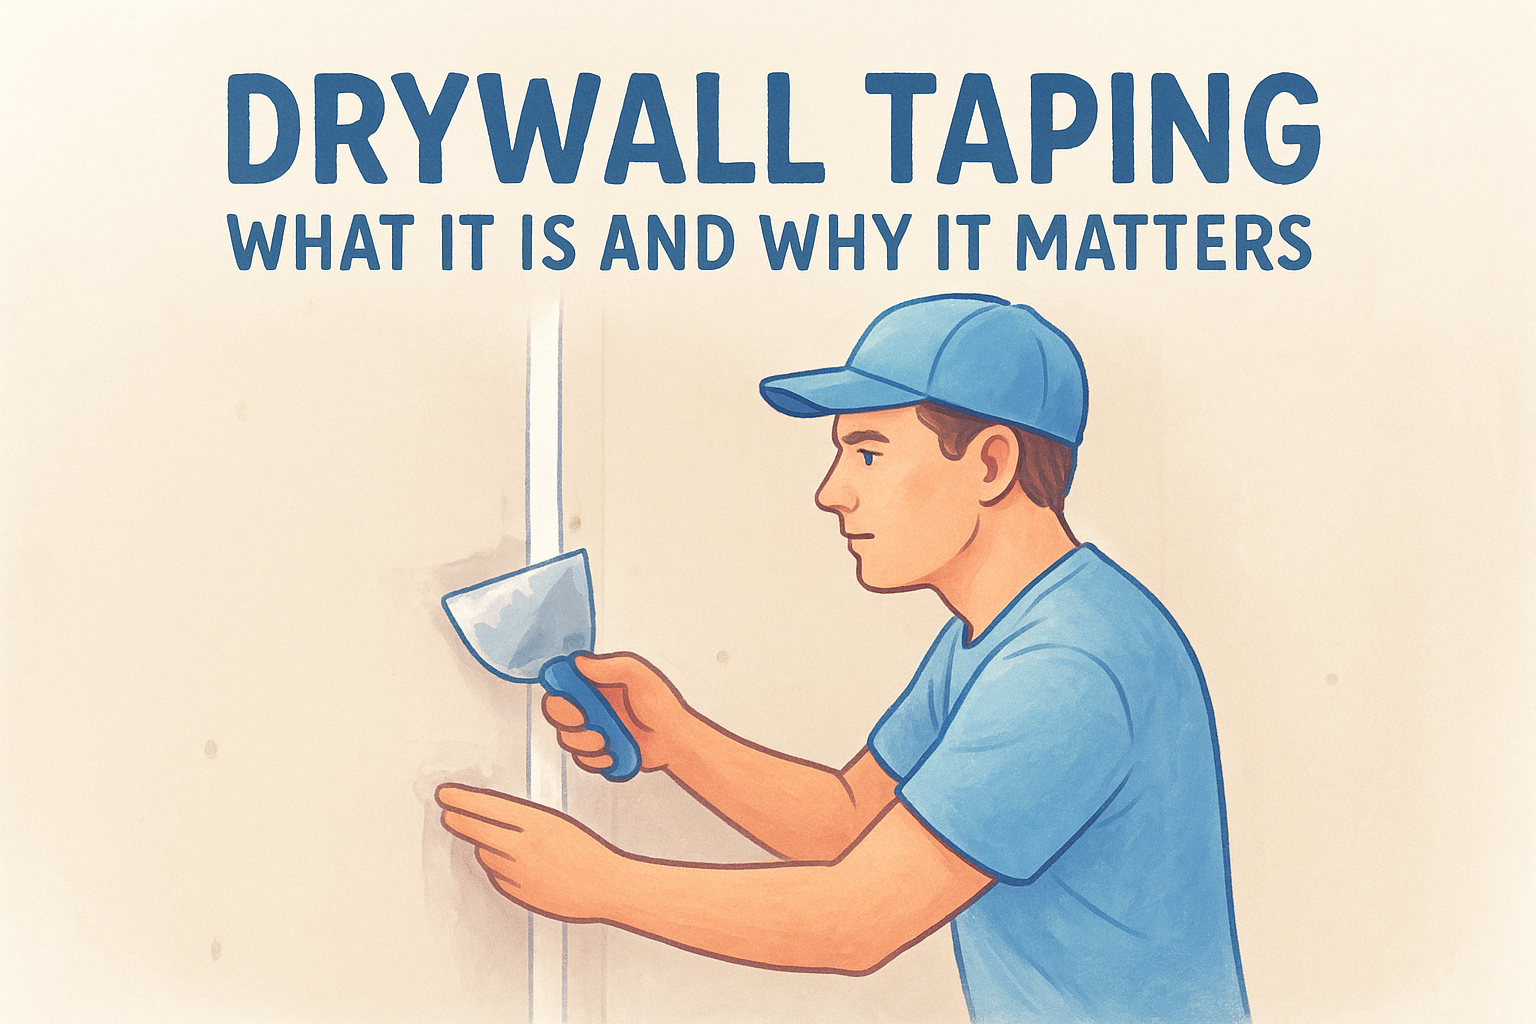
Step 2. Pick the right tape and joint compound
Your materials selection matters more than most beginners expect. The wrong tape in the wrong location will bubble, crack, or fail entirely , and the wrong compound for a specific coat makes sanding significantly harder than it needs to be. Spending five minutes matching your products to your project before you start is one of the most practical drywall finishing tips you can put into action right away.
Choose your tape first
Paper tape and mesh tape are the two options you'll find at every hardware store, and they serve different purposes. Paper tape is stronger, less likely to bubble, and the correct choice for flat seams and interior corners . It requires embedding in a wet bed of compound to hold, which Step 4 covers in detail. Fiberglass mesh tape is self-adhesive and faster to apply , but it needs a setting-type compound rather than a drying compound to build adequate strength at the seam.
| Location | Recommended Tape | Why |
|---|---|---|
| Flat butt joints | Paper tape | Stronger bond, less shrinkage risk |
| Tapered flat seams | Paper tape | Cleaner feather edge |
| Interior corners | Paper tape | Folds cleanly, holds shape |
| Repairs and patches | Fiberglass mesh | Self-adhesive, easy to position |
| Exterior corners | Metal or vinyl corner bead | No tape needed |
Match the compound to the coat
Joint compound comes in three main types, and each one does a different job in the finishing sequence. Setting compound, often called hot mud, hardens through a chemical reaction rather than evaporation , which means it won't shrink and works well for filling gaps wider than 1/8 inch, embedding mesh tape, and building up thick repairs. All-purpose or lightweight drying compound is what you'll reach for during fill and finish coats because it sands easier and feathers out across the surface without dragging.
Using all-purpose compound for your final coat instead of a dedicated topping compound leads to harder sanding and a rougher surface texture under paint.
Pre-mixed lightweight compound works well for most homeowners handling standard fill and finish work. Pick up setting compound in a 20-minute or 45-minute formulation for the gap filling you flagged during your Step 1 inspection. Keep both types clearly labeled and stored separately so you don't grab the wrong bucket mid-coat and have to start a section over.
Step 3. Mix mud to the right consistency every time
Mud consistency is one of the most overlooked drywall finishing tips professionals rely on daily. Pre-mixed compound sitting in a bucket is almost never ready to use straight out of the store. Temperature changes during transport and storage cause the compound to stiffen or separate , and applying mud that's too thick drags under your knife and leaves ridges, while mud that's too thin slumps and shrinks as it dries. Getting this right before you load your pan saves you from sanding out unnecessary defects later.
How to test your mud before you apply it
Your target consistency changes depending on which coat you're applying. Taping and fill coats work best when the compound is about as thick as smooth peanut butter , firm enough to hold its shape on the knife but easy to spread without tearing the tape beneath. Finish coats should be thinned slightly further , closer to a thick yogurt consistency, so the compound glides across the surface without drag lines.
Use this quick test before each coat:
- Scoop a full knife-load of compound and hold the knife flat horizontally
- Watch whether the mud holds its position or slowly slides off the blade
- If it drops immediately, the mix is too thin; if it grips the knife with no movement at all, it needs more water
- A slow, steady slide off the edge means your consistency is correct
The right mud consistency for a finish coat is thinner than most beginners expect, and adding water in small increments prevents you from thinning it past the point of recovery.
Add water one tablespoon at a time and mix thoroughly with a drill-mounted paddle mixer before testing again. Never pour water directly into a full bucket and stir by hand. A paddle mixer ensures even distribution and breaks up any lumps that cause streaks across the wall surface.
Fixing mud that's too thick or too thin
If your compound is too thick after mixing, add small amounts of water and re-mix for at least 60 seconds before testing again. Thinning too aggressively weakens the compound and increases shrinkage, so patience at this step pays off.
Mud that has gone too thin cannot be thickened back up by mixing alone. Your best option is to fold in fresh compound from a new bucket in small amounts until the consistency returns to the right range. Keep your buckets covered between coats to prevent the surface from skinning over and introducing dry lumps into your next application.
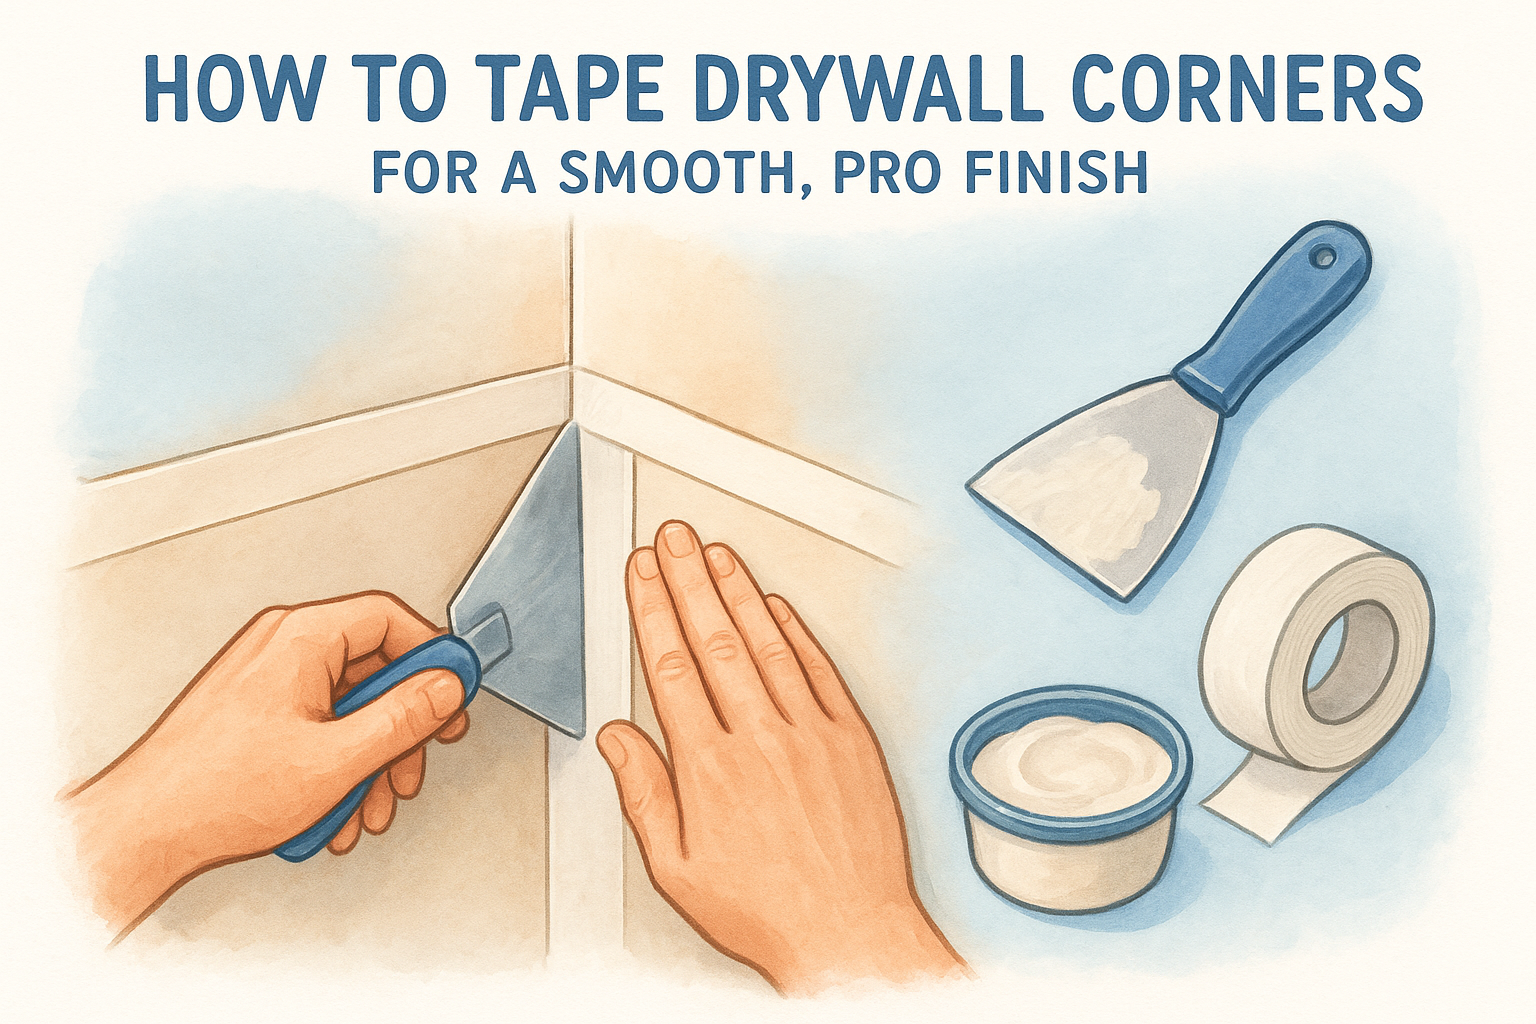
Step 4. Bed the tape and build a flat first coat
Bedding tape is the foundation of your entire finish, and every problem that appears in your second or third coat often traces back to something that went wrong here . The goal at this stage is simple: get the tape fully embedded in wet compound with no air pockets, no wrinkles, and no excess mud trapped underneath. A well-bedded tape coat that dries flat sets you up for clean, easy fill coats later. Rushing this step or applying too much compound beneath the tape adds bulk that takes far more sanding to correct than the time you saved.
Embed tape without trapping air
Start by applying a thin, even layer of all-purpose compound directly over the seam using a 6-inch knife. The bed coat should be just thick enough to bond the tape, not thick enough to see clearly through , roughly 1/16 of an inch. Press the paper tape firmly into the wet compound by hand first, centering it over the seam, then run your knife down the length of the tape using steady, moderate pressure to squeeze out excess mud from underneath.
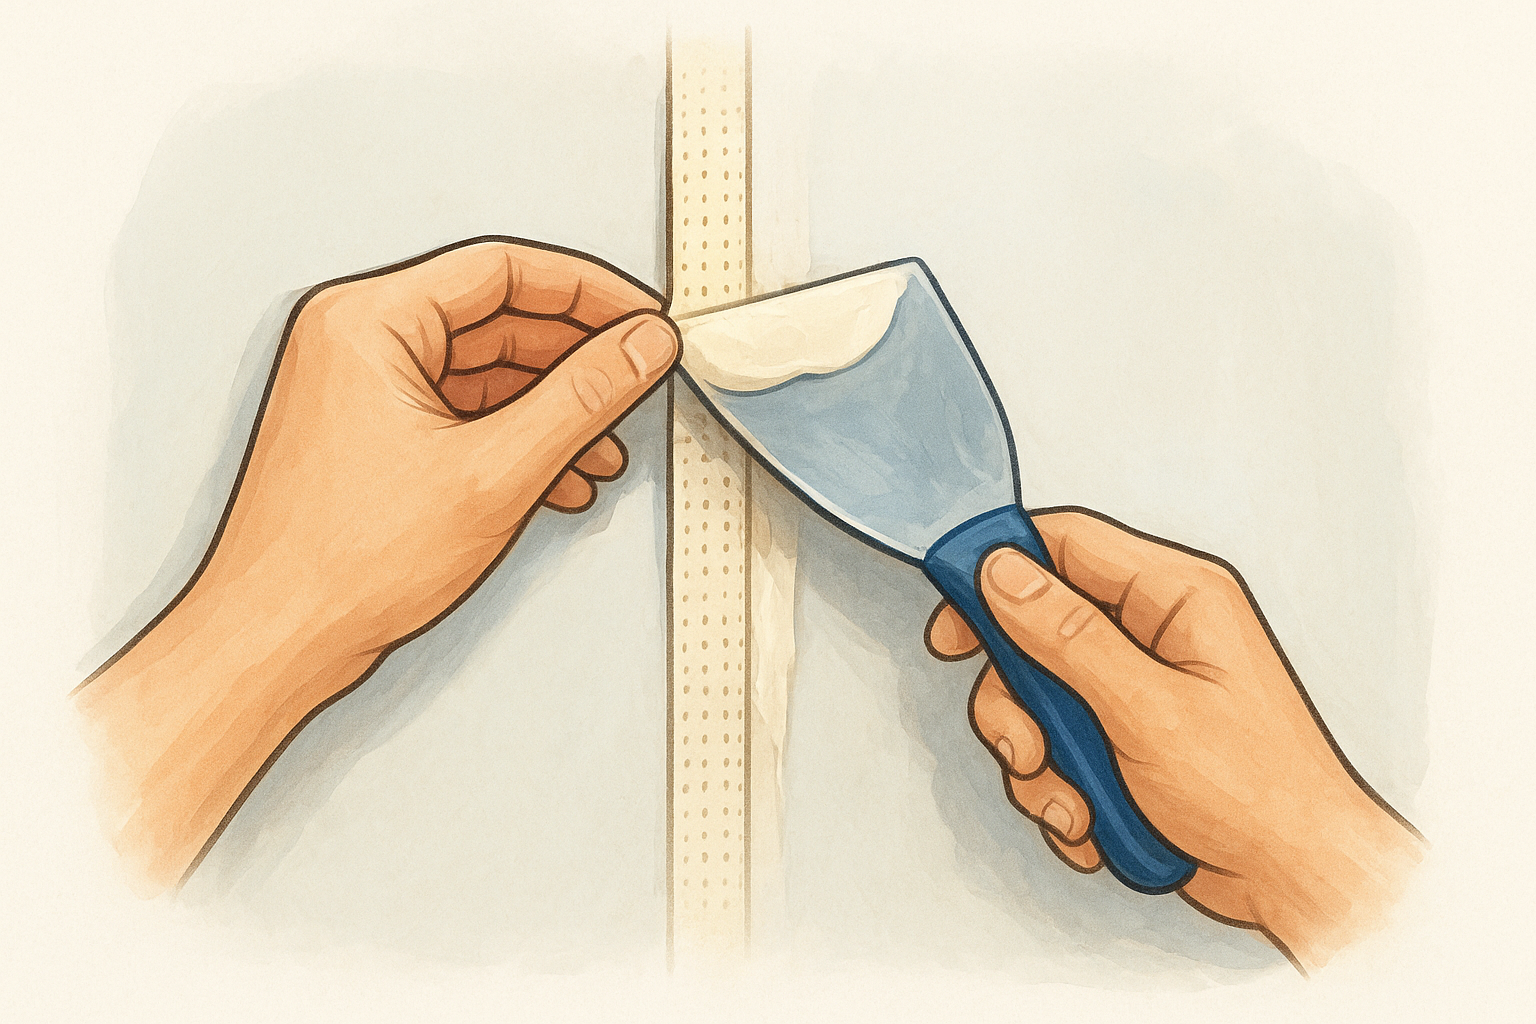
Work in one direction rather than back and forth. Back-and-forth strokes pull the tape out of position before the compound grabs it and create air bubbles along the seam edge. If you see a bubble after your first pass, lift the tape carefully, apply a small amount of fresh compound to that spot, and re-press. Never try to force a bubble down by pressing hard with the knife, because that just shifts it rather than eliminates it.
Air pockets beneath tape are invisible until your finish coat dries, at which point they lift the surface and force you to cut out and re-tape the entire section.
Flatten the first coat before it dries
Once the tape is set, apply a second thin pass of compound over the tape with a clean 8-inch knife to fill the face and start building a flat surface. Keep the edges of this coat feathered out 2 to 3 inches on each side of the tape. One of the most effective drywall finishing tips professionals use at this stage is to scrape the knife nearly flat against the wall on the final stroke, which pulls off excess compound and leaves a thin, even layer that dries with minimal shrinkage. Let this coat dry completely, typically 24 hours, before you touch it again.
Step 5. Apply fill and finish coats with clean edges
Your tape coat is dry and flat, and now the goal shifts from bonding tape to building a surface that paint can sit on without showing seams . Fill and finish coats are where your walls start to look like walls instead of a construction site. Each coat needs to be wider and thinner than the one before it, and keeping your edges clean on every pass is what separates a seamless result from one that shows seam lines under raking light .
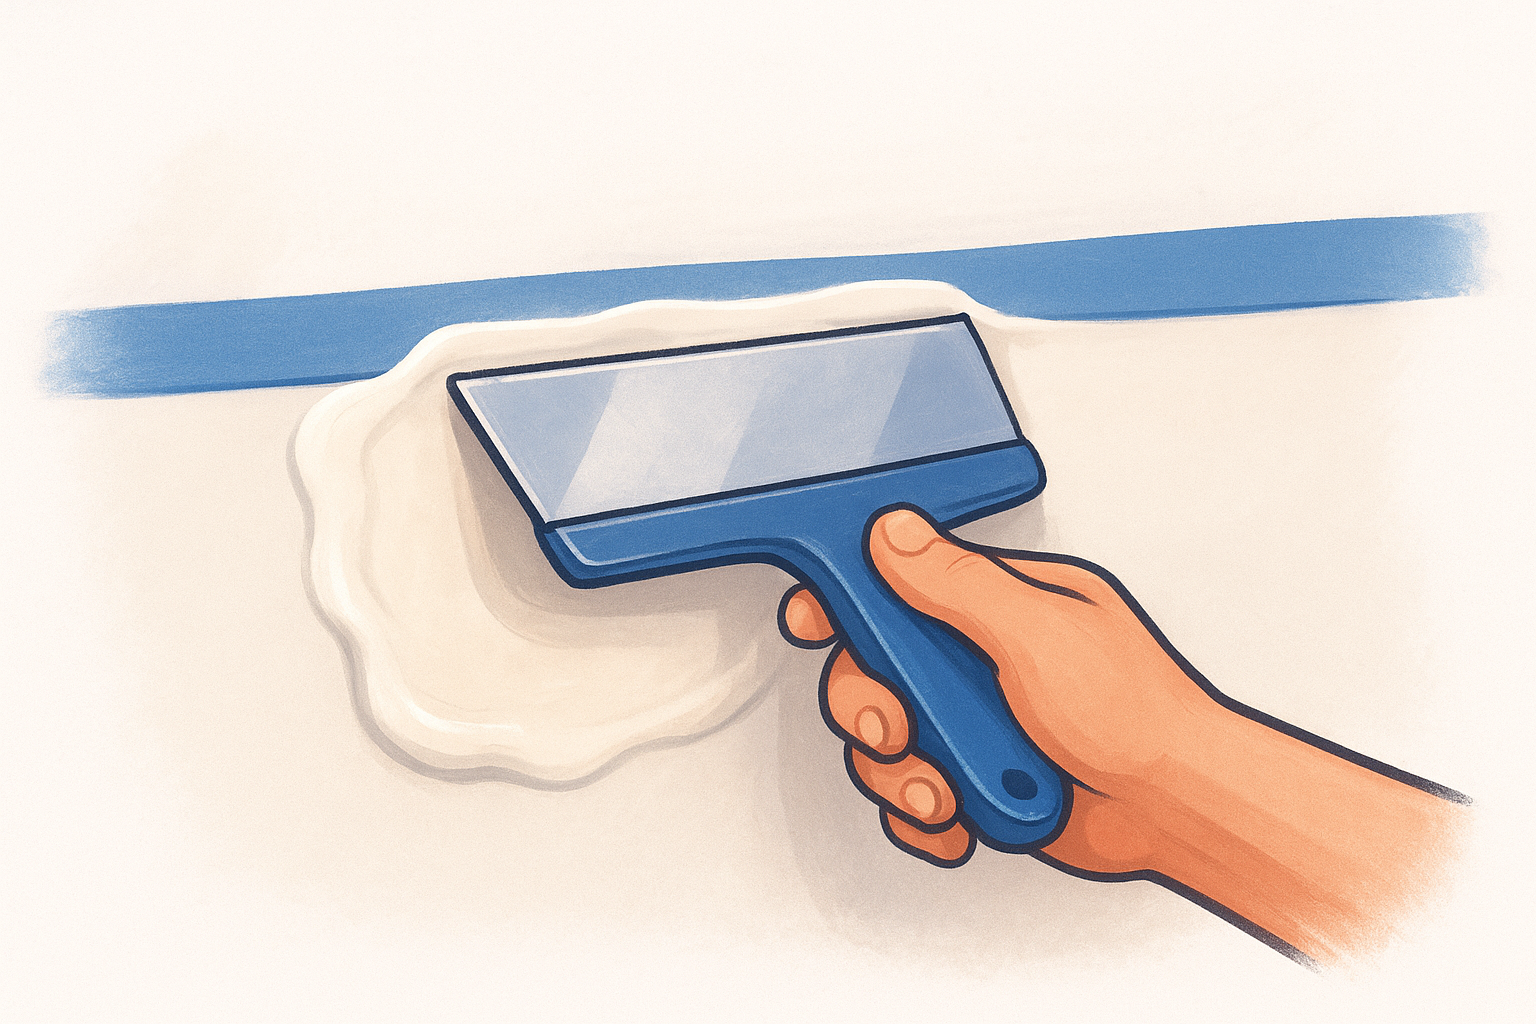
Build the fill coat wide and flat
The fill coat goes on with a 10-inch or 12-inch knife , and you should aim to extend it 6 to 8 inches on each side of the taped seam. Load your knife evenly across the full blade width and apply the compound in a single smooth stroke with consistent pressure from start to finish. Uneven pressure creates a crowned surface that catches light and looks worse than an unfilled seam once the paint is on.
After your fill coat dries completely, inspect it under a work light held at a steep angle to the wall. This raking light technique is one of the most practical drywall finishing tips that professionals use to catch low spots before they go on to the finish coat. Mark any low areas with a pencil and apply a thin spot coat to those sections only, feathering it out to match the surrounding surface.
Inspecting under raking light after the fill coat saves you from discovering low spots after paint, when fixing them means repainting the entire wall.
Apply the finish coat without drag lines
Thin your compound to a smooth yogurt consistency before you load the knife for the finish coat , and switch to a clean 12-inch or wider knife with no nicks or dried compound on the blade. Any defect on the blade face transfers directly to the wall surface. Apply the finish coat in one direction using light, even pressure and feather the edges out an additional 2 to 3 inches beyond where your fill coat ended.
Wipe your knife blade completely clean between each stroke to prevent dragging dried compound back across the wet surface. Lift the knife at the end of each pass rather than stopping abruptly, which leaves a thick edge that requires heavy sanding to remove.
Step 6. Sand with control, then prime and spot-fix
Sanding is where most finishers lose patience and damage work that was otherwise going well. Oversanding cuts through the paper face of your compound and exposes the underlying tape or drywall paper, which creates a fresh problem that requires another coat to fix. Your goal at this stage is to knock down high spots and ridges , not to sand the entire surface flat. Treat your sandpaper and sanding block as precision tools rather than a shortcut.
Sand dry coats in stages
Start with 120-grit sandpaper on a flat sanding block for your first pass over fill coat ridges and dried mud edges. Hold your work light at a low angle to the wall while you sand so you can see exactly where material is coming off. Never sand in tight circular motions , because that pattern leaves visible swirl marks that show through primer and paint. Use long, straight strokes parallel to the seam instead, and keep your pressure light and consistent across the full stroke.
Move to 150-grit or 220-grit sandpaper for your final pass over the finish coat to smooth any fine texture left by the coarser paper. Run your hand across the surface after each pass. What you feel is what paint will reveal, so any roughness you detect now needs one more light pass before you move on.
Switching to a finer grit for the final sanding pass is one of the most overlooked drywall finishing tips that prevents a grainy texture from showing through flat or satin paint.
Prime first, then spot-fix what shows
Apply a coat of drywall primer, also called PVA primer , across the entire finished surface before you do any final touch-ups. Primer seals the compound differently than bare drywall, and many low spots and thin areas only become visible after the primer dries. Mark every imperfection with a pencil immediately after the primer coat flashes off , then mix a small amount of lightweight compound to a smooth consistency and apply a thin skim coat over each marked spot with a 6-inch knife.
Let those spot fixes dry fully, sand them lightly with 220-grit paper, and apply a second coat of primer before painting . Skipping that second primer coat over fresh compound leaves dull, flat spots in your paint called "photographing," which look like visible patches on the finished wall.

Next steps
These drywall finishing tips cover everything from inspection and tape selection through sanding, priming, and spot-fixing. The process works when you follow the sequence, let each coat dry completely, and treat consistency as a non-negotiable at every stage. Cut any of those corners and the wall tells the story in paint.
Most homeowners find that a single room takes three to four days of actual working time once you factor in dry times between coats. That timeline is realistic, and rushing it is the most reliable way to end up with a wall that needs rework . If your project is larger than a patch or a single room, the investment in materials, time, and physical labor adds up fast.
If you'd rather hand this off to a crew with 30 years of experience and over 10,000 completed projects, contact Super Shooters for a free in-home estimate on professional drywall installation for your Sacramento Valley home.
Recent Posts