
Share this article

July 25, 2026

Ceiling Drywall Repair: A Step-by-Step DIY Guide

A cracked ceiling or a water stain that keeps spreading isn't just ugly, it's a sign your drywall needs attention before the problem gets worse. Ceiling drywall repair sounds intimidating when you're staring up at a hole or a sagging seam, but most damage falls into a handful of categories you can actually fix yourself with the right approach. Small cracks and nail pops rarely require a professional, and even a water-damaged patch can often be handled in an afternoon if you catch it early.

This guide walks you through the exact steps for patching holes, taping and mudding seams, and dealing with water stains so your ceiling looks smooth and even again. You'll learn what tools to gather, how to cut and set a patch, and how to blend the repair so it disappears once painted.

We'll also flag the situations where DIY stops making sense, like popcorn ceilings that might contain asbestos or damage that keeps recurring because of a leak overhead. Super Shooters has spent over 30 years fixing Sacramento Valley ceilings, and we'll point out exactly when it's time to call in a licensed contractor instead of reaching for another tube of joint compound.

What you'll need before you start

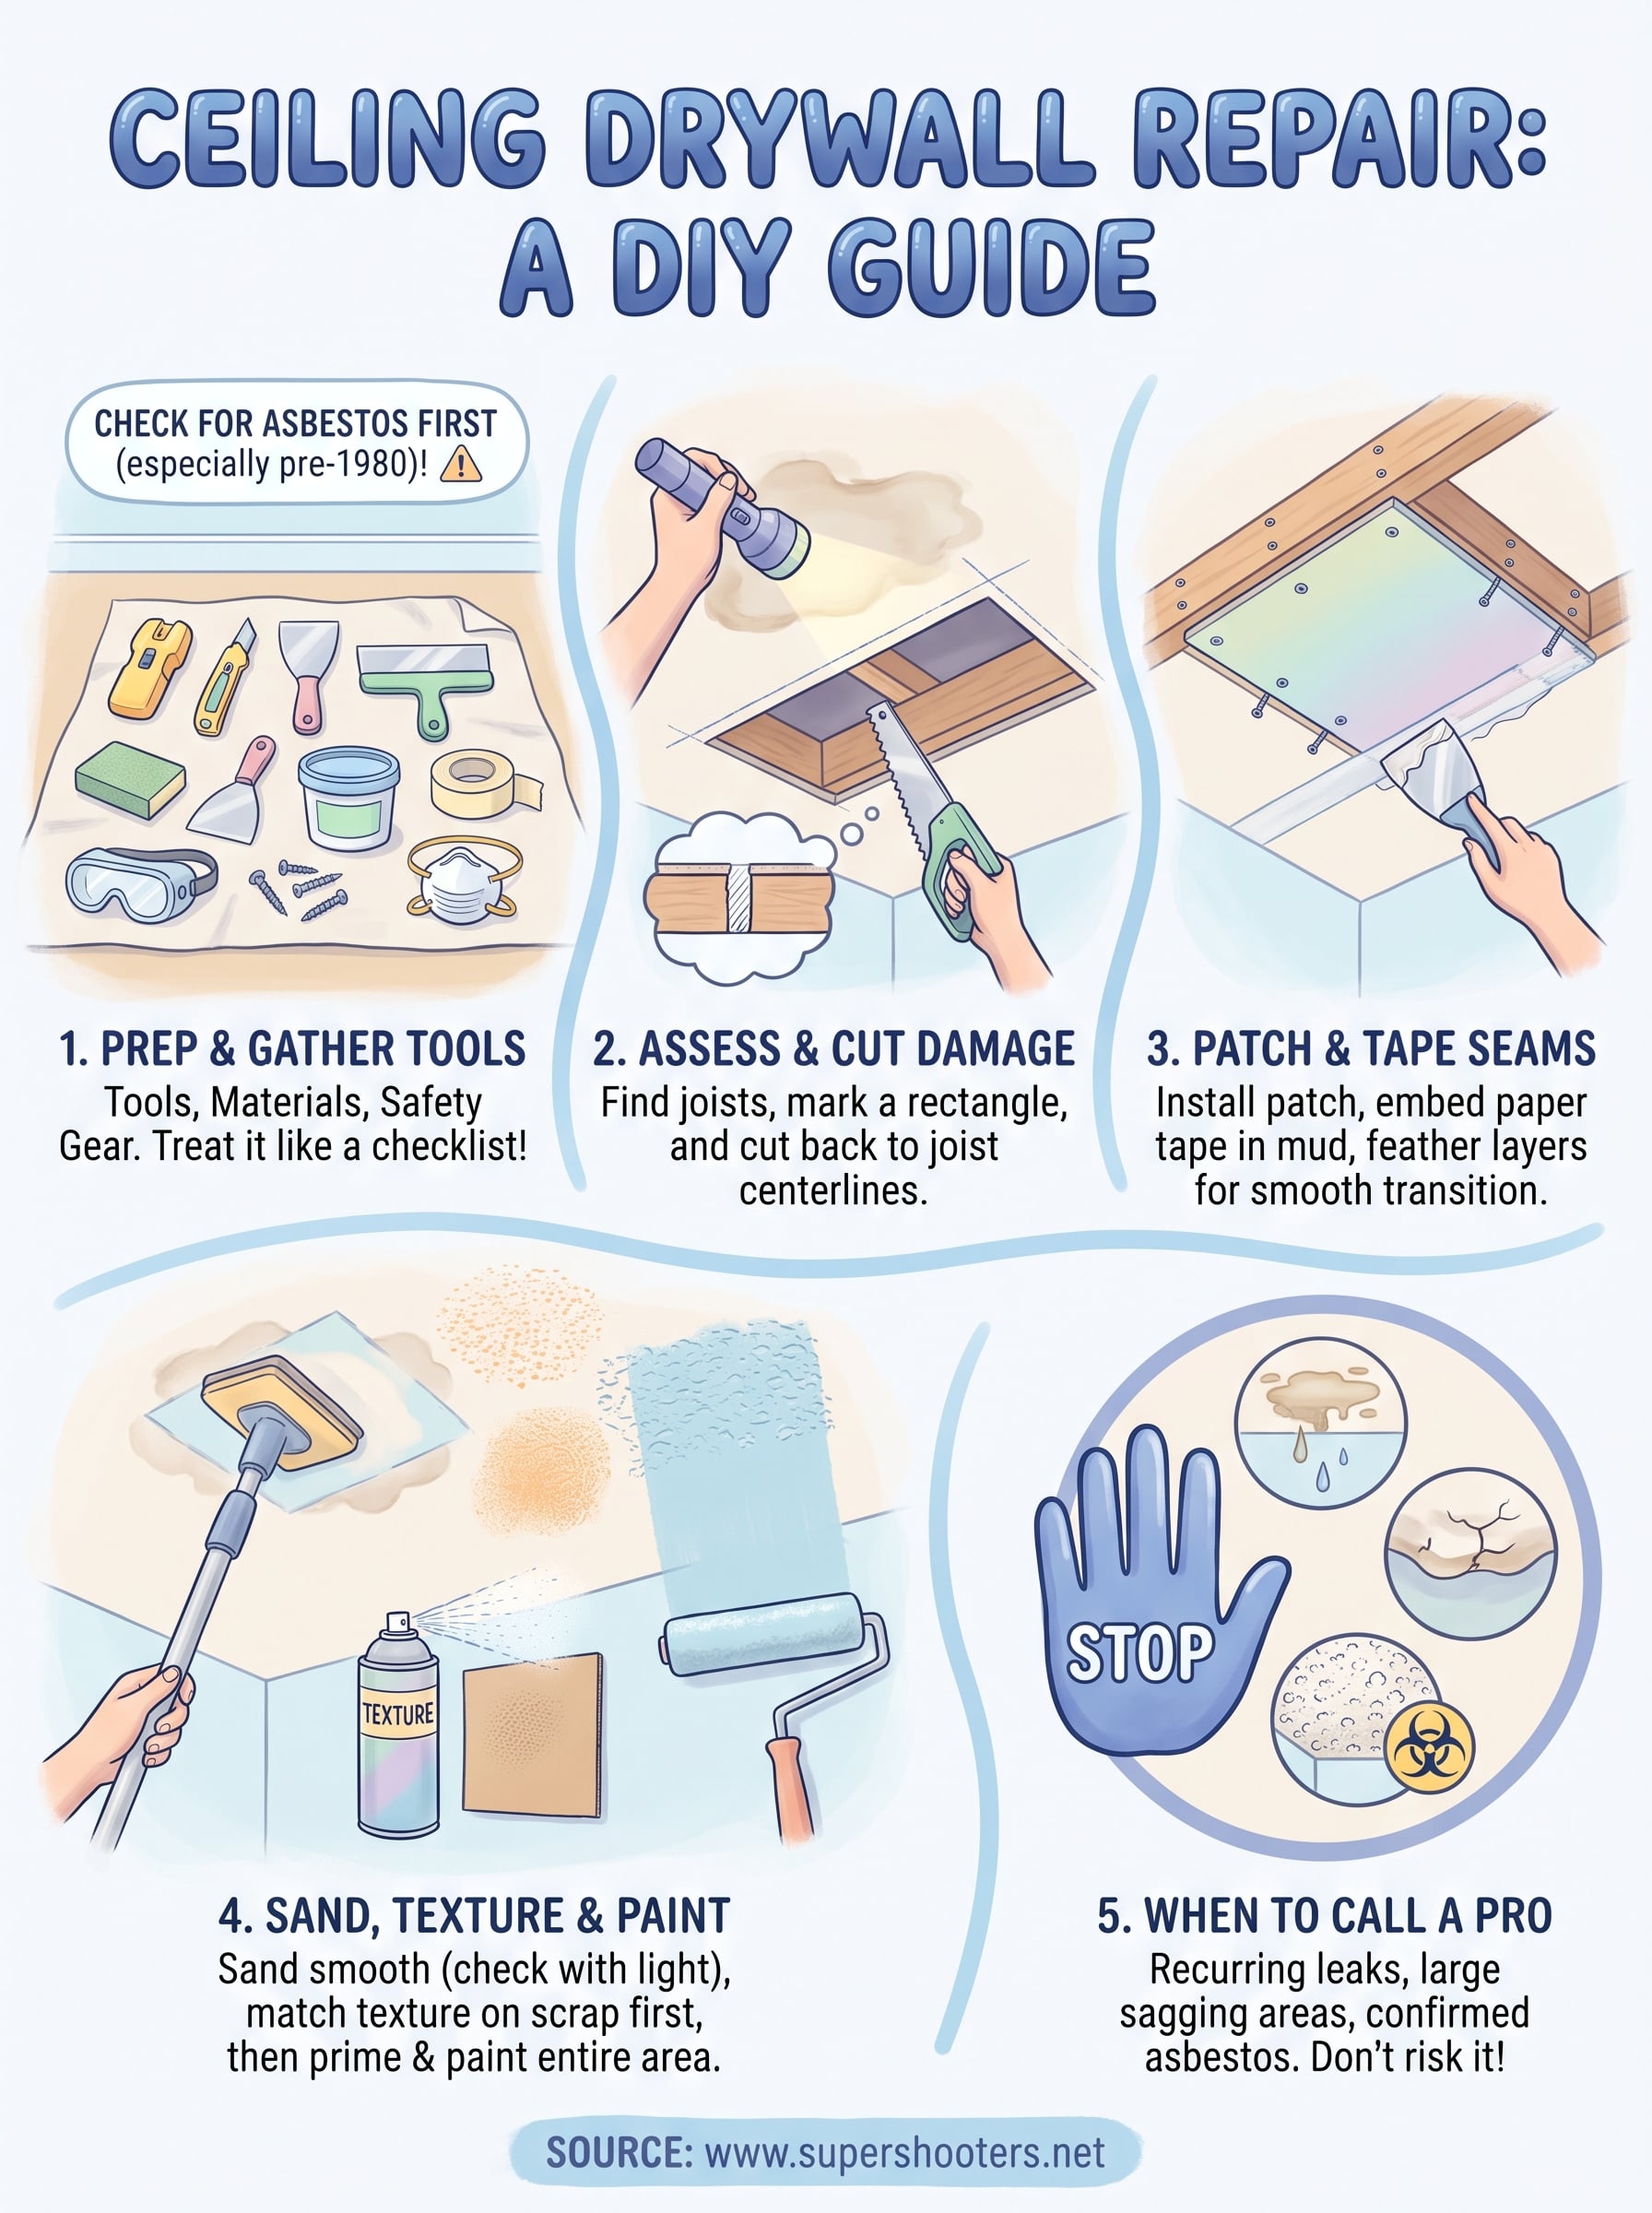
Gathering everything before you climb the ladder saves you a dozen trips and keeps your repair moving while the joint compound is still workable. Ceiling drywall repair goes faster when you treat it like a checklist rather than a guessing game, so take ten minutes to lay out your tools and materials on a drop cloth before you touch the ceiling.

Check for asbestos first

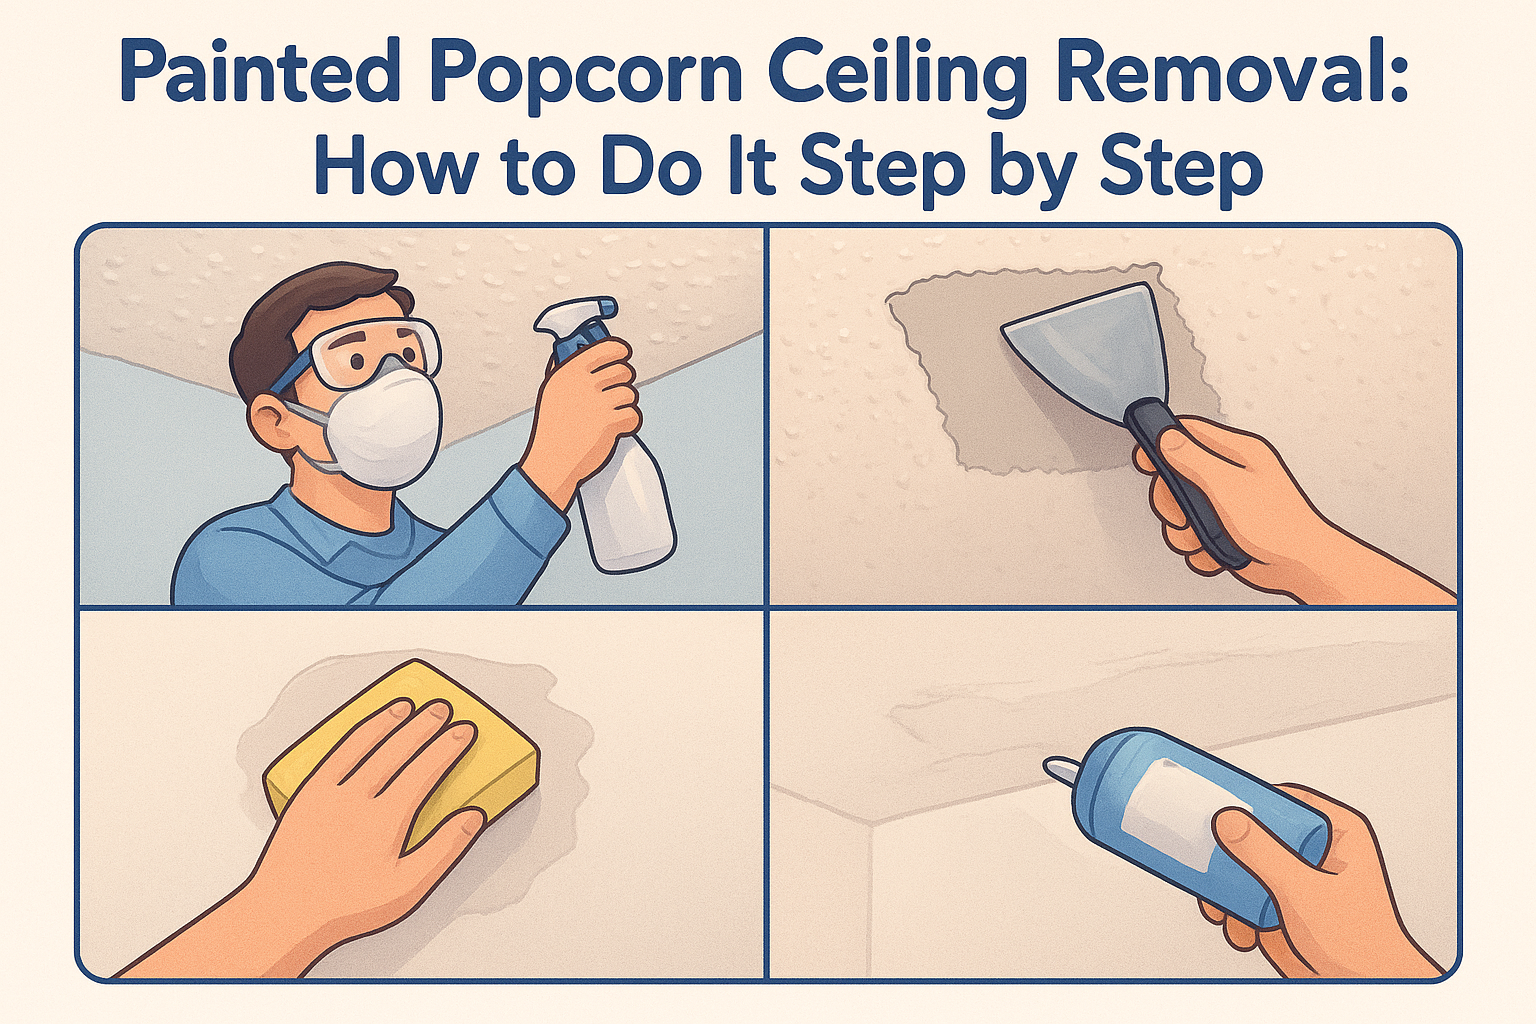
Homes built before 1980 often have popcorn or acoustic ceilings that contain asbestos, and disturbing that material without testing it is a serious health risk. Testing kits are cheap and available at most hardware stores, or you can send a scraping to a certified lab for an accurate result. If your ceiling texture predates 1980 and you haven't confirmed what's in it, stop here and get it tested before cutting into anything.

Never sand, scrape, or cut into an older popcorn ceiling until you know whether it contains asbestos.

Tools to have on hand

  • Stud finder
  • Utility knife and drywall saw
  • 6-inch and 12-inch taping knives
  • Sanding pole or sanding sponge
  • Ladder rated for ceiling height
  • Safety goggles and an N95 mask
  • Drop cloths for furniture and flooring

Materials checklist

Matching the existing texture matters as much as matching the drywall thickness, so grab a texture spray can that resembles knockdown or orange peel if that's what your ceiling has.

Material Typical Size/Type Notes
Drywall patch panel 1/2-inch, cut to fit hole Match thickness to existing ceiling
Joint compound Pre-mixed, 1-gallon tub All-purpose works for most repairs
Drywall tape Paper or self-adhesive mesh Paper tape gives a stronger bond
Drywall screws 1-1/4 inch For securing patch to framing
Primer Stain-blocking Especially important after water damage
Texture spray Matches ceiling pattern Test on scrap board first

Once you've confirmed the ceiling is safe to work on and your supplies are within reach, you're ready to start cutting out the damaged section.

Step 1. Assess and remove the damaged drywall

Start by figuring out what you're actually dealing with. A hairline crack along a seam usually just needs new tape and mud, but a soft, sagging spot overhead almost always means water got in and the paper backing has broken down. Press gently on any stained area with your fingertips. If it gives like wet cardboard, that section has to come out, not just get patched over.

Mark and cut the damaged section

Once you know the boundaries of the bad drywall, find the ceiling joists on either side with your stud finder so your patch has something solid to screw into later. Snap a chalk line or draw a straight rectangle that extends to the center of each joist, then score along those lines with a utility knife before switching to a drywall saw for the full cut. Cutting to the joist centerline matters more than most people realize.

A patch with no solid backing will crack again within months, so always cut back to the center of the nearest joists.

Clear out debris and check for the source

Pull out the damaged piece and remove any crumbling material, old insulation, or loose fasteners left in the opening. If the damage came from a leak, this is your chance to look up into the cavity and confirm the roof, attic vent, or plumbing line has actually been fixed before you close the ceiling back up.

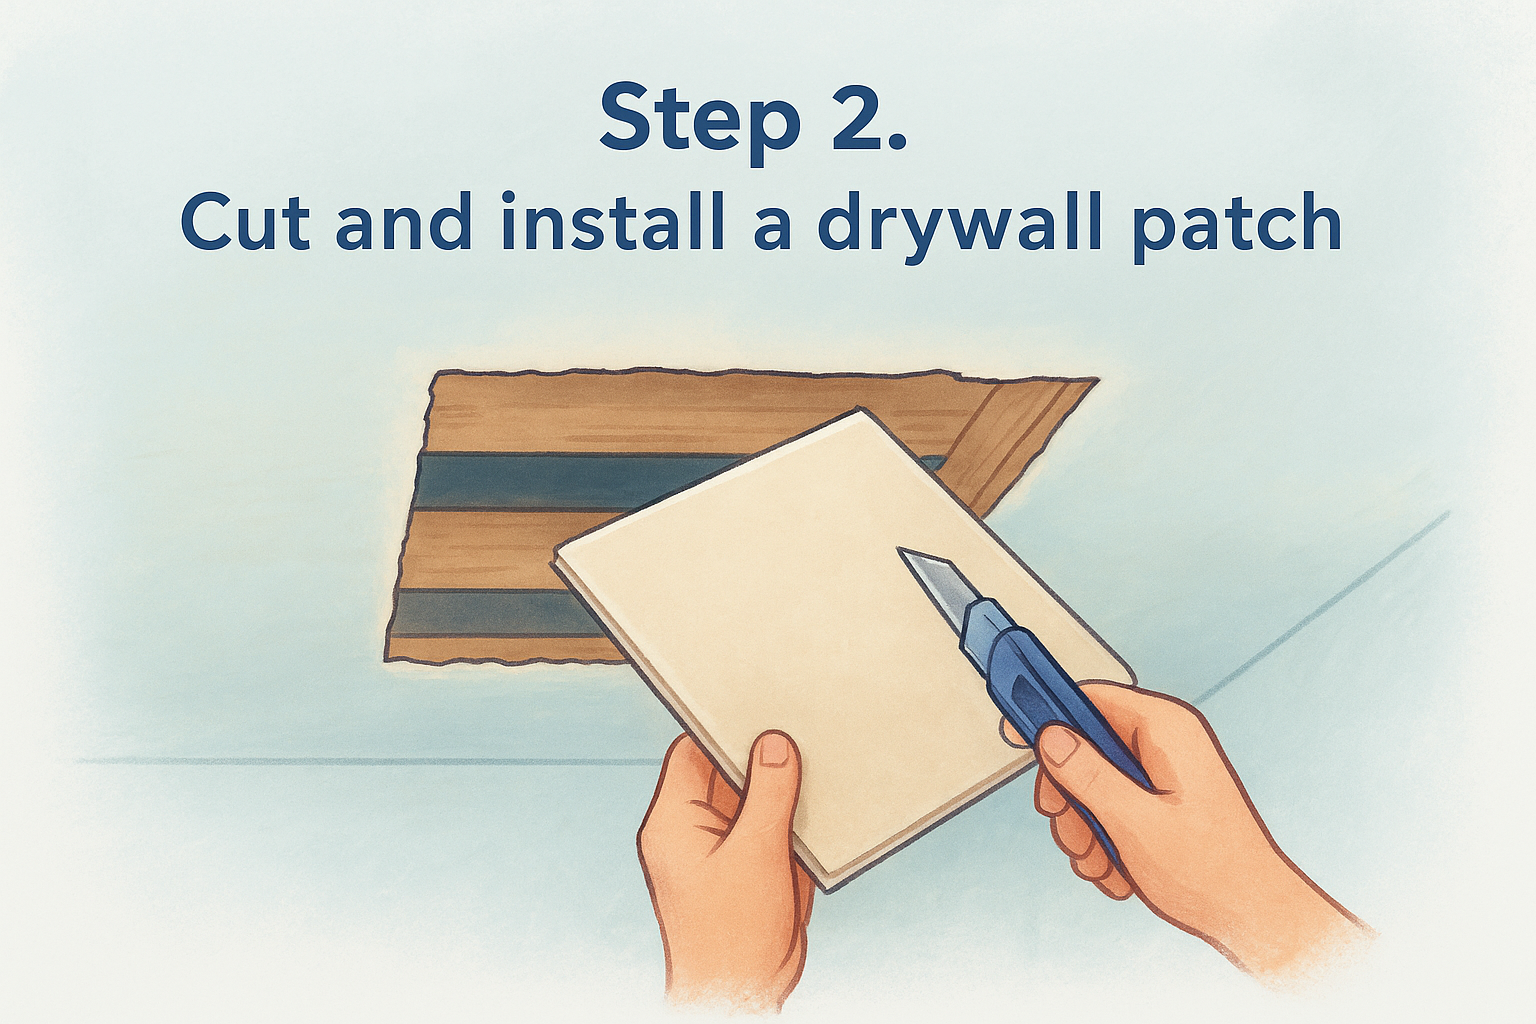
Step 2. Cut and install a drywall patch

Now that you have a clean rectangular opening with joists exposed on both sides, measure the hole carefully and cut your patch panel to match exactly. Precise measurements save you from gaps that are hard to fill later, so measure twice before you cut the new piece with your utility knife or drywall saw. This step is where most ceiling drywall repair projects either come together cleanly or start looking sloppy.

Add backing if the hole doesn't reach a joist

If your opening sits between joists rather than spanning to one, you'll need to install backing so the patch has something to screw into. Cut two furring strips or scrap pieces of 1x3 lumber a few inches longer than the hole is wide, then slide them into the cavity and screw them to the surrounding ceiling drywall so half of each strip is exposed inside the opening.

Set and secure the patch

  • Lift the patch into place, checking that it sits flush with the surrounding ceiling
  • Drive drywall screws every 6 to 8 inches along the joists or furring strips
  • Sink each screw slightly below the surface without tearing the paper
  • Check the whole patch with a flashlight held at an angle to spot any high spots

A patch that isn't screwed flush will telegraph through every coat of mud you apply.

Once the panel feels solid with no wobble or gaps around the edges, you're ready to move on to taping the seams.

Step 3. Tape and apply joint compound

With the patch screwed flush, cover every seam where new drywall meets old before you touch a sanding sponge. Joint compound needs something to grip, and skipping the tape step is the number one reason patches crack again within a year.

Embed the tape

Spread a thin layer of joint compound over each seam with your 6-inch knife, then press paper tape into the wet mud and smooth it flat, working out air bubbles and excess compound toward the edges. Self-adhesive mesh tape is faster, but paper tape bonds tighter for ceiling work where gravity fights you the whole time.

Paper tape embedded in wet mud holds up better on ceilings than mesh tape ever will.

Build up the layers

Let the first coat dry fully, usually overnight, before adding a second, wider coat with your 12-inch knife. Feather the edges out several inches beyond the tape so the transition disappears into the surrounding ceiling surface . A third coat, feathered even wider, usually finishes the job.

  • Coat 1: embed tape, cover screw heads, let dry 24 hours
  • Coat 2: widen with 12-inch knife, feather edges, let dry 24 hours
  • Coat 3: final skim coat, feather widest, let dry fully

Check each dried coat with a flashlight before moving forward, since shadows reveal ridges you'd otherwise miss until the paint goes on.

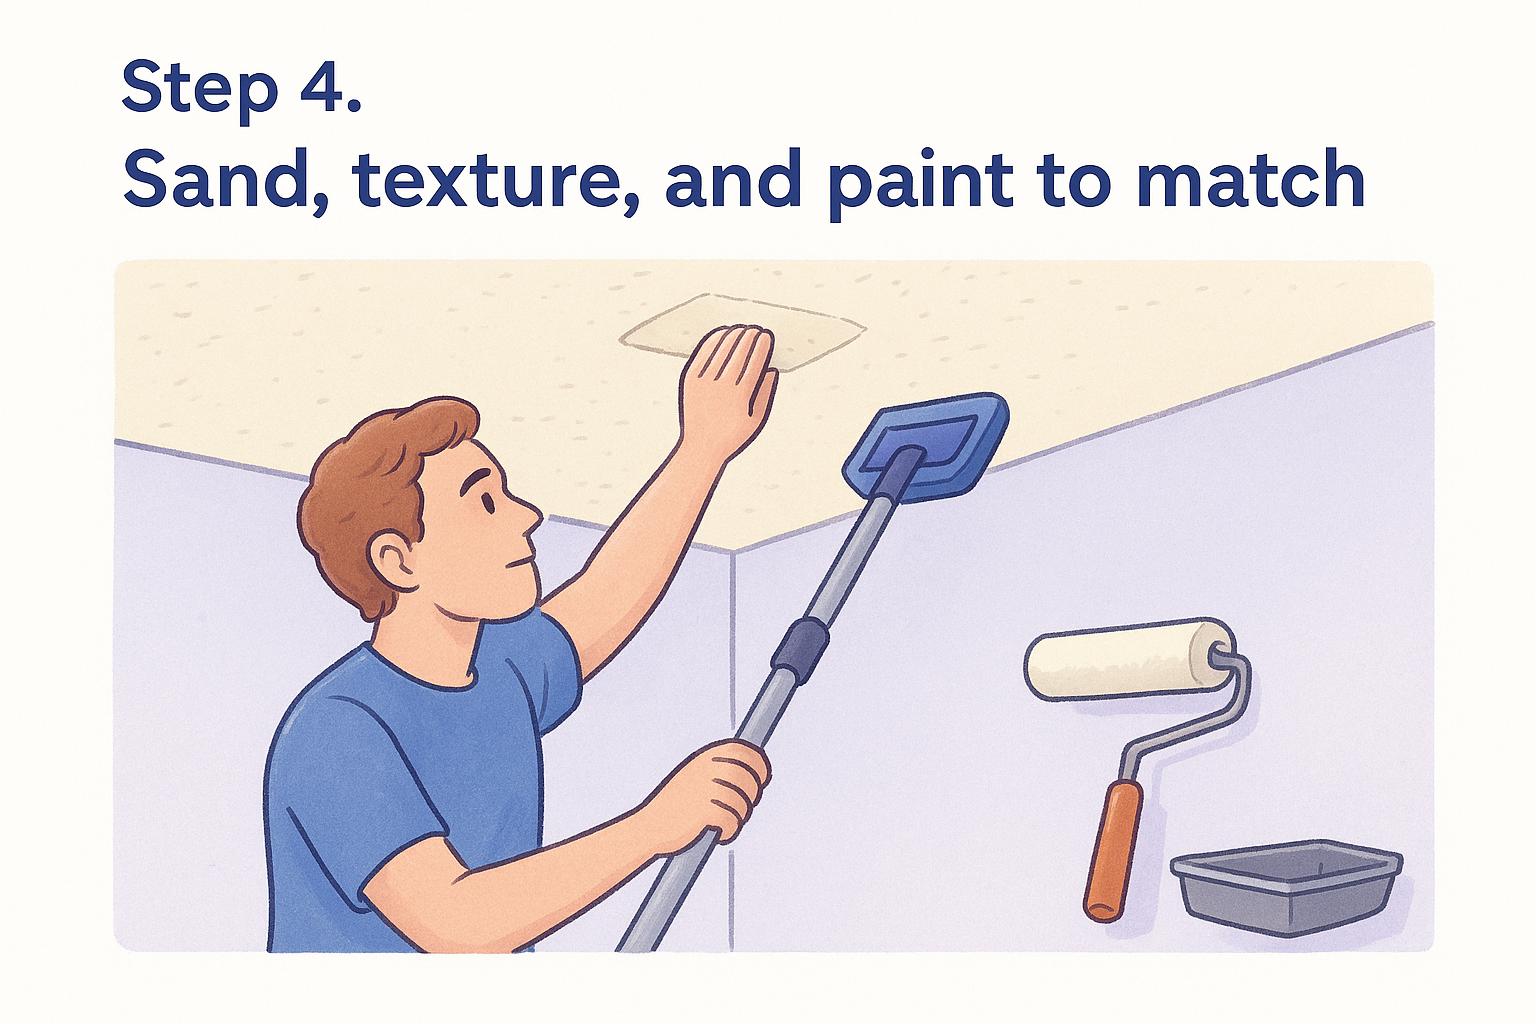
Step 4. Sand, texture, and paint to match

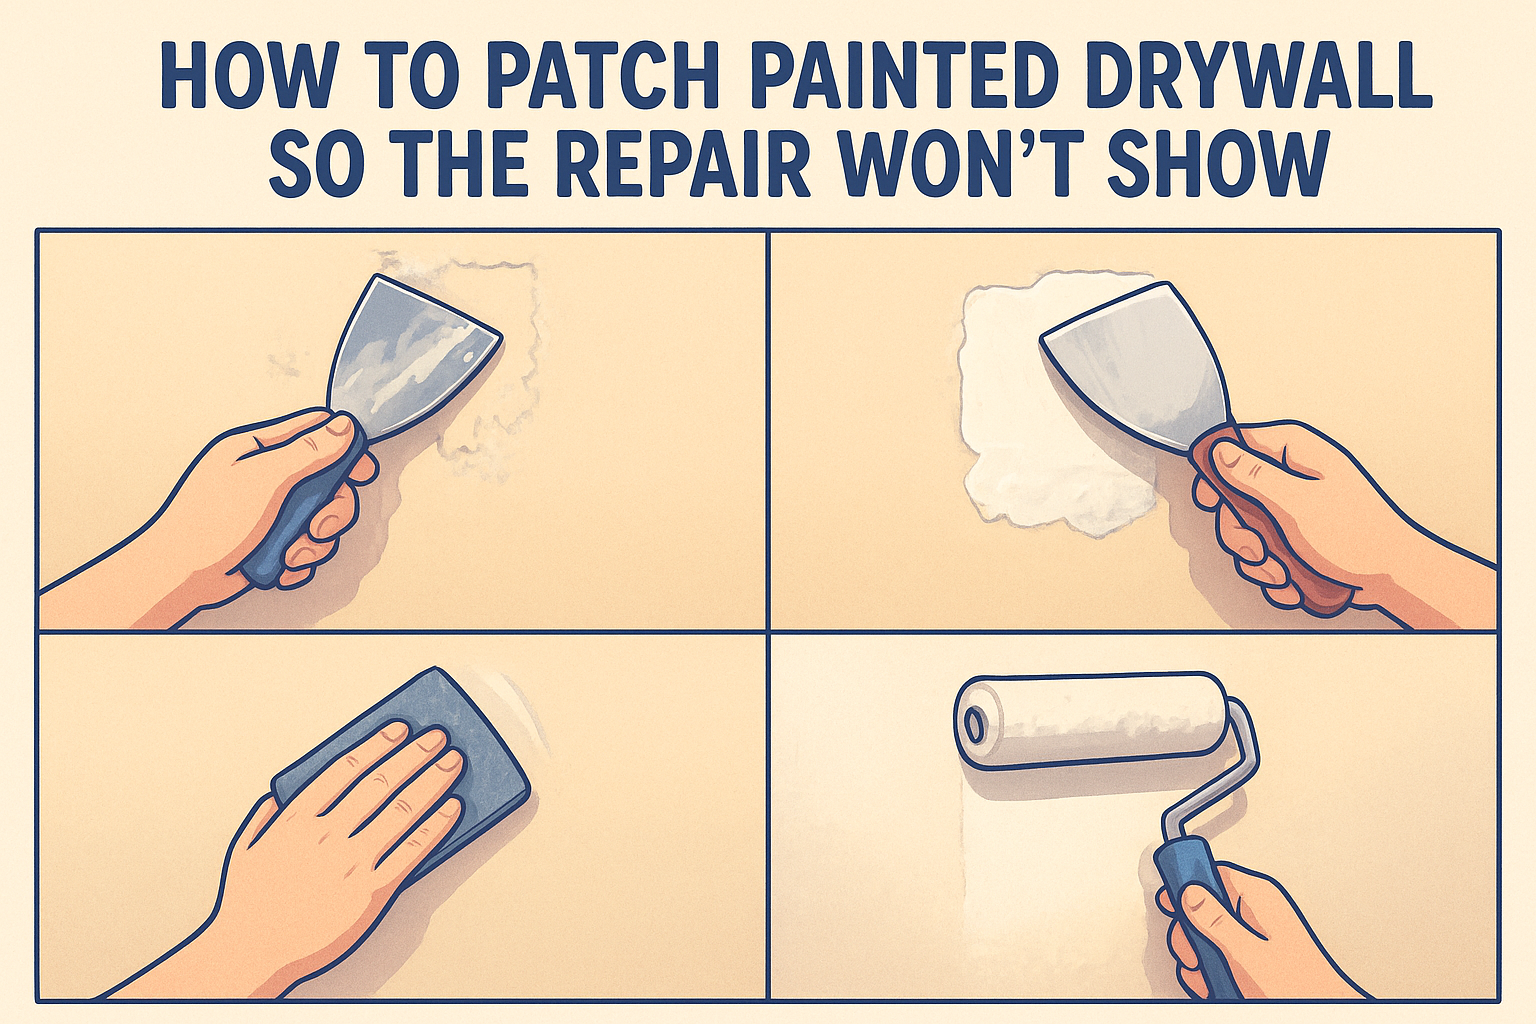
Finishing the repair right is what separates a patch you can spot from across the room from one nobody notices. Fine-grit sandpaper or a sanding sponge knocks down ridges without gouging the surrounding paint, so work in gentle circles and wipe the dust away often to check your progress.

Sand without overdoing it

Grab a pole sander for ceiling work since it keeps you from straining your neck and arms while you sand overhead. Run your hand over the patch when you think you're done. Any bump or dip you feel will show up under paint, so smooth transitions matter more than a perfectly flat surface. A shop light held at a low angle exposes shadows that daylight hides.

If you can feel a ridge with your fingers, the paint will make it worse, not better.

Match the texture

Once the mud is smooth and dust-free, test your texture spray on a scrap piece of cardboard first to dial in the spray pattern and distance from the ceiling. Knockdown texture usually needs a light spray followed by a flat knife pass a few minutes later, while orange peel just needs an even coat. Let the texture cure fully, typically 24 hours, before moving on.

Prime and paint

  • Apply a stain-blocking primer over the entire patched area, extending a few inches past the repair
  • Let the primer dry completely before painting
  • Use the same sheen and brand as the existing ceiling paint when possible
  • Roll paint corner to corner across the whole ceiling, not just the patch, to avoid a visible outline

When to call in a professional

Some jobs go beyond a weekend project, and knowing the difference saves you time and money. Repeated water stains that return after patching mean a leak is still active somewhere above your ceiling, and no amount of joint compound fixes that. Large sagging areas , ceilings with confirmed or suspected asbestos, or patches spanning more than a few feet between joists all call for someone who does this daily.

Following these steps gets most homeowners a smooth, paint-ready ceiling without hiring anyone. But when the damage is extensive, the texture is tricky to match, or asbestos testing comes back positive, don't push your luck on a ladder with a scraper. Super Shooters has handled Sacramento Valley ceilings for over 30 years, and our team can take over wherever your DIY repair leaves off. If your project has grown bigger than a patch kit can handle, get in touch about our drywall repair and patching services for a free estimate.

Recent Posts

By cinchweb July 25, 2026
Find cheap drywall repair near me without overpaying: get real Sacramento Valley price ranges, quote tips, and vetting steps from Super Shooters.
By cinchweb July 24, 2026
Learn how to feather drywall mud step by step—thin, widening coats, sanding tips, and raking-light checks for a seamless, ridge-free repair.
By cinchweb July 22, 2026
Learn how to repair wall texture step-by-step, from matching patterns to blending patches, plus when to call Super Shooters in Sacramento Valley.
By cinchweb July 22, 2026
Learn how to cover ceiling water stains for good: fix the leak, prime with shellac, and repaint to stop bleed-through permanently.
By cinchweb July 20, 2026
Learn how to fix water damaged ceiling drywall: find the leak source, cut and patch drywall, match texture, and know when to call Super Shooters.
By cinchweb July 18, 2026
See a full asbestos popcorn ceiling removal cost breakdown by room, plus testing, disposal, and finishing fees. Get a free itemized estimate today.
By cinchweb July 18, 2026
Paper tape vs mesh tape drywall: learn which suits butt joints, corners, and patches to avoid bubbling, cracking, and seam failures in Sacramento homes.
By cinchweb July 17, 2026
See the real popcorn ceiling asbestos removal cost per room and square foot, plus permits, testing, and disposal fees homeowners often miss.
By cinchweb July 16, 2026
Learn how to install drywall on ceiling alone using a DIY T-brace, chalk lines, and screw patterns—plus when to call Super Shooters for help.
Show More