Share this article

July 20, 2026

How to Fix Water Damaged Ceiling Drywall: Step-by-Step Guide

A brown stain spreading across your ceiling never gets better on its own. Once you know how to fix water damaged ceiling drywall , you can stop the sag, peeling paint, and musty smell before they turn into a bigger repair bill. The key is catching the source of the leak first, because patching drywall over an active moisture problem just means doing the job twice.

This guide walks you through the exact process we use on job sites across the Sacramento Valley: cutting out the compromised section, letting the framing dry completely , cutting a clean patch, taping the seams, and feathering texture so the repair disappears once painted. You'll know when a small patch job is enough and when the damage has spread too far to fix with a taping knife alone.

We've handled thousands of ceiling repairs over 30 years, from minor stains to full popcorn ceiling replacements after roof leaks and plumbing failures. Below you'll find the step-by-step instructions , the tools you need, and the warning signs that mean it's time to call in a licensed contractor instead of tackling it yourself.

What to know before repairing a water-damaged ceiling

Before you grab a utility knife, figure out what actually caused the stain. Water stains on drywall come from three main sources: a roof leak, a plumbing failure in a bathroom or kitchen above, or condensation from poor attic ventilation. Each one leaves clues. Roof leaks usually show up near exterior walls or around chimneys and vent pipes, and they get worse during storms. Plumbing leaks tend to appear directly under a bathroom, tracking a straight line down from a supply line or drain. Condensation shows up as widespread, faint yellowing rather than one dark ring, often across an entire attic-adjacent ceiling.

Check for asbestos before you cut anything

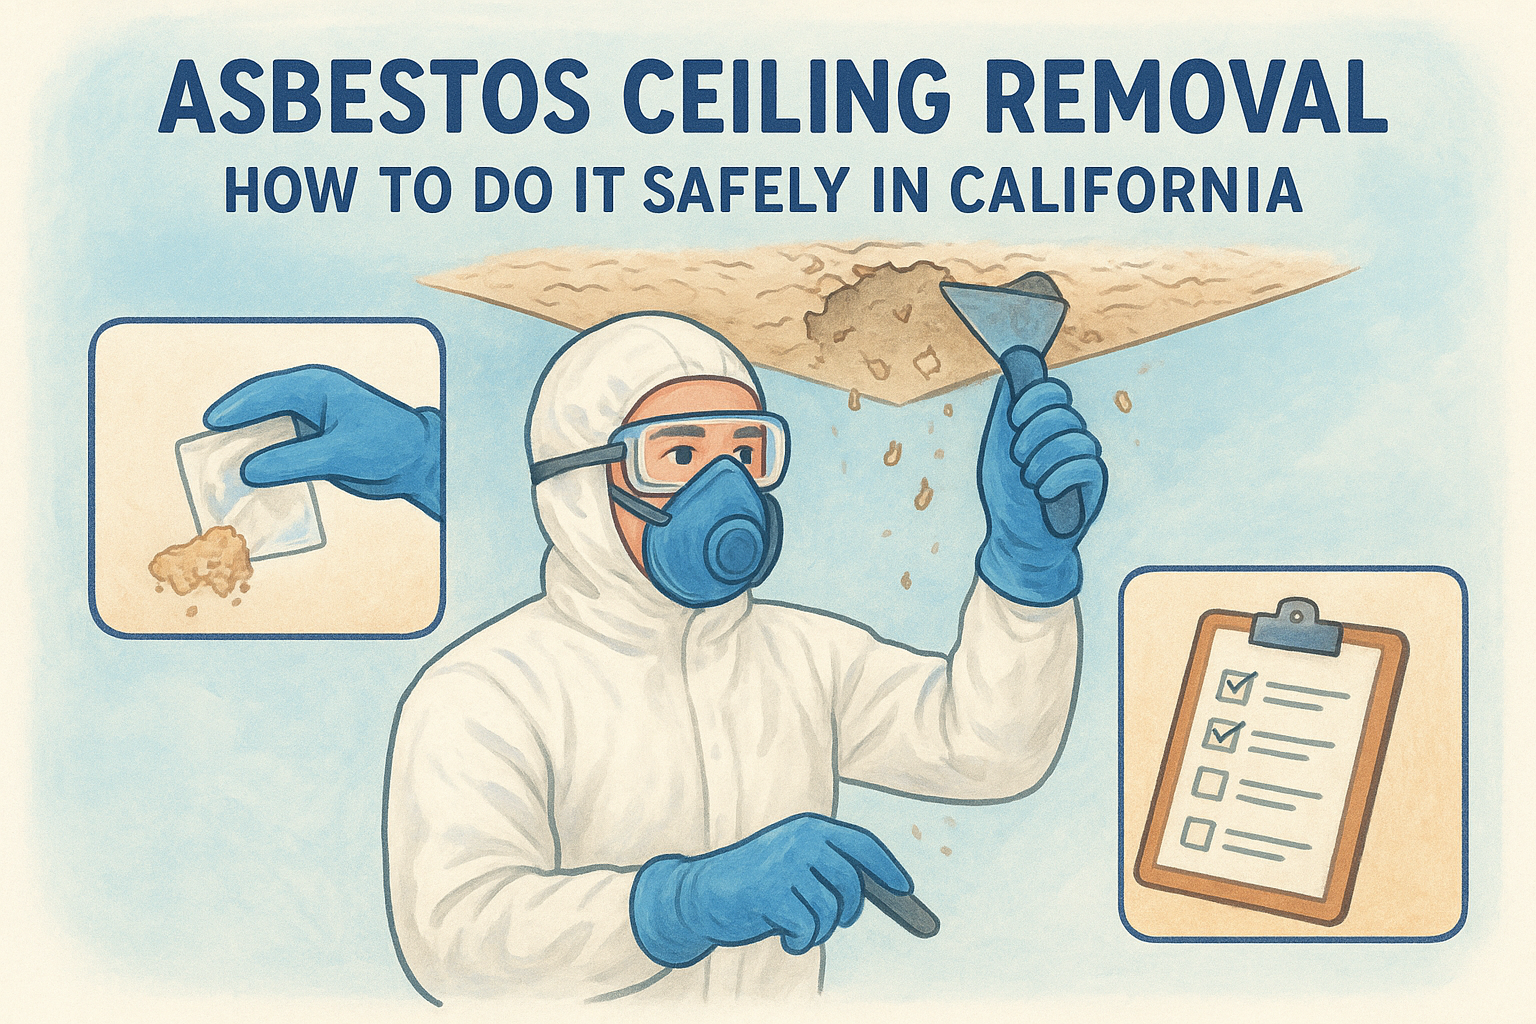
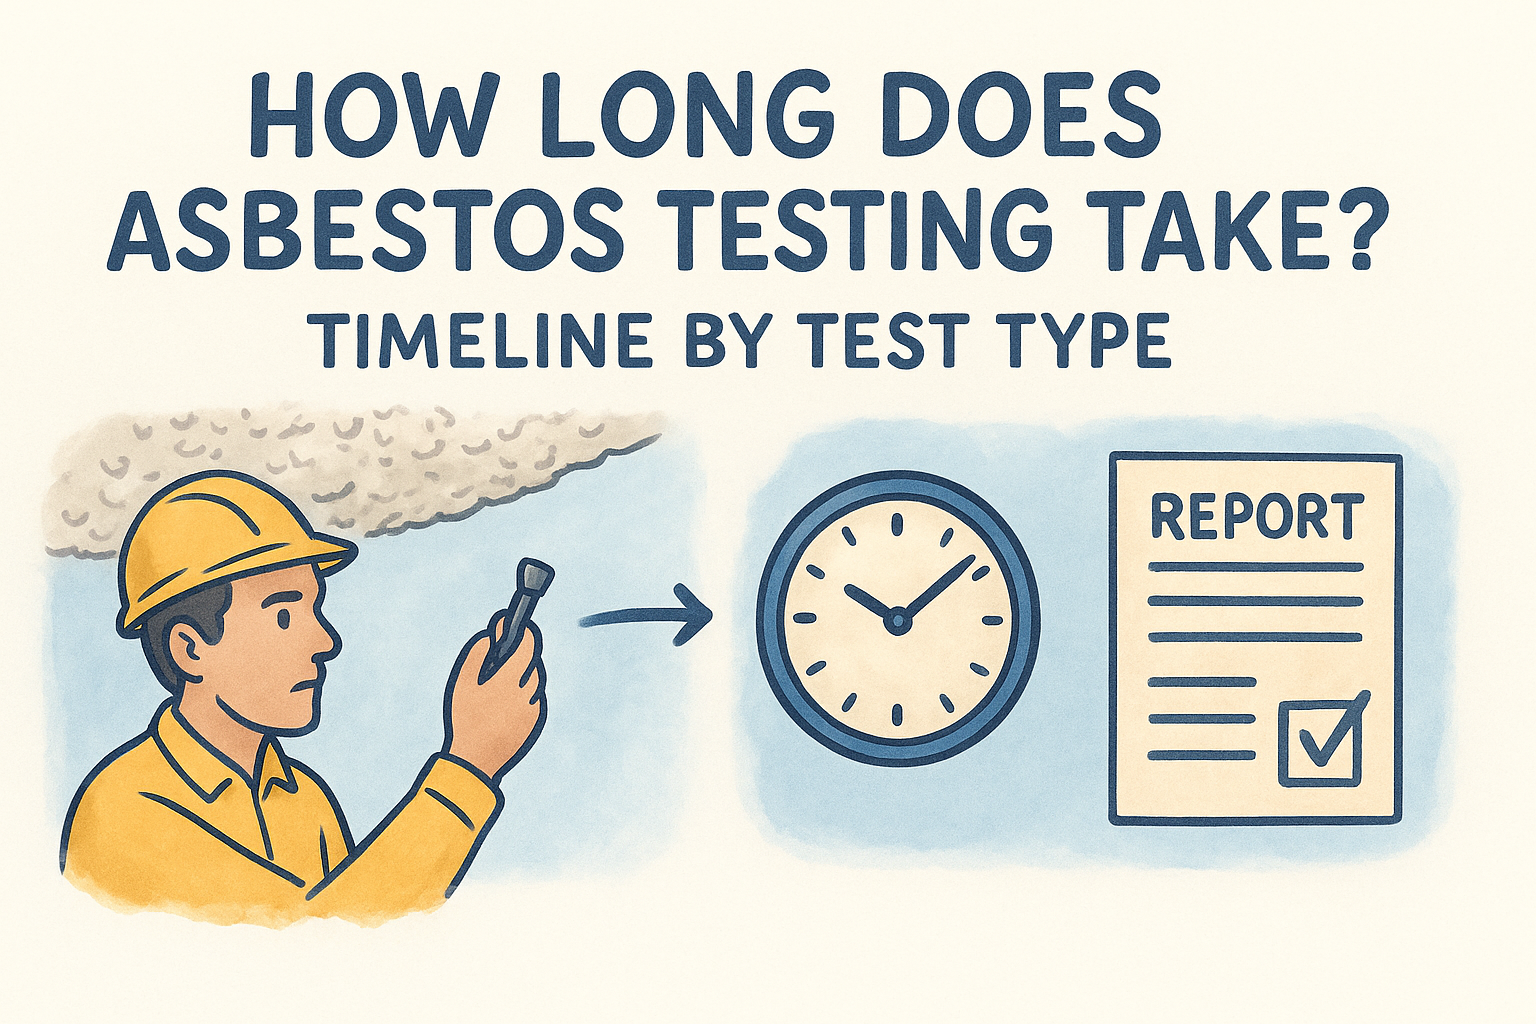
If your home was built before 1980 and still has the original popcorn or acoustic ceiling texture, stop and test before cutting into it. Popcorn ceilings installed before 1980 frequently contain asbestos, and disturbing that material without proper containment puts everyone in the house at risk. Asbestos testing costs far less than a health problem down the road, and it takes one phone call to schedule. If the test comes back positive, this isn't a weekend DIY project anymore. The EPA has clear guidance on why disturbing asbestos-containing material without training is dangerous, and it's worth reading before you touch a texture ceiling built before that cutoff year.

Never sand, scrape, or cut into a pre-1980 popcorn ceiling until it's tested for asbestos.

Gather the right tools before you start

Having everything on hand before you start cutting saves you trips to the hardware store mid-project and keeps the drying timeline on track. Here's what you'll need for a standard ceiling patch:

  • Moisture meter (to confirm the framing is dry before you close it up)
  • Utility knife and drywall saw
  • Stud finder
  • 1/2-inch drywall panel (match your existing ceiling thickness)
  • Drywall screws and a screw gun or drill
  • Joint compound and drywall tape (paper or mesh)
  • 6-inch and 10-inch taping knives
  • Sanding sponge or pole sander
  • Ceiling texture spray (matched to your existing texture)
  • Stain-blocking primer and ceiling paint

Know your limits before you commit

A patch smaller than a foot across, caused by a one-time leak that's already fixed, is a reasonable weekend project for most homeowners. Anything larger, or damage tied to an active roof leak you haven't resolved yet, calls for more caution. Ceiling drywall repair that involves electrical fixtures, structural framing, or a ceiling that sags under its own weight isn't a job to rush through with a single afternoon of YouTube research.

Step 1. Stop the leak and dry the ceiling

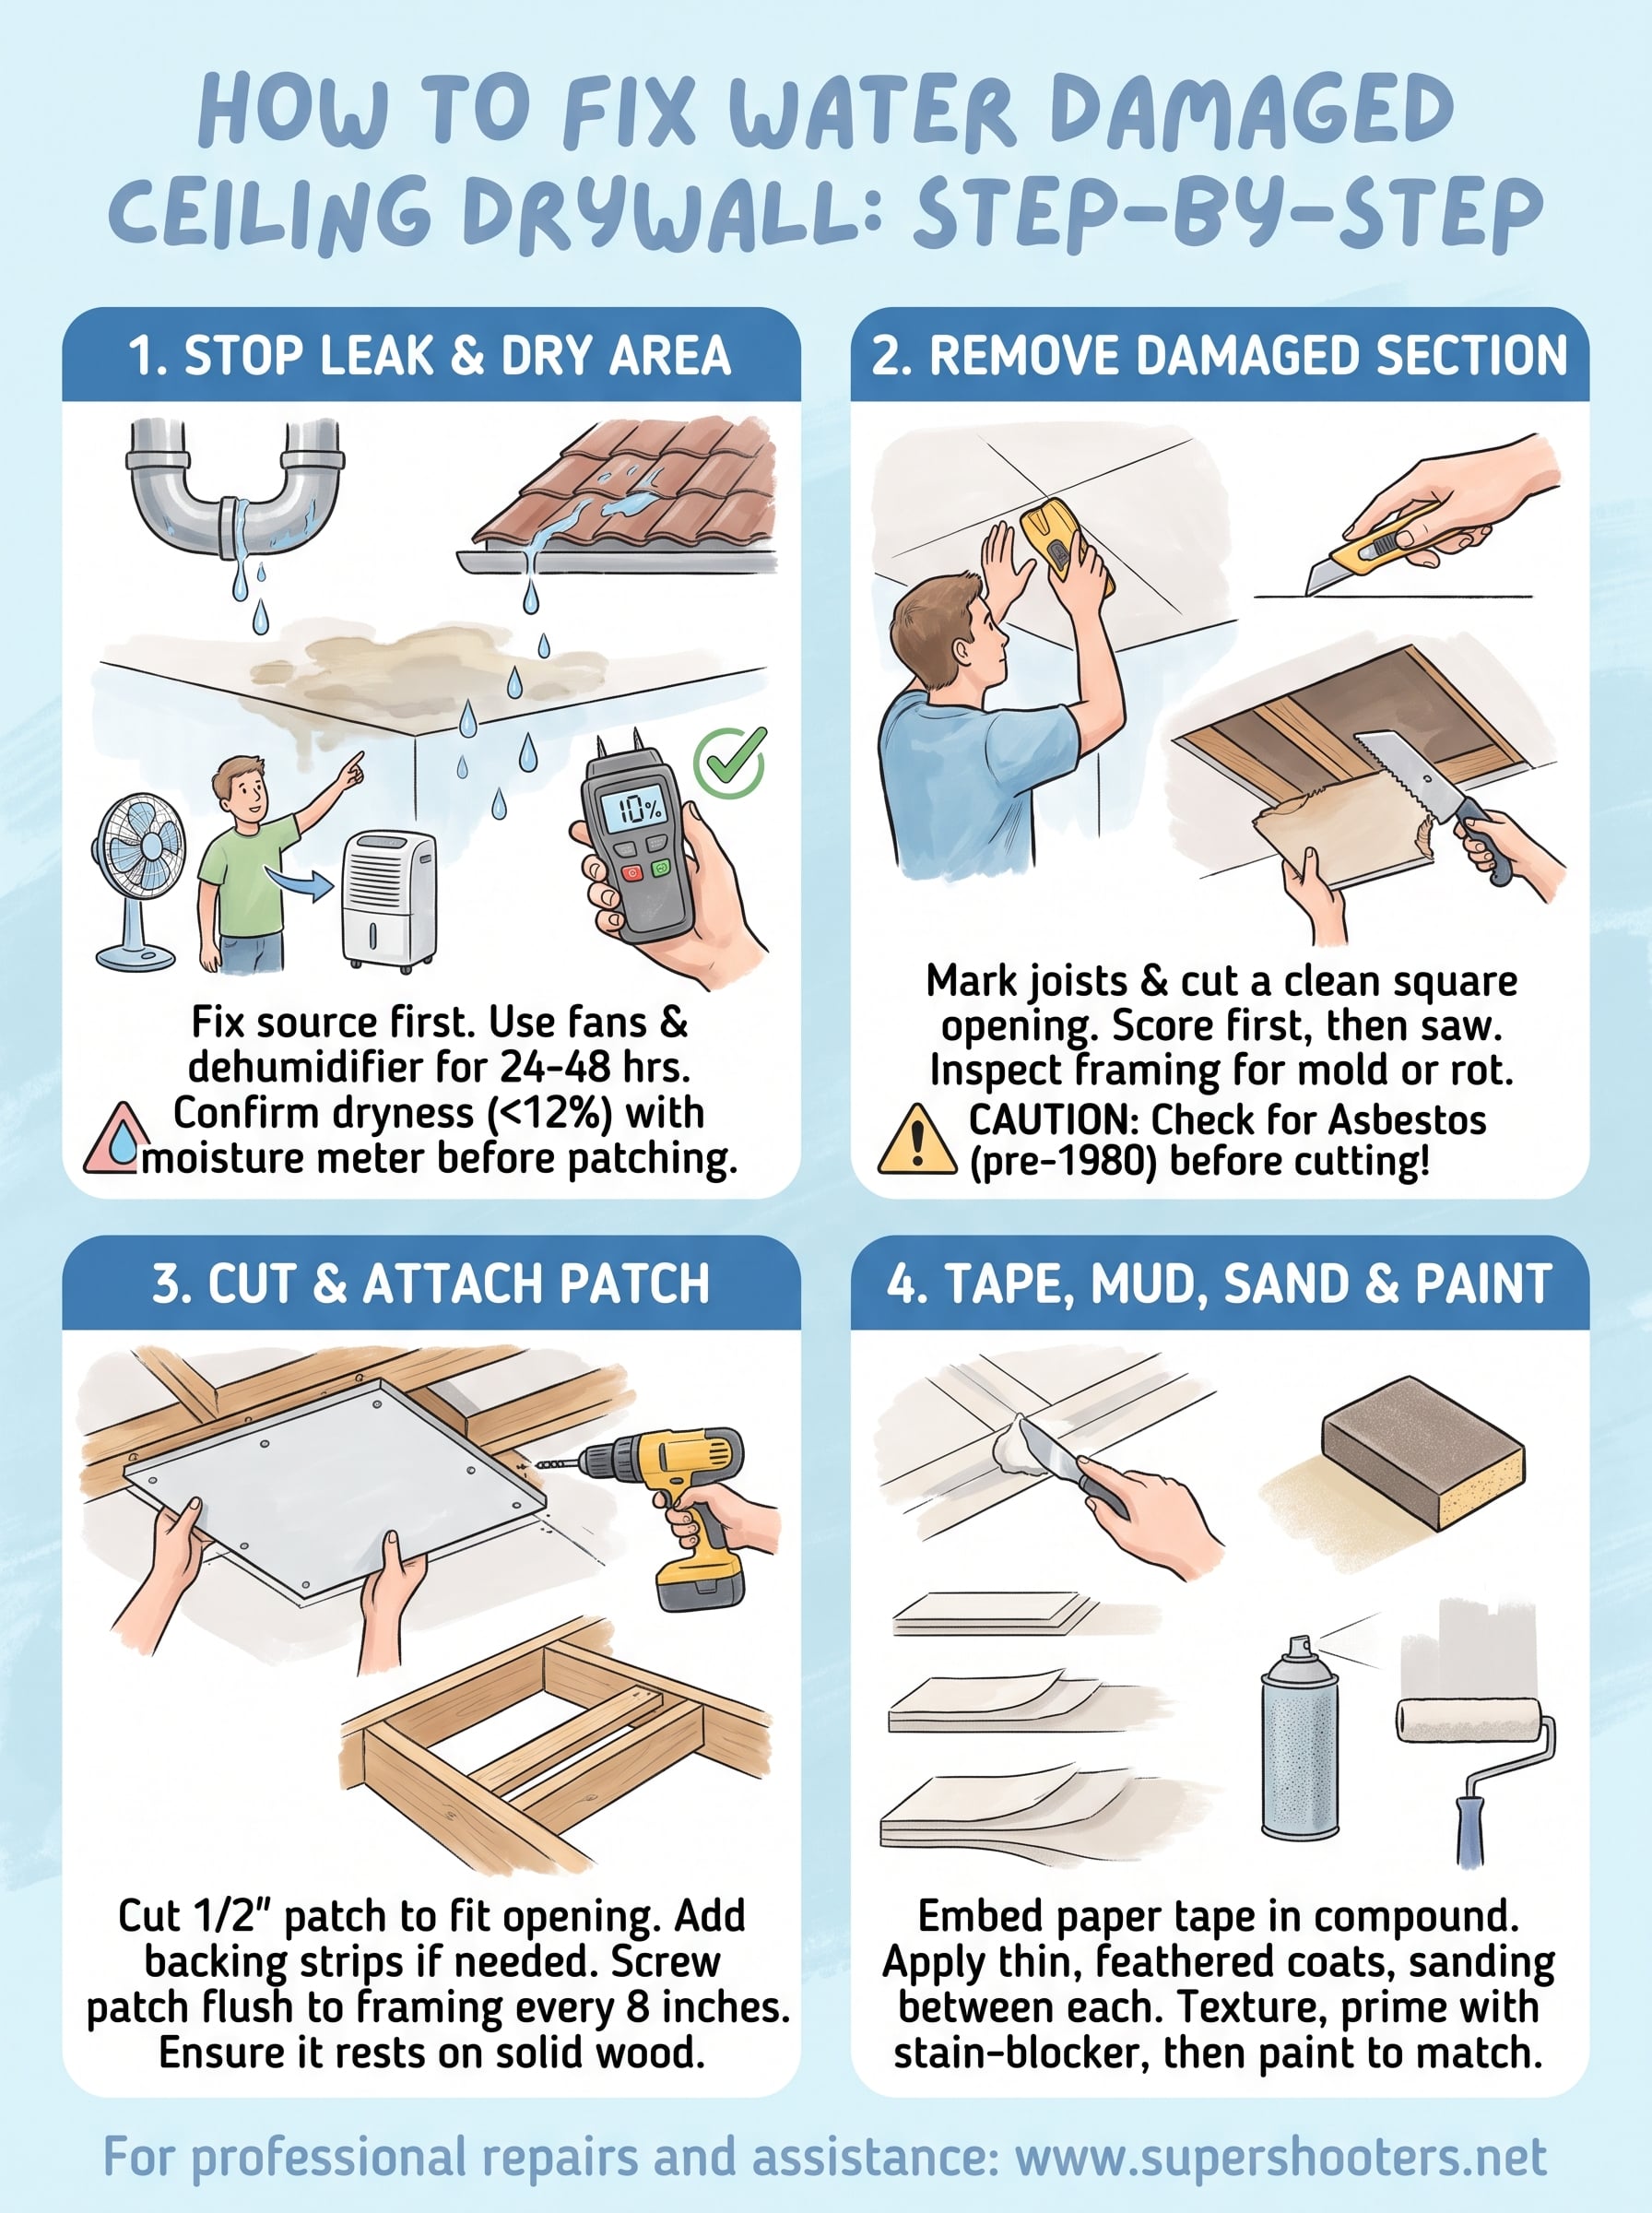
Fixing the source of the leak comes before any drywall work. Cutting a patch over an active leak wastes materials and guarantees you'll be back in the same spot within a few months. If it's a roof leak, get a tarp over the affected area or call a roofer to make the repair before you touch the ceiling below. If it's a plumbing leak, shut off the water supply to that fixture and, if needed, call a plumber to fix the pipe or seal. Once the water source is handled, the drying phase starts.

Dry the area completely

Drying the ceiling thoroughly matters more than most homeowners realize, because trapped moisture behind a fresh patch leads to mold growth you won't see until it's spread. Set up fans pointed directly at the wet area and run a dehumidifier in the room for at least 24 to 48 hours. Open windows if the weather allows it to help air circulate. Don't rush this step just because the ceiling looks dry on the surface.

A ceiling that looks dry on the surface can still be soaked through the framing, so test it before you patch it.

Confirm with a moisture meter

A moisture meter is the only reliable way to know when the framing behind your drywall is actually dry. Press the probes into the exposed wood joists once you've cut away the damaged section, or into the drywall itself if you're checking before removal.

  • Readings above 16% mean the wood is still too wet to close up
  • Readings under 12% typically indicate the framing is dry and safe to patch
  • Check multiple spots across the damaged area, not just the center

Skipping this check is the single most common mistake we see in DIY ceiling repairs, and it's the reason so many patches fail within the first year.

Step 2. Remove the damaged drywall

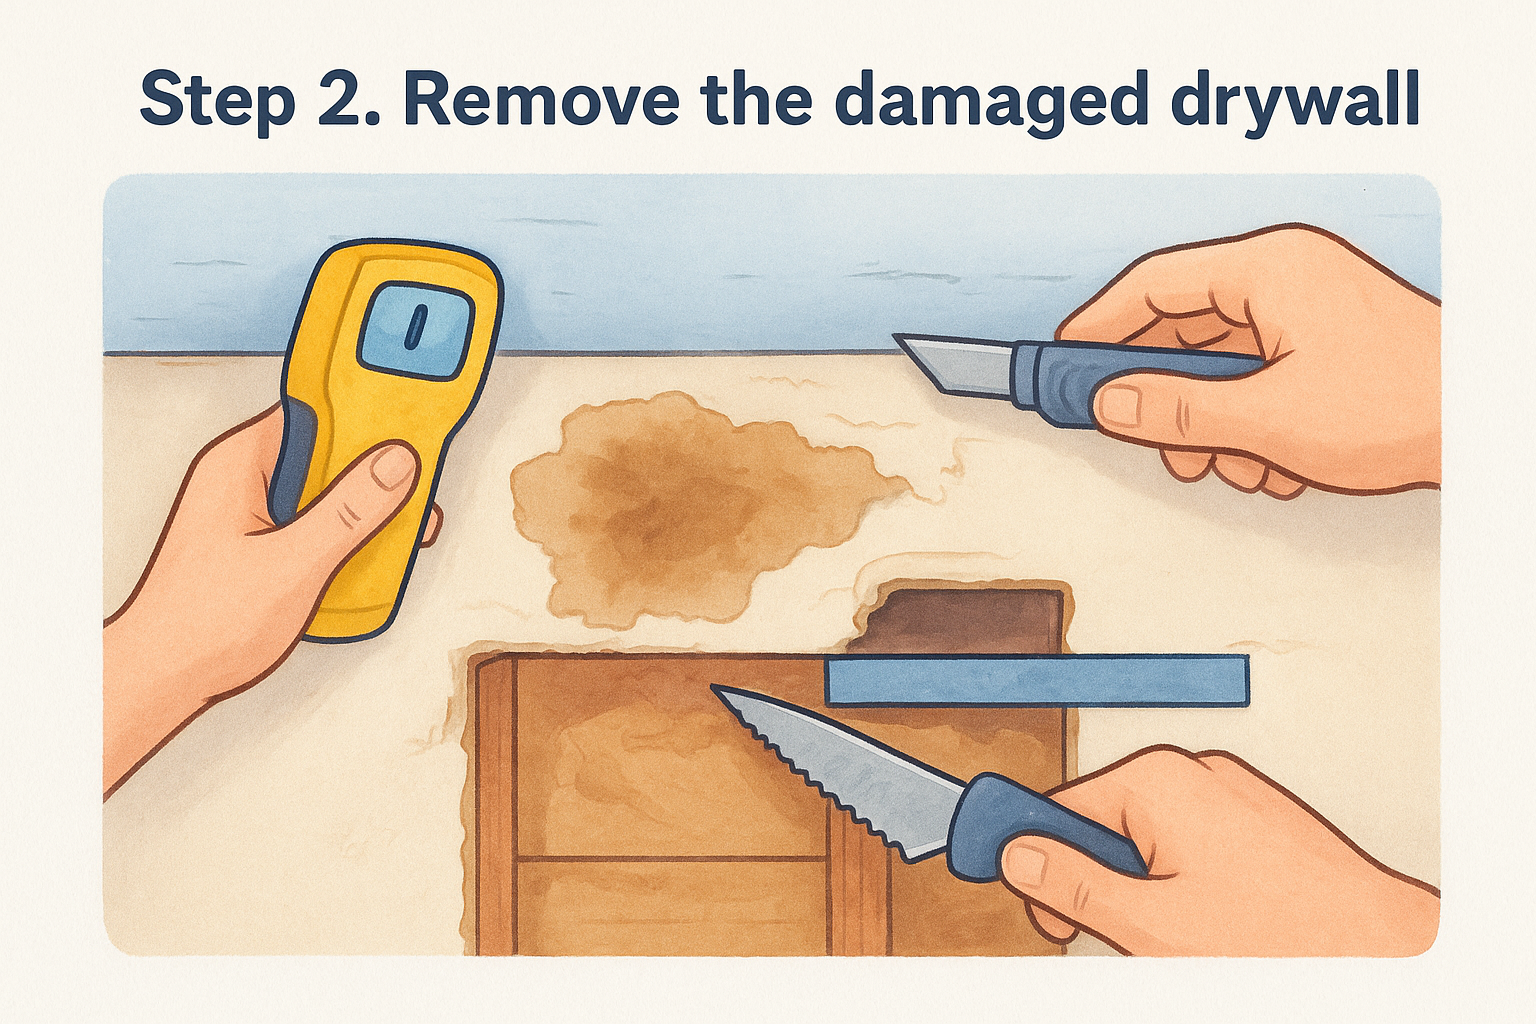
Cutting out the compromised drywall comes next, and the goal is a clean square or rectangle that lands on the centerline of the surrounding joists. Grab your stud finder and mark where the ceiling joists run on either side of the stain, then draw your cut lines with a straightedge so the patch has solid framing to screw into on all four sides. Sketchy, freehand cuts make the patching step harder later, so take the extra two minutes to get straight lines.

Cut out the water-damaged section

Once you've marked the lines, work through removal in order:

  • Score along the marked lines with a utility knife , cutting through the paper face first
  • Switch to a drywall saw to cut through the gypsum core along the same lines
  • Pry the damaged section down carefully, watching for wiring or plumbing hidden above
  • Pull out any wet insulation and set it aside to dry or discard if it's soaked through

Cut the damaged section back until every edge lands on solid, dry framing, not just where the stain stops.

Stop cutting the moment you hit dry, solid drywall, even if that means removing more than the visible stain suggests. Water travels sideways along joists and behind paint, so the discoloration you see is rarely the full extent of the damaged drywall .

Inspect the joists before moving on

Inspecting the exposed framing now saves you from patching over a hidden problem. Look for soft, spongy wood, dark staining that won't wipe off, or any sign of mold growth on the joists themselves. Run your moisture meter across every exposed stud, not just the one closest to the original stain. If a joist feels soft under light pressure from a screwdriver, that's structural rot, and it needs a contractor's attention before any drywall goes back up.

Step 3. Cut and attach a drywall patch

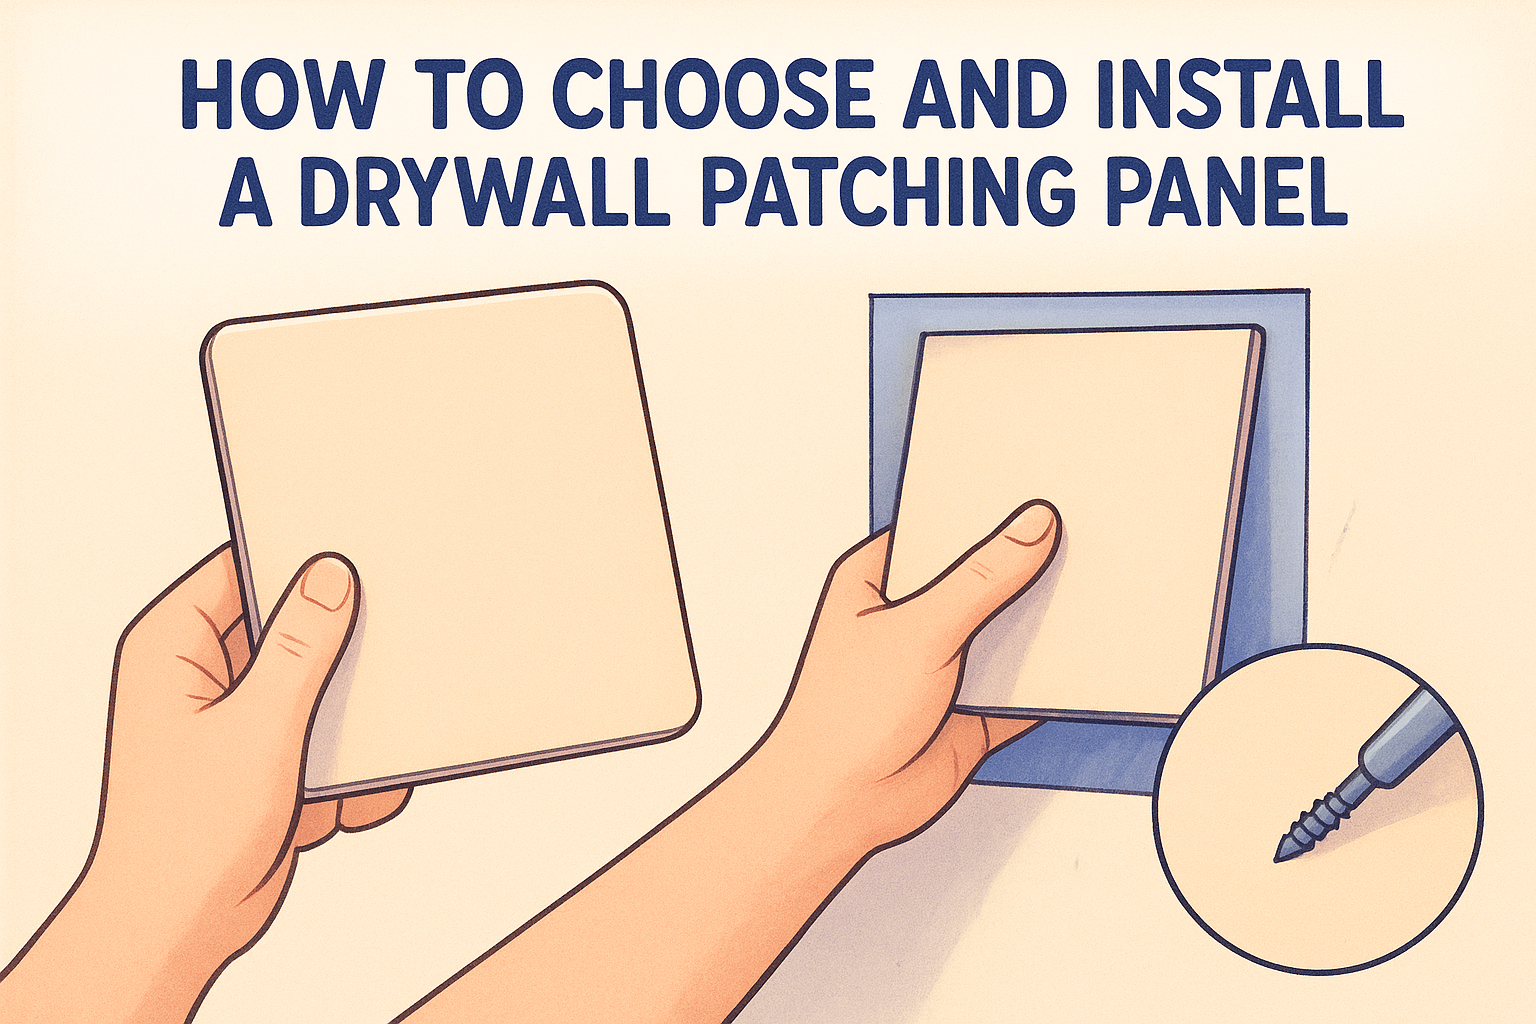
Once the framing reads dry on your moisture meter, it's time to cut the replacement piece. Measure the opening you cut in Step 2 and transfer those exact dimensions onto your new drywall panel , matching the thickness of your existing ceiling (usually 1/2-inch, though older homes sometimes use 5/8-inch). Cutting the patch a hair small is better than cutting it too big, since you can always shave down an edge with a rasp but you can't add material back once it's cut short.

Add backing if the patch doesn't land on a joist

A patch that falls between joists needs something solid to screw into on every edge, not just two sides. Cut a couple of furring strips or scrap 1x4 lumber a few inches longer than the opening, then slide them into the cavity above the drywall on each unsupported side and screw them to the adjacent joists. This gives your patch backing to grab onto instead of floating on tape and mud alone.

A patch with no backing on every edge is a patch that will crack within a year.

Screw the patch into place

With backing secured, lift the new piece into position and check the fit before driving a single screw.

  • Hold the patch flush against the surrounding drywall, checking that the surface sits level
  • Drive drywall screws every 8 inches along each edge where the patch meets a joist or backing strip
  • Sink each screw just below the paper surface without tearing through it
  • Check the seams with your hand for any high spots or gaps before moving to the next step

A clean, flush installation now means far less sanding later. Rushing this part is one of the fastest ways to end up with a visible bump once the texture and paint go on.

Step 4. Tape, mud, sand, and paint

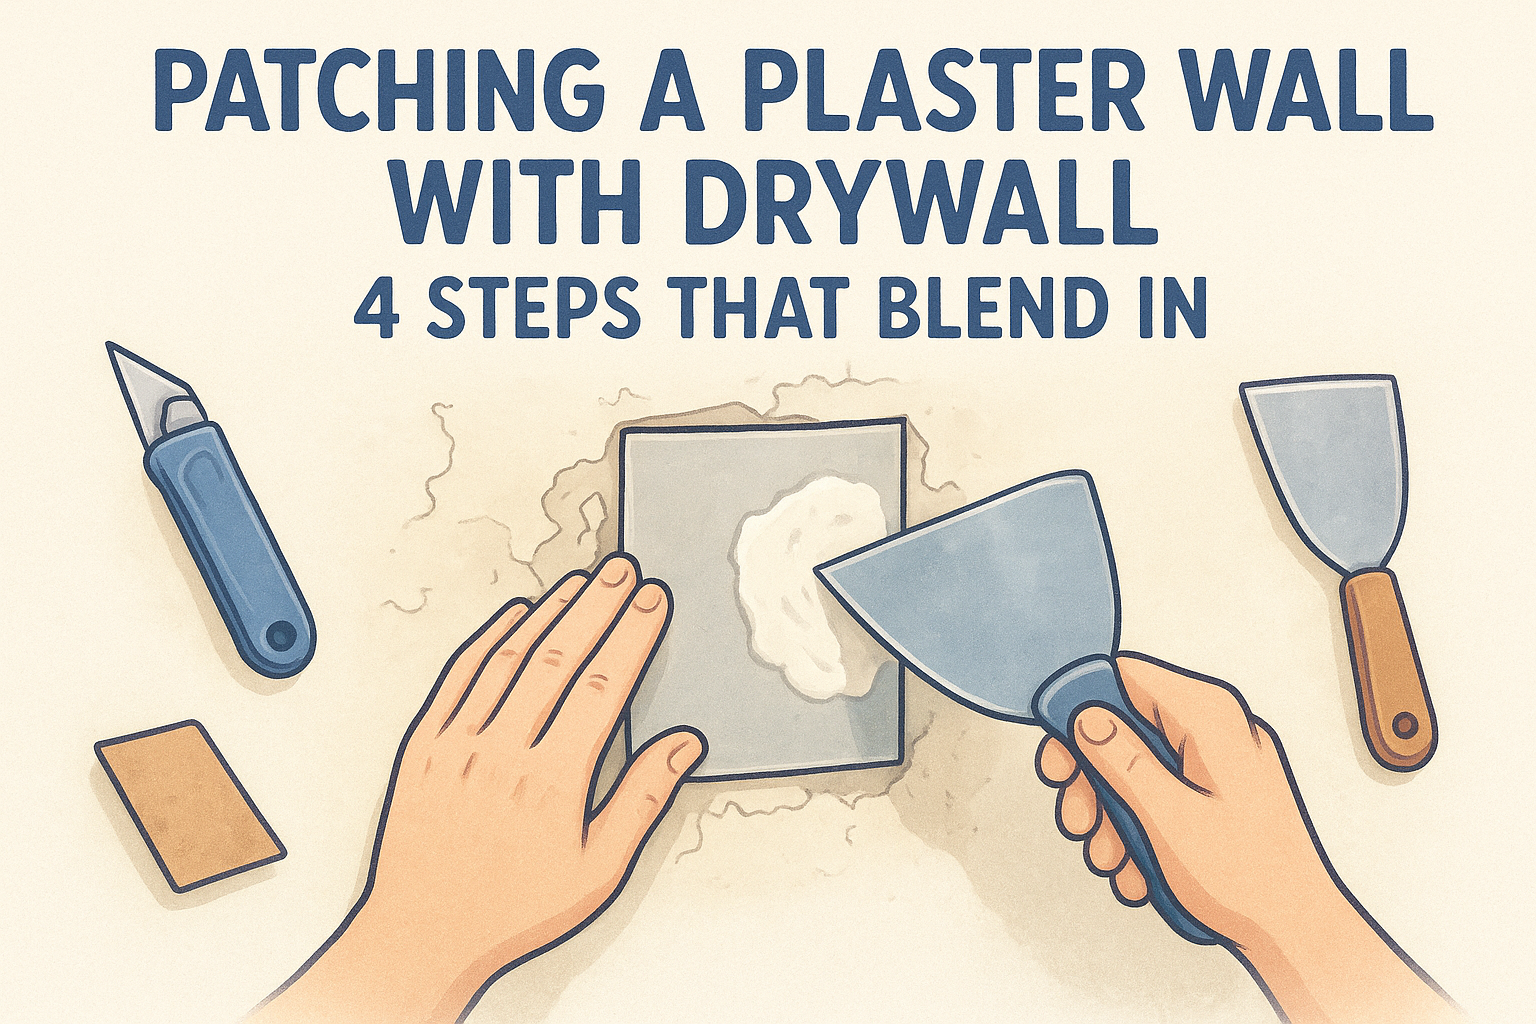
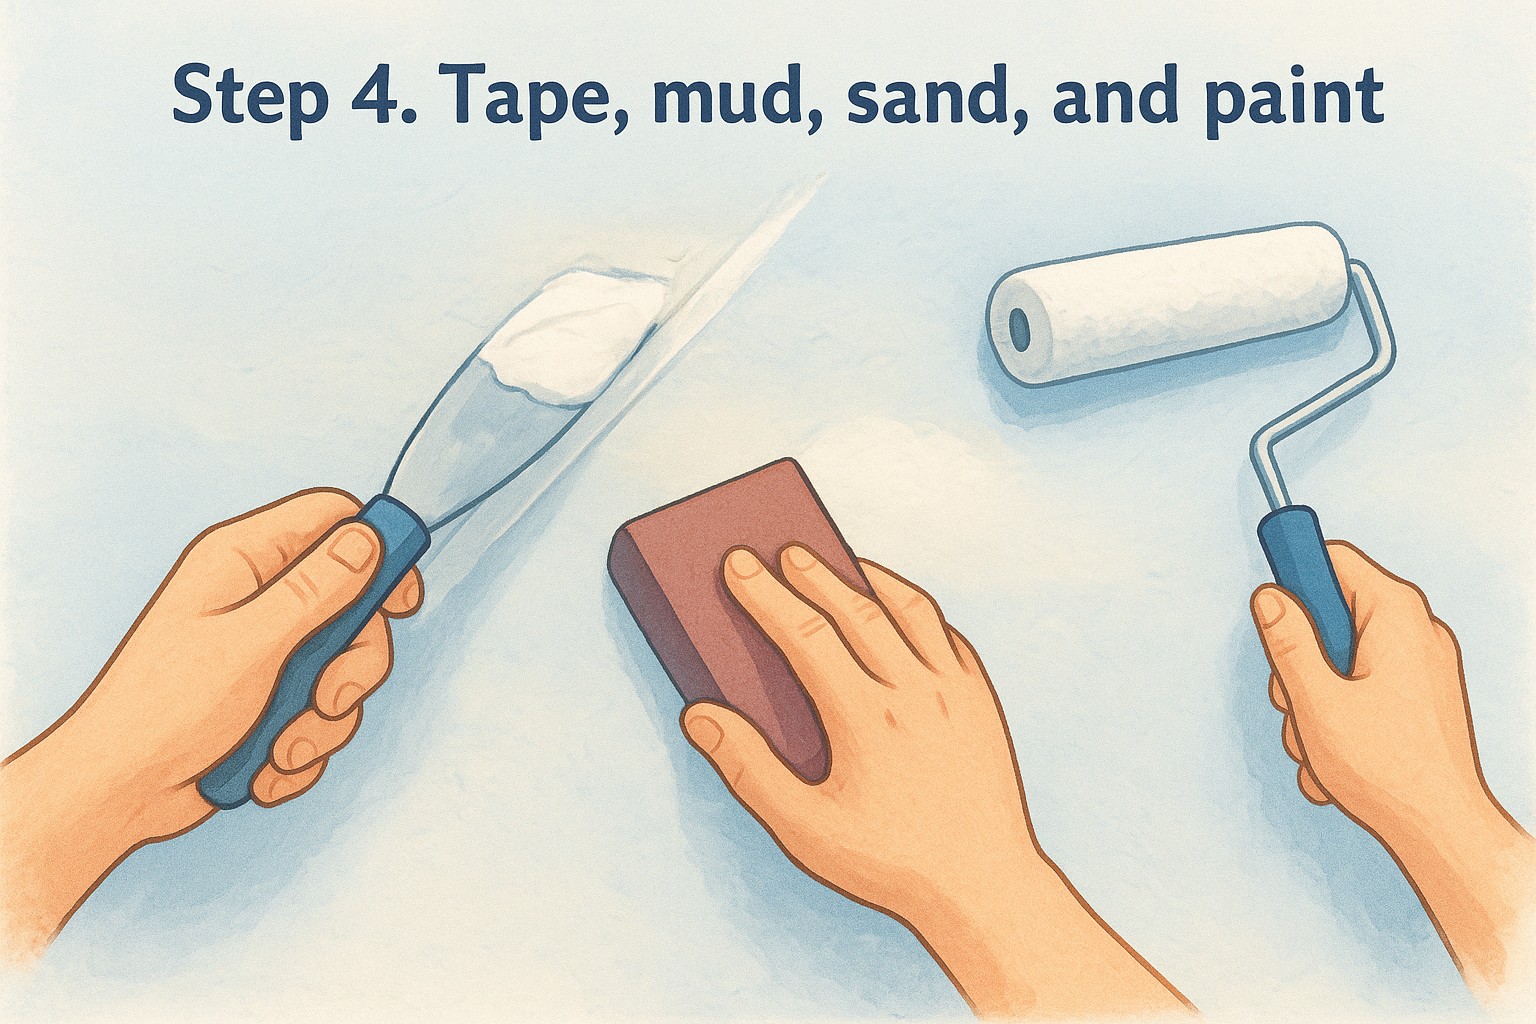
Taping and mudding turn a screwed-in patch into an invisible repair, and the process rewards patience more than speed. Apply a thin layer of joint compound along every seam with your 6-inch knife, then press drywall tape into the wet compound and smooth it flat before it sets. Paper tape holds up better on ceilings than mesh, since it resists sagging while the mud cures overnight.

Build up the coats

Once the taping coat dries, switch to your 10-inch knife for the next two coats, feathering each one wider than the last so the edges blend into the surrounding ceiling instead of leaving a visible ridge. Skipping straight to a thick single coat is the fastest way to end up with cracks.

A single thick coat of mud cracks; three thin, feathered coats disappear.

  • First coat: embed the tape, scrape flush, let dry 24 hours
  • Second coat: widen the feather by a few inches, sand lightly once dry
  • Third coat: final smoothing pass, extending 12 to 16 inches beyond the patch edges

Sand, texture, and paint the repair

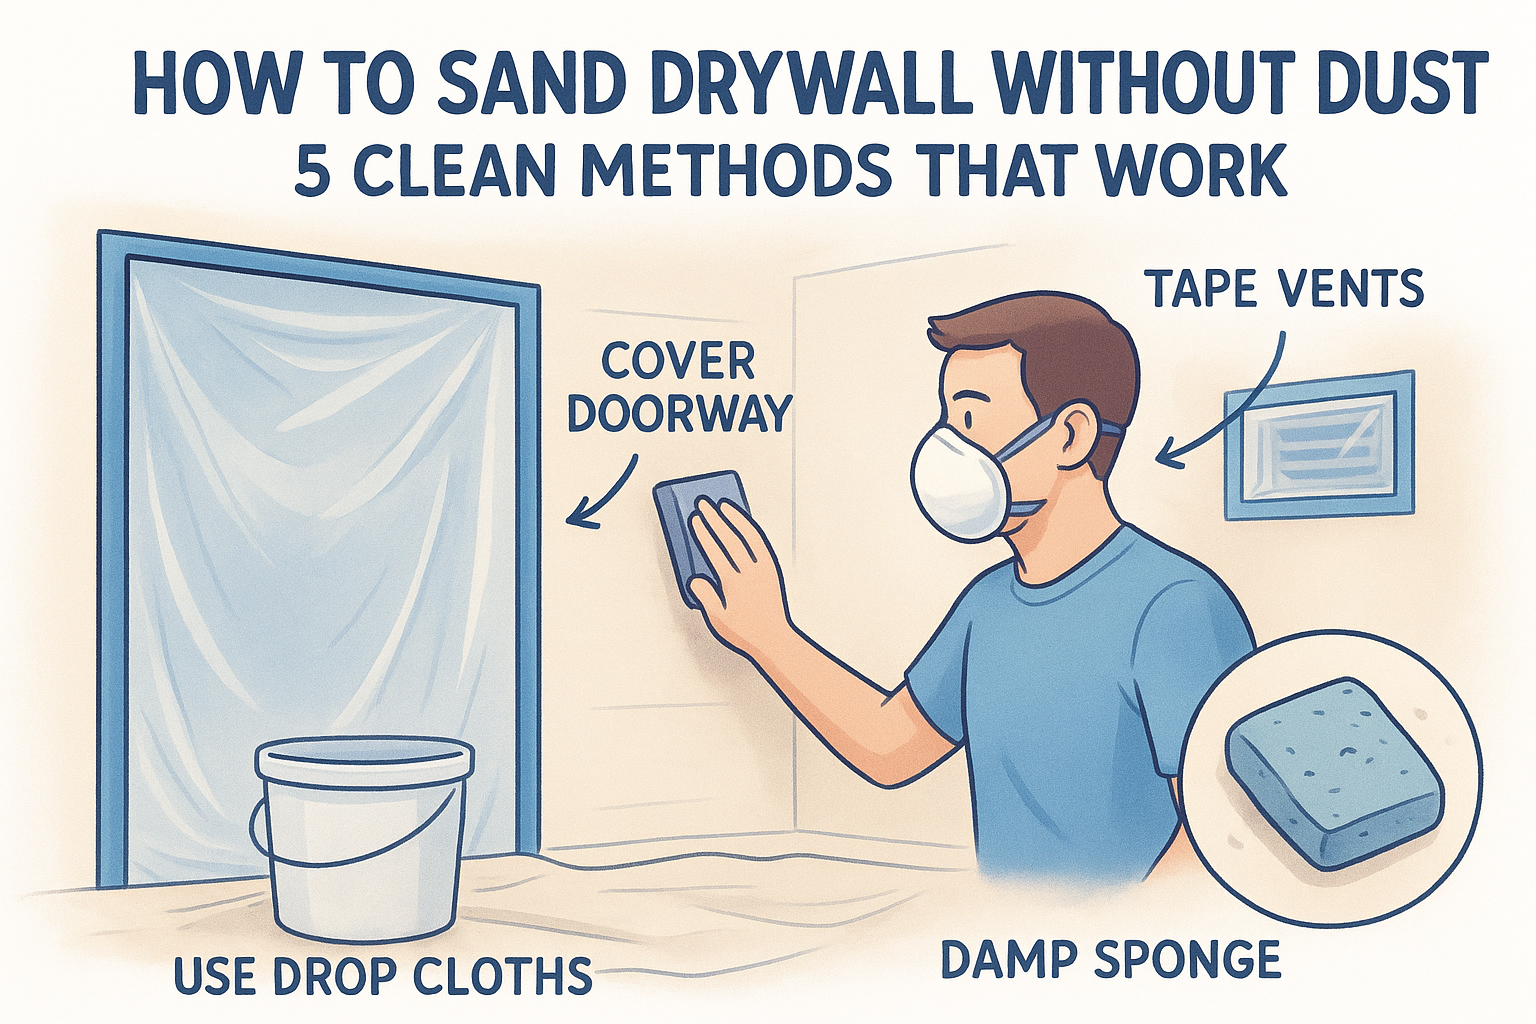
Sanding between coats keeps ridges from building up, so run a sanding sponge or pole sander over each dried layer before adding the next. Once the final coat sands smooth, match your ceiling texture with a texture spray can, testing the spray pattern on a scrap piece of cardboard first to dial in the right consistency before hitting the ceiling.

Finishing the job right means priming before paint, since raw joint compound and old water stains both bleed through regular paint if you skip this step. Apply a stain-blocking primer over the entire patched area, let it dry fully, then roll on ceiling paint that matches the surrounding sheen so the repair blends in under both daylight and lamp light.

Knowing when to call a professional

A small, well-dried patch is one thing. Extensive water damage, sagging drywall, exposed mold, or a ceiling that's been wet more than once is another. If you're staring at a stain that spans multiple joists, or the framing underneath still reads wet after 48 hours of fans and a dehumidifier, that's your signal to stop and bring in a licensed crew. Structural rot and hidden mold don't fix themselves with joint compound, and a patch over either one fails fast.

Knowing how to fix water damaged ceiling drywall yourself is useful for the small stuff, but pre-1980 texture, large sections, or repeat leaks call for real experience. Super Shooters has handled this exact repair across the Sacramento Valley for over 30 years, no upfront payment required. If your damage looks bigger than a weekend project, get a free estimate through our drywall repair and patching service before you cut into anything else.

Recent Posts

By cinchweb July 18, 2026
See a full asbestos popcorn ceiling removal cost breakdown by room, plus testing, disposal, and finishing fees. Get a free itemized estimate today.
By cinchweb July 18, 2026
Paper tape vs mesh tape drywall: learn which suits butt joints, corners, and patches to avoid bubbling, cracking, and seam failures in Sacramento homes.
By cinchweb July 17, 2026
See the real popcorn ceiling asbestos removal cost per room and square foot, plus permits, testing, and disposal fees homeowners often miss.
By cinchweb July 16, 2026
Learn how to install drywall on ceiling alone using a DIY T-brace, chalk lines, and screw patterns—plus when to call Super Shooters for help.
By cinchweb July 14, 2026
See how popcorn ceiling removal cost per square foot breaks down by room size, asbestos testing, and DIY vs. pro rates—plus real Sacramento Valley pricing.
By cinchweb July 13, 2026
Learn drywall taping tips and tricks for pro-smooth walls: mud consistency, tape embedding, feathering coats, and corner finishing techniques.
By cinchweb July 13, 2026
Learn what drywall taping is, the 5-step process, paper vs mesh tape, tools needed, common mistakes, and costs from Sacramento Valley pros.
By cinchweb July 12, 2026
See real 2026 price ranges by room and learn how much does popcorn ceiling removal cost near Sacramento Valley, plus hidden fees to budget for.
By cinchweb July 10, 2026
Learn how to clean walls before painting with our step-by-step guide covering supplies, dust removal, TSP mixing, rinsing, and drying to prevent peeling.
Show More