July 27, 2026
Crack Wall Repair: A Step-by-Step Guide That Lasts
That hairline crack you keep filling with caulk keeps coming back, doesn't it? Crack wall repair only sticks when you deal with the cause first and the cosmetics second. Most homeowners grab a tube of spackle, smear it over the line, paint on top, and watch the same crack reappear six months later because the underlying movement was never addressed.
This guide gives you the actual fix, not the quick patch. You'll learn how to tell the difference between a surface crack from normal drying and a structural crack tied to foundation settlement, because each one needs a different repair method and different materials. We cover the tools, the mesh tape or setting compound to use, and the exact sequence that keeps cracks from splitting your fresh paint job open again.
We've repaired cracked walls in thousands of Sacramento Valley homes over more than 30 years, from hairline settling cracks in older houses to wider gaps that needed real structural attention. Follow the steps below in order, and you'll get a repair that lasts instead of one you're redoing next spring. If a crack looks bigger than a DIY job should handle, we'll also tell you when it's time to call in a licensed pro.
Why walls crack and when a patch is enough
Walls crack because building materials move. Wood framing expands and contracts with humidity, concrete slabs cure and shrink for years after a pour, and soil under your foundation shifts with the seasons in the Sacramento Valley's clay-heavy ground. Add a little settling as a new home breaks in, or decades of temperature swings in an older one, and hairline lines show up at drywall seams, corners, and above doorways. None of this means your house is failing. It means the materials are doing what they always do.
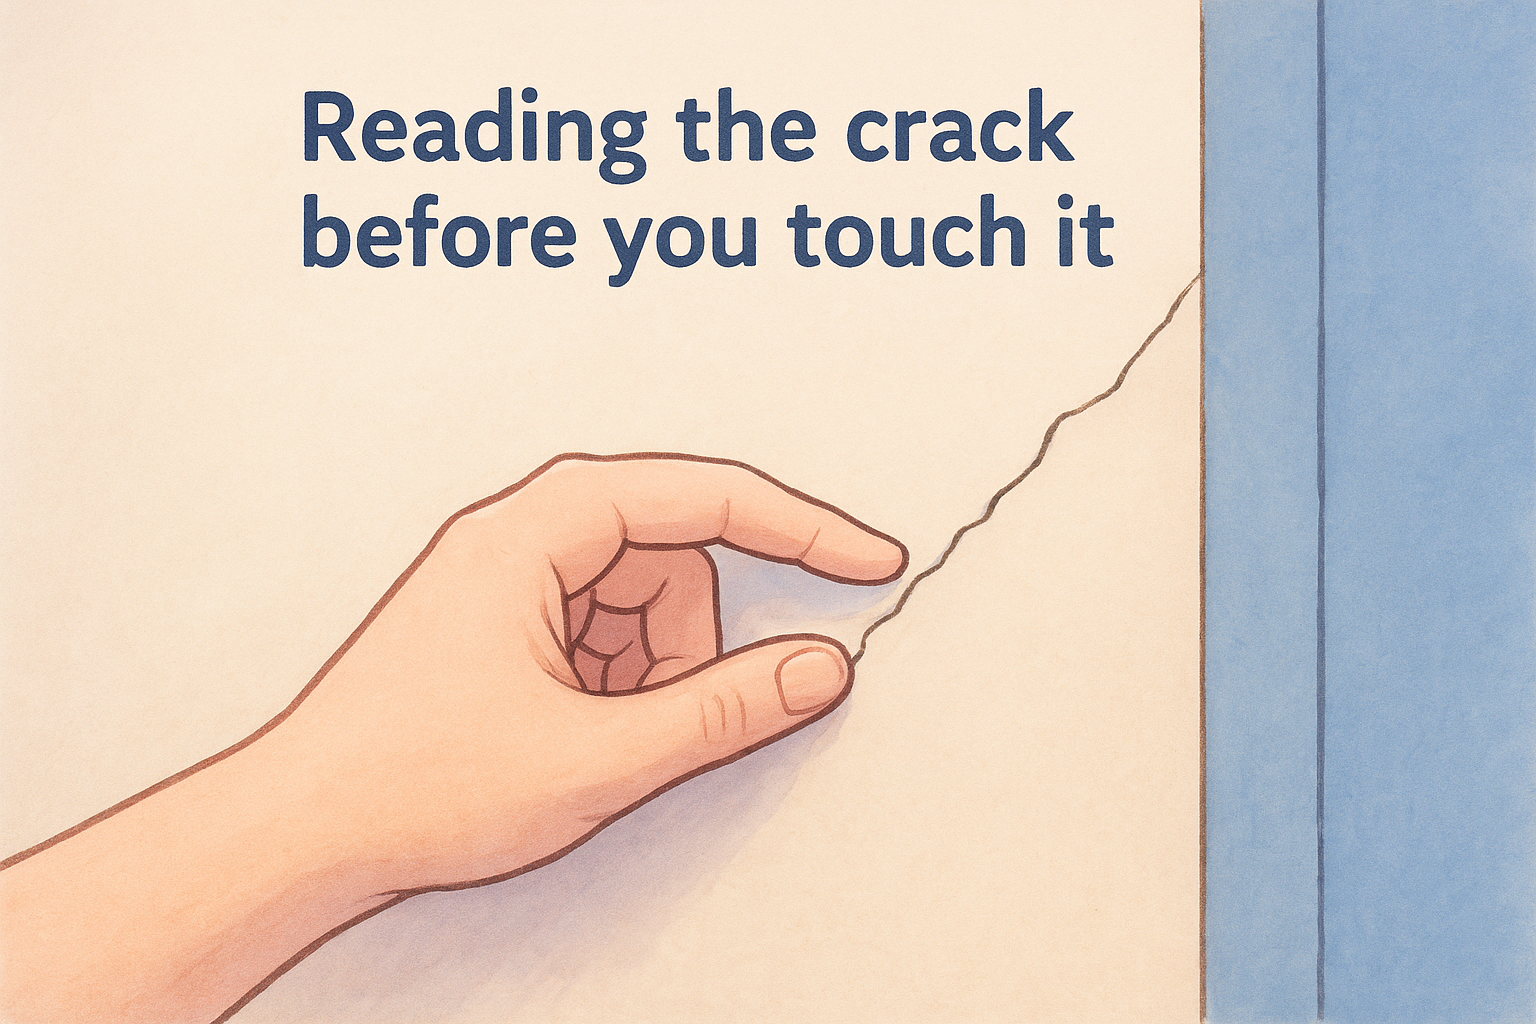
Reading the crack before you touch it
The width and shape of the crack tell you almost everything you need to know before you buy a single tool. Use this quick reference to sort what you're looking at:
| Crack type | Typical width | Likely cause | Fix approach |
|---|---|---|---|
| Hairline | Under 1/16 inch | Drywall seam or paint shrinkage | Simple patch |
| Stair-step | Varies, often in brick/block | Foundation settlement | Structural review first |
| Wide horizontal | 1/4 inch or more | Foundation pressure | Call a licensed contractor |
| Diagonal from corners | 1/8 inch or more, growing | Settling or structural shift | Monitor, then repair or call pro |
When DIY repair is the right call
A straightforward crack wall repair works fine when the crack is narrow, stable, and not paired with other warning signs. Check for these before you start patching:
- The crack hasn't visibly widened over a few weeks
- Doors and windows still open and close normally
- No matching crack appears on the exterior wall or foundation
- The gap is thin enough that a coin's edge won't fit into it
If a crack keeps widening or a door starts sticking, that's a foundation issue, not a paint problem.
If any of those checks fail, skip the spackle and get a professional to look at the structure first.
Step 1. Gather your tools and materials
Getting every tool laid out before you cut into drywall saves you from a half-finished mess with dust settling on wet compound. Crack wall repair goes faster when you're not hunting for a putty knife mid-job, so grab everything below and set it on a drop cloth near the work area.
What to have on hand
- Utility knife or 5-in-1 painter's tool
- Fiberglass mesh tape (self-adhesive works best for straight cracks)
- Setting-type joint compound, not premixed all-purpose
- 6-inch and 10-inch drywall knives
- 120-grit and 220-grit sanding sponge
- Stain-blocking primer
- Shop vacuum or damp microfiber cloth
- Painter's tape and plastic sheeting for overspray control
- Bright work light (cracks hide in shadow)
Skip standard spackle here. It shrinks, cracks again under stress, and won't bond well with mesh tape. Setting-type compound hardens through a chemical reaction instead of drying out, so it holds up against the small amount of ongoing wall movement that caused the crack in the first place. Buy the 20-minute or 45-minute set version depending on how much drying time you want between coats.
Setting compound, not spackle, is what actually stops a crack from coming back.
Step 2. Open up and clean the crack
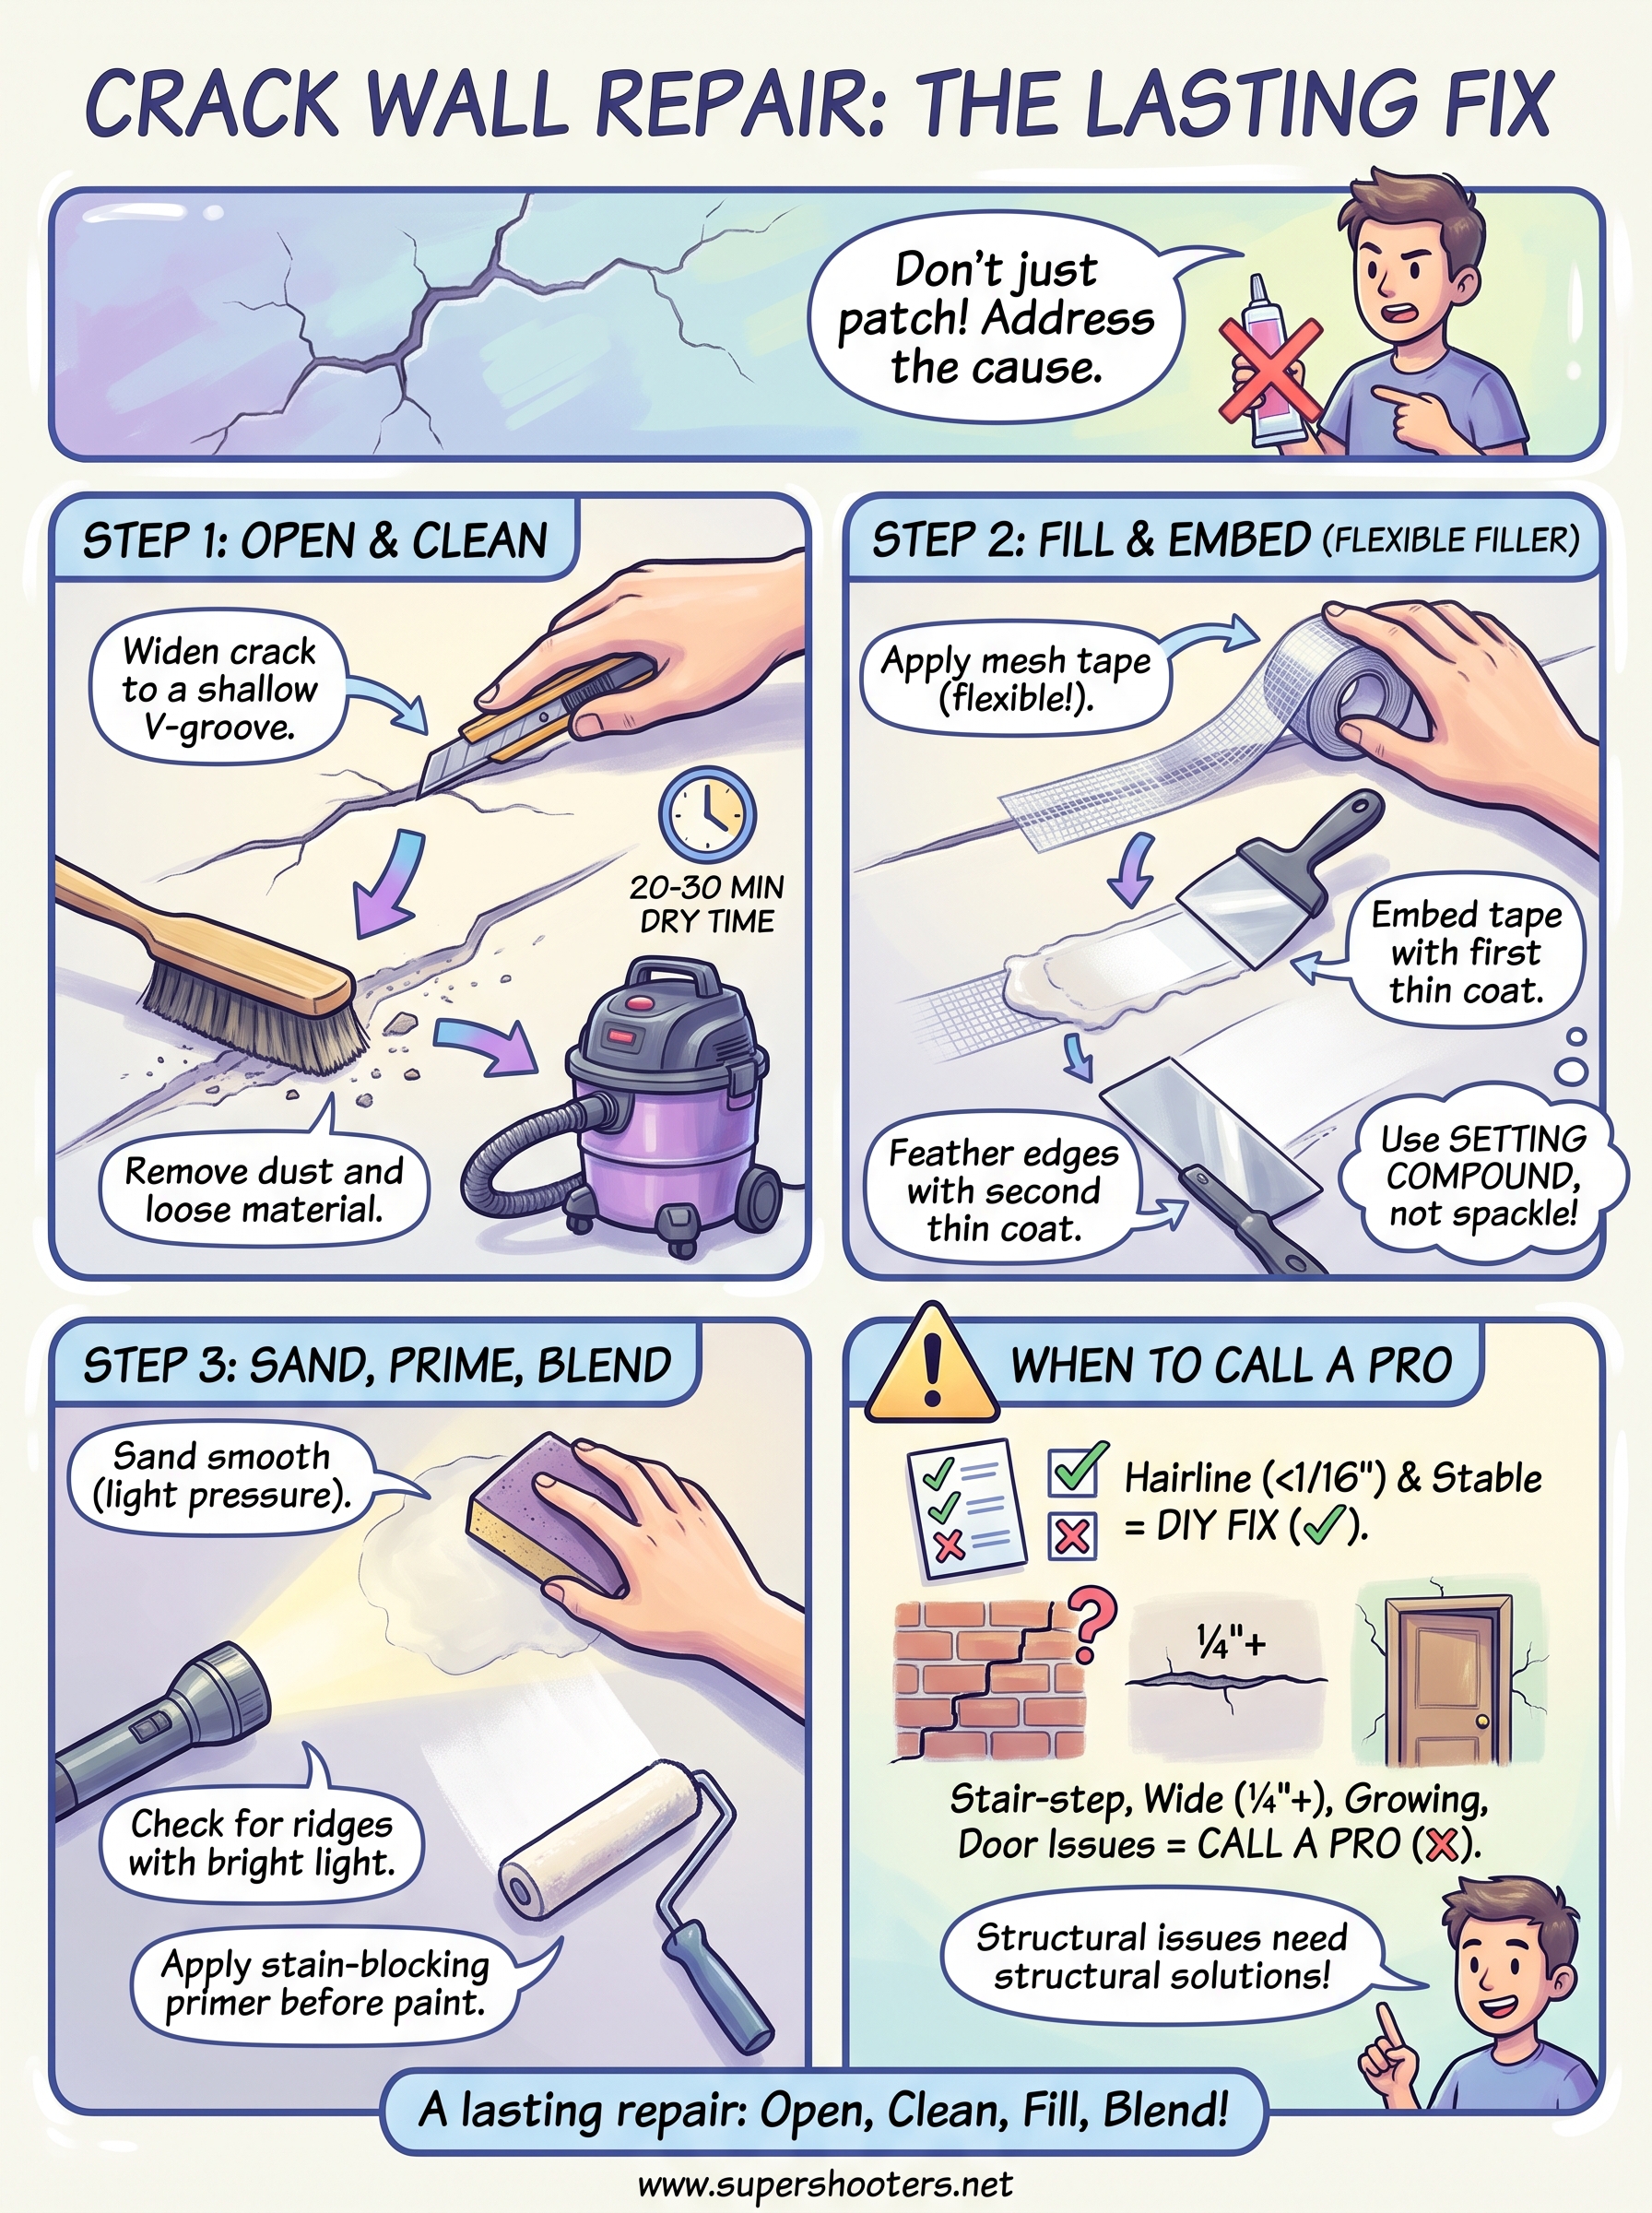
Skipping this step is why most patches fail within a year. You need to widen the crack slightly with your utility knife, creating a shallow V-groove instead of leaving a hairline gap. That groove gives the setting compound something to grip instead of sitting on top of a thin surface line that will just pop back open.
Clearing debris before you patch
Go through this checklist before any compound touches the wall:
- Score along the crack with the utility knife at a 45-degree angle on both sides
- Brush out loose drywall dust and paint chips with a stiff brush
- Vacuum the groove, then wipe with a damp microfiber cloth
- Let the area dry fully, at least 20 to 30 minutes
- Check for soft or crumbling drywall around the edges and cut it back to solid material
A clean, dry groove is what makes the difference between a patch that lasts and one that doesn't.
Dust left behind acts like a release layer between the wall and your repair material , so don't rush the cleaning. A shop vacuum with a brush attachment works faster than a dry cloth alone.
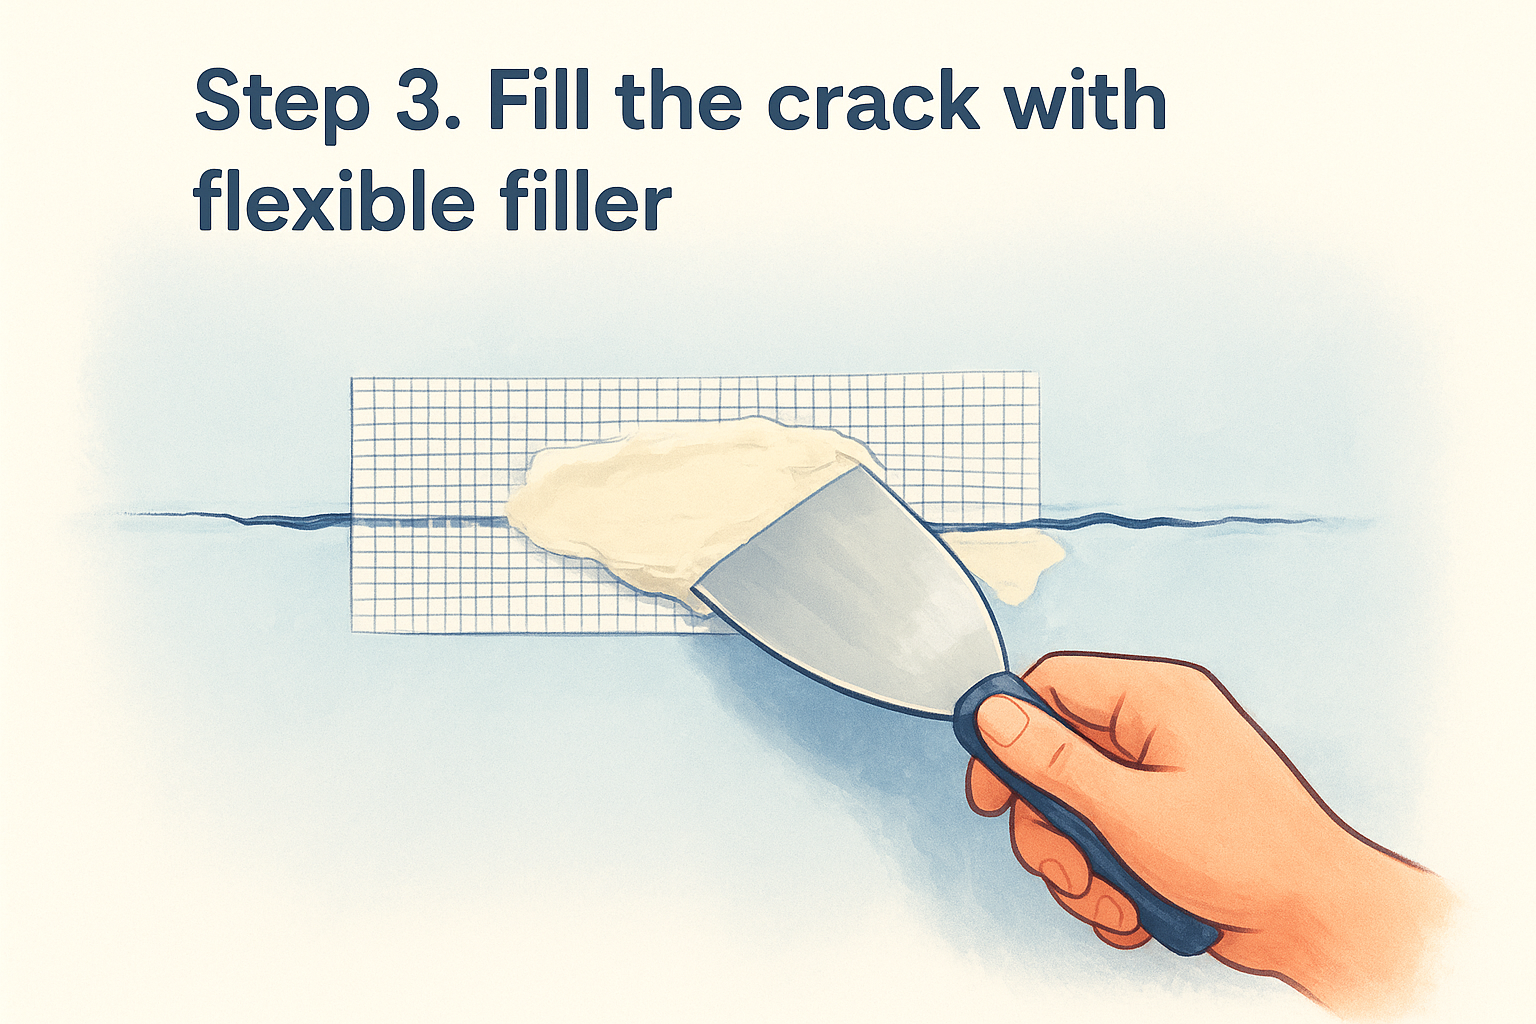
Step 3. Fill the crack with flexible filler
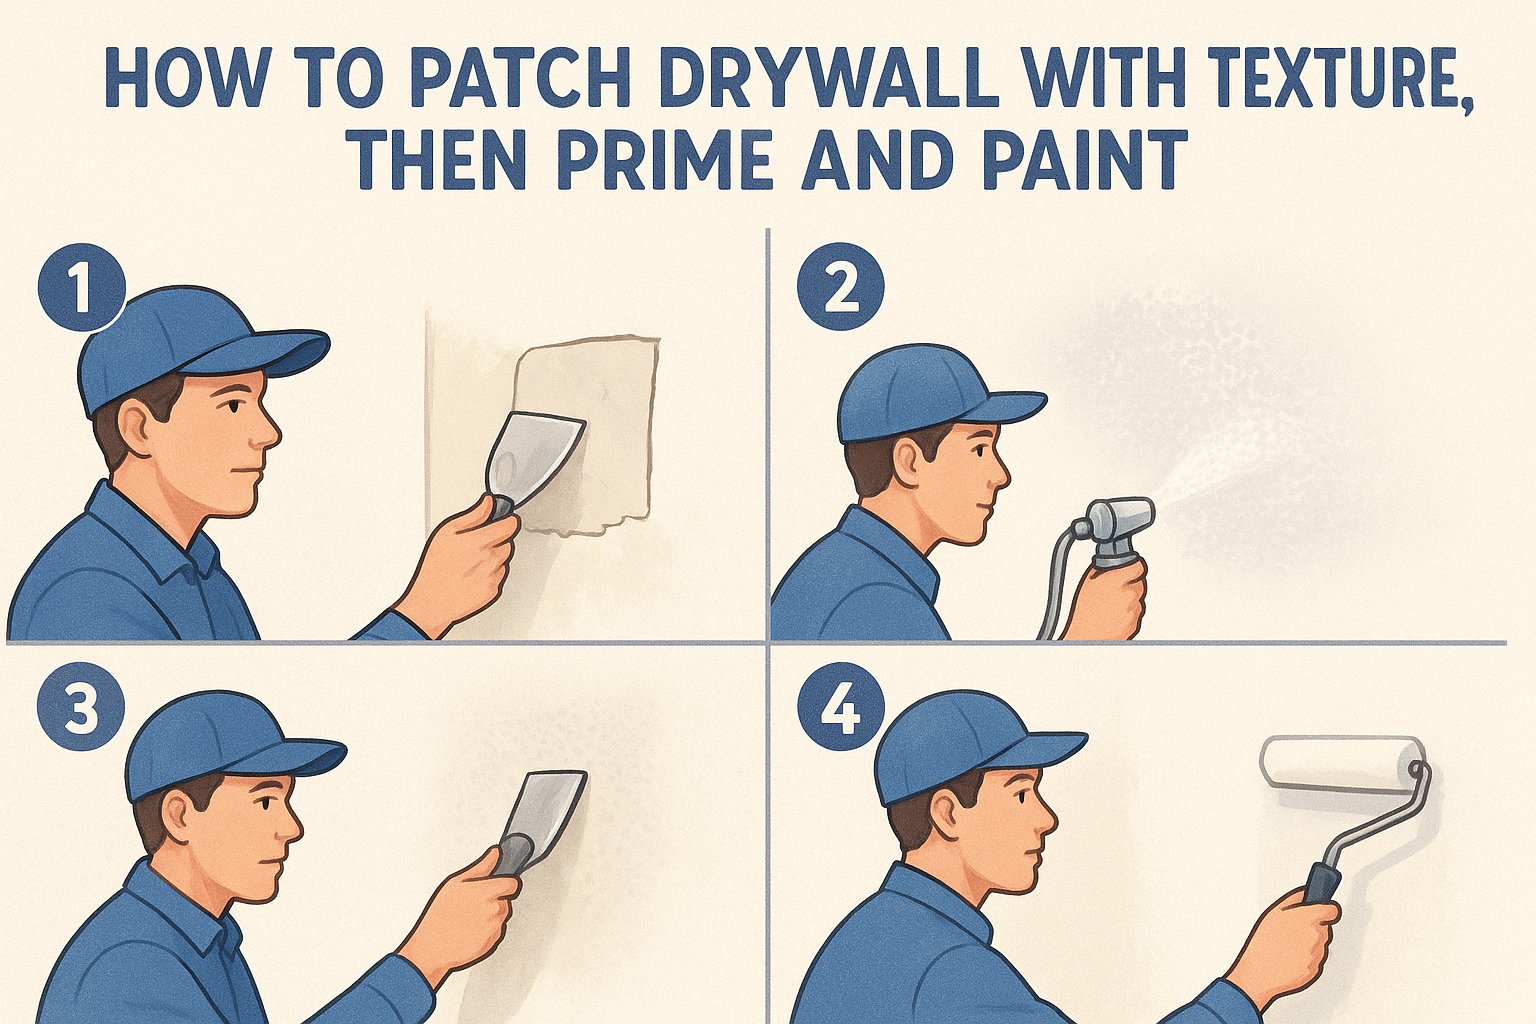
Now you get to actually close the gap. Press self-adhesive mesh tape directly over the groove, centering it so the crack sits under the middle of the tape rather than along one edge. Mesh tape flexes with minor wall movement instead of cracking again like paper tape does, which is the whole point of this step.
Applying the first coat
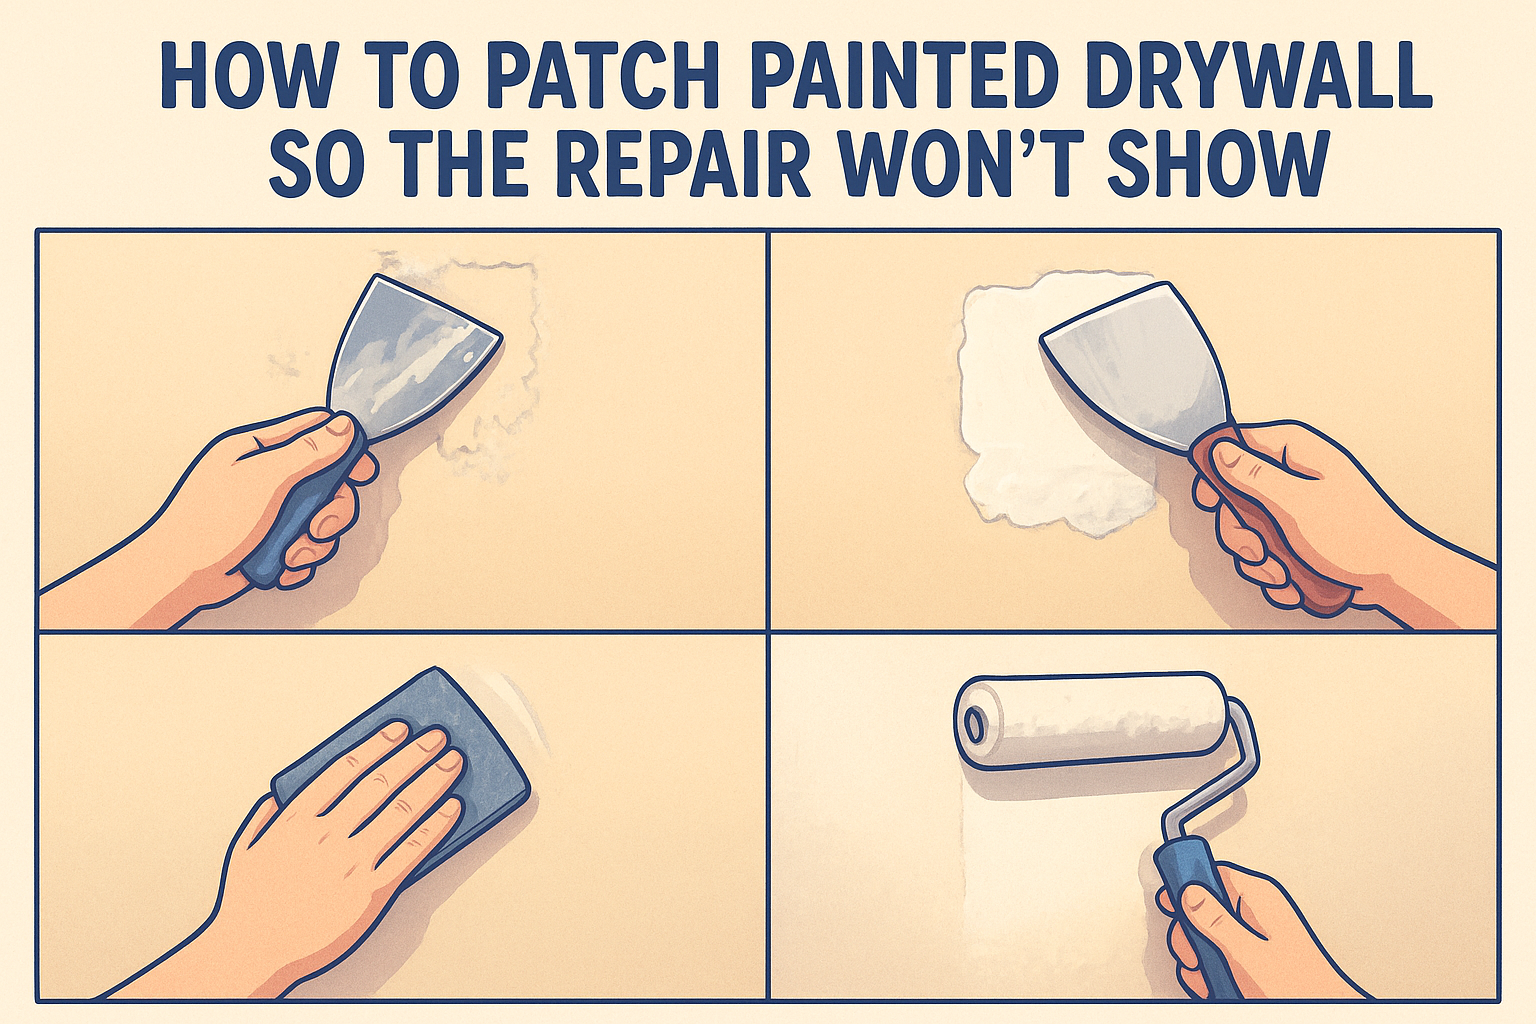
Load your 6-inch knife with setting-type compound and press it through the mesh, working from the center outward. Don't try to fill the whole depth in one pass.
- Apply a thin skim coat over the tape, just enough to embed it fully
- Feather the edges out about 2 inches on each side
- Let it set fully per the package time, don't rush a second coat over wet compound
- Apply a second thin layer with the 10-inch knife, feathering wider than the first
Two thin coats beat one thick coat every time, thick compound cracks as it cures.
Resist the urge to load it up. Thin, patient layers are what keep this repair from splitting again.
Step 4. Sand, prime, and blend the repair
Once the final coat has set completely, hard and cool to the touch, it's time to smooth everything down. Grab your 220-grit sanding sponge and work in light circles rather than hard back-and-forth strokes, which can gouge the fresh compound and leave new dips for shadows to catch under paint.
Feathering the edges flat
Check your work with a bright light held at an angle against the wall. Any ridge or lip will throw a shadow you can't unsee once the room is painted.
- Run a hand across the patch to feel for high spots before you even look
- Sand in light passes, wiping dust away between each one
- Widen the feathered edge further if you still feel a ridge
- Vacuum the area, then wipe with a barely damp cloth
A repair you can't feel with your palm is a repair you won't see under paint.
Priming before paint
Always prime the patch with a stain-blocking primer before topcoat, even if you're using the same wall paint. Bare compound absorbs paint differently than the surrounding drywall, and skipping primer is the single most common reason patched cracks show up as dull, flat patches once the paint dries.
Keeping your walls crack-free for good
A lasting crack wall repair comes down to four things done in order: open the crack properly, clean it out, fill it with flexible mesh and setting compound, then feather and prime before paint touches it. Skip any one of those steps and you're back to patching the same line next year. Keep an eye on humidity swings in your home, since dry winter air and swampy summer months both push wood framing and drywall seams to move a little more than usual.
Some cracks aren't a weekend project, though. Wide gaps, stair-step patterns in block walls, or cracks that keep growing point to something bigger than a spackle job can fix. When that's what you're looking at, don't guess. Reach out to our team for professional drywall repair and patching and get a wall that actually stays fixed.