May 28, 2026
Drywall Repair After Water Damage: DIY Steps To Replace
Water stains on your ceiling or walls are never just cosmetic, they're a warning. Once moisture soaks into drywall, the clock starts ticking on mold growth , structural softening, and paint failure. The good news: drywall repair after water damage is a straightforward fix that most homeowners can handle themselves, as long as the affected area is manageable and the water source has been stopped.
This guide walks you through every step, from assessing how far the damage goes to cutting out compromised sections, drying the area properly, and finishing with a surface that looks like nothing ever happened. We'll also cover when mold prevention matters most and what materials you'll need before you start.
At Super Shooters, we've completed over 10,000 ceiling and wall projects across the Sacramento Valley in our 30+ years of business, and water damage repairs are one of the most common calls we get. We've seen what works, what doesn't, and when a repair turns into a bigger job that needs professional hands. Use this guide for the fixes you can tackle on your own, and know we're here when you need backup.
Before you start: safety, tools, and patch vs replace
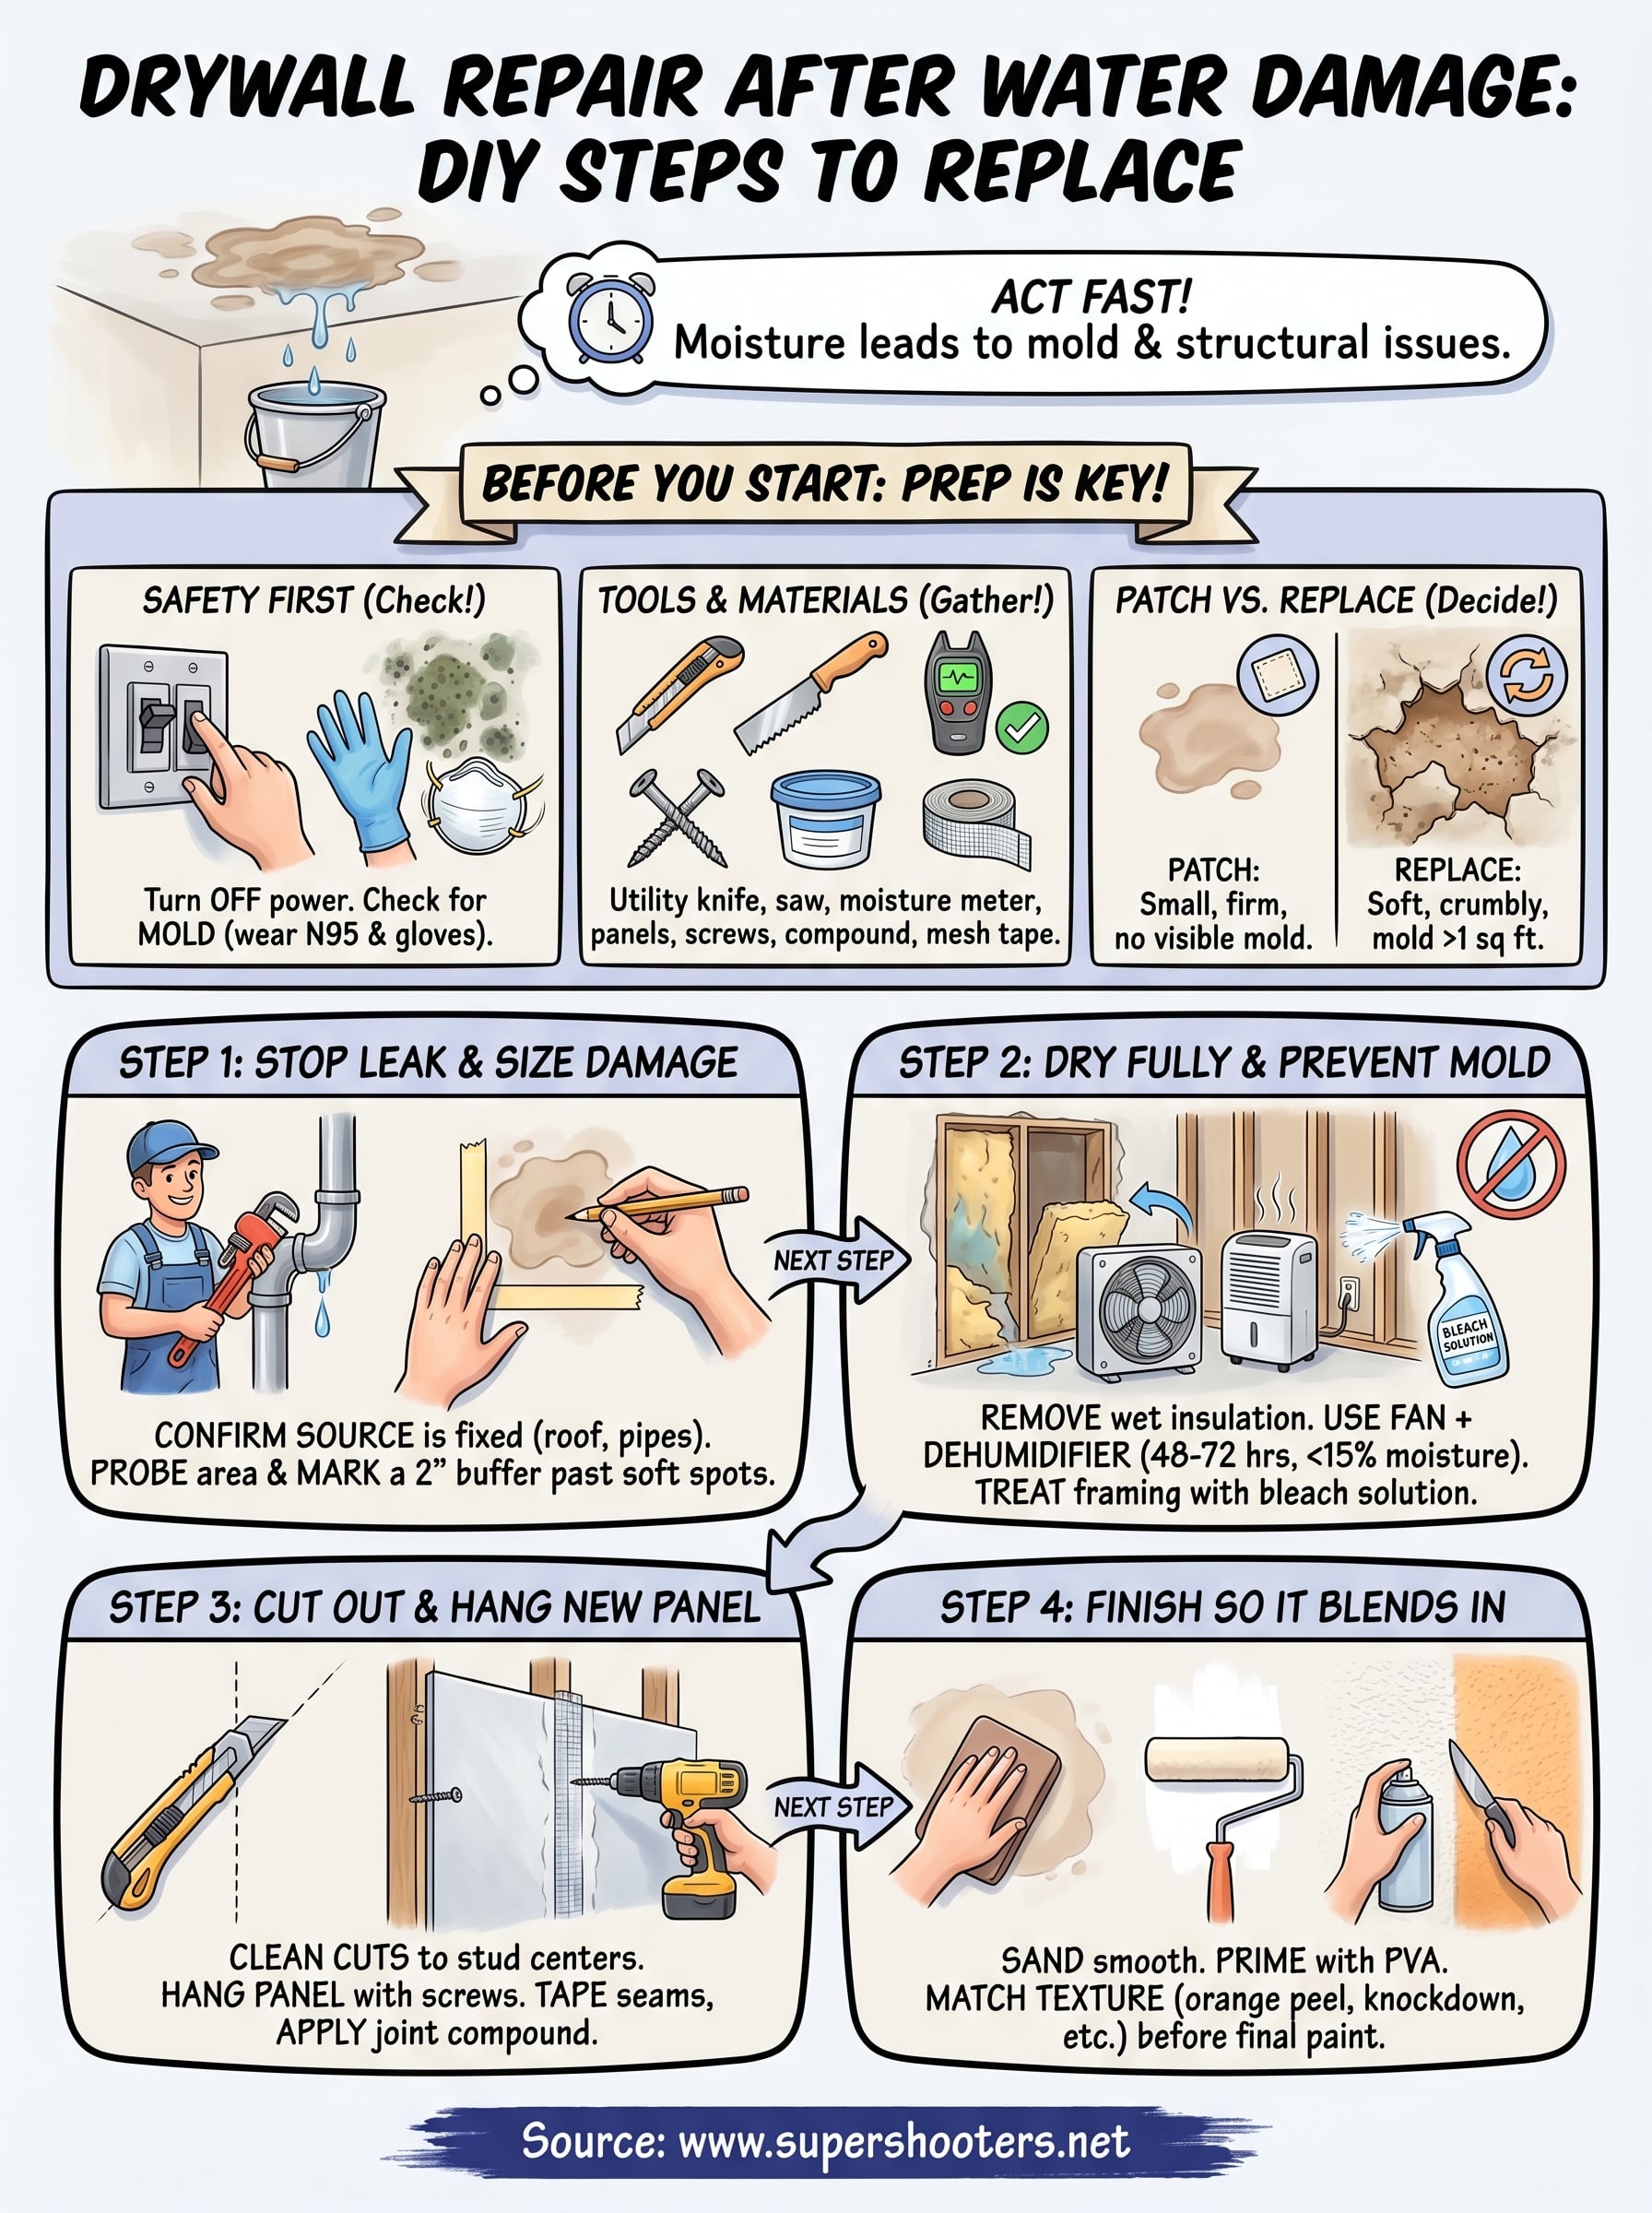
Jumping straight into repairs without prep is how small jobs turn into expensive problems. Before you touch any water-damaged drywall , you need to address three things: personal safety , having the right materials on hand, and deciding whether a patch is enough or whether the whole panel needs to go. Skipping any of these steps will slow you down or, worse, force you to redo the work.
Safety first: what to check before you touch anything
Water and electricity are a dangerous combination, and walls or ceilings often hide wiring behind them. Before you do anything, turn off power to the affected area at your breaker box, then confirm the circuit is dead using a non-contact voltage tester near the closest outlet or fixture before you cut or probe the drywall.
If the ceiling is bulging or sagging, do not stand under it. Saturated drywall can hold several gallons of water and collapse without warning.
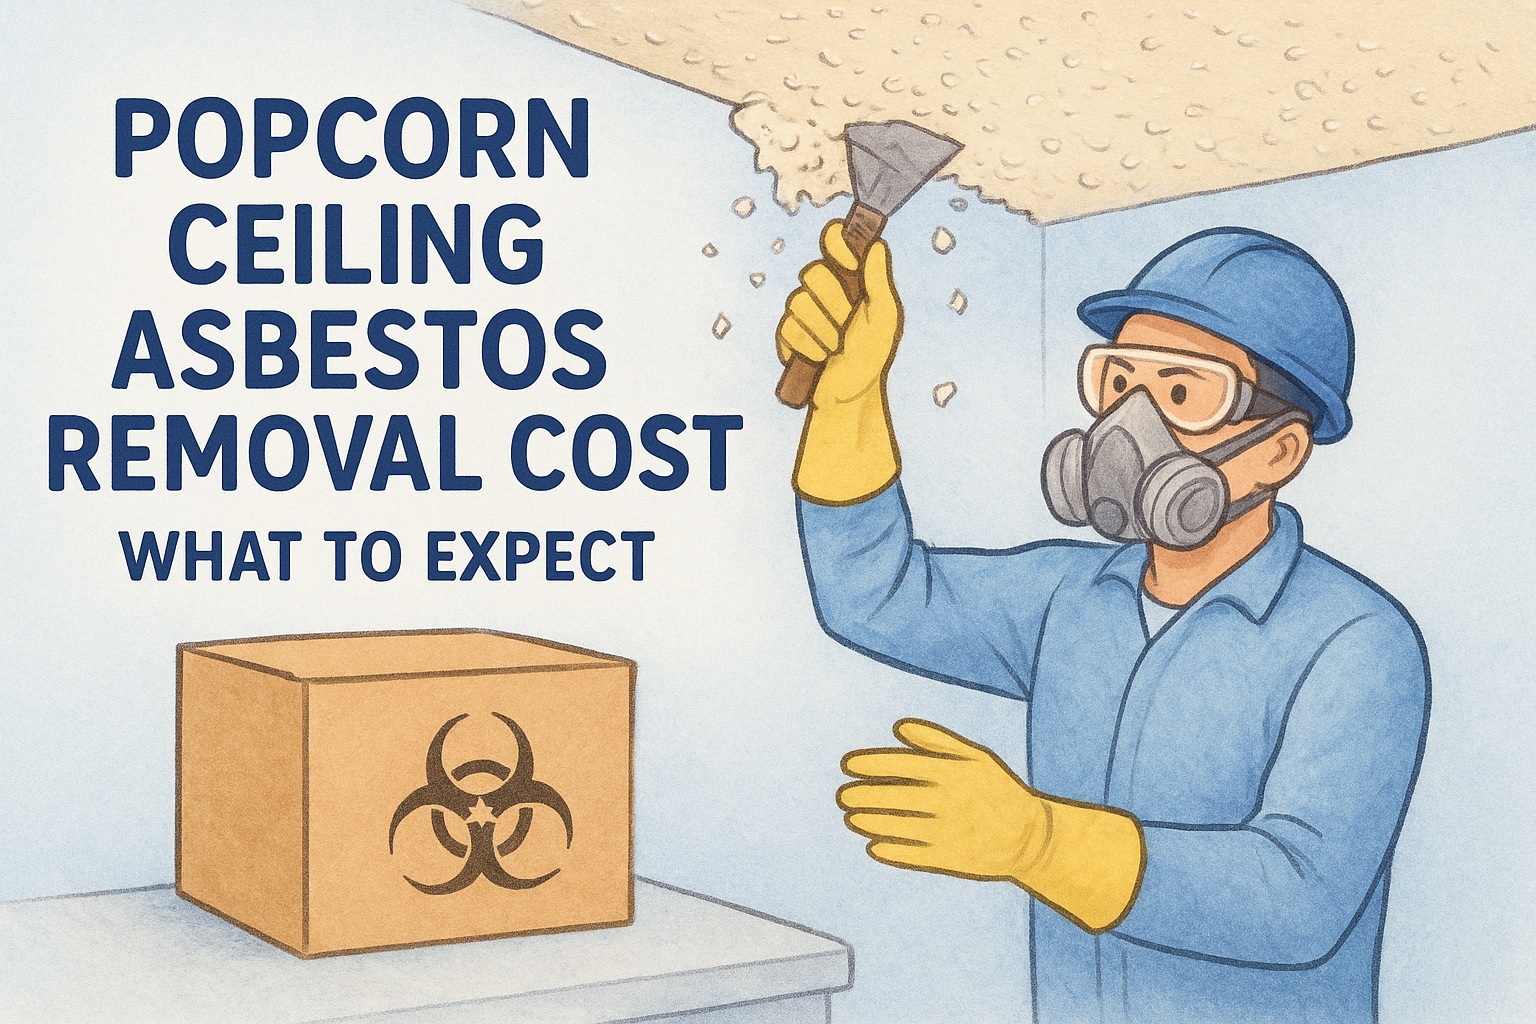
Also check for active mold before you start cutting. If you see black, green, or white fuzzy growth, or notice a strong musty smell, put on an N95 respirator and nitrile gloves before proceeding. Small mold patches under one square foot are treatable during the repair process, but larger infestations may need professional remediation first.
What tools and materials you need
Having everything at the job site before you start means you won't stop mid-repair with an open hole in your wall. Here's what a standard drywall repair after water damage requires:
| Item | Purpose |
|---|---|
| Utility knife or drywall saw | Cutting out damaged sections |
| Non-contact voltage tester | Verifying power is off |
| Moisture meter | Confirming framing is fully dry |
| Drywall panels (1/2" or 5/8") | Replacing removed sections |
| Drywall screws and drill | Securing new panels to framing |
| Pre-mixed joint compound | Filling seams and screw holes |
| Fiberglass mesh tape | Reinforcing joints |
| 120-grit sandpaper or sanding sponge | Smoothing dried compound |
| PVA or mold-resistant primer | Sealing the surface before paint |
| N95 respirator and nitrile gloves | Personal protection during demo |
Pick up a moisture meter if you don't already own one. They typically run $20 to $40 and take the guesswork out of knowing when the framing and substructure behind the drywall are actually dry enough to close up.
Patch vs. replace: how to decide
Not every water stain means you need to rip out the whole panel. Small discolored areas where the drywall still feels firm, shows no softness or bubbling, and has no visible mold are often patch-friendly. You can cut out just the affected section, fasten a backer board between the studs, and fit in a fresh piece.
Replace the full panel when the drywall feels soft or crumbles when you press it, when mold covers more than one square foot , or when the damage runs along the edges where the panel meets the framing. Trying to patch severely compromised drywall gives you a weak repair that will crack, sag, or grow mold again within months. When in doubt, pull the full sheet and start clean.
Step 1. Stop the leak and size up the damage
Repairing drywall before the water source is fixed is a waste of time and money. New moisture will re-saturate your fresh repair within days, and you will be right back to square one. Before you buy a single sheet of drywall or mix any joint compound, confirm the water has completely stopped.
Find and fix the water source
The source is not always obvious. A roof leak can travel several feet along rafters before dripping into a wall or ceiling. A slow pipe drip can soak insulation quietly for weeks before you notice a stain. Start by identifying the most likely culprit based on where the damage appears:
- Ceiling stain near an upstairs bathroom : check the toilet supply line, wax ring, or bathtub drain
- Ceiling stain after rain : inspect the roof for missing shingles, cracked flashing, or clogged gutters
- Wall stain near a window or door : look for failed caulking or a cracked sill
- Lower wall stain near a baseboard : check for a slow supply line leak or condensation from a nearby pipe
Do not proceed with drywall repair after water damage until a plumber, roofer, or you personally confirm the source is fully resolved. A dry patch over an active leak will fail every time.
If you cannot identify the source on your own, hire a licensed plumber or roofer before you touch the drywall.
Map the full extent of the damage
Once the water is off, probe the surrounding area well beyond the visible stain. Water travels along framing and insulation, and the compromised drywall often extends further than the discoloration reveals. Press firmly with your thumb in a grid pattern around the stain. Anywhere the surface feels soft, spongy, or crumbles under light pressure is damaged and needs to come out.
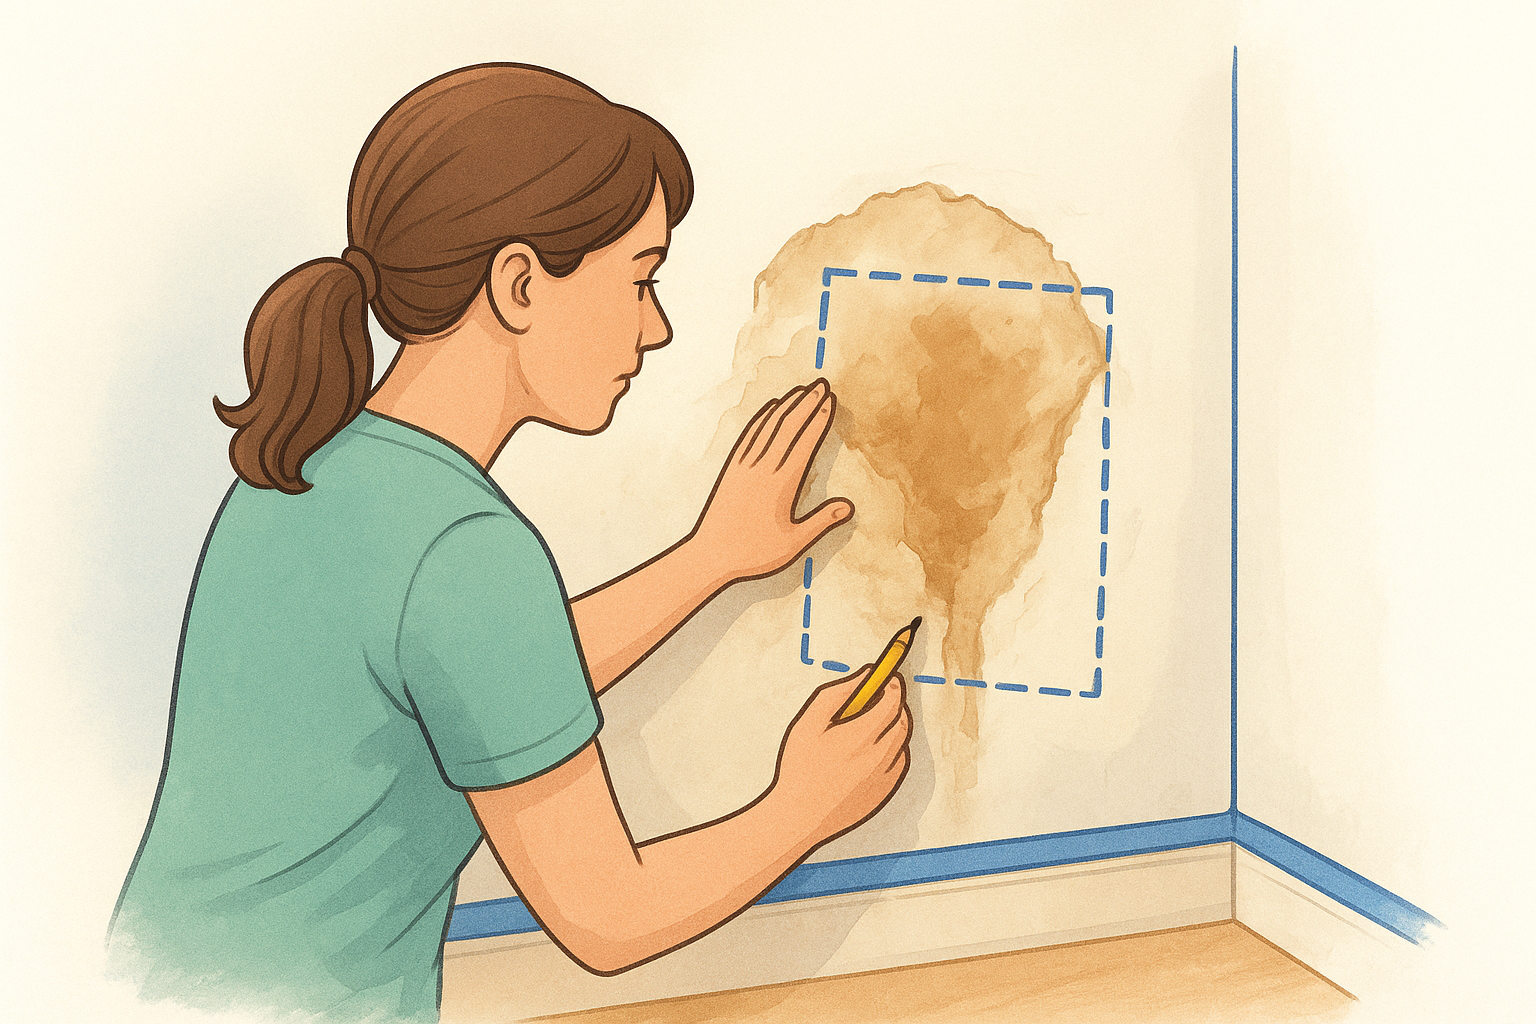
Mark the outer boundary of the damage with a pencil or painter's tape. Give yourself a two-inch buffer past the last soft spot you find, since that zone of framing is likely holding residual moisture as well. This mapped outline becomes your cut line in Step 3, so take your time and be thorough here.
Step 2. Dry the area fully and prevent mold
Cutting out the damaged drywall exposes the framing and insulation behind it, and what you find there will determine how long this step takes. Drywall repair after water damage is only as good as the drying work underneath it. Close up a wall over damp framing and you will have mold growing inside your wall within a week, no matter how clean the surface looks.
Remove wet insulation and open the cavity
Insulation holds moisture like a sponge and will not dry out on its own once it is saturated. Pull out any wet fiberglass batts or wet cellulose completely and bag them for disposal. There is no practical way to dry and reuse waterlogged insulation, and leaving it in place will keep the surrounding wood damp for weeks.
After removing the insulation, open the cavity on both sides of the affected area if you can access it. Removing drywall from one wall stud bay while the adjacent bay stays closed traps humid air and slows drying significantly. Extending your cutout a few extra inches beyond the marked damage line costs very little in materials and saves you real time.
Use airflow and heat to dry the framing
Once the cavity is open, run a box fan or air mover directed into the opening combined with a dehumidifier in the same room. This combination pulls moisture-laden air out of the framing much faster than passive drying alone. In a typical room-temperature environment, plan for at least 48 to 72 hours of continuous airflow before you check readings again.
Do not trust your eyes to judge when wood framing is dry. Use a moisture meter and confirm the reading is below 15% before you move to the next step.
Treat for mold before you close up
Once your moisture meter confirms the framing is dry, inspect every exposed surface for early-stage mold growth , including the top plates, studs, and the back face of any drywall still in place. Small areas of surface mold on wood framing can be treated with a diluted bleach solution (one cup of bleach per gallon of water) applied with a brush, scrubbed clean, and allowed to dry completely. Let the treated wood dry for an additional 24 hours before closing up the wall.
Step 3. Cut out and replace water-damaged drywall
Now that the framing is fully dry and treated, you are ready to cut out the compromised material and hang fresh drywall. Work carefully here, because clean cuts and solid backing are the two factors that determine whether your patch holds long-term or develops cracks within a single season.
Make clean, straight cuts
Use a T-square and a utility knife or drywall saw to score and cut along the boundary lines you marked in Step 1. Cut to the center of the nearest stud on each side of the damaged area so the new panel has solid framing to fasten to on both edges. If your cut falls between studs, install a horizontal 2x4 backer board secured between the studs to support the top and bottom edges of the patch.
Follow this cut sequence to stay organized:
- Mark your cut lines with a pencil and T-square
- Score the paper face with a utility knife
- Snap the panel toward you along the score line
- Cut the back paper and remove the section
- Check all edges land on framing or backer
Never cut freehand. A ragged edge makes taping and finishing twice as hard and creates weak points at every seam.
Work the saw slowly near any pipes or wires you know are in the cavity. Stop and recheck with your non-contact voltage tester whenever you are unsure about what is sitting behind the surface before continuing.
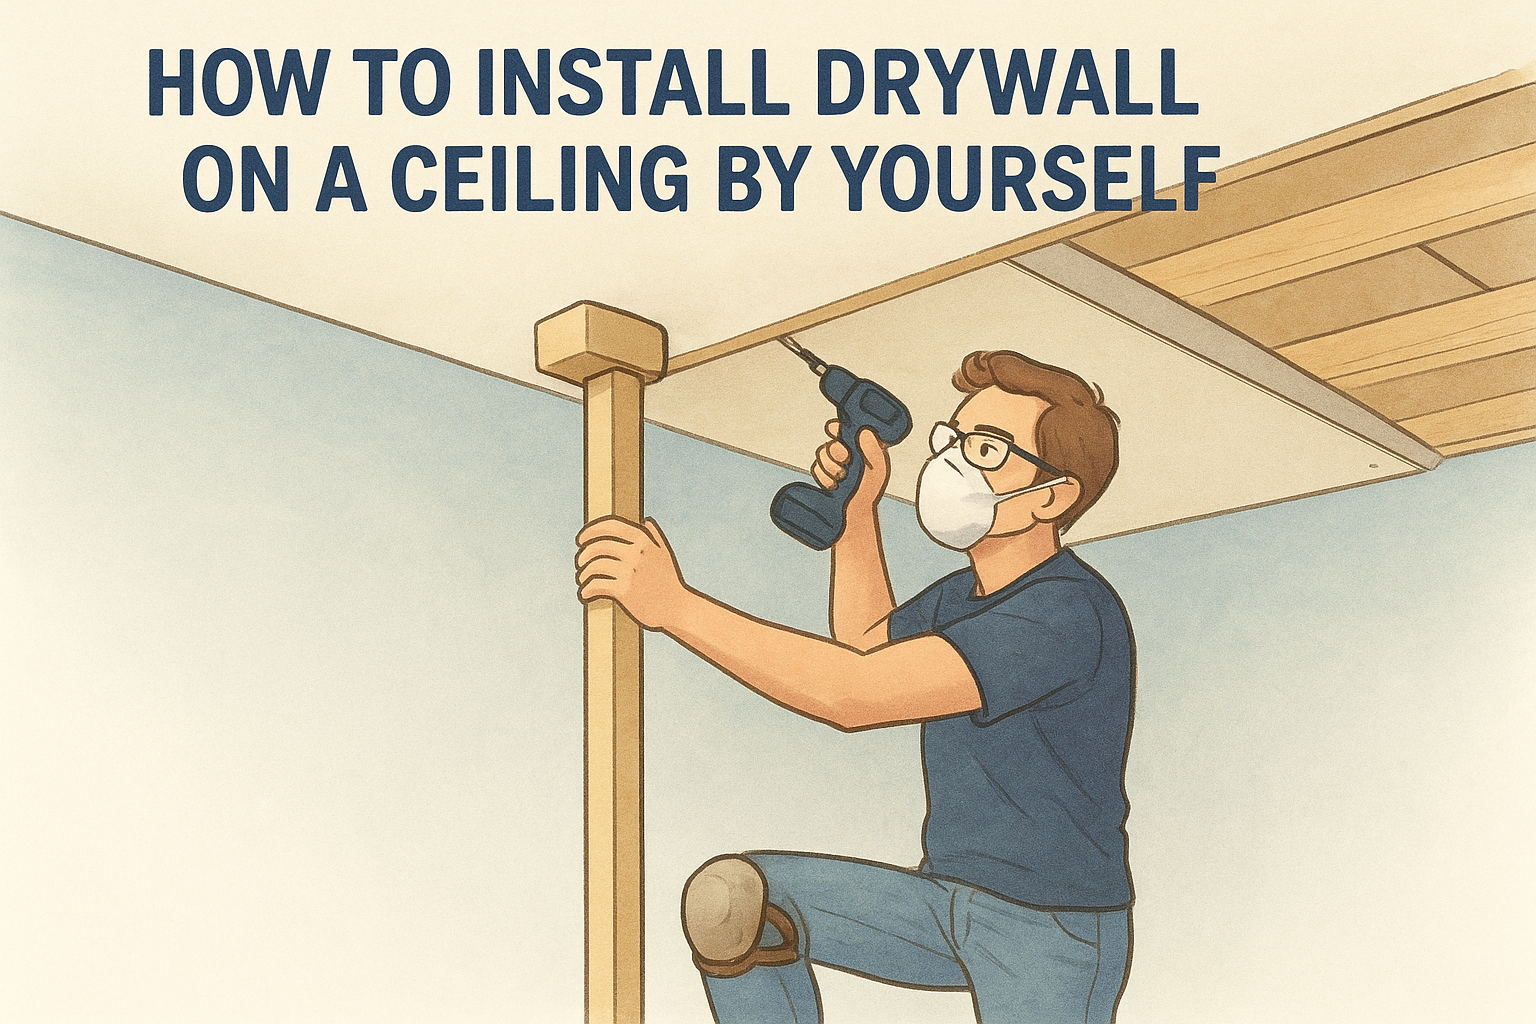
Hang the new drywall panel
Cut your replacement panel 1/4 inch smaller on each side than the opening to allow for slight adjustments without forcing the fit. Hold the panel in place and fasten it with 1-5/8 inch drywall screws driven every 8 inches along each stud and backer board, sinking each screw head just slightly below the surface without tearing through the paper face.
For a ceiling repair where drywall repair after water damage is more physically demanding, recruit a second person to hold the panel steady while you drive screws. A drywall lift rented from most home improvement stores also keeps your hands free and prevents the panel from shifting mid-installation.
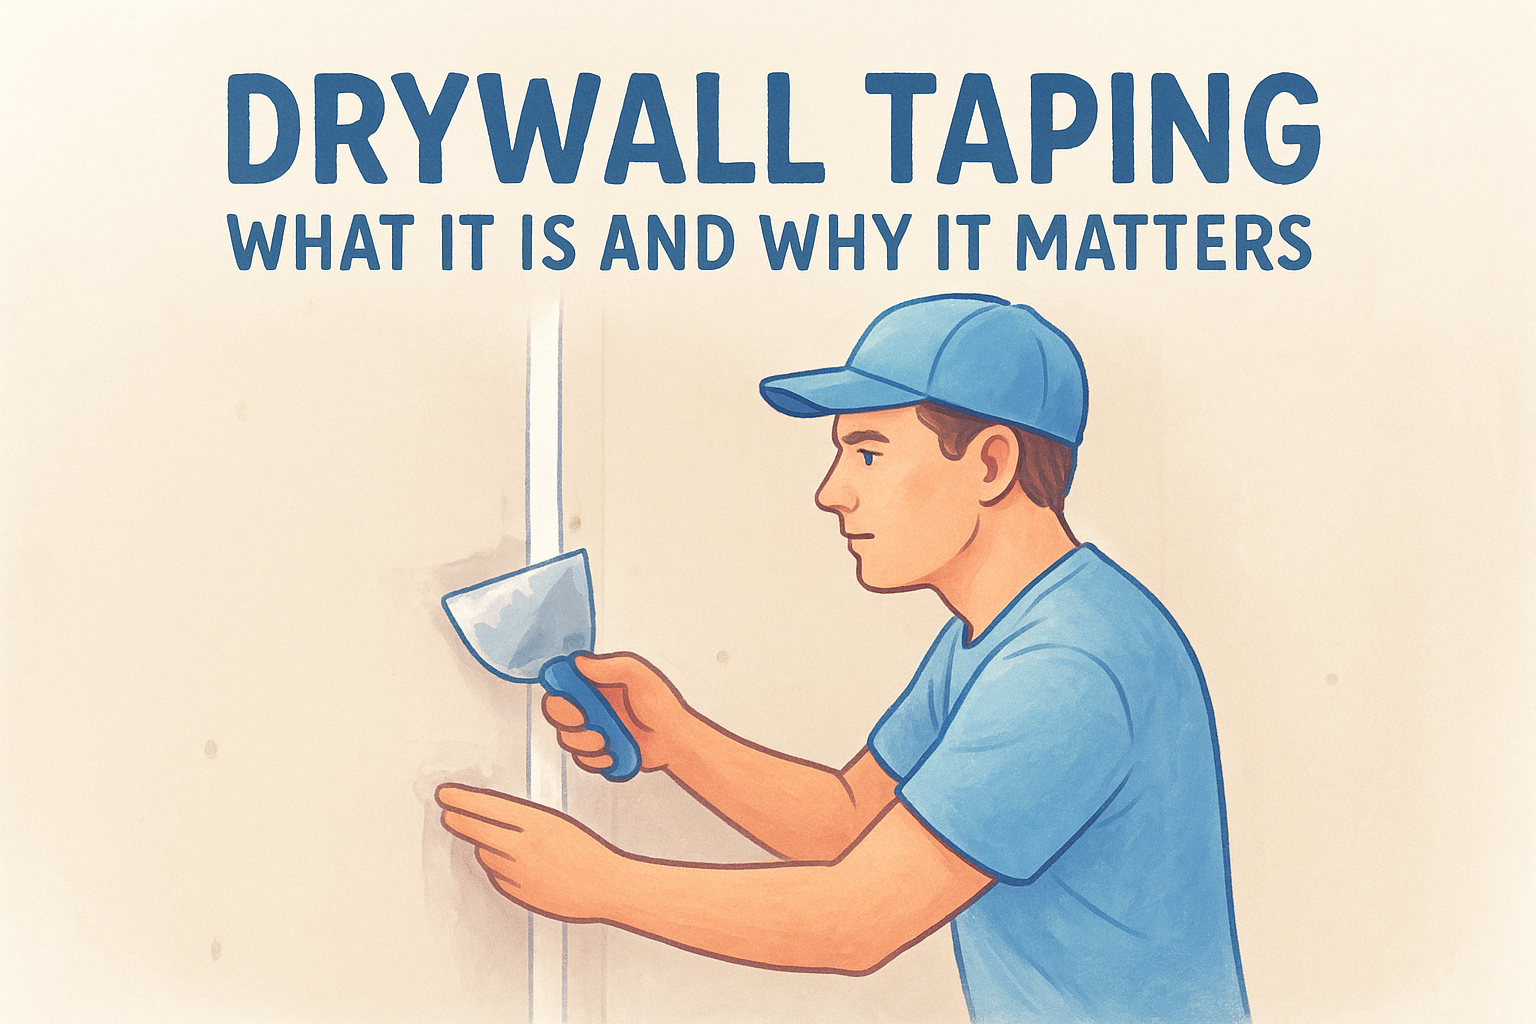
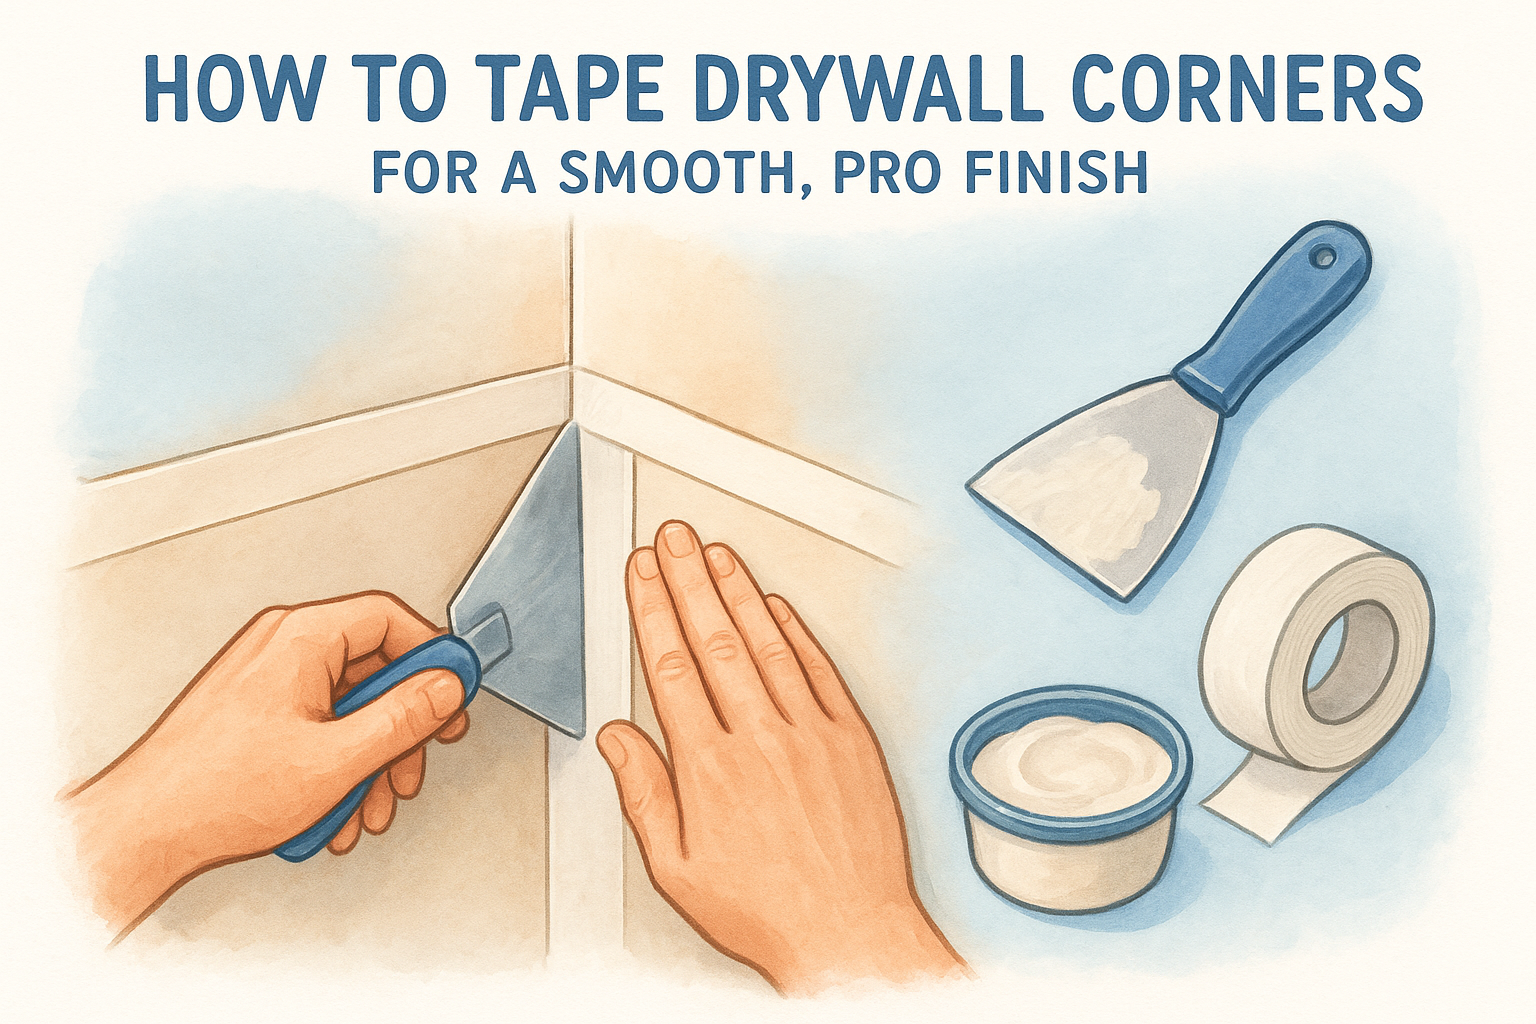
Tape the seams before finishing
Apply fiberglass mesh tape over every seam and press it firmly into place. Run a thin layer of pre-mixed joint compound over the tape with a 6-inch drywall knife, feathering the edges outward so the seam does not create a visible ridge once the surface dries.
Let the first coat dry completely, typically 24 hours, before applying a second coat. Two thin coats produce a flatter, stronger result than one thick coat that shrinks and cracks as it cures.
Step 4. Finish the patch so it blends in
The quality of your drywall repair after water damage lives or dies in the finishing stage. The framing is solid, the new panel is hung, and the seams are taped, but the patch will still look like a patch unless you sand, prime, and texture it to match the surrounding surface . Rushing through this stage is the most common reason DIY repairs stand out instead of disappear.
Sand and prime before you paint
Once your second coat of joint compound is fully dry, sand the entire patched area with 120-grit sandpaper using light, circular strokes. Your goal is a surface that feels flush with the surrounding wall when you run your palm across it. Any ridges or high spots left in the compound will telegraph through your paint finish, especially under raking light from a nearby window.
Wipe the sanded area with a slightly damp cloth to remove all dust before priming. Dust left on the surface prevents primer and paint from bonding properly.
After dusting, apply a coat of PVA drywall primer or a mold-resistant primer to the entire patched section. Bare joint compound is porous and will absorb paint unevenly, leaving a dull, flat spot called "flashing" right where your patch is. Primer seals the surface so your finish coat lays down evenly across both the new compound and the existing painted wall.
Match the texture before the final coat
Skipping texture matching leaves a smooth island on a textured wall, and it will catch your eye every time light hits it at an angle. Identify the existing texture style before you buy anything. The three most common residential textures are orange peel, knockdown, and smooth. Orange peel looks like light, random bumps; knockdown has flattened irregular blobs separated by smooth gaps ; smooth is exactly what it sounds like.
| Texture Type | Application Tool | Technique |
|---|---|---|
| Orange peel | Aerosol can or spray hopper | Light, even passes from 18 inches |
| Knockdown | Drywall knife and compound | Dab compound, let set slightly, flatten with knife |
| Smooth | 10-inch knife and thin compound | Feather until completely flat |
Practice your texture application on a scrap piece of drywall first. Aerosol texture cans available at most hardware stores work well for small patches and give you more control than a spray hopper at this scale.
Next steps for a lasting repair
A solid drywall repair after water damage comes down to patience at each stage: confirm the leak is fixed, dry the framing completely, hang clean panels, and finish the surface carefully. Skip any one of those steps and the repair will fail faster than the original damage did. Once your final paint coat dries, check the area again after the first heavy rain or the next time you run a bath to confirm the water source is truly resolved.
Most repairs in a single stud bay take a capable DIYer one to two weekends. Larger jobs, ceiling sections, or anything involving suspected asbestos in older homes are a different story. Those projects carry real risk and almost always go smoother with an experienced crew. If your damage is more than a small patch or you want a professional finish guaranteed, get in touch with our team through our drywall repair and patching service page for a free in-home estimate.
Recent Posts