May 25, 2026
Drywall Estimating: How To Calculate Drywall Needed By Sheet
Buying too much drywall wastes money. Buying too little means extra trips, delivery fees, and project delays. Knowing how to calculate drywall needed before you place an order keeps your renovation on budget and on schedule. The math itself isn't complicated, but skipping a step or measuring wrong can throw off your entire material estimate by several sheets.
At Super Shooters, we've hung drywall on over 10,000 projects across the Sacramento Valley in our 30+ years of business. That experience has taught our crews exactly how to measure a room, account for windows and doors, and factor in the waste that every real-world job produces. We use these same calculations on every residential project we take on, from garage finishes to full home remodels.
This guide walks you through the complete process, step by step. You'll learn how to measure your walls and ceilings, choose the right sheet size, calculate your total square footage , and convert that number into an accurate sheet count. We also cover how to estimate joint compound, tape, and screws, so you can order everything at once and avoid mid-project supply runs.
What you need before you start measuring
Getting your measurements right depends on having the right tools and a clear picture of your space before you touch a tape measure. Rushing in with missing information is one of the most common reasons homeowners end up short on materials or over-ordering by five or more sheets . Spending ten minutes gathering everything upfront saves you from recalculating halfway through the job.
The tools you need on hand
Before you can figure out how to calculate drywall needed for your project, you need a short list of physical tools and a notepad to record every measurement . A missing tool mid-measurement often leads to guessed numbers, and guessed numbers lead to wrong material orders.
Here's what to have ready:
- Tape measure (at least 25 feet long)
- Notepad and pencil or a spreadsheet on your phone
- Calculator for multiplying and adding your totals
- Laser distance measurer (optional, but useful for large open rooms)
- Floor plan or rough sketch of the room layout
Keep your notepad organized by labeling each wall (Wall A, Wall B, and so on) and your ceiling as a separate measurement category . This prevents confusion when you're adding everything up later.
Write down every dimension immediately after you take it. Relying on memory for even one measurement will cost you.
Key room information to gather
Beyond the physical tools, you need to know specific details about your room before a single number goes on paper. The ceiling height and the number of openings (windows, doors, and built-in niches) directly affect your final sheet count, because you subtract those areas from your gross square footage in a later step.
Gather the following information for each room you plan to drywall:
| Item | Why It Matters |
|---|---|
| Ceiling height | Determines whether 8-ft or 9-ft sheets cover a wall in one run |
| Number of doors | Each standard door removes roughly 20 sq ft from your total |
| Number of windows | Each average window removes roughly 15 sq ft |
| Ceiling area (length x width) | Ceiling drywall is calculated separately from walls |
| Arched or angled walls | These require custom cuts and raise your waste factor |
Having this table filled out for every room before you start measuring means you won't need to walk back through the house mid-calculation. Arched walls and vaulted ceilings add real complexity, so flag those rooms separately and plan to add a higher waste percentage when you get to that step.
Understanding sheet dimensions
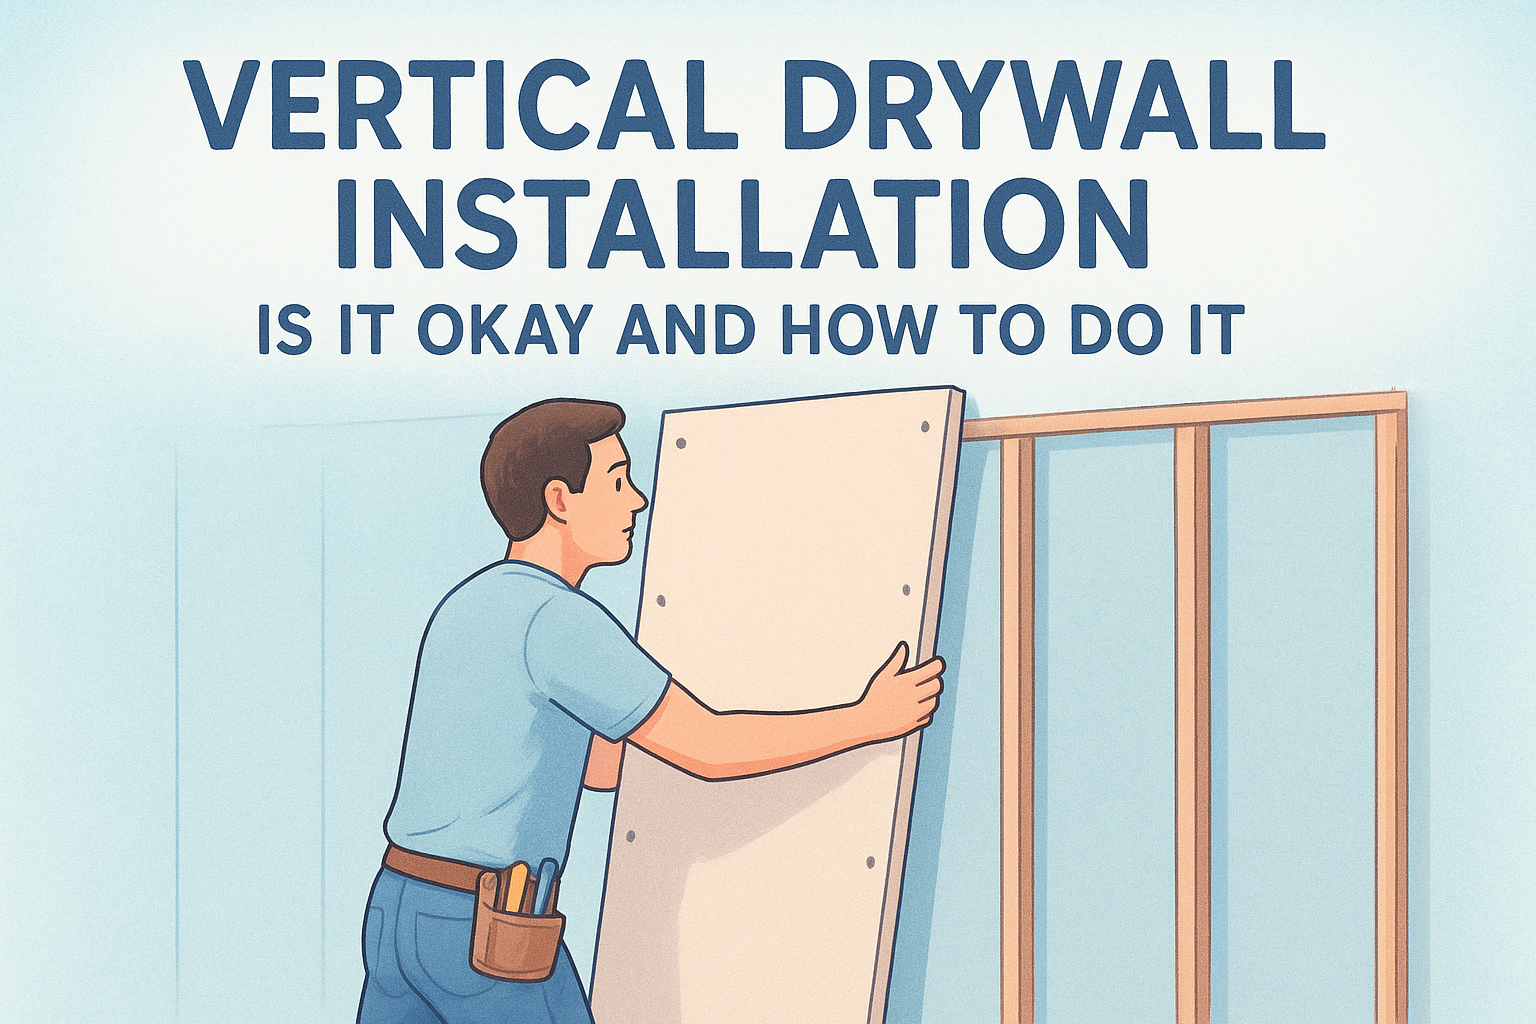
Standard drywall sheets come in 4-foot-wide panels at lengths of 8, 10, or 12 feet. Knowing which size fits your walls before you measure helps you plan your cuts and minimize waste. An 8-ft sheet works for most standard rooms with 8-ft ceilings, while a 10-ft or 12-ft sheet reduces seams on taller walls and open-plan rooms.
Your room height drives this decision more than anything else. A wall that measures 9 feet tall will leave a 1-foot gap with an 8-ft sheet, requiring a filler strip and an extra horizontal seam for every single board you hang. Keep the common sheet lengths in mind as you record room heights, and you'll be ready to make a smart choice in Step 3.
Step 1. Measure walls and ceilings
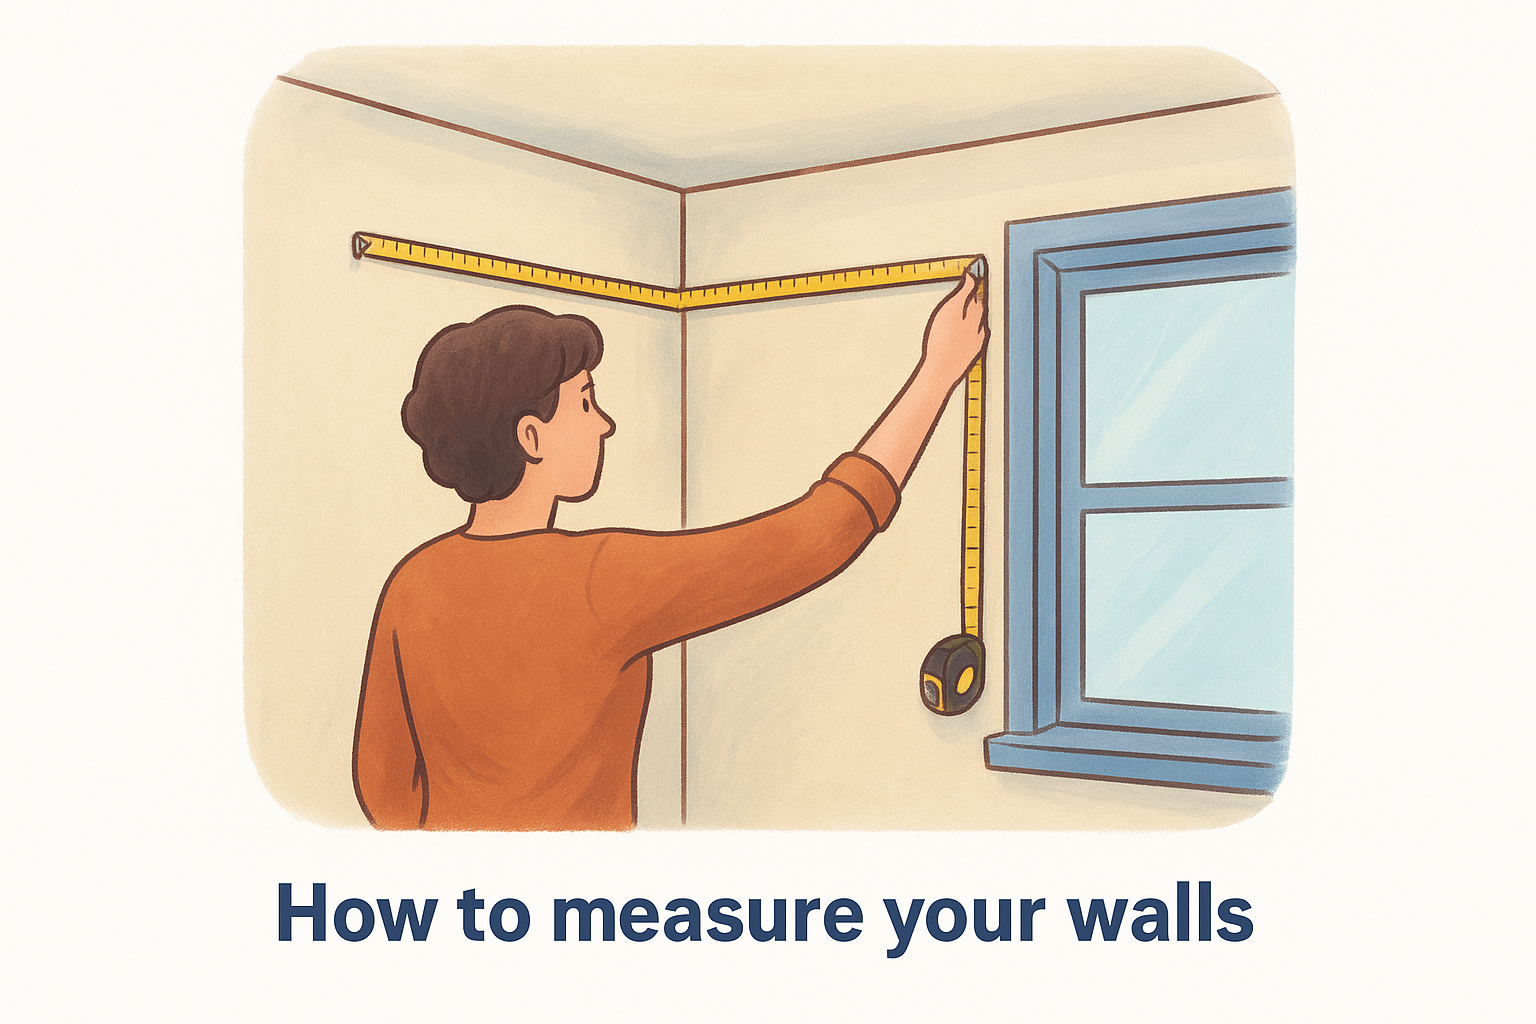
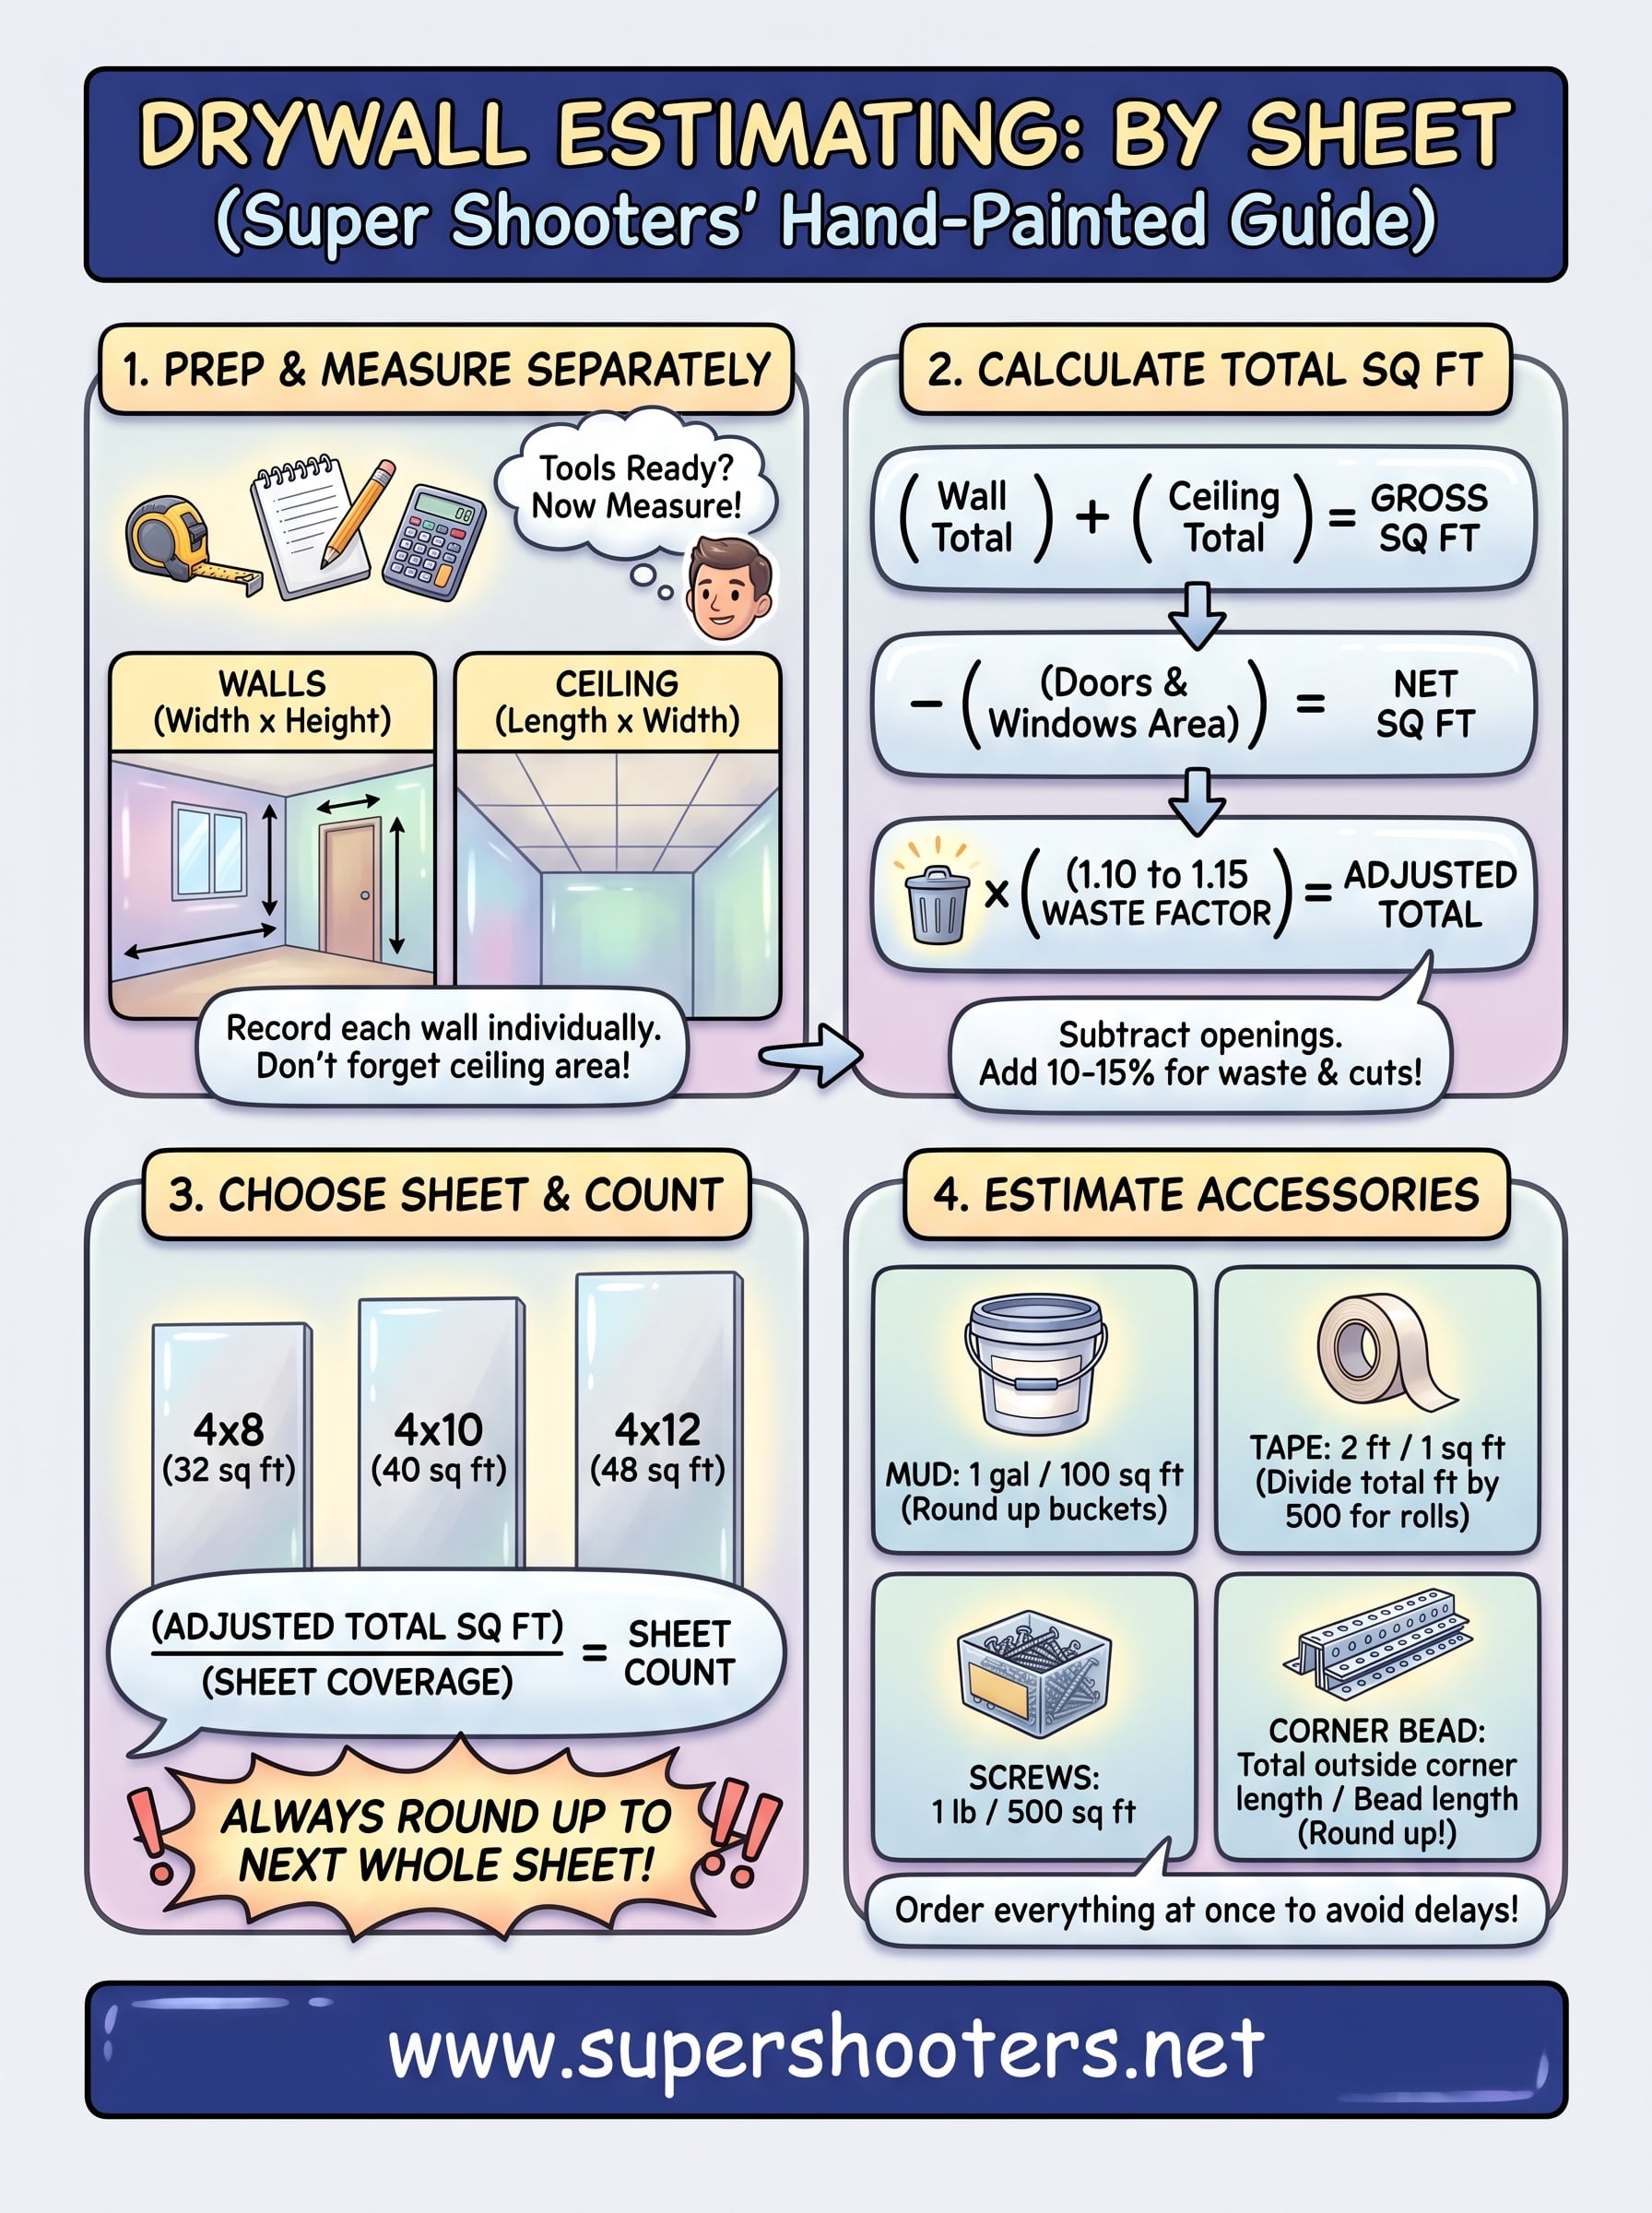
Start by walking through the room and measuring each wall individually rather than estimating the perimeter as a single number. Treating walls as separate measurements gives you accurate data for each surface and makes it easy to identify which walls have doors or windows that reduce your total drywall count.
How to measure your walls
Place your tape measure at one corner of the wall and extend it to the opposite corner. Record the width in feet , then note the ceiling height for that same wall. Multiply the two numbers to get that wall's gross square footage. Do this for every wall in the room , including small sections between windows and doorways.
For a standard room with 8-ft ceilings, here's what a wall measurement log looks like:
| Wall | Width (ft) | Height (ft) | Gross Sq Ft |
|---|---|---|---|
| Wall A | 12 | 8 | 96 |
| Wall B | 10 | 8 | 80 |
| Wall C | 12 | 8 | 96 |
| Wall D | 10 | 8 | 80 |
| Total | 352 |
Measure each wall twice before recording the number. A one-inch error across four walls can shift your sheet count by a full panel.
How to measure your ceiling
Your ceiling is a separate calculation from your walls, and it's one of the most important parts of knowing how to calculate drywall needed for a complete room. Measure the length and width of the floor , since the ceiling mirrors those exact dimensions in any standard rectangular room.
Multiply the length by the width to get your ceiling square footage. A room measuring 12 feet by 10 feet gives you 120 square feet of ceiling area . Write that number separately from your wall totals so you can track both figures clearly before adding them together in the next step.
Step 2. Get total square footage with waste
Once you have every wall and ceiling measurement recorded, your next task is combining those numbers into a single usable figure that reflects your actual material need. This step is where you take your raw measurements and turn them into an accurate square footage total you can bring to a material supplier.
Add up your gross square footage
Add every wall measurement from Step 1 together, then add your ceiling square footage to that sum. This combined number is your gross square footage for the room. If you're drywalling multiple rooms, repeat this for each space and keep each room total separate until you've subtracted openings.
Using the example room from Step 1, the wall total was 352 square feet . Add the ceiling at 120 square feet and your gross total becomes 472 square feet.
Subtract doors and windows
Doors and windows don't receive drywall, so you subtract their area from your gross total. Use these standard deductions as a reliable baseline for typical residential openings:
| Opening Type | Standard Deduction |
|---|---|
| Standard door (3 ft x 7 ft) | 21 sq ft |
| Average window (3 ft x 4 ft) | 12 sq ft |
| Large window (4 ft x 5 ft) | 20 sq ft |
If your example room has two doors and two windows , subtract roughly 66 square feet (42 for doors and 24 for windows), bringing your net total to 406 square feet .
Apply the waste factor
Real cuts and real installs produce real scrap. A 10% waste factor covers standard rectangular rooms with few cuts. Bump that to 15% for rooms with multiple corners, niches, or angled walls.
Multiply your net square footage by 1.10 for standard rooms or 1.15 for complex ones. The 406-square-foot example becomes 447 square feet at 10% waste. That final number is what you carry into Step 3 to figure out how to calculate drywall needed in actual sheet counts.
Never skip the waste factor. Ordering to your exact net square footage almost always leaves you one or two sheets short before the job finishes.
Step 3. Choose sheet size and count sheets
You now have a final adjusted square footage from Step 2. The next job is converting that number into a specific sheet count you can hand to a supplier. To do that, you need to pick a sheet size first, because the sheet dimensions directly determine how many panels you'll need to order.
Pick the right sheet length
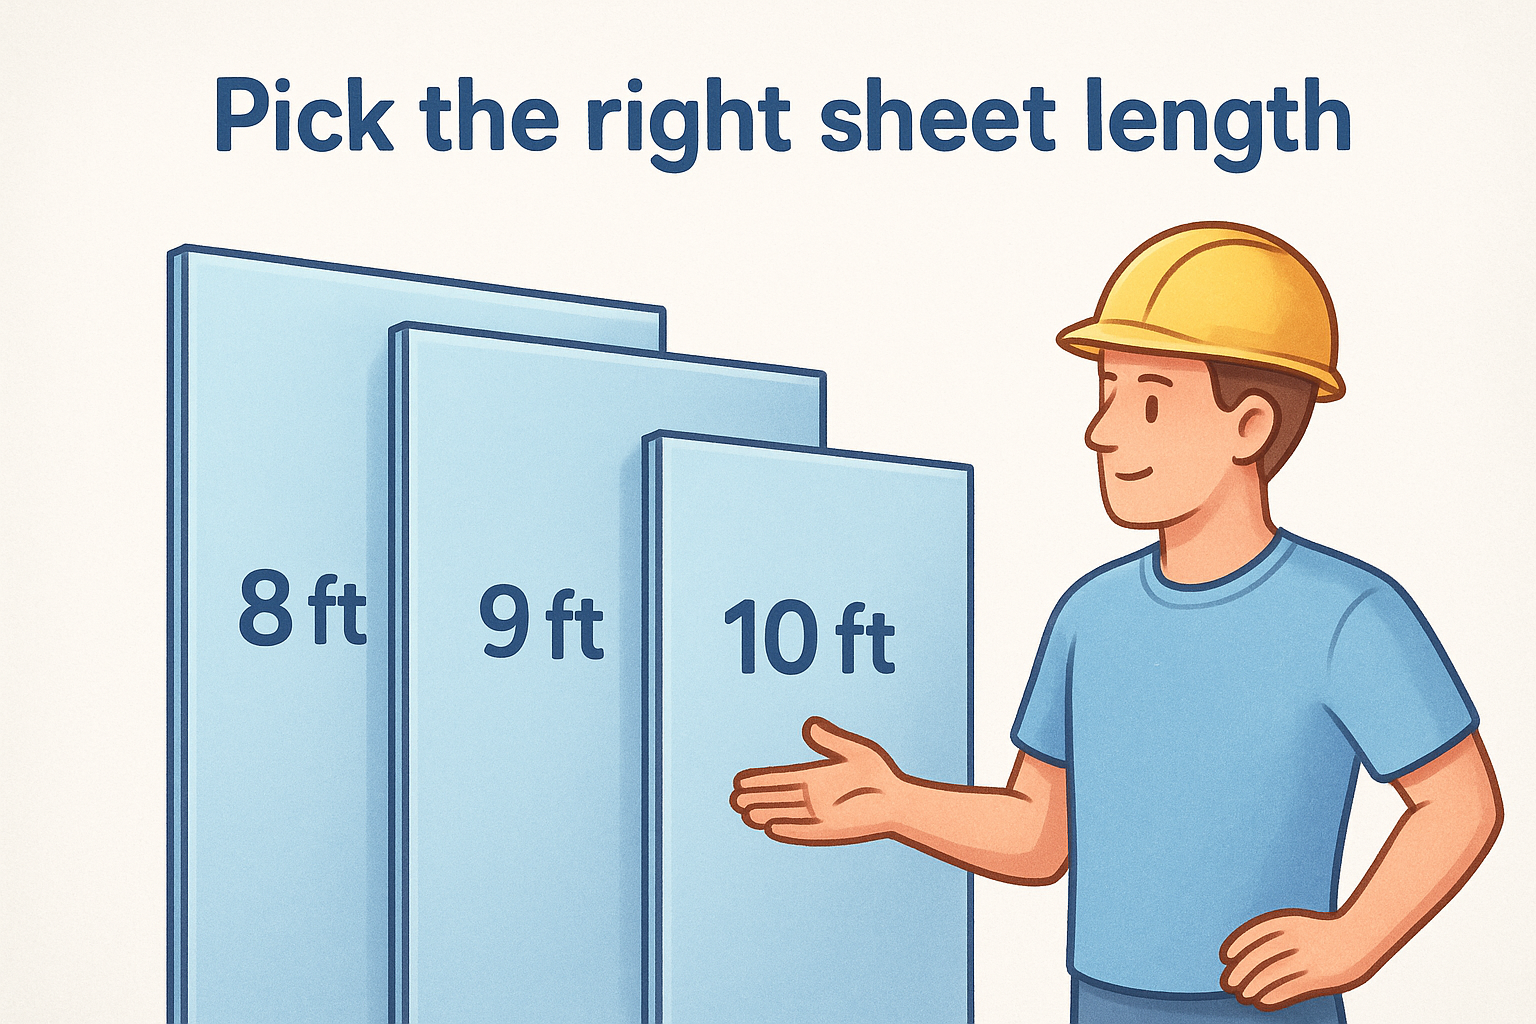
Standard drywall panels are 4 feet wide and come in lengths of 8, 10, or 12 feet. Your ceiling height drives this choice more than anything else. An 8-ft panel covers a standard 8-ft wall in a single vertical run with no filler strip. A 9-ft or 10-ft ceiling calls for a 10-ft or 12-ft panel to eliminate the extra horizontal seam that an 8-ft sheet would leave behind.
| Ceiling Height | Recommended Sheet Length | Notes |
|---|---|---|
| 8 ft | 8 ft | One sheet covers full wall height |
| 9 ft | 9 ft or 10 ft | Avoids filler strip at bottom |
| 10 ft | 10 ft | Eliminates horizontal seam |
| 11-12 ft | 12 ft | Reduces seams on tall walls |
Choosing the right sheet length reduces seams and speeds up finishing, which lowers your total labor time whether you're doing this yourself or hiring a crew.
Convert square footage to sheet count
Each sheet's coverage area equals its length multiplied by its width. A standard 4x8 sheet covers 32 square feet. A 4x10 covers 40 square feet. A 4x12 covers 48 square feet.
Divide your adjusted square footage from Step 2 by the coverage area of your chosen sheet size. That result is your minimum sheet count. Always round up to the next whole number, since you can't buy a fraction of a panel.
| Sheet Size | Coverage | Formula | Example (447 sq ft) |
|---|---|---|---|
| 4x8 | 32 sq ft | 447 / 32 = 13.97 | 14 sheets |
| 4x10 | 40 sq ft | 447 / 40 = 11.18 | 12 sheets |
| 4x12 | 48 sq ft | 447 / 48 = 9.31 | 10 sheets |
That rounded-up number is your final answer for how to calculate drywall needed in actual sheet quantities. Write it down alongside your chosen sheet size before moving to materials in the next step.
Step 4. Estimate mud, tape, screws, and bead
Drywall sheets are only part of your material order. Every taped seam, filled screw dimple, and finished corner needs joint compound, tape, screws, and corner bead to complete the job. Ordering these at the same time you figure out how to calculate drywall needed prevents a second supply run before you can finish.
Joint compound (mud)
The standard rule for pre-mixed joint compound is one gallon per 100 square feet of drywall. Pre-mixed mud comes in 3.5-gallon or 5-gallon buckets, so round up to the nearest bucket size after you do the math.
For the 447-square-foot example from earlier, divide 447 by 100 to get roughly 4.5 gallons . Order two 3.5-gallon buckets or one 5-gallon bucket plus one smaller container to cover all three finishing coats.
| Room Size | Mud Needed | Suggested Order |
|---|---|---|
| Under 200 sq ft | 2 gallons | One 3.5-gal bucket |
| 200-400 sq ft | 4 gallons | Two 3.5-gal buckets |
| 400-600 sq ft | 5-6 gallons | One 5-gal + one 3.5-gal |
Tape and corner bead
Paper tape covers every seam between drywall panels . Plan on two linear feet of tape per square foot of drywall , then divide by 500 to convert that total into a roll count. A 500-foot roll covers roughly 250 square feet of drywall, so the 447-square-foot example needs two rolls.
Buy one extra roll of tape. It costs almost nothing, and running out mid-seam means stopping the entire job until you make a supply run.
Corner bead protects every outside corner in the room. Measure each outside corner from floor to ceiling, add those lengths together, then divide by your bead section length. Standard metal or vinyl bead comes in 8-foot and 10-foot sections , so round your result up to the next whole section.
Drywall screws
Space screws every 12 inches on ceilings and every 16 inches on walls along each stud line. For a standard install, plan on one pound of 1-5/8-inch coarse-thread screws per 500 square feet of drywall. The 447-square-foot example sits just under one pound, so order one full pound and you'll have enough to finish without coming up short on the last wall.
Quick recap and next steps
You now have a complete system for how to calculate drywall needed from start to finish. Measure each wall and ceiling separately, subtract your door and window openings, apply a 10% to 15% waste factor , then divide your adjusted square footage by the coverage area of your chosen sheet size. Round up to a whole number and add your mud, tape, screws, and corner bead before you place a single order.
Following these four steps in order keeps your material list accurate and your project moving without interruption. Skipping the waste factor or forgetting to subtract openings are the two mistakes that send homeowners back to the supply store mid-job.
If your project involves hanging new drywall after a ceiling update or a room renovation, our team at Super Shooters can handle the full installation for you. Get a free in-home estimate on our drywall installation service page and see what professional results look like.