June 20, 2026
How Long Does Drywall Patch Take To Dry Before Painting?
You've patched the hole, smoothed out the compound, and now you're staring at a damp spot on your wall wondering how long does drywall patch take to dry before you can sand and paint. Rush it, and you'll end up with bubbling paint, cracking seams, or a patch that stands out worse than the damage it replaced. Wait too long, and your project stalls for no reason.
Drying times depend on several factors, the type of compound you're using, how thick you applied it, and even the humidity levels inside your home. A thin coat of lightweight spackle behaves very differently than a heavy application of all-purpose joint compound. Getting this timing right is the difference between a repair that disappears into the wall and one that announces itself every time the light hits it .
At Super Shooters, we've completed over 10,000 drywall projects across the Sacramento Valley in our 30+ years of business. Our crews deal with patches, skim coats, and full drywall installations daily, so we know exactly what works and what doesn't. Below, we'll break down realistic drying times for every common compound type, cover the variables that speed things up or slow them down, and explain how to tell when your patch is actually ready for sanding and paint.
What changes drywall patch dry time
Several variables control how long does drywall patch take to dry, and most of them are within your control. Understanding these factors before you mix or open a container will save you time and prevent the frustration of painting over a patch that wasn't actually ready.
Type of compound you choose
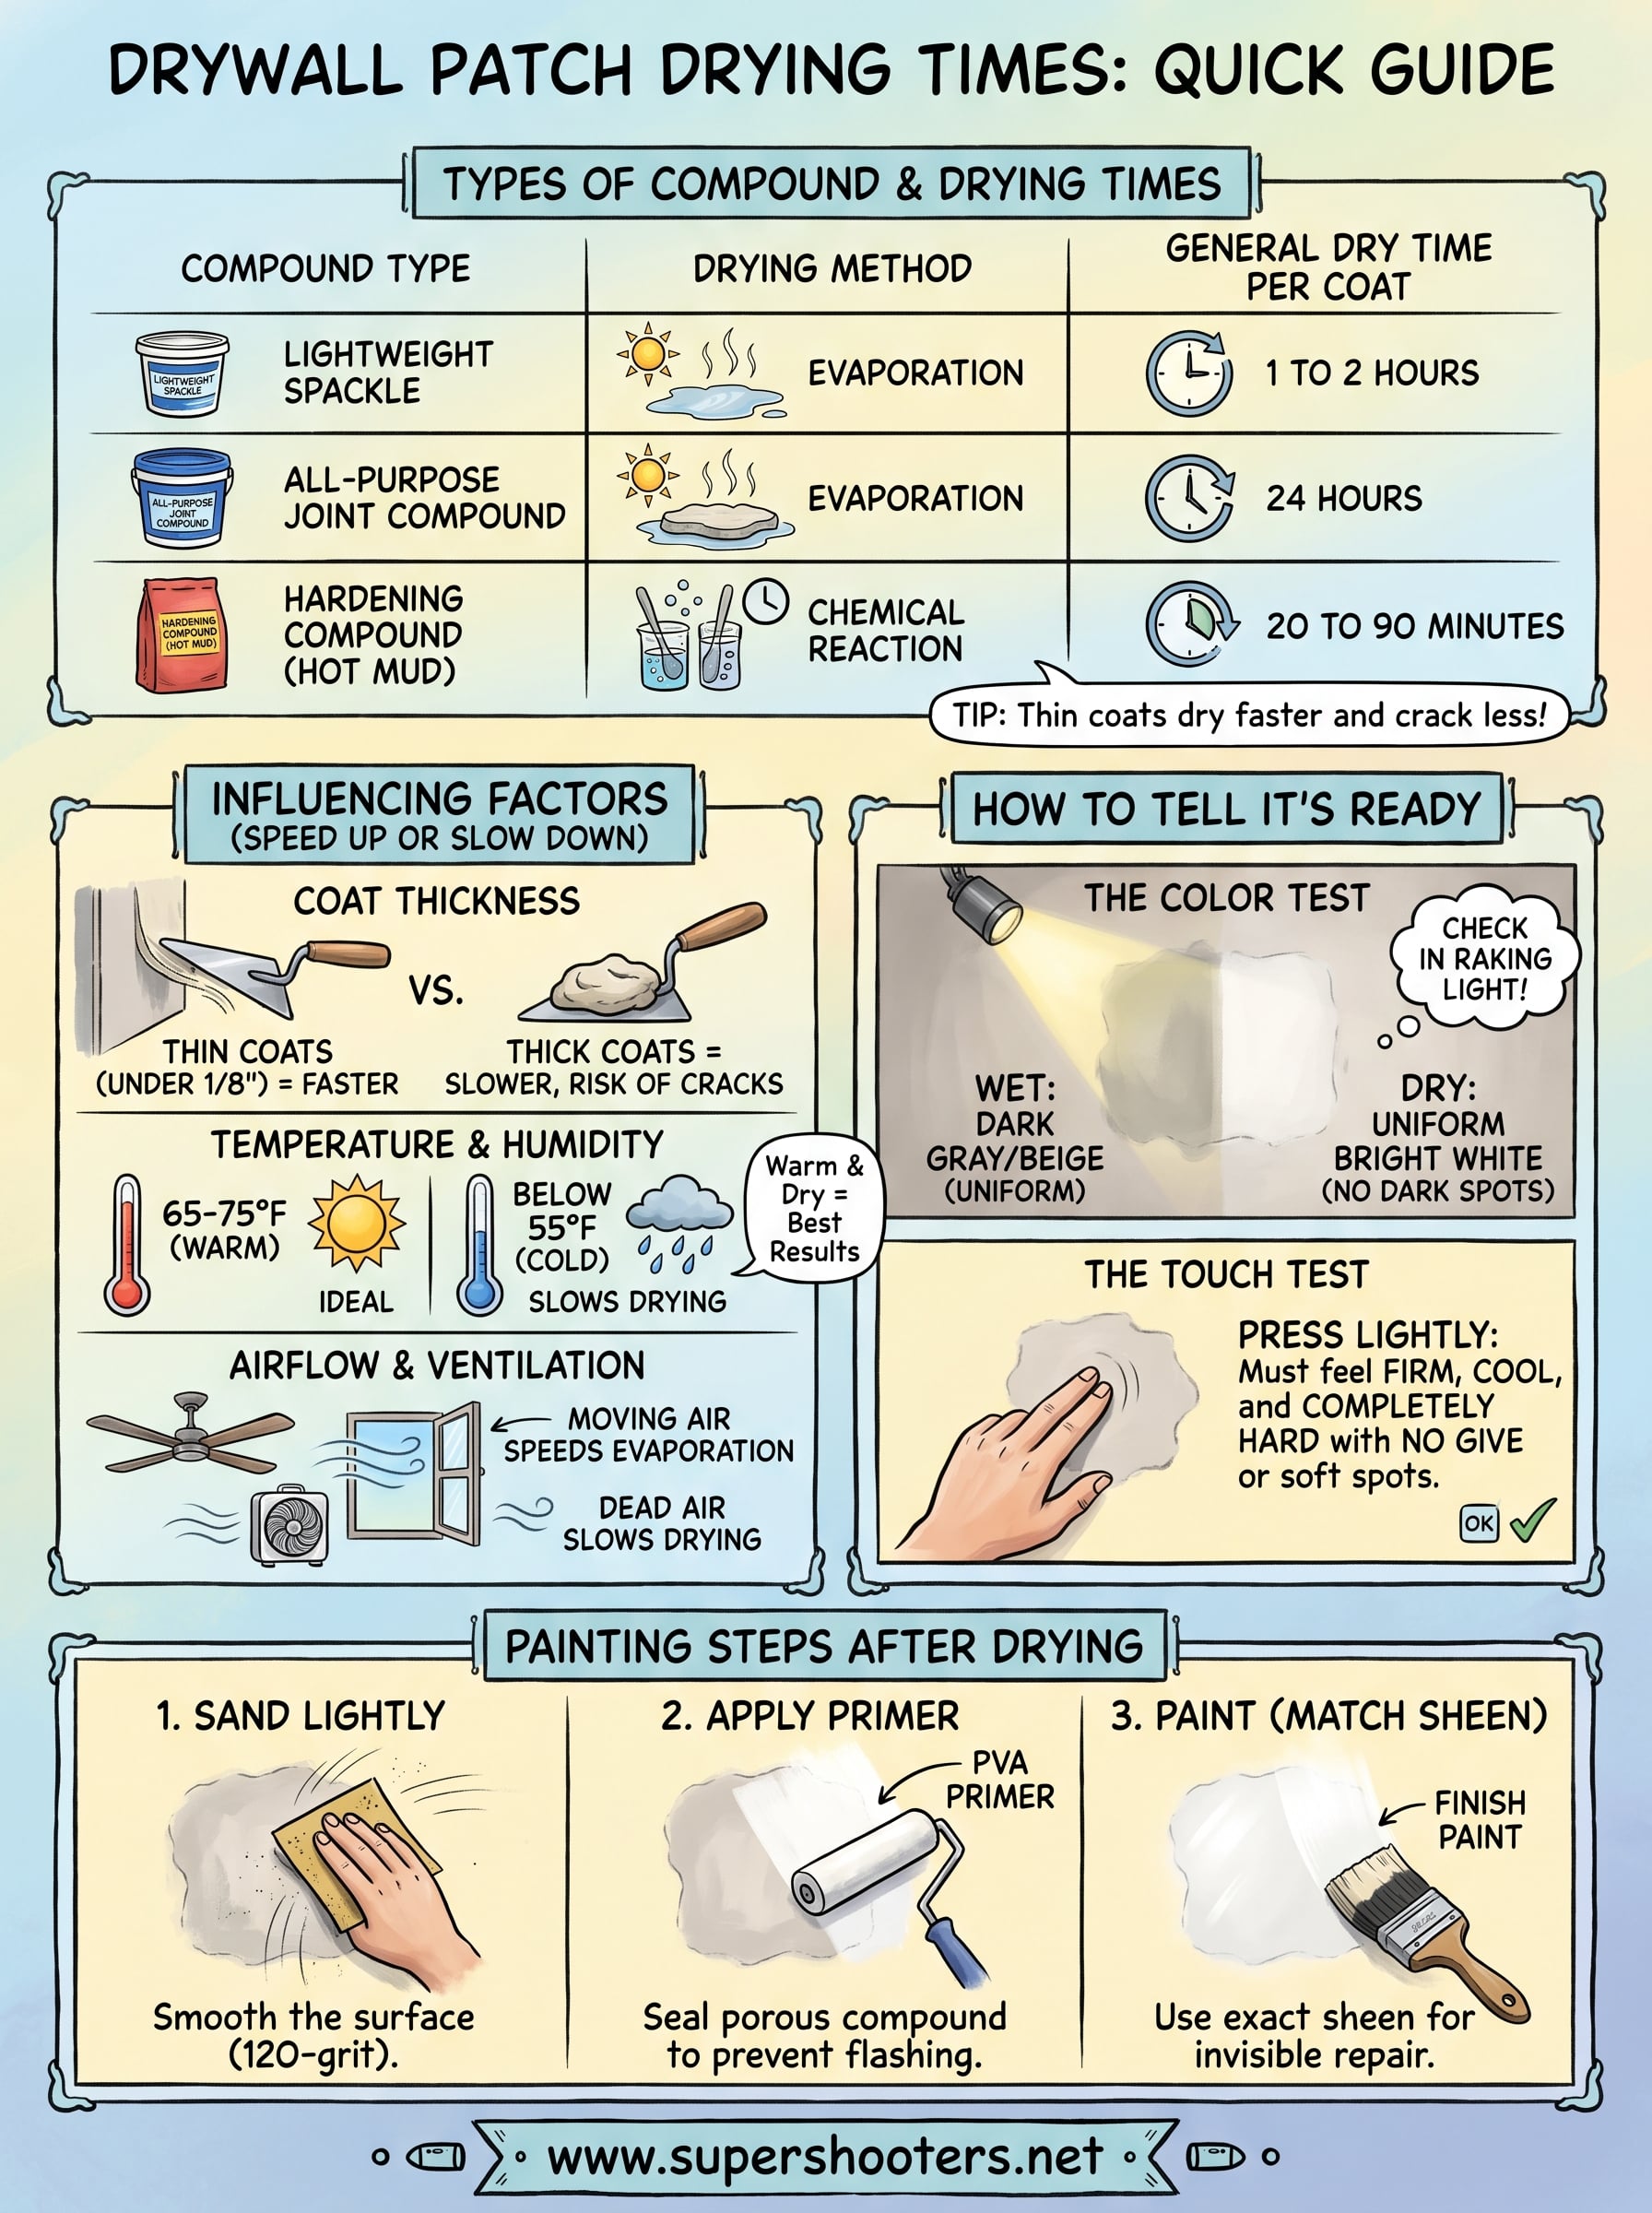
The material you pick matters more than almost anything else. Lightweight spackle dries faster than standard joint compound because it contains less water and fewer dense binders. All-purpose joint compound, which is thicker and heavier, holds more moisture and takes significantly longer to fully cure. Hardening-type compounds , sometimes called hot mud, use a chemical reaction rather than water evaporation to set, which means they reach working hardness in 20 to 90 minutes depending on the product label.
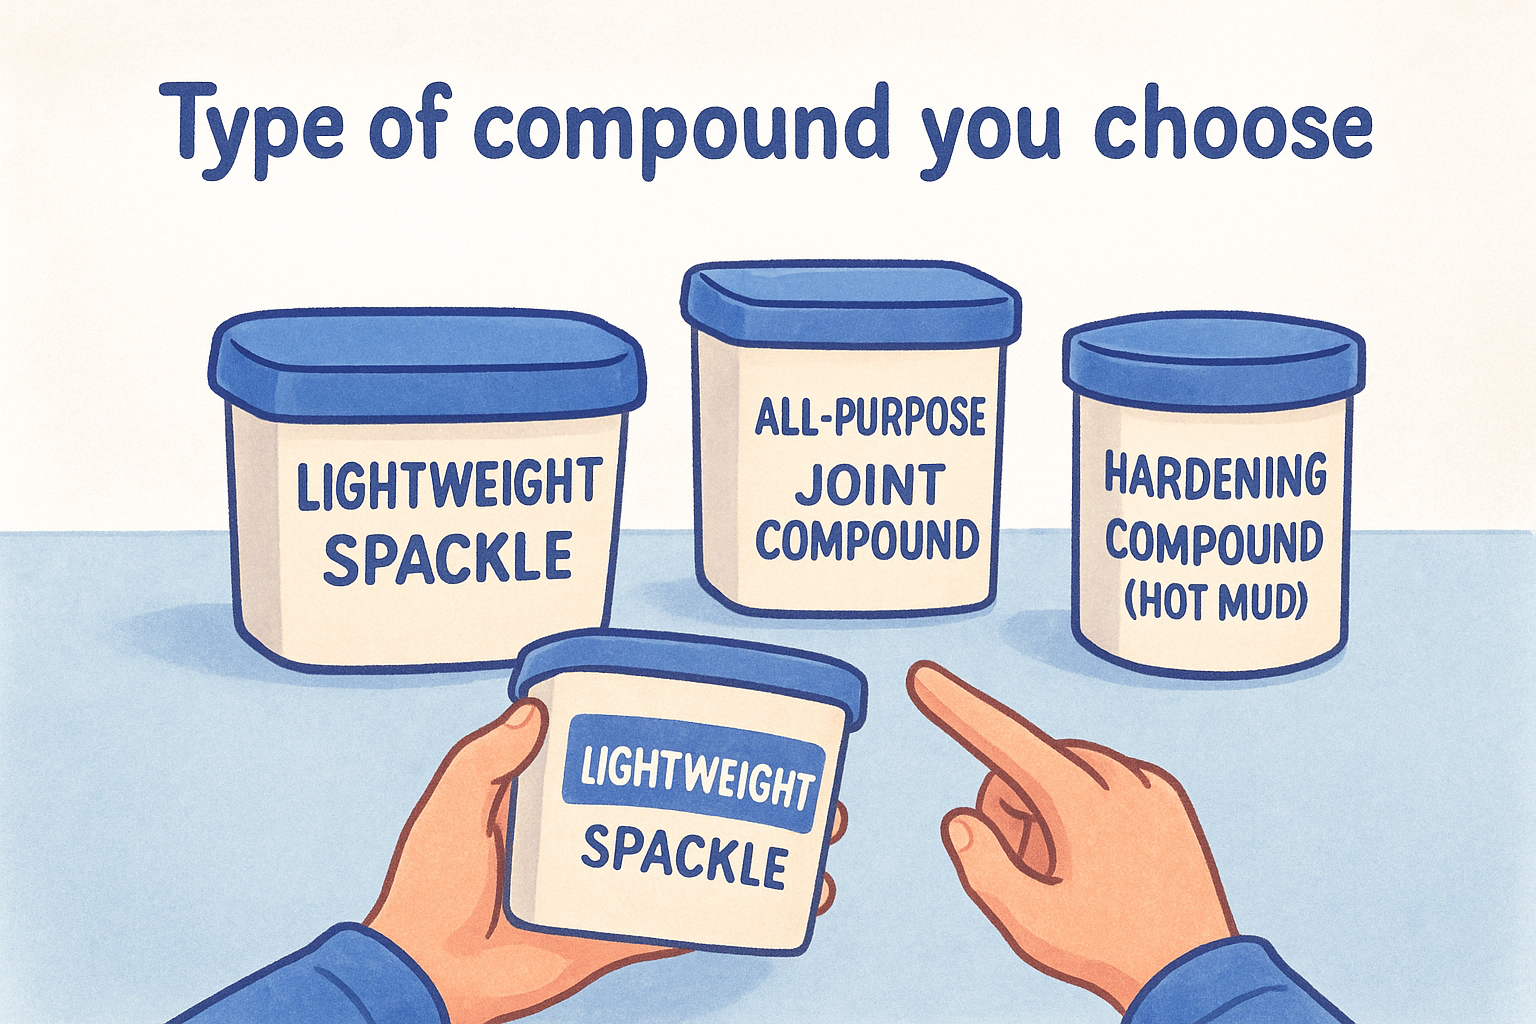
The compound type is the single biggest variable in your dry time calculation, so read the label before you commit to a schedule.
Here's a quick comparison of the most common compound types and their general drying behavior:
| Compound Type | Drying Method | General Dry Time Per Coat |
|---|---|---|
| Lightweight spackle | Evaporation | 1 to 2 hours |
| All-purpose joint compound | Evaporation | 24 hours |
| Topping compound | Evaporation | 24 hours |
| Hardening compound (hot mud) | Chemical reaction | 20 to 90 minutes |
Thickness of each coat
Thin coats dry faster , full stop. When you apply compound too thick in a single pass, the surface can skin over and look dry while the center stays wet for hours or even days. A reliable rule of thumb is to keep each coat under an eighth of an inch. Three thin coats will always dry more predictably and sand more cleanly than one heavy application, even if that feels counterintuitive when you just want to finish the job quickly.
Applying compound to a deep hole without building it up in layers almost guarantees you'll sand through the dried outer layer and hit wet material underneath. Your patch will look uneven, and paint will absorb inconsistently across the repair area.
Temperature and humidity in the room
Cold air and high humidity are the biggest enemies of a fast dry time. Joint compound needs warmth and relatively dry air to release moisture efficiently. In a room below 55 degrees Fahrenheit, drying can slow to a crawl or stop completely. Rooms above 70 degrees with low humidity give you the fastest results.
Bathrooms and kitchens present a real challenge because humidity spikes regularly in those spaces. If you're patching in one of these rooms, run an exhaust fan during and after application. In Sacramento's dry summer months, interior drying happens quickly, but during winter or a stretch of rainy weather, plan to add several hours to your wait time.
Airflow and ventilation
Moving air pulls moisture away from the compound surface and speeds up evaporation noticeably. Opening windows and running a ceiling fan or a box fan pointed at the wall works well in mild weather. A dehumidifier running in the room is even more effective when the weather is cool or damp outside.
Dead, still air is what you want to avoid, since it lets the moisture released by drying compound sit right against the surface and slow the whole process down. Good airflow costs you nothing and cuts your wait time significantly.
Typical dry times for spackle and joint compound
Knowing the specific numbers gives you a concrete schedule to work with instead of guessing. Every compound type behaves differently , and the times below reflect single coats applied at the recommended thickness in a room held between 65 and 75 degrees Fahrenheit with moderate ventilation. If your conditions vary, adjust accordingly.
Lightweight spackle
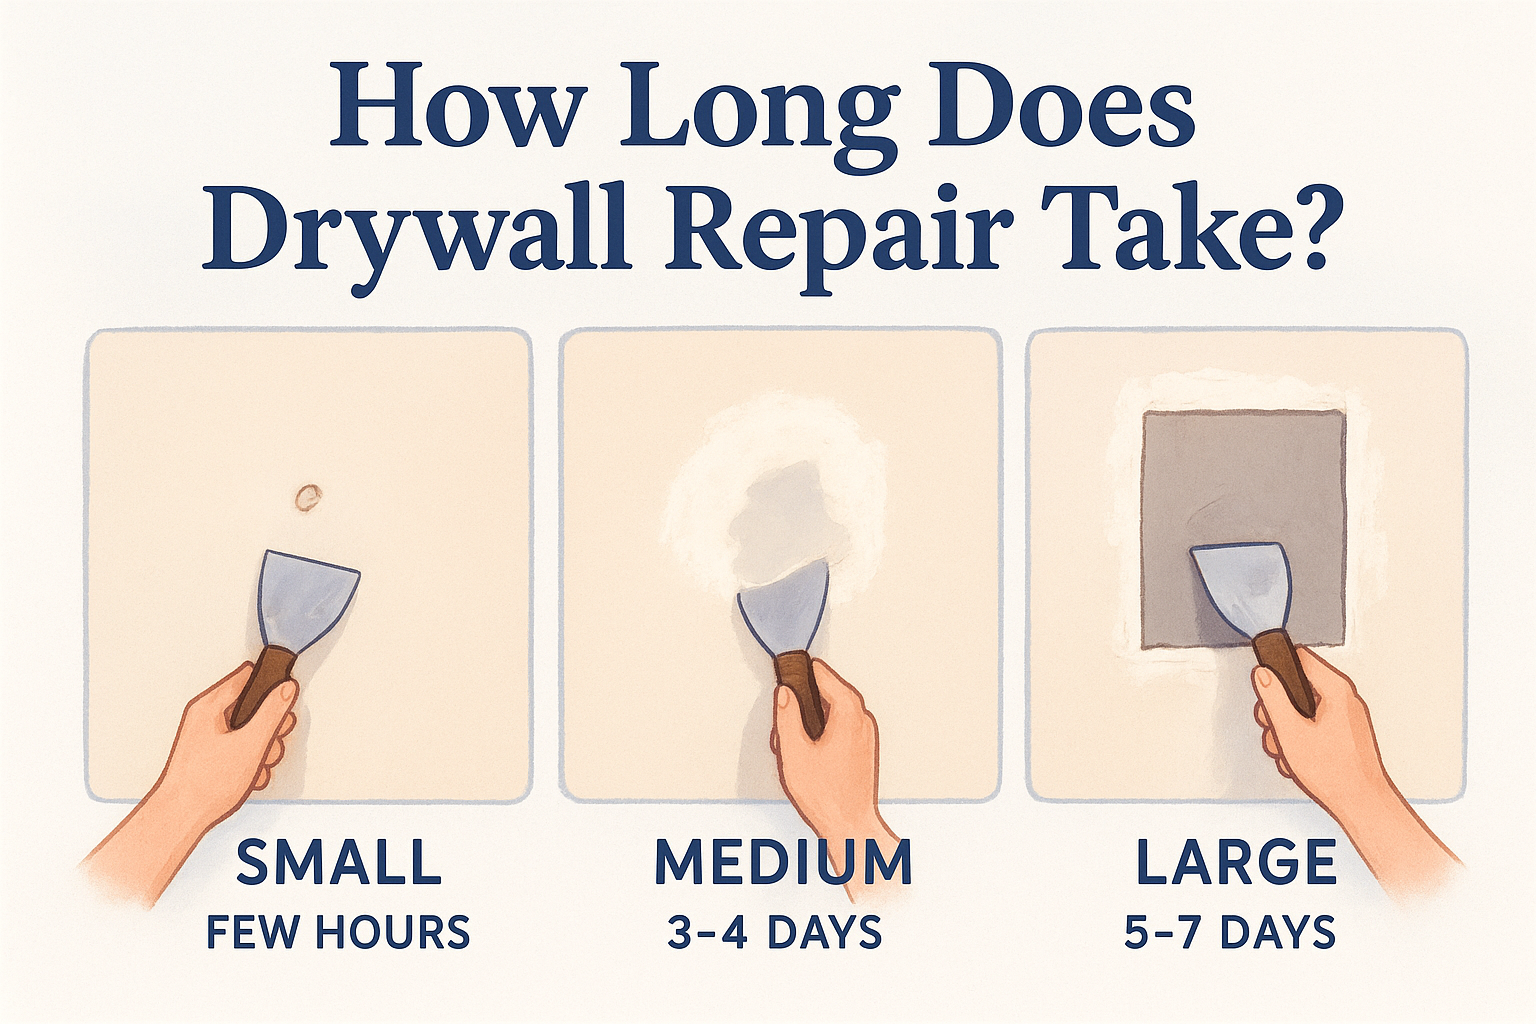
Lightweight spackle is the fastest option for small repairs like nail holes, minor dings, and shallow surface damage. A thin application dries in one to two hours under normal room conditions, and many products are ready to sand in as little as 45 minutes when applied in a very thin layer. You can typically complete a small patch and paint the same day if you start in the morning.
For nail holes and small dents under half an inch, lightweight spackle applied with a putty knife and given two hours to dry is the fastest path to a paintable surface.
For slightly larger repairs, apply two thin coats rather than one thicker coat. Allow each coat to fully dry before adding the next, which usually means a one to two hour wait between passes.
All-purpose joint compound
All-purpose joint compound covers a wider range of repairs but requires real patience. Each coat needs a full 24 hours to dry , and most patches need two to three coats, which means you are committing to a minimum of two to three days before you sand. Trying to rush this by sanding after only a few hours will pull wet material off the wall and leave you starting over.
Here is a practical coat-by-coat schedule you can follow for a standard patch repair using all-purpose joint compound:
| Coat | Purpose | Wait Time Before Next Step |
|---|---|---|
| First coat (fill coat) | Fill the void and cover tape or mesh | 24 hours |
| Second coat (build coat) | Smooth and level the surface | 24 hours |
| Third coat (finish coat) | Feather edges and refine texture | 24 hours, then sand |
Hardening compound (hot mud)
Hardening compound sets through a chemical reaction , not evaporation, so it reaches a sandable hardness in 20 to 90 minutes based on the product you choose. This makes it ideal for deep holes or situations where answering how long does drywall patch take to dry in hours rather than days actually matters. Mix only what you can apply in roughly 10 minutes , since it begins hardening in the container and cannot be slowed down once the reaction starts.
How to tell it is ready to sand and paint
Color and feel are your two most reliable indicators, and you don't need any special tools to read them. Wet joint compound looks dark gray or beige , depending on the brand, and shifts to a uniform bright white once it has fully dried. If you see any variation in color across the patch, darker areas in the center or along thick edges, the compound is still holding moisture and is not ready for sanding.
The color test
Check the patch in good lighting from a low angle so shadows help you spot color differences across the surface. Any area that still appears slightly gray or dull is not dry , even if the rest of the patch looks white. This matters most when answering how long does drywall patch take to dry accurately, because looks from a straight-on view can fool you into thinking the whole repair is finished when the thickest section is still wet underneath.
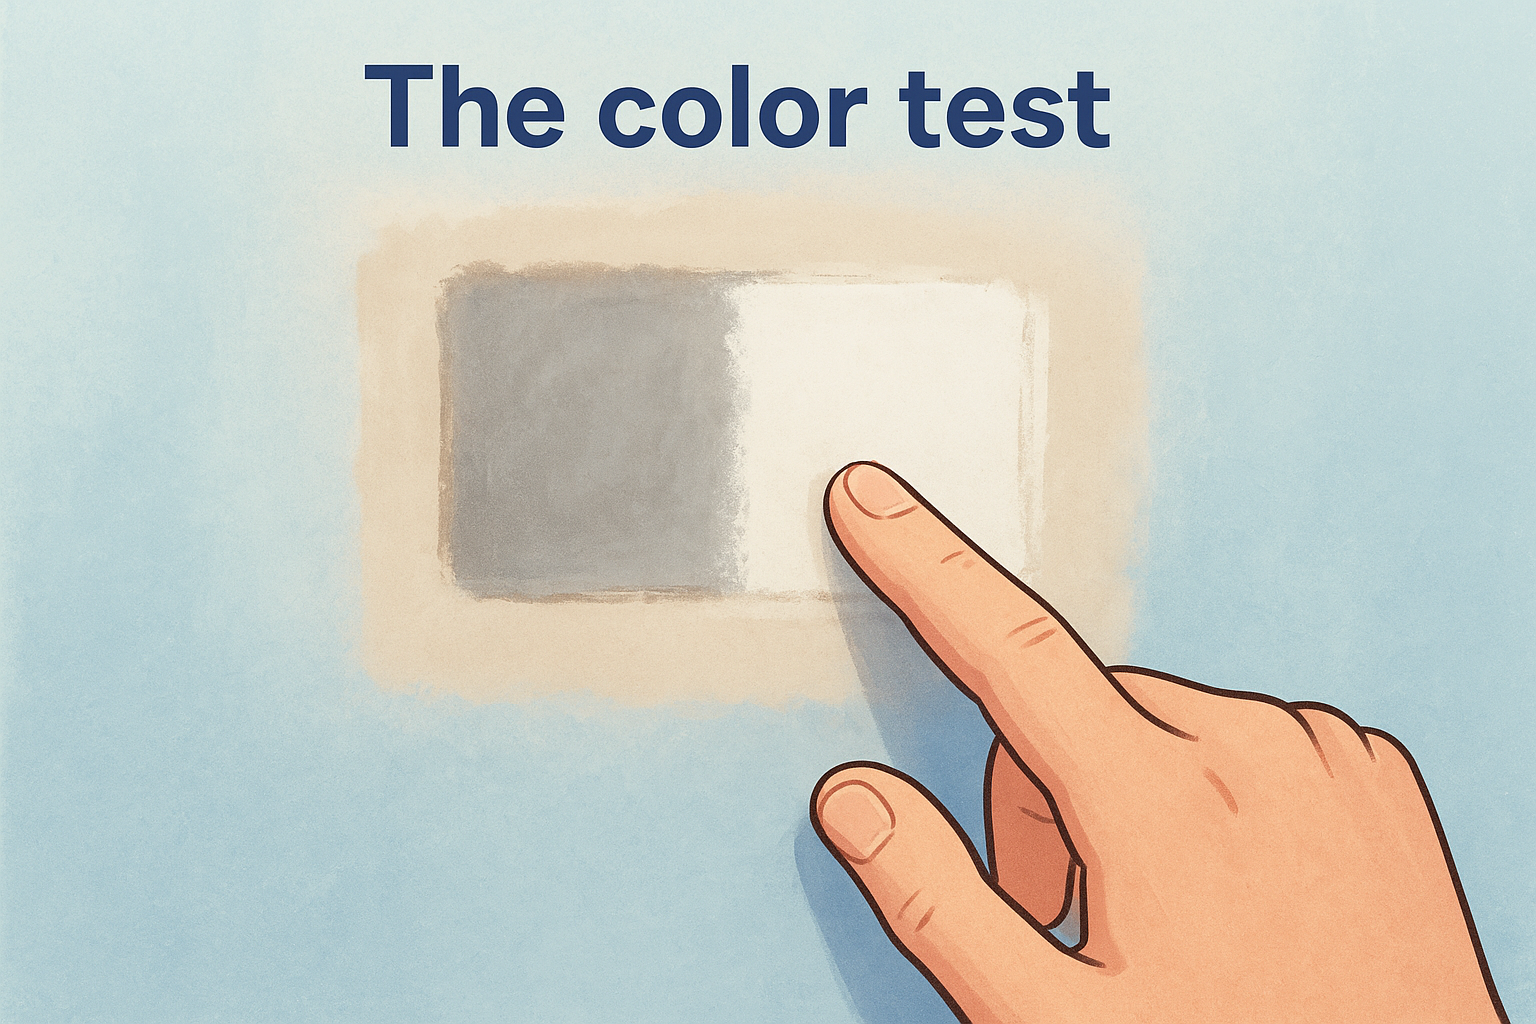
Checking the patch in raking light, with a flashlight held nearly parallel to the wall surface, reveals both wet spots and surface imperfections that straight-on lighting will hide.
The touch test
Once the color looks uniformly white, press the back of your finger lightly against the center of the patch , which is typically the thickest and slowest-drying part. A dry patch feels firm, cool, and completely hard with no give at all. If it feels even slightly soft, cool in a way that suggests moisture, or leaves any trace of material on your finger, leave it alone for at least another two hours before testing again.
Do not press hard during this test. You only need light contact to feel whether the surface is fully firm. Pressing with force can dent a compound that is mostly dry but still curing, and you'll create an indentation you'll have to fill again.
Confirming it is ready to paint
Before you pick up sandpaper, run through this short checklist to confirm the patch is genuinely ready:
- Uniform white color across the entire repair with no darker spots
- No cool or soft feeling anywhere on the surface, including the edges
- No flex or movement when you press the center lightly
- At least the minimum recommended dry time from the product label has passed
- Room conditions, temperature and airflow, have been consistent throughout the drying period
Once all five conditions are met, you can sand lightly with 120-grit sandpaper, wipe the dust away with a damp cloth, and move on to priming before paint.
How to speed up drying without causing cracks
You can cut your wait time significantly without damaging the repair, but the key is applying the right techniques in the right order. Aggressive shortcuts like blasting a heat gun directly on wet compound or cranking a space heater to its highest setting cause the outer layer to dry too fast while moisture remains trapped inside, which leads to shrinkage cracks that you'll need to fill all over again. The goal is steady, controlled drying, not the fastest possible drying.
Use gentle, consistent heat
Keeping your room temperature between 65 and 75 degrees Fahrenheit gives compound the ideal conditions to release moisture at an even rate throughout the entire coat. A simple thermostat adjustment is often enough to meaningfully shorten how long does drywall patch take to dry without introducing any risk. If the room runs cold, a portable space heater set to low and positioned at least six feet away from the wall adds warmth without creating a hotspot that dries the surface before the interior has a chance to catch up.
Never point a heat gun or high-output heater directly at a wet patch, because rapid surface drying traps moisture underneath and almost always results in cracking.
Run a fan or dehumidifier
Moving air is your most reliable tool for speeding up drying safely. A box fan or ceiling fan set to medium speed keeps fresh, drier air circulating across the wall surface and carries moisture away from the compound continuously. Position the fan so it sweeps across the wall at an angle rather than blowing straight into the patch.
A dehumidifier running in the same room takes this a step further by actively pulling moisture out of the air, which prevents humidity from climbing as the compound releases water. This matters most in bathrooms, laundry rooms, or during rainy weather when ambient humidity is already high enough to slow everything down noticeably.
Apply thinner coats consistently
Thin coats dry faster and crack less because moisture escapes evenly all the way through the layer instead of getting locked in the center. Keep each application under an eighth of an inch and resist the urge to build up depth in a single pass , even when filling a deep hole. Three light coats applied correctly will always outperform one heavy coat in both dry time and the smoothness of the finished surface.
Painting after a patch and mistakes to avoid
Once your patch has fully dried and you've sanded it smooth, painting correctly is what determines whether the repair disappears into the wall or stays visible as a dull, flat spot. Many people get the drying right and then lose the result at the final step by skipping primer or applying paint incorrectly. Understanding what to do in the right order makes the difference between a patch you forget about and one that stands out every time the light shifts.
Prime the patch before you paint
Primer is not optional on a drywall patch. Bare joint compound is highly porous , which means it absorbs paint at a different rate than the surrounding painted wall surface. If you skip primer and go straight to your finish coat, the patch will show through as a flat, dull circle called flashing, even when the paint color matches perfectly.
Apply a coat of drywall primer-sealer to the entire repaired area, let it dry fully per the label, and then paint over it with your finish coat for a result that blends cleanly into the surrounding wall.
Use a PVA drywall primer for the best results on fresh compound. Roll or brush it onto the patch and extend it slightly past the edges of the repair into the surrounding painted surface. One coat is typically enough before paint, though larger patches benefit from two.
Common mistakes to avoid
Knowing how long does drywall patch take to dry only gets you so far if you make errors during the painting step. These are the most common mistakes that lead to visible repairs after paint:
| Mistake | What happens | How to fix it |
|---|---|---|
| Skipping primer | Patch flashes dull through finish coat | Sand lightly, apply PVA primer, repaint |
| Painting over a damp patch | Paint bubbles or peels | Strip paint, let compound dry fully, restart |
| Using a different sheen than surrounding wall | Patch reflects light differently | Match sheen level exactly when buying paint |
| Applying only one coat of paint | Color appears lighter over the patch | Apply two finish coats after primer dries |
| Sanding through the paper face of drywall | Creates a fuzzy, rough surface that shows through paint | Seal torn paper with shellac-based primer before painting |
Matching the paint sheen is a detail many people overlook. Flat, eggshell, satin, and semi-gloss all reflect light at different angles, so even a perfect color match will look off if the sheen level does not align with the rest of the wall.
Quick recap and next steps
How long does drywall patch take to dry comes down to four things: the compound you chose, how thick you applied it, the temperature in the room, and the airflow you provided . Lightweight spackle gives you a paintable surface in one to two hours. All-purpose joint compound needs 24 hours per coat. Hardening compound sets in under 90 minutes. In every case, the color test and touch test confirm readiness better than a timer alone.
From there, thin coats, consistent warmth, and moving air cut your wait without causing cracks. Priming before paint seals the porous compound and prevents flashing, and matching your paint sheen keeps the repair invisible after it dries.
If your repair is larger than a simple patch or involves multiple walls, a professional crew saves you time and delivers a cleaner result. Contact Super Shooters for a free estimate on drywall repair and patching anywhere in the Sacramento Valley.
Recent Posts