August 5, 2026
How to Patch and Repair Drywall: A Complete DIY Guide
A doorknob dent, a picture hook that tore loose, a crack creeping across the ceiling after a hot Sacramento summer. Every one of these is fixable, and you don't need to hire someone for a hole smaller than a dinner plate. Learning how to patch and repair drywall yourself saves money and takes less time than scheduling a contractor visit for a small job.
This guide walks you through exactly which materials to buy for each type of damage, how to prep the area so your patch doesn't crack again in six months, and the taping and finishing steps that make a repair disappear into the surrounding wall. Whether you're dealing with a nail hole, a fist-sized gap, or a drywall repair patch job spanning a couple of feet, we cover the technique that fits.
We've handled over 10,000 wall and ceiling projects across the Sacramento Valley, and most homeowner calls we get could've been solved with a $15 patch kit and twenty minutes of patience. This guide gives you that same know-how. And if a repair turns out bigger than expected, or you spot something that looks like old texture with asbestos underneath, we're a phone call away for a free estimate.
Assessing the damage and gathering your supplies
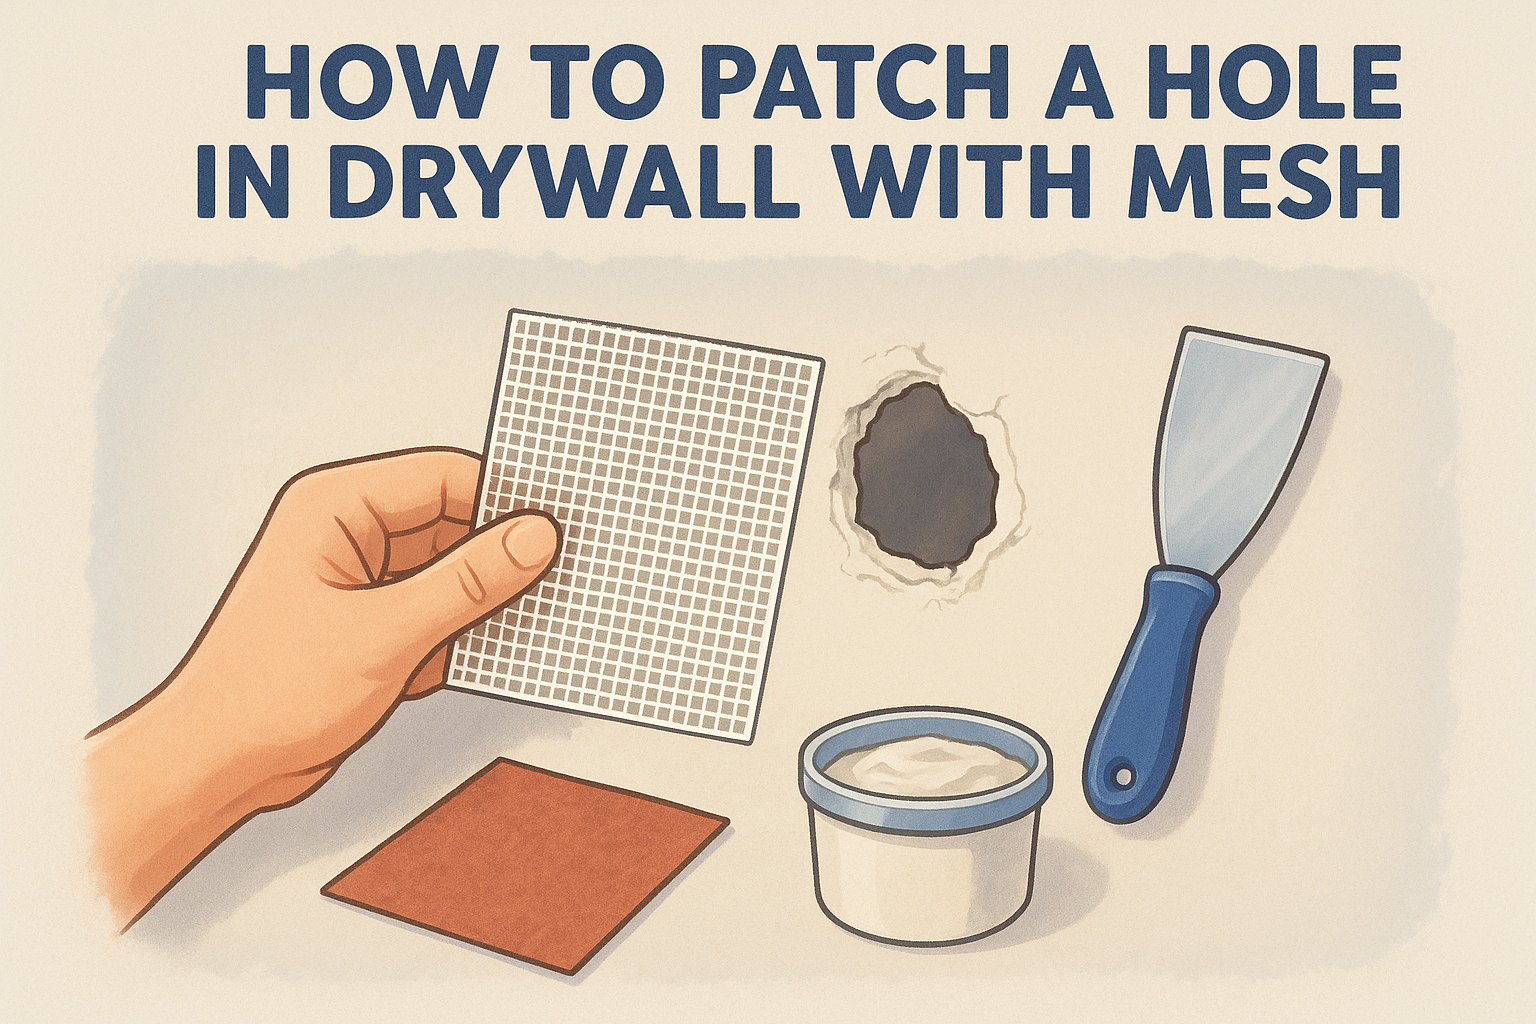
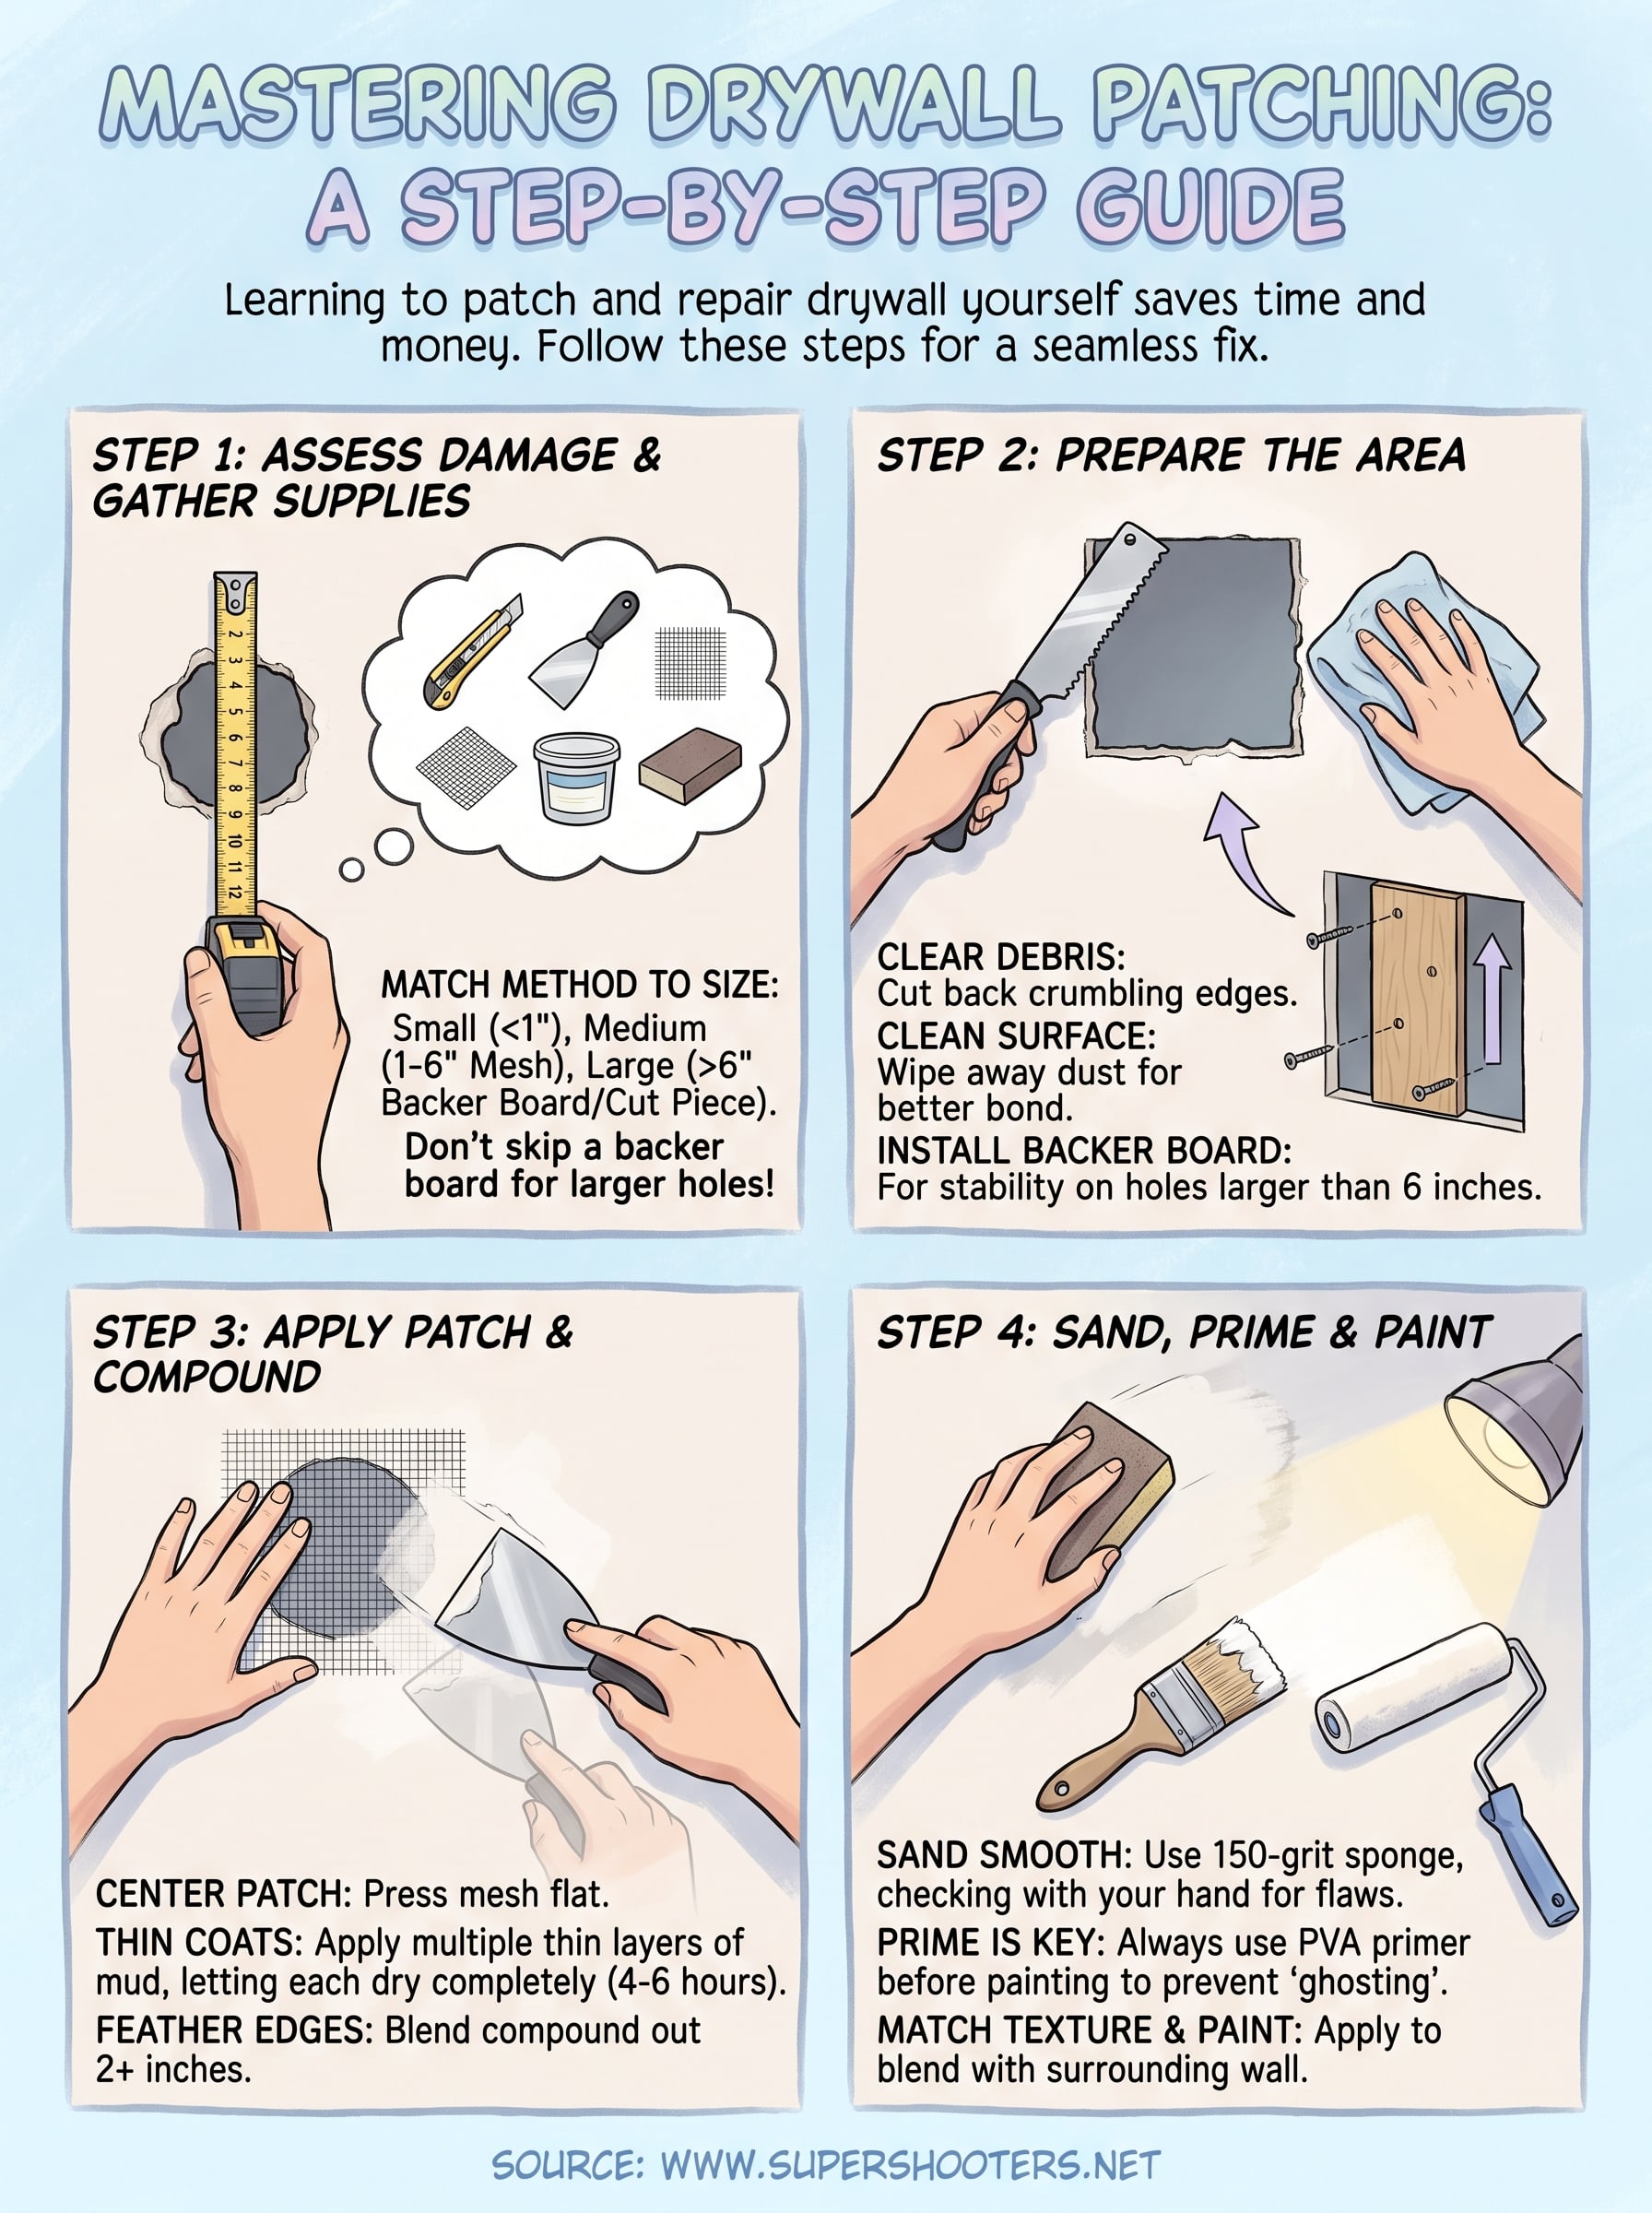
Before you buy anything, look closely at what you're actually dealing with. A nail hole or small dent under an inch needs nothing more than a dab of spackle. Anything between one and six inches calls for a self-adhesive mesh patch or an adhesive-backed aluminum patch. Once you're past six inches, you're cutting a new piece of drywall and screwing it to a backer board or the studs behind the wall. Sizing this up correctly upfront keeps you from running back to the hardware store mid-project.
Match your patch method to the size of the hole, not the other way around, and the repair will hold.
Check the edges of the damage too. Crumbling or water-stained drywall means the paper facing has failed, and a patch won't stick to it reliably. That's a sign the damage goes deeper than cosmetic, and we'll cover what to do about that later in this guide.
Supplies for a typical patch and repair drywall job
Most small to medium repairs use the same core kit:
- Utility knife or drywall saw
- Self-adhesive mesh patch (for holes under 6 inches) or a piece of scrap drywall (for larger holes)
- Lightweight joint compound (also called mud)
- 6-inch and 12-inch putty knives
- Sanding sponge or 150-grit sandpaper
- Primer and matching paint
- Drop cloth and painter's tape
Grab a backer board or wood scrap too if you're patching anything larger than a fist-sized hole, since the patch needs something solid to screw into. Skipping this step is the number one reason DIY patches bulge or crack later. With your supplies laid out, you're ready to start prepping the actual hole.
Step 1. Prepare the hole and surrounding area
Start by clearing away loose debris. Use your utility knife to cut back any crumbling drywall edges until you hit solid material, since patching over weak paper facing just guarantees a repeat repair. For holes larger than six inches , square them off with a drywall saw so you can fit a backer board or a cut piece of scrap drywall behind the opening.
A patch is only as strong as the surface it's stuck to, so never skip the prep work to save five minutes.
Wipe down the surrounding area with a damp cloth to remove dust and drywall grit. This matters more than people expect, because joint compound won't bond well to a dirty surface. Lay down your drop cloth now, before you open the mud bucket, and tape off any trim or outlets nearby.
If you're installing a backer board, cut it about two inches wider than the hole on each side, slide it behind the opening, and screw it to the drywall through the face using drywall screws. This gives your patch something solid to anchor to, which is the same principle behind any solid drywall repair patch job, big or small. Once that's secure, you're ready to apply the patch itself.
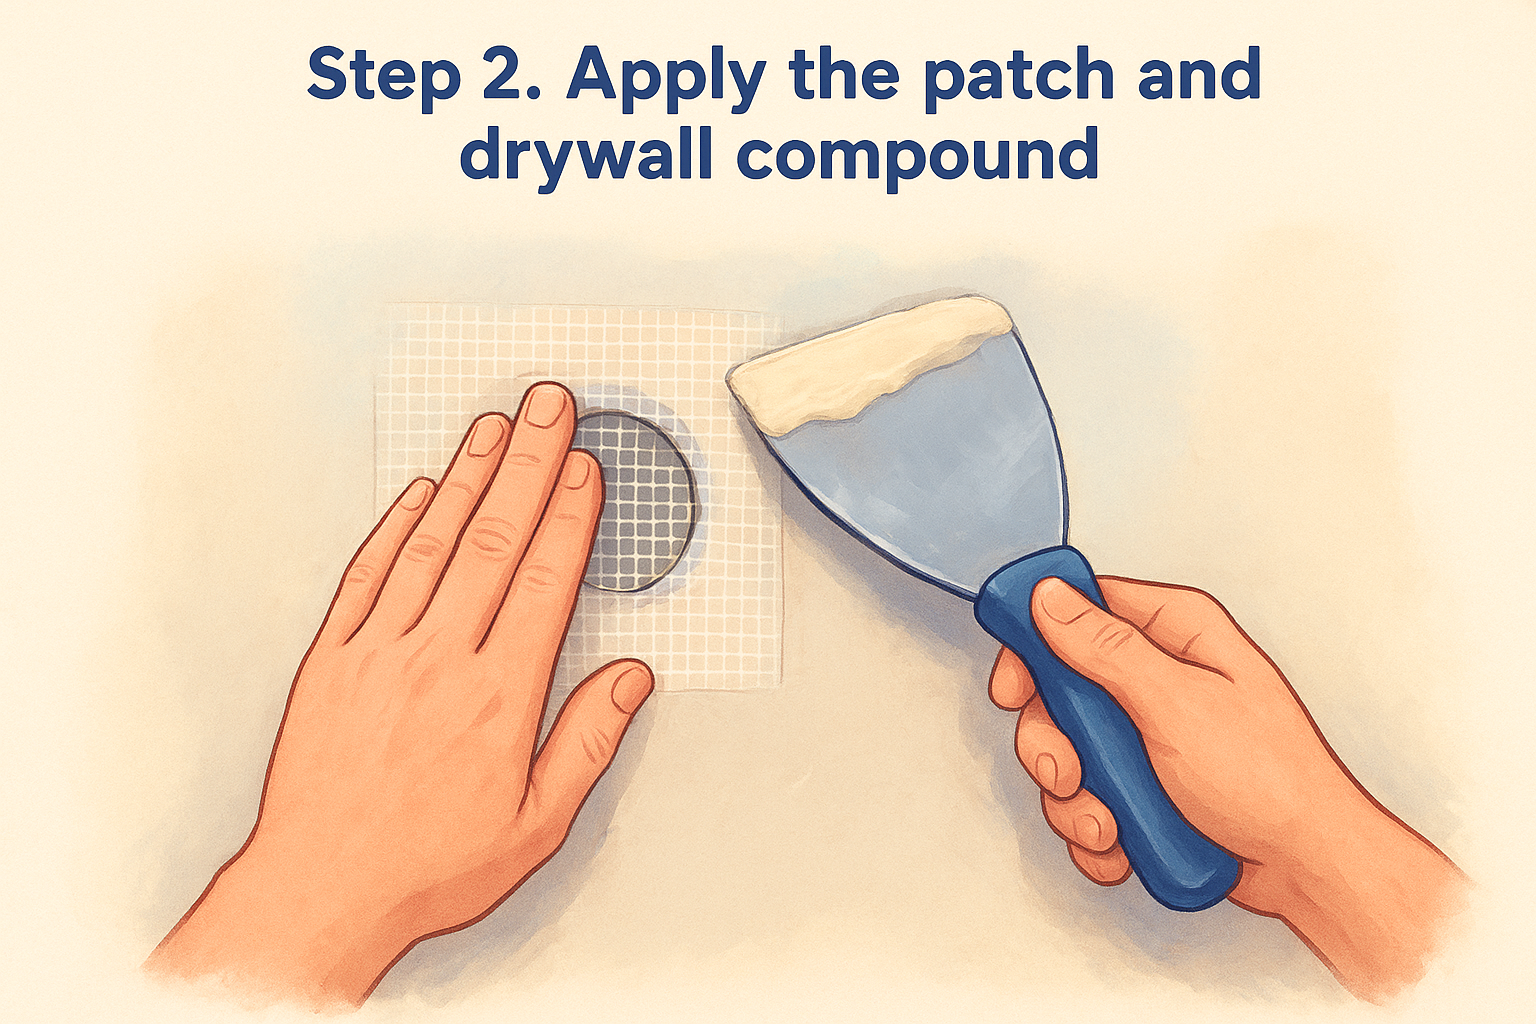
Step 2. Apply the patch and drywall compound
Center your self-adhesive mesh patch directly over the hole, pressing it flat against the wall so it grips without wrinkles. For a backer board setup, position your cut piece of scrap drywall into the opening and check that it sits flush with the surrounding surface before you mud over it. Either way, you want the patch sitting level with the wall, not proud of it.
A thin first coat that's allowed to dry beats one thick coat every time.
Load your 6-inch putty knife with joint compound and spread a thin layer over the patch, feathering the edges out about two inches beyond the mesh or seam. Let this coat dry fully, usually four to six hours depending on humidity, before adding a second thin coat. Rushing this step is where most DIY jobs go wrong, because thick mud takes longer to dry and tends to crack as it cures. Apply a third coat if you still see the mesh pattern or seam lines showing through. Once the surface reads flat and solid, you're ready to move to sanding.
Step 3. Sand and feather the repair smooth
Grab your sanding sponge or 150-grit sandpaper once the final coat has cured completely, at least overnight for thicker patches. Sand in a circular motion, starting at the center of the repair and working outward, checking often with your hand rather than your eyes. Your fingertips catch ridges and lips that overhead light misses, especially on ceilings where shadows hide texture.
Run your hand over the repair with your eyes closed, and you'll feel every flaw a coat of paint would expose.
Feathering matters more than most DIYers realize. You're not just smoothing the patch itself, you're blending the outer edge of the compound into the surrounding wall so there's no visible ridge once paint goes on. Widen that feathered edge another inch or two if you still feel a lip after your first pass.
Wipe away sanding dust with a slightly damp cloth, then hold a work light at an angle against the wall. Angled light reveals dips and bumps flat overhead light won't show. If you spot a low spot, mix a small batch of compound, skim it thin, let it dry, and sand again before moving on to priming.
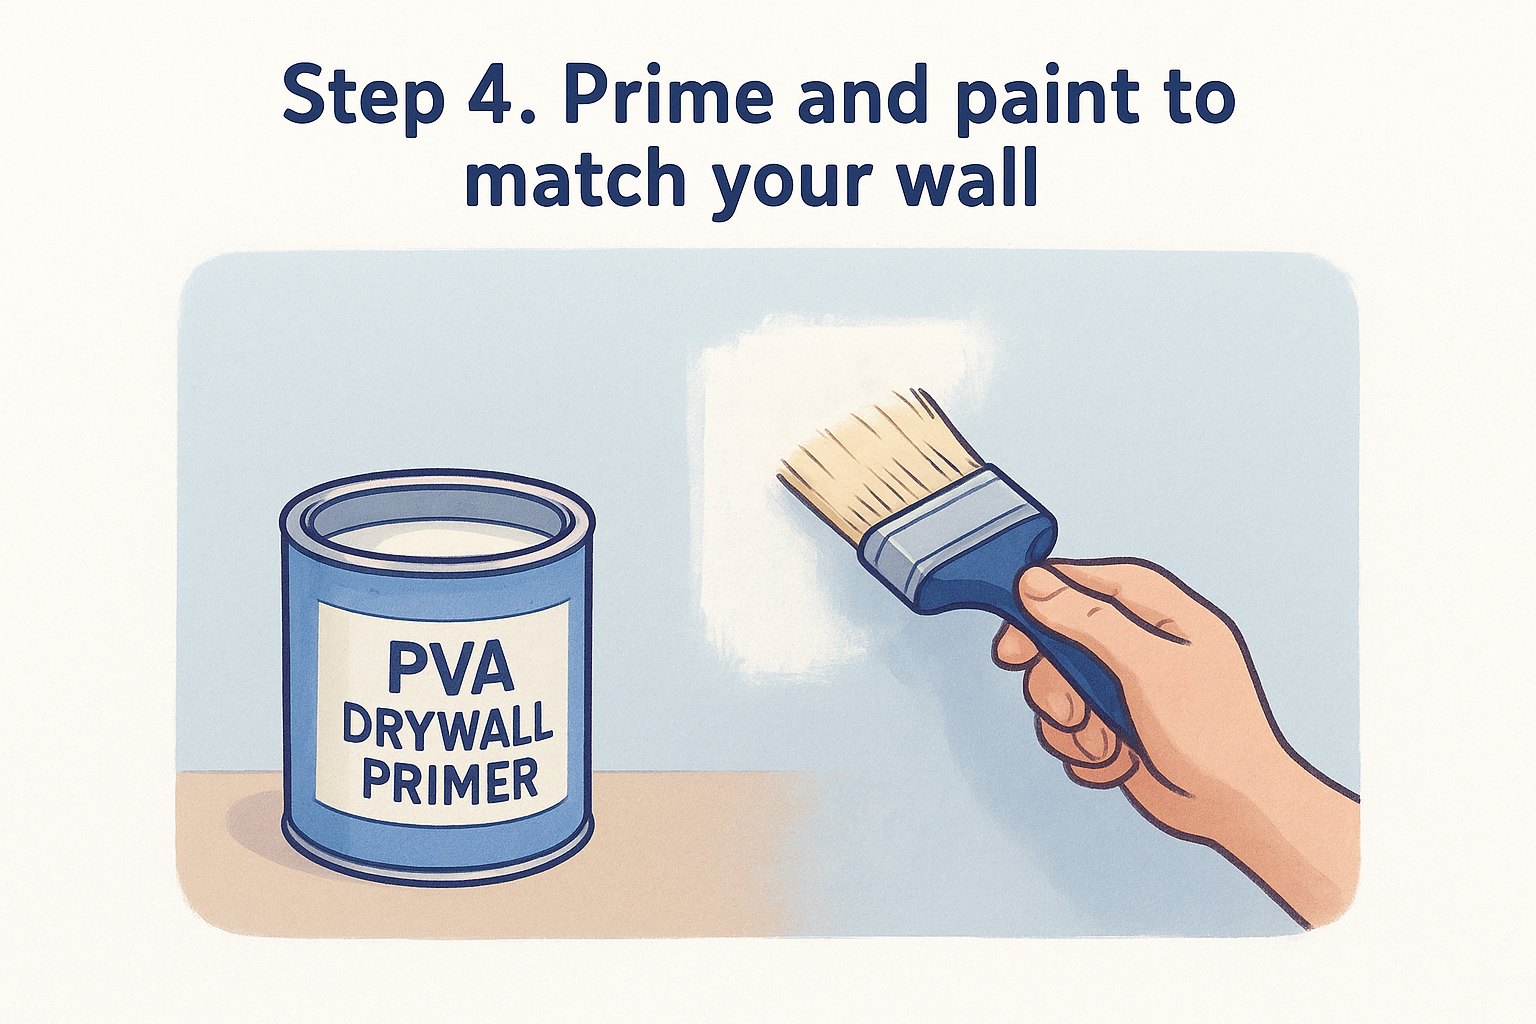
Step 4. Prime and paint to match your wall
Skipping primer is the most common reason a patch stays visible for years. Bare joint compound absorbs paint differently than the surrounding wall, so even a perfect texture match will show up as a dull, flat spot once the topcoat goes on. Brush or roll a coat of PVA drywall primer over the repair, feathering it slightly past the compound edge so there's no hard line where primer meets original paint.
Primer isn't optional here, it's what keeps your patch from ghosting through the paint for years.
Let the primer dry fully, usually about an hour, before matching texture if your wall has any. Light orange peel or splatter texture can be sprayed on from a can; heavier textures need a hopper gun or a texture brush dabbed to match the pattern around it. Once texture is dry, apply your matching paint with a roller, working from the center of the patch outward in the same direction as the surrounding strokes. Two thin coats blend better than one heavy one, and they dry to match the sheen of the rest of the wall instead of leaving a slightly glossy patch that catches light differently than everything around it.
When a patch isn't enough
Some damage tells you upfront that a DIY patch won't hold. Sagging ceilings , water stains that keep coming back, or drywall so soft it crumbles under light pressure all point to problems behind the surface, not on it. Homes built before the 1980s add another wrinkle: that old ceiling texture might contain asbestos, and sanding into it without testing first is a health risk, not just a repair headache.
Most holes, cracks, and dents respond well to the steps above, and there's real satisfaction in fixing your own wall for the cost of a patch kit. But when you're staring at a spreading water stain or a ceiling that flexes when you touch it, that's your cue to stop sanding and start calling. We've seen what's usually behind those problems, and a free estimate costs you nothing to find out. If your repair has grown past a weekend project, reach out for professional drywall repair and patching and let us take it from here.