
Share this article

August 4, 2026

Drywall Tool Repair: What It Is and When You Need It

If you tape and finish drywall for a living, or even just for one big remodel, you already know a busted banjo or a leaking mud pan can stall a job fast. Drywall tool repair covers everything from replacing worn blades on a taping knife to rebuilding the internal mechanism of an automatic taper, and knowing your options keeps you from tossing a $300 tool over a $15 part. Most pros run into the same handful of failures: cracked handles , stuck rollers, and seized pumps in bazookas or corner rollers.

So what exactly counts as drywall tool repair, and when should you fix versus replace? This guide answers both. We break down the most common tool failures, walk through DIY fixes you can handle with basic parts, and explain when a professional repair service or full replacement makes more financial sense.

At Super Shooters, we've spent over 30 years and 10,000-plus jobs relying on well-maintained taping tools to deliver clean, fast finishes across the Sacramento Valley. That hands-on experience with finishing tools shapes everything below, so you get practical, field-tested advice instead of guesswork, whether you're maintaining your own gear or just trying to understand what a contractor means when they mention tool maintenance .

Why drywall tool repair matters for your projects

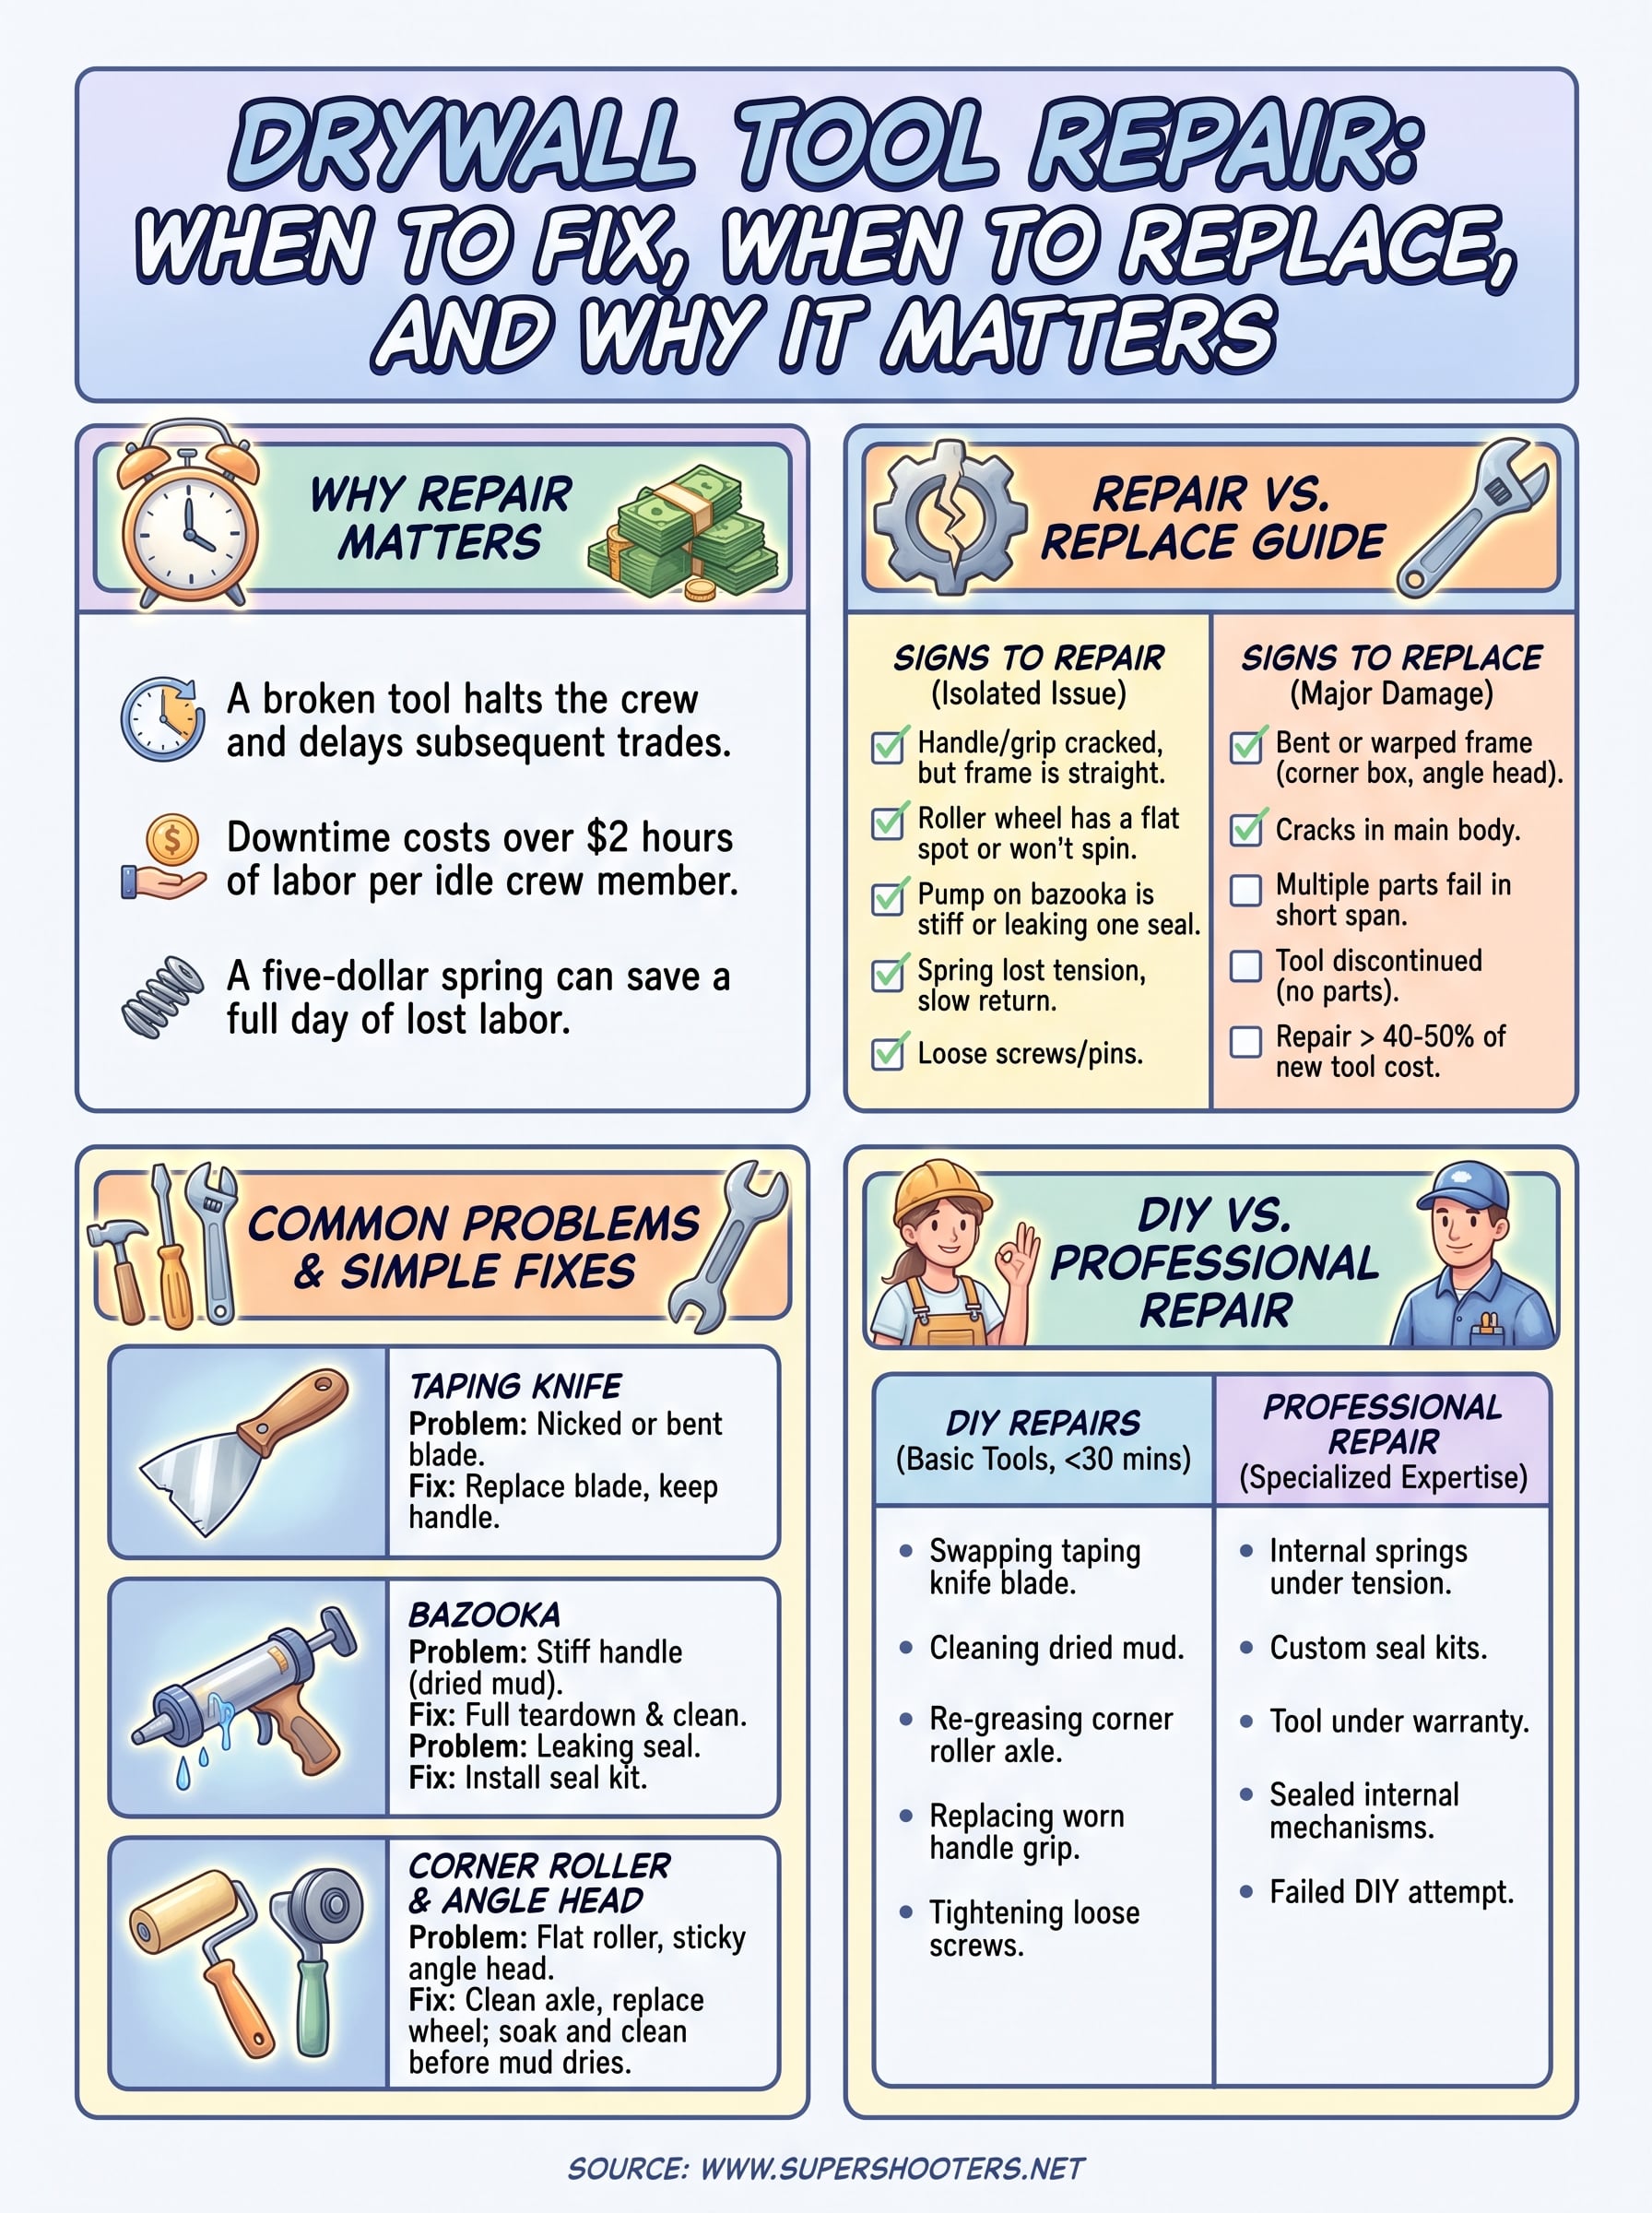
A broken tool doesn't just sit idle, it stops everything behind it. When a taping knife blade bends mid-coat or a bazooka jams halfway down a hallway, you lose the rhythm of the job and often the whole crew waits on you. Drywall tool repair isn't a side task you get to eventually, it's part of keeping a project on schedule, because a single stalled tool can push a two-day taping job into three or four.

Downtime costs more than the part

Contractors rarely think about labor hours lost to a broken corner roller or a leaking mud pan until they add it up. If a crew of three sits idle for even 45 minutes while someone runs to a supply store, that's over two hours of paid labor gone, plus the delay pushes back texture and paint crews scheduled behind you. Tool downtime on a commercial job can easily cost more than the repair itself, which is why smart contractors keep a small stash of replacement parts, like corner roller wheels and banjo springs, on the truck.

A five-dollar spring can save you a full day of lost labor.

Finish quality drops fast with worn gear

Worn or damaged tools don't fail cleanly, they fail gradually, and that's the dangerous part. A taping knife with a nicked blade leaves faint ridges in the mud that show up under paint. A corner roller with a flat spot on the wheel creates uneven inside corners that need extra sanding or a second coat. Finish quality suffers long before a tool stops working entirely, so relying on a tool that's "still working" often means you're already producing lower-grade results without realizing it.

Repair keeps your investment working for you

Quality taping tools aren't cheap. A full automatic taper setup with a bazooka, corner rollers, and angle heads can run well past $2,000, and a single handle assembly or pump kit repair usually costs a fraction of that. Choosing tool repair services over replacement protects the investment you already made, and it keeps specialized gear, like flushers and nail spotters, in rotation instead of collecting dust because one small part failed.

Situation Typical repair cost Typical replacement cost Downtime avoided
Cracked banjo handle $10 to $25 $150 to $250 Same day
Leaking bazooka pump seal $30 to $60 $500 to $900 1 to 2 days
Worn corner roller wheels $15 to $40 $80 to $150 Same day
Stuck angle head bushing $20 to $50 $200 to $350 Same day

Safety and consistency on every job

Beyond speed and cost, well-maintained tools give you consistent results job after job, which matters more once you're working across multiple properties in a week. A stiff or misaligned taping knife can slip and gouge drywall, creating extra repair work that eats into your margin. Keeping your taping tools in good working order also protects you from on-site injuries, since a seized pump or cracked handle can slip unexpectedly under pressure. For homeowners tackling a single remodel, the stakes are smaller but the logic holds: a tool that works right the first time saves you from redoing sections of wall or ceiling because the mud went on uneven.

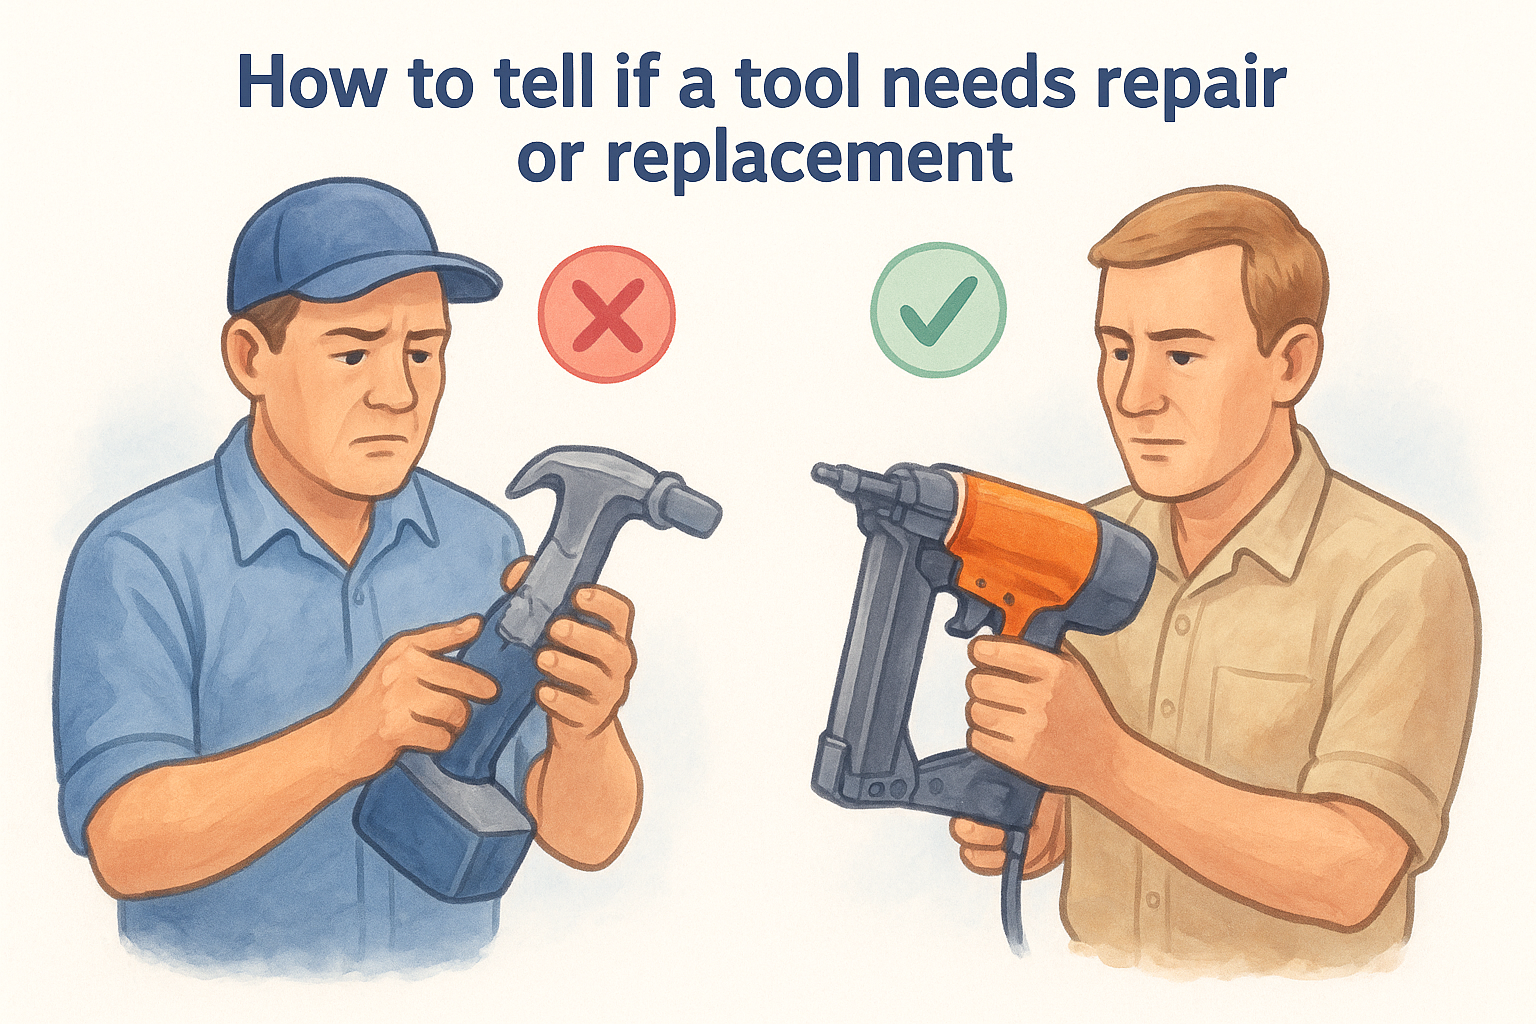
How to tell if a tool needs repair or replacement

Every contractor eventually faces the same question staring at a jammed bazooka or a bent taping blade: fix it or replace it? The answer usually comes down to what's actually broken. Drywall tool repair makes sense when the damage is isolated to a single part, like a spring, seal, or wheel. Replacement makes more sense when the frame itself is bent, the tool is discontinued, or repair costs creep close to a new unit's price.

Signs a repair will fix the problem

Before you write off a tool, check whether the failure is mechanical and contained. Most taping tool repair jobs fall into this category, and a quick inspection tells you a lot:

  • The handle or grip is cracked but the metal frame underneath is straight
  • A roller wheel has a flat spot or won't spin freely
  • The pump on a bazooka feels stiff or leaks mud from one visible seal
  • A spring has lost tension, causing slow return on a banjo or corner applicator
  • Screws, pins, or small fasteners have worked loose

If the frame is straight and only one part is failing, repair almost always wins.

These issues typically involve a single replacement part and an hour or less of downtime, which is exactly the kind of fix that keeps a drywall finishing tool in rotation for years instead of ending up in the trash.

Signs it's time to replace instead

Once damage moves beyond a single component, repair costs start climbing fast, and the math flips. Replacement becomes the smarter call when you see:

  • A bent or warped frame on a corner box or angle head
  • Cracks running through the main body, not just the handle
  • Multiple failed parts on the same tool within a short span
  • A tool that's been discontinued, making replacement parts hard to find
  • Repair estimates running above 40 to 50 percent of a new tool's cost

Sacramento Valley contractors we work with often hold onto tools too long simply because they're familiar with them, but a tool that keeps failing costs more in labor and callbacks than a fresh replacement would. Testing the tool under real working pressure, not just a quick squeeze test on the bench, gives you the clearest read on whether the underlying mechanism is still sound or quietly wearing out.

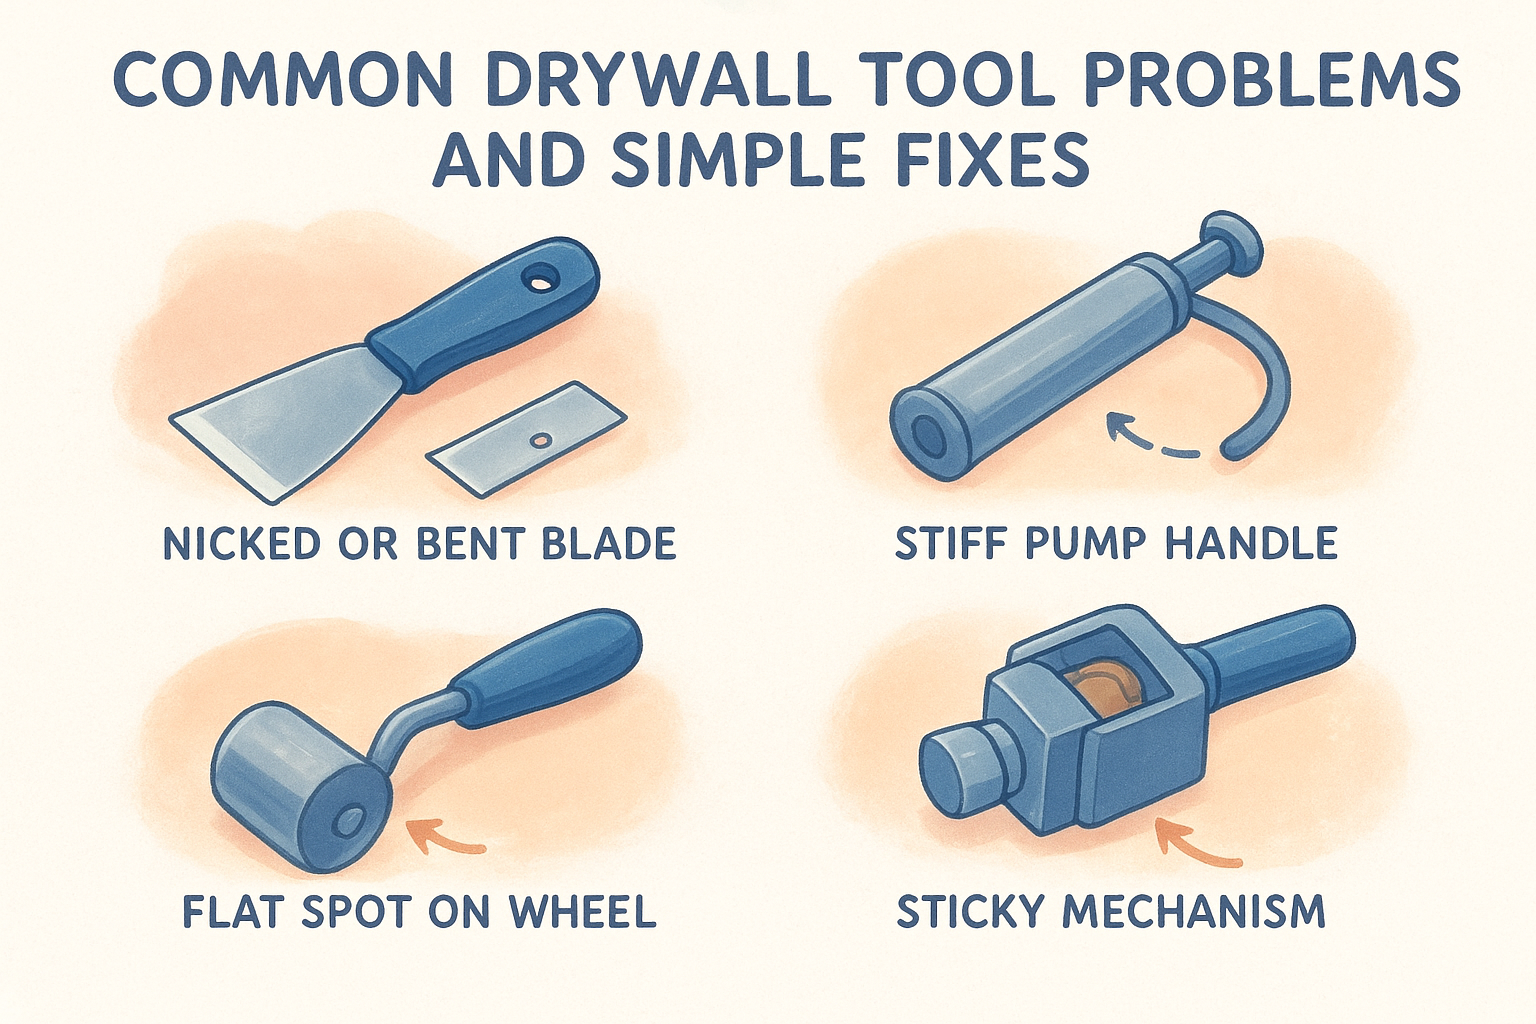
Common drywall tool problems and simple fixes

Most drywall taping tool failures repeat across job sites because the tools all work the same way, under pressure, loaded with wet mud, and handled dozens of times a day. Knowing the usual suspects means you can spot trouble early and fix it before it costs you a full workday.

Taping knife and blade issues

Nicked or bent blades are the most common complaint, usually from dropping a knife or scraping it against a metal corner bead. A blade with a small nick still spreads mud, but it leaves grooves that telegraph through paint. Swapping the blade takes minutes if the handle and rivets are intact, and most suppliers sell replacement blades separately from the full knife.

Bazooka and pump problems

Automatic tapers fail most often at the pump seal or the wheel assembly. A stiff pump handle usually means dried mud has built up inside the cylinder, which a full teardown and cleaning solves without buying parts. A leaking seal is different; that calls for a seal kit, typically under $30, and about 20 minutes of reassembly time. Wheels that don't roll smoothly often just need the axle cleaned and re-greased rather than replaced outright.

Ninety percent of bazooka complaints trace back to dried mud, not a broken part.

Corner roller and angle head wear

Corner rollers develop flat spots on the wheels from sitting loaded with mud between jobs, and angle heads get sticky when mud dries inside the mechanism. Both problems respond well to disassembly and cleaning with warm water before mud fully hardens.

Tool Common problem Simple fix
Taping knife Nicked or bent blade Replace blade, keep handle
Bazooka Stiff pump handle Full teardown and clean
Bazooka Leaking seal Install seal kit
Corner roller Flat spot on wheel Clean axle, replace wheel
Angle head Sticky mechanism Soak and clean before mud dries

Cleaning tools within an hour of finishing a coat prevents most of these problems from starting in the first place, which is a habit worth building into every crew's end-of-day routine.

DIY repairs versus calling in a professional

Some fixes belong on your own workbench, and others belong in a shop that specializes in drywall tool repair . The line usually comes down to tools, time, and how comfortable you are taking a mechanism apart without a diagram in front of you. Get this call wrong and you either waste a Saturday on a repair a pro could've done in ten minutes, or you crack a part trying to force a fix that needed real expertise.

When DIY makes sense

Handle plenty of small jobs yourself if you've got basic hand tools and a clean workspace. These repairs rarely require specialized parts, and mistakes are cheap to correct:

  • Swapping a taping knife blade
  • Cleaning dried mud from a bazooka pump or angle head
  • Re-greasing a corner roller axle
  • Replacing a worn handle grip
  • Tightening loose screws or pins

Most of these take under 30 minutes once you've done them a couple of times, and replacement parts for common drywall finishing tools run cheap through most supply houses.

When to call a professional

Once you're dealing with internal springs under tension, custom seal kits, or a tool that's still under warranty, hand it off. A professional repair service has the jigs and replacement stock to rebuild a bazooka's internal mechanism correctly the first time, something that's genuinely hard to replicate on a kitchen table. Forcing a spring back into place without the right setup often bends the housing, turning a $40 repair into a $300 replacement.

If a repair involves springs under tension or a sealed internal mechanism, let a pro handle it.

Cost matters here too. A shop repair on a pump seal or roller assembly typically runs $30 to $80 including labor, which still beats replacing the tool outright. Tool maintenance done right the first time also protects the rest of the mechanism from wear caused by a botched DIY attempt.

A simple decision guide

When you're standing there holding a broken tool, run through this quick checklist before deciding:

  1. Is the damage limited to a part you can see and access easily? Try DIY.
  2. Does the fix require disassembling a sealed or spring-loaded section? Call a pro.
  3. Is the tool still under manufacturer warranty? Call a pro to avoid voiding it.
  4. Have you already attempted this repair once without success? Call a pro before trying again.

Following this order keeps you from spending more time and money chasing a fix that was never a good DIY candidate in the first place.

Keeping your tools ready for the next job

Well-maintained tools are what separate a smooth taping job from one full of delays and callbacks. Drywall tool repair isn't glamorous work, but cleaning a bazooka before mud dries, swapping a nicked blade, or catching a cracked handle early keeps your gear ready when the next job lands on your schedule. Skip the guesswork on whether something's worth fixing: check the frame, isolate the failing part, and decide based on real cost, not habit or convenience.

Good tools matter, but so does the quality of the work behind them. If you're in the Sacramento Valley and dealing with cracked walls, water damage, or a ceiling that needs patching before your next coat of texture, you don't have to handle it alone. Get a free drywall repair estimate from a crew that's kept its own tools, and its work, sharp for over 30 years.

Recent Posts

By cinchweb August 3, 2026
Learn how to patch screw hole in drywall step-by-step—from filling and sanding to priming and painting for a seamless, professional finish.
By cinchweb August 3, 2026
Learn how to repair hole.in drywall with our step-by-step guide: tools, patch sizing, compound coats, and finishing tips for seamless results.
By cinchweb August 1, 2026
Learn what causes cracks in walls, from Sacramento Valley soil shifts to foundation issues, plus how to spot cosmetic vs. structural damage.
By cinchweb July 31, 2026
Learn how to install drywall in a bathroom: pick moisture-resistant panels, hang and tape correctly, then finish with mold-resistant paint.
By cinchweb July 31, 2026
How common is asbestos in popcorn ceilings by build year? See risk timelines, testing steps, and safe Sacramento removal options.
Illustration of taping drywall seams with joint compound, tape, and knives for a smooth wall.
By cinchweb July 29, 2026
Learn how to tape drywall seams step-by-step, from mudding tools to feathering coats, plus when to call Sacramento Valley pros instead.
Illustration of a masked worker testing a popcorn ceiling for asbestos with a spray bottle and sample bags
By cinchweb July 28, 2026
Learn how to test popcorn ceiling for asbestos safely with a step-by-step DIY sampling guide, plus when to call Sacramento Valley abatement pros.
Crack wall repair illustration with hand applying compound to a wall crack, tools and supplies nearby.
By cinchweb July 27, 2026
Learn a lasting crack wall repair method: tools, V-groove prep, mesh tape, setting compound, and when to call a Sacramento Valley pro.
Illustration of a hand applying joint compound to a drywall crack with tape and a sanding block, titled “How to Use Joint Compound to Repair Drywall”
By cinchweb July 26, 2026
Learn how to use joint compound to repair drywall with step-by-step prep, taping, sanding, and priming tips for a seamless, professional finish.
Show More