Share this article

July 31, 2026

How to Install Drywall in a Bathroom: Step-by-Step Guide

Bathrooms punish regular drywall. Steam from showers, splashing water around the tub, and constant humidity swelling will turn ordinary panels into a moldy, sagging mess within a year or two. If you're learning how to install drywall in a bathroom , the material you choose matters just as much as how you hang it.

This guide walks you through the whole process: picking the right moisture-resistant drywall for wet zones like shower surrounds and tub splash areas, measuring and cutting panels around plumbing and fixtures, and hanging sheets with the correct screw pattern and spacing. We'll also cover taping, mudding, and finishing so seams hold up under humidity instead of cracking within a season.

We've seen plenty of bathroom drywall jobs go wrong because someone used standard board near a shower or skipped a vapor barrier where it mattered. After 30 years hanging and repairing drywall across Sacramento Valley homes, we know exactly where these projects fail. Follow the steps here in order, and you'll end up with walls that actually survive bathroom conditions long term.

Why bathroom drywall needs special materials and prep

Regular drywall wasn't built for a room where the humidity spikes every time someone showers. Standard paper-faced panels absorb moisture, swell, and eventually breed mold behind the surface where you can't see it until the wall is already soft. Before you buy a single sheet, you need to match the board to the zone it's covering and prep the space so moisture has nowhere to hide.

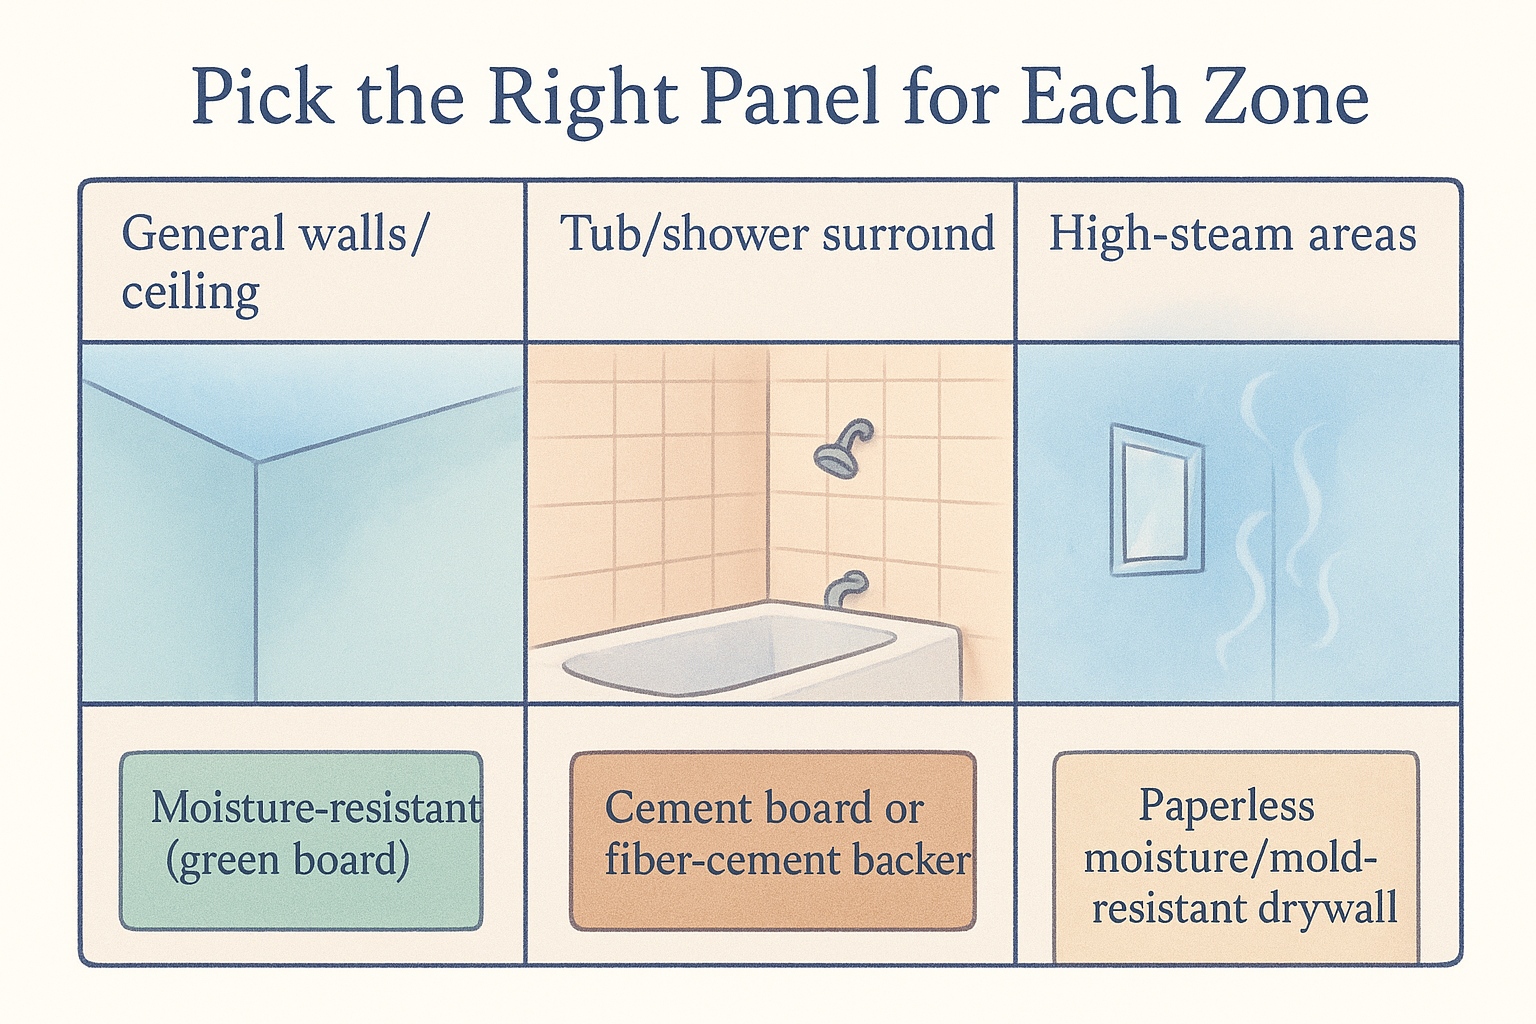
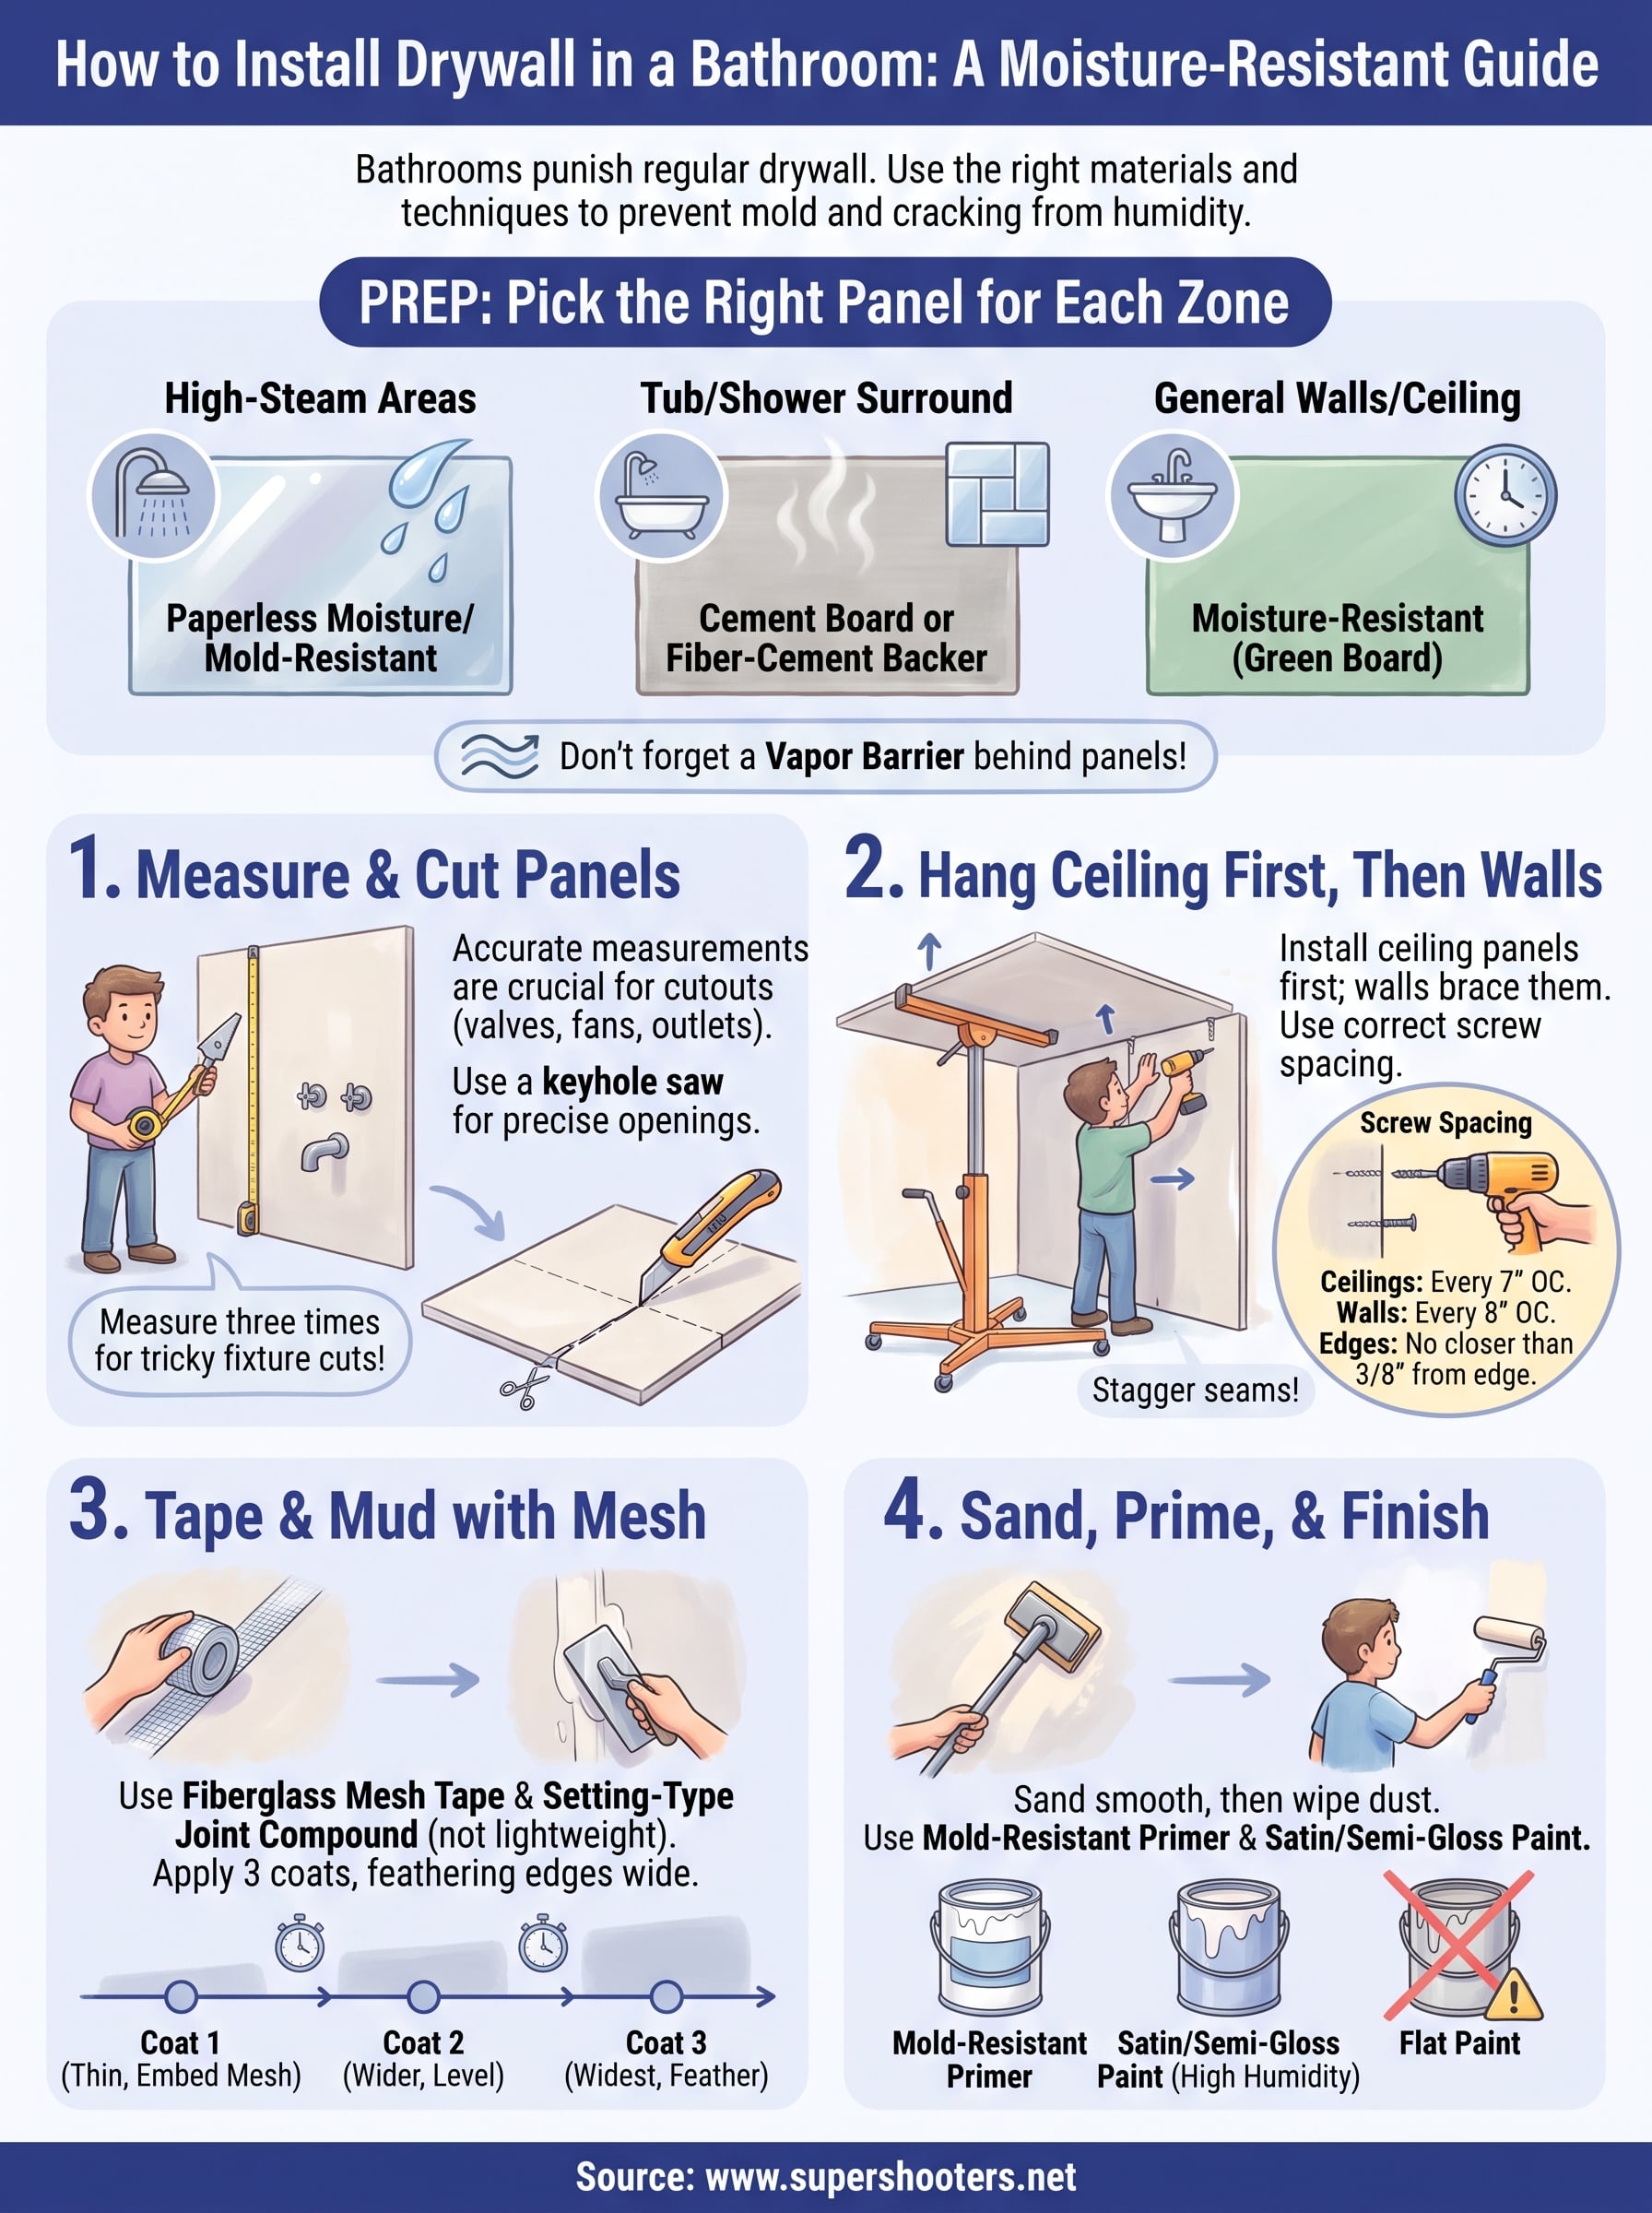
Pick the Right Panel for Each Zone

Not every wall in a bathroom faces the same exposure, so the material should change depending on how close it sits to water. Green board handles general humidity fine, but it's not rated for direct water contact. Areas that get splashed or sit behind tile need something tougher.

Zone Recommended board Why
General walls/ceiling Moisture-resistant (green board) Handles humidity, standard cost
Tub/shower surround Cement board or fiber-cement backer Withstands direct water behind tile
High-steam areas Paperless moisture/mold-resistant drywall Resists mold growth better than paper-faced board

The single biggest mistake in bathroom drywall work is using standard board anywhere near a shower or tub.

Don't Skip the Vapor Barrier

Behind the drywall, a proper vapor barrier or vapor-retarding paint stops moisture from migrating into wall cavities and insulation. Skipping this step is how you end up with hidden rot two years down the road, even when the visible surface looks fine.

Check for Asbestos Before You Start

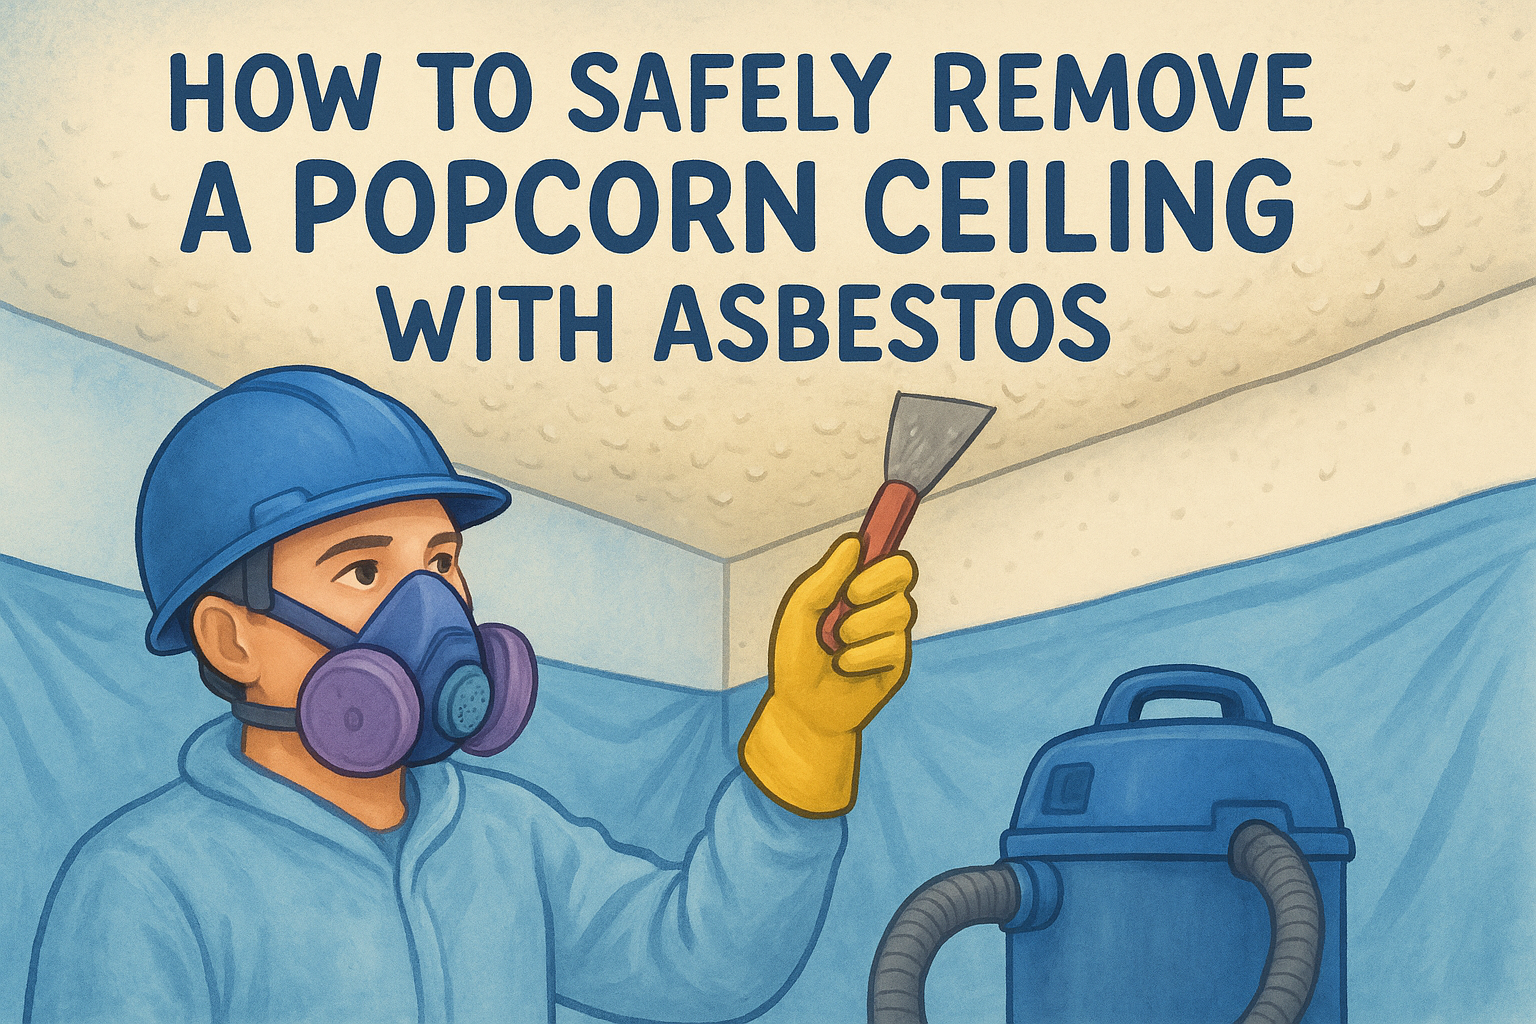
Older Sacramento Valley homes sometimes hide asbestos in original wall texture or old drywall compound. The EPA recommends testing suspect material before any demolition, since disturbing it releases fibers into the air. If your bathroom hasn't been touched since before the 1980s, get it tested first.

Step 1. Measure and cut your drywall panels

Start by measuring every wall and ceiling section before you touch a saw. Bathrooms pack more cutouts per square foot than any other room, thanks to shower valves, fan housings, and outlet boxes, so accurate measurements save you from wasting expensive moisture-resistant board.

Mark and Cut for Fixtures

Hold each panel in place or measure directly off the studs, then transfer those numbers to the board with a square and utility knife. Score the paper face, snap the board along the line, then cut the back paper to separate the pieces. For plumbing and electrical cutouts, use a drywall keyhole saw to punch through marked openings rather than guessing and trimming after hanging.

Measure twice, cut once still applies, but in a bathroom it's measure three times because every cutout costs you a full sheet if you're wrong.

Leave the Right Gaps

Always leave a small gap, about a quarter inch, between the drywall and the tub or shower pan. That gap gives water somewhere to drain instead of wicking straight into the board's edge.

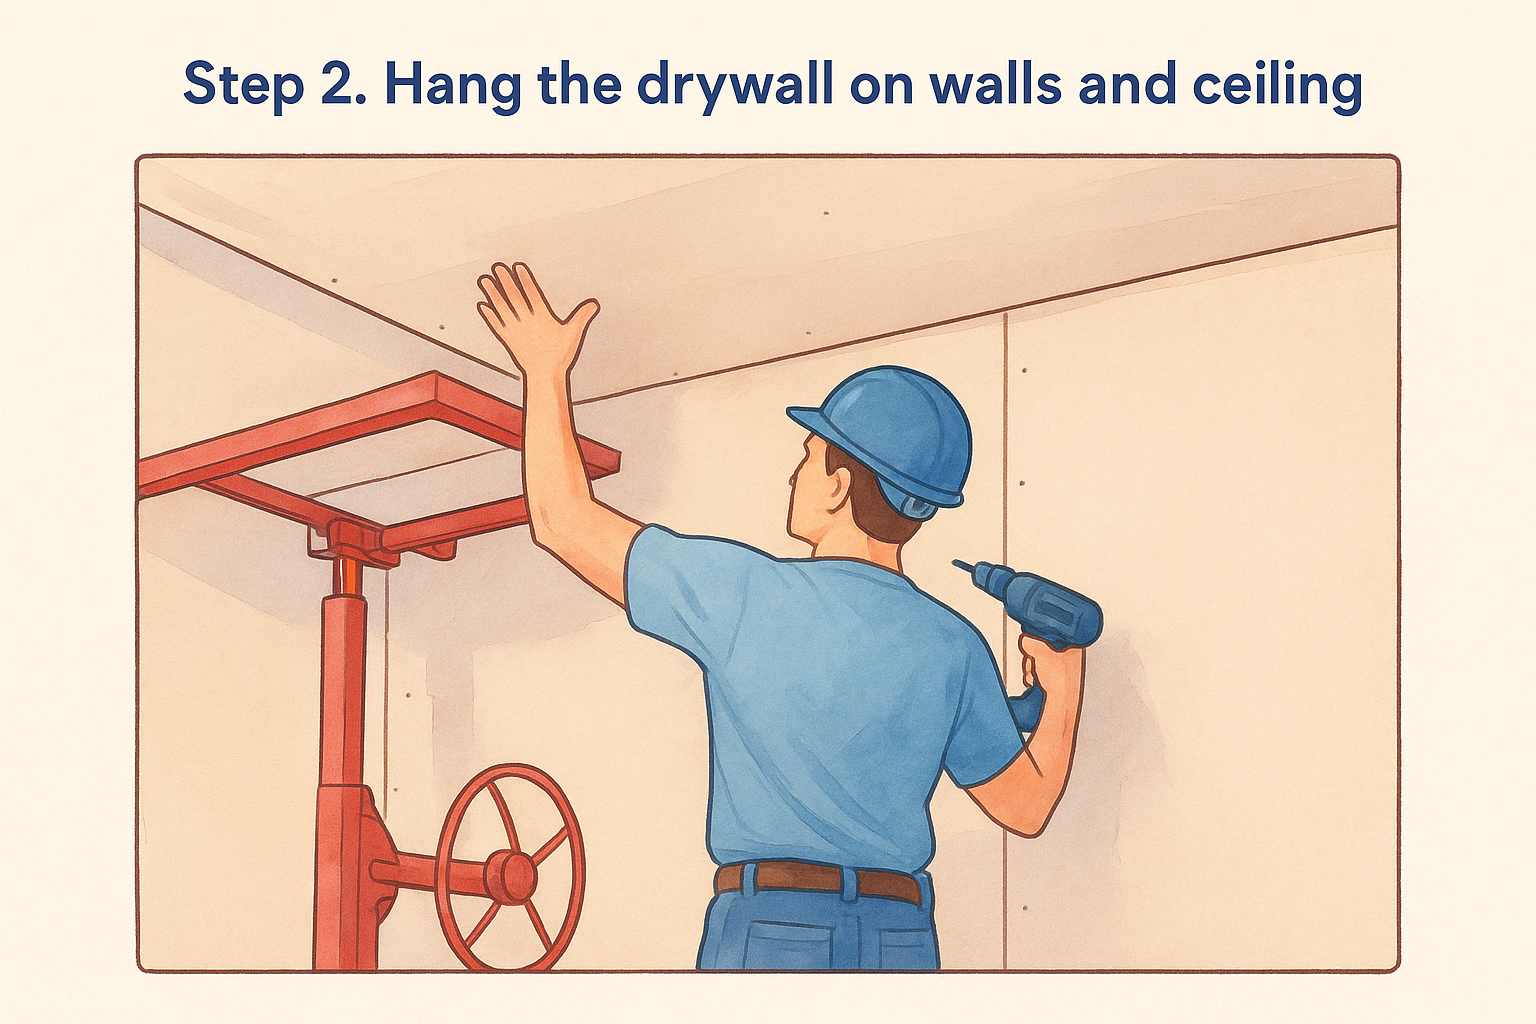
Step 2. Hang the drywall on walls and ceiling

Start with the ceiling before the walls. Ceiling panels are heavier and harder to hold steady, so getting them screwed up first means the wall pieces can help brace them along the top edge. A drywall lift makes this a one-person job instead of a wrestling match with an eight-foot sheet over your head.

Screw Pattern and Spacing

Drive drywall screws every 8 inches along the field and every 7 inches along the edges, sinking each one just below the surface without tearing the paper. Skipping screws or spacing them too far apart is a common shortcut that leads to visible seams and popped fasteners later.

  • Ceilings: screws every 7 inches on center
  • Walls: screws every 8 inches on center
  • Edges: never closer than 3/8 inch from the panel edge

Hanging bathroom drywall the right way means the ceiling goes up first, every time.

Stagger Your Seams

Offset panel joints between rows so seams don't line up in a straight run across the wall. Staggered joints spread stress across the surface, which matters even more in a humid room where the board naturally expands and contracts.

Step 3. Tape and mud the seams

Once every panel is screwed down, the seams become the weak point where bathroom humidity does the most damage. Fiberglass mesh tape holds up better than paper tape in wet rooms because it resists sagging and doesn't feed mold the way paper does. Set your seams up right here, and the finished wall stays flat instead of cracking along every joint within a year.

Choose the Right Tape and Compound

Pair mesh tape with a setting-type joint compound rather than the pre-mixed lightweight stuff. Setting compound cures through a chemical reaction instead of drying out, so it holds up in a humid bathroom far longer.

  • Embed mesh tape directly over the seam
  • Apply a thin first coat with a 6-inch knife
  • Let it cure fully before the next coat
  • Widen each following coat by a few inches

Build Coats Gradually

Apply three coats total, feathering each one wider than the last so the seam blends into the surrounding panel instead of leaving a visible ridge.

Rushing the drying time between coats is why so many bathroom seams crack within the first year.

Step 4. Sand, prime, and finish the surface

Once your final coat of joint compound cures, sanding brings everything to a smooth, paint-ready finish. Use a pole sander with 150-grit paper and work in light circular passes, checking for ridges with a bright light held at an angle across the wall. Skip sanding too aggressively or you'll scuff through the paper face and expose the seam again.

Wipe Down Before Priming

Dust left on the surface ruins primer adhesion, so wipe every wall and ceiling with a damp cloth before you open a can. Let the surface dry fully, since trapping moisture under primer defeats the whole point of using moisture-resistant board in the first place.

Use a Moisture-Resistant Primer and Paint

Apply a mold-resistant primer formulated for bathrooms, then finish with a satin or semi-gloss paint rated for high humidity. Flat paint absorbs moisture and shows water spots fast, so it's the wrong choice here.

Skip a mold-resistant primer in a bathroom, and you're inviting the same moisture problems back within a year.

Two coats of paint, fully dried between applications, give you a surface built to handle daily steam without peeling.

Getting Your Bathroom Ready for the Next Step

Get these four steps right, choosing moisture-resistant board for each zone, cutting and hanging with the correct gaps and screw pattern, taping with mesh and setting compound, then finishing with mold-resistant primer, and your bathroom walls will handle years of steam and splashing without the swelling or cracking that ruins standard drywall jobs. Skip any one of these steps, and you're looking at repairs within a year or two instead of a wall that lasts as long as the rest of the house.

Bathroom drywall isn't a place to cut corners, and honestly, it isn't always a beginner-friendly weekend project either. Between cutting around plumbing, hanging heavy ceiling panels, and getting the taping right the first time, plenty of homeowners decide it's worth bringing in a crew who's done thousands of these jobs. If that's you, get a free estimate for professional drywall installation and let us handle the details that make bathroom walls actually last.

Recent Posts

By cinchweb August 1, 2026
Learn what causes cracks in walls, from Sacramento Valley soil shifts to foundation issues, plus how to spot cosmetic vs. structural damage.
By cinchweb July 31, 2026
How common is asbestos in popcorn ceilings by build year? See risk timelines, testing steps, and safe Sacramento removal options.
Illustration of taping drywall seams with joint compound, tape, and knives for a smooth wall.
By cinchweb July 29, 2026
Learn how to tape drywall seams step-by-step, from mudding tools to feathering coats, plus when to call Sacramento Valley pros instead.
Illustration of a masked worker testing a popcorn ceiling for asbestos with a spray bottle and sample bags
By cinchweb July 28, 2026
Learn how to test popcorn ceiling for asbestos safely with a step-by-step DIY sampling guide, plus when to call Sacramento Valley abatement pros.
Crack wall repair illustration with hand applying compound to a wall crack, tools and supplies nearby.
By cinchweb July 27, 2026
Learn a lasting crack wall repair method: tools, V-groove prep, mesh tape, setting compound, and when to call a Sacramento Valley pro.
Illustration of a hand applying joint compound to a drywall crack with tape and a sanding block, titled “How to Use Joint Compound to Repair Drywall”
By cinchweb July 26, 2026
Learn how to use joint compound to repair drywall with step-by-step prep, taping, sanding, and priming tips for a seamless, professional finish.
Illustration of a person repairing ceiling drywall with tools and a bucket, titled “Ceiling Drywall Repair: A Step-by-Step Guide”
By cinchweb July 25, 2026
Learn step-by-step ceiling drywall repair: prep, patch, tape, texture & paint—plus when to call Super Shooters for Sacramento Valley jobs.
Man patching drywall beside text: “How to Find Cheap Drywall Repair Near Me Without Overpaying”
By cinchweb July 25, 2026
Find cheap drywall repair near me without overpaying: get real Sacramento Valley price ranges, quote tips, and vetting steps from Super Shooters.
Tutorial graphic showing hands feathering drywall mud with a putty knife for a seamless finish
By cinchweb July 24, 2026
Learn how to feather drywall mud step by step—thin, widening coats, sanding tips, and raking-light checks for a seamless, ridge-free repair.
Show More