Share this article

July 31, 2026

How Common Is Asbestos in Popcorn Ceilings? Risk by Year

Look up at your popcorn ceiling and you're probably wondering the same thing most Sacramento Valley homeowners ask us: is that thing loaded with asbestos? How common is asbestos in popcorn ceilings depends heavily on when your house went up, and the answer isn't a simple yes or no. Homes built before 1980 carry real risk, while newer construction usually doesn't, but exceptions exist on both ends.

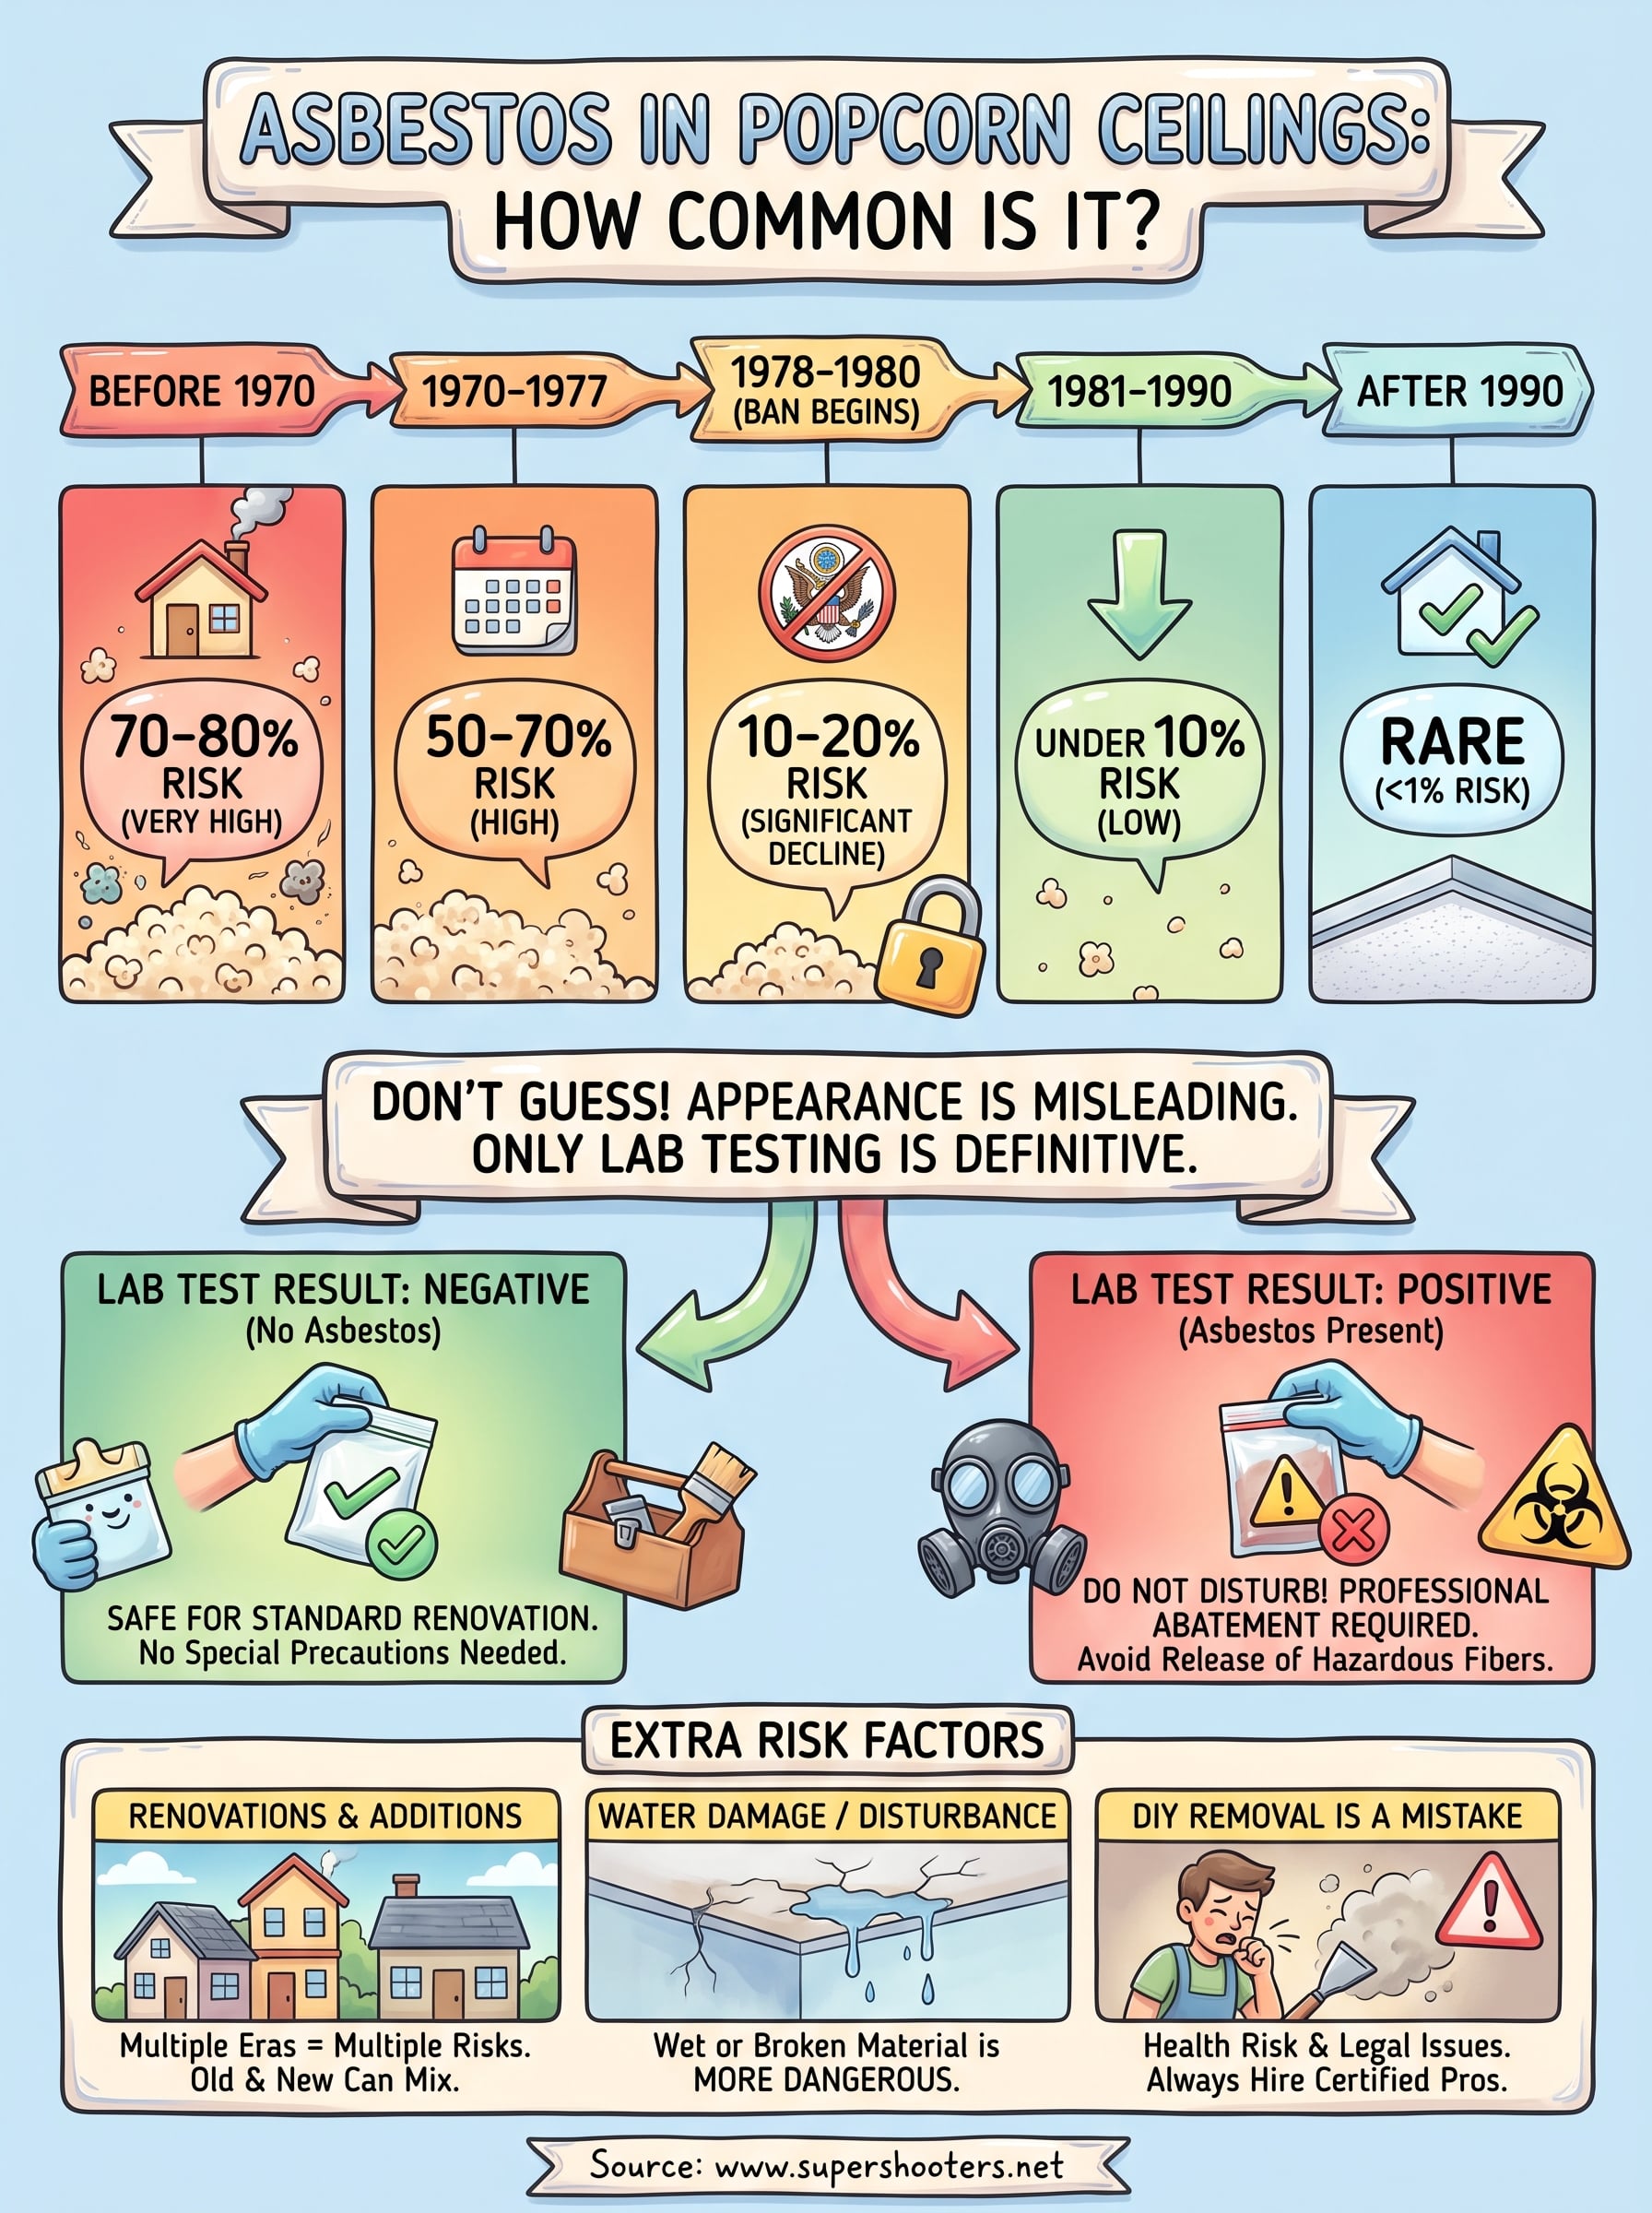
Here's the short version: asbestos showed up in roughly 70-80% of popcorn ceilings installed before the mid-1970s, dropped off sharply after the 1978 partial federal restriction, and became rare (though not impossible) after 1990. Your home's construction date narrows the odds fast, but it doesn't guarantee anything without testing.

We've pulled down thousands of these ceilings across Sacramento, Roseville, Folsom, and the surrounding valley over 30 years, and we've seen the full range firsthand. Below, we'll break down risk percentages by decade , explain what visual clues actually mean (and what they don't), and walk through how proper testing works before you touch anything overhead.

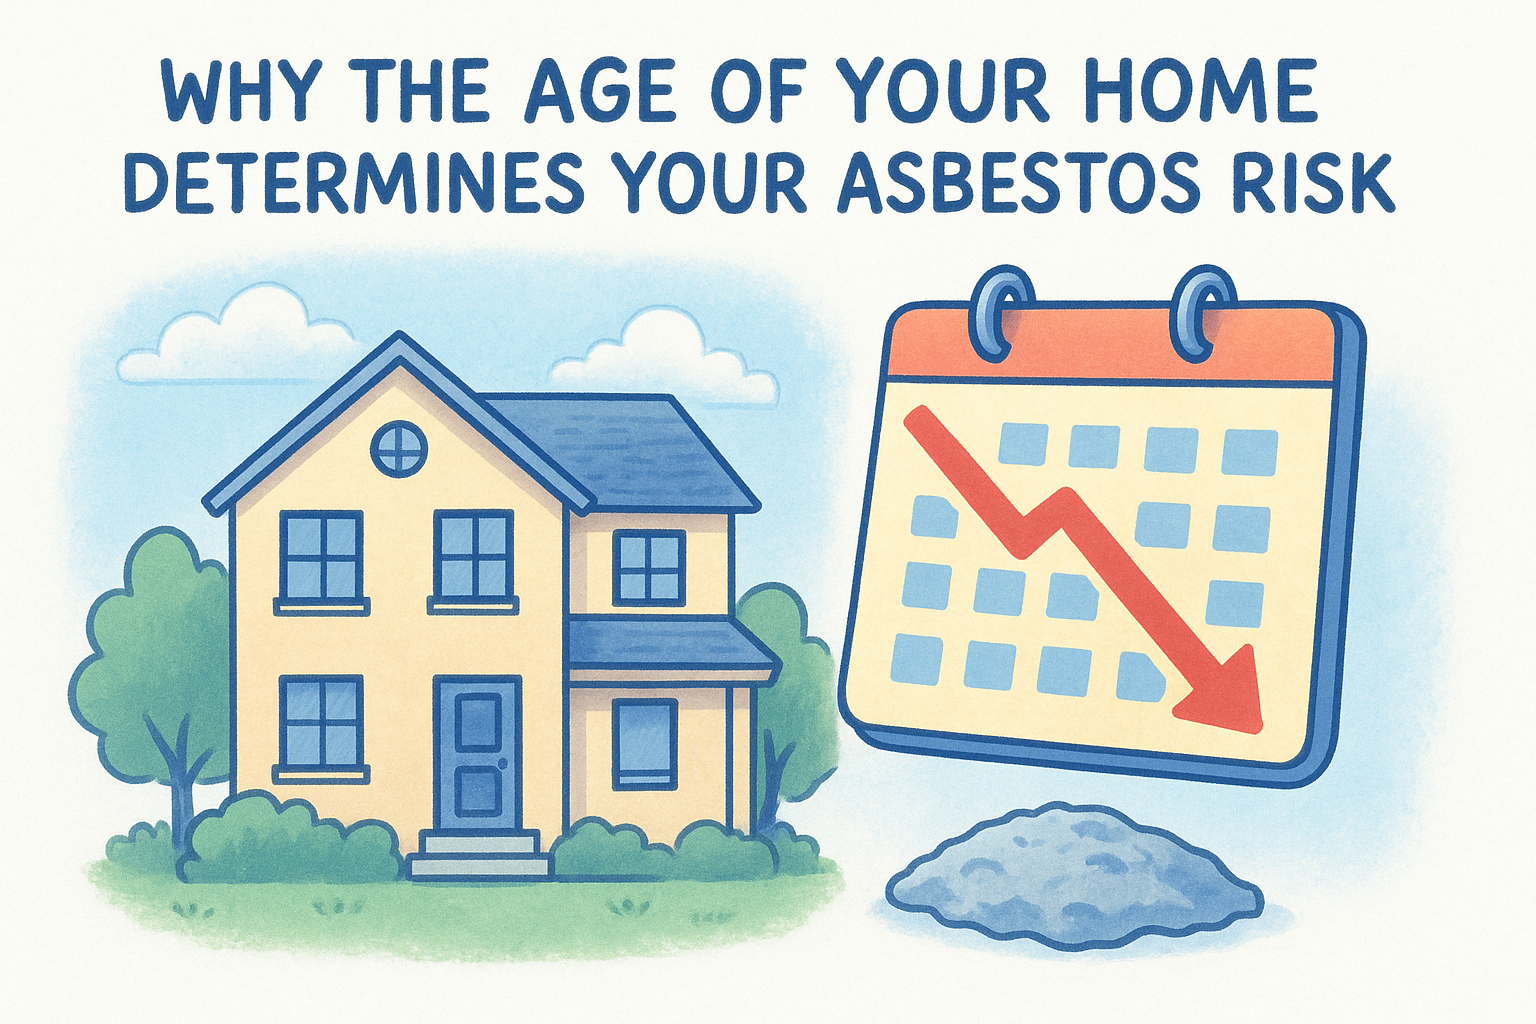
Why the age of your home determines your asbestos risk

Construction date matters more than any other factor because asbestos use in popcorn ceiling texture tracked federal regulation almost exactly. Manufacturers loved asbestos fibers because they made the spray-on texture cheap, fire-resistant, and easy to apply in bulk. Once the government started restricting it, the material started disappearing from job sites, but the transition wasn't instant, and plenty of contractors kept using up existing stock for years after the rules changed.

The regulatory timeline that shapes today's odds

The U.S. Consumer Product Safety Commission banned asbestos in most spray-applied ceiling texture products in 1977, with the rule taking full effect in 1978. That single regulatory action created the sharp risk cliff you'll see in almost every asbestos guide. Homes built before that point have a real chance of containing it. Homes built after have a much lower chance, though contractor stockpiles and non-compliant products kept small amounts circulating into the early 1980s.

Construction Decade Estimated Asbestos Likelihood
Before 1970 70-80%
1970-1977 50-70%
1978-1980 10-20%
1981-1990 Under 10%
After 1990 Rare, under 1%

If your home was built before 1980, treat the ceiling as a possible asbestos source until a lab tells you otherwise.

Why the ban didn't create a clean cutoff

Regulations control manufacturing, not inventory already sitting in a warehouse or a contractor's garage. That's why homes built in 1979 or 1980 still show up with asbestos-positive ceilings in our testing more often than you'd expect from a supposedly banned product. Some regions also saw slower enforcement than others, and rural or smaller-market contractors sometimes kept using older supplies simply because nobody flagged it. We've tested ceilings in Sacramento Valley homes built as late as 1982 that came back positive, so treat the 1978 date as a guideline, not a guarantee.

Renovations and additions complicate the picture

A home's original build date only tells part of the story. Additions, remodels, and repairs performed years after the initial construction can introduce texture from a completely different era. We regularly find a 1990s addition with a clean ceiling attached to a 1965 original structure with heavy asbestos content, or the reverse, where a homeowner patched an old ceiling with modern joint compound decades later. If your house has been added onto, renovated, or had ceiling repairs done at any point, you're really looking at multiple risk periods stacked on top of each other, not one single date.

How to tell if your popcorn ceiling contains asbestos

Guessing by appearance alone won't cut it, no matter how many blogs claim you can spot asbestos by texture or color. Visual inspection tells you nothing definitive because asbestos-laced popcorn looks identical to the asbestos-free version once it's painted and aged. The only way to know for certain is laboratory testing of an actual sample, and that process is simpler and cheaper than most homeowners expect.

Why visual clues mislead homeowners

Some guides suggest that coarser texture, yellowing, or a certain sheen indicates asbestos content. None of that holds up under scrutiny. We've tested clean-looking ceilings that came back positive and rough, discolored ones that came back completely clear. Manufacturers didn't mark their products, and decades of paint layers change the surface anyway.

Appearance tells you nothing about asbestos content. Only a lab test does.

How proper sample collection works

Testing starts with a small sample pulled from an inconspicuous spot, ideally by someone trained to avoid disturbing fibers unnecessarily. Here's the general process:

  • Lightly mist the ceiling area with water to keep dust from becoming airborne
  • Cut or scrape a small sample (about a quarter-sized piece) into a sealed bag
  • Label the sample with the room, date, and home construction year
  • Send it to an accredited testing laboratory for polarized light microscopy analysis
  • Wait for results, typically within a few business days

The Environmental Protection Agency outlines proper handling and testing procedures for suspected asbestos-containing materials, and following that guidance protects you from unnecessary fiber exposure during collection.

DIY testing versus professional sampling

Home testing kits exist, and they can work if you follow instructions carefully, but many homeowners either disturb the ceiling more than necessary or collect an insufficient sample size for accurate lab results. We generally recommend having a contractor or certified inspector pull the sample, especially in older Sacramento Valley homes where popcorn ceilings often sit above insulation or plumbing that shouldn't be disturbed casually.

What to do once you know your test results

Getting your lab report back is only step one. What you do next depends entirely on whether the sample came back positive or negative, and both outcomes come with their own next steps that homeowners often get wrong. Negative results mean you're free to sand, texture, or remove the ceiling using standard drywall methods, no special precautions required. Positive results mean you're now dealing with a regulated hazardous material, and that changes everything about how the project moves forward.

If your results come back negative

Good news travels fast here. You can proceed with standard renovation work, whether that's a full texture removal, a smooth-ceiling conversion, or a simple patch job. Keep the lab report on file anyway, since future buyers or contractors may ask for documentation before starting their own work.

If your results come back positive

Stop touching the ceiling until you've made a plan. Disturbing asbestos-containing material releases fibers into the air, and that's the entire danger. Your realistic options are:

  • Hire a licensed asbestos abatement contractor to remove the material safely
  • Encapsulate the ceiling by sealing it with a specialized coating instead of removing it
  • Leave it undisturbed if you're not renovating and the ceiling is in good condition

A positive test doesn't mean immediate danger, but it does mean the material needs professional handling the moment you plan to touch it.

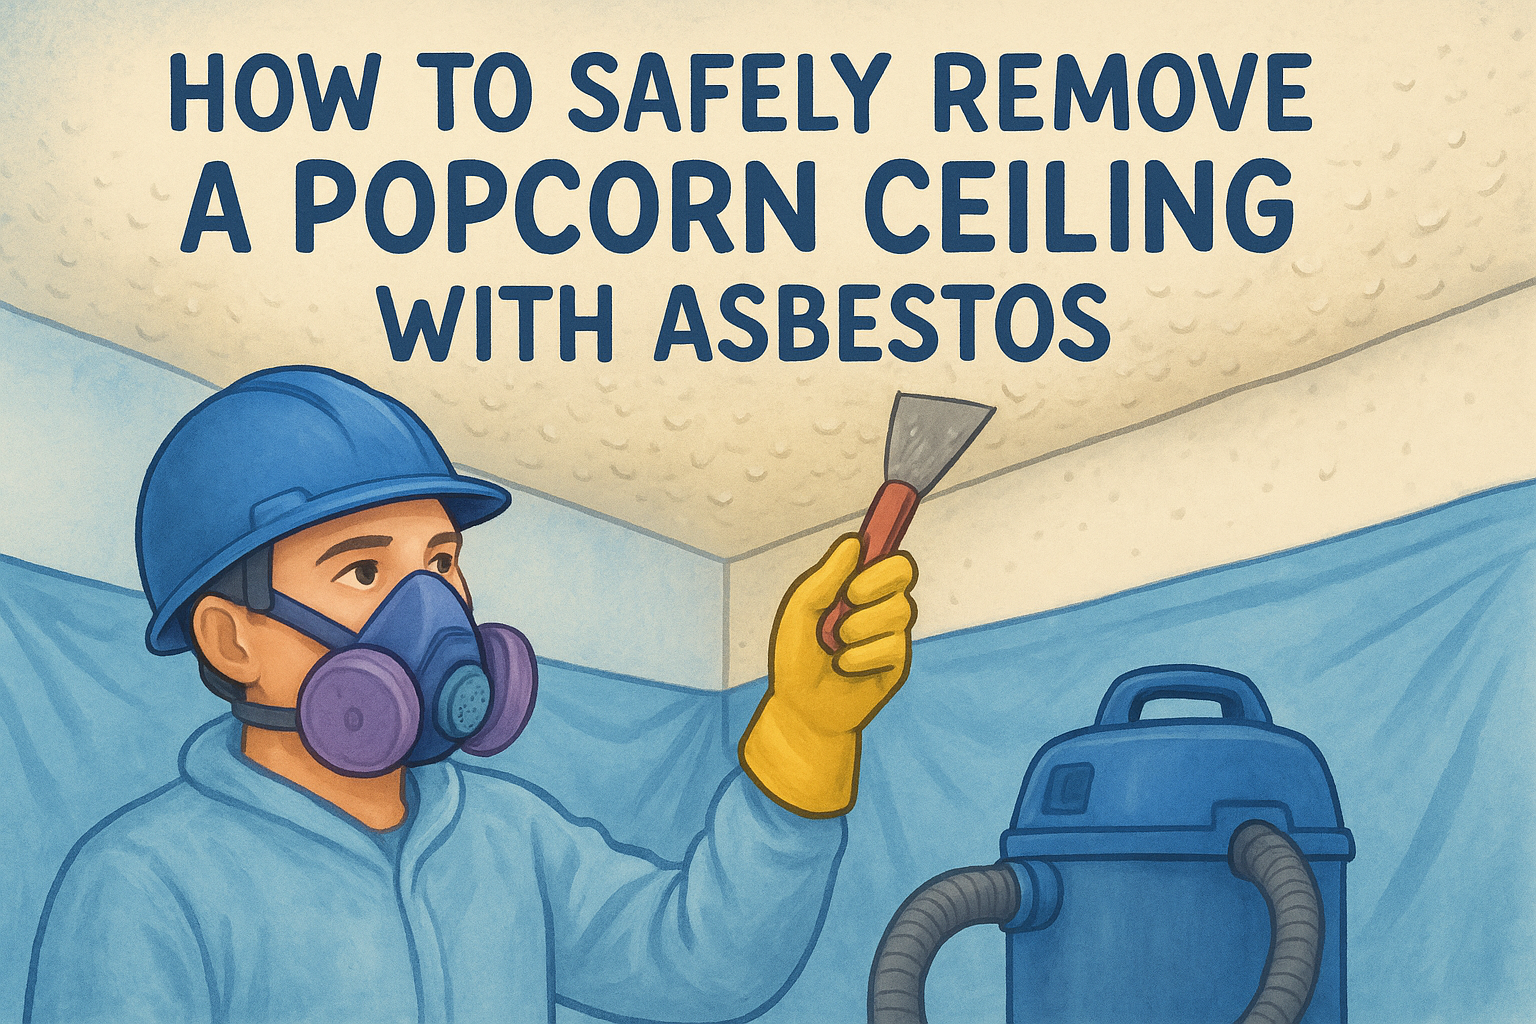
Why DIY removal is a mistake here

Removing asbestos-containing texture yourself isn't just risky, it's often illegal without proper certification depending on your county's regulations. The Occupational Safety and Health Administration sets strict handling requirements for a reason: airborne fibers cause lasting lung damage, and there's no safe exposure threshold. We've been called in more than once to fix a botched DIY removal that turned a single-room job into a whole-house contamination cleanup, which always costs more than doing it right the first time.

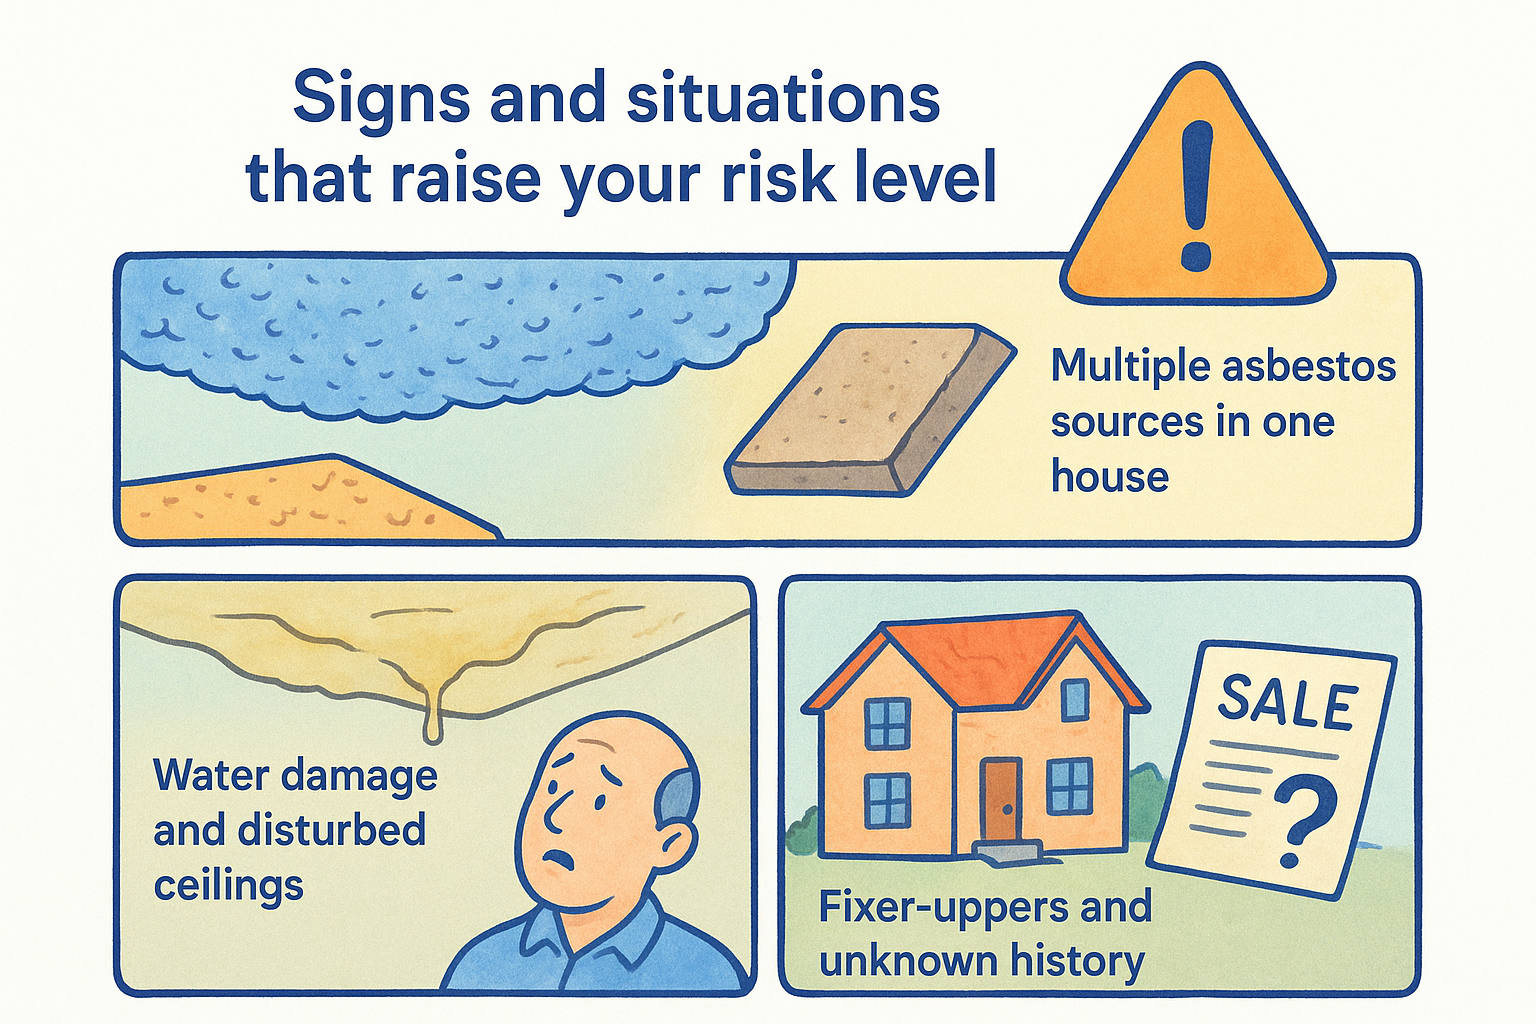
Signs and situations that raise your risk level

Some homes carry extra risk beyond what the construction date alone suggests. Unpermitted renovations are the biggest red flag we see in the field, since a homeowner who patched or re-textured a ceiling in the 1980s without pulling a permit leaves no paper trail showing what material actually went up. Older neighborhoods around Sacramento, Roseville, and Davis often have entire tracts built by the same developer during the same window, so if one house on the block tested positive, your neighbor's home built the same year probably shares that risk.

Multiple asbestos sources in one house

Popcorn ceilings rarely exist in isolation in pre-1980 homes. If your house also has original vermiculite attic insulation, vinyl floor tile from the same era, or unpainted transite siding, the odds of asbestos in the ceiling climb along with it. Manufacturers used the material across dozens of building products during those decades, so finding one confirms the era, not just the ceiling.

One confirmed asbestos material in your home is a strong signal to test everything else from the same construction period.

Water damage and disturbed ceilings

A ceiling that's been soaked, sagging, or patched after a roof leak needs testing before any repair work starts, since water damage already loosens the material and repair work disturbs it further. The same goes for any ceiling you're planning to drill into for a light fixture, ceiling fan, or smoke detector.

Fixer-uppers and unknown history

Homes purchased without full disclosure of past renovations carry hidden risk. Common warning situations include:

  • Foreclosure or estate sale purchases with no renovation records
  • Additions built by unlicensed contractors
  • Ceilings that look freshly re-textured over an obviously older structure

Any of these should push you toward testing before you plan real construction work.

Making sense of your ceiling's risk

So, how common is asbestos in popcorn ceilings? Common enough before 1980 that skipping a test is a real gamble, and rare enough after 1990 that most newer homes are in the clear. Your construction date narrows the odds, but only a lab result settles the question. Everything else, from texture to color to what your neighbor's contractor told them, is guesswork dressed up as fact.

If your popcorn ceiling falls anywhere in that pre-1980 window, or you've got renovation history that muddies the timeline, don't start scraping or sanding based on a hunch. We've spent 30 years pulling these ceilings down safely across the Sacramento Valley, and we'd rather test it right than clean up a mistake later. Reach out to our team for Sacramento asbestos abatement and get a straight answer before you touch anything overhead.

Recent Posts

By cinchweb August 1, 2026
Learn what causes cracks in walls, from Sacramento Valley soil shifts to foundation issues, plus how to spot cosmetic vs. structural damage.
By cinchweb July 31, 2026
Learn how to install drywall in a bathroom: pick moisture-resistant panels, hang and tape correctly, then finish with mold-resistant paint.
Illustration of taping drywall seams with joint compound, tape, and knives for a smooth wall.
By cinchweb July 29, 2026
Learn how to tape drywall seams step-by-step, from mudding tools to feathering coats, plus when to call Sacramento Valley pros instead.
Illustration of a masked worker testing a popcorn ceiling for asbestos with a spray bottle and sample bags
By cinchweb July 28, 2026
Learn how to test popcorn ceiling for asbestos safely with a step-by-step DIY sampling guide, plus when to call Sacramento Valley abatement pros.
Crack wall repair illustration with hand applying compound to a wall crack, tools and supplies nearby.
By cinchweb July 27, 2026
Learn a lasting crack wall repair method: tools, V-groove prep, mesh tape, setting compound, and when to call a Sacramento Valley pro.
Illustration of a hand applying joint compound to a drywall crack with tape and a sanding block, titled “How to Use Joint Compound to Repair Drywall”
By cinchweb July 26, 2026
Learn how to use joint compound to repair drywall with step-by-step prep, taping, sanding, and priming tips for a seamless, professional finish.
Illustration of a person repairing ceiling drywall with tools and a bucket, titled “Ceiling Drywall Repair: A Step-by-Step Guide”
By cinchweb July 25, 2026
Learn step-by-step ceiling drywall repair: prep, patch, tape, texture & paint—plus when to call Super Shooters for Sacramento Valley jobs.
Man patching drywall beside text: “How to Find Cheap Drywall Repair Near Me Without Overpaying”
By cinchweb July 25, 2026
Find cheap drywall repair near me without overpaying: get real Sacramento Valley price ranges, quote tips, and vetting steps from Super Shooters.
Tutorial graphic showing hands feathering drywall mud with a putty knife for a seamless finish
By cinchweb July 24, 2026
Learn how to feather drywall mud step by step—thin, widening coats, sanding tips, and raking-light checks for a seamless, ridge-free repair.
Show More