May 25, 2026
How To Patch A Large Drywall Hole: California Patch & Cleat
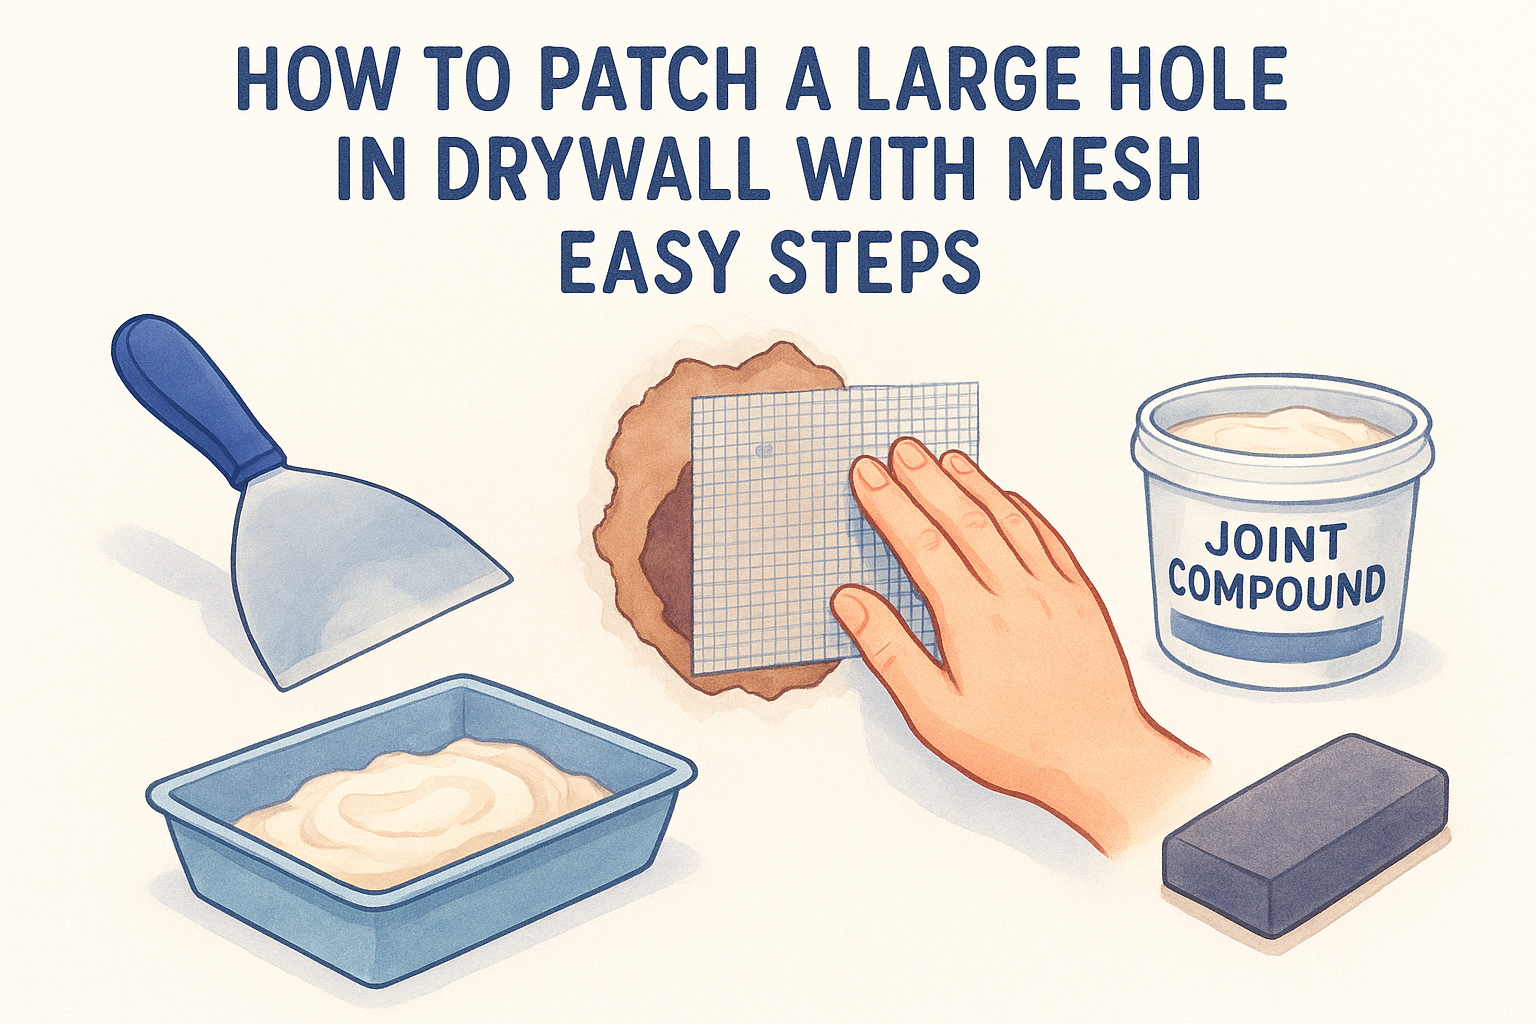
A doorknob that swings too hard, a piece of furniture that clips the corner, or a plumbing repair that left behind a gaping mess, large drywall holes happen fast and they're impossible to ignore. The good news is that learning how to patch a large drywall hole doesn't require years of experience or expensive tools. With the right technique, you can make that damage disappear.
Two methods stand out for this kind of repair: the California patch (sometimes called a "hot patch") and the cleat-backed patch using scrap drywall and wood supports. Both produce solid, paintable results, and we'll walk you through each one step by step so you can pick the approach that fits your situation.
At Super Shooters, we've completed over 10,000 drywall projects across the Sacramento Valley in our 30+ years of business. Our crews handle patches, full installations, and everything in between. We wrote this guide to give you an honest, practical breakdown of the process, and if you'd rather leave it to a professional , we're always a phone call away with free estimates and no upfront costs.
Decide if you need a California patch or a cleat
Before you buy materials or cut anything, you need to pick the right method for your specific hole. Choosing the wrong technique wastes time and materials, and it can leave you with a patch that cracks or sags later. The size and shape of the hole are your two main decision factors, and getting this right up front makes the rest of the repair go smoothly.
Picking the right method depends almost entirely on hole size, not your skill level.
The California patch
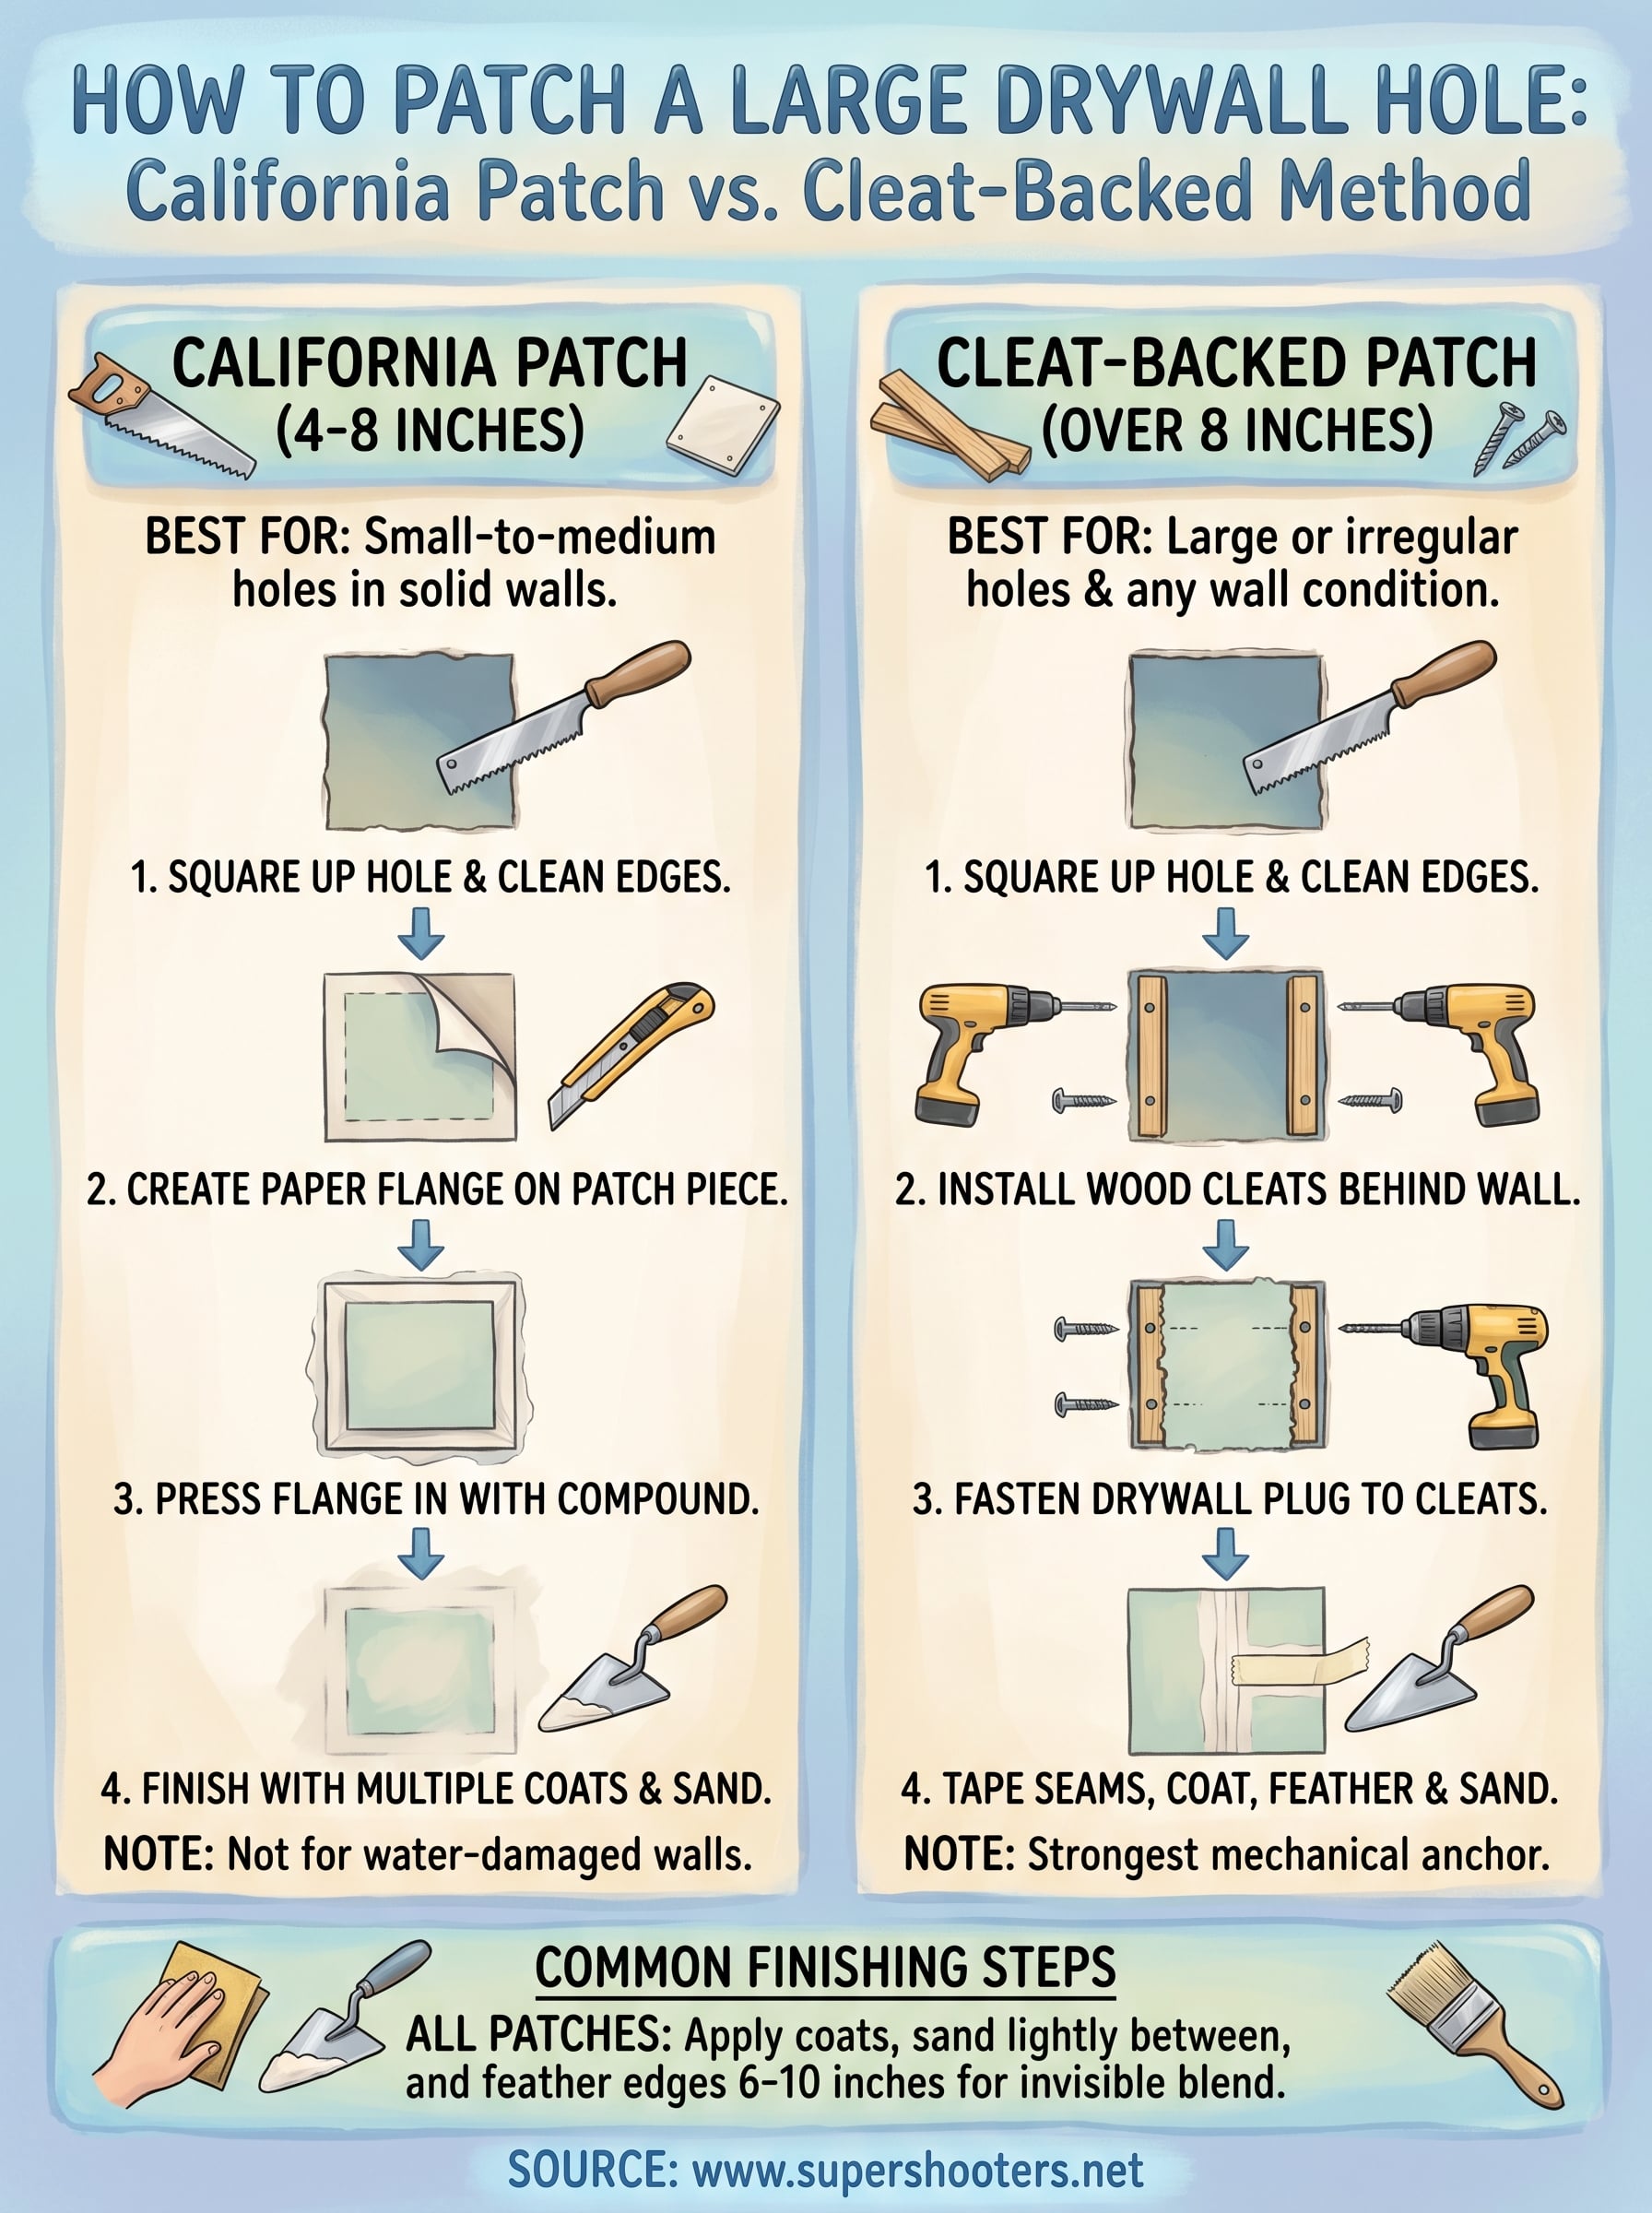
The California patch works best for holes that fall in the 4-inch to 8-inch range . The technique uses the drywall's own paper facing as a built-in backer, so you don't need to install any extra wood or metal support. You score and snap a slightly larger square of scrap drywall, peel away the gypsum core on the edges so only the paper face remains on the perimeter, and press that paper flange flat against the wall surface. Joint compound bonds the paper flange to the existing wall, locking the patch in place without fasteners.
When you're figuring out how to patch a large drywall hole with this method, the condition of the surrounding drywall matters just as much as the hole size. If the material around the damage is soft, crumbling, or water-damaged, the paper flange won't have a solid surface to grip , and your patch will crack or pull loose under the first coat of compound. Skip this method if the surrounding drywall feels spongy or shows any signs of moisture damage .
The cleat-backed patch
For holes larger than 8 inches, or any damage with an irregular shape, the cleat-backed method gives you a stronger mechanical anchor . You cut the hole into a clean rectangle, screw strips of wood behind the existing drywall on each side of the opening, then fasten a new piece of drywall directly into those wood strips. The result holds like original construction , with no flex or movement under compound and paint.
Compared to the California patch, this approach takes more steps because you're fitting and fastening two separate components. That said, it scales to almost any hole size short of replacing a full drywall panel. Use the table below to make the decision quickly before you start cutting.
| Hole size | Recommended method |
|---|---|
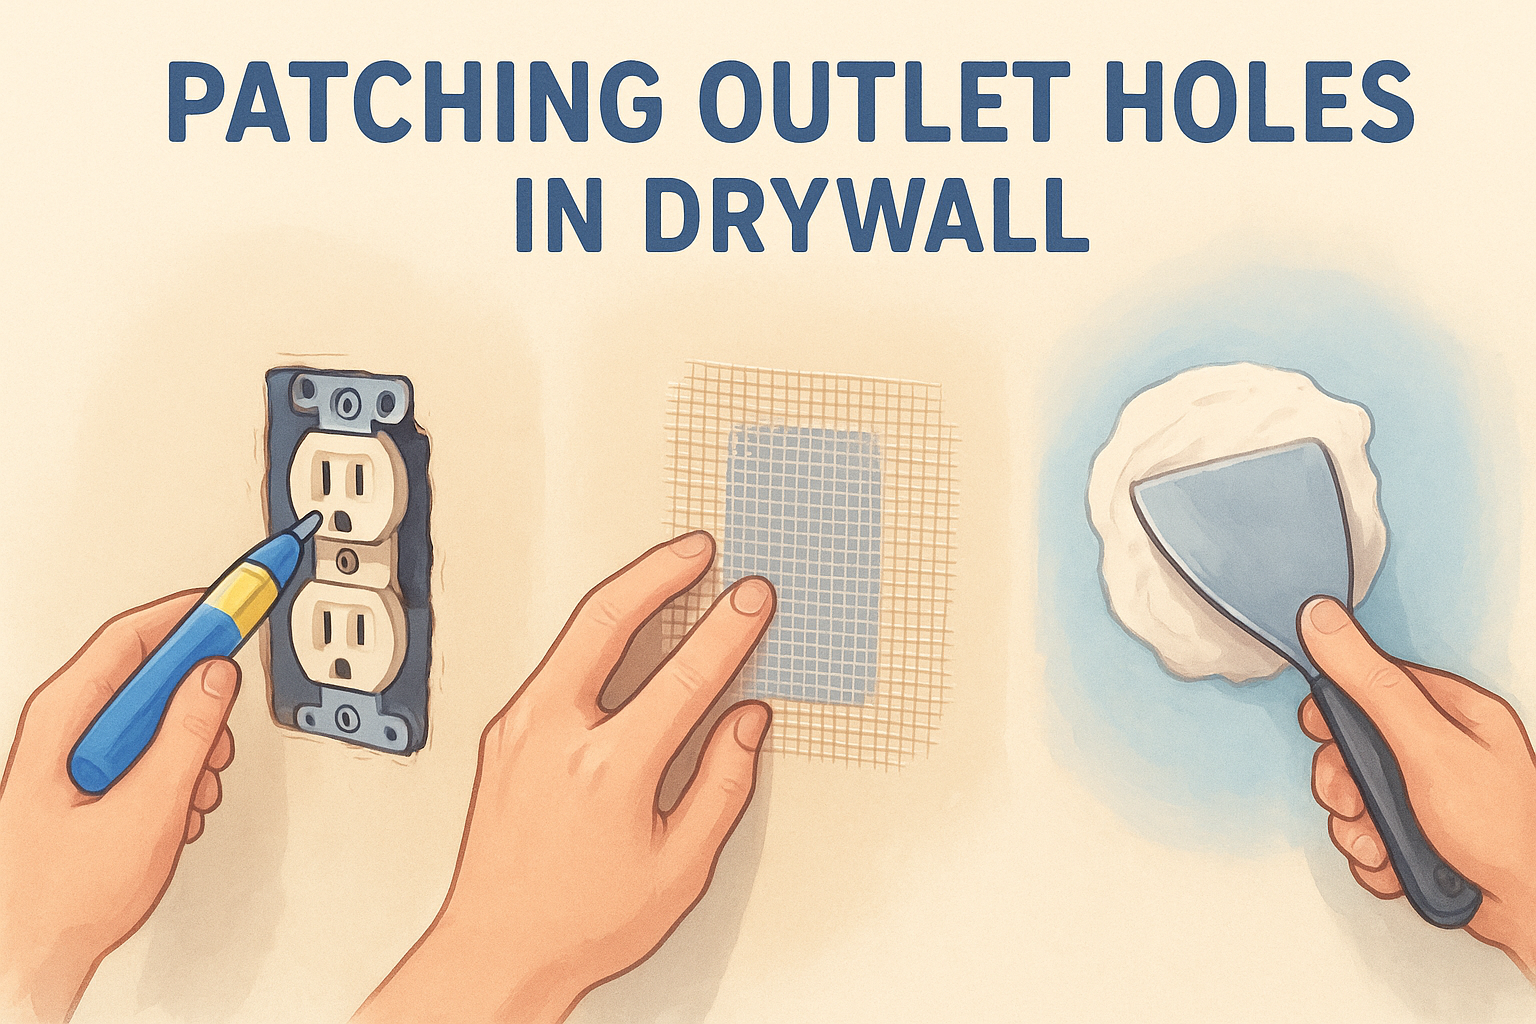
| Under 4 inches | Self-adhesive mesh patch + compound |
| 4 to 8 inches | California patch |
| Over 8 inches | Cleat-backed patch |
| Irregular shape (any size) | Cleat-backed patch |
| Water-damaged surrounding drywall | Cleat-backed patch |
Still unsure after measuring your hole? Default to the cleat method. A cleat-backed patch always gives you reliable fastening points regardless of the surrounding wall condition, making it the lower-risk choice when you're not certain which way to go.
Step 1. Prep safely and gather the right tools
Before you pick up a saw or score a single line, spending five minutes on preparation pays off. Rushed prep leads to problems mid-repair, like cutting into a live wire or spreading drywall dust across furniture you forgot to cover. Getting your workspace and materials organized first means the actual repair moves faster and you avoid setbacks that cost real time.
Check for hazards before you cut
Drywall repairs sound low-risk, but two hazards deserve your attention before you start. Electrical wires and plumbing lines sometimes run through the wall cavity in the exact area you're about to cut into. Use a stud finder with an AC wire detection mode to scan the surrounding area, and knock on the wall to get a sense of what's behind it before you commit to any cut.
If your home was built before 1980, the existing joint compound or texture coating may contain asbestos. Don't cut or sand until you've tested or confirmed the materials are safe.
Asbestos-containing joint compound was common in homes built before the early 1980s. If your home falls in that era and you have no test result on file, stop and call a licensed professional before cutting anything.
What you'll need
Knowing how to patch a large drywall hole comes down to having the right tools ready before you start cutting. Running to the hardware store mid-repair breaks your focus and extends the job. Gather everything on this list before you begin:
- Drywall saw or jab saw for squaring up the hole
- Utility knife for scoring and trimming
- Screw gun or drill with a Phillips bit
- 6-inch and 10-inch drywall knives for applying compound
- 120-grit sandpaper or sanding sponge for smoothing
- Pre-mixed joint compound (easiest for patch repairs)
- Scrap drywall matching your wall's thickness (usually 1/2 inch)
- 1x3 or 1x4 wood strips if you're going with the cleat method
- 1-5/8 inch drywall screws for fastening
- Drop cloth to protect floors and furniture
Step 2. Square up the damage and clean the opening
Ragged holes with torn paper edges and loose gypsum create problems for every step that follows. Irregular edges hold joint compound poorly , and any loose material left behind will weaken the bond between your patch and the existing wall. Taking a few extra minutes to cut a clean, square opening now saves you from redoing coats of compound later.
Cut a clean rectangle
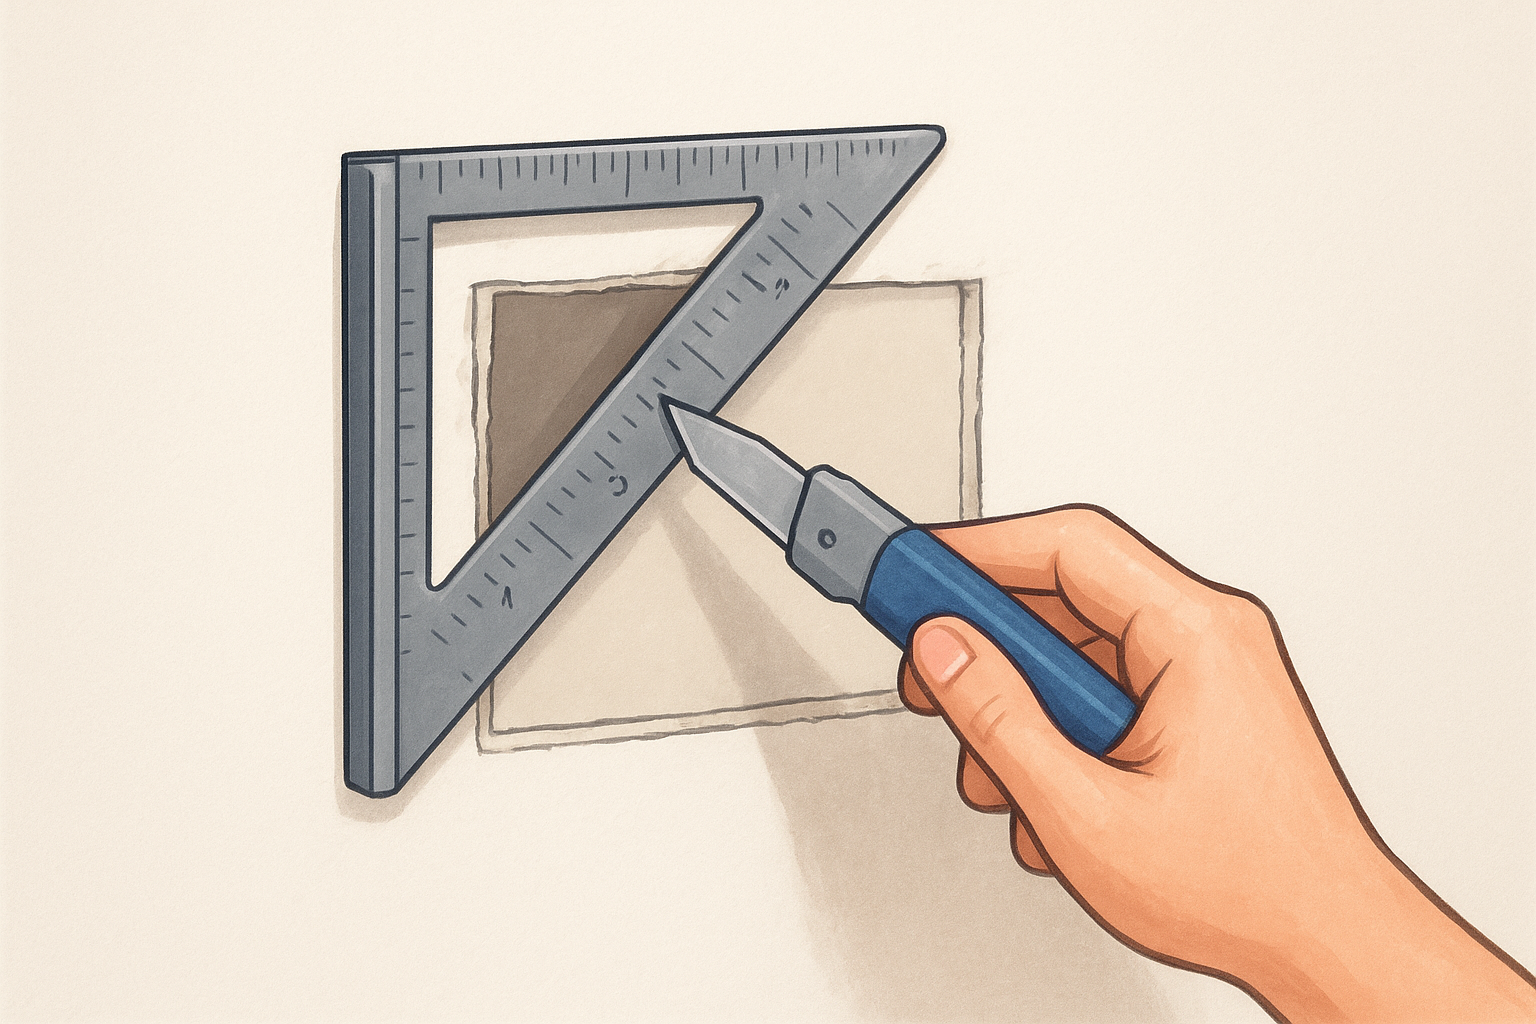
Use a pencil and a speed square to mark a rectangle around the damaged area, leaving at least half an inch of solid, undamaged drywall on every side. Work through the cut slowly with your jab saw, keeping the blade perpendicular to the wall surface so your edges don't angle inward. Angled cuts create gaps between your patch and any backer, which telegraphs through paint as a visible ridge.
A beveled cut edge will gap against your backer and show up as a ridge under paint no matter how many coats you apply.
When you are learning how to patch a large drywall hole with the cleat method, the rectangle shape is non-negotiable because your wood strips need flat, parallel edges to fasten against. For the California patch, the same rule applies since the paper flange needs a consistent, flat surface to adhere to.
Remove loose material and vacuum the cavity
Once you have your rectangle cut, run your utility knife along each edge to trim any torn paper or hanging gypsum. Press lightly on the surrounding wall with your palm to check for soft spots. Any area that flexes or crumbles under light pressure needs to be cut back further until you hit solid material.
Vacuum out the wall cavity before moving on. Dust and debris left inside will settle onto your cleats or paper flange and reduce adhesion. A shop vac with a narrow attachment clears the opening in under a minute and eliminates one easy-to-miss variable before you install the patch.
Step 3. Make and install a California patch
The California patch is the most efficient way to handle how to patch a large drywall hole in the 4-to-8-inch range. It uses the drywall's own paper face as a built-in backer, so you skip the wood strips and extra fasteners entirely. All you need is a clean piece of scrap drywall that matches your wall thickness and the joint compound you already have on hand.
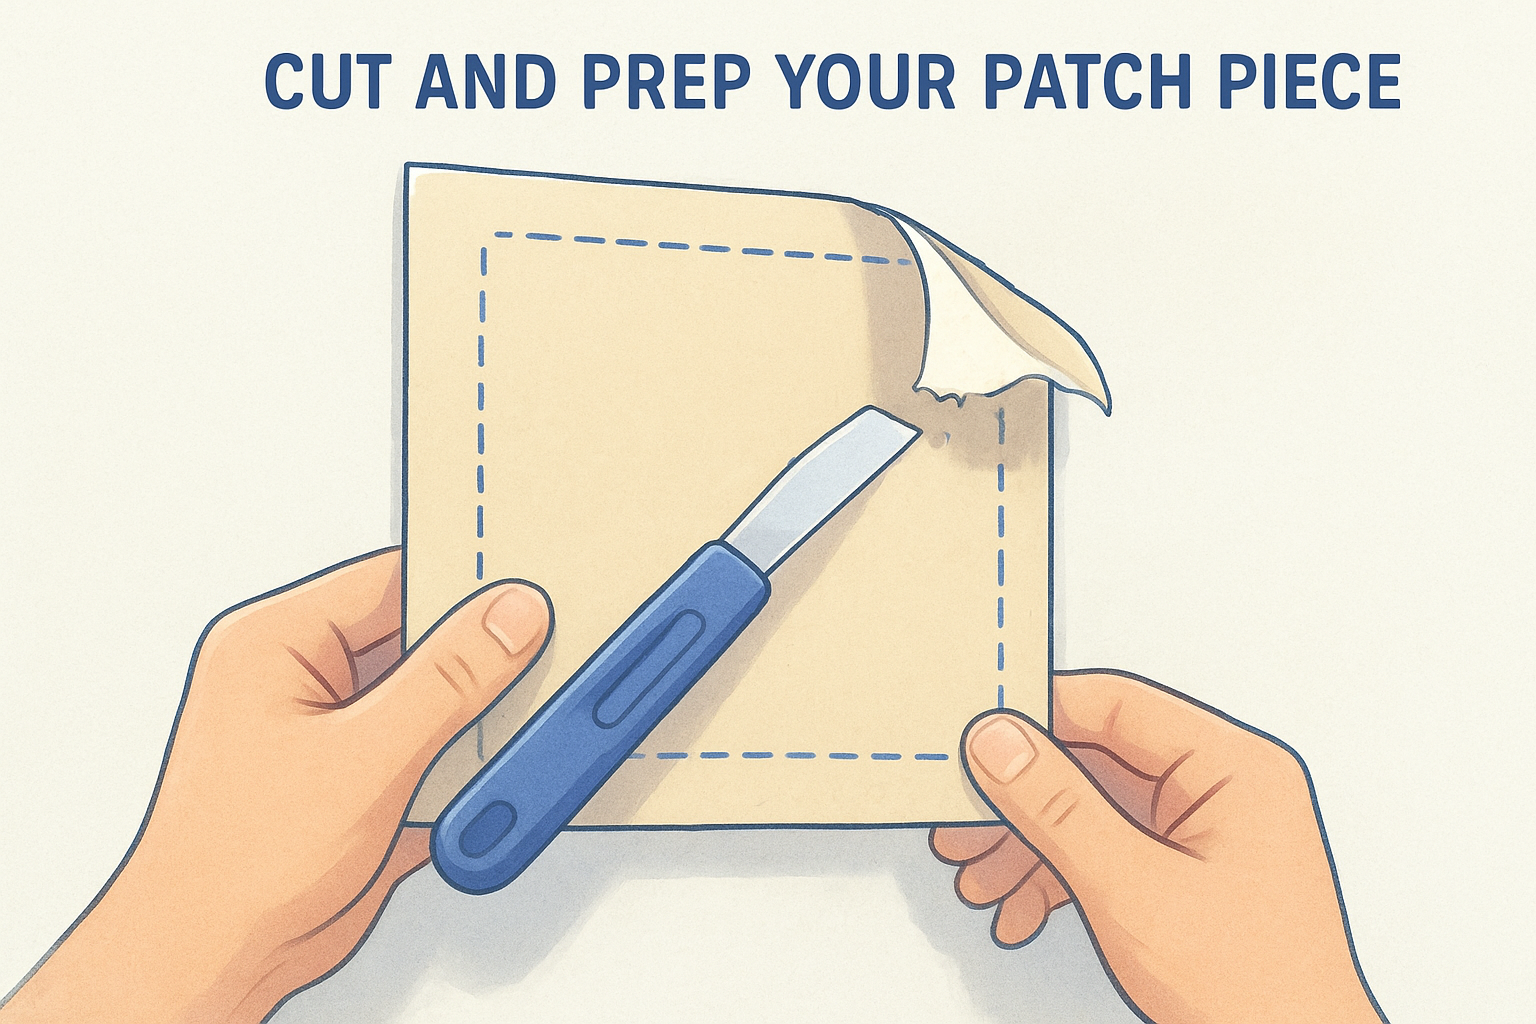
Cut and prep your patch piece
Cut a square of scrap drywall that sits about 1 inch larger on every side than your cleaned opening. The border you're creating becomes the paper flange that bonds to the wall surface, so keeping it consistent all the way around matters. Follow these steps in order to prep the piece correctly:
- Score the back face only along lines 1 inch in from each edge using your utility knife
- Snap the gypsum core along those scored lines by bending toward the front face
- Peel away the gypsum and back paper from the border, leaving the front paper face intact
- Trim any ragged paper edges with your utility knife so the flange lies completely flat
If the flange tears or thins out unevenly on one side, cut a new patch piece rather than pushing forward with a weak bond point.
Fit and finish the patch
Hold the patch against the opening and confirm the gypsum plug seats cleanly into the hole while the paper flange lies flat against the surrounding wall. If any edge catches, trim lightly with your utility knife until it drops in flush. Once you have a good fit, spread a thin coat of joint compound onto the wall surface where the flange will land, press the patch firmly into place, and smooth the flange down with your 6-inch knife.
Let that first coat dry fully before applying a second coat that feathers outward 6 to 8 inches from the patch edges. Sand lightly with 120-grit sandpaper between each coat to knock down ridges. Two to three coats total gives you a surface that blends cleanly with the wall around it.
Step 4. Install a cleat-backed drywall plug
The cleat-backed method is the most reliable way to handle how to patch a large drywall hole over 8 inches wide. You anchor wood strips directly behind the existing wall on each side of the opening, then screw a fresh piece of drywall into those strips. The mechanical fastening gives you a rigid, stable surface that won't flex or crack under multiple coats of compound, regardless of what the surrounding wall condition looks like.
Cut and install your cleats
Cut two pieces of 1x3 or 1x4 lumber so each piece is at least 4 inches longer than the height of your opening. This extra length lets you grip and position each cleat before driving any screws. Follow these steps to lock them in place:
- Slide the first cleat behind the left edge of the opening so it spans the full height
- Hold the cleat tight against the back of the existing drywall and drive two 1-5/8 inch drywall screws through the wall face into the cleat on each side of the opening edge
- Repeat on the right side with the second cleat
- Check that both cleats sit flush against the back of the drywall with no gap before moving on
If a cleat spins or shifts while you're driving screws, clamp it in place with your free hand until the first screw seats fully.
Fit, fasten, and finish the plug
Cut your scrap drywall plug to match the rectangle of your opening exactly. A snug fit with no visible gaps around the perimeter makes the finishing coats much cleaner. Set the plug into the opening and drive drywall screws every 6 inches along each edge into the cleats behind.
Once the plug is fastened, apply joint compound over all four seams using your 6-inch knife, embed paper tape into the wet compound, and let it dry completely. Feather two additional coats out 8 to 10 inches from the seams, sanding lightly between each coat, until the repair blends flush with the surrounding wall.
Wrap it up
Now you have a clear picture of how to patch a large drywall hole using two proven methods. The California patch handles holes in the 4-to-8-inch range with nothing more than scrap drywall and joint compound. The cleat-backed method takes over for anything larger or irregularly shaped, giving you a mechanically fastened plug that holds solid through every coat of finish.
Both repairs follow the same core principle: clean edges, solid backing, and patient compound coats feathered out wide enough to blend invisibly with the surrounding wall. Rushing any one of those steps is what separates a patch that lasts from one that cracks six months later.
If the damage in your home is bigger than you want to tackle, or if the surrounding drywall has water damage that complicates the repair, our crew is ready to help. Get a free estimate from our Sacramento drywall repair and patching specialists today.