August 3, 2026
How to Patch a Screw Hole in Drywall (Step-by-Step)
Took down a shelf, moved a mirror, or pulled out an old anchor and now you're staring at a stubborn little hole in your wall. Learning how to patch a screw hole in drywall is one of the simplest home repairs you can tackle in an afternoon, and you don't need a contractor to get a smooth, paintable finish.
The short answer: clean out loose debris, fill the hole with spackle or joint compound , let it dry, sand it flush, then prime and paint. That process works whether you're patching anchor holes in drywall from heavy curtain rods or dealing with a cluster of small nail holes from removed artwork. The technique barely changes based on hole size, as long as you're working with something under an inch or so across.
In this guide, we'll walk through the exact tools and materials you need, then break down each step so the repair blends into the surrounding wall instead of standing out under paint. We've spent over 30 years fixing walls and ceilings across Sacramento Valley homes, and we'll also flag when a hole is too big for a quick fix and actually needs a drywall patch or professional repair instead.
What you need before patching a screw hole in drywall
Grabbing the wrong filler or skipping a step is why so many DIY patches end up looking like a bullseye under fresh paint. Before you touch the wall, gather your materials so you're not running to the hardware store mid-project with wet compound drying on your putty knife. Most of what you need for patching screw holes in drywall costs less than fifteen dollars total and probably already lives in your garage.
Basic supplies for small holes
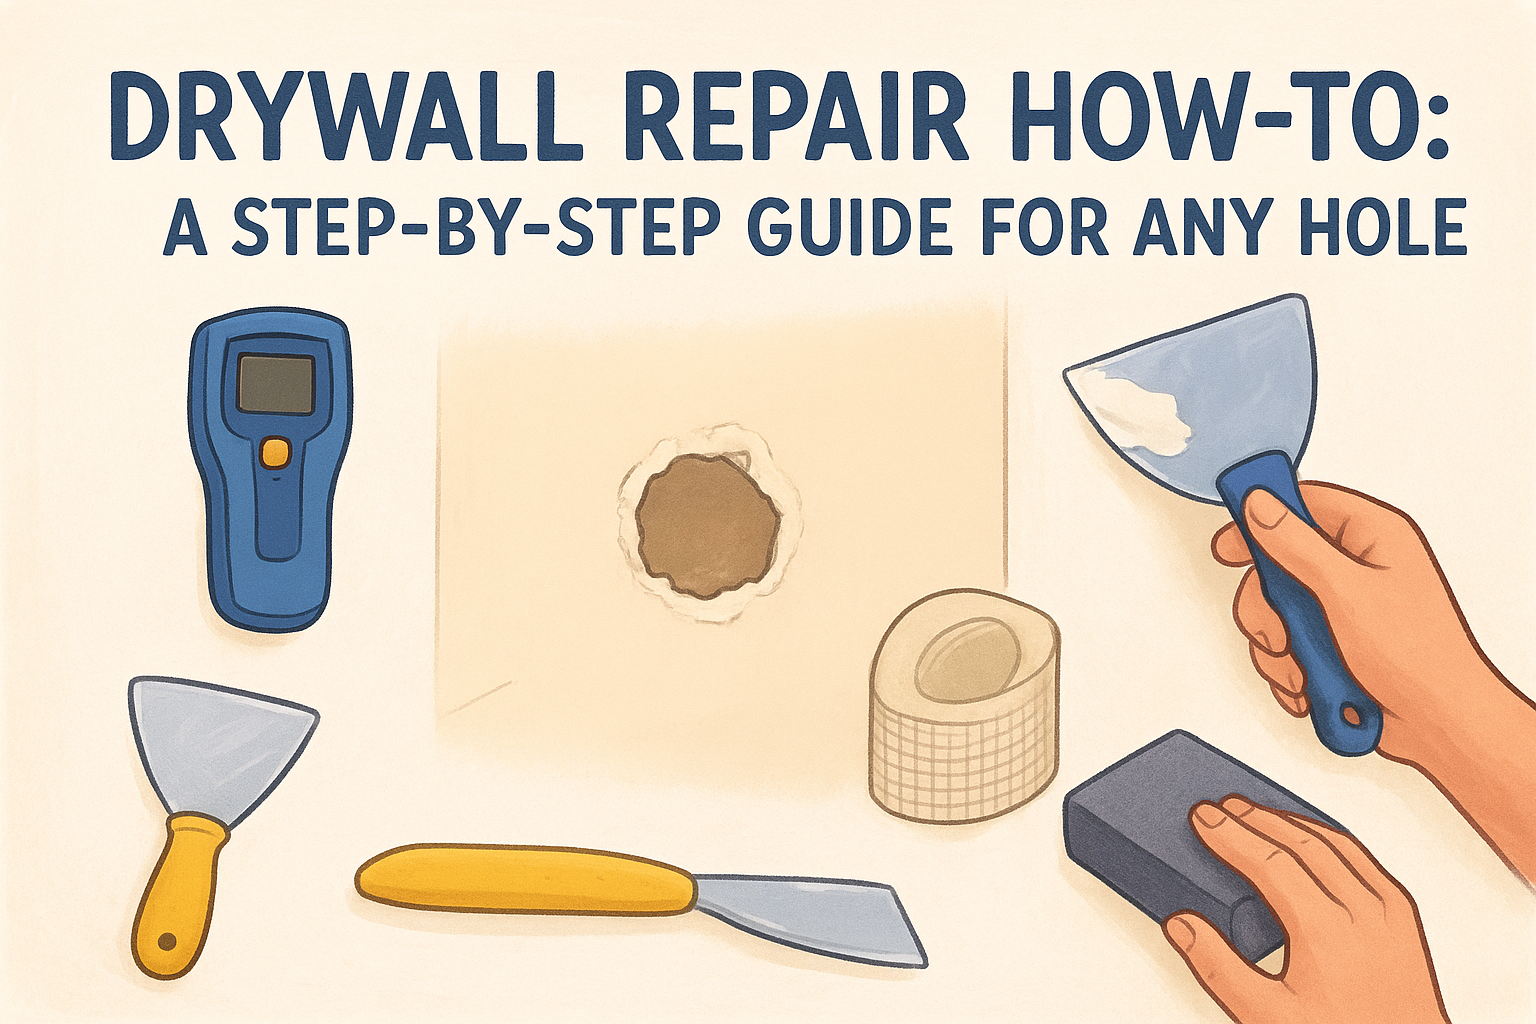
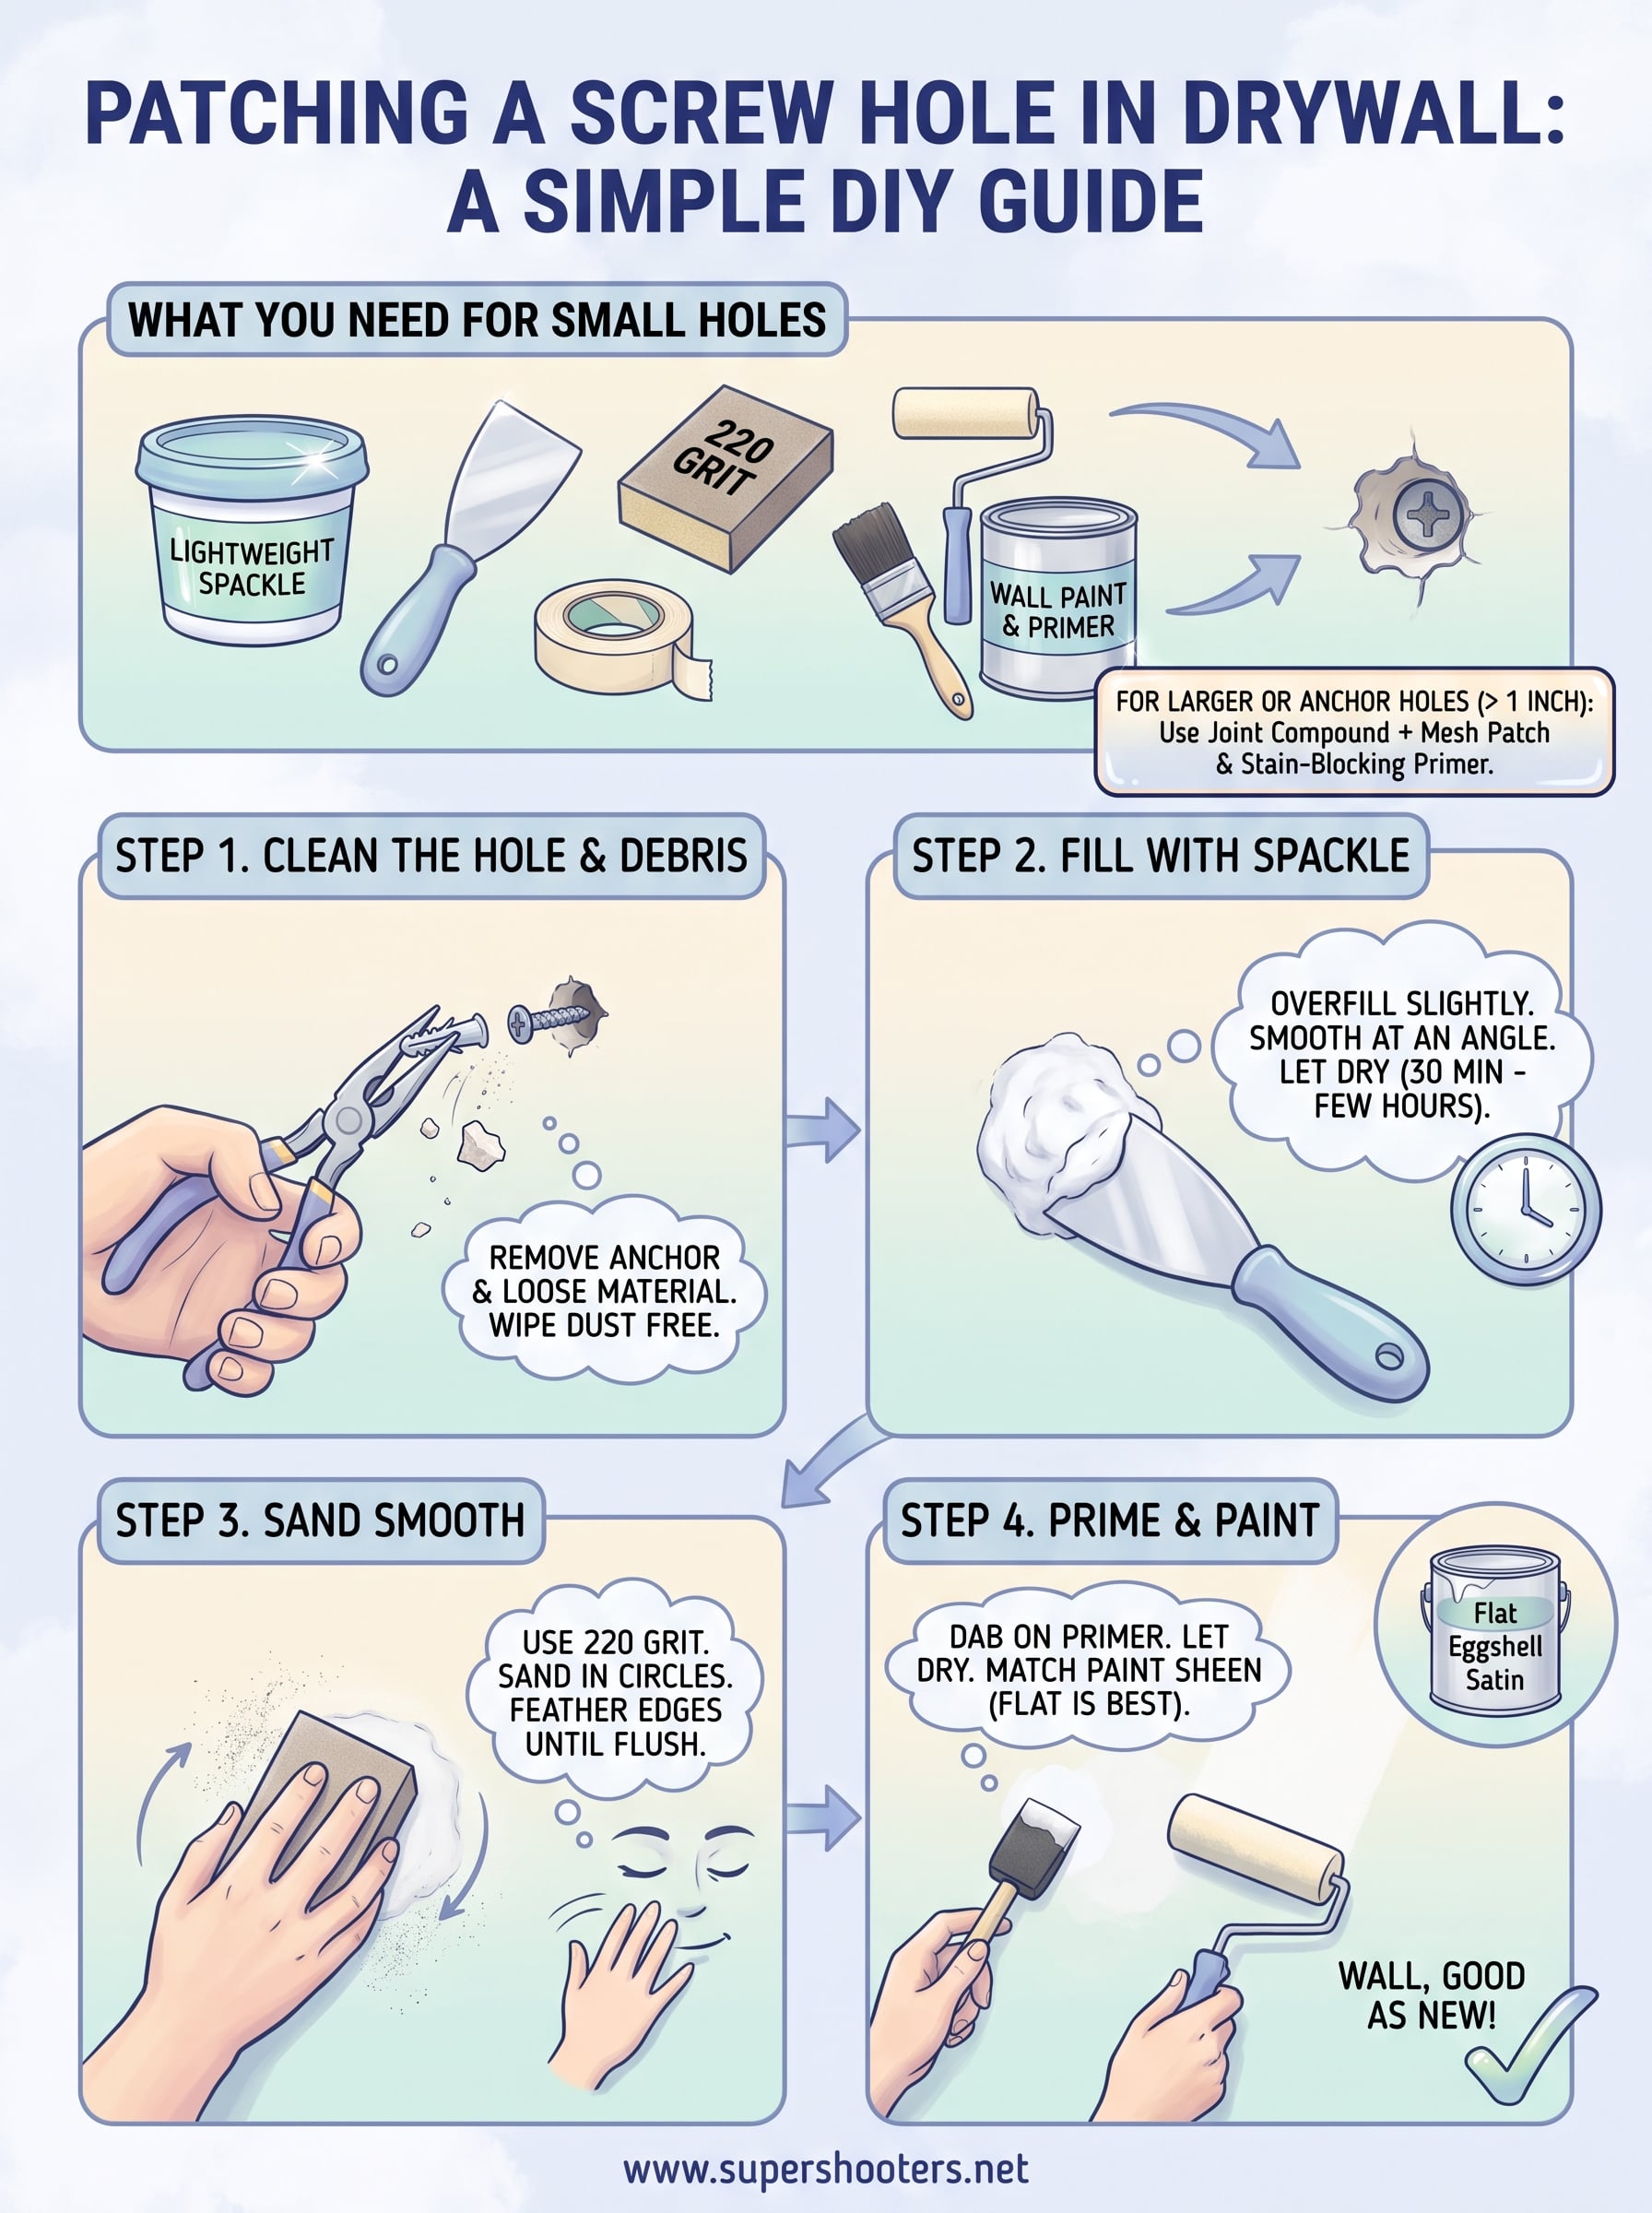
For holes under half an inch, a lightweight spackle handles the job in one pass. Keep this list handy:
- Lightweight spackle or vinyl spackling compound (pre-mixed, not powder)
- Flexible putty knife, 3 to 4 inches wide
- Fine-grit sandpaper (220 grit) or a sanding sponge
- Damp cloth or paper towel
- Painter's tape (optional, for clean edges)
- Matching wall paint and a small foam roller or brush
A clean, dust-free hole and the right filler matter more than fancy tools when you're patching drywall screw holes.
What to add for anchor and larger holes
Anchor holes and stripped screw holes often leave a slightly ragged edge, so lightweight spackle alone may shrink or crack as it cures. For these, add joint compound (mud) to your kit along with a small mesh or paper drywall patch if the hole exceeds an inch. A primer, like a stain-blocking product from a brand such as Kilz or Zinsser, also helps the patch absorb paint evenly instead of flashing through as a dull spot. If you're tackling several holes at once, buy compound in a tub rather than individual packets since you'll use more than you expect.
Households dealing with patching nail holes in drywall from removed picture frames usually already own everything on this list. If your walls are older and you suspect acoustic or textured ceilings nearby contain asbestos, stop and call a licensed professional instead of sanding blind, since disturbing those materials without proper handling creates a real health risk.
Step 1. Remove the screw, anchor, or debris
Before any filler touches the wall, get the hole completely clear. Leaving a broken anchor or crumbled drywall paper behind is the number one reason patches fall out or crack within weeks. Pull the screw or anchor straight out with pliers if it's stubborn, and don't twist it, since twisting only widens the hole and tears more paper away from the gypsum core.
Clear loose material first
Gently press around the edges of the hole with your fingertip to knock loose any crumbling drywall or paper backing. If a plastic anchor is stuck inside, use needle-nose pliers to grip it and pull straight out, or push it through into the wall cavity if it won't budge, since a small piece falling behind the drywall won't affect your patch.
A hole packed with debris will never hold filler, no matter how much spackle you pile on top.
Wipe and inspect
Once the hole is empty, wipe it down with a damp cloth to remove dust, then let it dry for a few minutes. Check the edges for any loose flaps of paper and trim them flush with a utility knife so your patch sits level instead of bulging.
Step 2. Fill the hole with spackle or filler
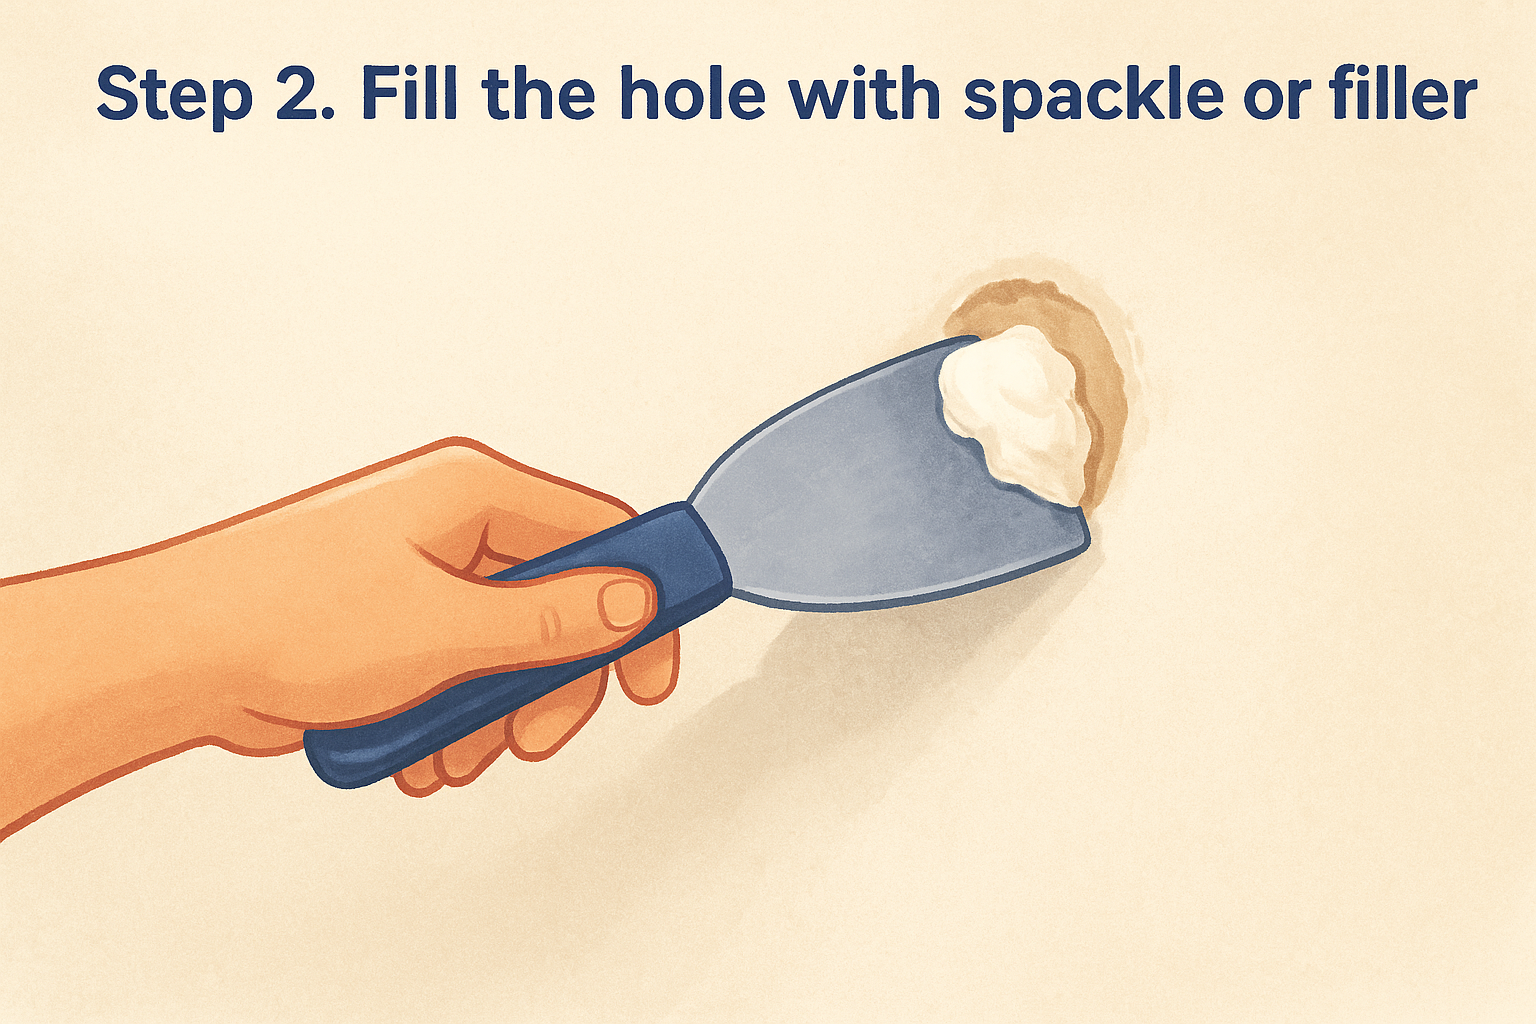
With the hole clean and dry, load a small amount of spackle onto your putty knife and press it into the opening at an angle, forcing the compound into the gap rather than just smearing it across the surface. Overfill the hole slightly since spackle shrinks a bit as it cures, and a mound that's too flush now often dries into a shallow dip later.
Working the compound in
Drag the putty knife across the patch in one smooth motion, holding it at roughly a 45-degree angle to scrape away excess and leave the surface only slightly raised above the wall. For anchor holes wider than half an inch, apply a thin first layer, let it dry completely, then add a second coat since thick single applications crack as they cure.
Thin layers that dry fully beat one thick blob every time when patching drywall screw holes.
Drying time matters
Check the product label, but most lightweight spackle sets within 30 minutes and cures hard within a few hours. Joint compound takes longer, often 24 hours for a full cure, so resist the urge to sand or paint early just because the surface looks dry.
Step 3. Sand the patch smooth
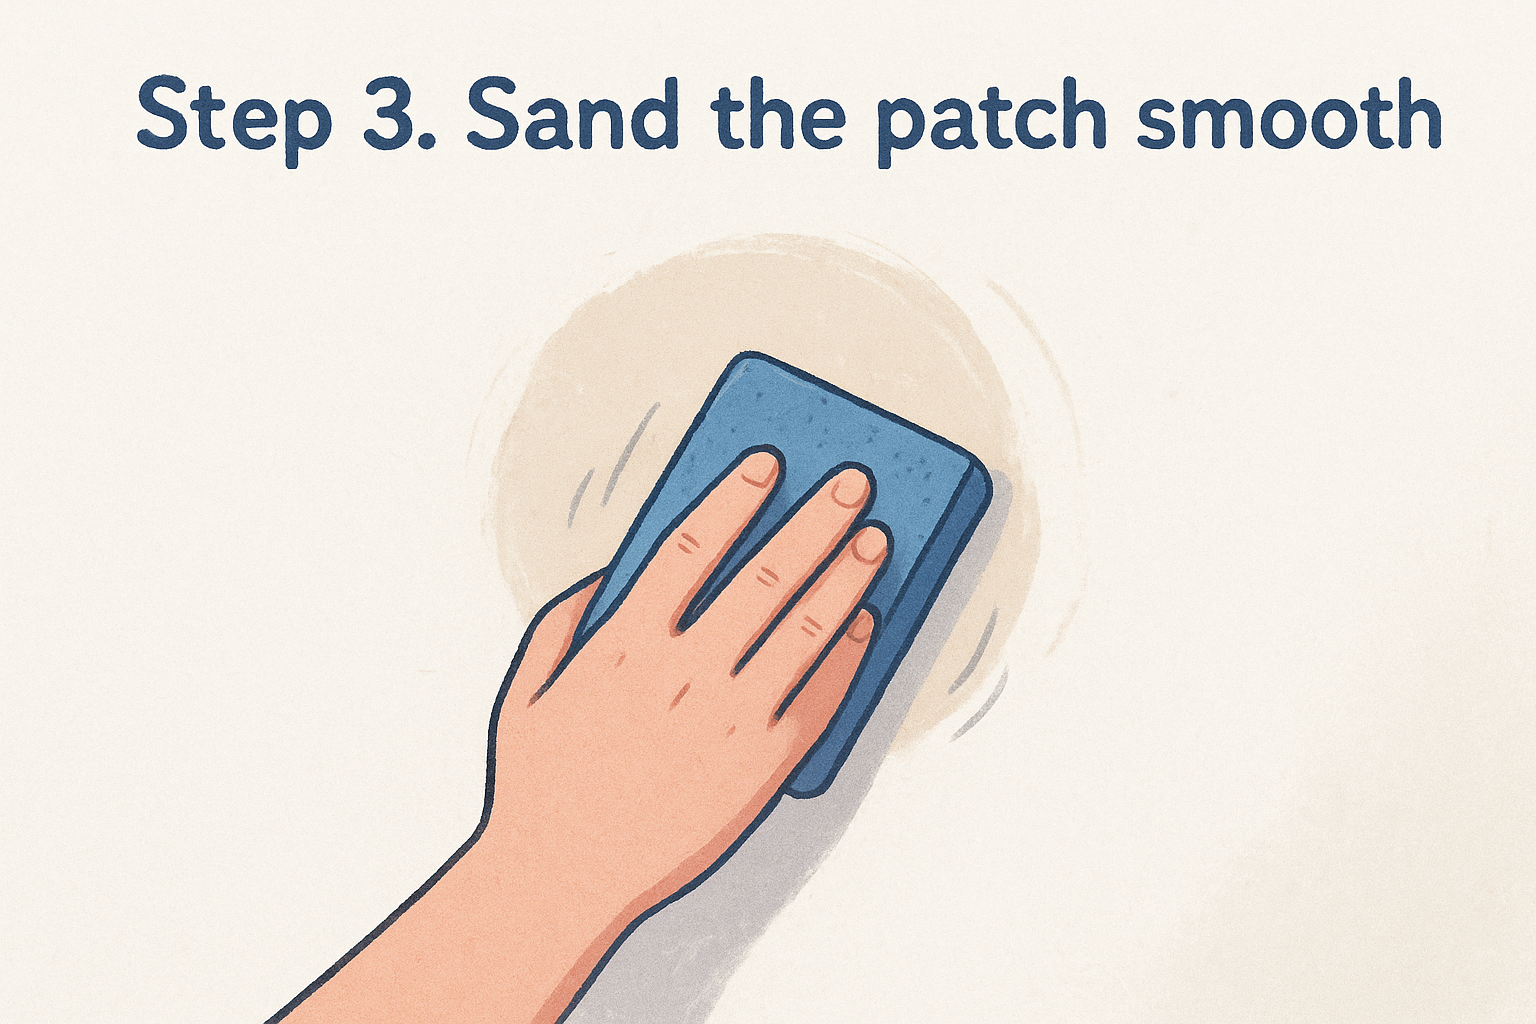
Once the compound has fully cured, grab your 220-grit sandpaper or sanding sponge and knock down the raised patch until it's flush with the surrounding wall. Sand in circular motions rather than back and forth, which helps avoid grooves that telegraph through paint later. Check your progress often by running a flat hand across the surface with your eyes closed, since fingertips catch bumps that eyes miss under regular light.
Feathering the edges
Work outward from the center of the patch, feathering the compound into the wall so there's no visible ridge where old and new surfaces meet. This step matters most when patching drill holes in drywall that left a wider divot, since a hard edge there will cast a shadow under any angled light.
A patch that feels smooth to the touch will almost always look invisible once it's painted.
Wipe away the dust
Sweep the sanded area with a dry brush or slightly damp cloth to remove dust before moving on. Skipping this step leaves grit trapped under your primer, which shows up as texture nobody wants.
Step 4. Prime and paint to match the wall
Even a perfectly sanded patch will show through as a flat, dull spot if you skip primer, because raw spackle absorbs paint differently than the surrounding drywall. Dab on a stain-blocking primer with a small foam brush, covering just the patch and a half-inch of surrounding wall so the transition stays soft. Let it dry fully, usually 30 minutes to an hour, before touching paint.
Matching the sheen, not just the color
Color match matters, but sheen ruins more patches than shade does. Flat paint hides texture differences better than eggshell or satin, so if your wall uses a glossier finish, expect the patch to be slightly more visible under bright light no matter how careful your sanding was.
A perfect color match still fails if the sheen doesn't line up with the rest of the wall.
Applying the final coat
Use a small foam roller instead of a brush for the topcoat, since rollers leave a texture closer to the original wall finish. Apply one thin coat, let it dry, then feather a second coat slightly wider than the first. This final pass is what makes patching a drill hole in drywall disappear completely once it's dry.
Your wall, good as new
Patching a screw hole is one of those repairs that looks intimidating until you've done it once, then it becomes a five-minute fix every time. Clean the hole , fill it with the right compound, sand it flush, and finish with primer and paint that matches the sheen. Follow those steps in order and you'll get a wall that looks untouched, whether you're dealing with one stray nail hole or a whole cluster from a rearranged gallery wall.
Not every hole plays by these rules, though. Cracked plaster, water-stained drywall, or a hole that's grown past a couple inches wide is a different job, and pushing spackle into it just delays a bigger repair. If your patch job has turned into something more than a quick fix, our drywall repair team handles it right the first time, with a warranty backing the work.