June 14, 2026
How To Finish Interior Walls: 10 Budget-Friendly Options
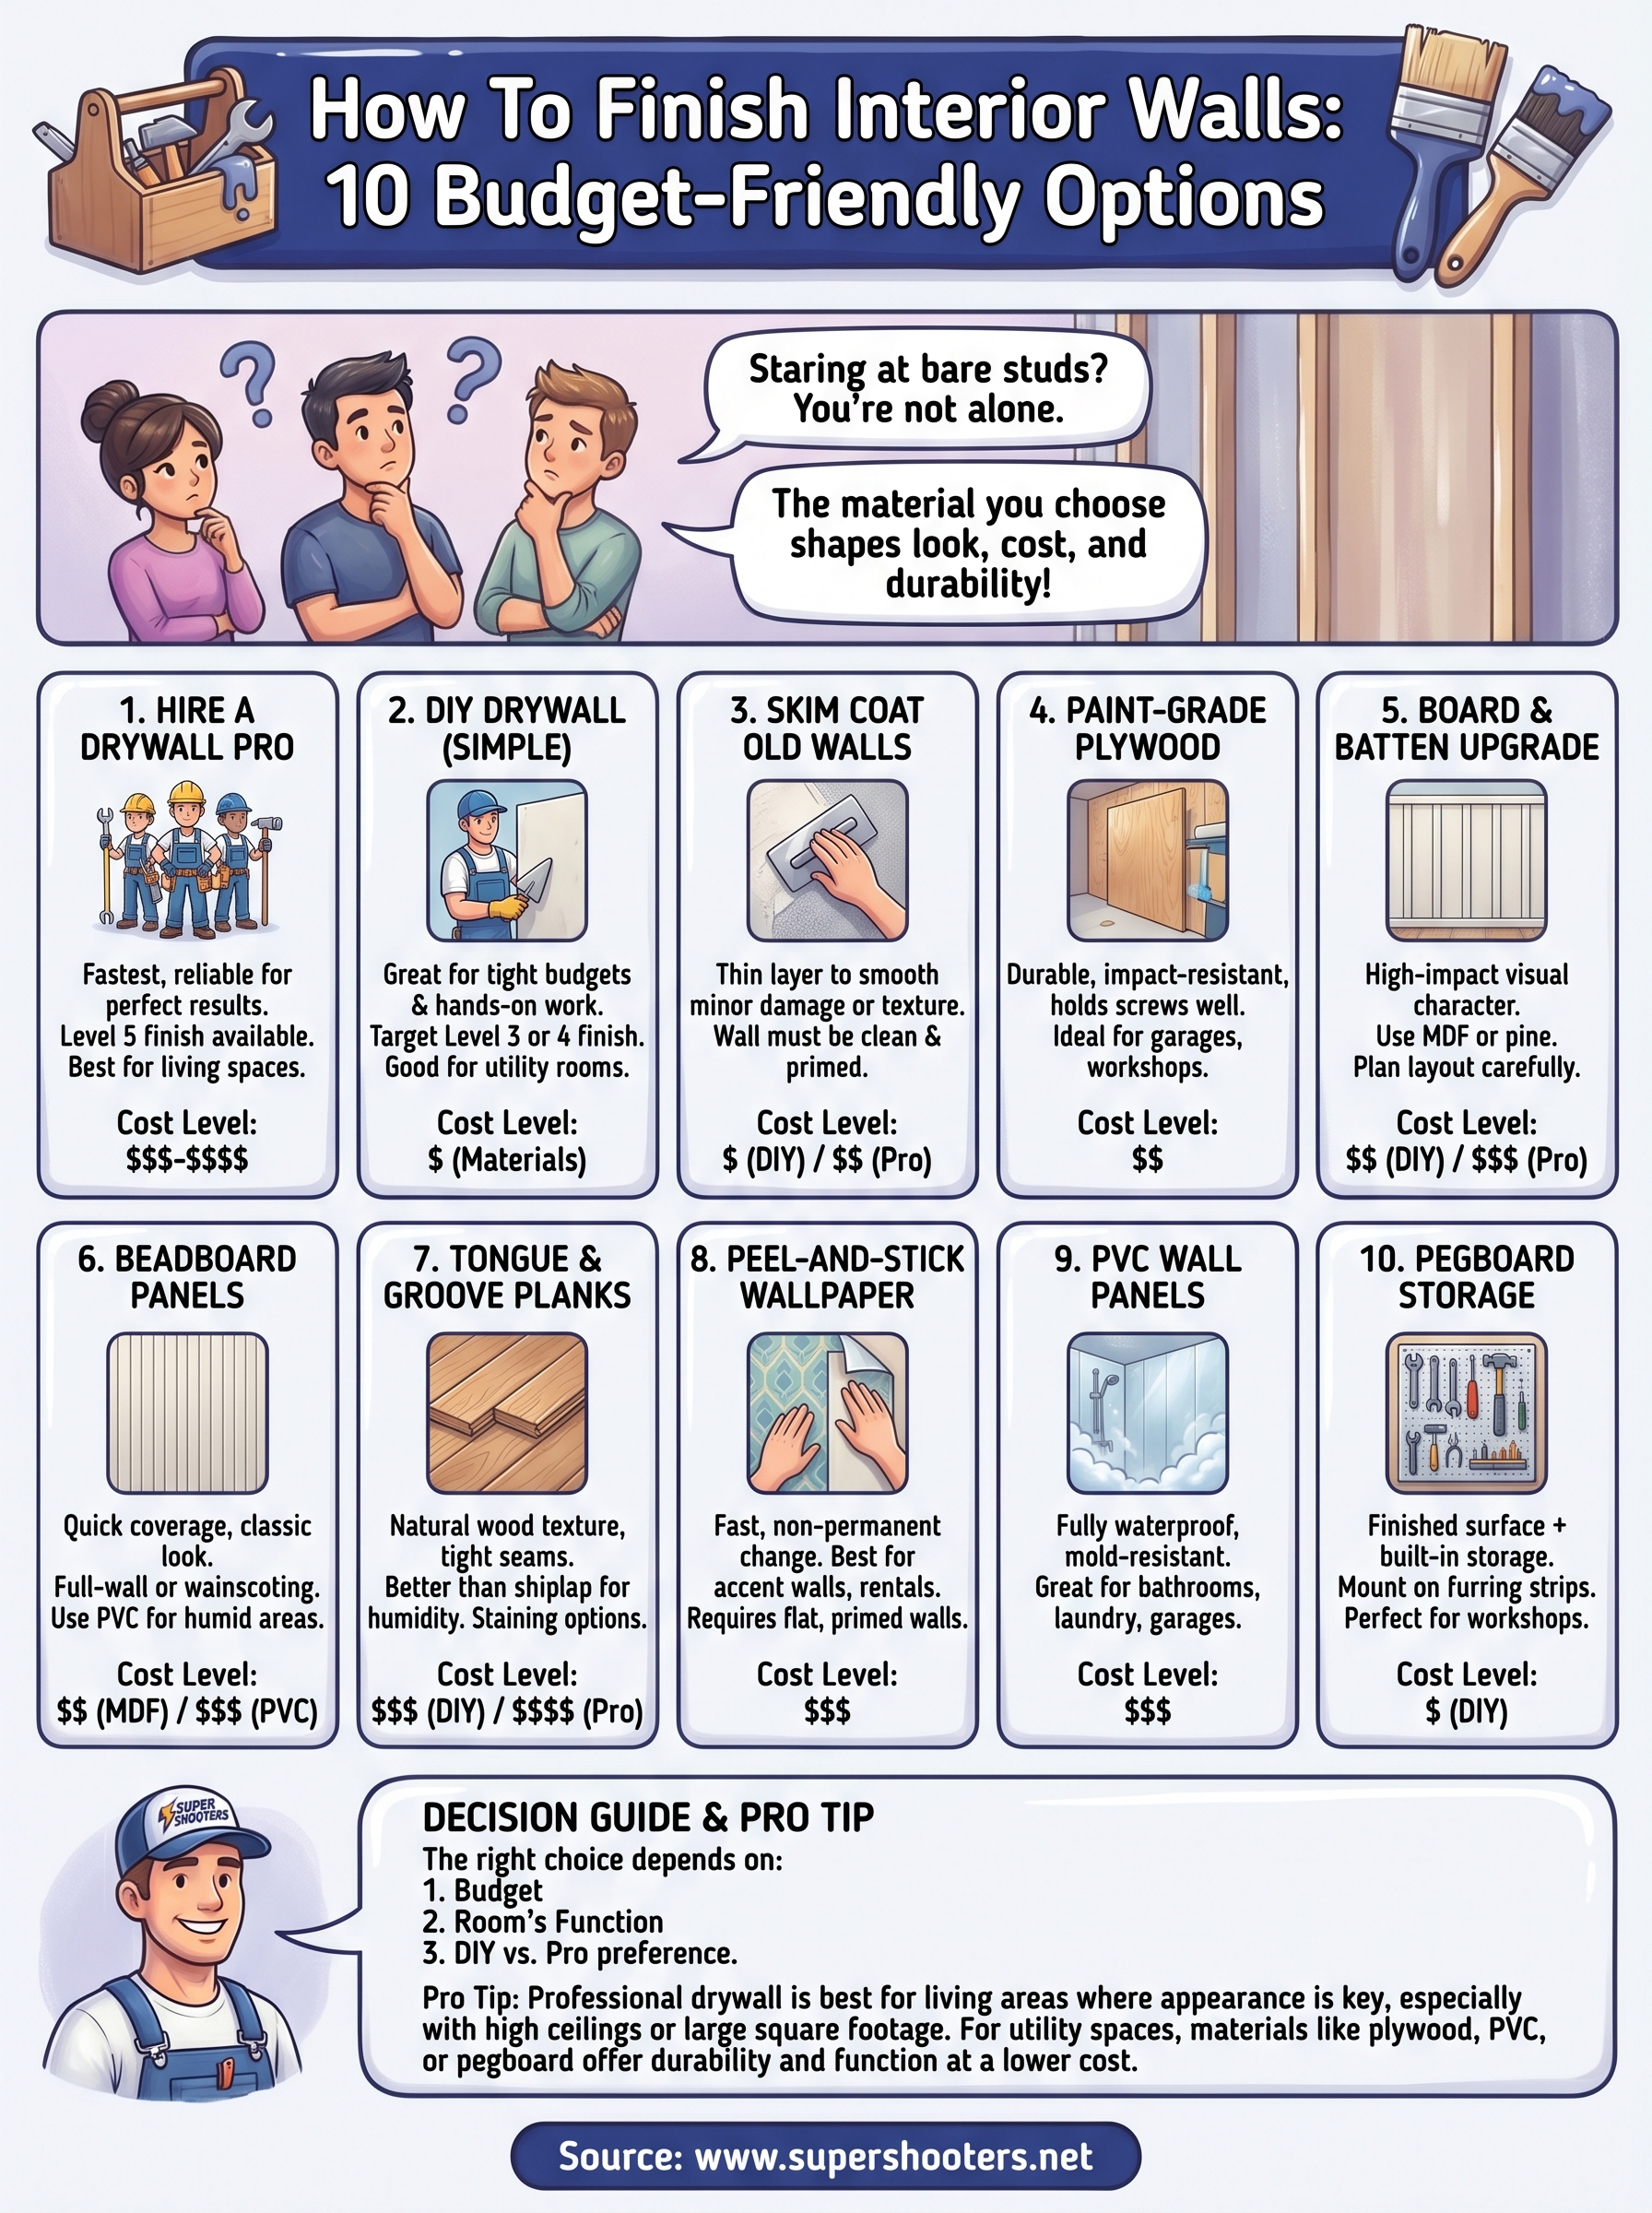
If you've ever stared at bare studs or unfinished surfaces and wondered how to finish interior walls without draining your bank account, you're not alone. Whether it's a garage conversion, an ADU build-out, or an older home that needs a refresh, the material you choose shapes the look, cost, and durability of the finished space.
The good news: drywall isn't your only option. From wood planks to textured plaster, there are plenty of ways to get clean, finished walls that fit your budget and style. Some are DIY-friendly. Others, like drywall installation or specialty texturing, are best handled by experienced professionals who do it every day.
At Super Shooters, we've completed over 10,000 drywall and wall finishing projects across the Sacramento Valley in our 30+ years of business. That experience gives us a sharp perspective on what works, what lasts, and what's worth your money.
Below, we break down 10 budget-friendly options for finishing interior walls, covering materials, rough costs, and where each one makes the most sense. Whether you're planning to hire a contractor or tackle part of the project yourself, this guide will help you make a confident decision .
1. Hire a drywall pro for hang and finish
Hiring a professional is the fastest and most reliable way to get interior walls finished correctly the first time. When you're thinking through how to finish interior walls in a living space or bedroom where the final appearance matters, professional drywall work delivers results that are genuinely hard to replicate without years of practice behind you.
What you get with a professional finish
A professional crew handles every step: hanging the drywall sheets, taping and mudding the seams, feathering the joints, and applying the final finish coat. Level 5 finish , the smoothest and most paint-ready surface available, requires multiple coats of joint compound and careful sanding that takes years to master. You also get consistent texture application across the entire space, whether you want orange peel, knockdown, or a flat smooth wall.
A professional finish removes the visible seams, ridges, and sanding marks that show up in most first-time DIY drywall jobs.
Most crews also handle cleanup and waste removal , carry their own tools, and work on a predictable timeline that keeps your project on track without dragging into weekends.
Where this option makes the most sense
Professional drywall work makes the most sense for living rooms, bedrooms, and kitchens where visual quality is non-negotiable. It also fits best when you're dealing with large square footage , high or vaulted ceilings, or rooms that need specialty textures to match existing surfaces in the home.
If you're finishing an ADU, repairing water damage , or converting a garage into livable space, a pro crew will move faster and produce cleaner, more consistent results than most homeowners can manage working alone.
What impacts the final price
Room size is the biggest cost driver, since drywall pricing is calculated per square foot. Beyond that, finish level matters a lot: a basic Level 3 texture coat costs less than a Level 5 smooth finish. Ceiling work, the number of corners and cutouts, and whether old material needs removal first all push the price up as well.
Typical cost in the Sacramento Valley
In the Sacramento Valley , professional hang and finish typically runs $2 to $4 per square foot for standard rooms, though specialty finishes and high ceilings push that figure higher. A 500-square-foot space might run $1,000 to $2,000 for labor and materials combined, depending on finish level and project complexity.
2. DIY drywall with a simple finish level
If your budget is tight or you enjoy hands-on work, DIY drywall is a realistic way to handle how to finish interior walls in a garage, utility room, or basement where a perfect surface isn't the top priority.
What finish levels mean in plain English
Drywall finish levels run from Level 0 (just hung, no tape or mud) to Level 5 (skim-coated and ready for gloss paint). For most DIY projects, Level 3 or Level 4 is the practical target: taped seams, two to three coats of joint compound, and a light sand. Level 5 requires skills that take years to develop.
Stick to Level 3 or 4 for utility and secondary rooms where you want a clean result without needing professional-grade technique.
Tools, materials, and time to plan for
You'll need drywall sheets, joint compound, drywall tape, screws, a screw gun, and sanding tools at minimum. A 12x12-foot room typically takes a beginner one to two full weekends to hang, tape, mud, and sand, because each coat of joint compound needs 24 hours to dry before you apply the next one.
Common DIY mistakes and how to avoid them
Applying too much joint compound in a single coat is the most common error, since thick coats crack as they dry. You also want to feather your edges carefully with a wide knife so seams don't create ridges that show through paint.
Typical cost for DIY materials
Materials alone for a standard room run $1 to $1.50 per square foot , covering sheets, tape, compound, screws, and sandpaper.
3. Skim coat to refresh old walls
A skim coat is a thin layer of joint compound spread across an existing wall surface to smooth it out or restore a flat finish. It's one of the most cost-effective ways to handle how to finish interior walls that are already in place but look worn, uneven, or dated.
When skim coating works and when it fails
Skim coating works well on walls with minor surface damage , old texture you want to flatten, or plaster that has aged but is still structurally sound. It fails when the underlying wall has loose or crumbling material , significant settlement cracks, or active moisture damage.
If the wall isn't solid underneath, a skim coat will crack and peel within months no matter how carefully you apply it.
What prep the wall needs first
Before you apply any compound, the surface must be clean, dry, and primed . Loose paint, dust, and grease all prevent the compound from bonding. A coat of bonding primer is especially important on glossy or heavily painted surfaces.
Smooth vs lightly textured topcoats
Once the skim coat dries, you can sand it smooth for a flat, paint-ready surface or roll on a light texture like orange peel for a softer result. Smooth finishes expose every surface imperfection , so take time with your final sanding pass before you pick up a paint roller.
Typical cost for materials and labor
DIY materials run $0.10 to $0.30 per square foot for joint compound and primer. Hiring a professional to skim coat a standard room typically costs $1 to $2 per square foot , depending on wall condition and finish level.
4. Paint-grade plywood panels
Plywood is a practical and underused answer when you're figuring out how to finish interior walls in spaces where you want durability without a high price tag . Standard paint-grade plywood installs fast, takes paint well, and holds up to physical wear better than drywall in many situations.
Why plywood works as a drywall alternative
Paint-grade plywood , typically 1/4-inch or 3/8-inch thick, bonds well to studs and creates a rigid, impact-resistant surface that drywall simply can't match in high-traffic areas. You can hang shelves, mount fixtures, and drive screws anywhere on the wall without hunting for a stud behind it.
Plywood's structural density makes it a smarter choice than drywall anywhere walls take repeated physical abuse.
Best rooms for plywood walls
Garages, workshops, mudrooms, and utility rooms are the strongest candidates for plywood walls. These are spaces where the look is secondary to function, and where screws and hardware need a solid hold at any point on the wall surface.
Seams, fasteners, and finishing options
Countersink your screws flush with the surface, then fill the holes with wood filler before sanding. You can caulk seams between panels and paint over them for a cleaner result, or leave them exposed as a deliberate grid pattern that adds visual structure to the room.
Typical cost per sheet and installed
A 4x8-foot sheet of paint-grade plywood runs roughly $35 to $55 at most lumber yards. Installed with labor, expect $2 to $3.50 per square foot depending on panel thickness and room complexity.
5. Board and batten for a high-impact upgrade
Board and batten is one of the strongest visual options when you're thinking through how to finish interior walls with character and depth. The technique combines wide vertical panels with narrow trim strips , called battens, placed over the seams to create a structured, dimensional surface that looks far more expensive than it costs.
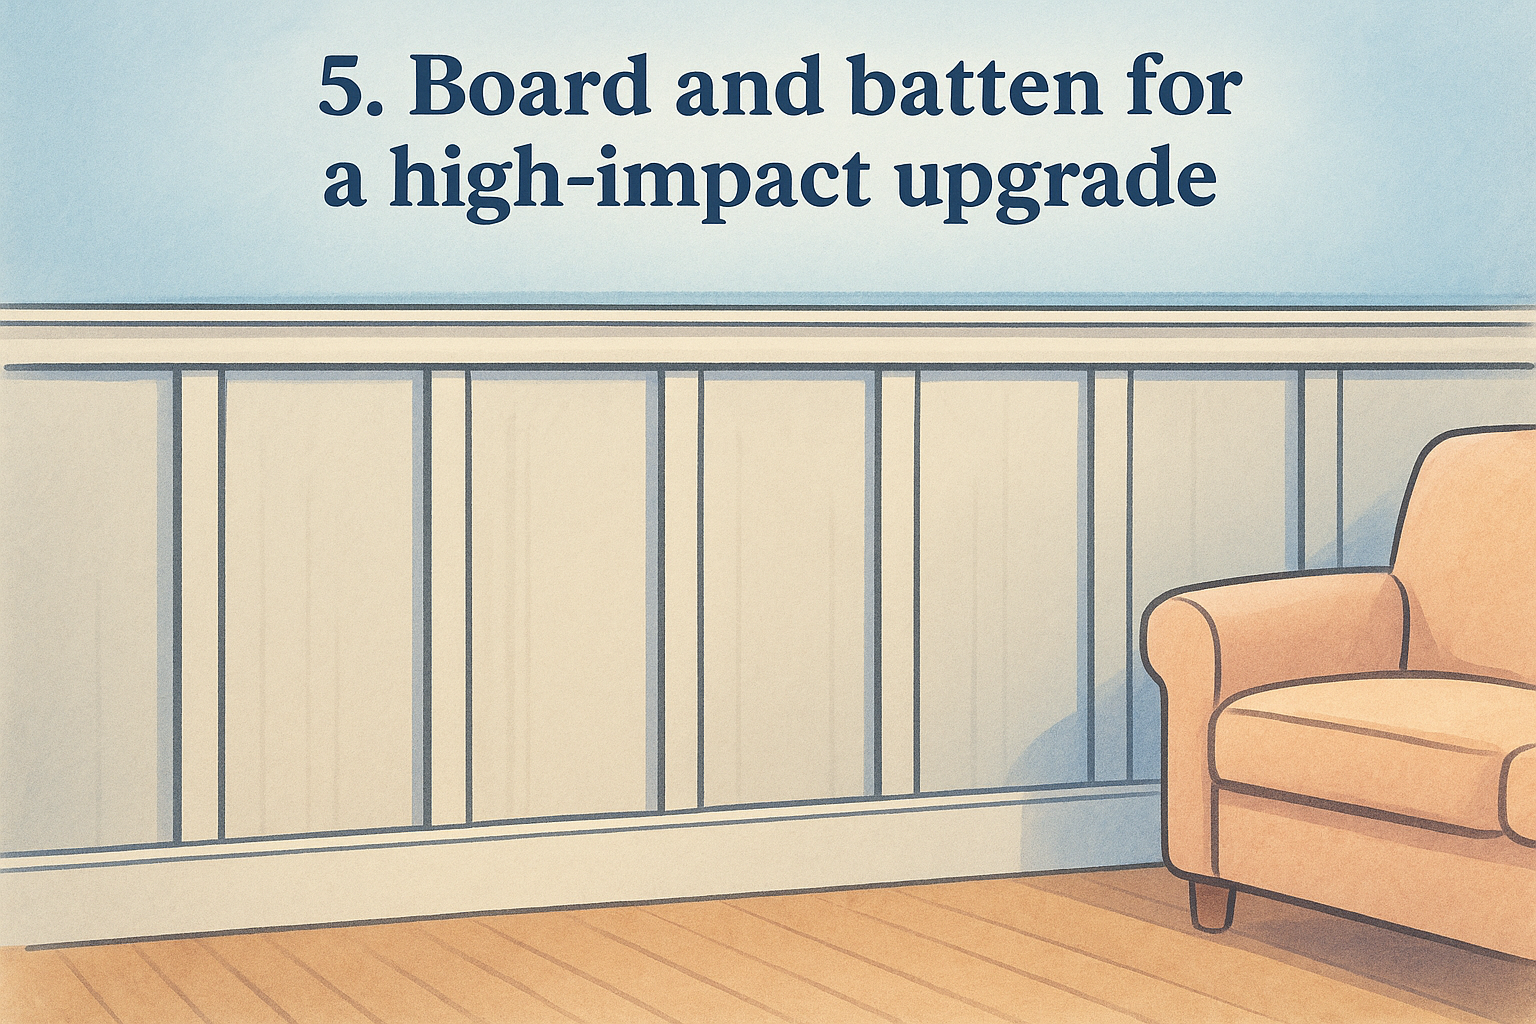
What board and batten actually is
This style starts with wide vertical boards fastened to the wall, with narrow strips nailed over each joint. The battens cover seams and add a raised, grid-like texture that breaks up flat surfaces in a way plain paint never does.
Most homeowners apply it to the bottom half of a wall below a chair rail, though full-wall installs work well in entryways and living rooms where you want a strong visual statement.
Layout options that look intentional
Spacing your battens evenly across the full wall width before you cut anything is the most important planning step. Common spacing runs 8 to 16 inches apart , but the right interval depends on your wall width and the visual weight you want.
Sketch the layout on paper first so you don't end up with awkward partial gaps at the corners.
Material choices that keep costs down
MDF boards are the most budget-friendly option since they're smooth, paint well, and resist warping better than solid wood in rooms with humidity swings. Finger-jointed pine costs slightly more but holds paint cleanly and is widely stocked at most home improvement stores.
Typical cost for DIY vs installed
DIY materials run roughly $1 to $2 per square foot using MDF or finger-jointed pine. Professional installation adds $3 to $5 per square foot for labor, depending on wall complexity and spacing pattern.
6. Beadboard panels for quick coverage
Beadboard is one of the fastest ways to add a finished, classic look when you're deciding how to finish interior walls in spaces that need both coverage and character . Panels come in large sheets that cover significant wall area quickly, which keeps installation time short compared to installing individual planks.
The look beadboard creates
Beadboard features narrow vertical grooves spaced evenly across the panel surface, creating a clean, cottage-style texture that reads well in both traditional and modern homes. The vertical line pattern draws the eye upward and makes smaller rooms feel slightly taller.
Beadboard adds visual interest without the labor-intensive layout planning that board and batten requires.
Full-wall vs wainscoting installs
You can run beadboard floor to ceiling for full wall coverage, or stop it at chair-rail height, roughly 36 to 48 inches up, for a classic wainscoting look. Wainscoting installs use less material and pair well with painted walls above, making them a budget-smart choice for living rooms and hallways.
Moisture and cleaning considerations
Beadboard holds up reasonably well in low-moisture areas , but MDF-based panels swell when they absorb water repeatedly. In bathrooms or laundry rooms, choose PVC or solid wood versions instead of MDF. The grooves collect dust over time, so wipe them down with a damp cloth periodically to keep the surface looking sharp.
Typical cost by material type
MDF beadboard panels run roughly $15 to $25 per 4x8-foot sheet. PVC panels cost $30 to $50 per sheet but last significantly longer in humid conditions. Installed professionally, expect $3 to $5 per square foot including materials and trim.
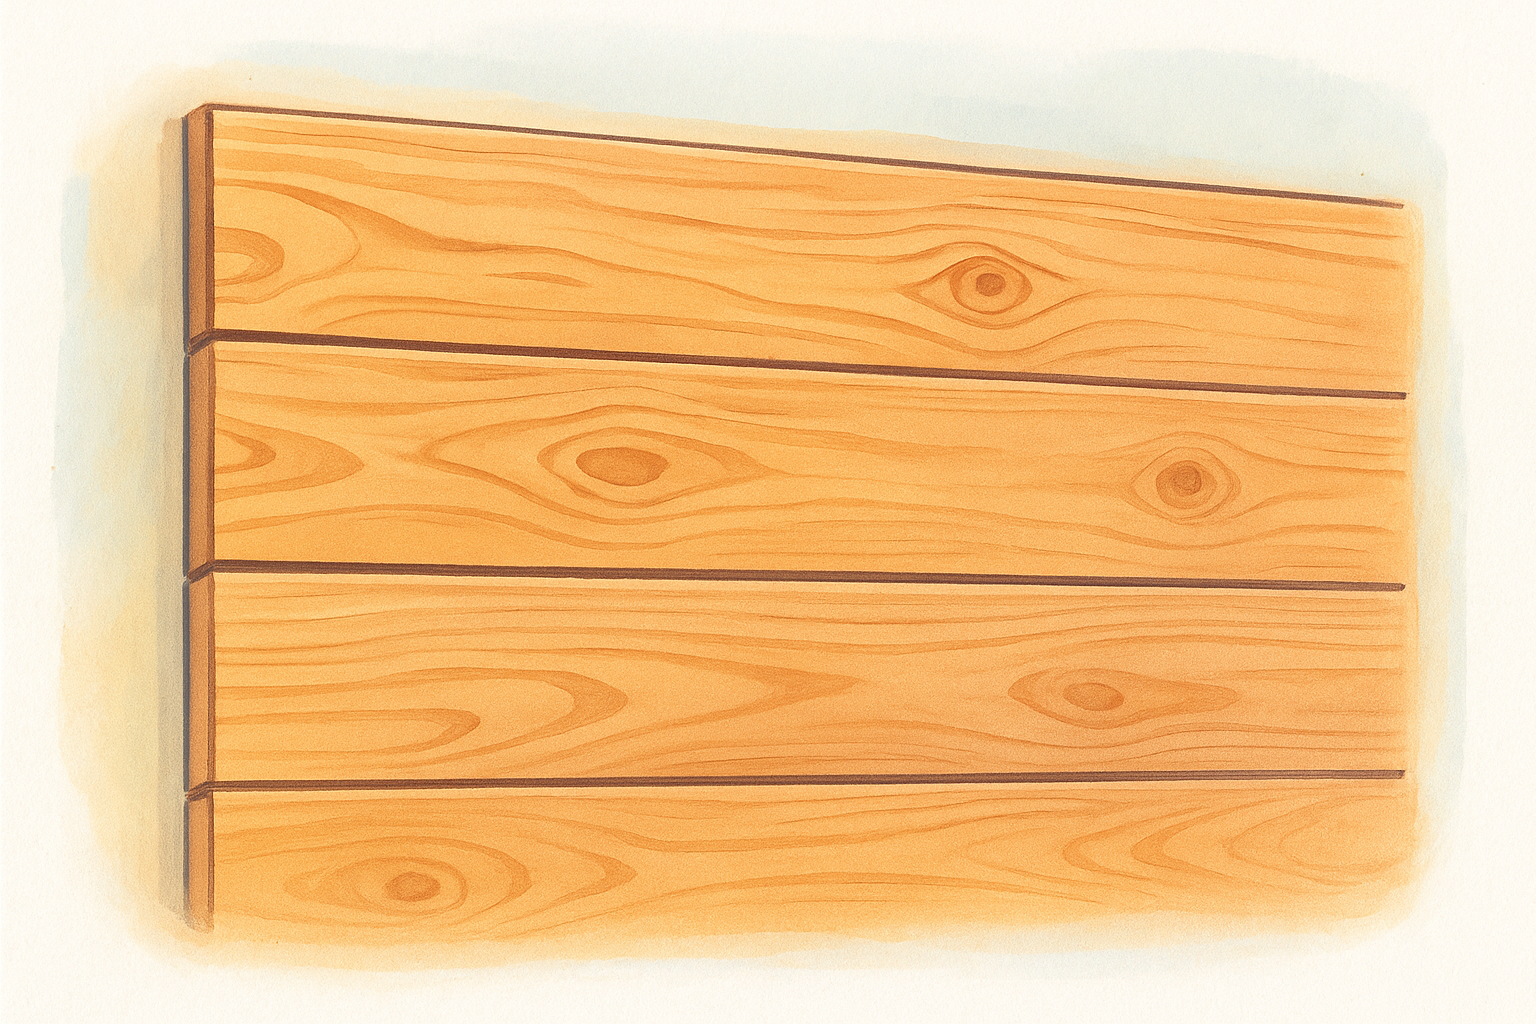
7. Tongue and groove wood planks
Tongue and groove is a strong choice when you want natural wood texture and a tight, gap-free surface. Each plank locks into the next, so you get a cleaner result than shiplap with less movement over time. If you're exploring how to finish interior walls with real wood character, tongue and groove delivers it without the fussiness of high-end millwork.
When tongue and groove beats shiplap
Shiplap leaves a deliberate gap between planks that can collect dust and look uneven if the boards shift seasonally. Tongue and groove planks interlock tightly, which works better in rooms with temperature or humidity swings , like sunrooms, mudrooms, and covered porches. The locked joint also reduces the chance of visible warping over time.
Tongue and groove is the more forgiving option when your walls aren't perfectly flat to begin with.
Horizontal vs vertical installs
Horizontal runs make a room feel wider and work well in low-ceiling spaces. Vertical installs draw the eye upward and suit entryways or accent walls where height is an asset. Either direction works structurally, so let the room proportions guide your choice rather than trend alone.
Stain, paint, and clear-coat decisions
Paint gives you a clean, uniform surface that hides wood grain variation between boards. Stain highlights the natural grain pattern but requires sanding between boards that vary in tone. A clear coat protects both finishes and extends the life of the install significantly.
Typical cost by wood species and grade
Pine tongue and groove runs $1.50 to $3 per linear foot, while cedar or knotty alder lands between $3 and $6. Professionally installed, plan for $5 to $9 per square foot depending on wood species and ceiling height.
8. Peel-and-stick wallpaper for a fast change
Peel-and-stick wallpaper is one of the quickest ways to transform a surface when you're thinking through how to finish interior walls without committing to a permanent change. You get bold patterns and colors on flat walls in a single afternoon, with no paste, no drying time, and no professional help required.
Where peel-and-stick performs best
Peel-and-stick works best on accent walls, rental spaces, and low-traffic rooms like bedrooms and home offices. It performs poorly on textured walls, where the surface variation breaks the adhesive contact and causes lifting at the edges.
Wall prep requirements for good adhesion
Clean, flat, primed walls give you the strongest bond. Wipe the surface with a damp cloth to remove dust and grease, then let it dry completely before you apply the first strip. Freshly painted walls need at least 30 days to fully cure before peel-and-stick will adhere reliably without peeling.
Skipping wall prep is the most common reason peel-and-stick wallpaper fails within weeks of installation.
Pattern matching and seam tips
Large repeat patterns need extra material to align correctly across strips, so buy 10 to 15 percent more than your square footage calculation suggests. Overlap each strip slightly at the seam, then use a sharp utility knife and a straightedge to cut through both layers at once for a clean, invisible joint .
Typical cost per roll and per wall
Standard rolls cover roughly 25 to 30 square feet and cost $20 to $50 depending on brand and pattern complexity. A standard 10x10-foot accent wall typically needs three to four rolls , putting your total material cost between $60 and $200.
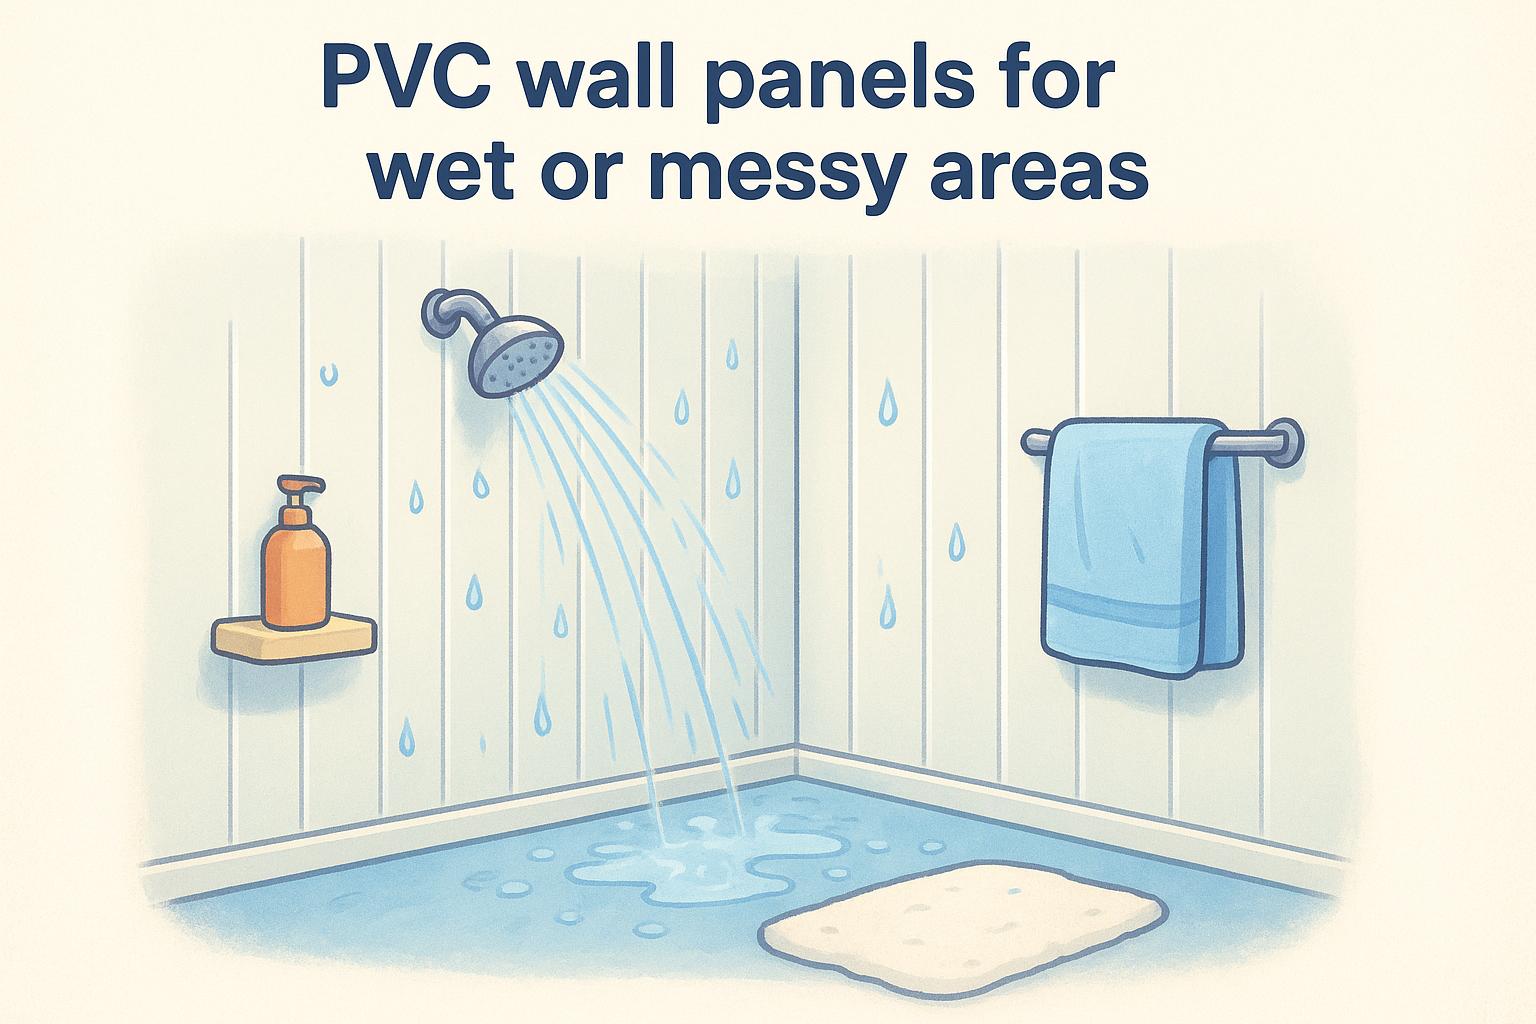
9. PVC wall panels for wet or messy areas
PVC wall panels solve a specific problem that most other materials on this list can't handle: standing up to repeated moisture exposure without warping, swelling, or growing mold . If you're sorting out how to finish interior walls in a wet or high-humidity space, PVC gives you a washable, waterproof surface that holds up where drywall and wood fail quickly.
Why PVC panels handle moisture better
PVC panels are fully waterproof because the material contains no organic fibers that absorb water. Unlike MDF beadboard or drywall, these panels won't swell at the seams or bubble behind the surface when moisture builds up over time. Mold has no organic material to feed on , which makes PVC the safer long-term choice in spaces with persistent humidity.
PVC panels are one of the few wall finishes that genuinely hold up in a wet environment without special maintenance.
Best uses in bathrooms, laundry rooms, and garages
These panels work well in bathrooms, utility rooms, laundry areas, and garages where water splash, steam, and cleaning chemicals are regular. They're also a practical choice for mudrooms and pet washing stations where walls take repeated scrubbing.
How to finish corners and edges cleanly
Matching PVC trim profiles are sold specifically for inside corners, outside corners, and perimeter edges. Use them at every transition point so water can't work behind the panels at the seams.
Typical cost for panels and trim
Standard PVC panels run $2 to $5 per square foot for materials, with trim pieces adding $1 to $2 per linear foot.
10. Pegboard for garages and workshops
Pegboard is one of the most functional answers to how to finish interior walls in a garage or workshop setting. You get a finished surface and a built-in storage system at the same time, which makes it a uniquely practical choice for spaces where tools, hardware, and equipment need a dedicated home.
Why pegboard doubles as a wall finish and storage
Standard 1/4-inch hardboard pegboard covers large wall sections quickly and accepts hooks, bins, and shelves through its evenly spaced holes. Rather than installing a wall finish and separate shelving system as two separate projects, pegboard handles both functions in one installation , which saves both time and money in utility spaces.
Pegboard turns dead wall space into active, organized storage without adding any square footage to your shop.
How to frame and mount it so it stays flat
Furring strips fastened horizontally across the studs create the necessary gap behind the panel so hooks can pass through the holes and lock in place. Without that gap, the hooks have nothing to catch on. Space your furring strips no more than 16 inches apart to prevent the panel from bowing under the weight of loaded hooks over time.
Paint and accessory options
You can leave pegboard its natural tan color or paint it with latex paint for a cleaner look. Hooks, bins, and tool holders are sold as universal pegboard accessories at most home improvement stores.
Typical cost for sheets and hardware
A 4x8-foot pegboard sheet runs $15 to $30. A full set of starter hooks and accessories adds another $20 to $50 depending on quantity and hook style.
Next steps for your walls
Now that you've seen 10 ways to handle how to finish interior walls , the right choice comes down to three things: your budget, the room's function, and how much of the work you want to take on yourself. Utility spaces like garages and workshops can handle plywood, pegboard, or PVC panels with no issues. Living rooms, bedrooms, and kitchens benefit most from professional drywall with a proper finish level that holds up and looks sharp for years.
If your project involves drywall installation, skim coating, or texture matching in a Sacramento Valley home, Super Shooters has completed over 10,000 projects across the region with a team that's been doing this work for more than 30 years. You get free in-home estimates, no upfront payment, and a warranty included with every job. Check out our drywall installation service to get a quote for your space.
Recent Posts