Share this article

May 25, 2026

Plaster Wall Repair: How To Repair Plaster Walls & Cracks

Plaster walls give older homes a character and solidity that modern drywall just can't match. But time takes its toll. Cracks spread along corners, chunks loosen behind the paint, and water stains creep across the surface. If you're wondering how to repair plaster walls without gutting the whole room, you're in the right place. Most damage is fixable, and many repairs are well within reach of a motivated homeowner with basic tools.

That said, plaster isn't drywall. The materials behave differently, the techniques differ, and mistakes can make the damage worse. Knowing when a repair is straightforward and when it calls for professional help will save you time, money, and frustration. At Super Shooters, we've handled over 10,000 ceiling and wall projects across the Sacramento Valley in our 30+ years of business, including countless plaster repairs in the region's older homes.

This guide walks you through the most common types of plaster wall damage, hairline cracks, large holes, crumbling sections, and gives you clear, step-by-step instructions for each. We'll also cover the tools and materials you'll need, tips for getting a smooth finish, and signs that it's time to call a pro instead of reaching for the joint compound yourself.

Before you start: identify plaster type and risks

Jumping straight into repairs without assessing what you're working with is the fastest way to make things worse. Traditional plaster walls are multi-layer systems that behave very differently from modern drywall, and the repair approach that works on one type won't necessarily work on another. Taking time to identify your specific plaster setup saves hours of rework and prevents repairs that fail within a season.

Know your plaster system

Most plaster walls in homes built before 1950 use a three-coat system : a scratch coat applied over wood or metal lath, a brown coat to build thickness, and a finish coat for the smooth surface you see. Each layer plays a role in the wall's strength, so when you're learning how to repair plaster walls, understanding what sits behind the damage matters as much as the repair technique itself .

Homes built between roughly 1945 and 1970 often used rock lath (also called button board or gypsum lath) instead of wood strips. Rock lath is a small gypsum panel nailed to studs, with plaster coats applied over it. Repairs to rock lath systems are slightly more forgiving, but the same multi-coat principles apply.

Check your wall by pressing gently along the damaged area. A hollow sound or visible flex under light pressure tells you the plaster has separated from the lath behind it. That's a stabilization problem , not just a surface repair, and you need to address it before applying any patching material.

If you skip the stabilization step and patch over loose plaster, the repair will crack or fall off within months.

Test for asbestos before you touch anything

Homes built before 1980 may contain asbestos in the plaster itself, particularly in the finish coat. Asbestos was commonly added to plaster and joint compounds as a strengthening fiber. Sanding, scraping, or drilling into asbestos-containing material releases fibers into the air and creates a serious health hazard .

Before you sand, scrape, or drill into any plaster in an older home, purchase a DIY asbestos test kit or hire a certified asbestos inspector. DIY kits require you to collect a small sample and mail it to a certified lab for analysis. If the result comes back positive, stop work immediately . Asbestos abatement requires a licensed contractor and is not a DIY project under any circumstance.

If your test comes back clear, you can move forward using standard safety gear: a dust mask rated N95 or higher , safety glasses, and gloves. Keep the work area well-ventilated throughout the entire repair process to limit dust exposure.

Step 1. Stabilize loose plaster and reattach to lath

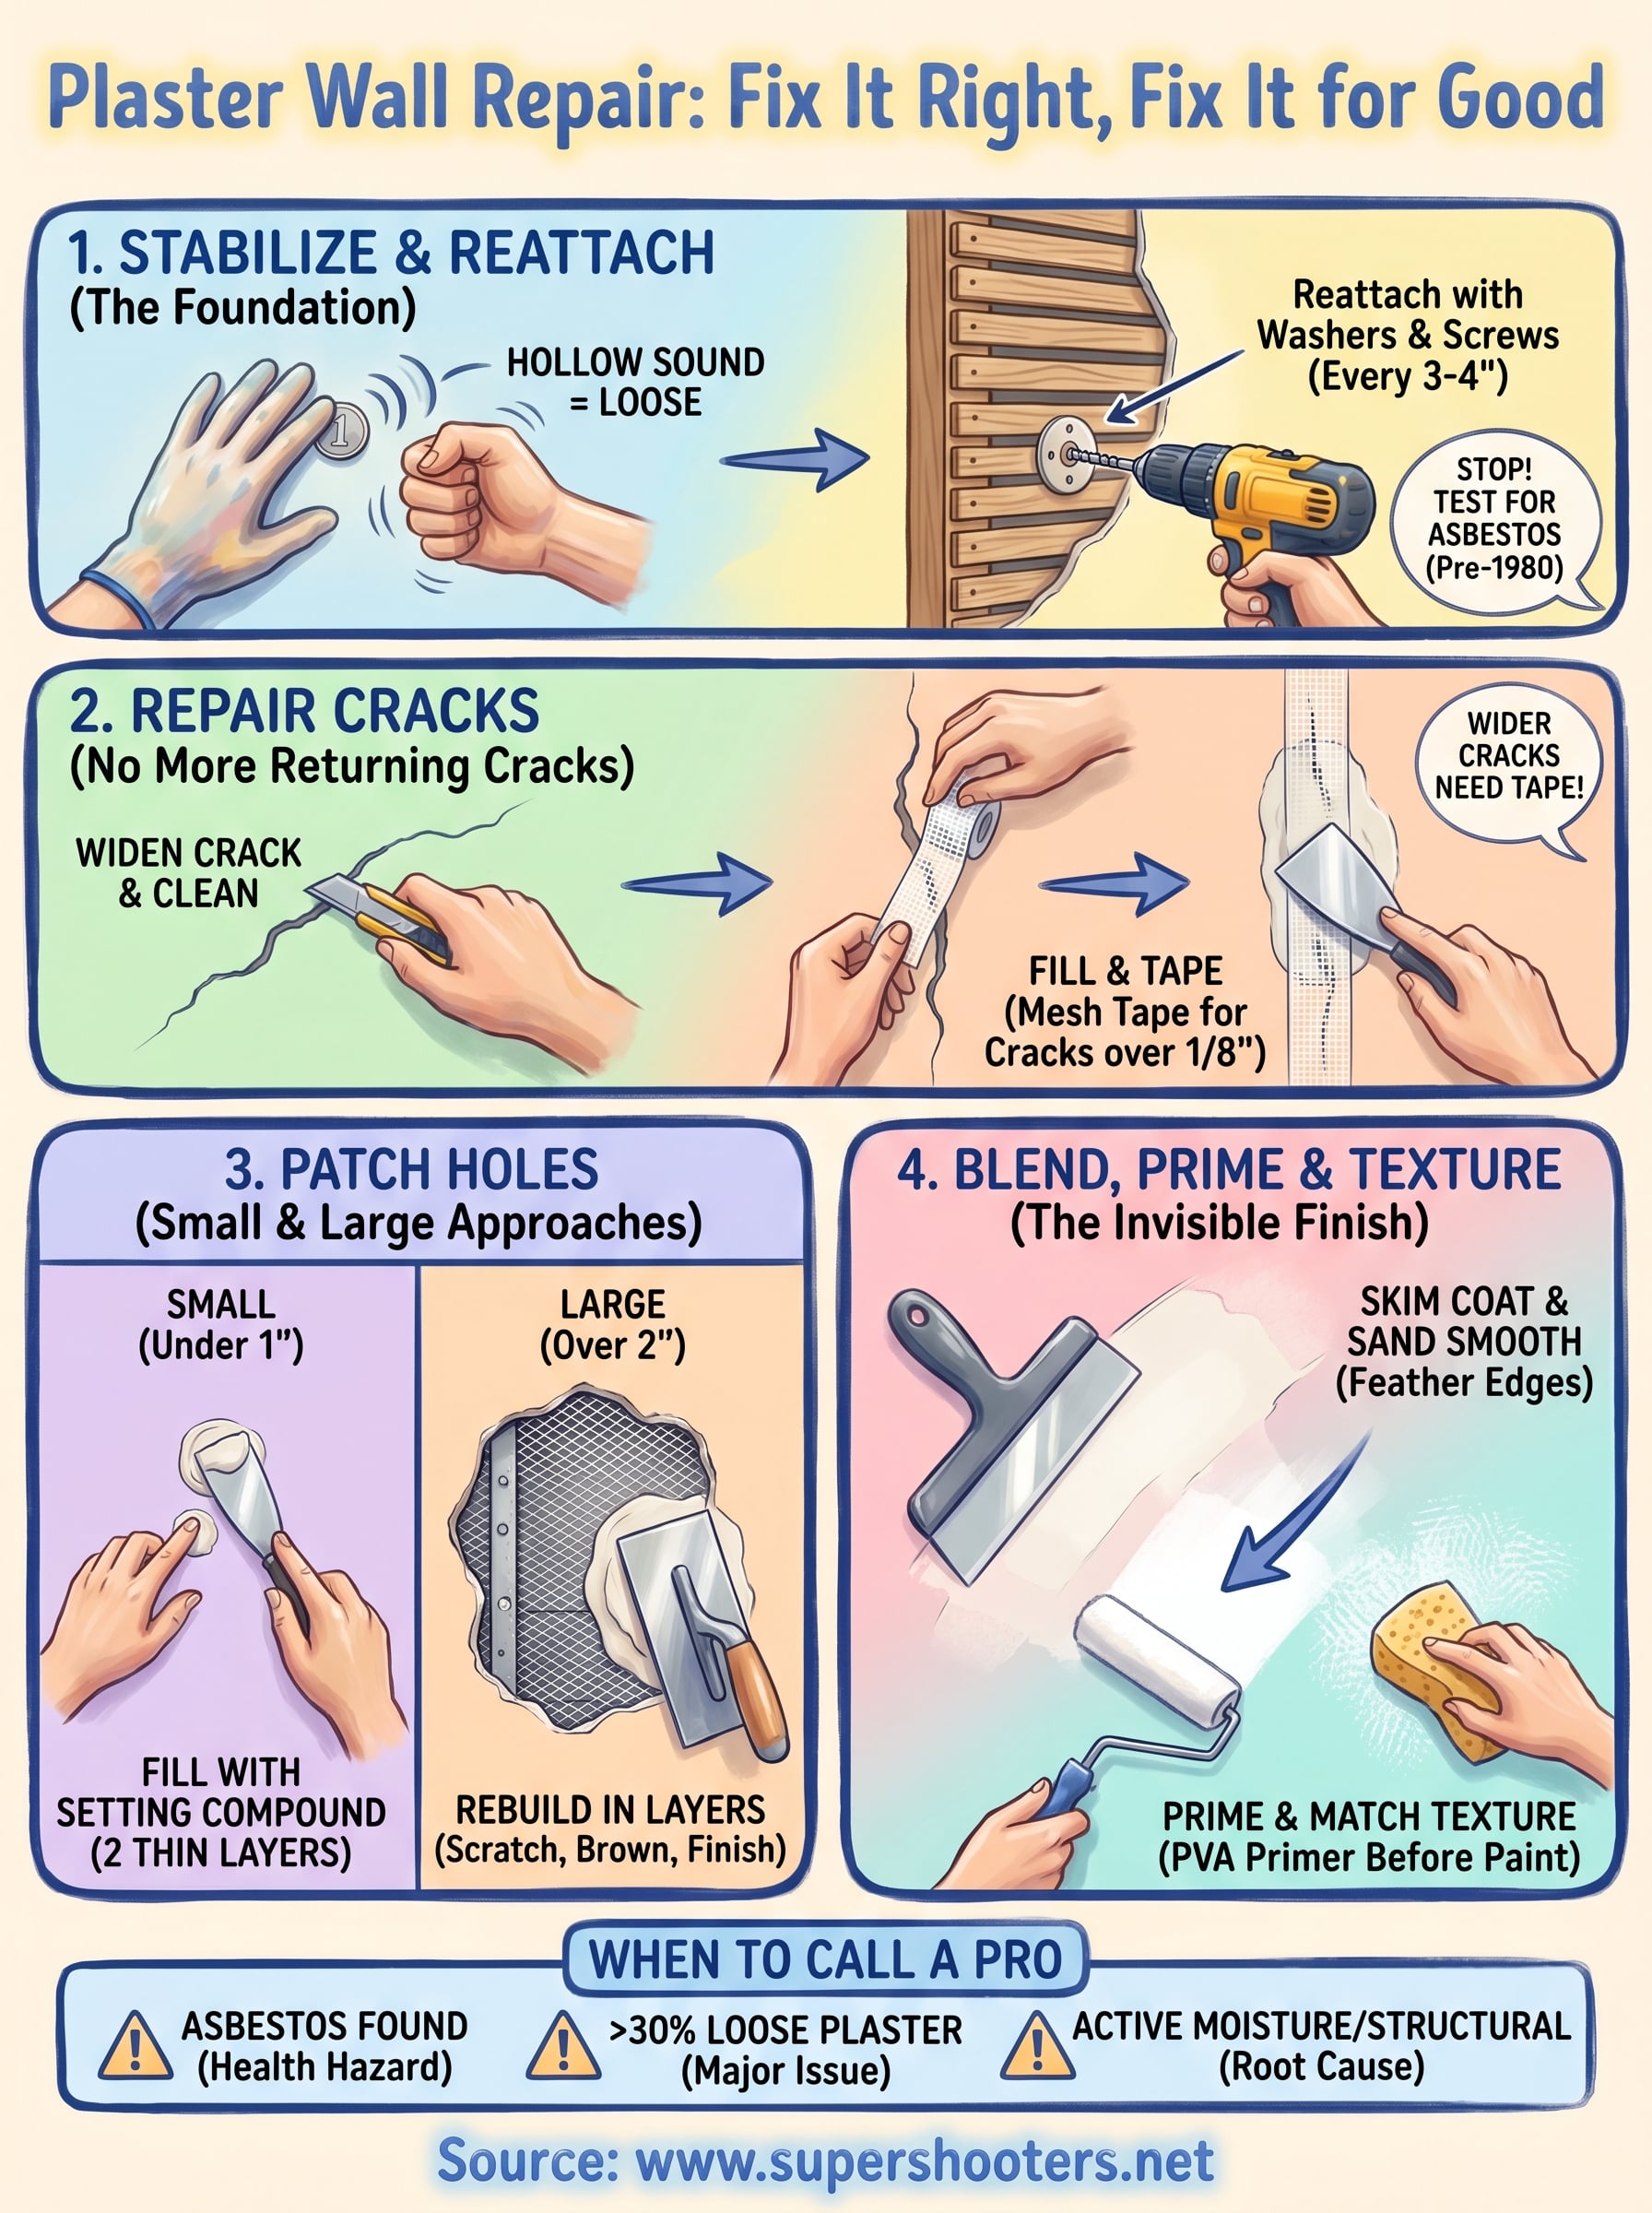
Loose plaster is the most urgent problem you'll face when figuring out how to repair plaster walls. Before patching any surface, you need to confirm the existing plaster is solidly bonded to the lath beneath it . Skipping this step means any new material you apply will crack and separate, wasting your time and materials.

Find and map loose sections

Run your knuckles across the wall and listen for changes in sound. A dull thud or hollow knock signals that the plaster keys (the hardened plaster that squeezes between the lath strips) have broken away from the lath. Mark every loose spot with painter's tape so you have a clear picture of the full repair area before you buy materials or start any work.

Map the entire loose area before beginning repairs, otherwise you risk missing sections that will fail again within months.

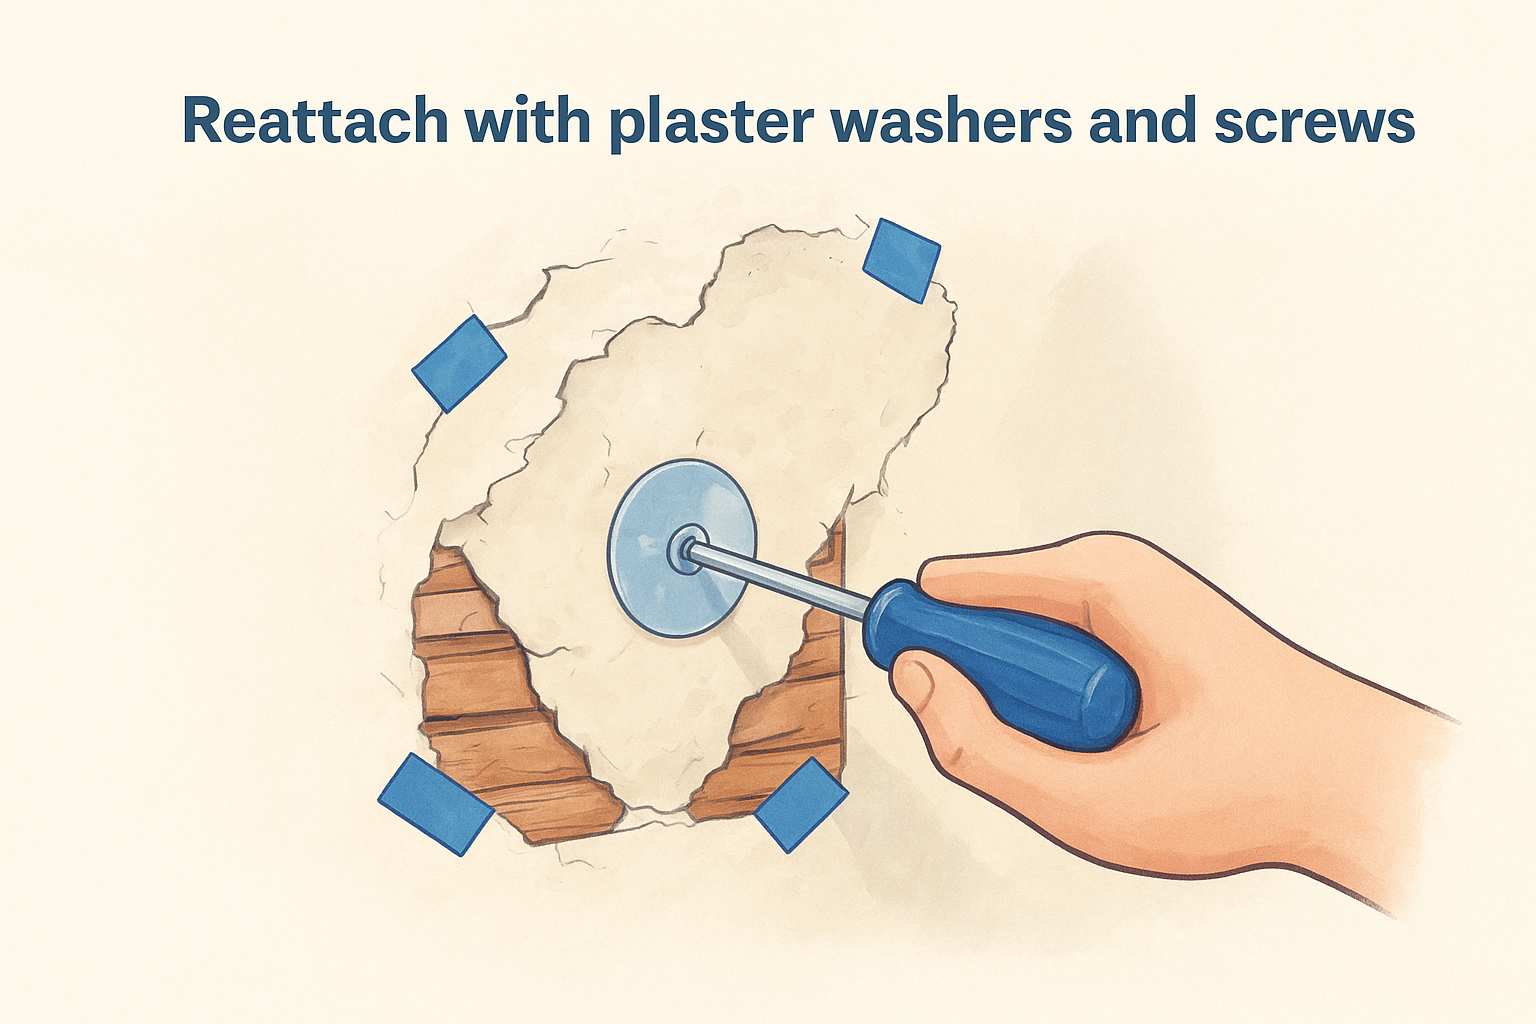
Reattach with plaster washers and screws

Plaster washers are large-diameter metal discs that spread clamping force across a wide area, preventing the screw head from punching through weakened plaster. To reattach loose plaster, place a washer over the affected section and drive a 1-5/8-inch drywall screw through the washer, through the plaster, and into the lath or stud behind it.

Space your screws every 3 to 4 inches around the perimeter of the loose section, then add screws across the face at similar intervals. Pull each screw down until the washer sits firm against the plaster surface without cracking it. Once all washers are set, press the plaster firmly against the wall and confirm the flex is gone . If sections still move after screwing, remove them completely and replace them rather than trying to reattach material that has lost its bond.

Step 2. Repair plaster cracks so they stay closed

Cracks are the most common plaster problem, and also the most mishandled. Many homeowners fill a crack with joint compound, paint over it, and watch it reopen within a year. The reason is straightforward: surface filler alone doesn't address movement , and most plaster cracks involve some degree of ongoing shift in the substrate behind the wall. Fixing them properly requires the right preparation and the right materials.

Prepare the crack before you fill it

Before applying any filler, widen the crack slightly with a can opener or utility knife . This creates a V-shaped channel that gives the patching compound something to grip. Run the tool along the full length of the crack, then brush out all loose debris with a dry paintbrush. Dampen the channel lightly with a spray bottle before you start filling, since dry plaster will pull moisture out of the patching material too fast and cause it to shrink and crack again.

Fill the crack and tape for a lasting repair

Wider cracks (anything over 1/8 inch) need fiberglass mesh tape applied over the filled channel before you skim the surface coat. Press the tape firmly over the crack after your first thin layer of setting-type compound has been applied. Setting-type compound is preferable to ready-mixed joint compound here because it hardens through a chemical reaction rather than drying, which means it shrinks far less.

Fiberglass mesh tape bridges the crack and distributes stress across a wider surface area, which is what keeps the repair from reopening under normal wall movement.

Follow with a second coat that covers the tape completely, feathering the edges at least 3 inches on each side . Once you understand how to repair plaster walls that keep cracking, the real fix is always in the preparation and reinforcement, not just filling the gap.

Step 3. Patch small holes, large holes, and missing keys

Holes in plaster fall into two categories: small surface voids up to about an inch across, and larger structural gaps where plaster keys have broken away entirely. Each type needs a different approach, and using the wrong one leads to a repair that sags, shrinks, or falls out within months. Part of knowing how to repair plaster walls is recognizing which repair method fits the damage in front of you.

Fill small holes up to one inch

Small holes left by picture hooks, anchors, or minor impacts are the most straightforward repairs you'll tackle. Clean out any loose material with a utility knife, then dampen the hole lightly with a spray bottle. Apply setting-type compound in thin layers using a 4-inch putty knife, pressing it firmly into the void and slightly overfilling the surface. Let each layer dry fully before adding the next. Two thin coats almost always produce a better result than one thick application, which will shrink and crack as it sets.

Never try to fill a hole larger than an inch in a single coat, as the weight of the material will cause it to sag before it can harden.

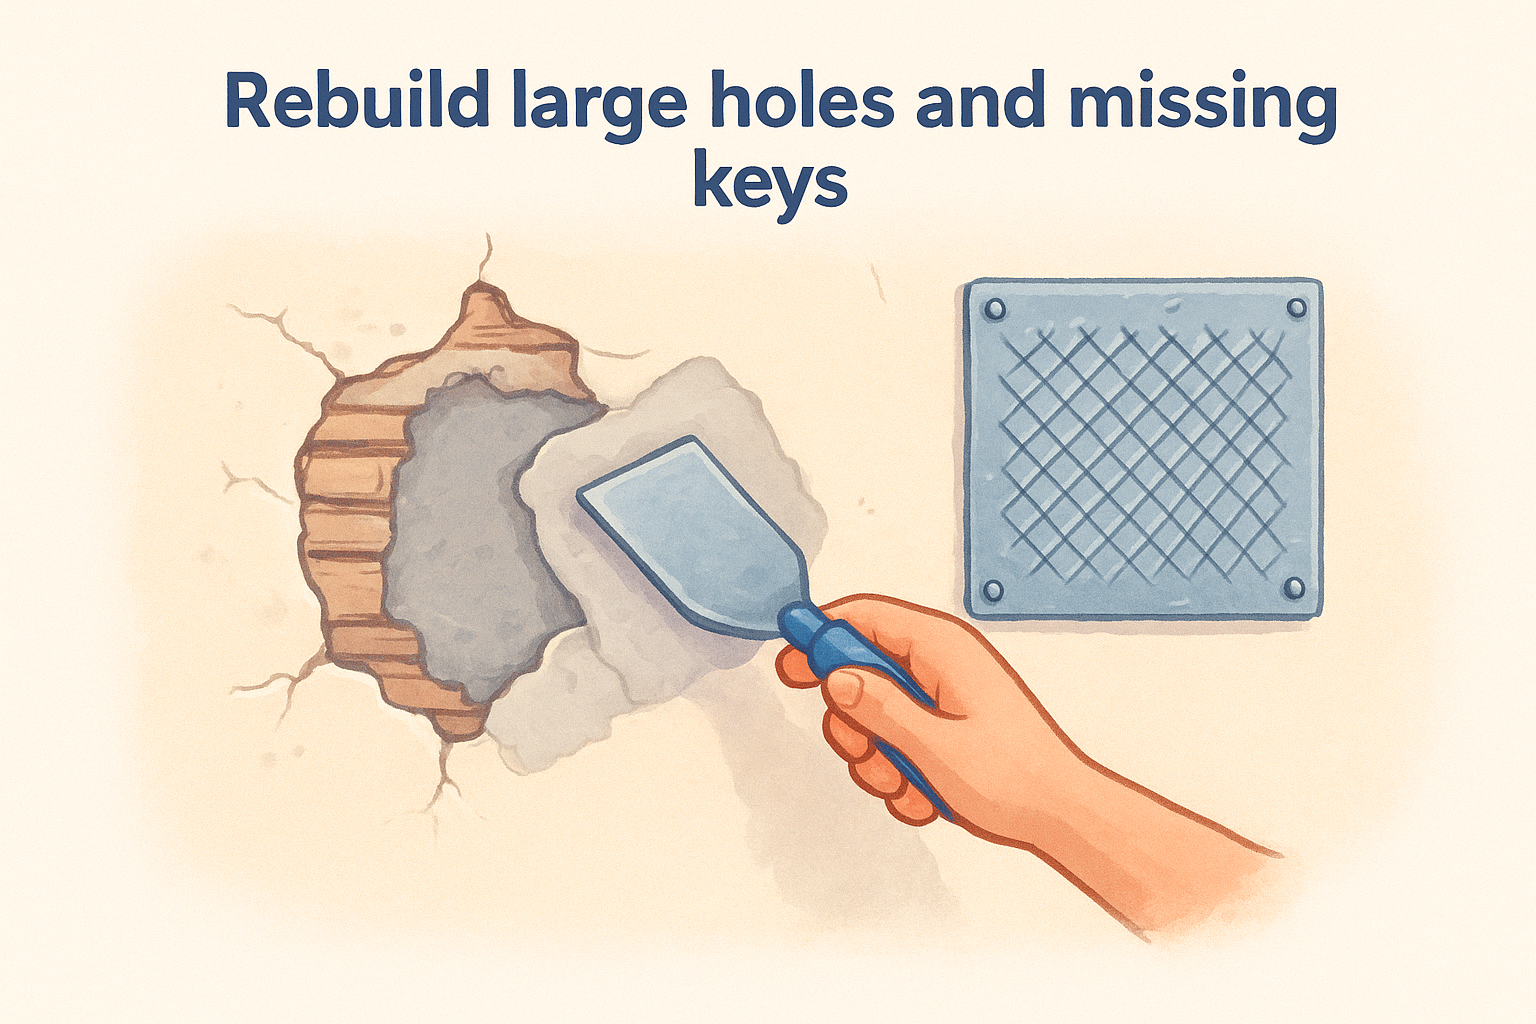
Rebuild large holes and missing keys

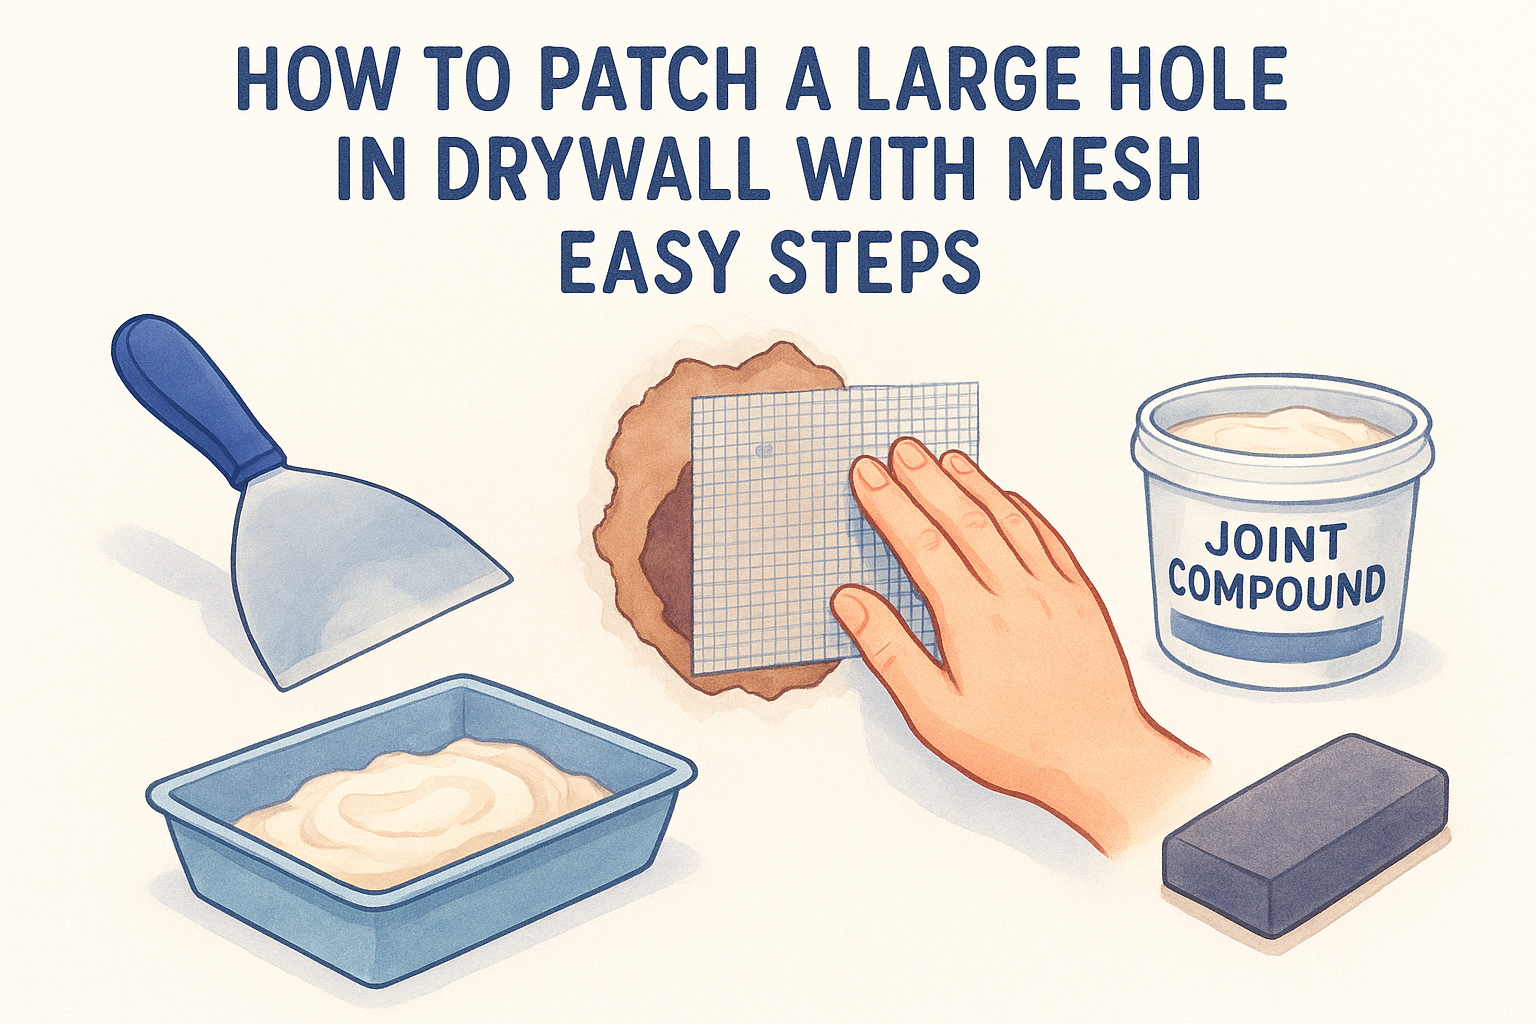
Large holes, typically anything over two inches , require you to rebuild the missing plaster in stages. Start by cutting away all loose or crumbling material back to solid edges. If the lath is intact, apply a scratch coat of bonding compound , score it with a notched trowel, and let it cure fully before adding the brown coat. For holes where the lath is also missing, cut a piece of metal lath to size and fasten it to the surrounding studs with staples or screws before applying any plaster layers.

When keys are missing entirely, plaster has nothing to grip onto . Metal lath solves this by giving the new compound fresh mechanical anchors to bond against, which is what prevents the patch from pulling away from the wall over time.

Step 4. Blend the repair: skim, sand, prime, and texture

A patched plaster wall that looks obviously patched is a half-finished job. The final step in learning how to repair plaster walls is blending the repair into the surrounding surface so it reads as one continuous wall. This requires three distinct stages : skimming, sanding, and priming before any texture or paint goes on.

Skim coat and sand to a flat surface

Apply a thin skim coat of all-purpose joint compound over the entire patched area using a 10-inch or 12-inch drywall knife. Hold the blade at a low angle and pull it across the surface in long, overlapping strokes. Your goal is a layer no thicker than 1/8 inch that feathers smoothly into the surrounding plaster with no ridges or tool marks at the edges.

Feather the skim coat at least 6 inches beyond the patch boundary on all sides, since a tight edge will show through paint no matter how carefully you sand.

Once the skim coat dries completely, sand it with 120-grit sandpaper on a pole sander. Work in circular motions, then finish with straight passes to level any high spots. Wipe the surface clean with a slightly damp cloth before moving to the next stage.

Prime and texture to match the wall

Bare joint compound is highly porous and will absorb paint unevenly, leaving a dull spot called flashing that shows through even multiple coats of finish paint. Seal the repair with a PVA drywall primer before applying any texture or paint, which prevents absorption and gives the finish coat a uniform surface to grip.

Matching the existing wall texture is the step most homeowners underestimate. Knockdown, orange peel, and skip trowel finishes each require a different application technique. Practice your texture pattern on a scrap piece of drywall before touching the wall, and work in small sections so the texture blends naturally at the edges.

Know when to call a pro

DIY methods work well for most damage covered in this guide on how to repair plaster walls, but some situations require a licensed contractor. If your test reveals asbestos-containing material , stop all work immediately. Disturbing asbestos releases fibers that cause serious lung disease, and licensed abatement contractors are the only safe and legal option for removal or encapsulation.

Beyond asbestos, call a pro when more than 30% of a wall shows loose or hollow plaster , when damage traces back to active moisture or structural movement, or when the lath system is compromised across a large area. These situations go beyond surface repair and require systematic rebuilding that DIY patching cannot fix reliably.

When the scope exceeds what you can handle confidently, Super Shooters brings 30+ years of experience to your walls. Get a free estimate for professional plaster and drywall repair and get a solid, finished result without the guesswork.

Recent Posts

By cinchweb May 26, 2026
Calculate the cost to drywall a room in 2026. This guide breaks down square foot rates, labor factors, and material costs to help you budget for your project.
By cinchweb May 25, 2026
Learn how to calculate drywall needed for your project. Our guide covers measuring, subtracting openings, and adding waste for an accurate sheet count.
By cinchweb May 25, 2026
Learn how to patch a large drywall hole using pro methods like the California patch or cleat repair. Get a seamless, flush finish with our expert guide.
By cinchweb May 22, 2026
Find out how long does drywall take to dry for mud coats and water damage. Learn how to speed up curing and prevent mold or bubbling paint in your home.
By cinchweb May 21, 2026
See the 2026 drywall finishing cost per square foot for levels 0-5. Learn how to estimate your budget and discover the factors that impact residential rates.
By cinchweb May 20, 2026
Discover what is level 5 drywall finish, the professional skim coat process, and when to use it to get a flawless, glass-smooth surface for high-gloss paint.
By cinchweb May 19, 2026
See 15 real popcorn ceiling removal before and after transformations. Compare pro methods, costs, and modern finishes like shiplap or a smooth skim coat.
By cinchweb May 19, 2026
Learn how to replace popcorn ceilings using scraping, skim coating, or overlays. Get expert tips on asbestos safety and prep for a smooth, modern finish.
By cinchweb May 17, 2026
Learn how to smooth a textured ceiling with our skim coating guide. Master prep, tool selection, and application techniques for a professional, flat finish.
Show More