
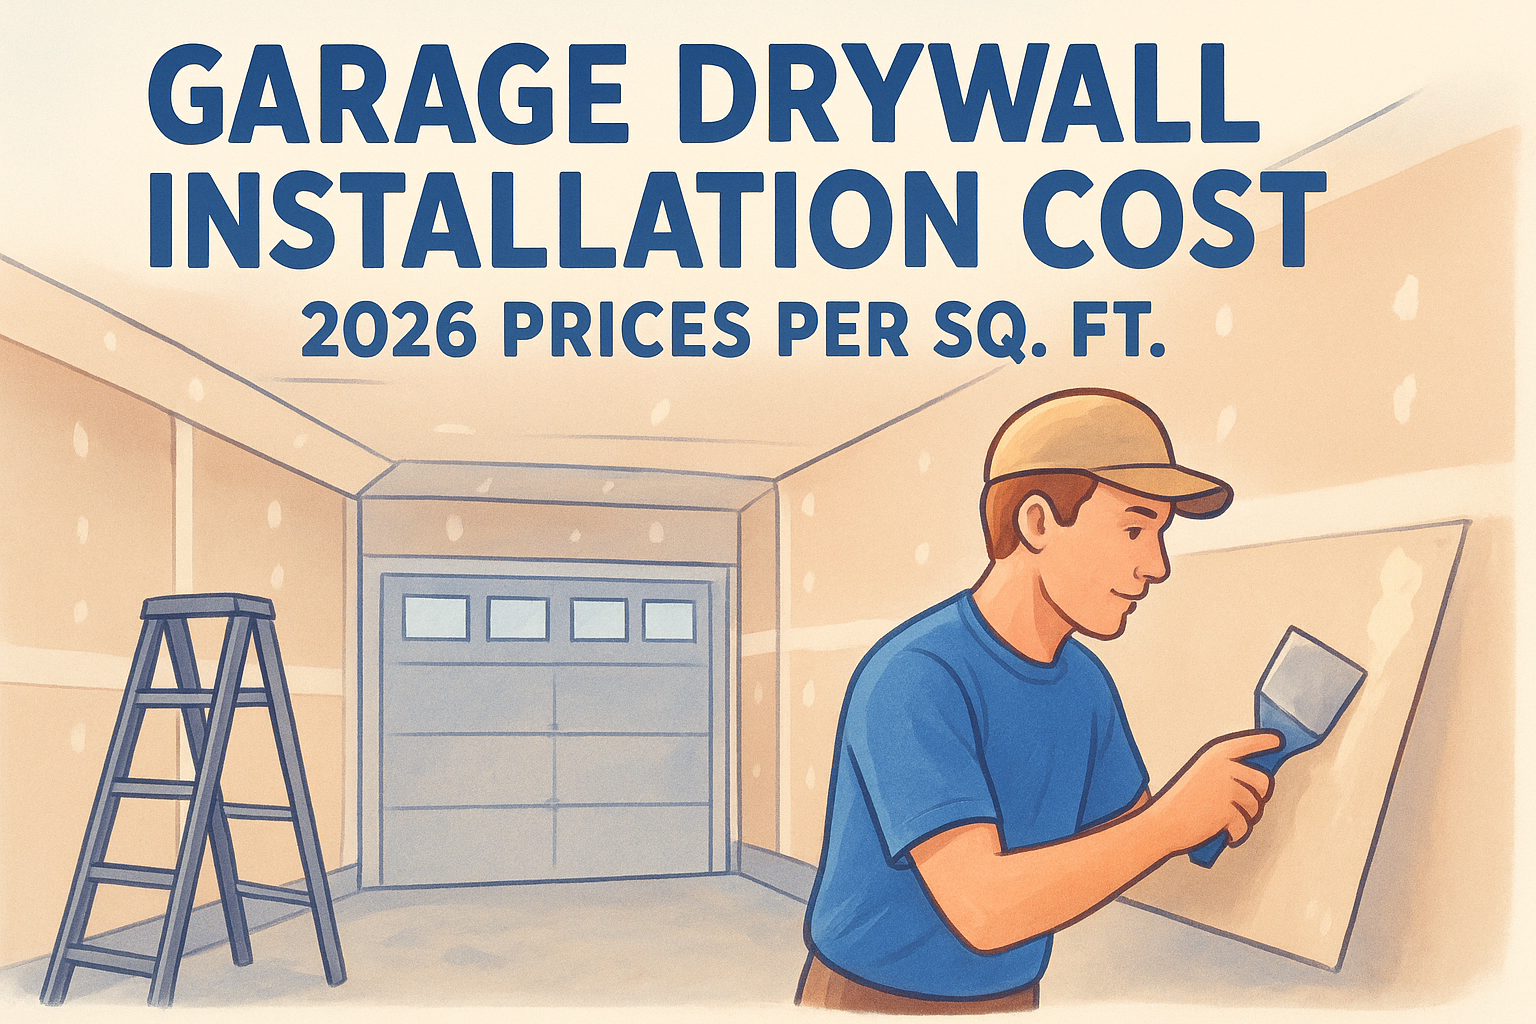
Estimate your 2026 project budget. Learn the garage drywall installation cost per square foot for labor, materials, and fire-rated panel options.
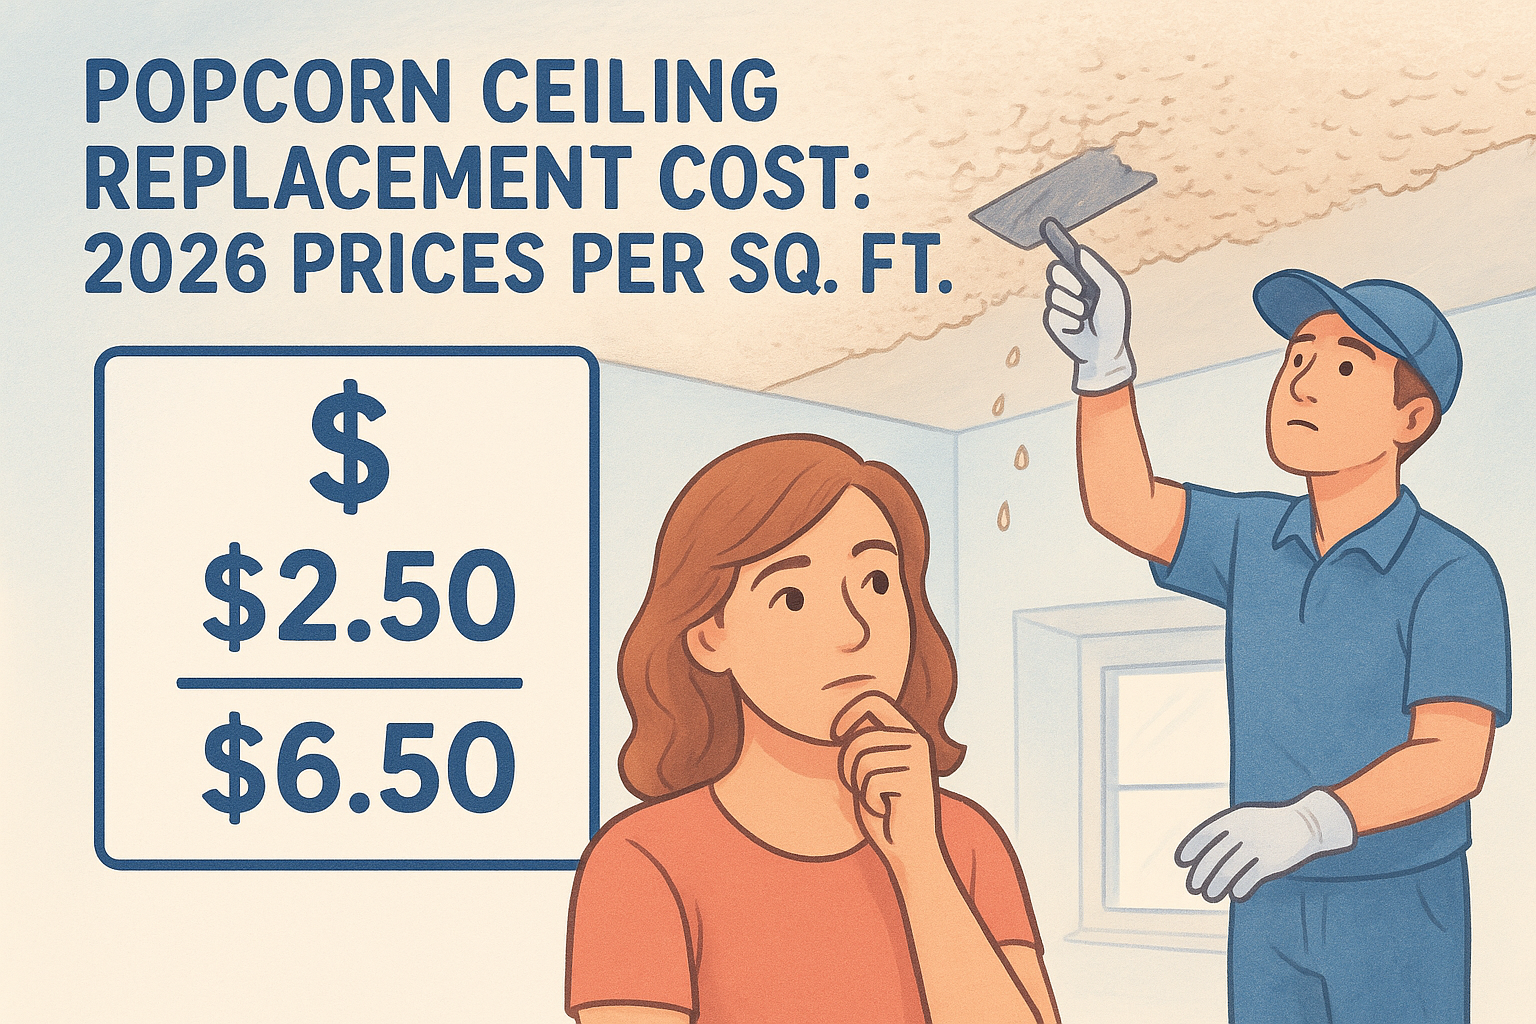
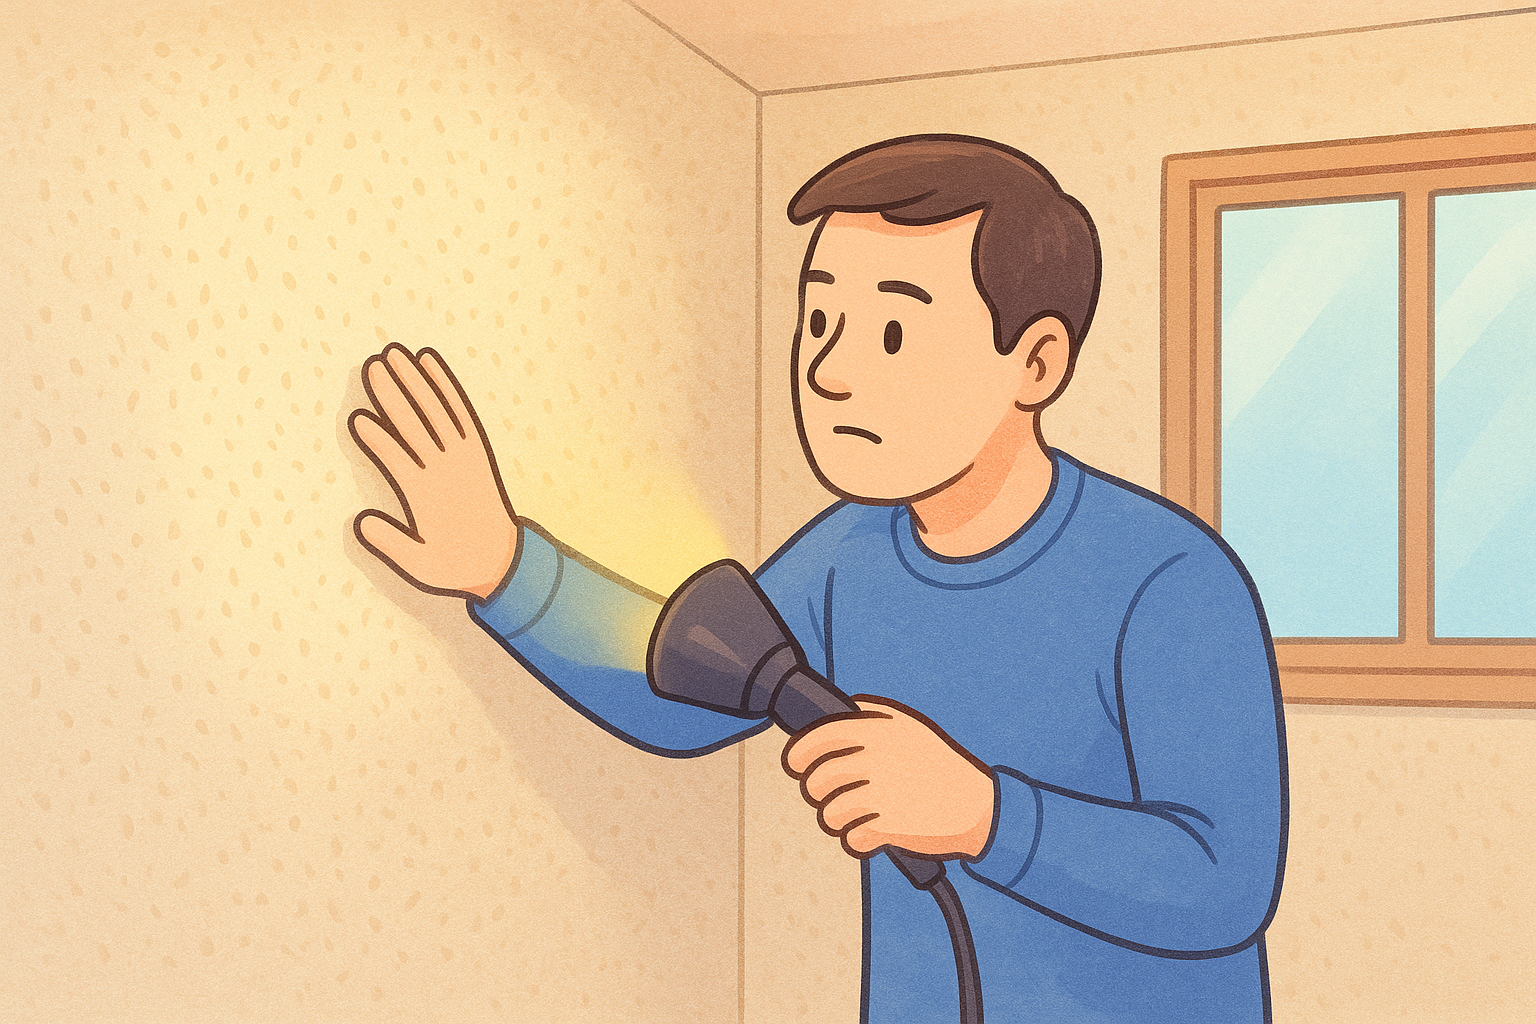
Find the 2026 popcorn ceiling replacement cost per square foot. See Sacramento labor rates, asbestos abatement fees, and pricing for premium finishes.
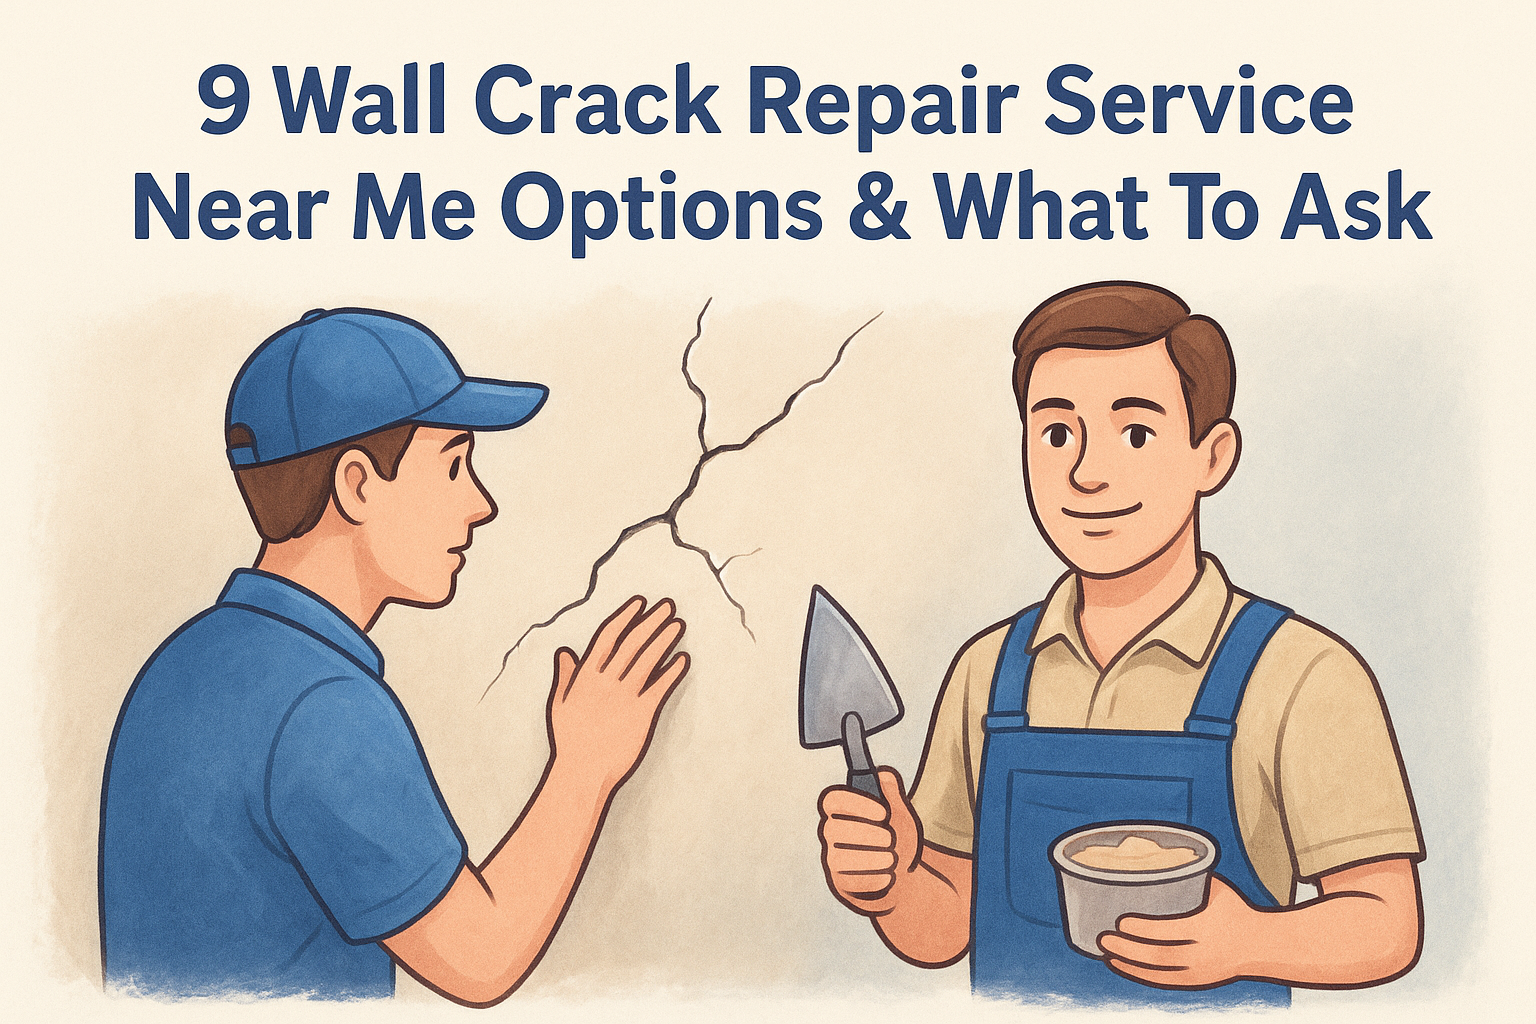
Compare 9 options for a wall crack repair service near me. Learn to spot structural damage and what questions to ask before you hire a professional.
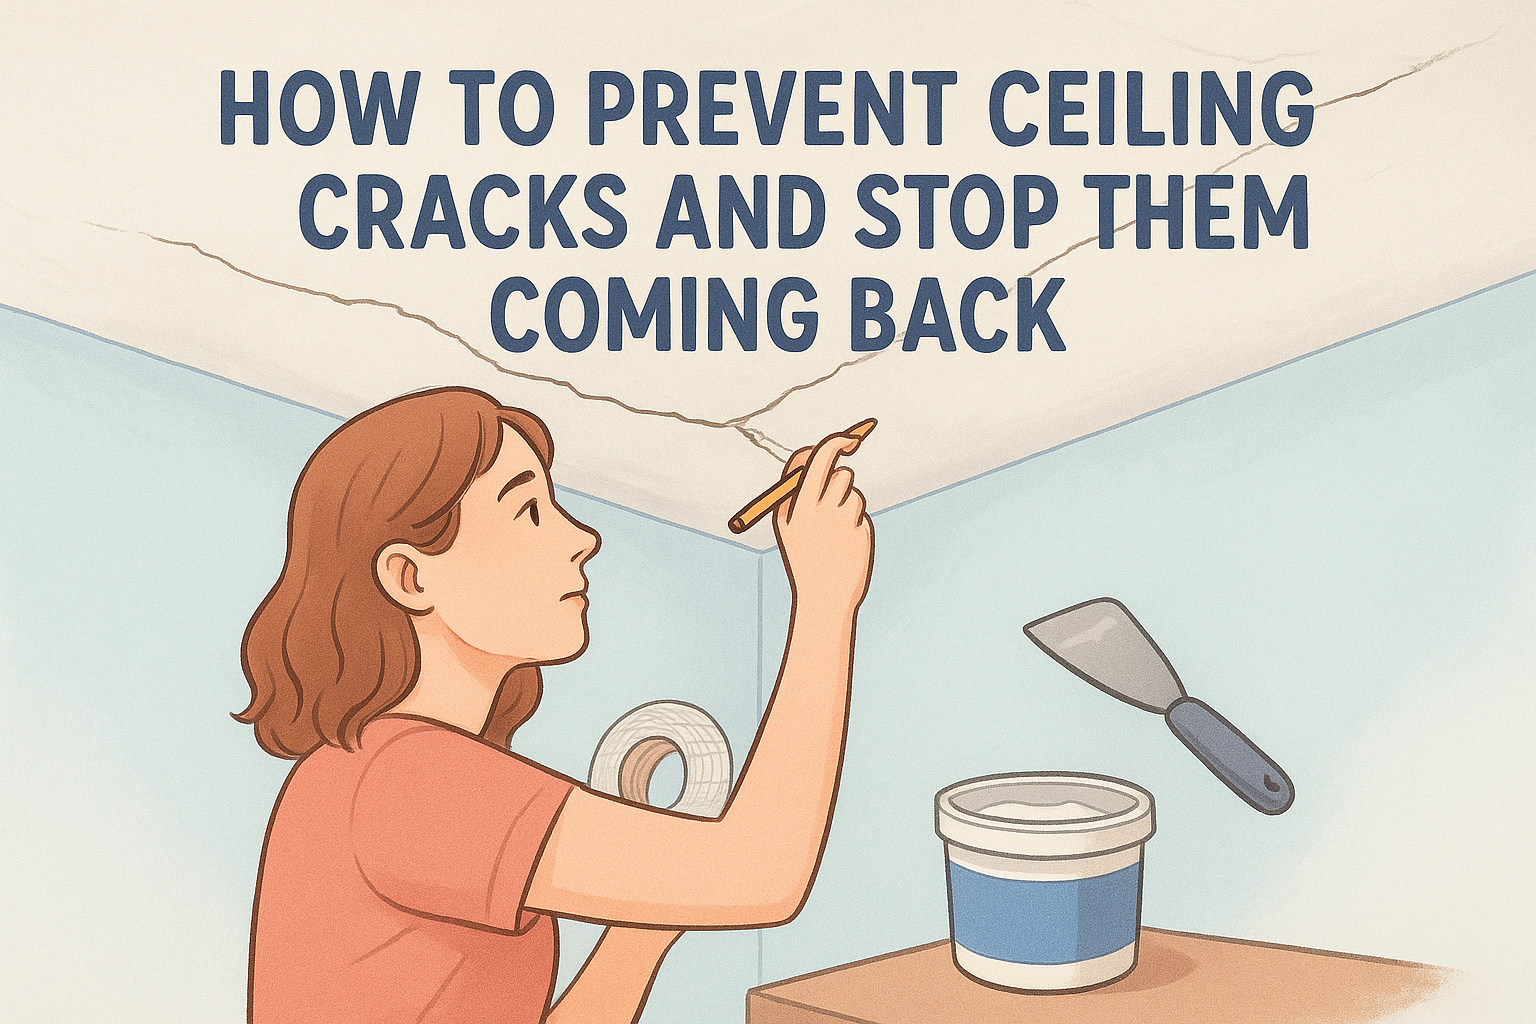
Stop recurring damage. Learn how to prevent ceiling cracks by addressing framing stress, using reinforced patching, and controlling indoor humidity.
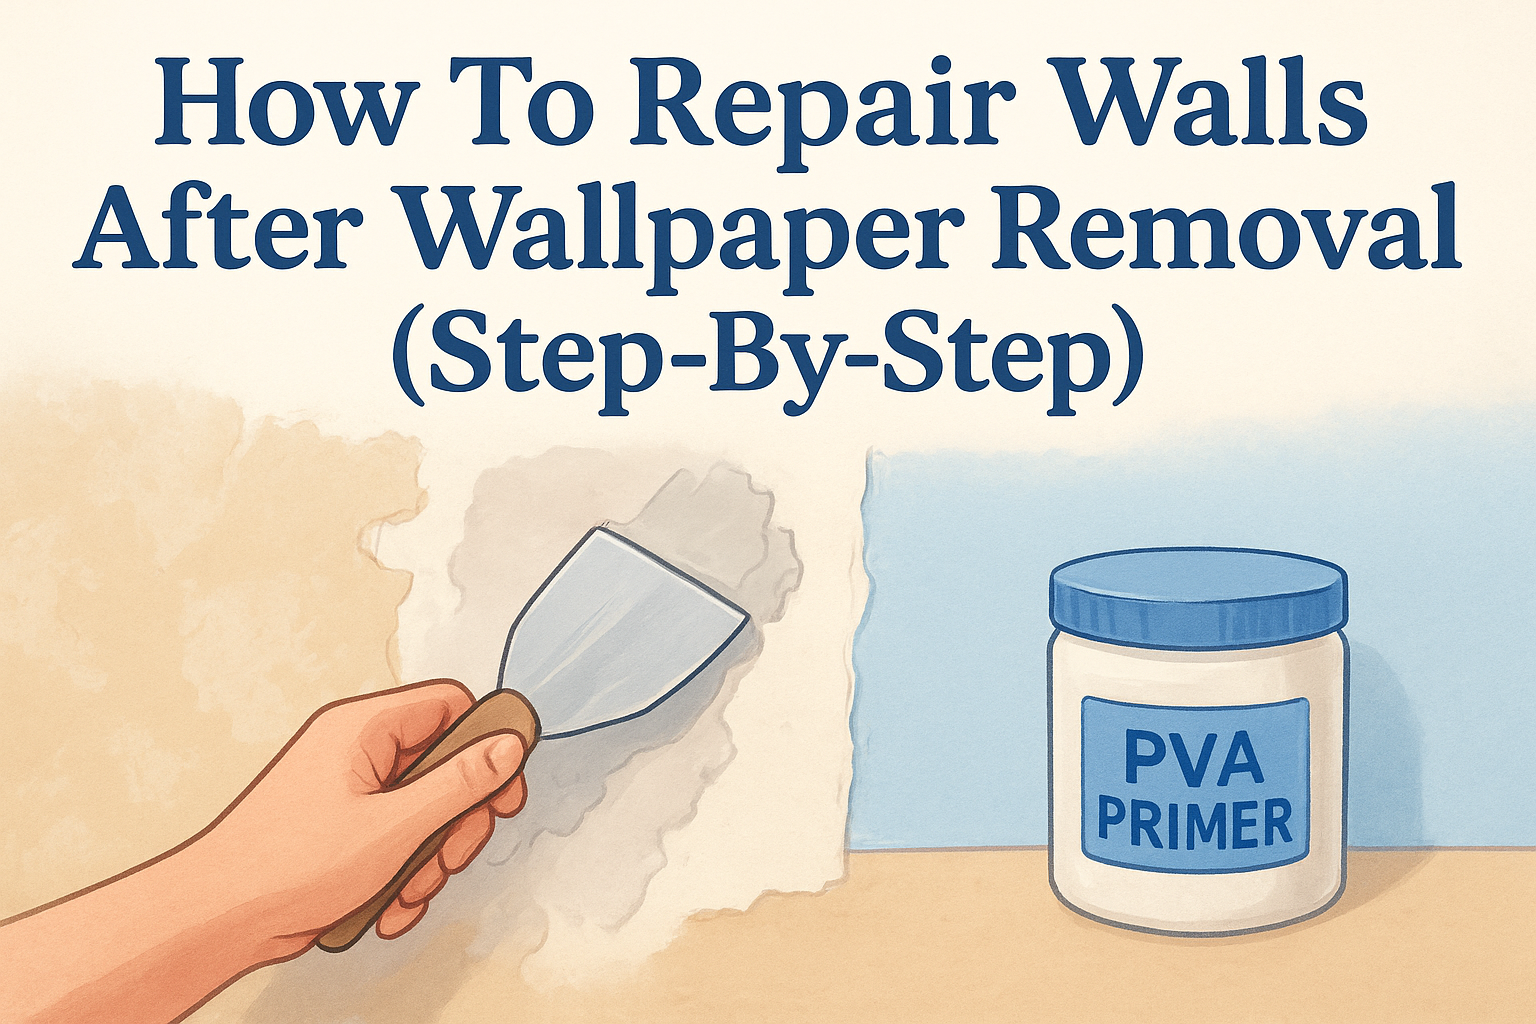
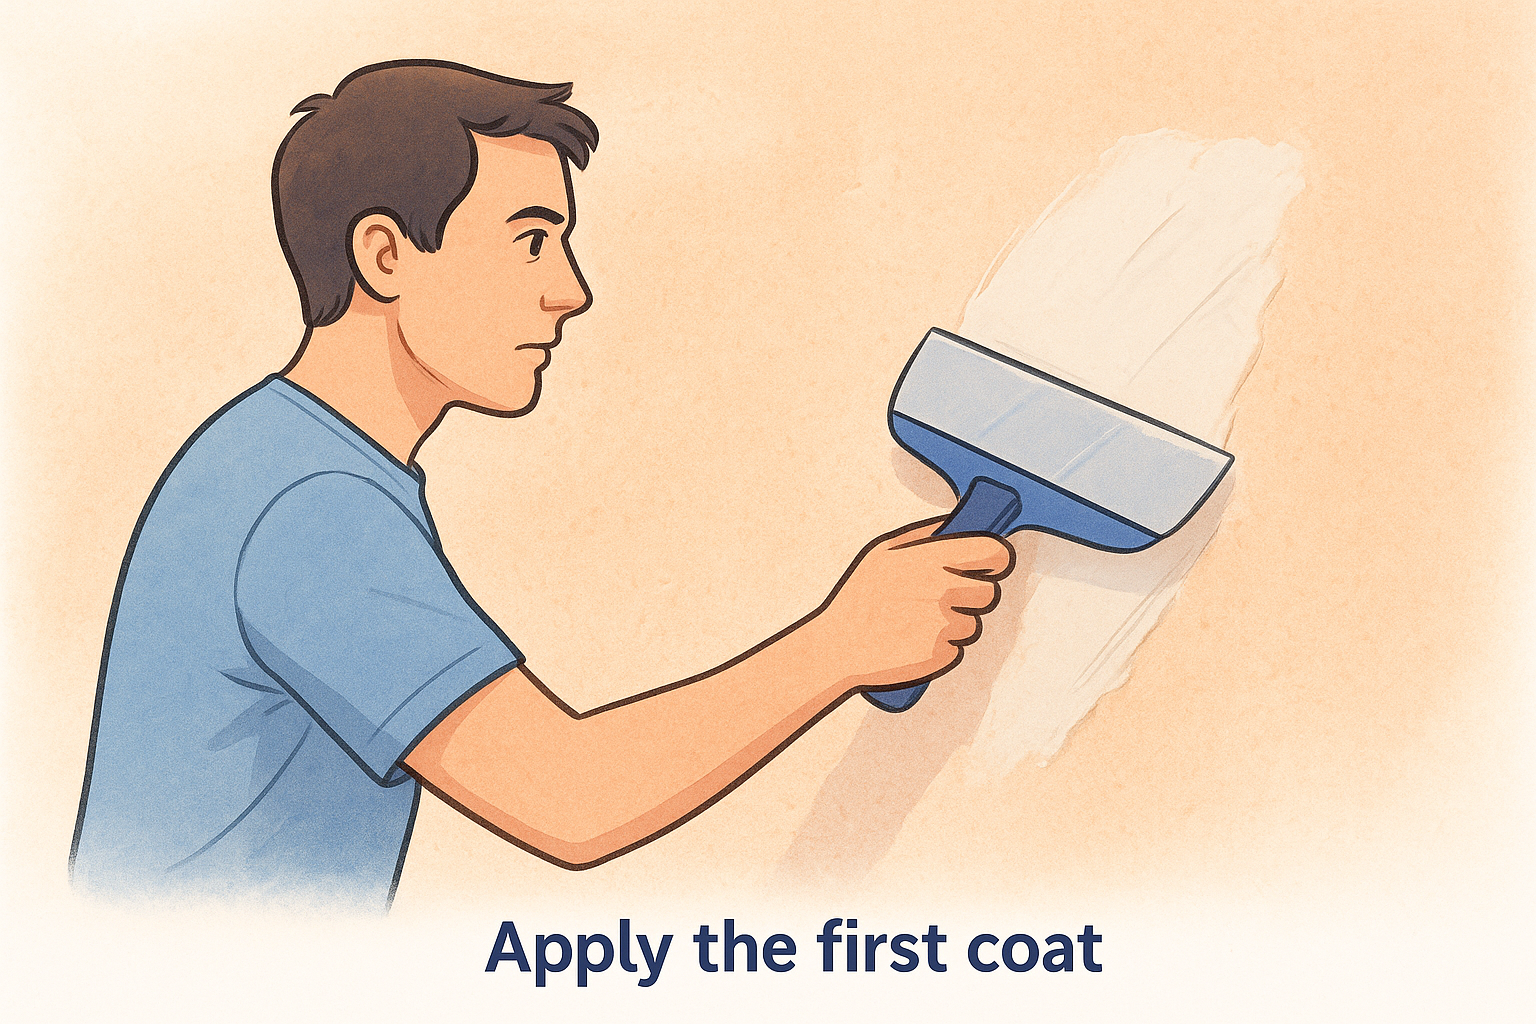
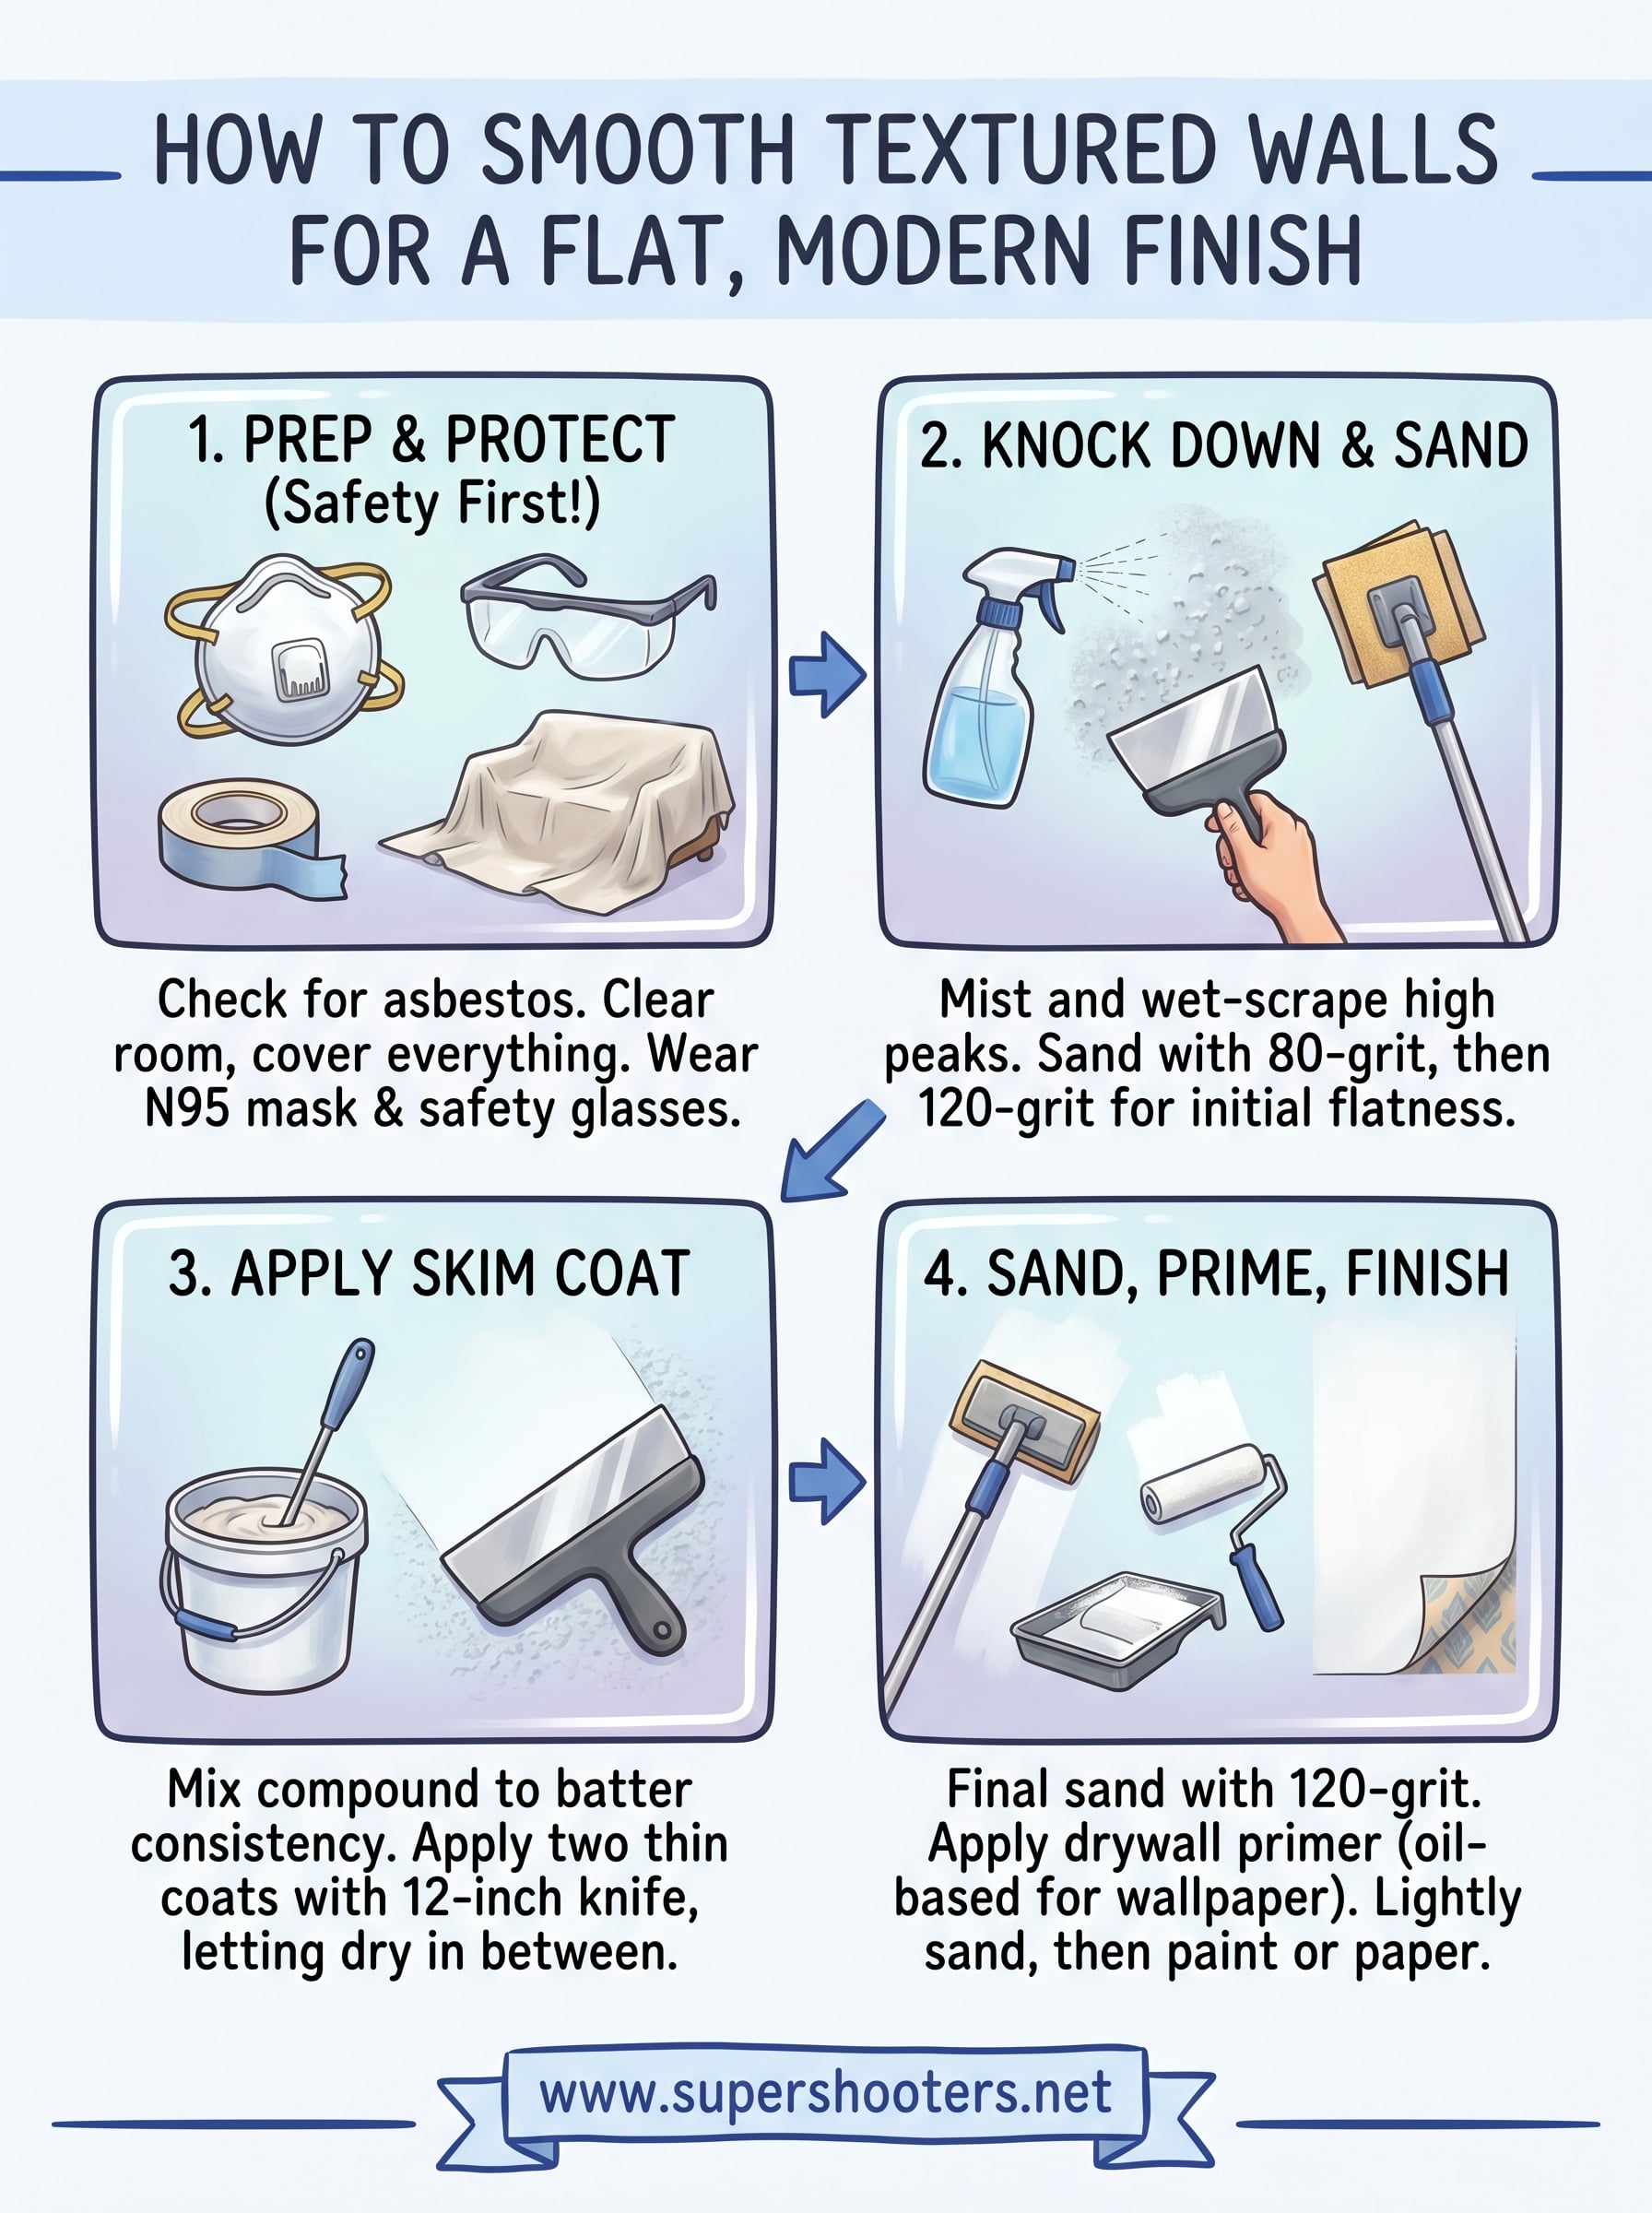
Learn how to repair walls after wallpaper removal. Follow these steps to clean adhesive, seal torn paper, and skim coat for a professional finish.
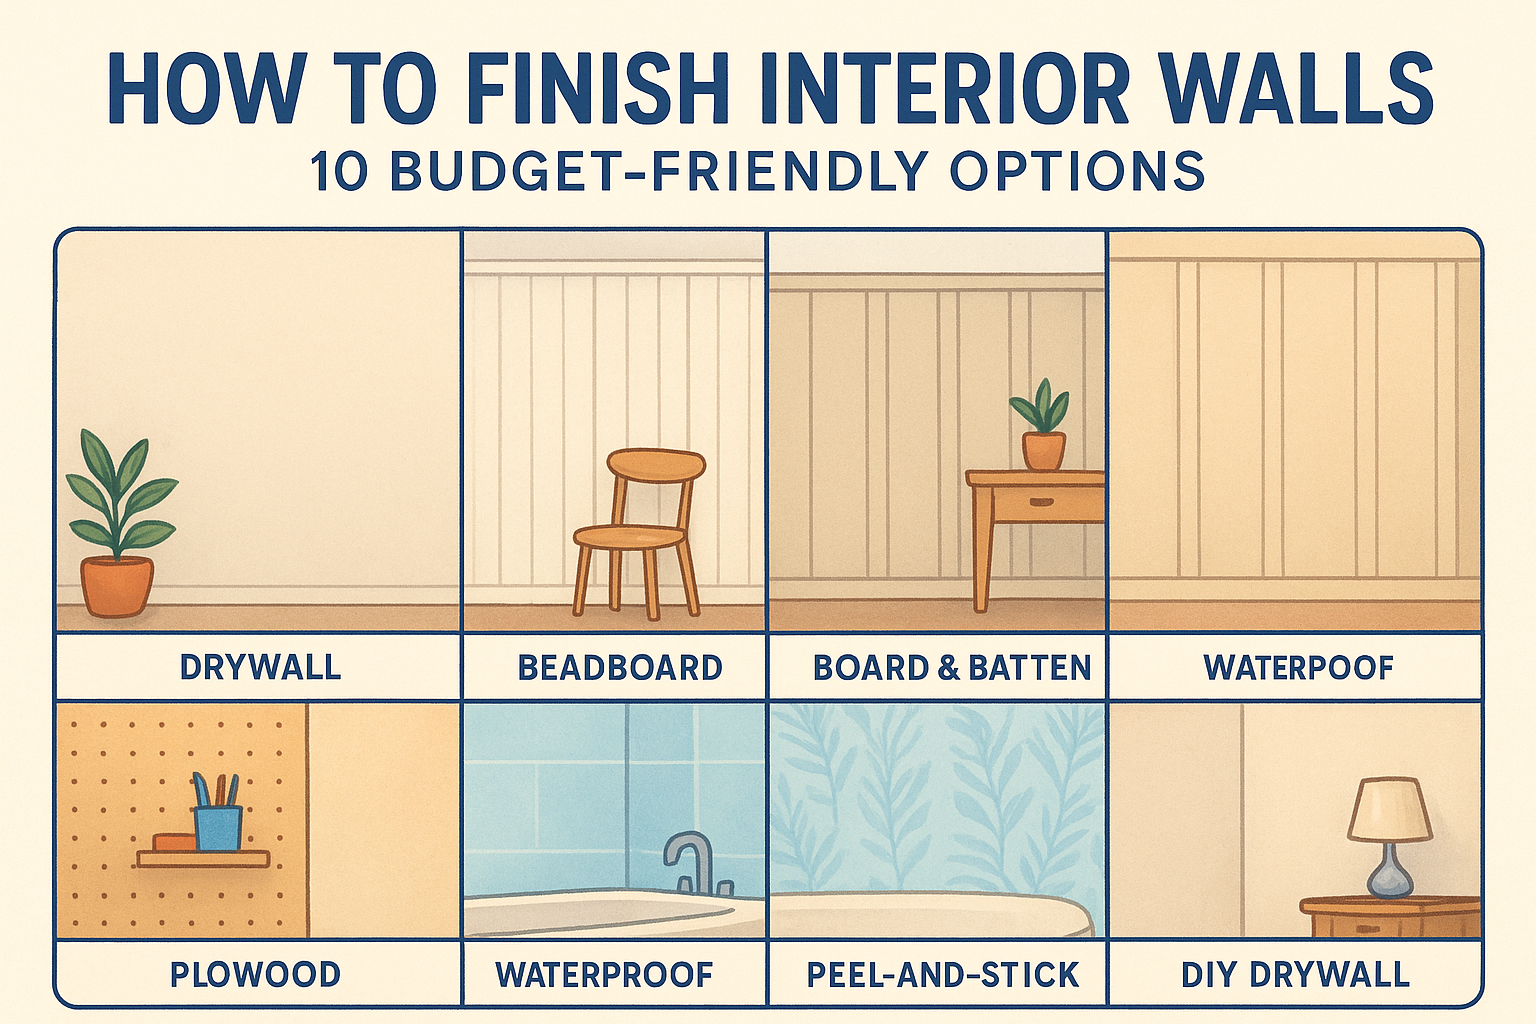
Learn how to finish interior walls with 10 budget-friendly ideas. From skim coating to beadboard, discover the best way to refresh your home's appearance.
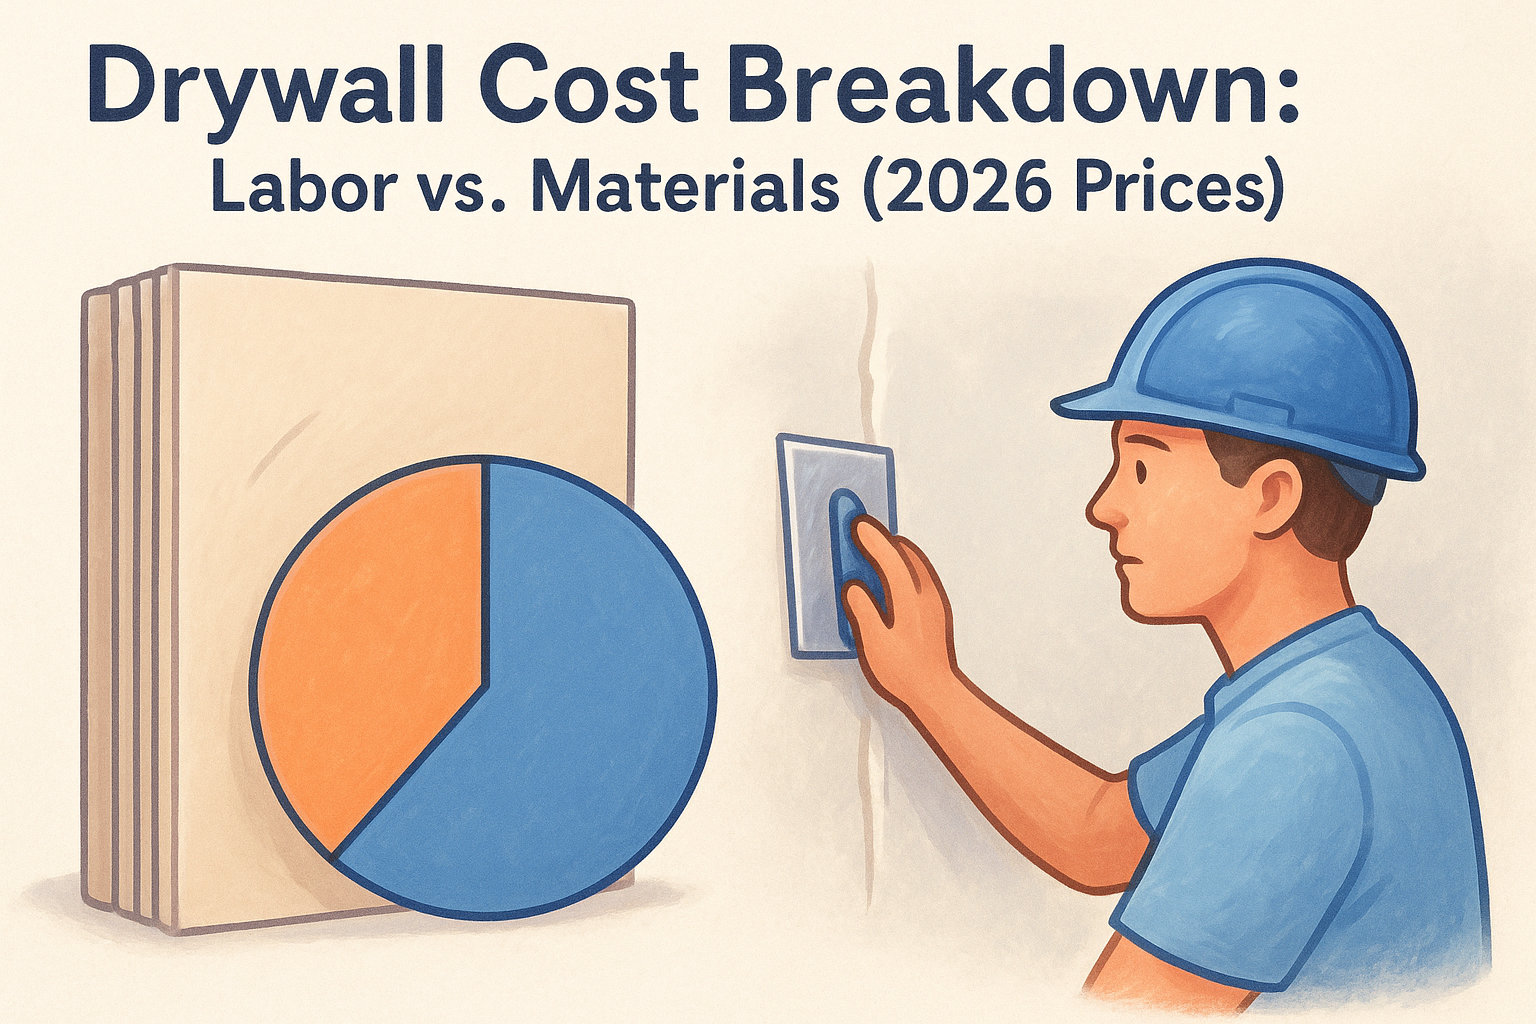
Compare labor and material prices with this 2026 drywall cost breakdown. Learn how to budget for your project and avoid overpaying for installation.
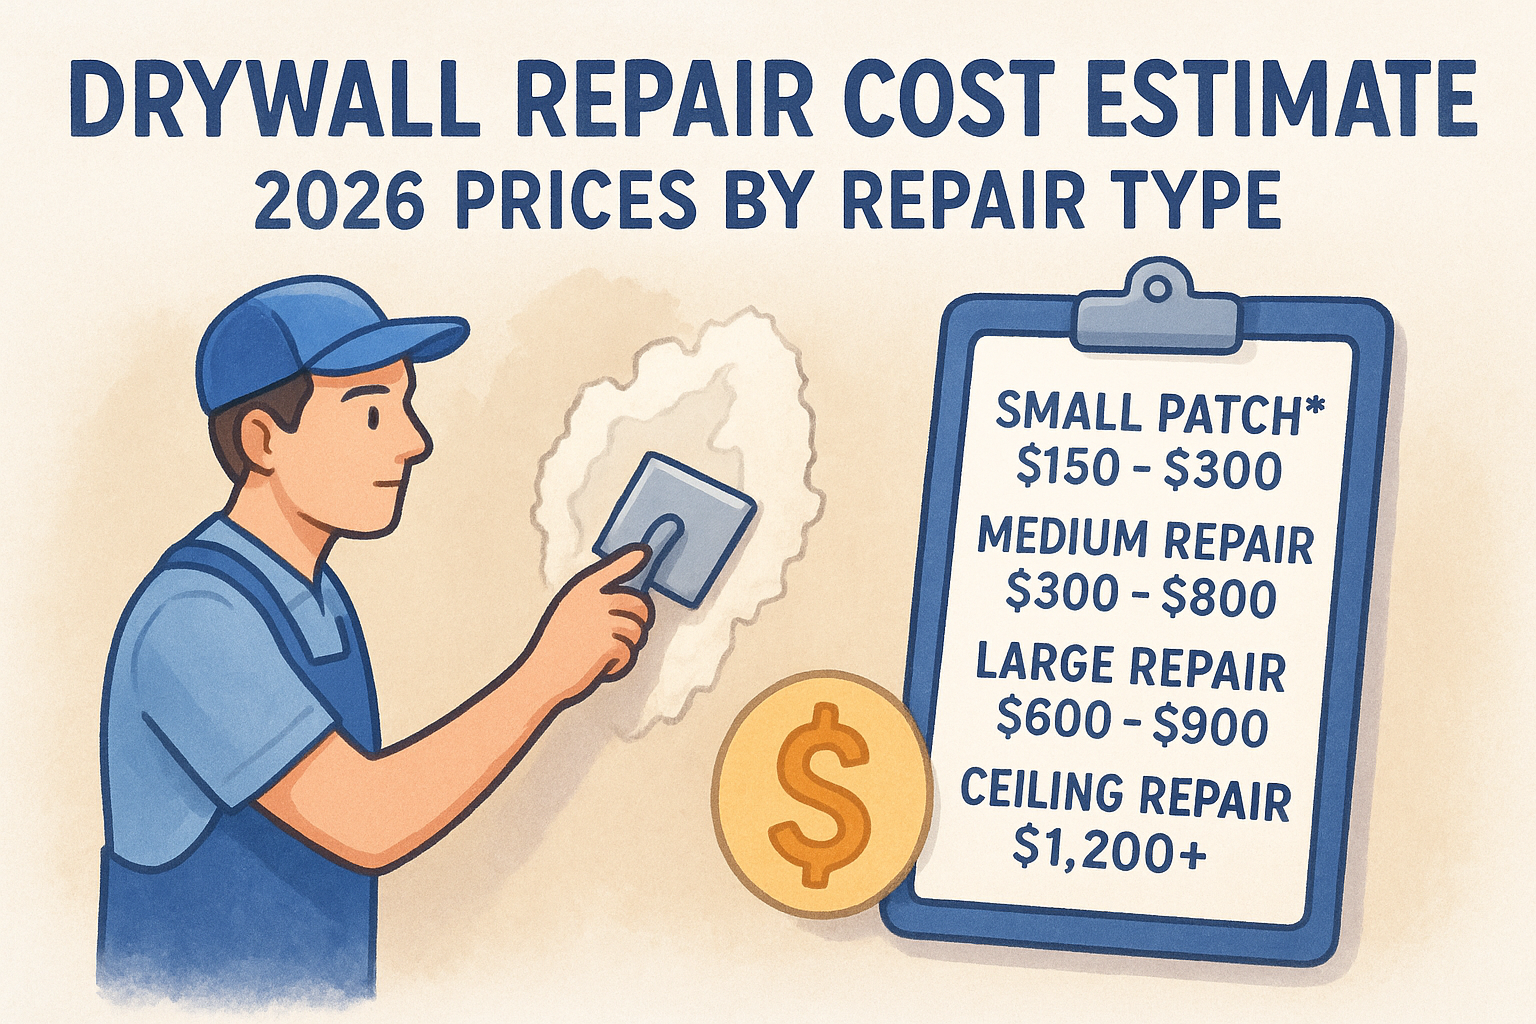
Get an accurate drywall repair cost estimate for 2026. See prices for patches, cracks, and water damage to avoid inflated bids and hire with confidence.
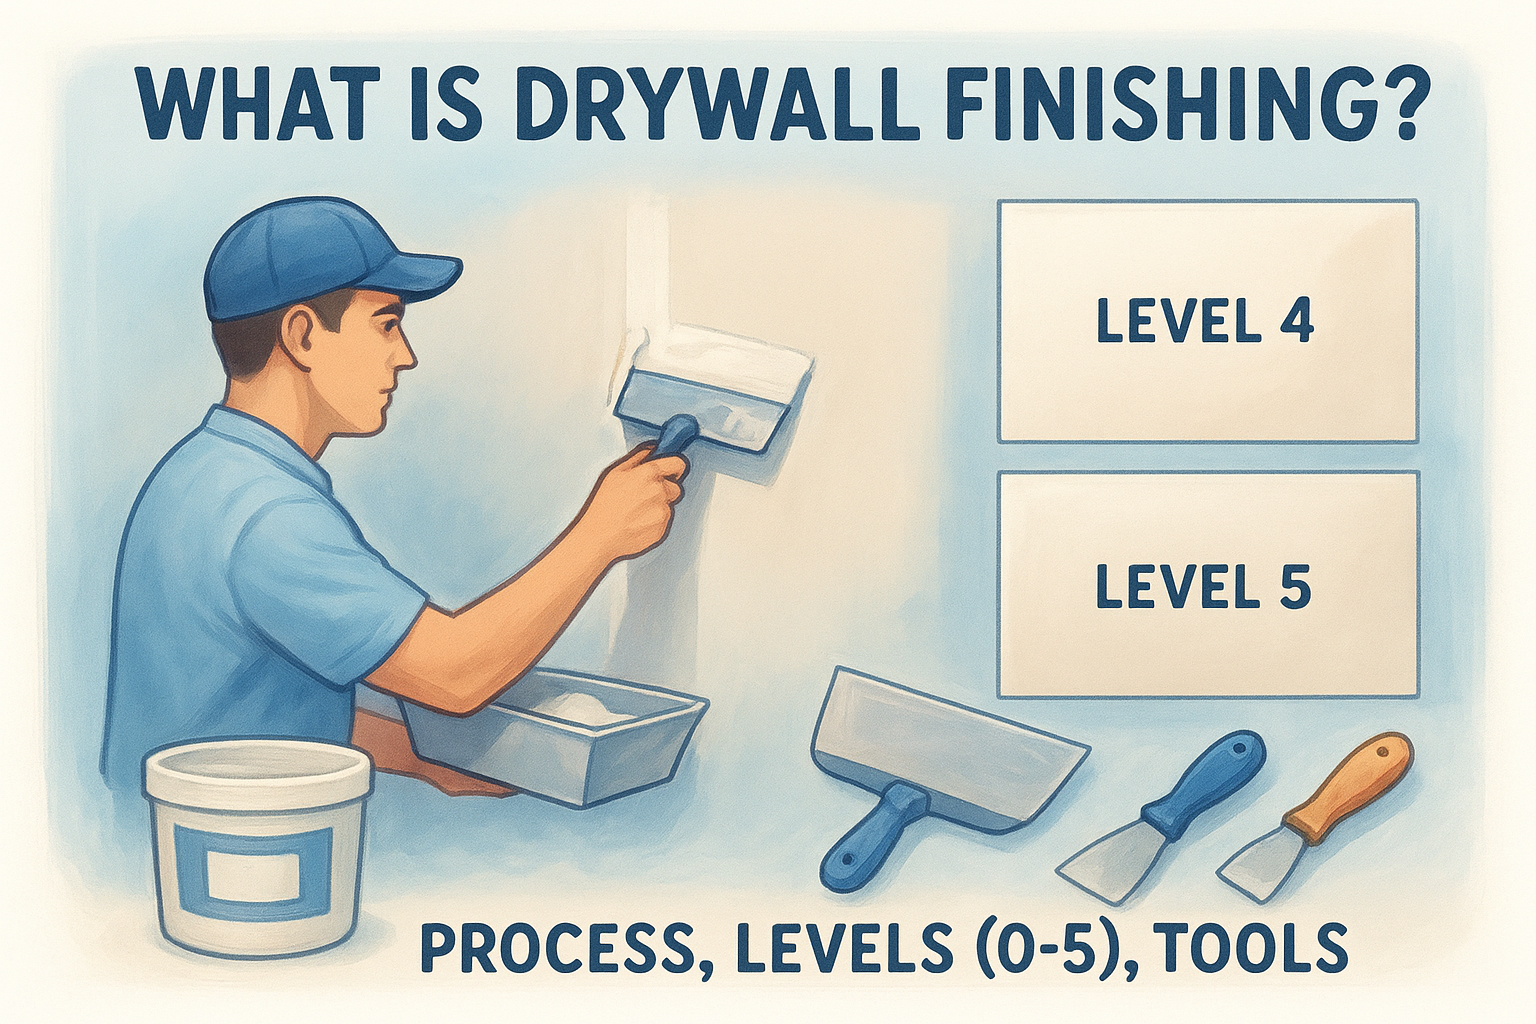
Understand what is drywall finishing, including levels 0-5 and essential tools, to ensure your home’s walls are smooth, professional, and crack-free.
