August 12, 2026
7 Essential Drywall Repair Tools for DIY Patching
That doorknob dent in the hallway wall or the nail pop above your couch doesn't need a contractor visit. With the right drywall repair tools , most small to medium holes are a weekend fix, not a big expense. The trick is knowing which tools actually matter versus what's just sitting on a hardware store shelf looking useful.
This list covers the seven items you need for solid, invisible patches: nothing more, nothing less. We'll walk through the essential drywall patching tools for cutting out damage, the drywall patching material that bonds and blends with your existing wall, and the finishing tools that keep you from sanding for an hour to fix a bad taping job. Whether you're patching one hole or five, this is the same setup our crews rely on.
We've spent over 30 years repairing walls across the Sacramento Valley, so we know which tools for patching drywall hold up to repeated use and which ones fall apart after one project. If your damage goes beyond a simple patch, like water stains, settlement cracks, or exposed studs, we cover that too, along with when it's worth calling in a pro instead.
1. Flexible putty or joint knife
Your whole patch job rises or falls on this one tool. A flexible putty knife , sometimes called a joint knife, spreads compound smoothly and feathers the edges so your repair disappears into the wall instead of standing out as a raised patch. Stiff, cheap knives from the bargain bin flex unevenly and leave ridges you'll spend twice as long sanding out. Among all the drywall repair tools on this list, this is the one where quality actually shows up in your final result.
What it does
Grab a knife with a blade that has some give to it, roughly a millimeter or two of steel that bends when you press it against the wall. That flex lets you apply pressure at the edges of your patch, tapering the compound down to nothing so it blends with the surrounding surface. Rigid blades tend to gouge or skip, leaving thin lines of bare wall showing through your first coat. Stainless steel blades resist rust and clean up faster than carbon steel, which matters if you're doing this project over a few days and don't want to scrub dried mud off overnight.
A flexible blade is the single tool most likely to make or break how invisible your patch turns out.
Best for
Every repair on your list needs this tool, from a single nail hole to a doorknob-sized blowout. Smaller knives, around 3 to 5 inches, work well for tight spaces and initial coats. Wider knives, 8 to 12 inches, help you feather compound over a broader area for a seamless finish on bigger patches. Most DIYers get by with two sizes: a small one for detail work and a wide one for final smoothing coats.
Typical price range
A decent putty knife won't break your budget, and buying one good one beats buying three bad ones.
| Blade Width | Typical Use | Price Range |
|---|---|---|
| 3-4 inches | Small holes, corners | $5-$10 |
| 6 inches | General patching | $8-$15 |
| 10-12 inches | Feathering, large repairs | $12-$25 |
Sets that bundle two or three sizes often run $15 to $30 and save you a second trip to the store. Spend a little more here than you're tempted to. This is the tool your hand touches on every single stroke of the job.
2. Self-adhesive mesh drywall patch
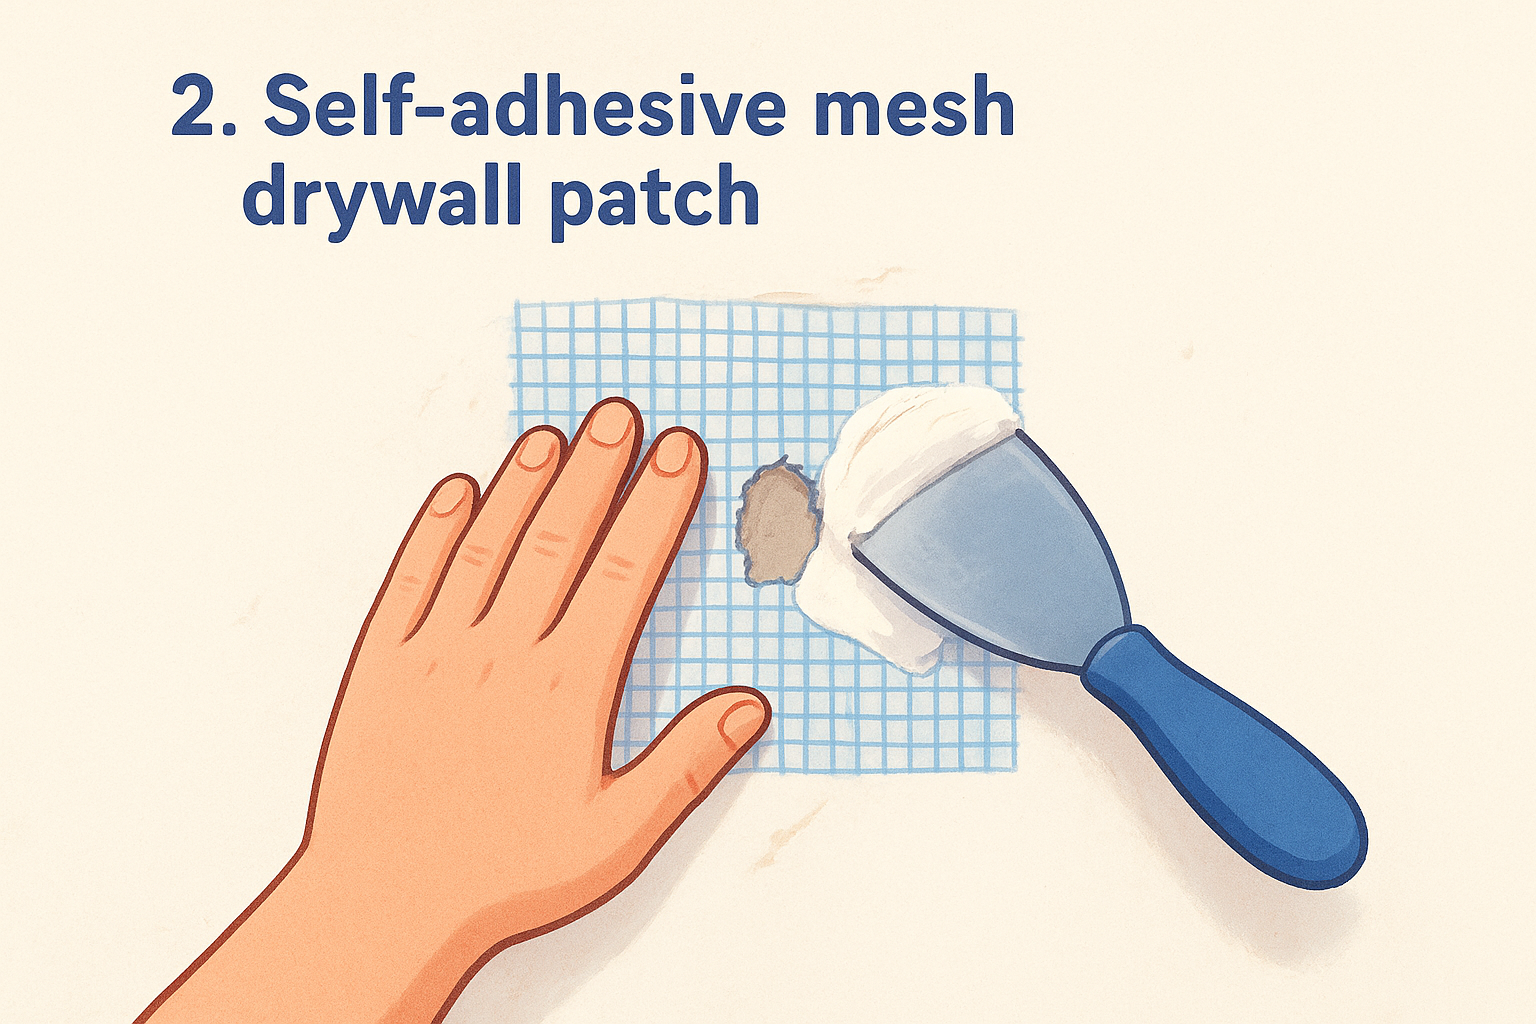
For holes bigger than a nail pop but smaller than a football, a self-adhesive mesh patch saves you the hassle of cutting and fitting a drywall scrap. This fiberglass mesh sticks directly over the hole, giving your joint compound something to grip instead of sinking into empty space. It's one of the simplest pieces of drywall patching material you can buy, and it turns a job that used to require cutting skills into something almost anyone can pull off.
What it does
Stick the mesh over the hole, smooth out any bubbles, then load compound over the top in thin layers. The mesh bridges the gap and keeps your first coat from caving in, which is exactly what happens when people try to mud over an open hole without any backing. Most patches include a self-adhesive backing already coated with a thin layer of compound, so you skip a step compared to buying plain fiberglass tape.
A mesh patch turns a hole with nothing to hold onto into a surface your compound can actually bond to.
Best for
Holes between 1 and 6 inches across are the sweet spot, think doorknob dents, small punch-throughs, or old anchor holes that got worse over time. Anything larger needs a proper drywall cutout backed by wood or a California patch, since mesh alone can't support much weight or span.
Typical price range
Expect to pay $3 to $8 for a single patch, or $10 to $15 for a multi-pack with a few sizes included. Kits that bundle mesh patches with a small tub of compound and a putty knife run $12 to $20, a fair deal if you're buying your first set of tools.
3. Joint compound or spackle
Once your mesh patch is in place, you need something to actually fill and smooth over it. Joint compound and spackle both do this job, but they're not interchangeable, and picking the wrong one leads to shrinking, cracking, or a patch that never quite blends in. This is the core drywall patching material in your kit, the stuff that turns a taped-over hole into a smooth section of wall.
What it does
Joint compound, often called mud, comes premixed in tubs or as a powder you mix yourself. It builds up in layers, sands easily, and works for everything from hairline cracks to large patches. Spackle is thicker, dries faster, and shrinks less, making it better suited for small dings and nail holes where you want a one-coat fix. Lightweight spackle formulas dry within 30 minutes, while joint compound often needs a full day between coats.
Use spackle for pinholes and joint compound for anything bigger; mixing up the two just means more sanding later.
Best for
Reach for spackle on small nail holes, minor dings, and quick same-day fixes. Save joint compound for mesh-patched holes, seams, and any repair where you're building up multiple thin coats to feather the edges flat.
Typical price range
Small tubs of premixed spackle run $4 to $8 and cover a handful of tiny repairs. All-purpose joint compound in a gallon tub costs $10 to $18, plenty for most DIY jobs. Powder-mix compound, cheaper per pound at $8 to $12 for a large box, suits bigger projects but requires mixing equipment you may not already own.
4. Sanding sponge or sandpaper
Once your compound dries, you need a way to knock down ridges and blend the edges into the surrounding wall without gouging the paper surface underneath. A sanding sponge does this job better than loose sandpaper for most DIYers, since the sponge's cushioned edges follow the wall's contour and resist digging in. Sandpaper still has its place, especially for flat, wide areas where you want more control over pressure. Either way, this step is what separates a patch you can feel with your hand from one that disappears under paint.
What it does
Sanding smooths the final coat of joint compound, removing any high spots, ridges, or tool marks left from your putty knife. A fine-grit sponge, somewhere around 120 to 220 grit, handles this without scratching the drywall paper or leaving swirl marks that show through paint. Wet sanding sponges cut down on dust, a real advantage if you're working in a finished room with furniture nearby.
Skip sanding and every ridge you left behind will show up the moment you roll on paint.
Best for
Use a fine-grit sponge for feathered edges and final smoothing passes on any patch. Coarser grits, around 80 to 100, work faster on thick buildup but risk gouging soft compound if you're not careful. Sandpaper on a sanding block suits large, flat sections where you want a perfectly even surface across a wide area.
Typical price range
A single sanding sponge costs $2 to $5, and multi-packs with a few grits run $8 to $12. Sandpaper sheets are cheaper per unit, around $1 to $2 each, but you'll go through more of them on a typical repair job.
5. Utility knife
Before any compound goes on the wall, something has to clean up the damage first. A utility knife trims away crumbling drywall paper, squares off ragged hole edges, and cuts your mesh patch or drywall scrap to size. Skip this step and you'll be troweling mud over loose paper and torn gypsum, which almost always leads to bubbling or cracking once it dries.
What it does
Retractable utility knives with replaceable blades let you score and snap drywall, trim patches flush, and cut away damaged paper facing so your compound bonds to solid material. Snapping in a fresh blade every few cuts matters more than most people realize. A dull blade tears drywall paper instead of slicing it cleanly, leaving a fuzzy edge that telegraphs through your finished patch.
A sharp blade cuts drywall clean; a dull one tears it and leaves a rough edge you'll see under paint.
Best for
Use it to cut mesh patches and drywall scraps to exact size, trim loose or crumbling paper around a hole before patching, and square off ragged edges so a California patch or backing piece sits flush. It also comes in handy for scoring larger cutouts when you're replacing a bigger damaged section rather than just filling a hole.
Typical price range
A basic retractable utility knife costs $5 to $10, and most hardware stores sell replacement blades in packs of 10 for another $3 to $6. Folding or fixed-blade versions with a more comfortable grip run $10 to $20. Given how often you'll swap blades mid-project, buy the extra pack up front rather than making a second trip.
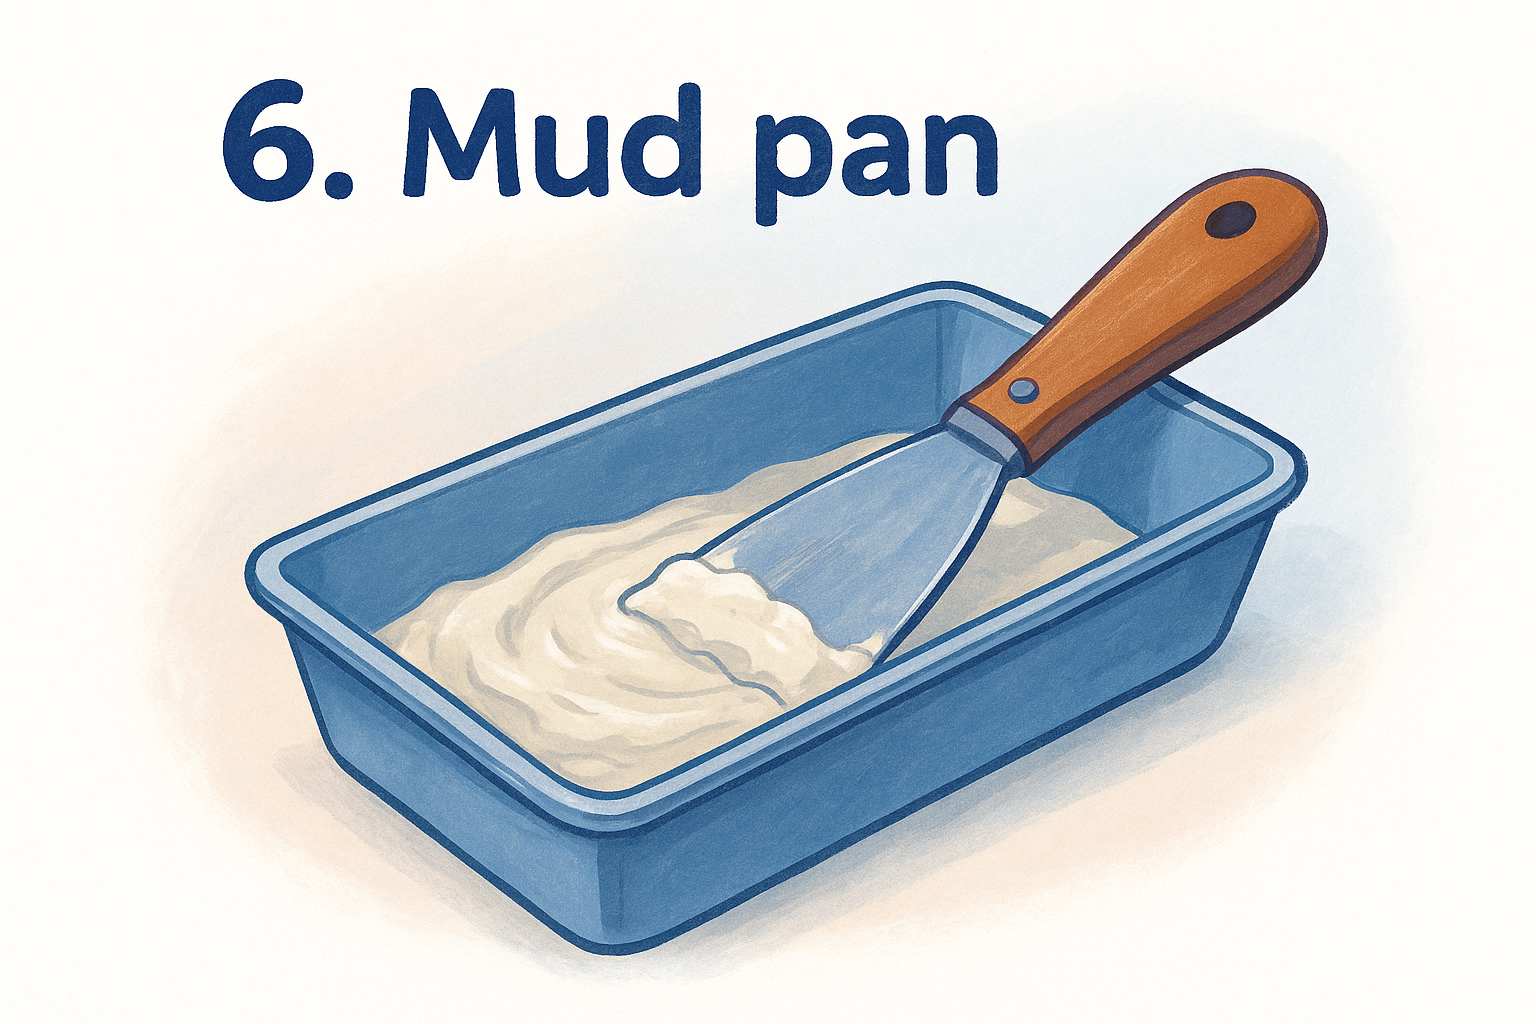
6. Mud pan
A mud pan might seem like a nice-to-have, but ask anyone who's tried to load compound straight from a tub onto a knife blade and you'll get an earful about clumping and drips. This shallow metal or plastic tray holds a workable amount of joint compound and lets you scrape your knife against its edge to load an even, thin layer every time. Among the drywall repair tools you gather for a patch job, this one keeps your workspace clean and your compound application consistent from the first coat to the last.
What it does
Carrying a small batch of mud, the pan gives you a flat surface to scrape your knife against, wiping off excess and leaving just enough on the blade for a thin, even coat. Its beveled edge doubles as a built-in scraper, so you're not fighting globs of compound that slide off a knife loaded straight from the tub. A mud pan also keeps your compound from drying out as fast as it would sitting open on a rag or a paper plate, since less surface area is exposed to air.
Loading your knife from a pan instead of the tub is the difference between a smooth coat and a lumpy mess.
Best for
Doing more than one or two coats calls for a pan, especially on wider patches where you're feathering compound across a foot or more of wall. Even single-hole repairs go faster with one on hand, since you're not stopping to dig into a tub every few strokes. Metal pans hold up longer and clean up easier than plastic, though plastic costs less if you're only patching a couple of holes.
Typical price range
Expect to spend $5 to $10 for a basic plastic pan, and $10 to $18 for a stainless steel version that resists denting and scrapes clean without leaving dried mud in the corners. Given how cheap and reusable this tool is, it's worth adding to your kit even for a single small repair.
7. Drywall jab saw
A drywall jab saw , also called a keyhole saw, cuts through drywall fast when a utility knife just can't handle the job. Its pointed tip stabs straight into the wall without needing a starter hole, letting you cut out damaged sections, notch around pipes, or square off a repair area for a California patch. Of all the drywall repair tools on this list, this one earns its keep on bigger jobs where cutting through gypsum board by hand would take forever.
What it does
Pushing the pointed blade through the drywall surface, the saw lets you carve a clean opening for cutting out crumbling material or squaring off an irregular hole before patching. Coarse teeth chew through gypsum board quickly, and the narrow blade maneuvers around studs, wiring, and pipes without much fuss. Larger repairs, like sections damaged by water or impact, often need a full cutout rather than a mesh patch, and that's exactly where this tool shines.
When a hole is too big or too messy for a mesh patch, a jab saw is what lets you cut it out and start clean.
Best for
Reach for a jab saw on holes bigger than 6 inches, water-damaged sections that need full removal, or any repair where you're installing a backing piece behind the cutout. It's less useful for small dings and nail holes, where a utility knife handles trimming just fine.
Typical price range
A basic jab saw costs $5 to $12 at most hardware stores, and sturdier versions with a comfortable grip run $12 to $20. Given how rarely it wears out, one purchase covers years of occasional repairs.
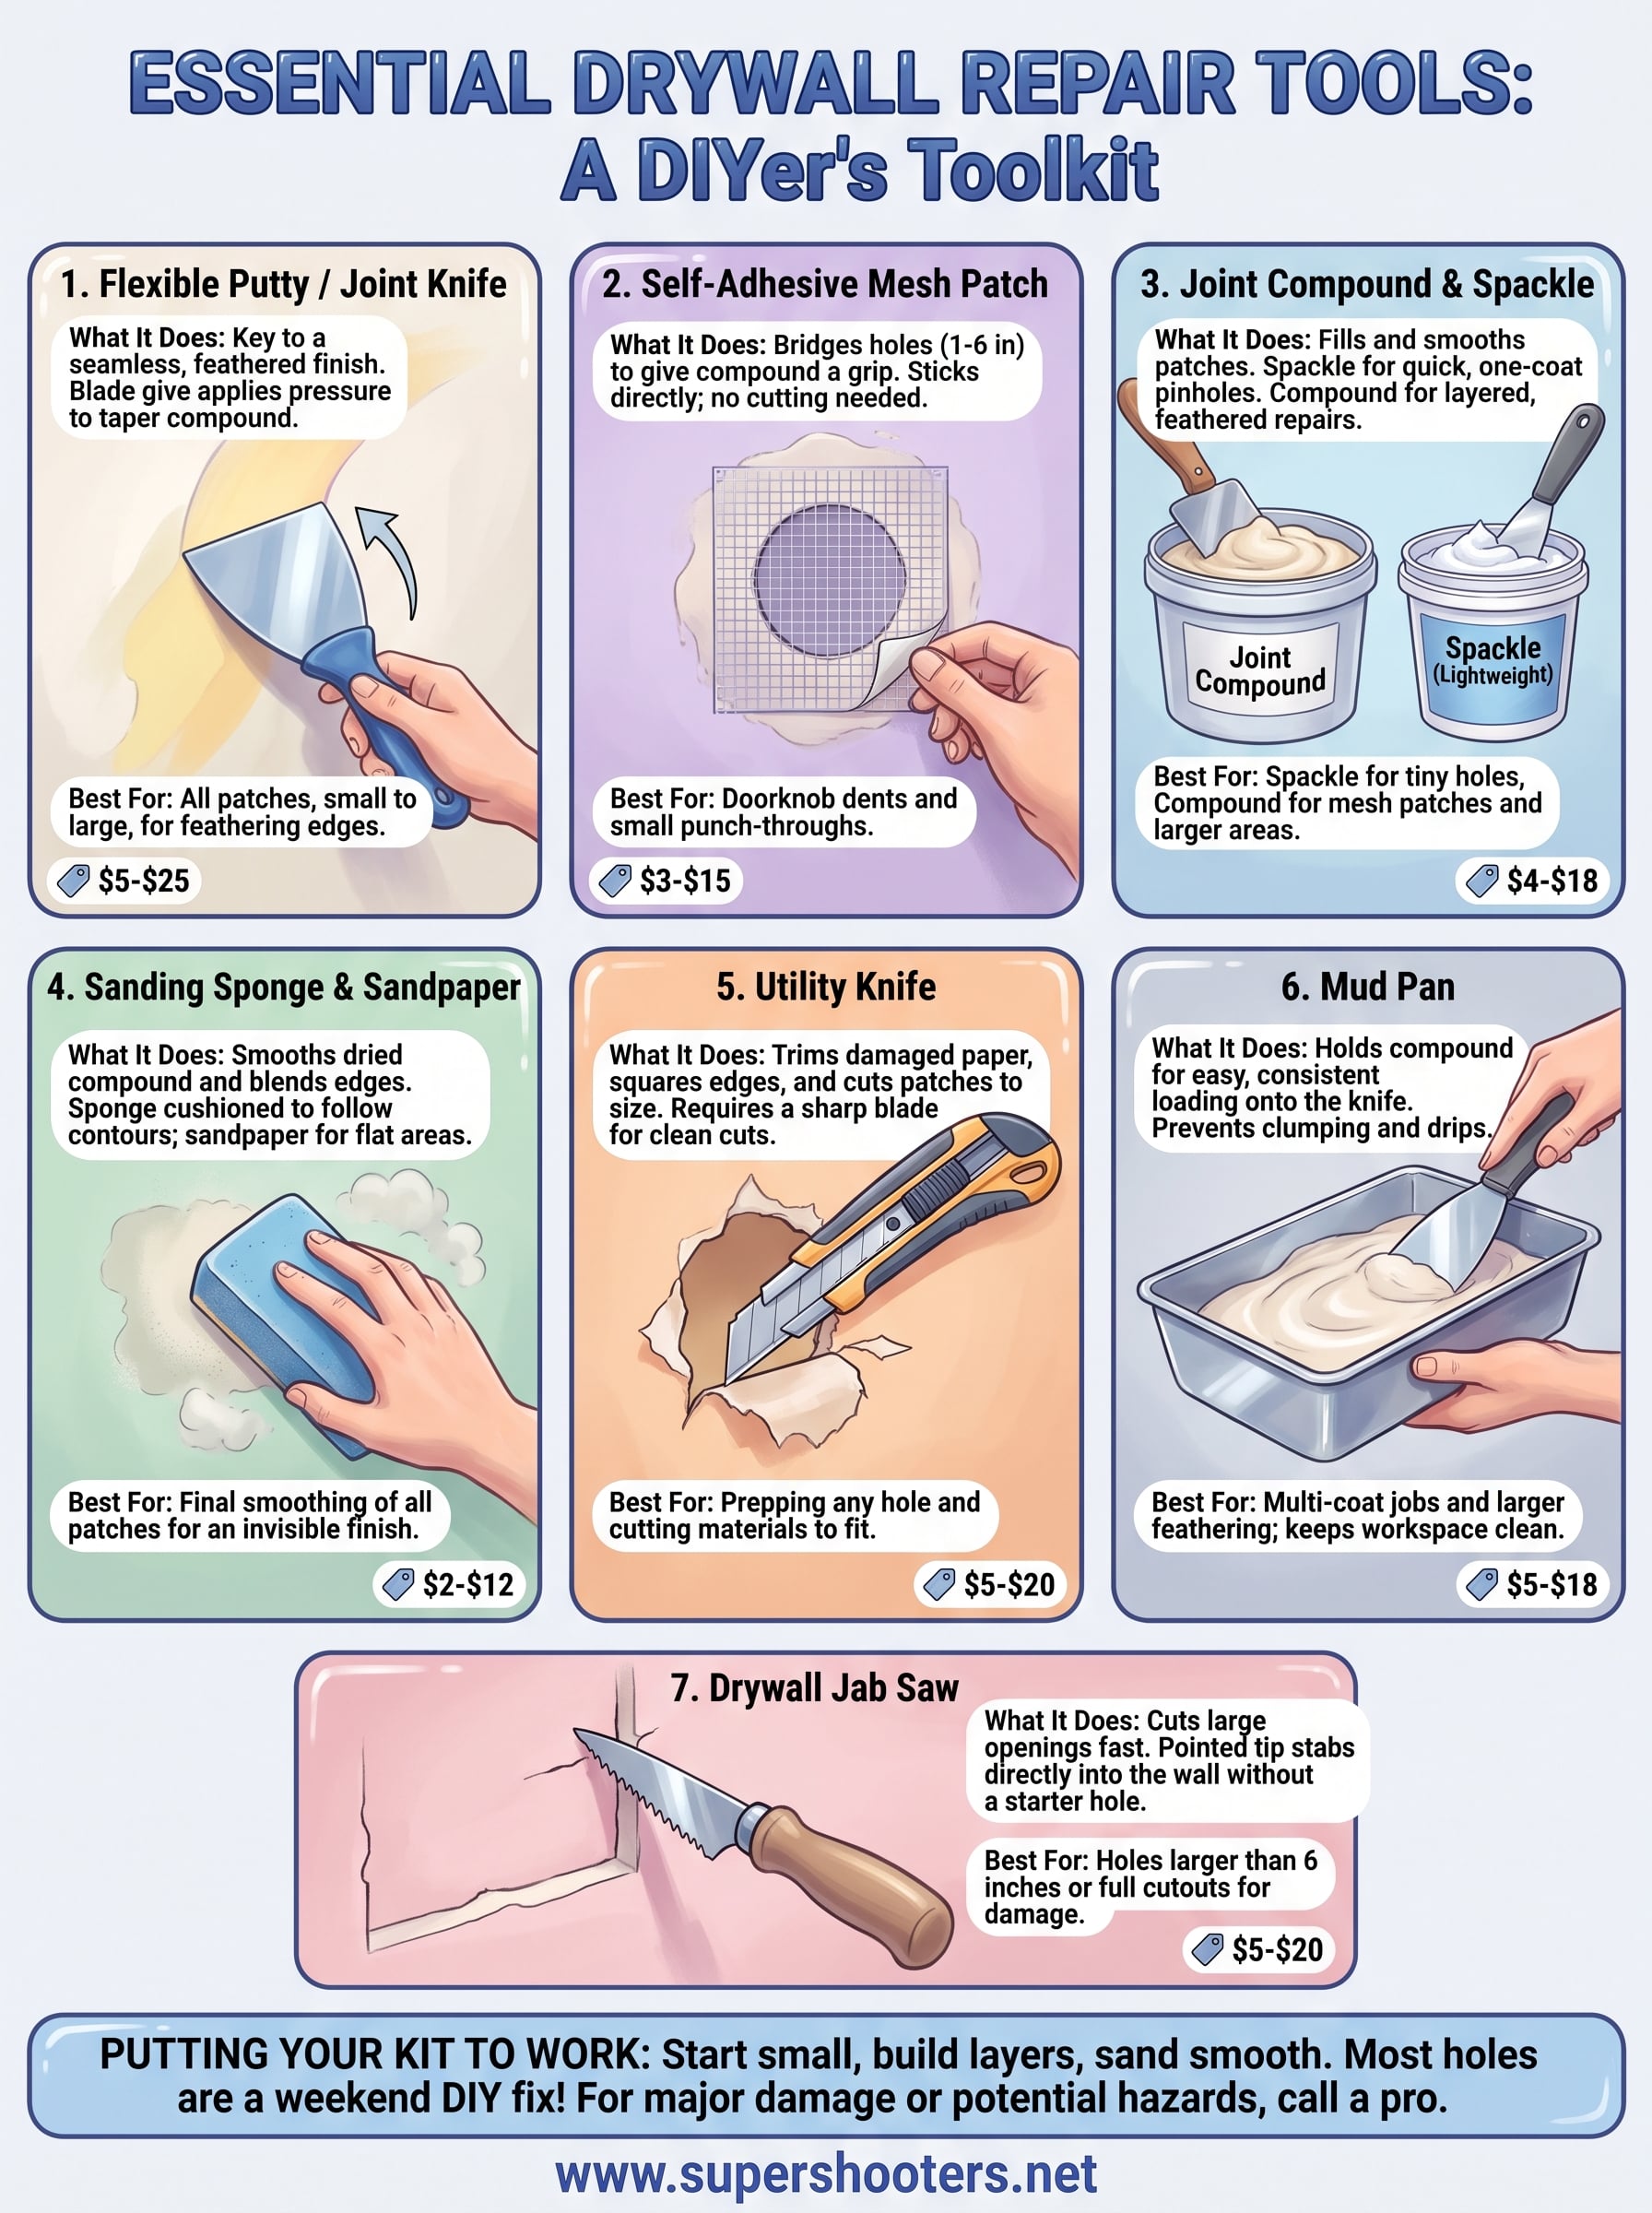
Putting your patch kit to work
Seven tools, a handful of supplies, and an afternoon get you a wall that looks untouched. Start with a flexible putty knife and mesh patch for small holes, layer in joint compound, sand smooth, and you've solved most of what shows up on a Sacramento Valley home over the years. None of these drywall repair tools costs much on its own, and once you own them, every future nail hole or doorknob dent becomes a 20-minute job instead of a phone call.
But some damage isn't a patch job. Cracked sections from settling, water-stained ceilings, or that telltale texture on a home built before 1980 call for more than a mud pan and a sanding sponge. If your repair involves suspected asbestos-containing ceiling material or damage bigger than a scrap of drywall can fix, don't gamble on it. Get a free estimate on our drywall repair and patching services and let 30 years of experience handle the parts your toolkit shouldn't.
Recent Posts