November 9, 2026
How to Sand a Drywall Patch: Grit, Feathering, and Finish
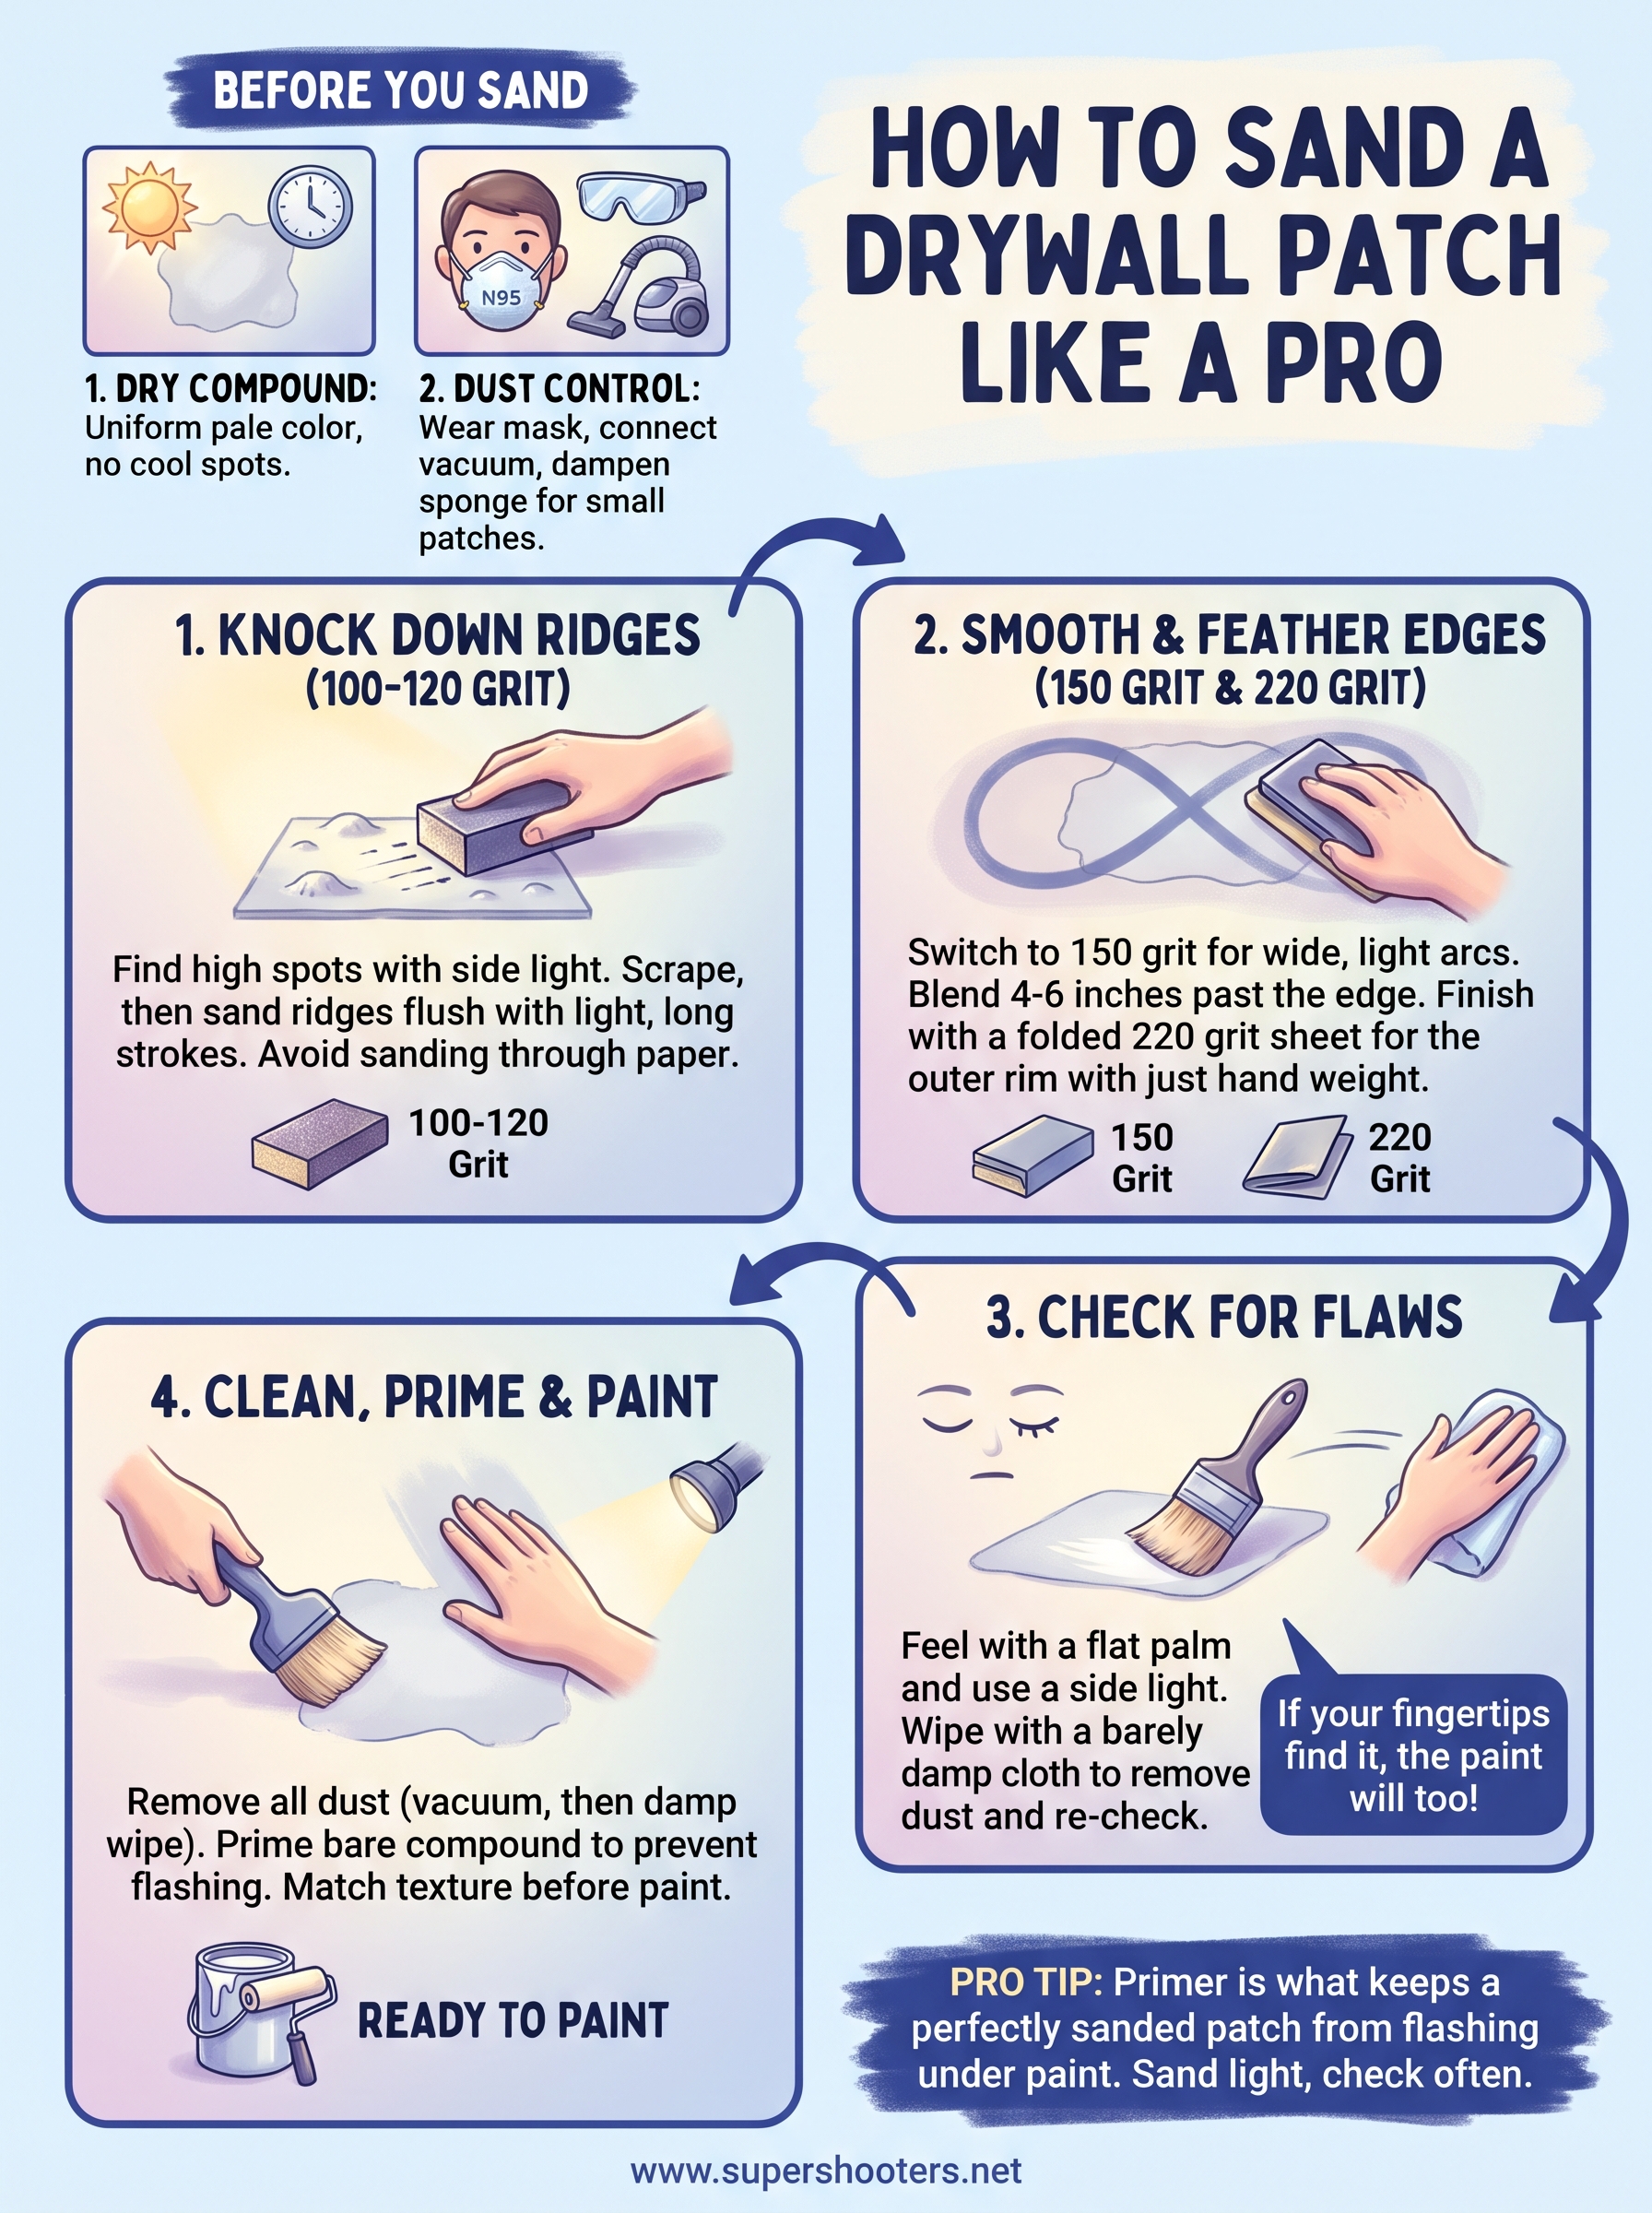
To get how to sand a drywall patch right, let the compound dry fully, knock down ridges with 100 to 120 grit, feather the edges outward with 150 grit, and finish with a light pass of 220 grit. Then wipe off the dust and prime before you paint. Use light pressure throughout, and check your work with a flat palm and a side light, not just your eyes.
Most patches that show after painting were mudded fine and sanded badly. People press too hard, stop the blend too close to the patch, or sand through the paper face of the drywall. The patch looks flat in the room light, then a ghost outline appears when paint goes on and the afternoon sun rakes across the wall.
Our crews at Super Shooters have patched and finished drywall for more than 30 years, and the same few habits separate an invisible repair from a visible one. This guide covers the sandpaper and tools to use, then four steps: knock down the high spots, feather the edges, check and fix flaws, and prep for primer. You will also learn how to keep dust down and what to do when a patch already looks bad.
What you need before you sand
You need three things before the first stroke: the right grit for each pass, fully dry compound, and a plan for the dust. Skipping any of them is how most patches go wrong.
Pick the right sandpaper grit for each pass
Start with 100 to 120 grit to remove ridges, move to 150 grit to smooth the surface, and use 220 grit only for a light touch at the outer edge. Avoid anything coarser than 100 grit, because it can tear the paper face of the drywall. A sanding block or a screen on a hand sander keeps the surface flat, and a sponge reaches tight corners.
| Pass | Tool | Grit |
|---|---|---|
| Knock down ridges | Sanding block or screen on a hand sander | 100 to 120 |
| Smooth the surface | Block, sponge, or sheet | 150 |
| Final feathering | Hand-held sheet, light touch | 220 |
| Large areas by power | Orbital sander with vacuum | 150 to 180 |
Confirm the compound is dry and control the dust
Thin coats of premixed compound usually dry overnight, while thick coats and humid rooms take longer. Dry compound is uniformly light in color with no dark, cool-feeling spots. Sanding damp mud rolls it into gummy crumbs that clog your paper and gouge the patch.
For dust, wear an N95 respirator and safety glasses, lay a drop cloth, and hang plastic sheeting over the doorway. Connect a vacuum to your sander if it has a port. On a small patch, a damp sanding sponge makes far less dust, though the finish comes out slightly less smooth than dry sanding.
One safety stop applies to ceilings. Acoustic or popcorn texture in an older home may contain asbestos, so do not sand it until it has been tested.
Wait until the compound is uniformly pale and dry, because damp mud clogs your paper and tears the patch.
Step 1. Knock down ridges and high spots
The first pass has one job: remove the ridges so the patch sits almost flush with the wall. It does not need to make anything smooth yet.
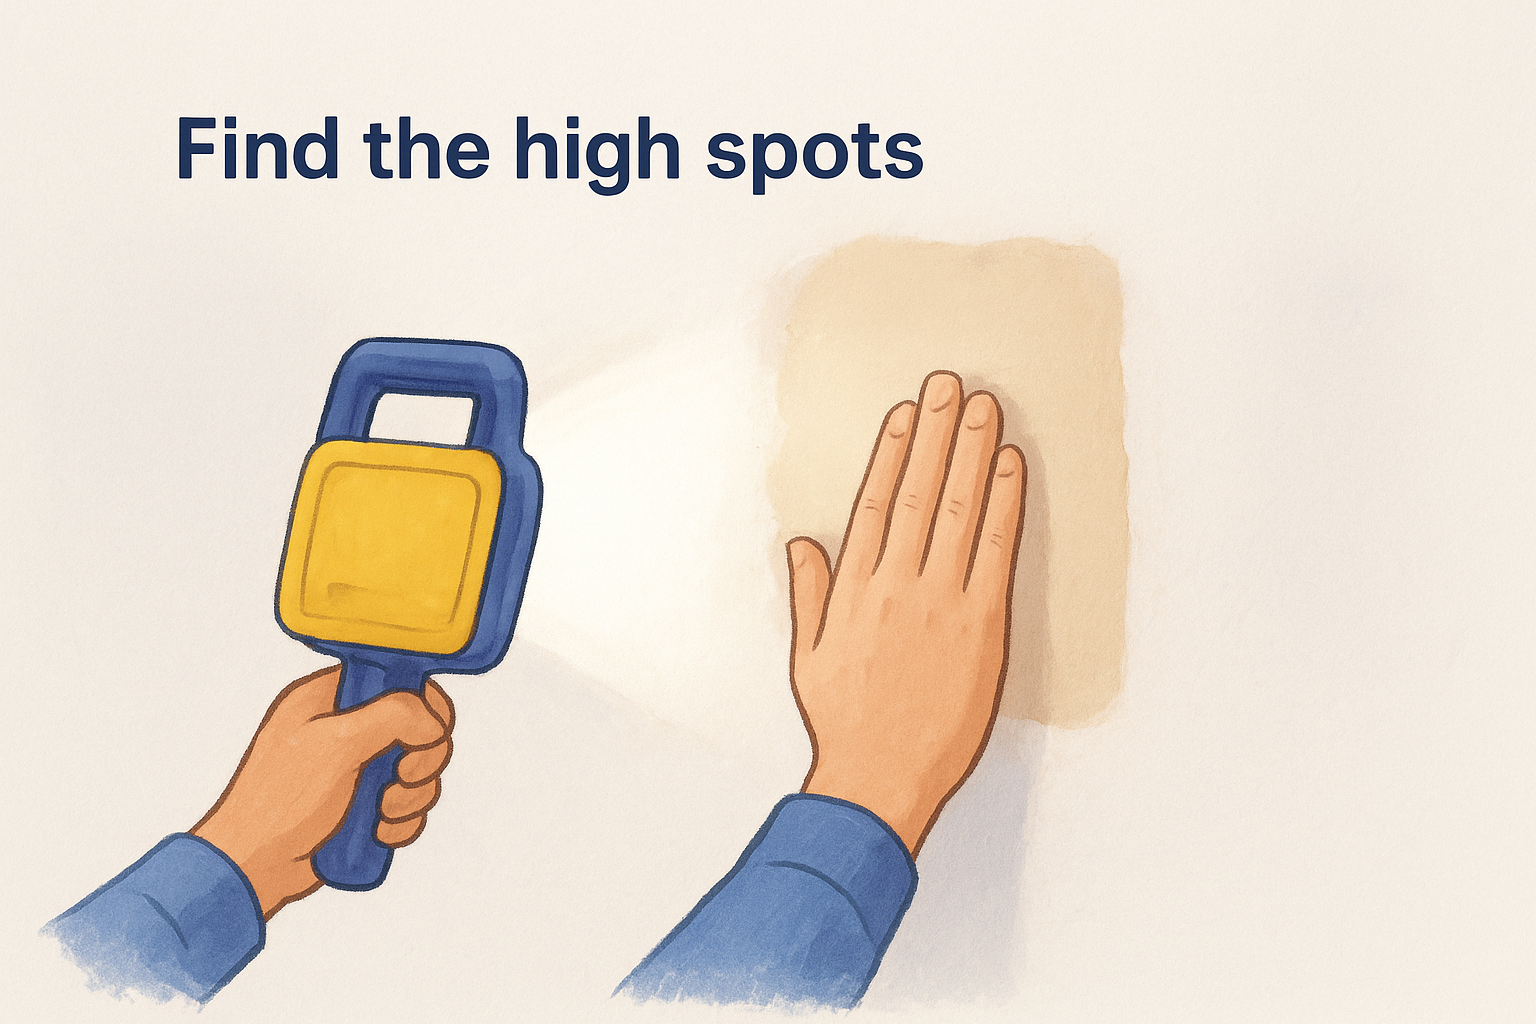
Find the high spots
Turn off the room lights and hold a bright work light flat against the wall so the beam skims the surface. Ridges throw tiny shadows that you will not see in normal light. Then slide your flat palm across the patch and mark any bumps with a pencil.
Knock them down
Scrape ridges and blobs first with a taping knife held at a low angle. That removes most of the excess without minutes of sanding. Then sand with 100 to 120 grit on a block, using long strokes with light pressure , and stop the moment the compound is flush.
Watch for fuzzy paper. If the paper face of the drywall starts to look furry, you have sanded too far. Stop, seal the spot with primer, and add a thin coat of compound. Fuzzed paper swells under wet mud and shows through paint.
The first pass removes ridges. It does not make the patch smooth.
Step 2. Sand and feather the edges
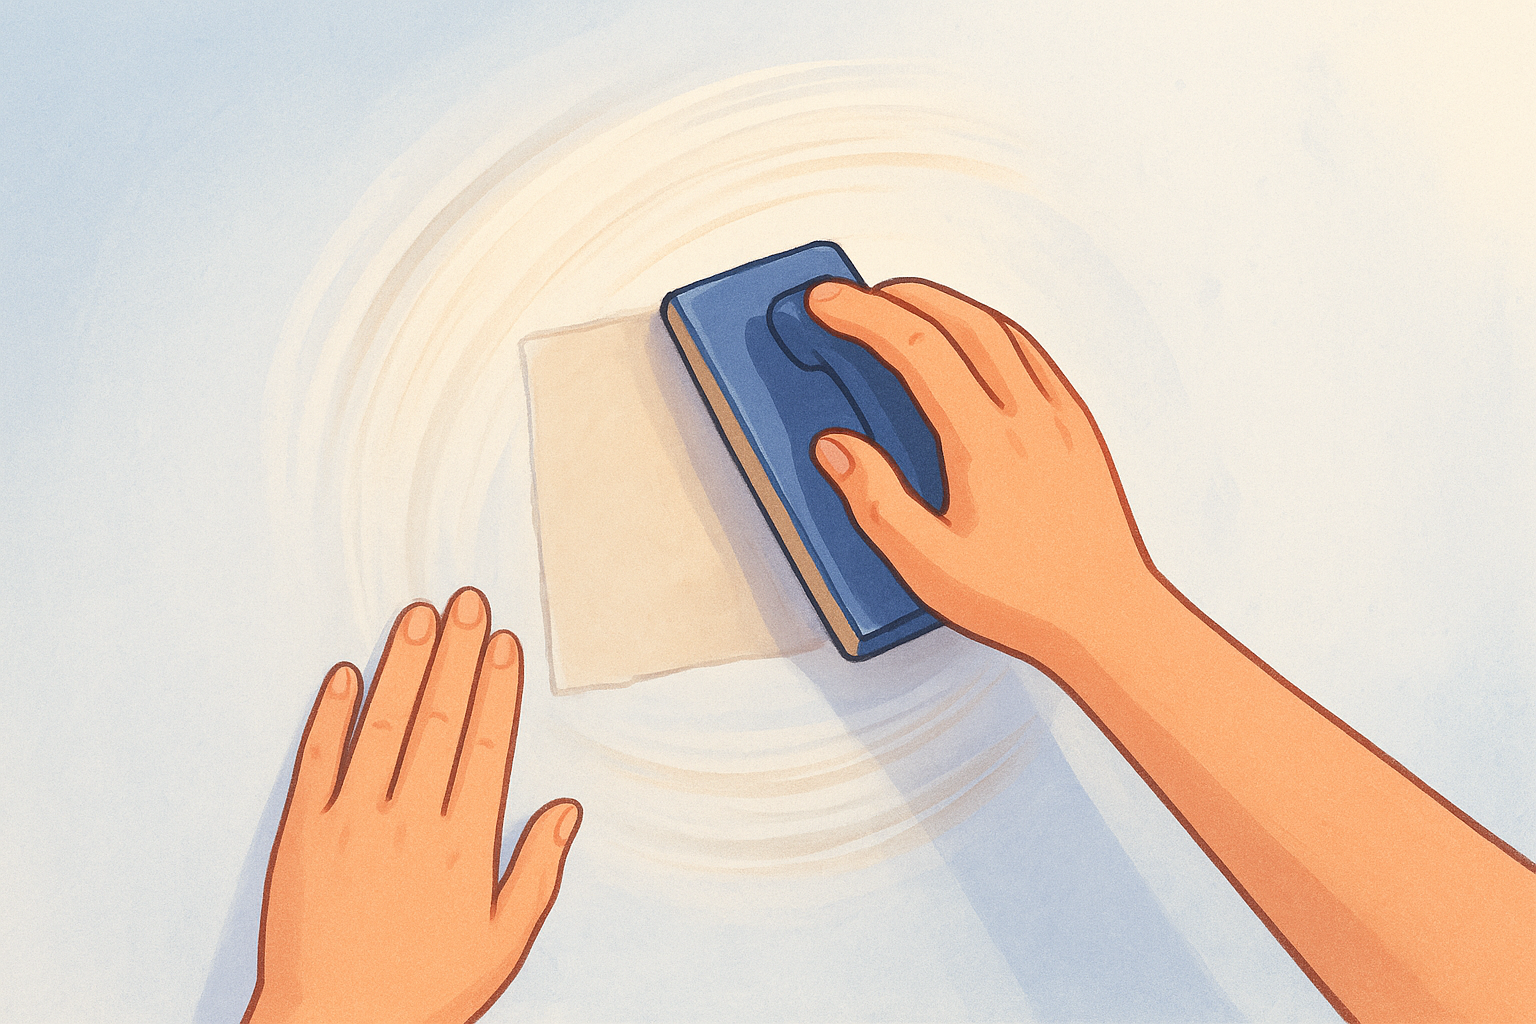
Feathering means sanding in wide, light strokes from the patch outward until the compound blends into the wall with no edge your fingertips can find.
Sand in wide, light arcs
Switch to 150 grit on a block and use broad circular or figure-eight strokes. Let the abrasive do the work, and keep the block flat, because tipping it digs a groove . Extend the blend 4 to 6 inches past the patch edge . For a 6-inch square patch, that means a blended zone about 14 to 18 inches across.
Finish the edge with 220 grit
Fold a sheet of 220 grit and use it without a block along the outer rim, where the compound is paper-thin. Use a few passes with just the weight of your hand. This step erases the faint line between patch and wall, and it is where a power sander can do harm. If you use one, keep it moving and never stop it while it touches the wall, or it leaves swirl marks.
If your fingertips can find the edge, the paint will find it too.
Step 3. Check the patch and fix flaws
Test the patch with touch and light before you prime, because your eyes miss edges that a fingertip catches in seconds.
Test with your hand and a light
Close your eyes and slide a flat palm from the wall across the patch, then back, in two directions. Next, repeat the side-light check from Step 1. Wipe the area with a barely damp cloth to remove dust that hides small flaws, and check again once it dries.
Fix what you find
Most flaws come from a coat that was too narrow, and more sanding rarely cures them. Match the fix to the problem:
- Ridge or edge you can feel: apply a thin skim coat that reaches a few inches past the old edge, let it dry, then sand with 150 grit.
- Low spots or pinholes: fill with a thin coat of compound and re-sand.
- Fuzzy paper: seal with primer, then skim.
- Bad patch already painted: sand the paint off the ridge, skim wider, prime, and repaint the whole wall.
A patch that still shows usually needs one more wide, thin coat, not more sanding.
Step 4. Clean, prime, and match texture
Remove every trace of dust, then prime, because bare compound absorbs paint differently from the wall around it.
Remove every trace of dust
Vacuum the patch and the wall around it with a brush attachment, then wipe with a lightly damp cloth and let it dry. Dust trapped under primer turns gritty and shows as tiny bumps once the paint is on.
Prime and match texture
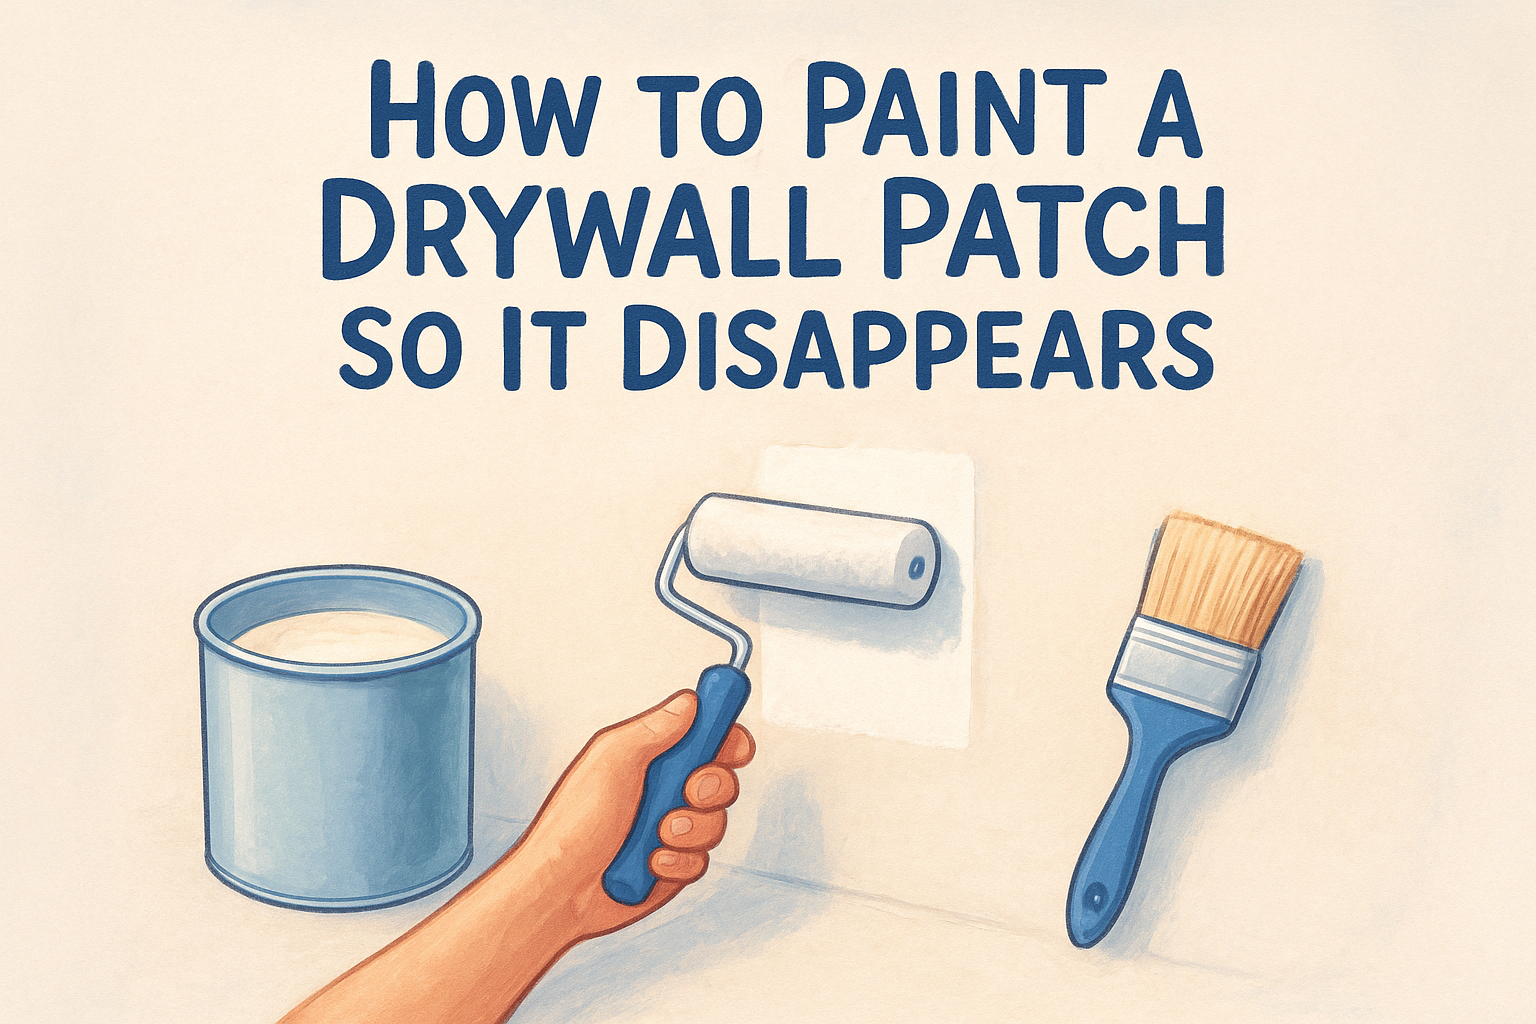
Bare compound is more porous than painted wall, so unprimed patches show up as dull spots called flashing. Prime with a drywall primer before any paint goes on. If the wall is textured, match the texture first, then prime. Paint to a natural break such as a corner, not just around the patch.
Some jobs go beyond a weekend repair, such as large holes, water-damaged walls, cracks that keep returning, or textured ceilings. Those are worth handing to a pro.
Primer is what keeps a perfectly sanded patch from flashing under paint.
Sand light, check often, then paint
A smooth patch comes from light pressure, the right grit at each stage, and a wide feathered blend. Knock down ridges at 100 to 120 grit, smooth at 150, finish edges at 220, then check with your palm and a side light before you wipe, prime, and paint.
If the patch is large, keeps cracking, or still shows after a second attempt, you do not have to keep fighting it. Super Shooters offers free in-home estimates, and you pay only after the job is complete. You can request a quote for drywall repair and patching and let our crew make it disappear.