August 11, 2026
Joint Compound for Drywall Repair: What It Is & How to Use It
You've got a hole, a crack, or a seam that needs fixing, and every product at the hardware store claims it's the right one. Grab the wrong container and you'll spend a Saturday sanding a lumpy, cracked patch instead of a smooth wall. Joint compound for drywall repair is the material most contractors reach for, but knowing when to use it, and when to grab something else, makes the difference between a repair that disappears and one you can spot from across the room.
So what is drywall joint compound, exactly? It's a gypsum-based paste designed to fill, smooth, and blend seams, screw holes, and larger damaged areas, and it dries to a finish you can sand and paint. It's not the same as spackle , and mixing up the two is one of the most common mistakes homeowners make on DIY patch jobs.
In this article, we'll break down the different types of joint compound , compare it directly to spackle so you know which to buy, and walk through how to apply it for a clean, paint-ready repair, the same techniques our crews at Super Shooters have used on thousands of Sacramento Valley homes over the past 30 years.
Why the right joint compound matters for lasting repairs
Most homeowners think a wall repair fails because of bad taping or sloppy sanding. In our experience, the real culprit is usually the product choice made before anyone even picked up a putty knife. Joint compound for drywall repair behaves differently depending on its formula, and picking the wrong type for the job sets you up for cracking, shrinking, or a patch that telegraphs through your paint no matter how carefully you finish it.
What actually happens when you use the wrong product
Gypsum-based compounds cure through evaporation, not a chemical reaction, which means they shrink as they dry. A thin layer over a screw hole shrinks a little and you barely notice. A thick fill over a fist-sized hole shrinks a lot, and you'll see a shallow dip form right in the middle of your patch a day or two later. This is why contractors build up repairs in layers instead of slapping on one thick coat. Skip that step, or use a compound not rated for the depth you're filling, and you're guaranteed a second trip back to the wall.
Skip the layering, and gravity plus shrinkage will hand you a visible dip every time.
Temperature and humidity make this worse. Sacramento Valley summers push interior humidity down in air-conditioned homes, which speeds drying but can cause surface cracking if you rush a thick layer. Winter jobs in unheated garages or ADUs dry too slowly, and compound can stay soft under a skin that looks dry. We've been called back to plenty of DIY jobs where someone painted over compound that hadn't fully cured underneath, and the paint bubbled or the patch cracked within weeks.
The cost of a repair that doesn't hold
A failed patch isn't just cosmetic. Cracks that reopen along a repaired seam often mean the tape or mesh underneath wasn't properly embedded, which lets moisture and movement work at the joint again. On water-damaged walls, using a patching compound for drywall that isn't designed for the exposure invites the same failure that caused the original damage. We see this constantly on garage walls and older homes with settlement cracks: a rushed patch job lasts six months, then the crack comes back, sometimes wider than before.
Here's a quick comparison of how compound type affects the outcome, based on what we see repeatedly in the field:
| Situation | Wrong compound choice | Likely result |
|---|---|---|
| Screw hole, 1/8 inch deep | Heavy-duty setting compound | Overkill, hard to sand smooth |
| 6-inch hole from a doorknob | Lightweight all-purpose in one coat | Sagging, shrinkage crack |
| Ceiling seam, humid bathroom | Standard joint compound | Mold risk, poor adhesion |
| Large ADU wall section | Spackle instead of joint compound | Cracking under normal house movement |
Why this matters more on older Sacramento Valley homes
Homes built before the 1980s in this region often have original acoustic ceilings, older drywall, or even plaster underneath a skim coat. Joint compound for drywall repair on these surfaces has to bond to substrates that modern compounds weren't always formulated for. If you're removing a popcorn ceiling and patching the surface underneath, or repairing a wall near an area that once contained asbestos materials, using the wrong compound, or skipping proper prep, can cause the new patch to separate from the old surface within a season. This is a big part of why we handle so many ceiling and wall jobs as a combined service rather than treating drywall repair as a standalone task.
Getting the compound right at the start saves you real time. A repair done with the correct product, applied in the right number of coats, dries harder, sands easier, and holds paint the way the rest of your wall does. That's the whole goal: a patch nobody notices, not one that needs a second and third attempt before it disappears into the wall around it. The next section walks through exactly how to make that choice for your specific repair.
How to choose the right joint compound for your repair
Walk down the drywall aisle and you'll find four or five buckets that all look the same but behave completely differently once you open them. Picking between them comes down to one question: how deep and how big is the damage you're fixing? Get that answer right, and the rest of the job falls into place.
Match the compound to the depth of the repair
All-purpose joint compound is the default most homeowners grab, and it works fine for finish coats and small holes, but it shrinks more than setting-type compounds and isn't built for filling deep gouges in a single pass. Setting-type compound (the powder you mix yourself, often labeled by set time like "45" or "90") cures through a chemical reaction instead of evaporation, so it doesn't shrink the same way and can go on thick without sagging. That makes it the right call for holes deeper than about half an inch, or any repair where you need to build up material fast.
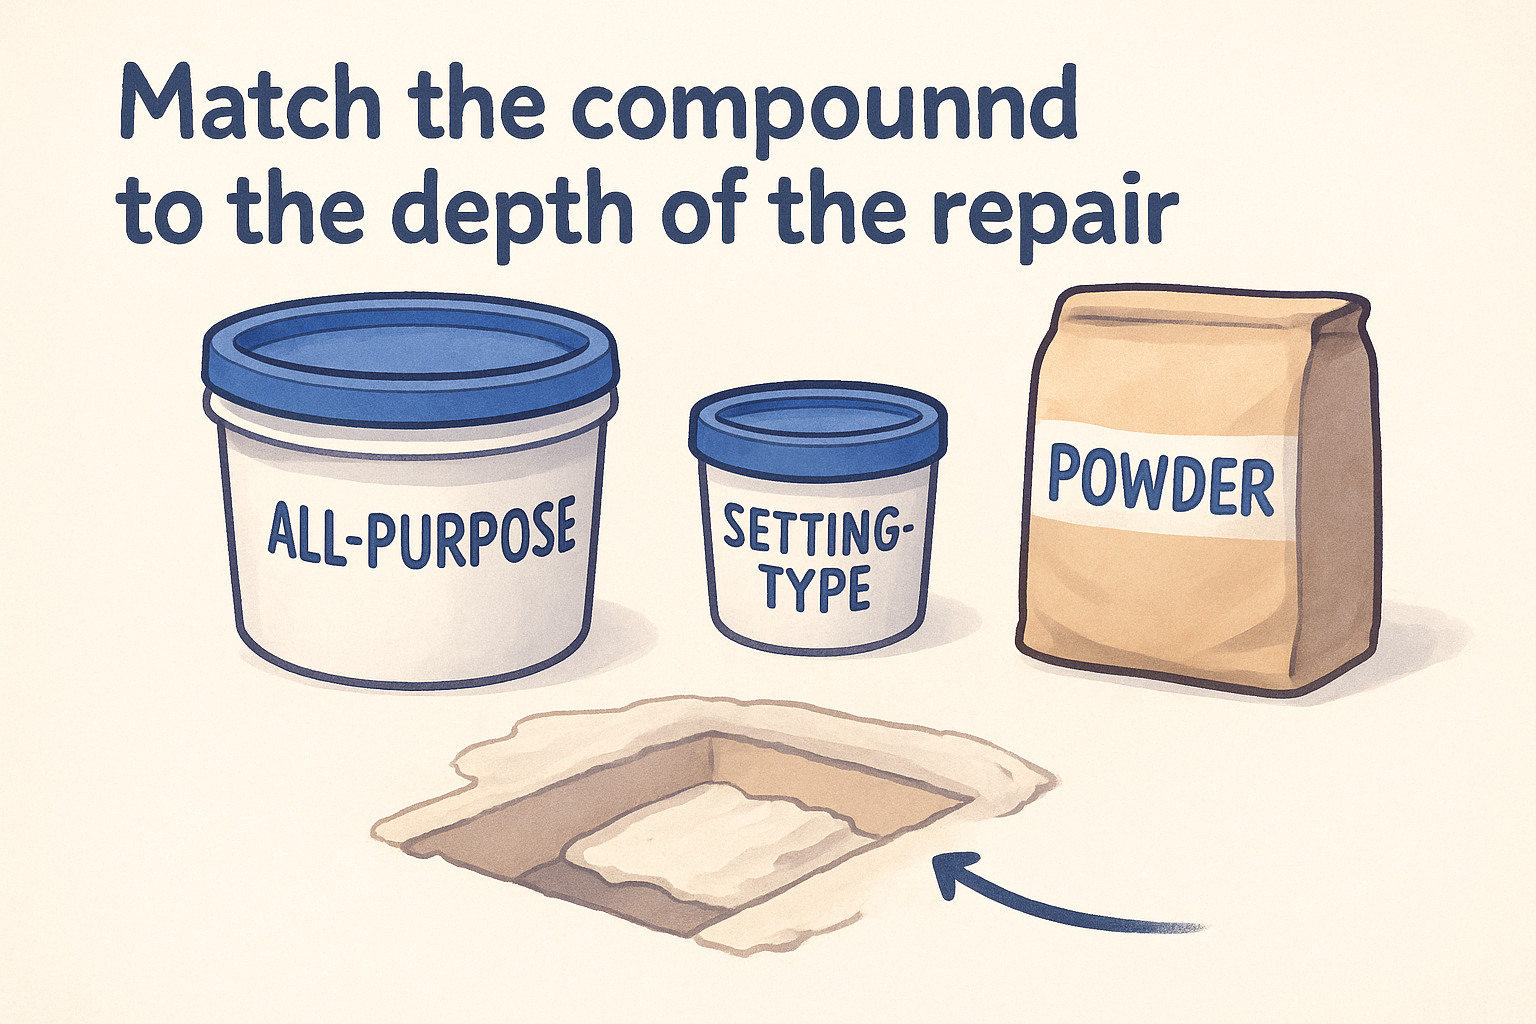
If the hole is deeper than your thumb, reach for setting compound, not the premixed bucket.
Here's how the main types break down:
| Type | Best for | Dry time | Shrinkage |
|---|---|---|---|
| All-purpose (premixed) | Finish coats, small holes, taping | 24 hours | Moderate |
| Topping compound | Final smoothing coat only | 24 hours | Low |
| Taping compound | Embedding tape, first coat | 24 hours | Low, high bond strength |
| Setting-type (powder) | Deep fills, fast repairs, multiple coats same day | 20-90 minutes | Minimal |
| Lightweight all-purpose | General patching, ceilings | 24 hours | Higher, easier to sand |
Think about where the repair sits, not just how big it is
Location changes the calculus as much as size does. A patching compound for drywall on a bathroom ceiling needs to resist the humidity that builds up during showers, so a mold-resistant or moisture-tolerant formula earns its higher price. Garage walls and ADU interiors that swing through wider temperature ranges do better with setting-type compound because it cures reliably regardless of humidity, unlike all-purpose compound, which depends on evaporation and slows down in cold, damp spaces. For ceilings specifically, lightweight compound sags less overhead and sands faster, which matters when you're working above your head for an afternoon.
A simple decision list before you buy
Run through this before you head to the store:
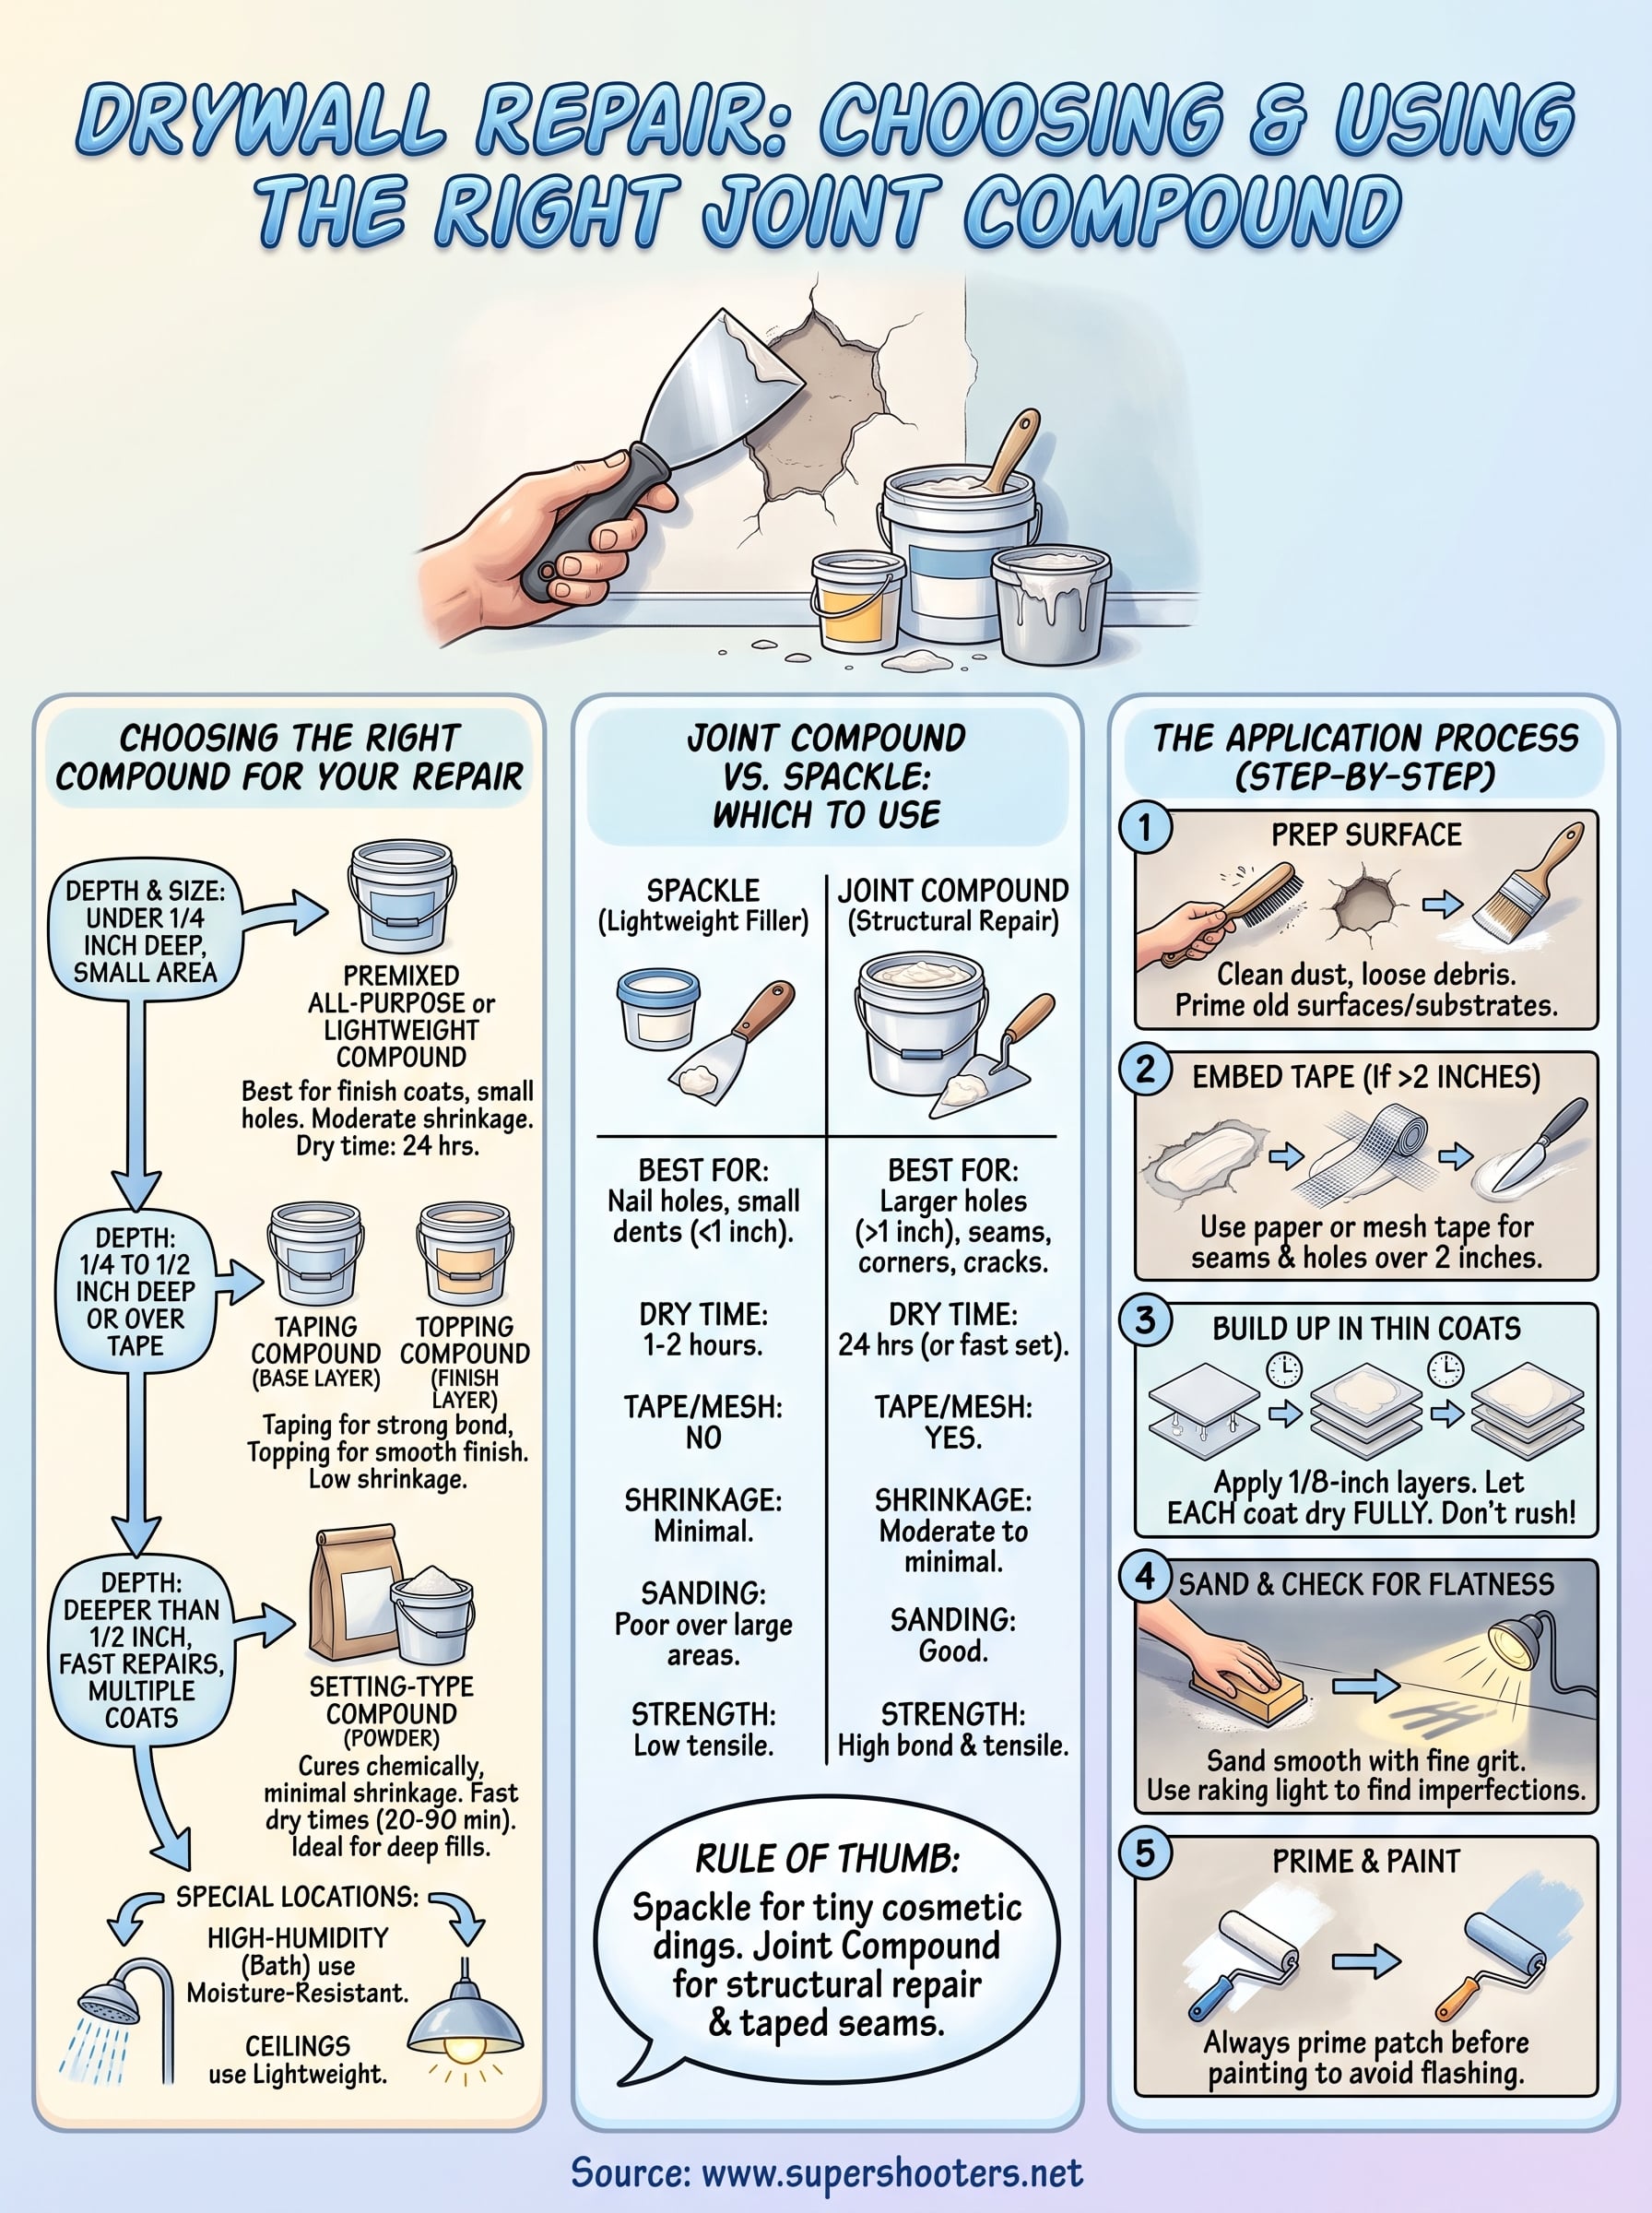
- Under 1/4 inch deep, small area: premixed all-purpose or lightweight compound, one or two coats
- 1/4 to 1/2 inch deep: taping compound for the base layer, topping compound for the finish
- Deeper than 1/2 inch, or a same-day repair: setting-type powder compound, mixed in small batches
- High-humidity room (bathroom, laundry): moisture-resistant formula, check the label specifically
- Ceiling repair: lightweight all-purpose, applied in thin passes to avoid sagging
- Repairing near old plaster or original acoustic ceiling substrate: taping compound first for adhesion, then topping compound to finish
Buying the wrong bucket doesn't just waste a trip back to the store. It costs you a full dry-and-sand cycle before you find out it's not working, which on a setting-compound repair might be an hour, but on an all-purpose compound over a deep hole is a full day lost.
Joint compound vs spackle: which should you use
Spackle and joint compound sit next to each other at the hardware store, and the packaging rarely explains why one costs three times more than the other. The short answer: spackle is a lightweight, fast-drying filler built for tiny cosmetic fixes, while joint compound is a workhorse material designed to bond, span, and finish larger repairs. Reach for the wrong one and you either overpay for a nail hole or underbuild a patch that needs real structural filling.
What spackle actually does well
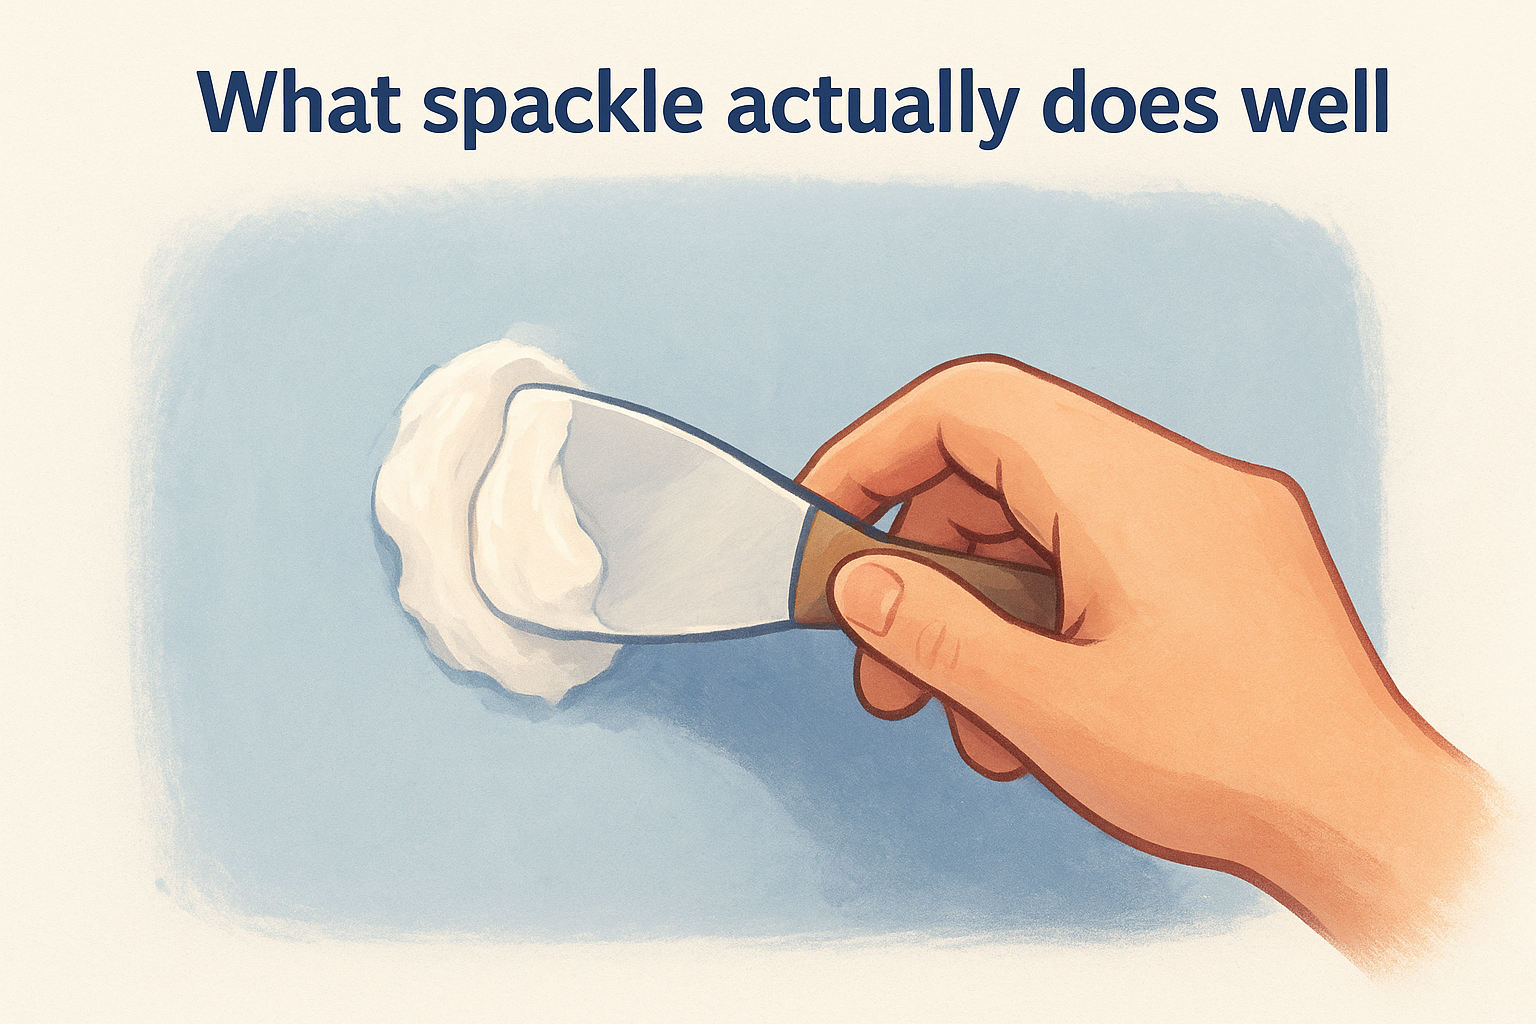
Spackle contains binders that let it dry fast, often in an hour or two, and shrink very little in the process. That makes it perfect for nail holes, small dents, and minor dings you want painted over the same afternoon. Its downside shows up the moment you ask it to do more than that. Spackle doesn't have the tensile strength to hold drywall tape, so it can't handle seams, corners, or repairs that need mesh or paper tape embedded underneath. Push it into a hole bigger than a couple inches wide and it tends to crack as it dries, because it wasn't formulated to bridge a gap that size.
What joint compound does that spackle can't
Patching compound for drywall work, meaning joint compound specifically, is built to bond with tape, feather out over wide areas, and build up in layers without losing strength. It's the only option for taped seams, corner bead repairs, and any hole where you're embedding mesh tape across the opening. Joint compound also sands to a smoother, more paint-ready finish across large areas, which matters when you're trying to match texture on an existing wall rather than just covering a small blemish.
Spackle fills small dents. Joint compound rebuilds the wall around bigger damage.
A side-by-side to settle it
| Factor | Spackle | Joint compound |
|---|---|---|
| Best repair size | Nail holes, dents under 1 inch | Holes, seams, cracks over 1 inch |
| Dry time | 1-2 hours | 24 hours (or 20-90 min for setting type) |
| Works with tape/mesh | No | Yes |
| Shrinkage | Minimal | Moderate to minimal, depending on type |
| Sandability over large areas | Poor, gummy | Good |
| Cost per project | Higher per ounce, cheaper for tiny jobs | Lower per ounce, better value at scale |
When homeowners get this wrong
We see two versions of this mistake constantly. The first is someone spackling over a taped seam repair, which fails within weeks because the spackle can't grip the tape edges the way joint compound does. The second is buying a full tub of joint compound for three nail holes, then wondering why it took all weekend to dry and sand compared to spackle's quick turnaround. Neither product is universally better. Joint compound for drywall repair wins on anything structural, anything taped, or anything larger than a couple square inches. Spackle wins on speed for small cosmetic touch-ups where you're not dealing with tape at all. Once you know which category your repair falls into, the choice at the store takes about ten seconds.
Tools and materials you need before you start
Grabbing the right bucket of compound only gets you halfway there. Half the bad patches we get called to fix started with the right product and the wrong tools, applied with a knife that was too small or sanded with paper too coarse for the finish coat. Before you open anything, lay out everything you need so you're not mid-repair, hands covered in compound, searching for a putty knife in a junk drawer.
The core tool list
A basic drywall repair doesn't require a contractor's full toolbox, but a few specific items make the difference between a smooth finish and a patch you'll be reworking next weekend.
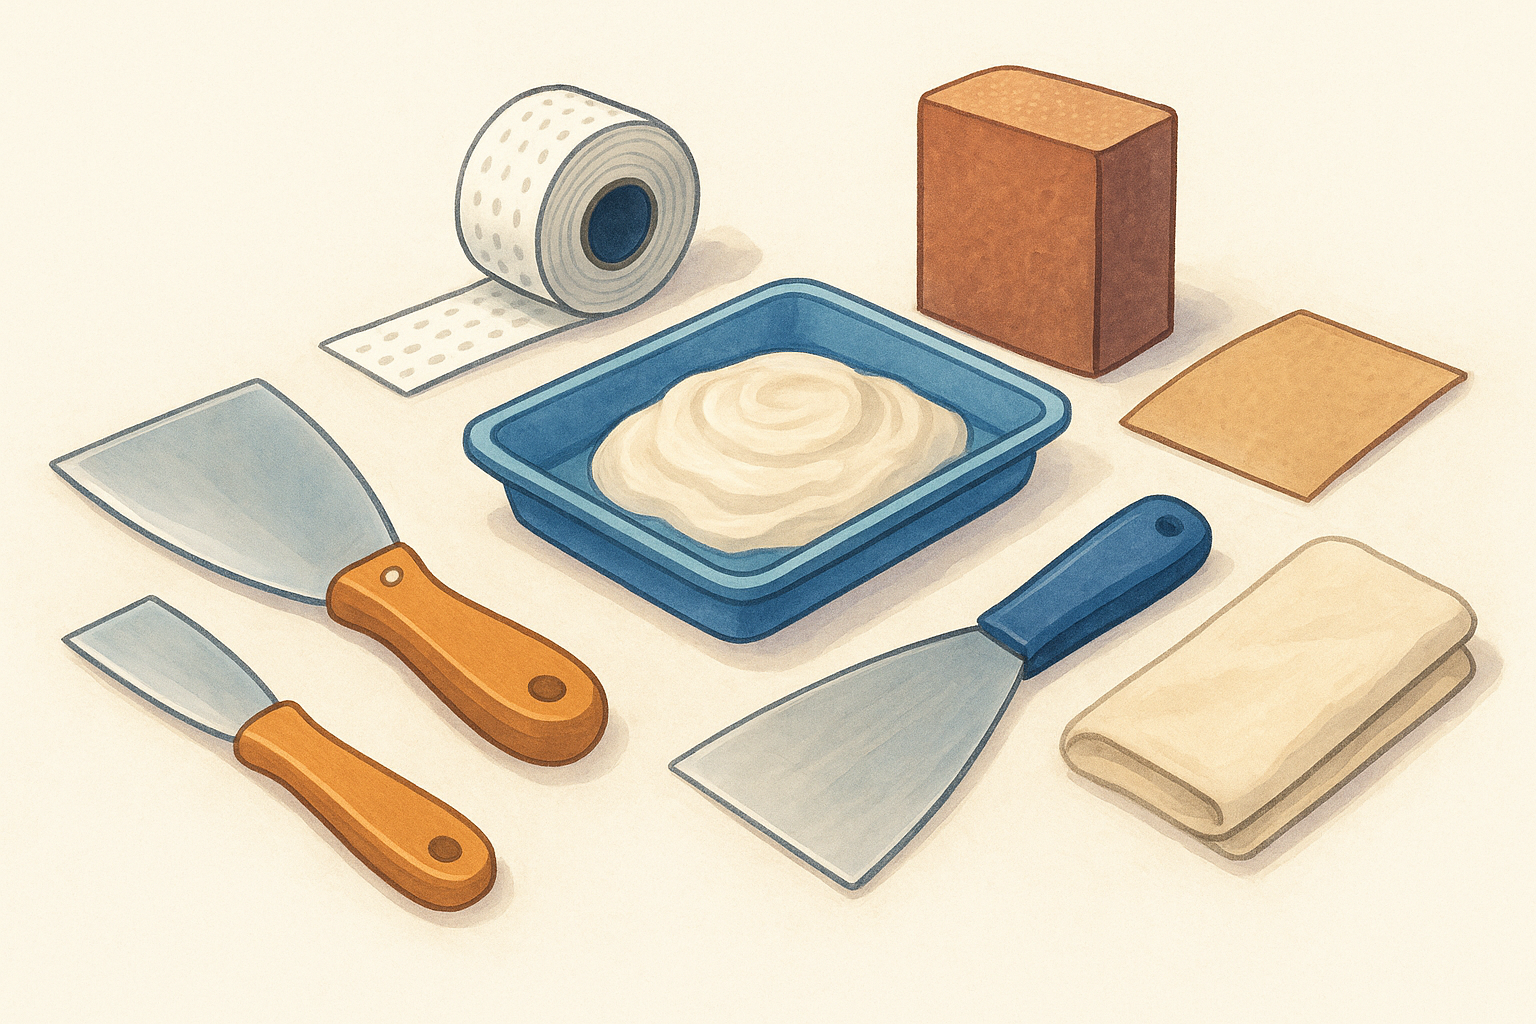
- 6-inch and 12-inch putty knives (a small knife for loading and spreading, a wider one for feathering edges flat)
- Mud pan or mixing tray to hold compound and keep your workspace clean
- Drywall tape , paper or self-adhesive mesh, for any seam or hole wider than about 2 inches
- 120- and 220-grit sanding sponge or sandpaper for rough shaping and final smoothing
- Corner trowel if the repair touches an inside or outside corner
- Utility knife for cutting out damaged drywall and trimming loose paper
- Drop cloth or plastic sheeting to catch dust and drips
- Dust mask and safety glasses , especially when sanding dried compound, which produces fine gypsum dust
A patch is only as good as the widest knife you feathered it with, so don't try to finish a large repair with a 4-inch blade.
Prep materials that matter as much as the compound itself
Surface prep decides whether your compound bonds or peels. Before mixing anything, you'll want a stiff brush or vacuum attachment to clear dust and loose debris from the damaged area, since compound applied over dust doesn't adhere the way it should. If you're patching over an old popcorn ceiling substrate or original plaster, a bonding primer applied to the bare substrate first gives the new compound something reliable to grip. For settlement cracks or seams that keep reopening, a flexible mesh tape holds up better than paper tape because it moves slightly with the house instead of cracking along a rigid edge.
On deeper repairs, you'll also want a scrap piece of drywall cut to size for holes larger than a few inches, along with construction adhesive or drywall screws to anchor it before any joint compound for drywall repair goes on top. Skipping this step and trying to bridge a large hole with compound alone almost always leads to sagging or cracking once the wall flexes.
Mixing setting-type compound correctly
If your repair calls for setting-type powder compound, mixing ratio and timing matter more than with premixed buckets. Get this wrong and you'll either waste material or find it hardening in the pan before you've spread it.
 Setting compound mixing guide:
- Water first, then powder, roughly 2 parts powder to 1 part water
- Mix only what you'll use in the set-time window (20, 45, or 90 minutes)
- Stir to a peanut-butter consistency, no lumps
- Clean tools immediately, hardened compound won't dissolve later
Once your tools are laid out and your compound is mixed to the right consistency, you're ready to actually apply it, which is where technique starts to matter as much as the product itself.
How to apply joint compound step by step
Once your tools are laid out and the compound is mixed, the actual application follows a predictable sequence, whether you're filling a screw hole or rebuilding a section of wall around a doorknob hit. Joint compound for drywall repair goes on in layers, never in one thick pass, and each layer needs to dry fully before the next one goes on. Rushing this sequence is the single biggest reason DIY patches fail.
Prep the surface first
Start by cutting away any loose or crumbling drywall paper with your utility knife, since compound won't bond to a ragged edge. Vacuum or brush out dust from inside the hole and a few inches around it. If you're patching over an old substrate, popcorn ceiling texture, or plaster, brush on a bonding primer and let it dry per the label before touching it with compound. Skipping this step is why so many patches we get called to fix separated from the wall within a few months.
Embed the tape on anything wider than a couple inches
For seams, cracks, or holes over roughly 2 inches, press paper or mesh tape into a thin bed of compound first, then smooth a second thin layer over the top with your 6-inch knife, feathering the edges flat. This step is what separates a patching compound for drywall repair that lasts from one that reopens along the same line in a year.
The tape is what holds the patch together, the compound just fills around it.
Build up in thin coats
Apply each coat no thicker than about 1/8 inch, letting it dry completely before adding the next. Work through this sequence:
- First coat : thin layer embedding tape or filling the base of the hole
- Second coat : wider pass with the 12-inch knife, feathering 2 to 3 inches beyond the repair edge
- Third coat (if needed): final leveling pass, feathered even wider to blend with the surrounding wall
Setting-type compound speeds this up since you can often recoat within an hour, while premixed all-purpose needs a full 24 hours between coats.
Sand and check for flatness
Once the final coat is bone dry, not just dry to the touch, sand with 120-grit first to knock down ridges, then finish with 220-grit for a smooth surface. Run your hand flat across the repair in raking light from a work lamp held at an angle. Any shadow or dip means another thin skim coat before you move on to texture or paint. Feel for it, don't just look, since low-angle light misses small imperfections that your fingertips will catch immediately.
Every step here builds on the last, and none of them are optional if you want a repair that disappears into the wall. The next section covers exactly where homeowners cut corners in this process, and why those shortcuts cost more time than they save.
Common mistakes that ruin a drywall repair
After thousands of repair calls across the Sacramento Valley, we keep seeing the same handful of mistakes wreck otherwise decent patch jobs. None of these require special skill to avoid, they just require slowing down at the exact moment most people speed up.
Skipping tape on repairs that need it
Biggest offender by far: someone fills a hole wider than 2 inches with straight joint compound for drywall repair and no tape underneath. Compound alone has no tensile strength across a gap that size, so the patch flexes with the wall and cracks along the same line within weeks. If you can fit two fingers in the hole, you need tape or a scrap drywall backer, no exceptions.
No tape across a wide gap means the crack is coming back, it's just a matter of when.
Applying one thick coat instead of several thin ones
We covered why compound shrinks as it dries, but the mistake still happens constantly: someone tries to save time by loading a hole full in one pass instead of building it up in 1/8-inch layers. The result is a sunken patch a day or two later, once the middle of that thick fill finishes drying and pulls down. Thin coats take longer in total but each one actually dries properly, which is the whole point.
Sanding before the compound is fully cured
Surface-dry and fully-cured are not the same thing. Compound can look chalky white and feel firm to the touch while the layer underneath is still soft. Sand it too early and you'll gouge a groove into material that hasn't finished setting, then have to skim-coat over your own sanding marks. Wait the full dry time on the label, longer in cold or humid rooms, before touching it with sandpaper.
Skipping primer before paint
Unprimed patching compound for drywall repairs absorb paint differently than the surrounding wall, which shows up as a dull, flat patch even after two coats of your matching paint color. This is called flashing, and it's almost always avoidable with a coat of PVA primer over the repaired area before painting. Skip this step and the patch stays visible no matter how flawlessly you sanded it.
Ignoring what caused the damage in the first place
A patch fixes the symptom, not the cause. Settlement cracks that keep reopening usually point to foundation movement that no amount of mesh tape will solve permanently. Water stains on a ceiling mean there's a leak somewhere above that needs fixing before you touch the drywall, otherwise you're patching the same spot again in six months. According to the EPA's guidance on mold and moisture in homes, repeated water intrusion also raises real health concerns beyond cosmetic damage, which is exactly why we treat water-damaged walls as a diagnostic job first and a patching job second.
Getting your walls repair-ready
Good drywall repair comes down to matching the product to the problem, then respecting the drying time everyone wants to skip. Pick setting-type compound for deep holes, save spackle for tiny dents, tape anything wider than two fingers, and build up thin coats instead of one thick pass. Do that, and your patch disappears into the wall instead of announcing itself under the next coat of paint.
Some repairs, though, go beyond a weekend project. Cracked plaster over old substrate, ceiling damage tied to popcorn texture, or a wall that's failed more than once usually needs a professional look before you spend another Saturday sanding. Super Shooters has handled drywall repair across the Sacramento Valley for over 30 years, and we'd rather tell you it's a simple fix than sell you more than you need. If your patch keeps coming back or the damage is bigger than a putty knife can handle, get a free drywall repair estimate and let us take a look.
Recent Posts