Share this article

July 5, 2026

Ceiling Drywall Repair: How To Patch Ceiling Drywall

A sagging patch of drywall, a crack that keeps spreading, or a water stain that won't quit, ceiling damage has a way of demanding your attention. Knowing how to patch ceiling drywall yourself can save you real money on smaller repairs, and it's a skill most homeowners can pick up with the right guidance. But working overhead comes with its own set of challenges, from fighting gravity while applying joint compound to matching the existing texture so the repair blends in.

At Super Shooters, we've completed over 10,000 ceiling and drywall projects across the Sacramento Valley in our 30+ years of business. That experience has taught us exactly what works, and what leads to callbacks. We've put together this guide to walk you through the full repair process , from assessing the damage to finishing with a texture that disappears into the rest of your ceiling.

Below, you'll find step-by-step instructions covering the tools and materials you'll need, techniques for small holes versus larger sections, and tips for getting a seamless result. We'll also help you recognize when a repair is better left to a professional , because not every ceiling fix is a weekend project.

Before you patch: size, cause, and safety

Before you grab a putty knife and start filling gaps, take a few minutes to assess what you're actually dealing with. Ceiling repairs differ from wall repairs because gravity works against you the entire time, and a repair that looks minor on the surface can hide something more serious underneath. Spending five minutes on this assessment now saves you from redoing the work next month.

Know your damage size

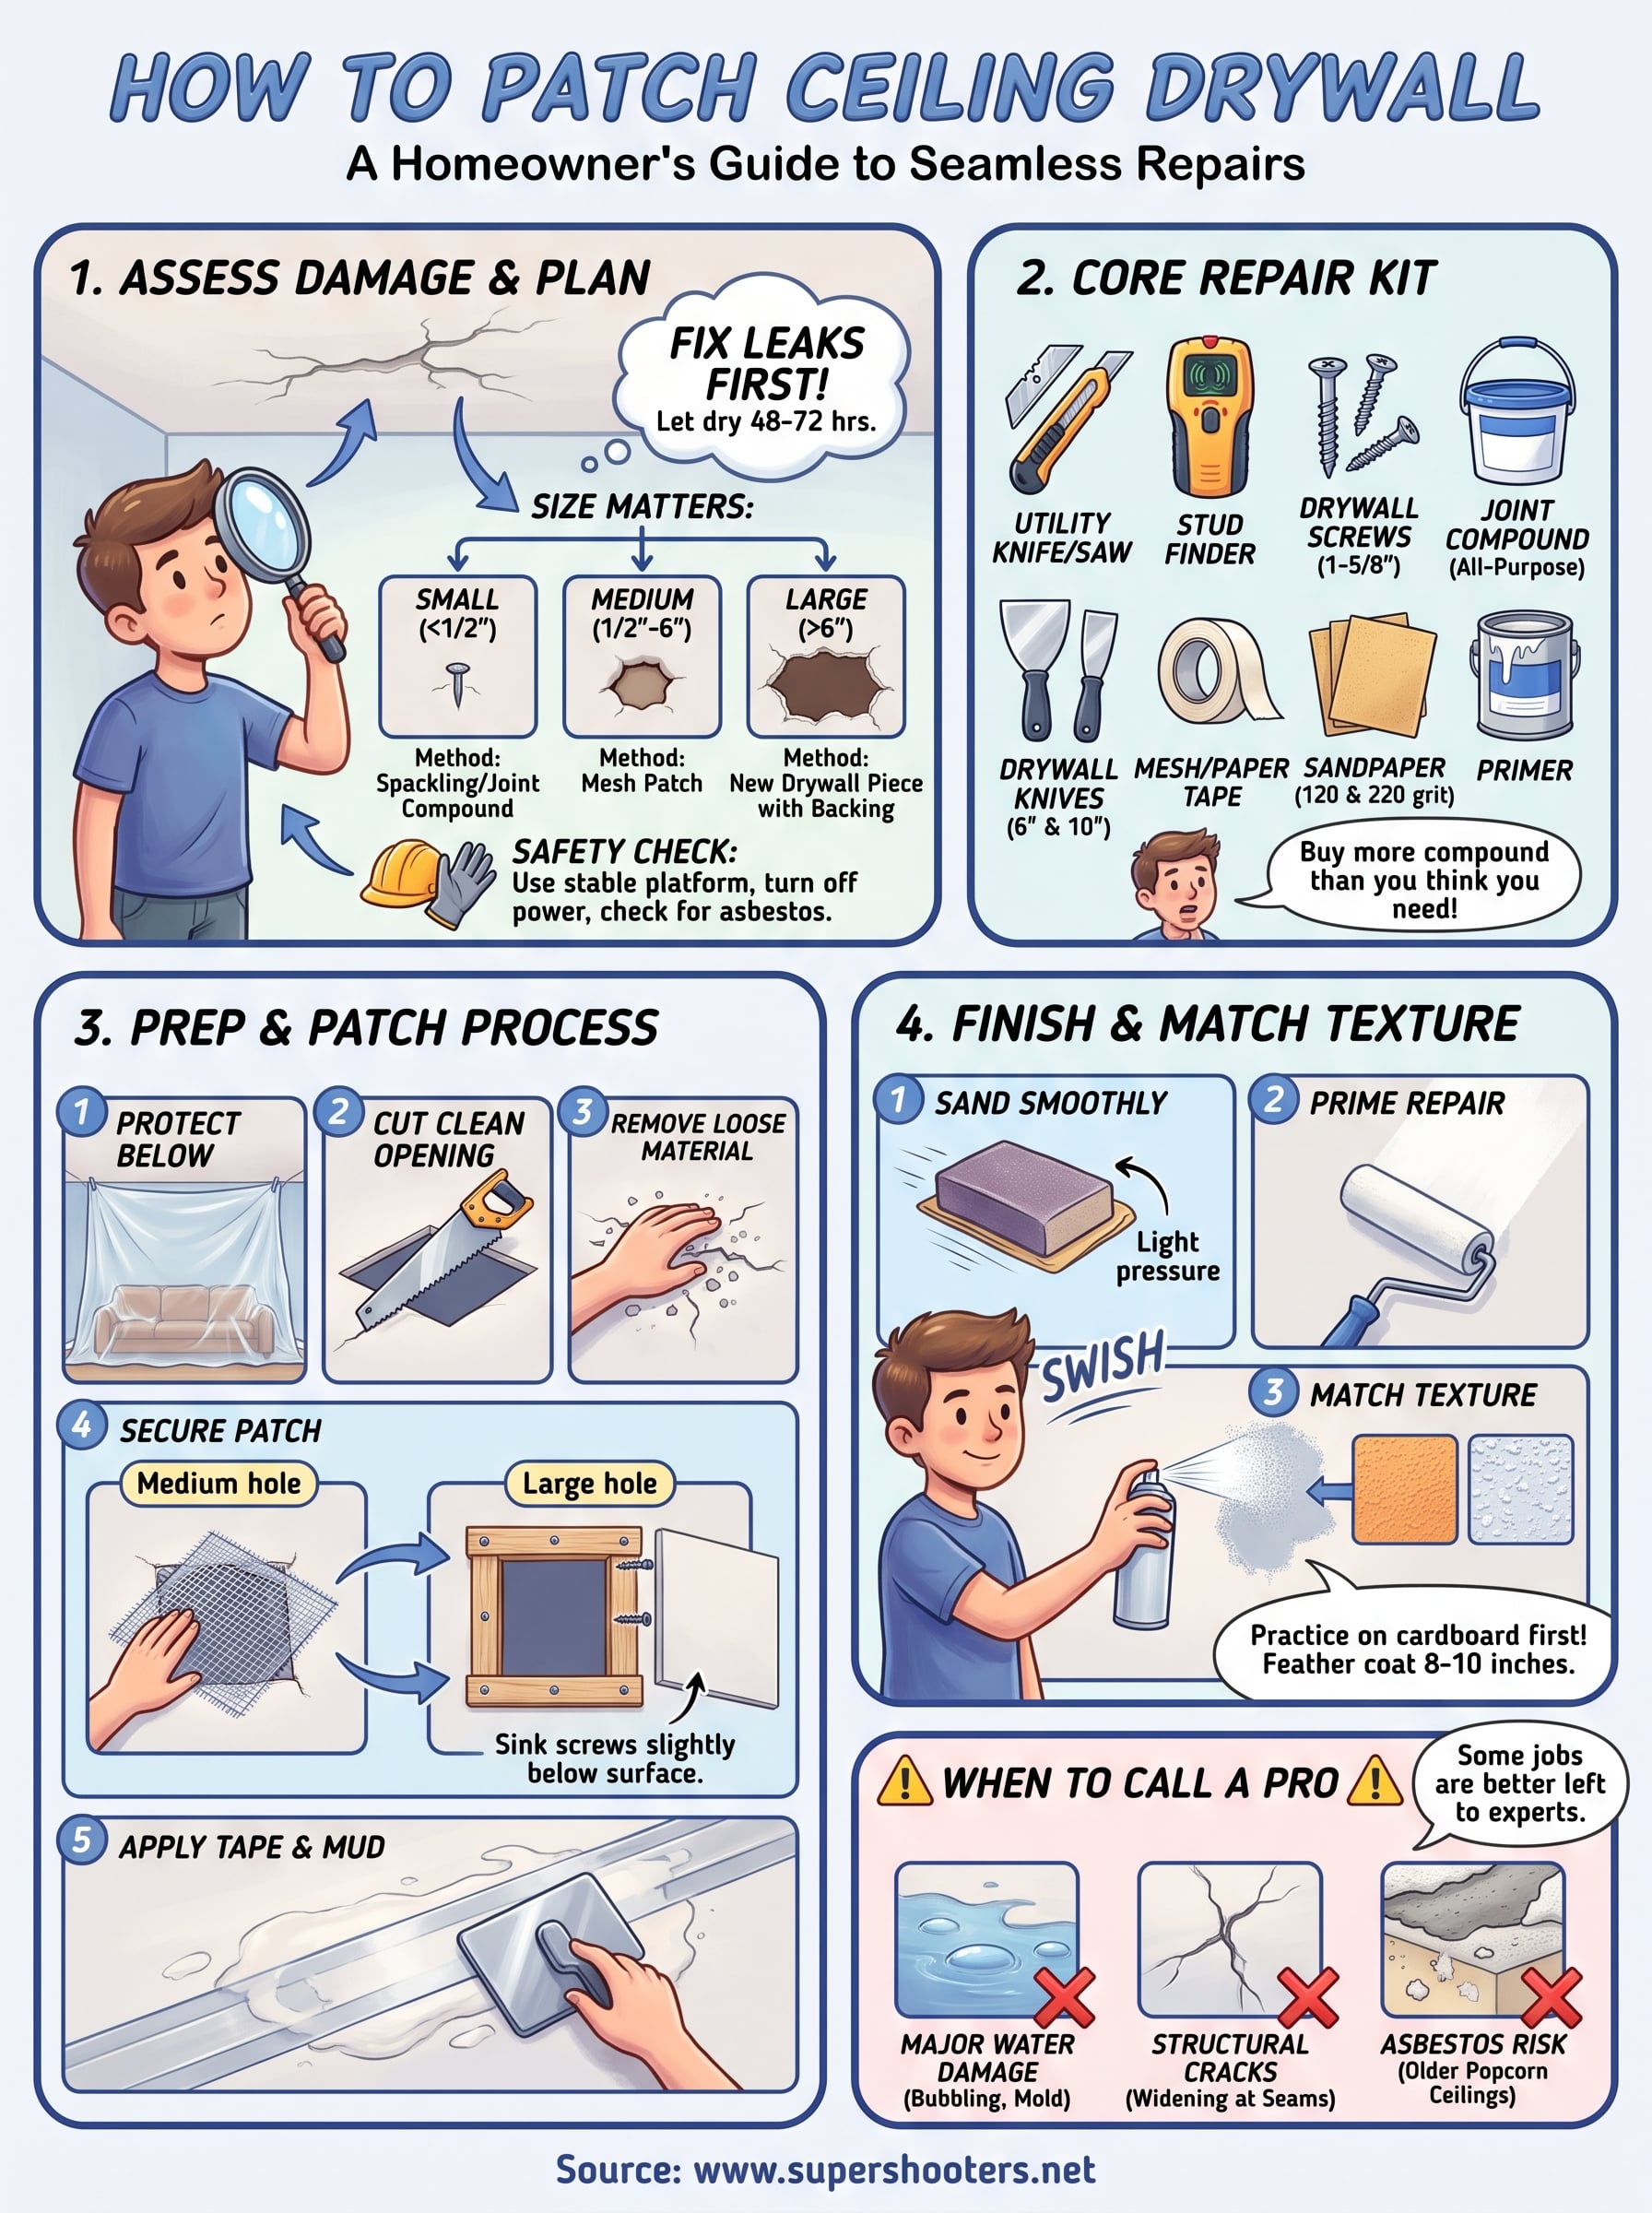
The size of the damage determines which repair method you'll use , so measure the hole or crack before you buy anything. Repairs generally fall into three categories:

Damage size Description Typical method
Small (under 1/2 inch) Nail holes, tiny cracks Spackling or lightweight joint compound
Medium (1/2 inch to 6 inches) Larger holes, moderate cracks Self-adhesive mesh patch or California patch
Large (over 6 inches) Significant holes, section damage New drywall piece with backing support

Matching the right method to the right size is one of the most critical steps in learning how to patch ceiling drywall correctly. If you use a lightweight mesh patch on a large hole, it will flex, crack, and fail within a few months.

Find the cause before you fix the surface

A hole from a doorknob or a screw that pulled through is straightforward to repair. Water damage is a different story entirely: if your ceiling shows brown staining, bubbling paint, or soft drywall , you have a moisture source that needs to be fixed before you touch the surface. Patching over active moisture leads to mold and failed repairs.

Fix the leak first, let the area dry completely for at least 48 to 72 hours, then proceed with your repair.

Structural cracks also deserve a closer look before you start patching. A hairline crack from normal settling is common in older Sacramento Valley homes. A crack that runs along a seam and widens over time may signal a foundation or framing issue that a contractor should evaluate before you proceed.

Safety checks before you climb

Working overhead creates real physical strain and fall risk. Use a stable platform , whether that's a proper scaffolding setup or a sturdy step ladder rated for your weight plus your materials, and never balance on chairs or makeshift surfaces. Before cutting into any section, use a stud finder with AC wire detection to locate electrical wires or plumbing running above the drywall.

Turn off the circuit breaker to the room if you have any doubt about wire locations. Ceiling work in older homes can also reveal asbestos in popcorn texture or joint compound , which requires professional testing before any cutting or sanding takes place.

Tools and materials you will actually use

Buying the wrong supplies is one of the most common mistakes homeowners make when learning how to patch ceiling drywall . You don't need a full contractor's kit, but you do need the right items for your specific repair size , because substituting materials almost always results in a patch that cracks or shows through paint.

The core repair kit

Gather everything before you climb the ladder. Working overhead means you want all your tools within arm's reach , not scattered across the floor below. Here's what a complete ceiling patch kit looks like:

Item What it's for
Drywall saw or utility knife Cutting out damaged sections cleanly
Stud finder with AC detection Locating joists and wires before cutting
Drywall screws (1-5/8") Securing new drywall panels to backing
Drywall backer boards or furring strips Providing support behind large patches
Self-adhesive mesh tape Bridging seams on medium repairs
Paper tape Reinforcing seams on large patch sections
All-purpose joint compound Applying base and finish coats
Sandpaper (120 and 220 grit) Smoothing between coats
Primer Sealing the repair before painting
6" and 10" drywall knives Spreading compound smoothly overhead

Buy more joint compound than you think you need. Running out mid-project and waiting for a second coat to dry will cost you an extra day.

Choosing the right joint compound

Not all joint compounds perform the same way for ceiling work. Use lightweight all-purpose compound for most patching jobs since it shrinks less and dries faster than standard weight, which matters when you're holding a loaded knife over your head. If you need to build up a deep gap in multiple passes, a setting-type compound (the kind you mix with water) gives you a harder base coat before you finish with the lightweight version.

Step 1. Prep the ceiling and the opening

Good prep work is what separates a patch that lasts for years from one that fails inside of six months. Before you apply a single drop of joint compound, you need a clean, stable opening that gives your new drywall or patch material something solid to bond to.

Protect the space below

Drop a plastic sheet or canvas tarp over your furniture and flooring before you start cutting or sanding. Joint compound dust and drywall debris fall directly down and settle into carpet and upholstery fast. Tape the sheeting to the baseboards so it doesn't shift while you're working overhead.

Cut a clean, square opening

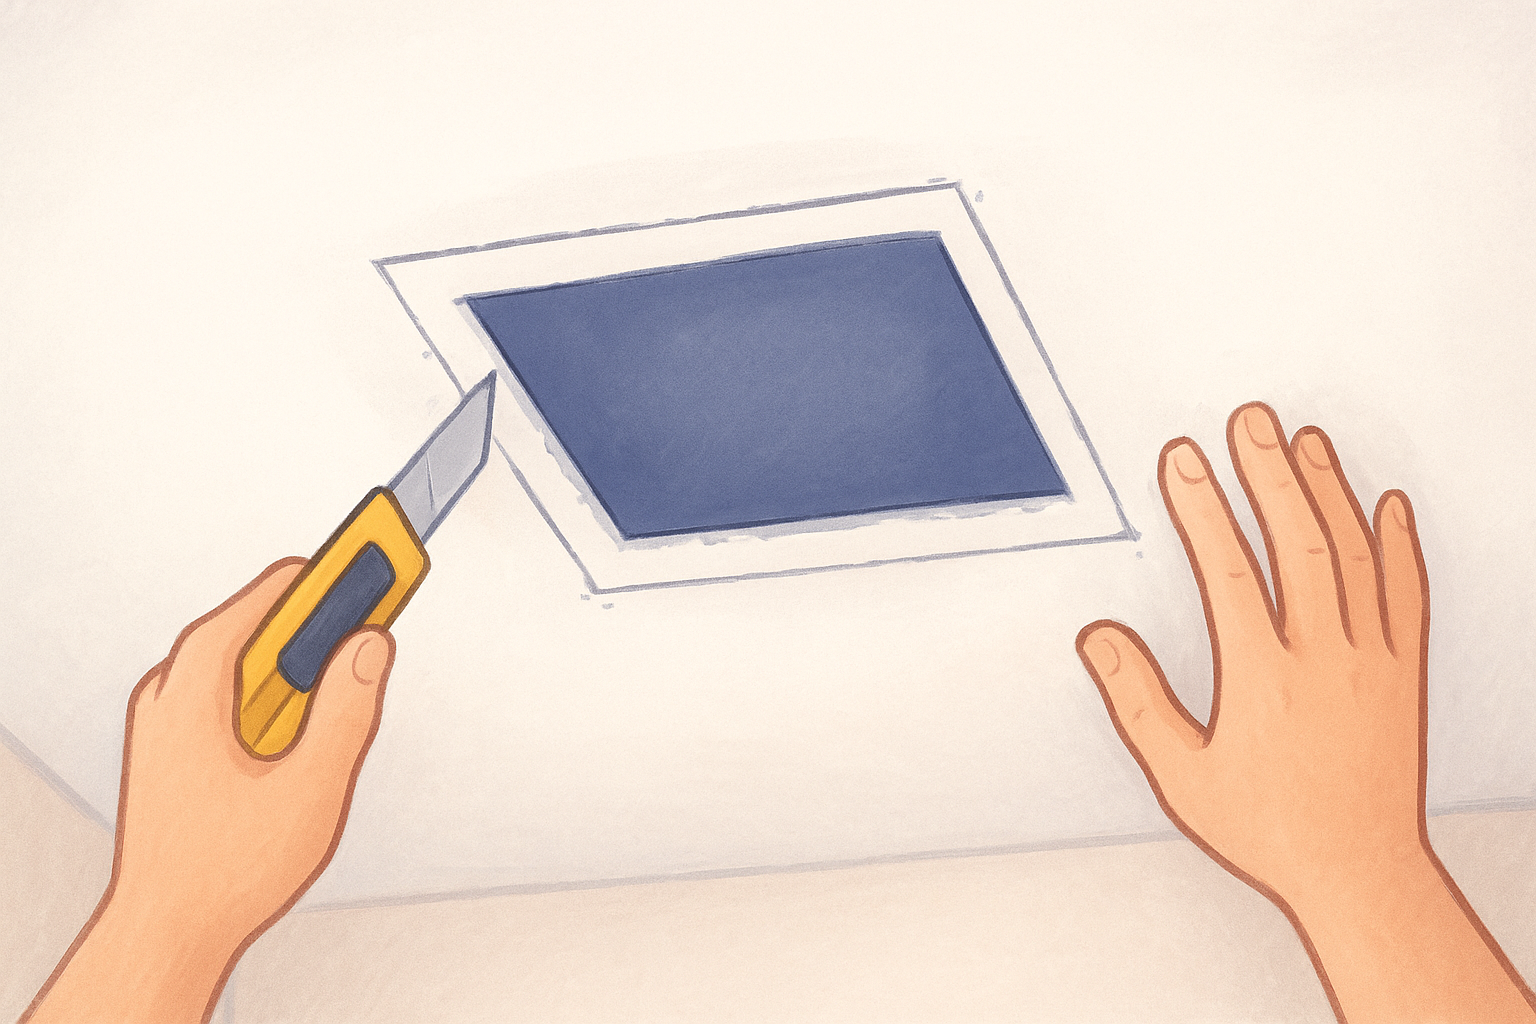
For any hole larger than two inches , cut the damaged area into a clean rectangle or square rather than patching an irregular shape. Use your utility knife or drywall saw to score and cut along straight lines. Clean edges give you consistent surface area for tape and compound to grip, which is critical when learning how to patch ceiling drywall that holds up long-term.

Cutting to the nearest joist on at least one side of your opening gives you a natural anchor point for screwing in new drywall.

Mark your cut lines with a pencil before you saw so your lines stay straight. Ragged or angled cuts create gaps that are nearly impossible to fill cleanly , so take your time here even if it means making the opening slightly larger than the original damage.

Remove loose material around the edges

Knock away any crumbling drywall, loose paper facing, or flaking texture around the edges of the opening before moving forward. Run your finger along the cut perimeter and press gently; anything that flexes or crumbles needs to come off now, not after you've applied your first coat of mud.

Step 2. Patch and secure the drywall

With your opening clean and your edges stable, you're ready to install the patch material. The method you use depends entirely on the hole size you measured in your assessment, so pick the correct approach before you cut any new drywall or open any patch kits.

For small and medium holes

Self-adhesive mesh patches handle holes up to about six inches without requiring any backing support. Peel the patch, center it over the hole, and press it firmly to the surrounding ceiling surface. Make sure all four edges contact solid drywall before you apply any compound on top. Partial contact causes the patch to flex under compound, which leads to cracking within weeks.

Hole size Patch method
Under 1/2 inch Fill directly with lightweight joint compound, no patch needed
1/2 inch to 6 inches Self-adhesive mesh patch centered over the opening

For large holes

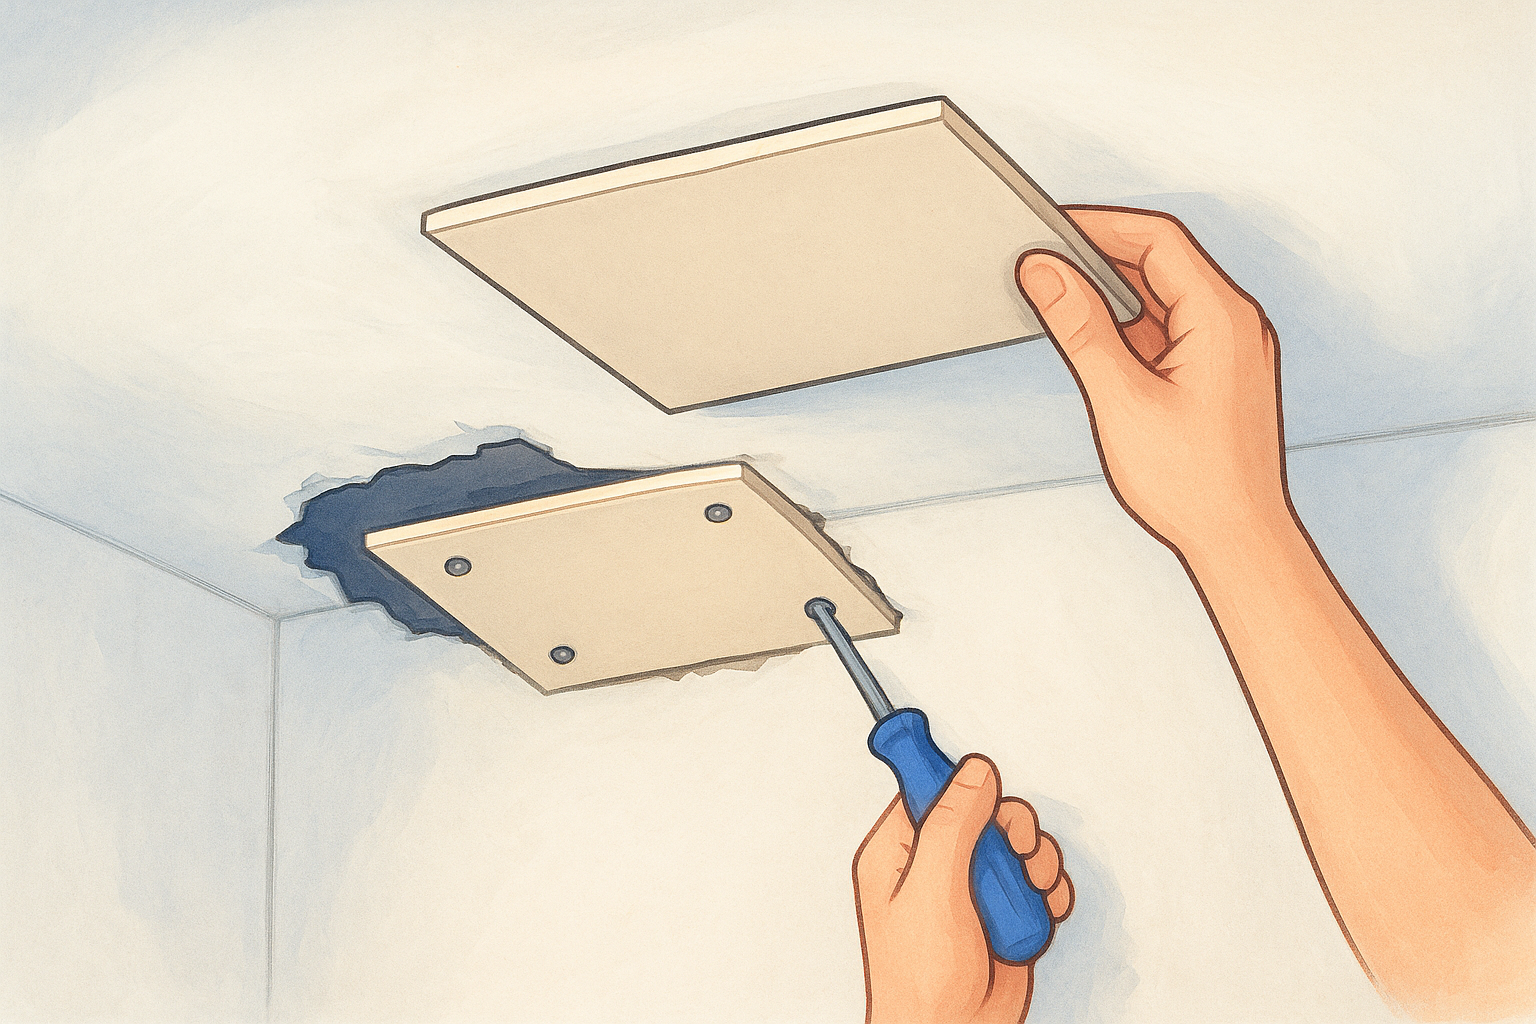
Larger holes require a new piece of drywall cut to fit your opening exactly . Cut the patch piece from 1/2-inch drywall (standard ceiling thickness in most homes) and test the fit before you screw anything down. A tight but not forced fit means you're ready to fasten.

Screw your backer boards into the existing drywall on either side of the opening first, then screw the new patch panel into the backers using 1-5/8-inch drywall screws spaced every six inches.

Drive each screw slightly below the surface so it creates a small dimple without tearing the paper facing. This detail matters more on ceilings than walls because gravity pulls your compound into any raised fastener. Getting fasteners set correctly is one of the most important habits in learning how to patch ceiling drywall that stays smooth through paint.

Step 3. Tape, mud, sand, and match texture

Taping and mudding a ceiling patch is the step that most DIYers rush, and rushing is exactly what creates visible seams after the paint dries. Take your time through each coat, let everything dry completely, and you'll have a result that holds up.

Apply tape and build your mud coats

For any seam around your patch, embed paper tape or press mesh tape firmly into a thin base coat of all-purpose joint compound before you do anything else. Use your 6-inch knife to spread a thin layer of compound over the seam, lay the tape into it, and smooth it flat. Let that coat dry fully before adding a second.

Each coat of joint compound needs to be thinner and wider than the one before it. A typical ceiling patch takes three coats total: a base coat, a fill coat, and a finish coat.

Your finish coat should feather out at least 8 to 10 inches from the seam edge in all directions. The wider the feathering, the less visible the transition is after paint.

Sand and prime the repair

Once your final coat is completely dry , sand the patch with 120-grit sandpaper to knock down any ridges, then follow with 220-grit for a smooth finish. Work in circles with light pressure to avoid gouging the compound. Wipe away all dust with a damp cloth, then apply a coat of drywall primer before any paint or texture goes on.

Match the existing texture

Matching texture is the final challenge in how to patch ceiling drywall that looks seamless. If your ceiling has orange peel or light knockdown , a spray texture can in the matching weight is your fastest option. Practice the spray pattern on cardboard first to dial in the distance and pressure before you touch the ceiling.

Wrap up and next steps

You now have a complete picture of how to patch ceiling drywall from start to finish: assess the damage, prep a clean opening, secure your patch, build up your mud coats with patience, and finish with texture that matches what's already there. Each step in this process builds on the last , so skipping ahead or rushing a drying coat is what causes most repairs to fail and need to be redone.

Smaller patches handled correctly can last for years without any visible trace. Larger sections, water-damaged areas, or ceilings with asbestos-containing texture are a different category entirely and carry real risks when handled without the right equipment or experience. If your repair falls into one of those categories, getting a professional assessment first protects both your ceiling and your safety.

If you'd rather hand this job off to an experienced crew, our team is ready to help. Visit our drywall repair and patching service page to learn more or schedule a free in-home estimate.

Recent Posts

By cinchweb July 9, 2026
Learn how many coats of drywall mud you need, the tools for each pass, drying times, finish levels, and common mistakes to avoid.
By cinchweb July 8, 2026
Learn how to tape drywall corners like a pro: prep tools, bed and feather coats, fix cracks, and get smooth finishes step by step.
By cinchweb July 7, 2026
Find the best options for asbestos ceiling testing near me. Compare professional inspector costs, DIY kits, and accredited labs to safely test your home.
By cinchweb July 7, 2026
Learn how to prep a room for painting with this step-by-step checklist. Master cleaning, patching, and taping techniques for a professional finish.
By cinchweb July 4, 2026
Stop before you scrape. Learn how to test ceiling for asbestos safely with our step-by-step guide on DIY sampling, lab analysis, and protective gear.
By cinchweb July 3, 2026
Master how to apply drywall mud for perfectly smooth walls. Learn professional techniques for mixing, feathering edges, and finishing seams like a pro.
By cinchweb July 2, 2026
Learn how to mix drywall mud for a smooth, professional finish. Master the right ratios and consistencies for every coat to save time on sanding.
By cinchweb July 1, 2026
Learn what is drywall mud, its uses, and how to choose the right type. Discover the differences between mud, spackle, and plaster for a seamless finish.
By cinchweb June 30, 2026
Master drywall installation for beginners with our guide. Learn how to hang panels, tape seams, and apply a smooth finish for professional-looking walls.
Show More