July 13, 2026
Drywall Taping Tips and Tricks for a Smooth, Pro Finish
Bad tape joints show up the moment you paint. Bubbles, ridges, and cracks that seem to appear out of nowhere all trace back to the taping stage. If you're searching for drywall taping tips and tricks , you've probably already hung a few sheets and hit that frustrating gap between "looks fine" and "looks professional."
Here's the direct answer: smooth walls come down to joint compound consistency , tape pressure, and knife angle, applied in the right order across three coats. Skip a step or rush the drying time, and you'll be sanding out lumps for hours instead of minutes. Get the sequence right, and the seams disappear entirely once primer goes on.
This guide walks through the exact techniques we use on job sites across the Sacramento Valley, from loading your knife correctly to feathering the final coat so it blends into the surrounding wall. We'll cover paper tape versus mesh , common mudding mistakes, and how to fix a joint that's already gone wrong. If your project turns out bigger than expected, or the walls have damage beyond a DIY fix, Super Shooters offers free estimates and can finish the job right the first time.
What you need before you start taping drywall
Good taping starts before you ever open a bucket of mud. Grab the wrong knife or the wrong tape, and you'll fight the material the whole way through. Here's the gear that actually earns a spot in your toolbox, not the stuff that just clutters it.
Tools that make the job easier
Cheap tools flex, twist, and leave lines you'll spend an extra hour sanding out. Stainless steel taping knives hold a flatter edge and clean up faster than the plastic versions sold in starter kits.
- 6-inch taping knife for embedding tape and applying the first coat
- 10-inch and 12-inch knives for the second and third coats
- Mud pan with straight edges for loading your knife evenly
- Corner trowel if you're taping inside corners regularly
- 120-grit sanding sponge for final smoothing between coats
- Utility knife for trimming tape at the ends of each joint
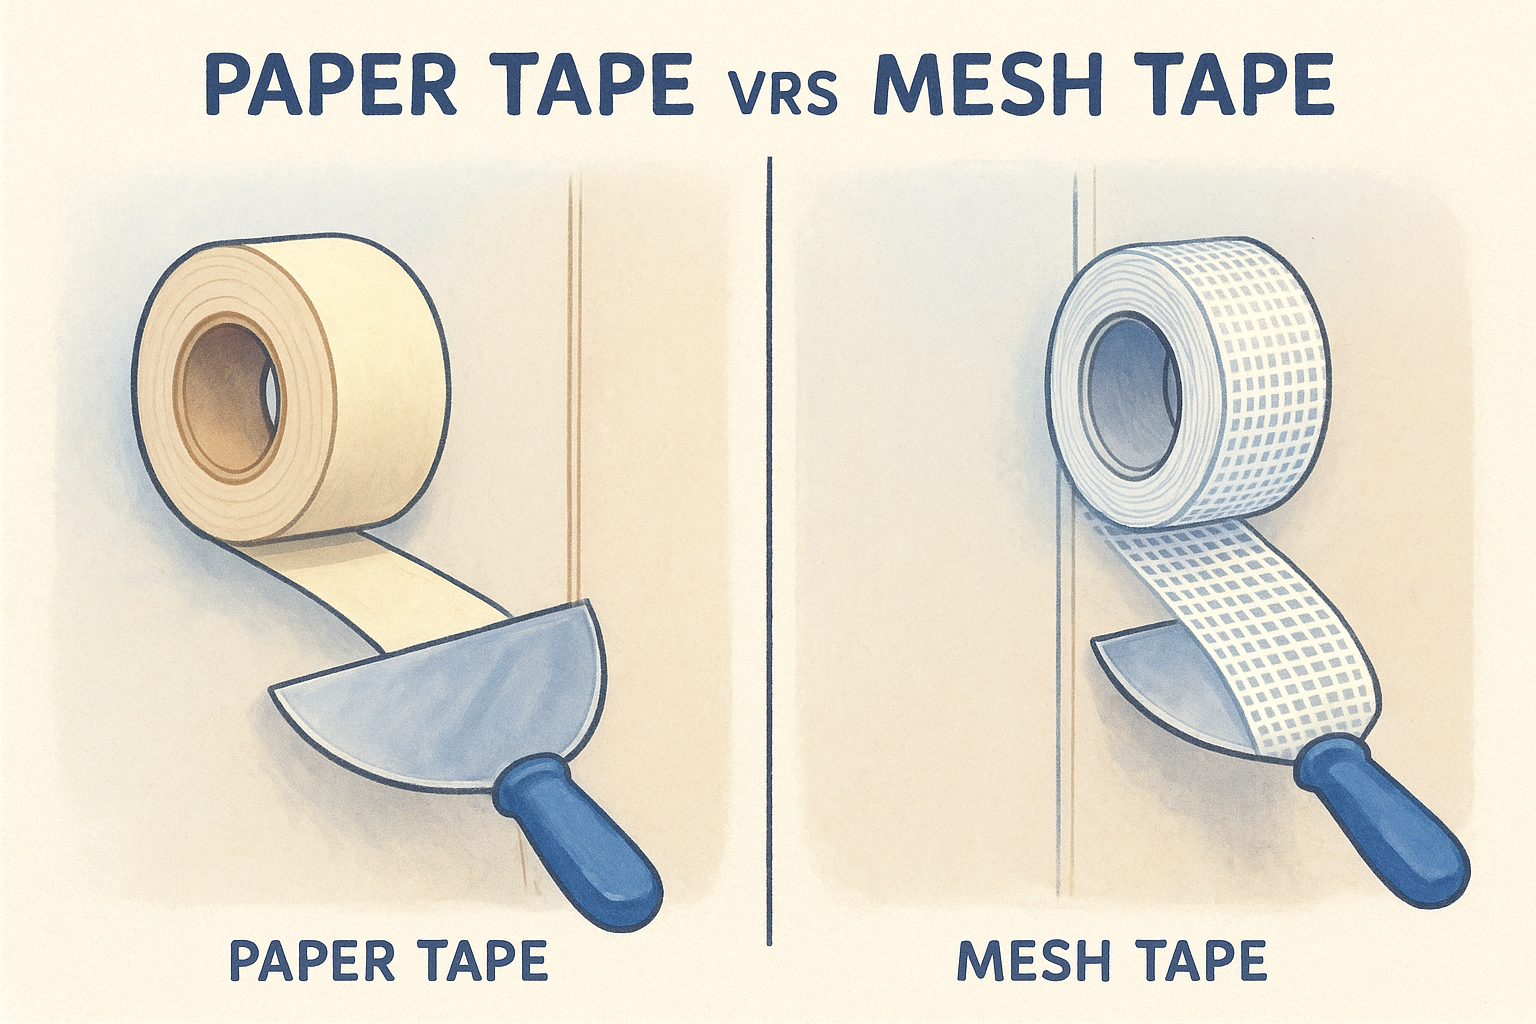
Paper tape versus mesh tape
This choice trips up a lot of first-timers, and it matters more than most tutorials let on. Paper tape bonds directly into wet compound and resists cracking better on butt joints and corners, but it takes practice to embed without bubbles. Mesh tape sticks on with adhesive backing, which makes it beginner-friendly, but it needs a setting-type compound underneath or it's prone to cracking down the road.
| Tape Type | Best For | Learning Curve | Crack Resistance |
|---|---|---|---|
| Paper tape | Butt joints, inside corners | Moderate | High with proper embedding |
| Mesh tape | Flat seams, quick repairs | Easy | Lower without setting compound |
Paper tape embedded correctly outlasts mesh tape almost every time.
Compound types and workspace setup
Joint compound comes in a few forms, and matching the right one to the job saves you a callback. All-purpose compound works fine for most coats, but a setting-type compound (sometimes called "hot mud") dries chemically instead of by evaporation, which speeds up multi-coat days and holds up better under mesh tape.
Lighting matters just as much as material. Set up a work light at a low angle across the wall. Shadows reveal ridges and low spots that overhead light hides completely, and catching those flaws now saves a round of sanding later. Ventilate the room too. Drying compound releases moisture that lingers in closed spaces and slows every coat behind it.
Step 1. Mix the joint compound to the right consistency
Most taping problems start right here, before the knife ever touches the wall. Compound straight from the bucket is usually too thick for embedding tape and too thin for topping coats, so you need to adjust it for each stage of the job. Mixing consistency wrong is the single fastest way to create bubbles, drag marks, and joints that take twice as long to sand.
Get the mud consistency right, and half your taping problems disappear before you even pick up a knife.
Getting the ratio right
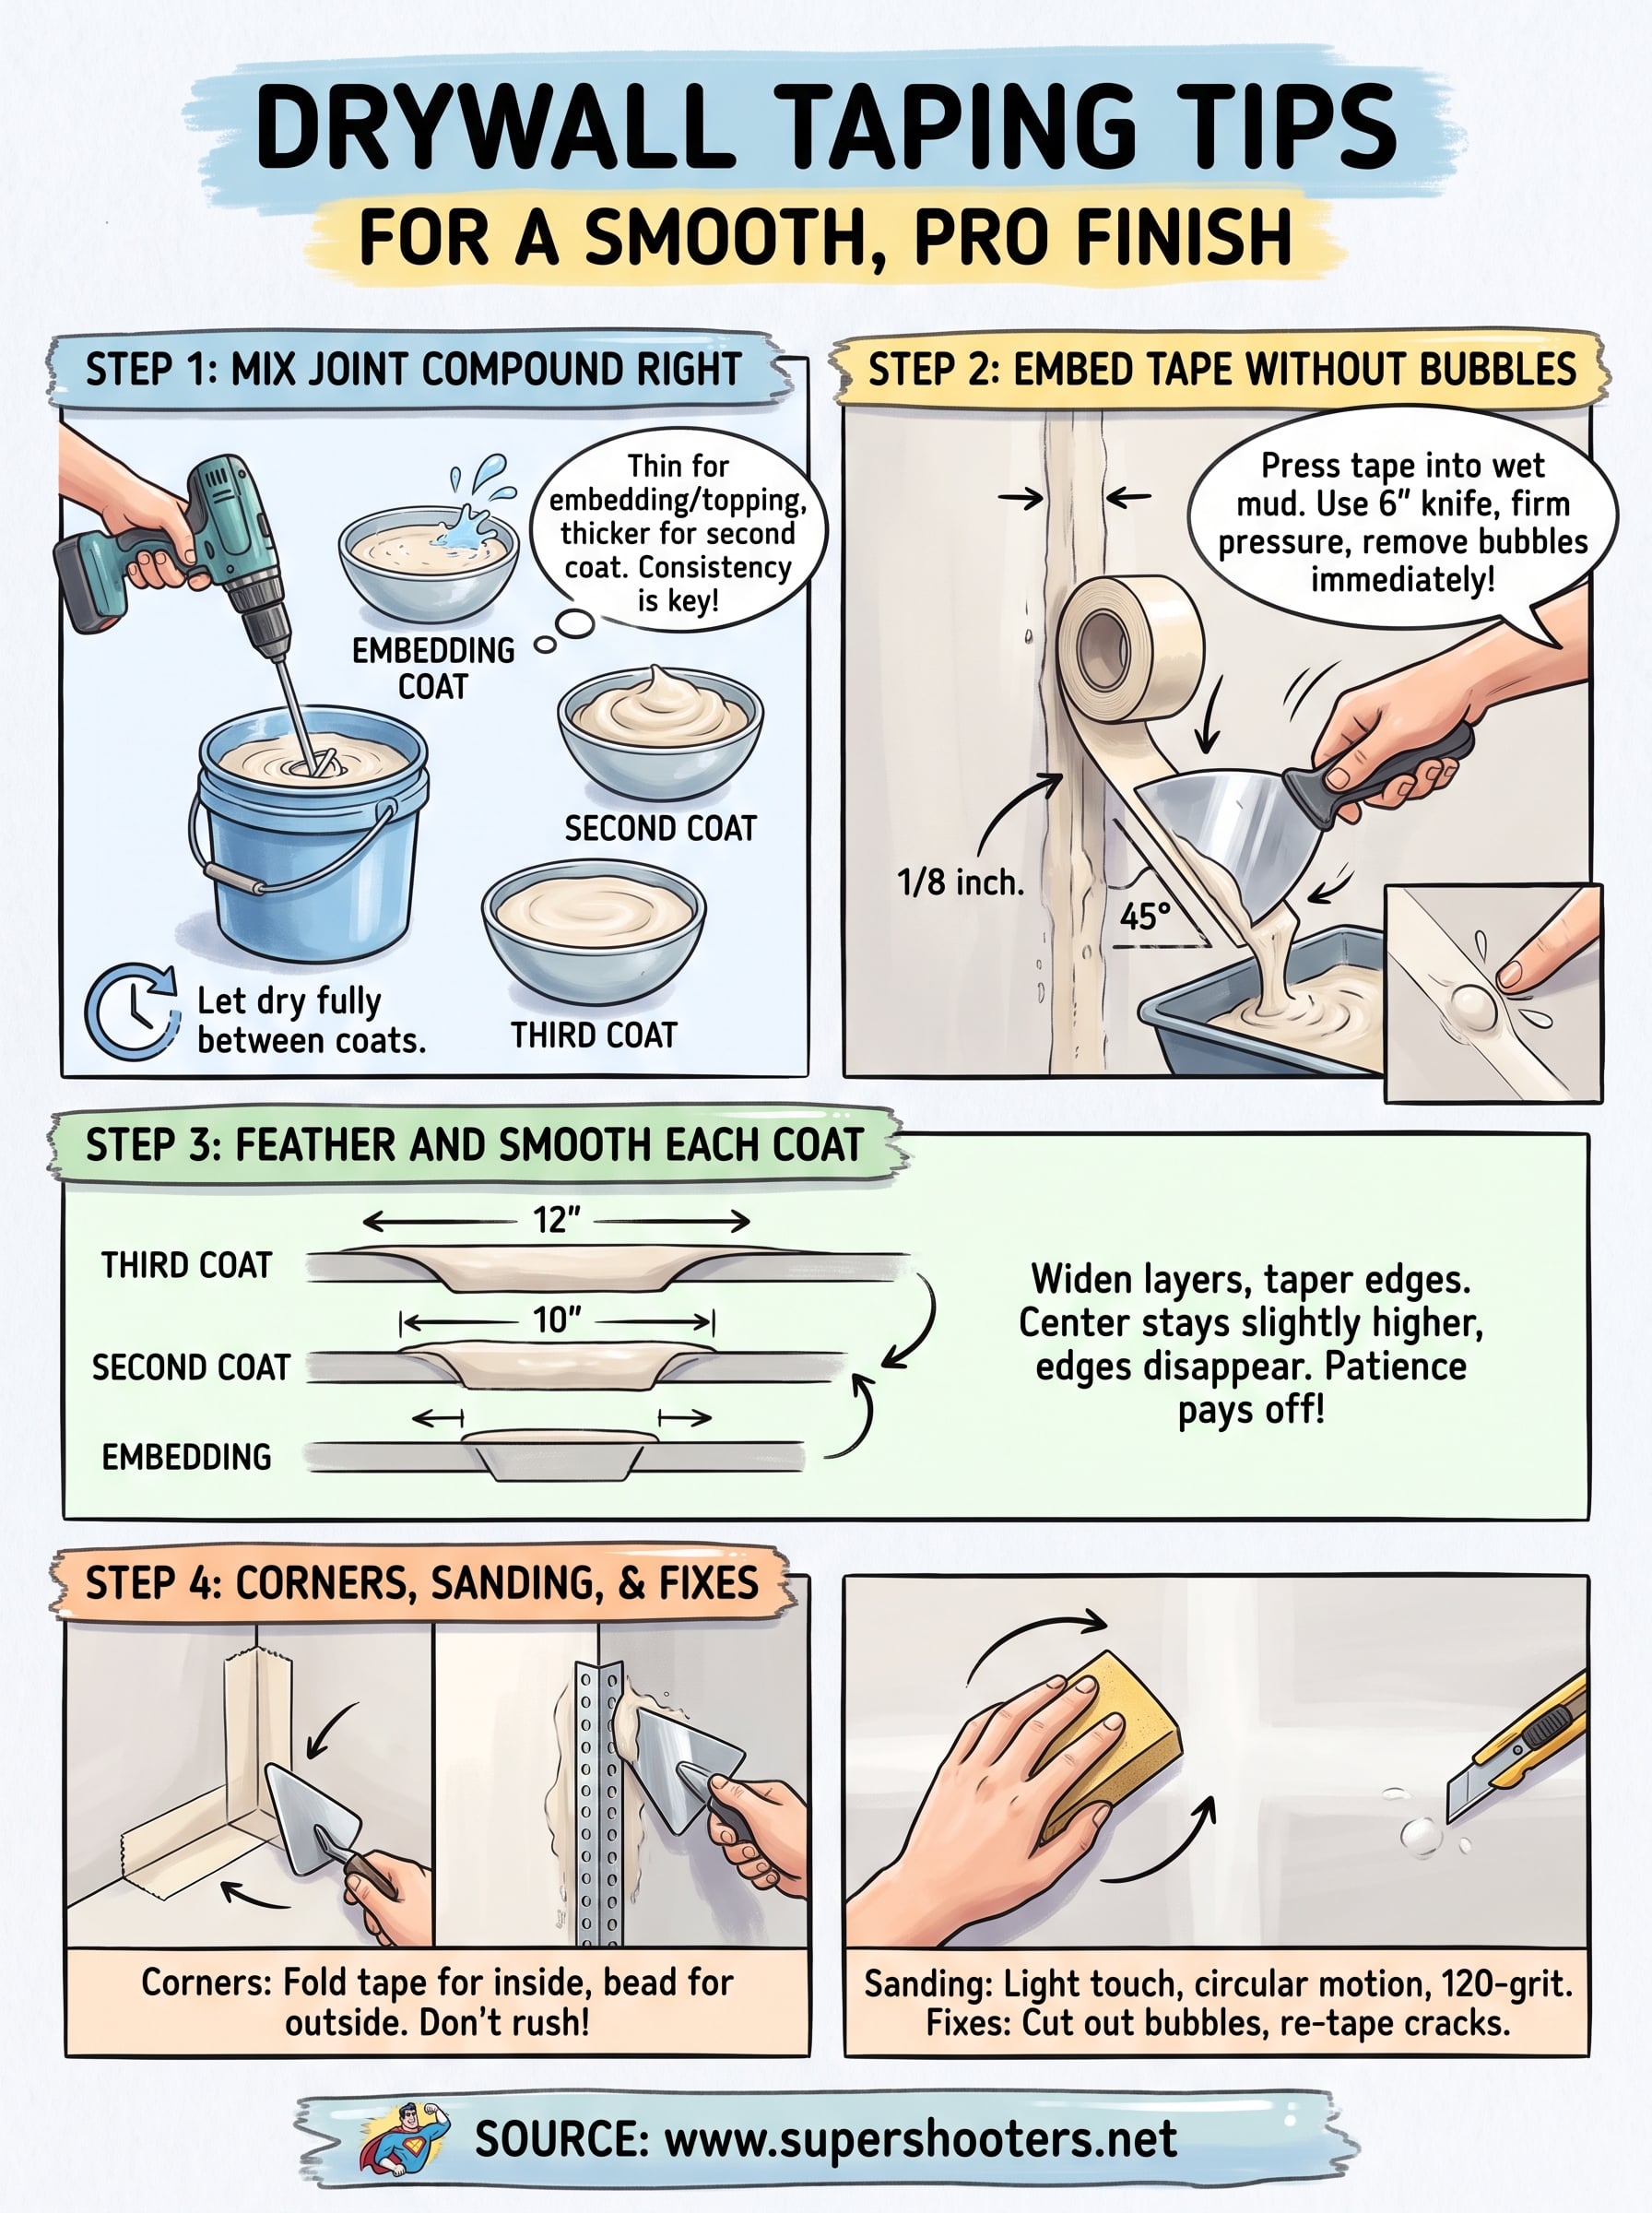
For the embedding coat, you want compound about the thickness of thick pancake batter. Thin it slightly with water, adding just a splash at a time, and mix with a margin trowel or a low-speed drill paddle until it's smooth with no lumps.
- Embedding coat: thinned slightly, smooth enough for tape to slide without tearing
- Second coat: closer to the bucket consistency, thick enough to fill and build
- Third coat: thinned again for easy feathering and less sanding later
Overworking the mud introduces air bubbles that show up as pinholes once it dries. Mix just enough for the section you're working on, since sitting compound skins over and clumps.
Testing before you apply
Load a small amount onto your 6-inch knife and drag it across a scrap piece of drywall or an inconspicuous section of wall. If it pulls ridges or tears, add a touch more water. If it slumps and won't hold a knife line, it's too thin. Getting this test right before your first real pass saves you from redoing an entire joint.
Step 2. Embed the tape into the first coat
Apply a bed of joint compound about 1/8 inch thick along the seam before the tape ever touches the wall. Skip this step and press dry tape straight onto drywall, and it will bubble and lift within days. Embedding tape properly means the tape rides inside a layer of mud, not on top of it, with just enough compound squeezing out the sides to confirm full contact.
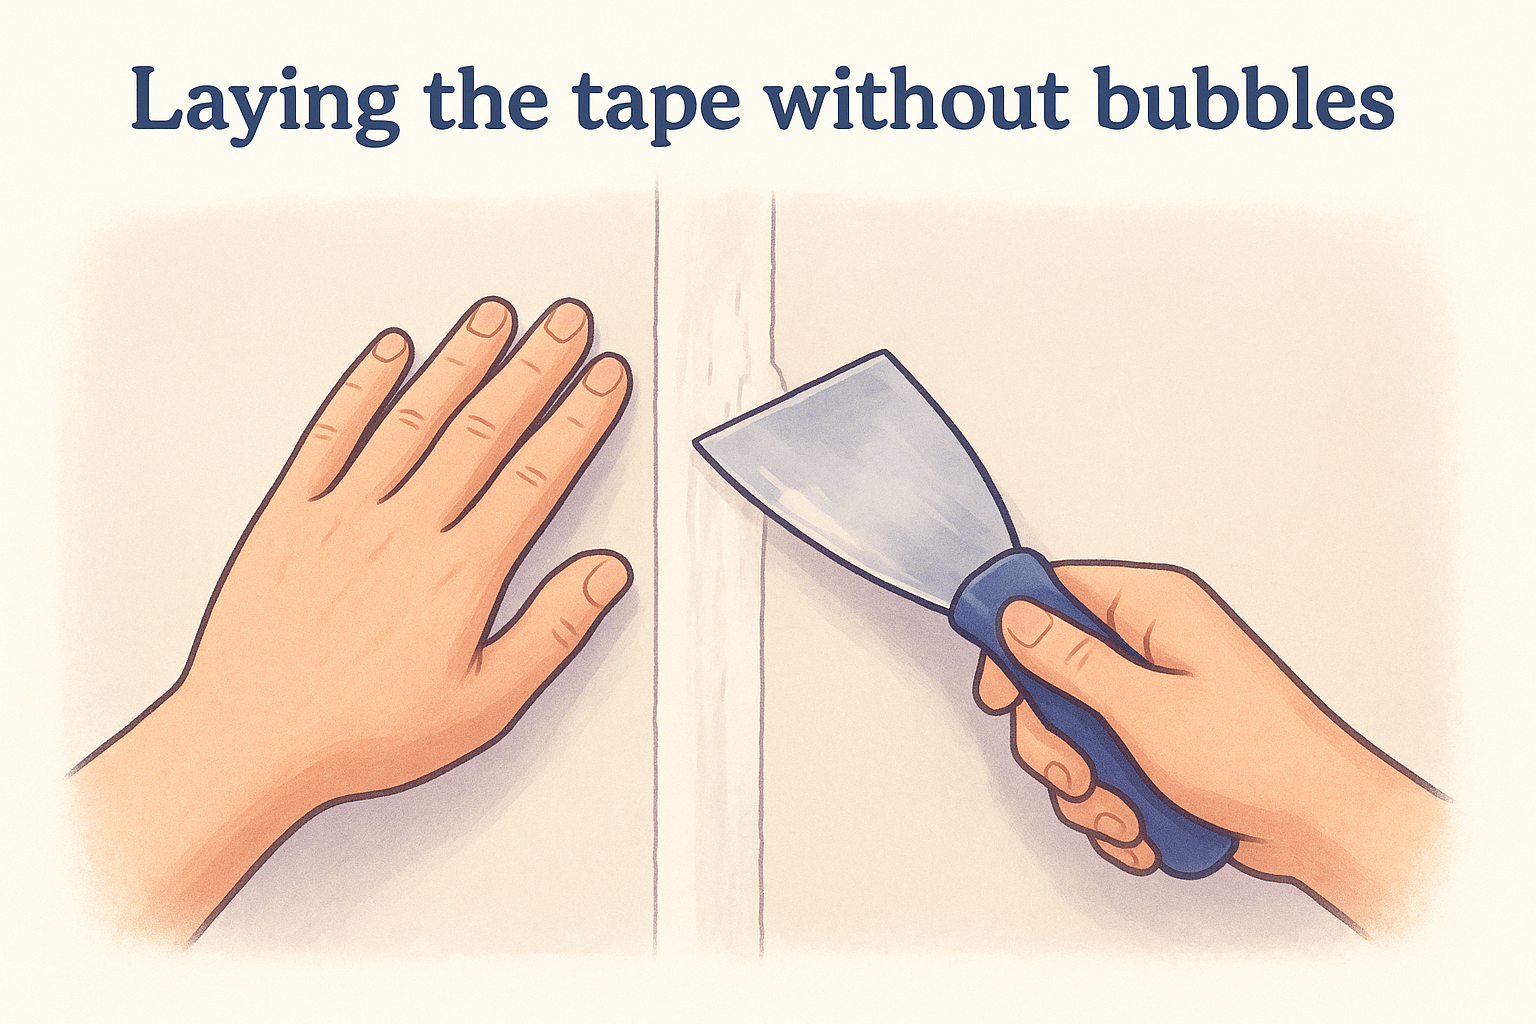
Laying the tape without bubbles
Center the tape over the seam and press it in with your fingers first, working from one end to the other. Then run your 6-inch knife over it at a firm, steady angle, pushing excess mud out ahead of the blade instead of dragging it along. Hold the knife at roughly a 45-degree angle and keep even pressure the whole length of the joint.
- Press tape into wet mud with fingers before knifing it down
- Drag the knife in one continuous pass per section, not choppy strokes
- Leave a thin, even layer of compound under the tape, not a thick one
- Wipe excess mud back into your pan instead of smearing it onto the wall
A bubble you catch during embedding takes ten seconds to fix. A bubble you miss takes ten minutes to sand out later.
Checking your work before it dries
Tilt your work light across the wet joint and look for raised spots or air pockets under the tape. Poke any bubble gently with your knife tip, then re-press that section flat while the mud is still workable. Corners deserve extra attention here since tape tends to pull away from the crease if you rush the fold. Inside corners taped now, done carefully, save you a repair job down the road.
Step 3. Feather and smooth each coat
Once the embedding coat dries, every pass after it needs to feather out wider than the last, tapering the edges so the joint blends into the flat wall instead of standing above it. Feathering technique is what separates a visible seam from an invisible one. Skip this widening step and you'll see a raised strip under every coat of paint, no matter how much primer you use.
Widening with each pass
Apply your second coat with a 10-inch knife, running it about 2 inches wider on each side than the embedding coat below it. Switch to a 12-inch knife for the third coat and widen again, feathering the edges so thin they almost disappear against your finger. Knife angle matters here too. Keep the blade tilted slightly, pressing harder at the outer edges than the center, so compound thins naturally as it spreads outward.
- Second coat: 10-inch knife, feathered 2 inches past the first
- Third coat: 12-inch knife, feathered 2 inches past the second
- Center of joint stays slightly higher than the tapered edges
A joint feathered wide and thin disappears under paint. One left thick and narrow never does.
Letting each coat dry fully
Rushing between coats causes more failed joints than almost any other mistake on a job site. Compound needs to dry completely, not just look dry on the surface, before you load another layer over it. According to the EPA's guidance on moisture control, trapped moisture behind finished surfaces invites bigger problems later, so ventilate the room and give each coat a full day when humidity runs high.
Step 4. Finish corners, sand, and fix common problems
Inside and outside corners fail more often than flat seams, mostly because they get rushed. Corner finishing needs a different touch than a flat joint, since two planes meet at an angle instead of lying level.
Handling inside and outside corners
For inside corners, fold paper tape along its center crease and run one side at a time, letting the first side dry before coating the second. Pushing both sides at once pulls tape away from the crease and guarantees a crack later. For outside corners, use metal or vinyl corner bead nailed or mudded into place before you tape, since bare drywall edges chip and crumble without that reinforcement.
Corners crack when you rush them, not when you tape them wrong.
Sanding without gouging the paper
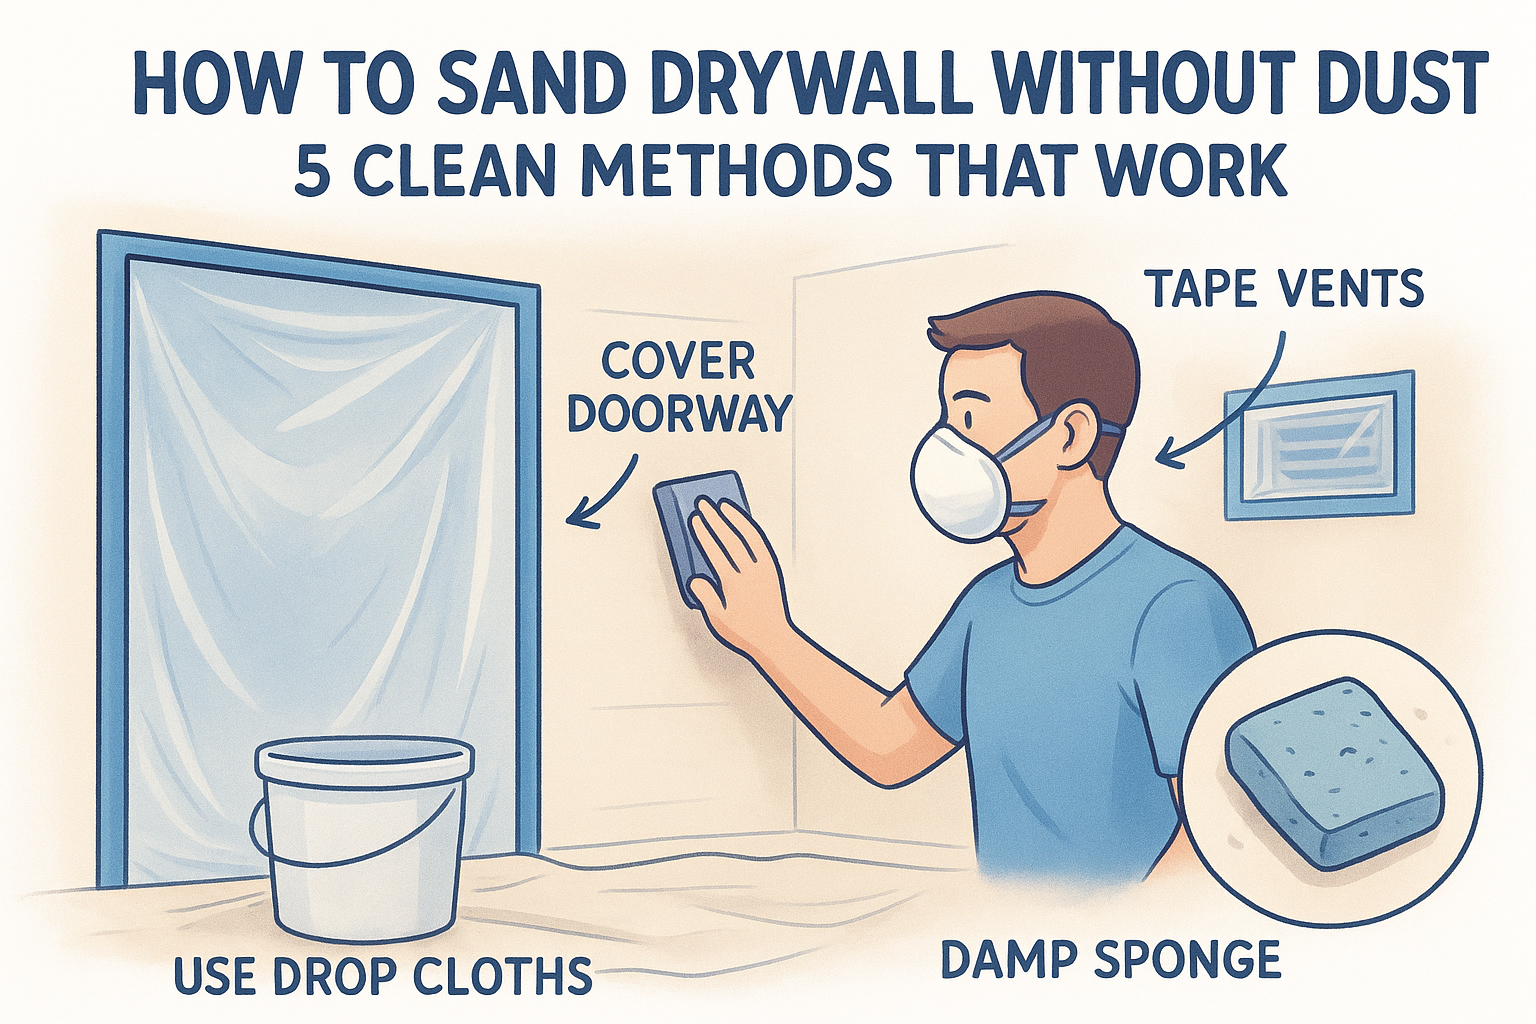
Sand lightly with a 120-grit sponge in a circular motion, checking often with raking light so you stop before you expose the paper. A pole sander works faster on large flat walls, but keep pressure even, since heavy hands cut through the top layer of drywall paper and leave a fuzzy patch that shows through paint.
Fixing bubbles, cracks, and ridges after the fact
Some flaws only show up once everything's dry. Here's how to handle the most common ones:
- Bubbles: cut out with a utility knife, patch with fresh tape and mud
- Cracks along tape: widen slightly, embed new tape over the old joint
- Ridges: sand down, then feather a thin skim coat over the area
Catching these early keeps a small fix from turning into a redo.
Getting walls smooth enough for paint
Taping drywall well comes down to patience more than talent. Mix your mud right, embed the tape without rushing, feather each coat wider than the last, and let everything dry fully before you sand. Follow that order every time, and you'll get seamless joints that vanish under primer instead of ghosting through your paint job for years.
Skilled DIYers can absolutely pull this off on a room or two. But larger jobs, ceiling work, or walls with damage that goes deeper than a simple patch call for a different level of experience. That's where 30 years of hands-on jobsite work makes the difference between a wall that looks fine and one that looks flawless. If your project has grown past a weekend fix, our team handles professional drywall repair and patching across the Sacramento Valley, with free estimates and no payment due until the work is done right.