Share this article

November 5, 2026

Screw Pop Repair: How to Fix Drywall Screw Pops for Good

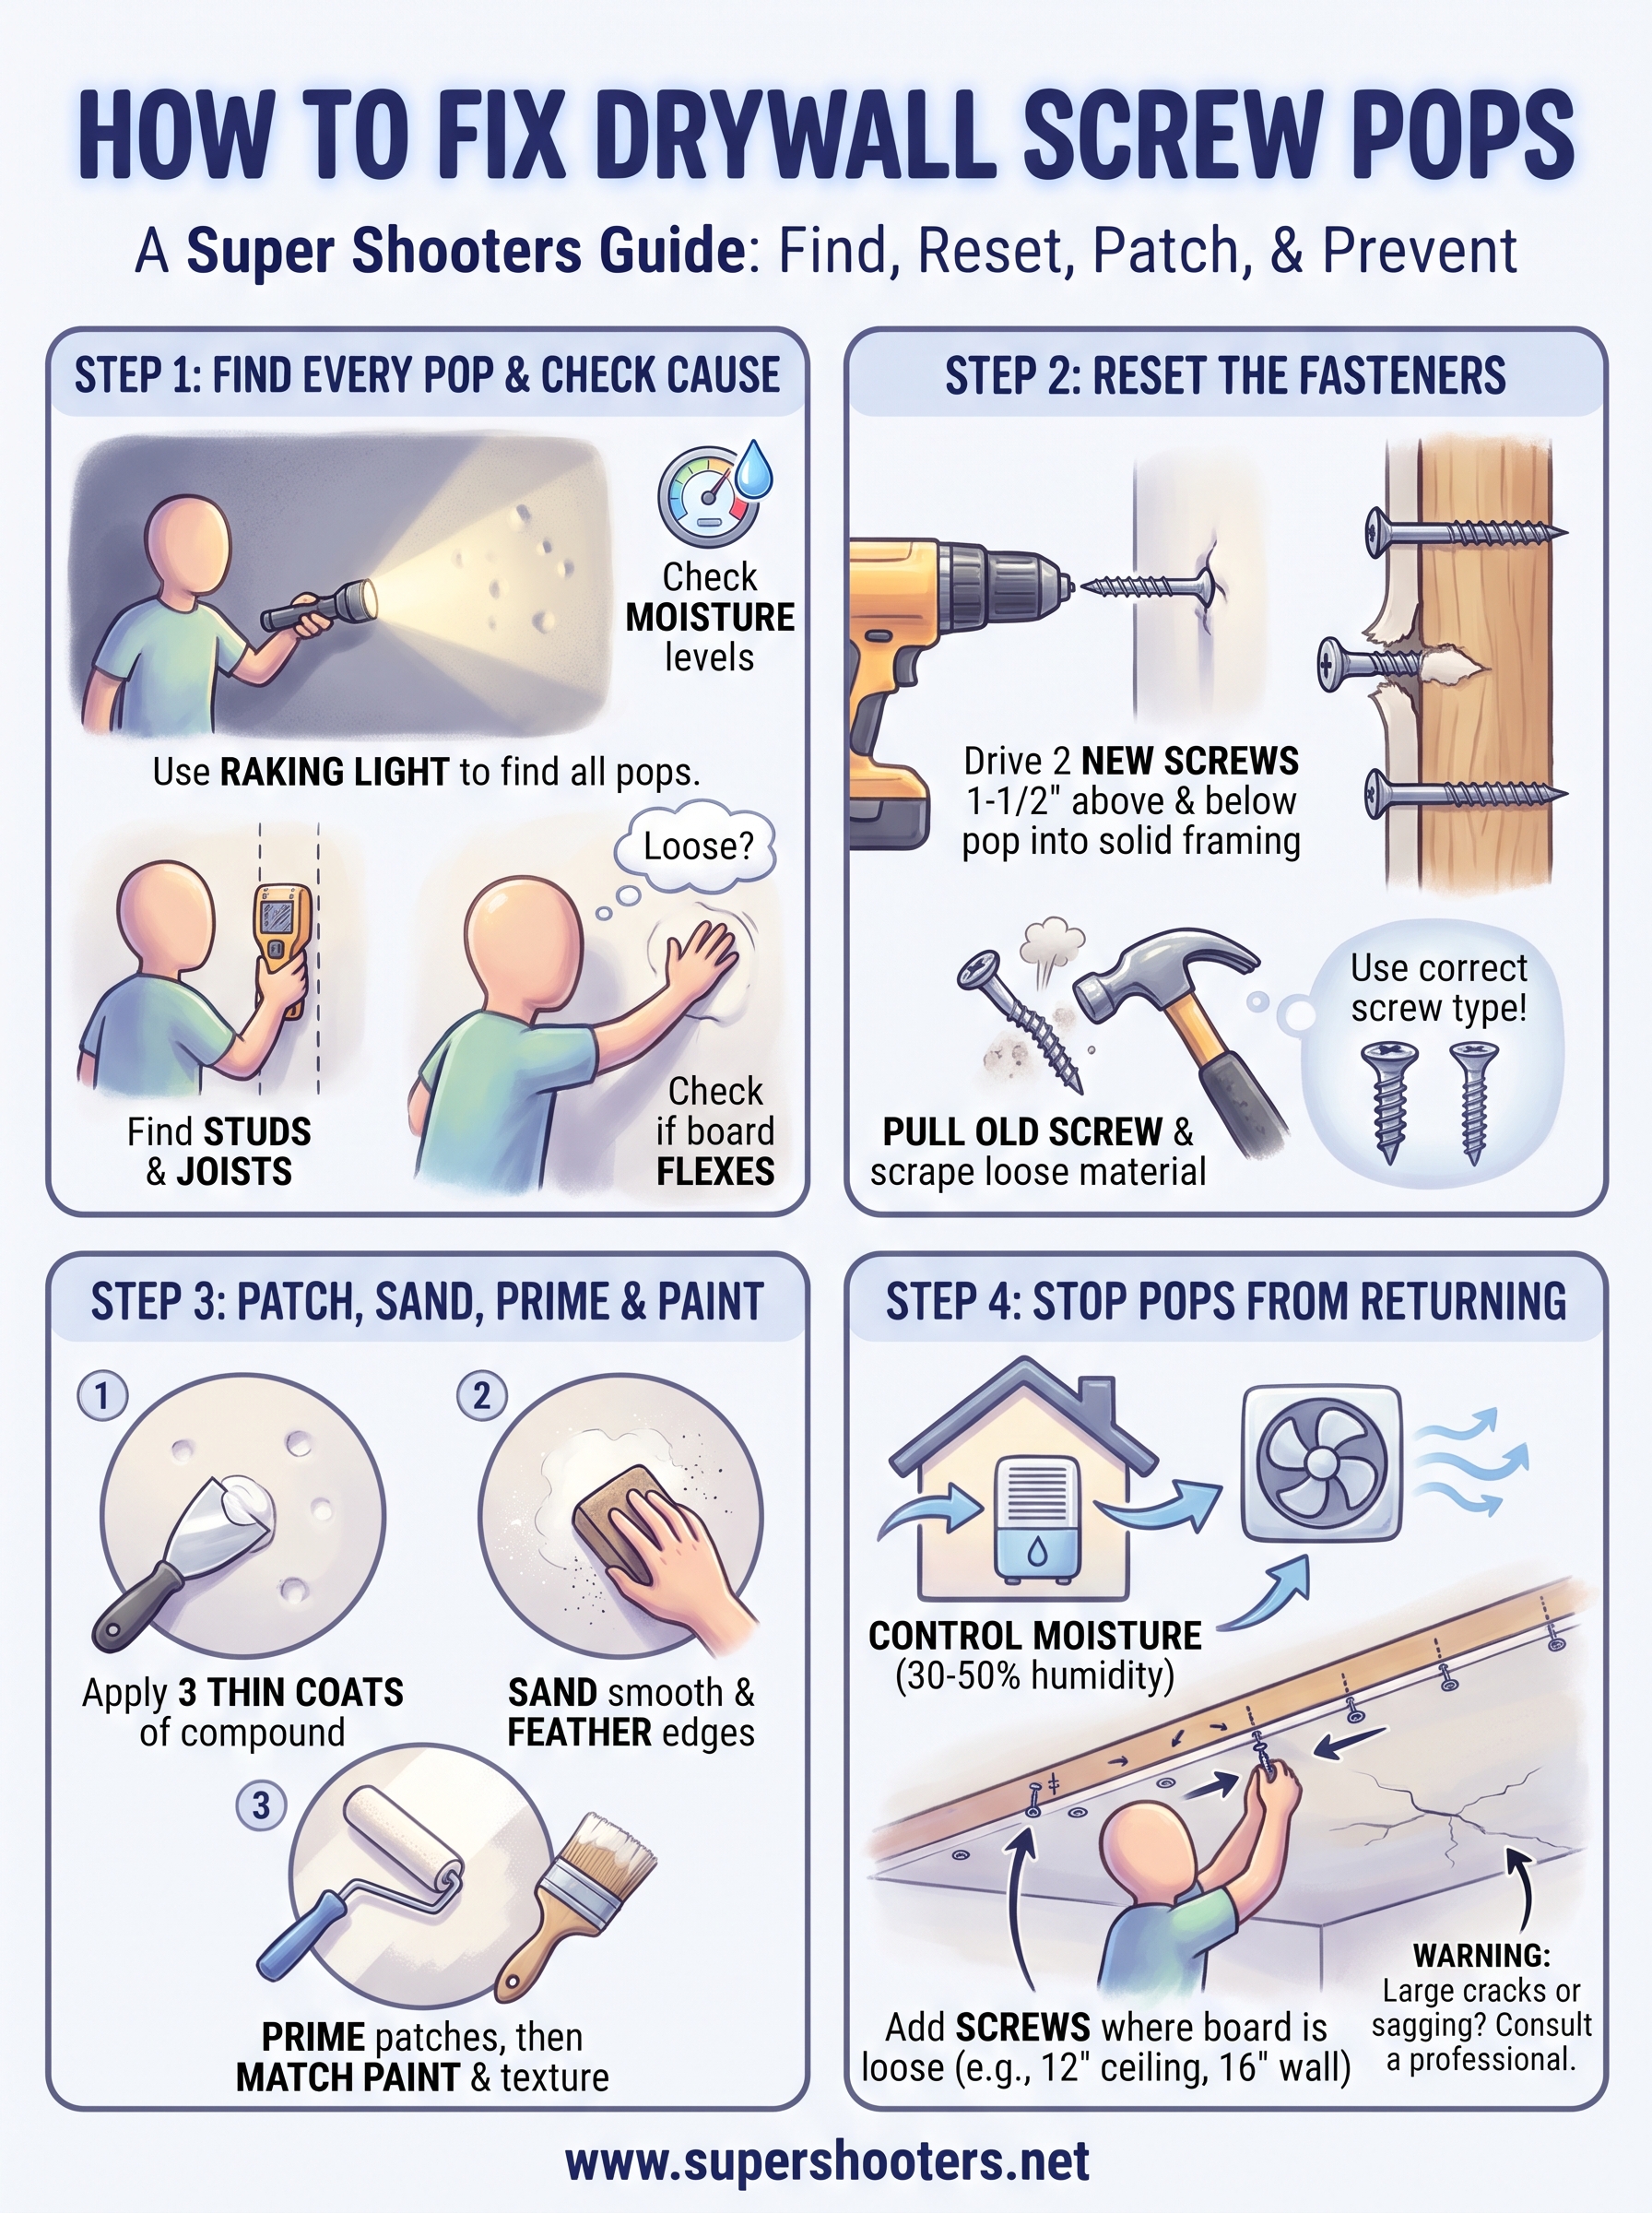
The short answer on how to fix drywall screw pops is to drive a new screw into the stud an inch and a half above and below the popped fastener, then pull the old one. Cover every dimple with three thin coats of joint compound, then sand, prime, and paint. Hitting the old screw back in does not work, because the drywall around it has already lost its grip.

A screw pop is a small bump, or a cracked circle of paint, where a fastener has pushed out through the wall or ceiling. It often shows up after the first cold season or a humid summer, and basements and ceilings get it the most. If you only skim the bump with compound, the pop usually returns within months and you do the job twice.

This guide covers four steps: finding the pops, resetting the fasteners, patching and painting, and stopping the pops from returning. At Super Shooters we have repaired drywall for over 30 years, so this is a repair we see often. Everything below is work you can do yourself in a weekend.

Why drywall screws pop and what you need first

Drywall screws pop when the board and the framing move apart after the fastener is set. Wood studs shrink as they dry, an overdriven screw tears the paper that holds the board, and humidity swings keep the board moving. Knowing your cause tells you whether one repair is enough.

What causes drywall screws to pop

Most pops come from a board that is not tight against the stud. The table below matches each cause to what you will see and the fix.

Cause What you see Fix
Studs drying and shrinking Rows of pops along studs, often in newer homes Reset with new screws
Gap between board and stud Board flexes when you press near the pop Pull the board tight with new screws
Overdriven screw Torn paper or a ring crack around the head Add screws beside it
Nails instead of screws Round bump that returns Replace with screws
Short or smooth fasteners Pops come back after patching Use 1-1/4 inch coarse-thread screws for 1/2 inch board
Humidity and temperature swings Pops in basements, garages, ceilings Control moisture (Step 4)

A screw pop is a loose board, not a paint problem, so the repair starts behind the surface.

Tools and materials

Gather these before you start, because the compound dries between coats and you do not want to stop for a store run.

  • Drywall screws: 1-1/4 inch coarse thread for 1/2 inch board on wood studs, 1-5/8 inch for 5/8 inch board, fine thread for metal studs
  • Drill or screw gun with a depth-setting nose cone or dimpler bit
  • Stud finder, pencil, and flashlight
  • 6-inch taping knife
  • Joint compound, with a setting-type for the first coat if you want to work faster
  • 120 to 150 grit sanding sponge
  • Drywall primer and matching paint
  • Safety glasses and a dust mask

Step 1. Find every pop and check the cause

Start by locating every pop and judging whether it is cosmetic or a warning sign. You will usually find more pops than you first noticed, and fixing only the obvious ones means a second round of patching later.

Find every pop with raking light

Turn off the room lights, then hold a flashlight almost flat against the wall or ceiling so the beam skims the surface. Raking light throws a shadow behind each bump and shows cracked paint rings you would miss otherwise. Mark each pop with a pencil dot or a small piece of painter's tape.

Next, use a stud finder and mark the stud or joist lines . Framing is usually 16 inches apart, sometimes 24. Press the board beside each pop with your palm. If it flexes, there is a gap behind it, and the new screws need to pull it tight.

Decide if it is cosmetic or a warning sign

Drywall screw pops are rarely dangerous. They are a cosmetic problem caused by normal movement, and the house is not failing. Treat the pop as a warning sign only if it comes with long cracks, a sagging ceiling, brown stains, or soft, damp board. Those point to a leak or structural movement, and you should find the source before you patch anything.

One more caution for ceilings. If the ceiling has an old popcorn or acoustic texture, especially in a home built before the 1980s, do not sand or scrape it until it has been tested for asbestos.

Repair a pop only after you know whether it is simple movement or a sign of moisture or settling.

Step 2. Reset the fasteners

Reset each pop by driving new screws into solid framing beside it and removing the old fastener. This step does the real repair, because the screw has to hold the board against the stud, not just sit in the old hole.

Drive new screws beside the pop

  1. Find the stud or joist behind the pop on your marks.
  2. Measure about 1-1/2 to 2 inches above and below the popped screw, or to either side on a ceiling, along the same framing member.
  3. Press the board flat against the framing with your free hand.
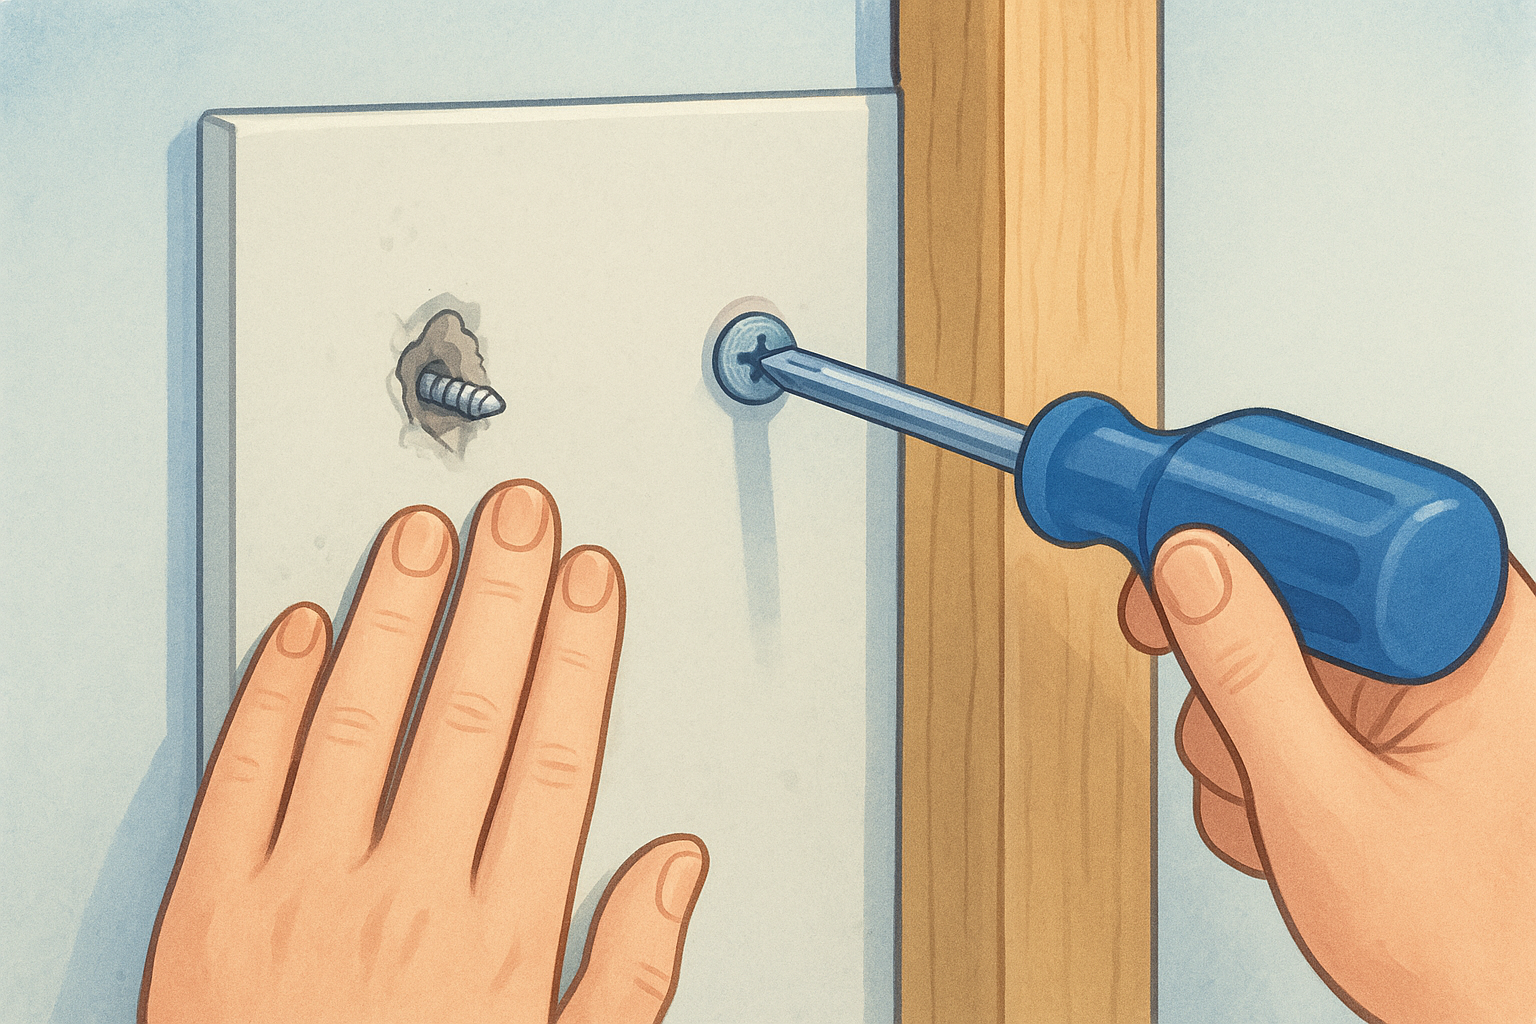
  4. Drive a screw at each spot until the head sits just below the surface . You want a shallow dimple with the paper unbroken. If the paper tears, drive another screw an inch away.
  5. Back out the old screw and pull it. Scrape off any loose paint or compound around the hole with your knife.

The new screws go into fresh drywall and solid wood, never back into the same stripped hole.

Handle popped nails and ceiling pops

For popped nails, pull the nail with a claw hammer or pry bar and use two screws as above. If a nail will not pull, drive a screw on each side and set the nail head just below the surface with one light tap. Replace nails with screws wherever you can, since screws hold the board much better.

Ceilings need one extra move, because gravity pulls the board down while you work. Press the board up against the joist with a scrap block, or have a helper hold it while you drive each screw. Wear safety glasses, because dust and paint flakes fall straight into your eyes.

Step 3. Patch, sand, prime, and paint

Patching hides the repair in three thin coats of joint compound, followed by sanding, primer, and paint. Thin coats matter, because compound shrinks as it dries and one thick coat leaves a visible dip.

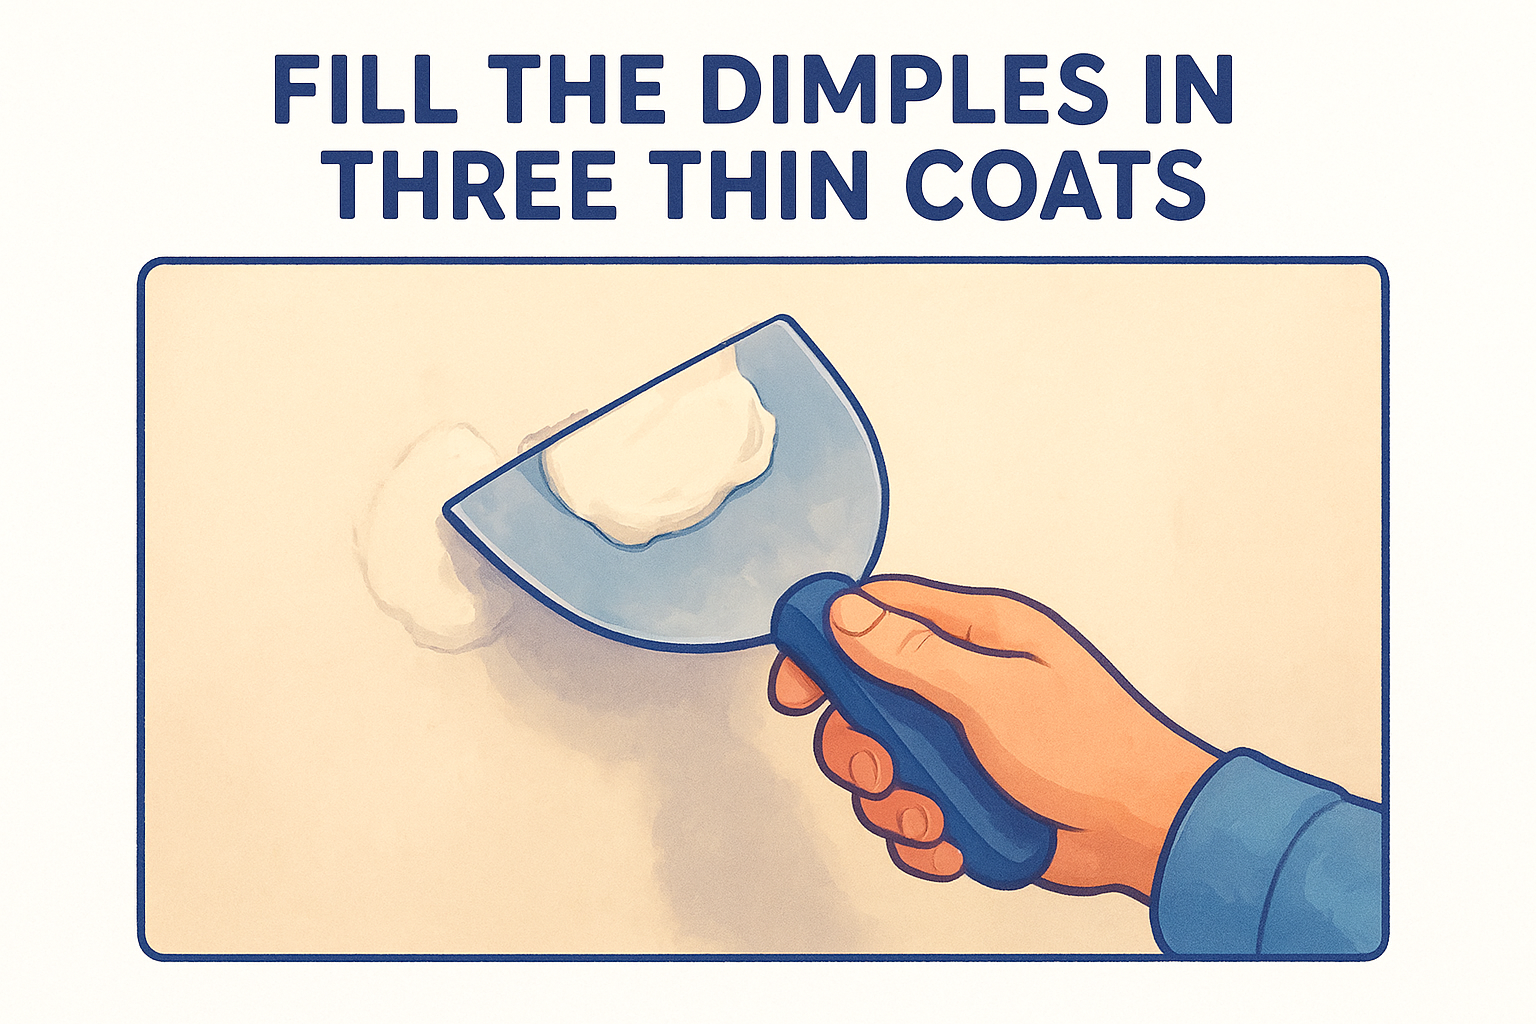
Fill the dimples in three thin coats

Fill the dimple over each new screw and the hole left by the old one. Each pop leaves three spots to fill. A bedroom with 12 pops means 12 old holes plus 24 new screw heads, so 36 spots in all.

Press compound into the spot with the taping knife, then scrape it nearly flush. Make the second coat slightly wider, and the third wider again, about 6 to 8 inches across with feathered edges. With all-purpose compound, plan on one coat per day, so coats on days 1 to 3 and sanding, priming, and painting on day 4. A setting-type compound for the first coat hardens in a set time and shrinks less, so you can add the second coat the same day and save a day.

Sand, prime, and match the finish

Sand each patch lightly with a 120 to 150 grit sponge until the edges disappear under your hand, then wipe off the dust. Do not skip primer. Raw compound soaks up paint differently than the wall, and unprimed patches show as dull spots, which is called flashing.

Paint two coats, and carry the paint to a natural break such as a corner or the edge of the ceiling instead of stopping mid-wall. If the wall or ceiling has texture, match it before priming. A smooth patch on a textured surface shows from across the room, and matching texture takes practice.

Skip the primer and a perfect patch will still show through the paint.

Step 4. Stop the pops from coming back

Pops stay gone when the board is held tight and the house stops moving it. A repaired pop that returns within weeks means the board is still loose, so go back and fix the cause instead of patching again.

Fix the cause, not just the dimple

Walk the area and press along every stud line. Where the board flexes, add screws. The usual spacing is about 12 inches on ceilings and 16 inches on walls . Use coarse-thread screws on wood, set them just below the paper, and never reuse nails. If the drywall was glued as well as screwed, add the new screws where it still gives.

Control moisture and movement

Humidity makes lumber swell and shrink, which is why basements and garages pop so often. Run bathroom fans during and after showers, and use a dehumidifier in basements to hold humidity at roughly 30 to 50 percent . In a new or freshly remodeled home, wait through a full heating season before the final paint, since framing keeps drying for months.

If pops come with long diagonal cracks above doors or windows, you are probably looking at settlement , not loose fasteners. That is worth a professional look before you patch again.

A pop that returns is telling you the board is still loose, so tighten it before you patch again.

Fix it once and move on

Fixing drywall screw pops comes down to a repeatable order of work: find every pop, drive new screws into solid framing beside it, fill in three thin coats, sand, prime, and paint. The pops stay gone when you also fix the cause, whether that is a loose board, the wrong fasteners, or a damp room.

If you are facing dozens of pops, a ceiling that sags, or a textured surface you cannot match, our team can take over. Super Shooters offers drywall repair and patching across the Sacramento Valley, with free in-home estimates and no payment due until the job is complete.

Recent Posts

By cinchweb • November 5, 2026
Find the best paint for popcorn ceiling: 4 picks, plus when to prime and whether to roll or spray, so you can finish the job yourself.
By cinchweb • November 5, 2026
Learn how to remove stubborn wallpaper with a steamer or fabric softener mix, then score, scrape, and clean off the glue without damaging your walls.
By cinchweb • November 2, 2026
Handyman drywall repair near me: learn when a handyman fits, how to vet one, what repairs cost, and how to check the finish. Sacramento homeowner guide.
By cinchweb • November 1, 2026
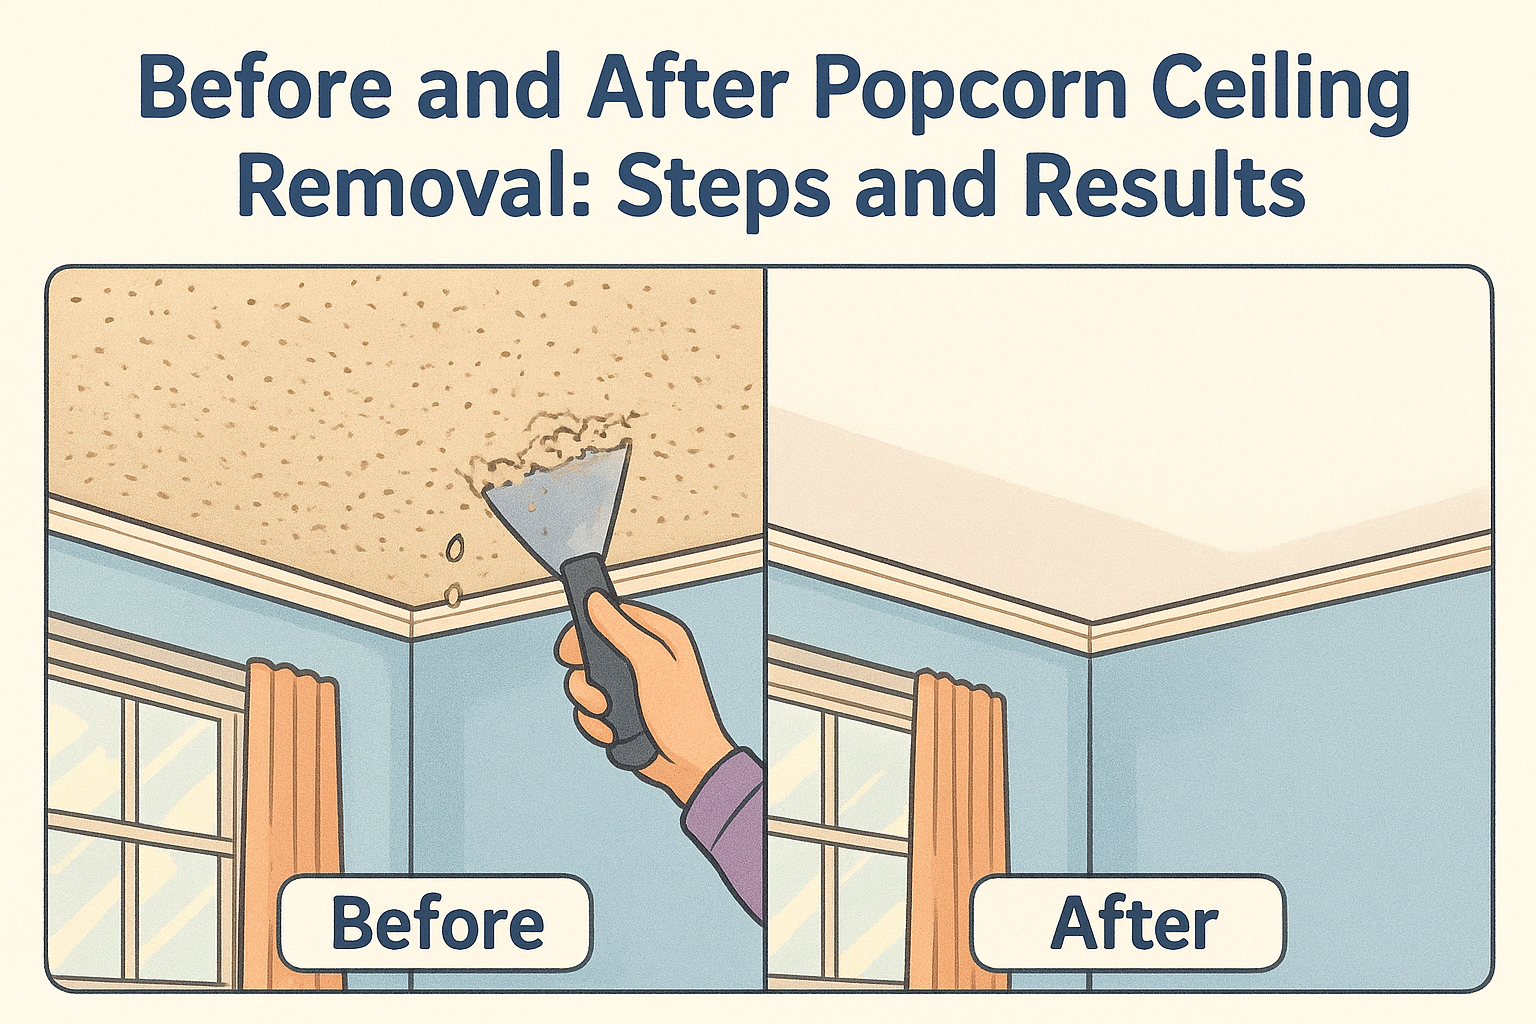
See what before and after popcorn ceiling removal really looks like, then follow four steps to scrape, skim, and finish a smooth ceiling yourself.
By cinchweb • October 31, 2026
Hire a popcorn ceiling removal professional the right way: test for asbestos, vet licenses, compare bids line by line, and prep your home.
By cinchweb • October 30, 2026
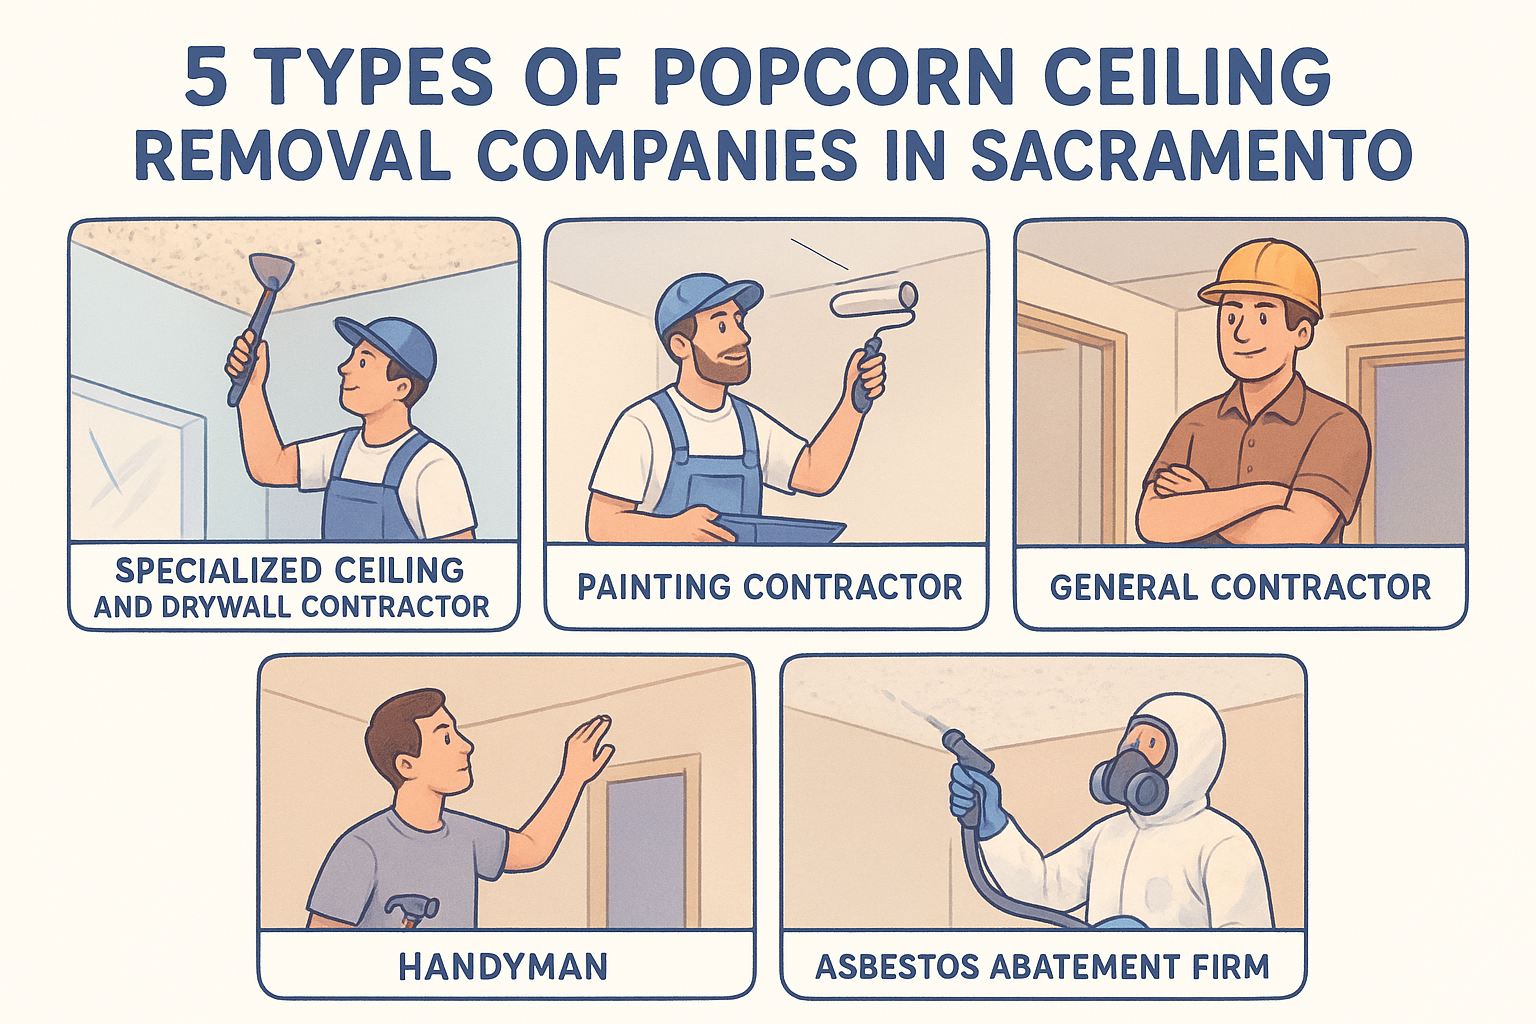
Choosing a popcorn ceiling removal company in Sacramento? Compare five contractor types, plus how to check licenses, reviews, and free estimates.
By cinchweb • October 29, 2026
Learn when patching drywall tape is needed, which kind to buy, and how to bed it and cover it with joint compound in four steps.
By cinchweb • October 28, 2026
Learn drywall corner bead installation for metal, paper-faced, and vinyl bead: how to cut, fasten, and cover it with joint compound.
By cinchweb • October 27, 2026
Learn drywall installation in basement step by step: moisture test, framing over concrete, ceiling and wall panels, and taping. Tools and sheet count.

Show More