Share this article

November 9, 2026

How to Paint a Drywall Patch So It Disappears

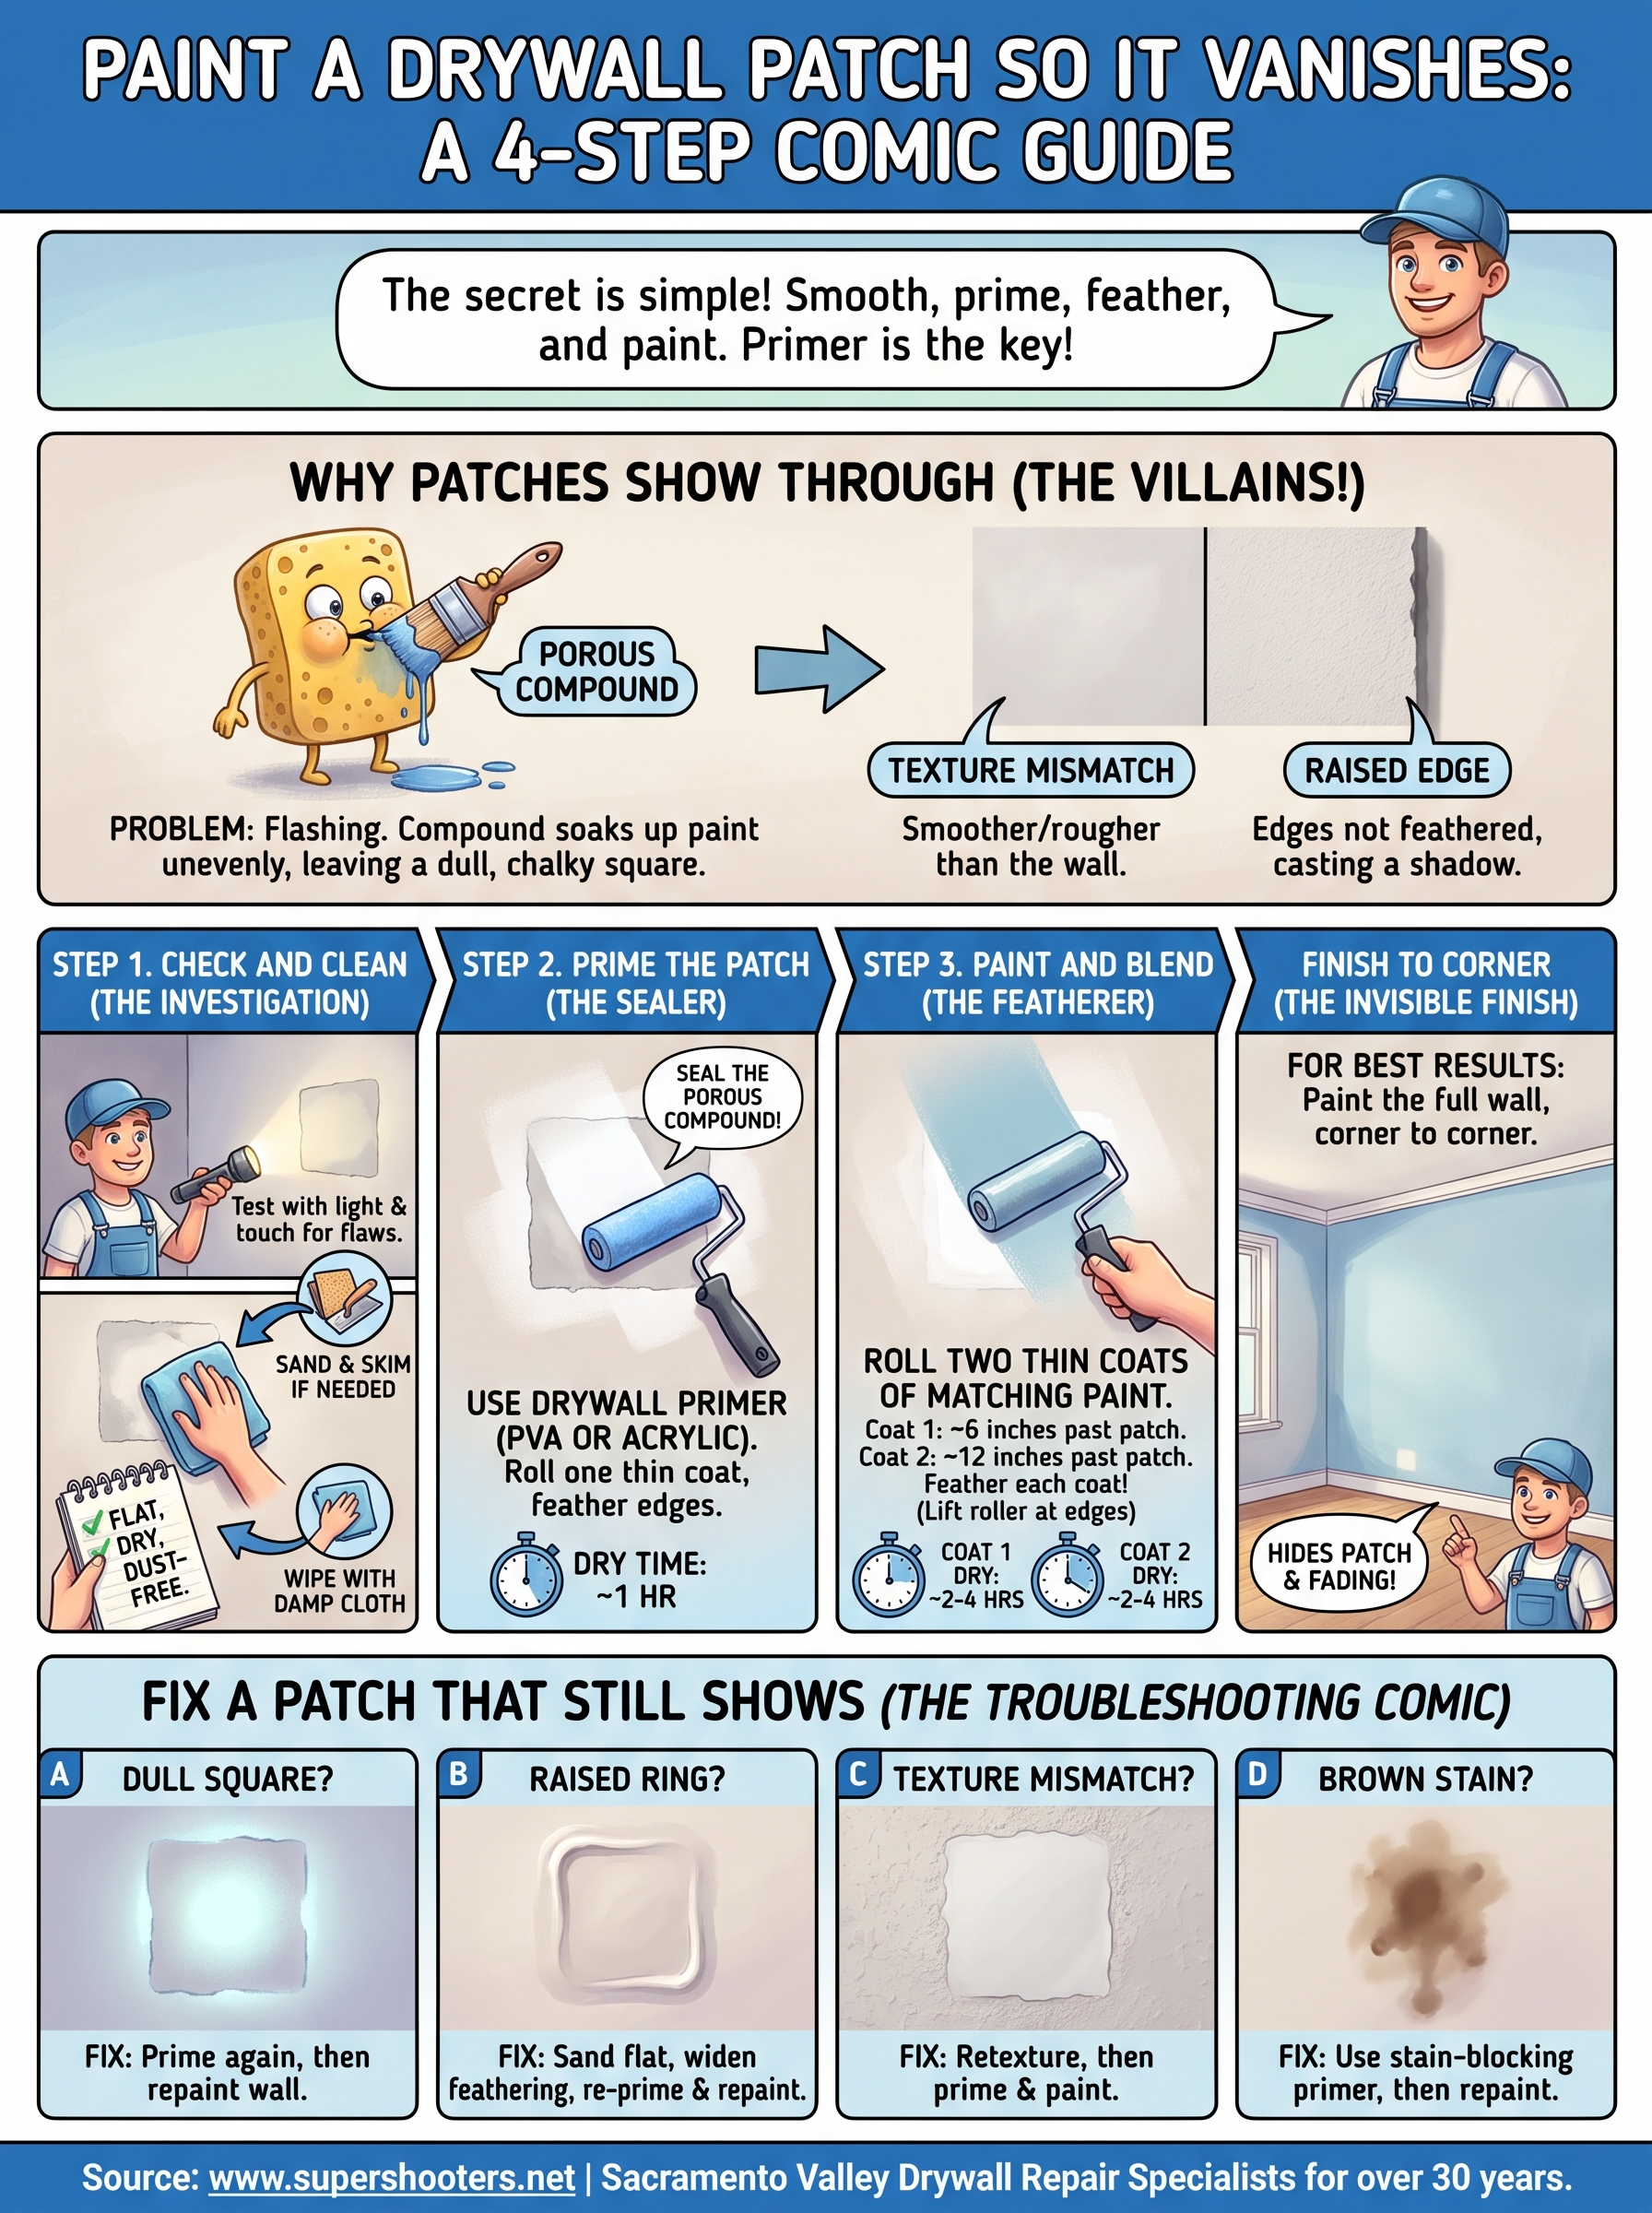
The way to paint a drywall patch so it vanishes is simple. Make sure the patch is smooth, dry, and dust-free. Prime it with a drywall primer. Then roll two thin coats of matching paint, feathering each coat outward past the edges. Primer is the step most people skip, and it is the main reason patches show through.

You probably know the frustration. You filled the hole, sanded it, rolled on paint, and the repair still shows up as a dull square or a faint outline when the afternoon light hits the wall. Joint compound soaks up paint differently than the painted wall around it. Another coat of paint over the same problem rarely fixes it.

This guide explains why patches show and what you need to hide one. Then it walks through four steps: check and clean the patch, prime it, paint and blend it, and fix a patch that still shows. It comes from the drywall repair work we do at Super Shooters, where we have patched and finished walls across the Sacramento Valley for over 30 years.

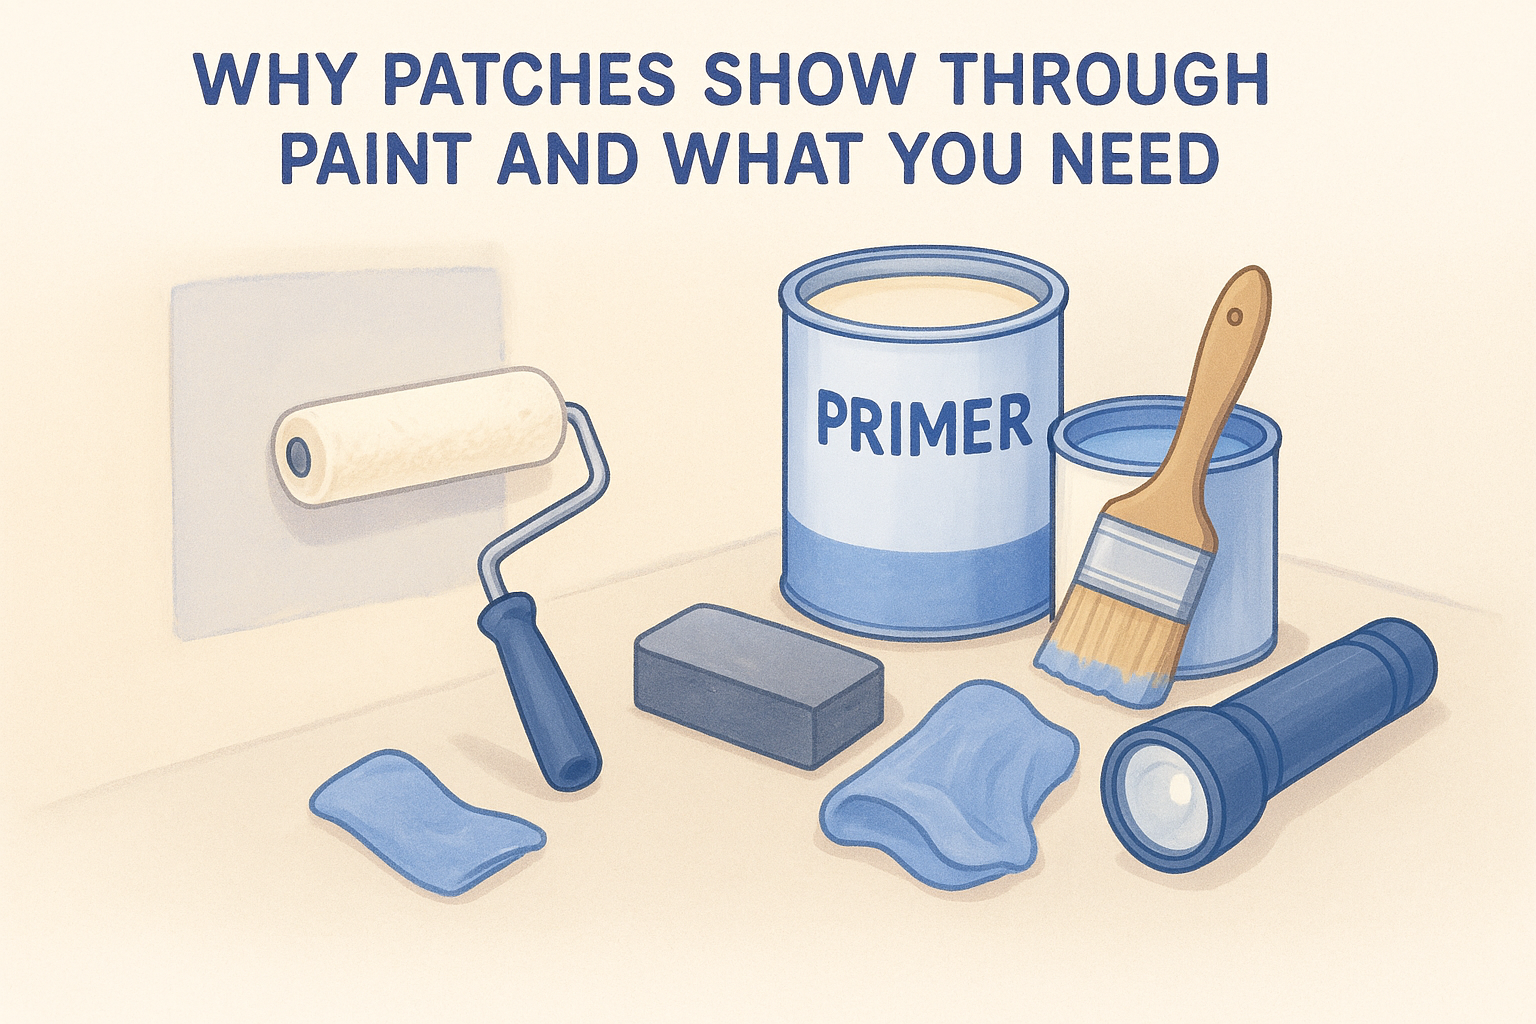
Why patches show through paint and what you need

A patch shows through paint because patching compound is far more porous than the painted wall around it. It drinks paint unevenly, which leaves a dull spot called flashing. Knowing the cause tells you why each step below matters.

Why a patch flashes

Fresh joint compound and bare drywall paper act like a sponge. Painted wall is already sealed, so paint sits on top and dries with a uniform sheen. On the patch, the paint sinks in and dries flat. You see a dull, chalky square even when the color is identical.

Two other things give a patch away. One is texture mismatch , where the patch is smoother or rougher than the wall. The other is a raised edge that casts a tiny shadow in side light. Primer fixes the first problem. Careful sanding and texturing fix the other two.

A patch disappears when the surface, the texture, and the sheen all match the wall, and primer is what evens out the sheen.

Tools and materials

Gather everything before you start, because primer and paint dry quickly and you will want to work without pauses.

  • Drywall primer-sealer (PVA or acrylic), plus a stain-blocking primer if the area was ever wet or stained
  • Interior paint in the original color and sheen, stirred thoroughly
  • A mini roller with a nap that suits your wall (3/8 inch for smooth walls, thicker for textured walls)
  • A 120 to 150 grit sanding sponge and a 220 grit sponge for finishing
  • A flashlight or work light
  • A damp microfiber cloth, painter's tape, a drop cloth, and a small angled brush for edges

Step 1. Check and clean the patch

Before you open any primer, confirm the patch is flat, fully dry, and free of dust. Paint magnifies every flaw underneath it, so fixing problems now costs minutes and fixing them later costs a repaint.

Test the surface with light and touch

Hold a flashlight flat against the wall so the beam skims across the patch. Ridges, pits, and edges that you cannot see in normal light will stand out. Then close your eyes and run your palm across the patch and well past its edges. Your hand will find lumps that your eyes miss.

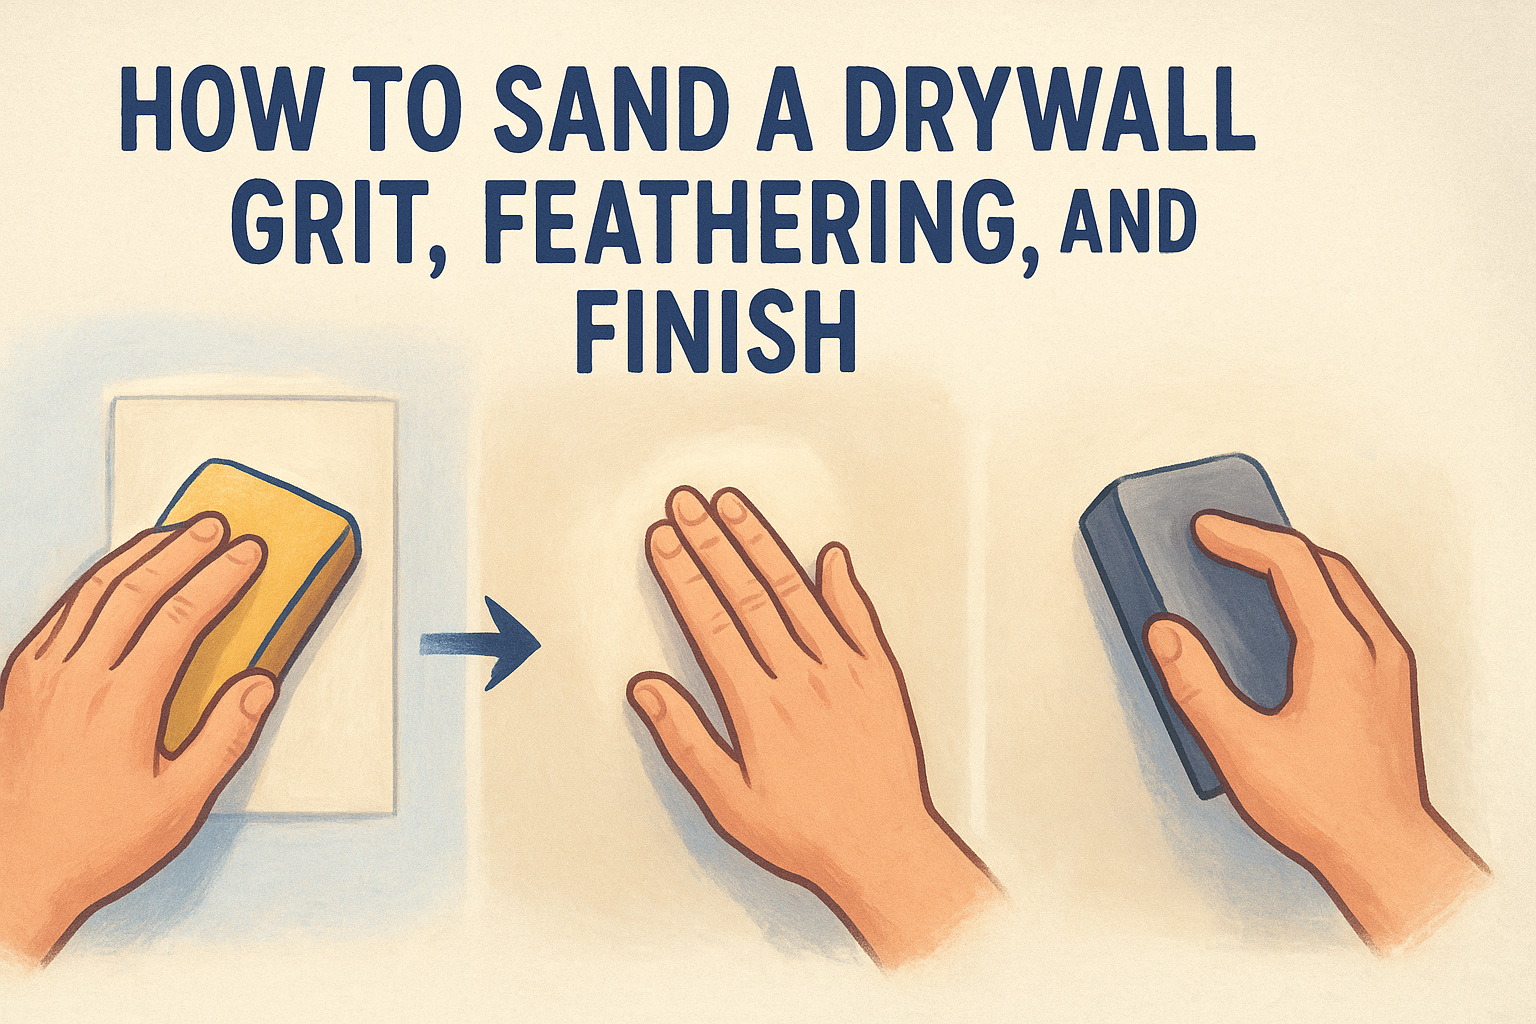
If you find a ridge or a low spot, sand it with 120 to 150 grit, or add a thin skim coat of compound and let it dry. The compound must be completely dry, with a uniform white color and no darker damp patches. Feather the edges six to twelve inches out so the repair slopes gently into the wall. Finish with 220 grit for a smooth surface.

Match the texture and remove the dust

If your wall has an orange peel or knockdown texture, match it before priming. Primer locks the surface in place, and a smooth patch on a textured wall shows no matter how well you paint it. Spray texture or a sponge-and-compound technique both work, but practice on cardboard first.

Once the surface is right, wipe the area with a slightly damp microfiber cloth and let it dry. Dust left on the patch causes bumps and weak adhesion, and it is the most common cause of a gritty patch under fresh paint.

Feel and light-check the patch before priming, because paint hides nothing.

Step 2. Prime the patch

Yes, you need to prime a drywall patch before painting, and you do not need to prime the whole wall. One thin coat of drywall primer over the patch and a few inches around it seals the porous compound so your paint dries with the same sheen as the rest of the wall.

Pick the right primer

Match the primer to the situation. Using the wrong type is a common reason that a brown stain bleeds through a fresh patch.

Situation Primer to use
New patch on clean wall PVA or acrylic drywall primer-sealer
Previous water stain, smoke, or marker Stain-blocking primer (oil, shellac, or a labeled stain-blocking latex)
Textured wall patch Same drywall primer, applied with a thicker-nap roller

Apply it with a roller

Use a mini roller instead of a brush. Brush strokes leave ridges and a different texture that show through the paint. Roll one thin coat over the patch and extend it two to four inches past the edges, using light pressure and lifting the roller off the wall at the outer edge so no hard line forms.

Let the primer dry for the time on the label, typically about an hour. Then check it with the flashlight again. If the primer feels rough, sand it very lightly with 220 grit and wipe off the dust. If the patch still looks blotchy in the primer, apply a second thin coat before moving on.

One thin coat of primer on the patch alone is enough, and skipping it is how flashing starts.

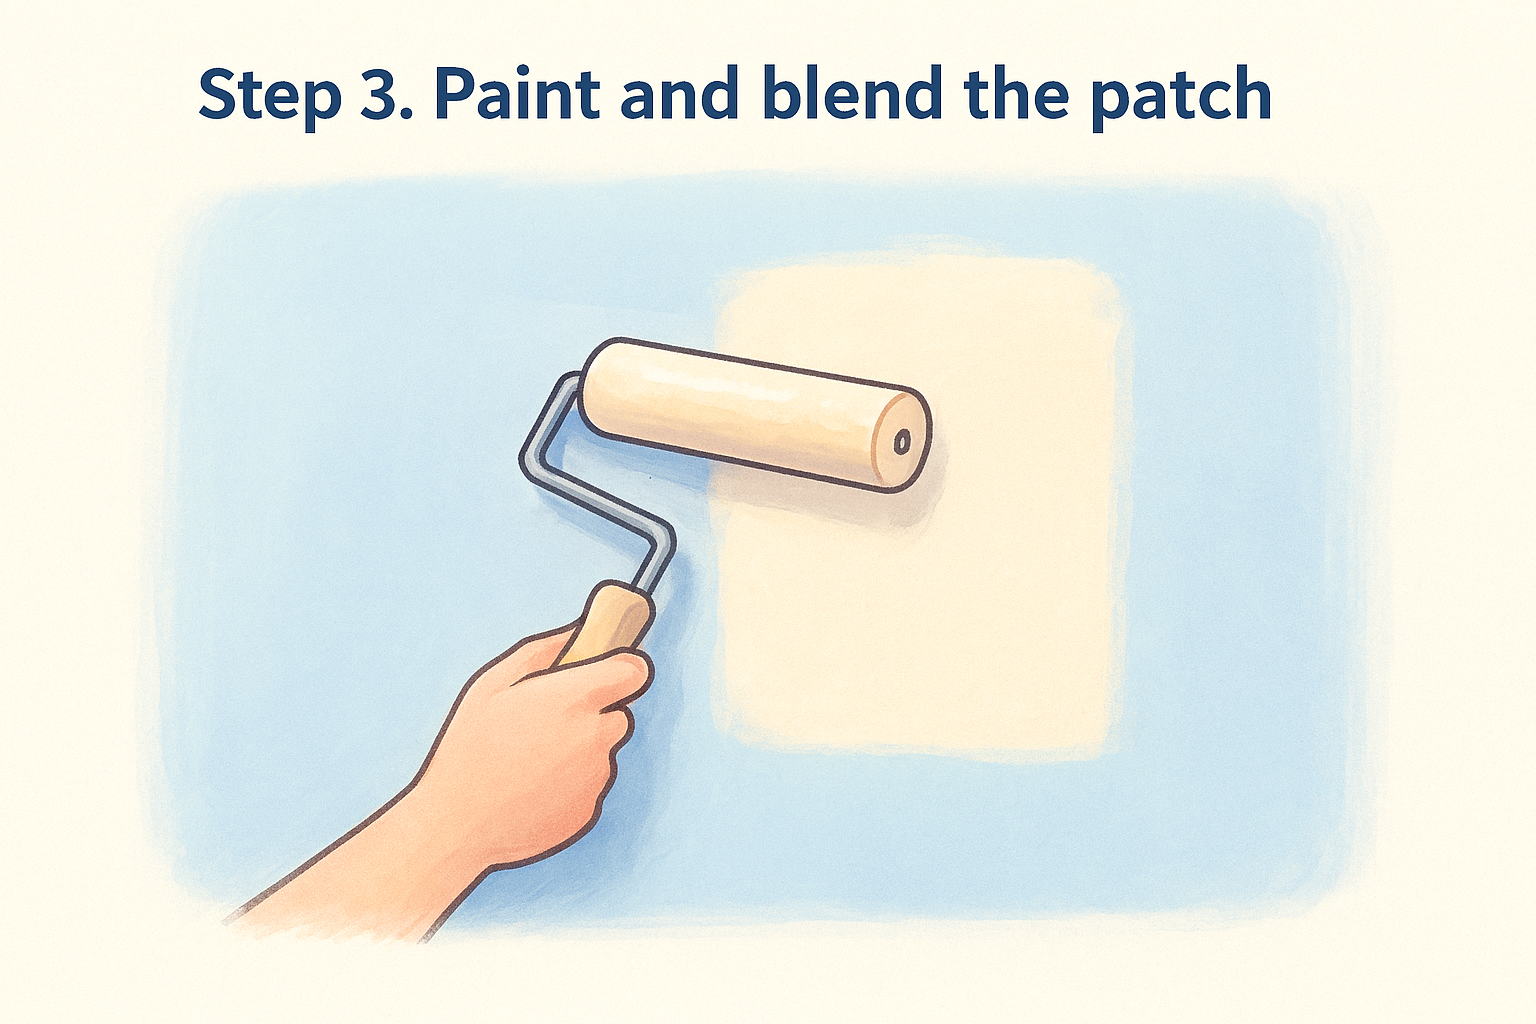
Step 3. Paint and blend the patch

To paint over a primed patch, roll two thin coats of the original paint, extending each coat a little farther than the last. Thin coats feather better than one heavy coat, which leaves a visible ring.

Roll the coats and feather the edges

Stir the paint well and load the roller lightly. Roll the first coat over the patch and about six inches beyond it, using light pressure. Lift the roller off the wall gradually as you reach the outer edge. Let that coat dry, usually two to four hours depending on the paint and your room's humidity.

Roll the second coat over a wider area, about twelve inches beyond the patch. Use the same roller nap as the original paint job, because a different nap changes the texture and makes the patch visible. Keep the sheen the same too, since a satin patch on a flat wall shines in raking light.

When to paint the whole wall

For a small patch on a recently painted wall, spot painting can work. For most patches, paint the full wall corner to corner . Walls fade over the years, and fresh paint from a new can rarely matches a wall that is older than a couple of years. Painting to the nearest corner or ceiling line puts any slight difference where the eye expects a change.

Here is a realistic Saturday schedule for a six-inch patch on a bedroom wall, assuming label dry times of about one hour for primer and three hours for paint.

Time Task
9:00 a.m. Check, sand, and wipe the patch, then roll primer
10:15 a.m. Lightly sand the primer if rough and wipe off the dust
10:30 a.m. Roll the first coat over the patch and a six-inch border
1:30 p.m. Cut in the corners and roll the second coat across the full wall

Two thin feathered coats, finished to a corner, hide a patch better than one thick coat.

Fix a patch that still shows

If the patch is still visible after painting, the way it looks tells you what went wrong. Match the symptom to the cause in the table, then repeat only the step that failed rather than starting over.

Diagnose by symptom

What you see Likely cause Fix
Dull square that glows in side light Patch was under-primed or the paint coat was too thin Prime the patch again, then repaint the wall corner to corner
Raised ring or ridge around the patch Edges were not feathered wide enough Sand flat, skim a wider area, then prime and repaint
Smooth or rough spot on a textured wall Texture was not matched Retexture, then prime and paint
Brown halo bleeding through Old water stain or smoke residue Apply stain-blocking primer, then repaint (and find any leak)
Slightly different color Faded wall or a different paint batch Repaint the whole wall to the nearest corners
Hairline crack returning along the patch Ongoing movement or settling Have the cause checked before repainting

When to call a professional

Large patches, repeated cracks, water damage, and textured ceilings are hard to hide with a DIY job. One safety note: older popcorn ceilings can contain asbestos, so do not sand, scrape, or patch them until the material has been tested. If you are in the Sacramento Valley, we offer free in-home estimates on drywall repair, so you can find out what a repair needs before you commit.

Match the symptom to its cause, then redo only the step that failed.

Getting the patch to disappear

A patch hides when the surface is smooth, the texture matches, and the sheen is even. That takes four things: a flat, dust-free patch, one coat of primer, two thin feathered coats of matching paint, and a full wall finish to the nearest corner. When a patch still shows, the symptom tells you which step to repeat.

If the repair is bigger than a few inches, sits on a textured ceiling, or keeps cracking, let a crew handle it. Our drywall repair and patching service covers the patch, the texture, and the paint, and you pay nothing until the job is done.

Recent Posts

By cinchweb • November 9, 2026
Learn how to sand a drywall patch with the right grit, light feathering strokes, and a check that catches ridges before you prime and paint.
By cinchweb • November 9, 2026
Drywall mud drying time runs 24 hours per coat for most compounds. See times by type, temperature and humidity, plus when to sand, prime and paint.
By cinchweb • November 6, 2026
Find drywall and ceiling repair near me with a 4-step plan: diagnose the damage, verify licenses, compare written estimates, and inspect the finished work.
By cinchweb • November 5, 2026
Find the best paint for popcorn ceiling: 4 picks, plus when to prime and whether to roll or spray, so you can finish the job yourself.
By cinchweb • November 5, 2026
Learn how to remove stubborn wallpaper with a steamer or fabric softener mix, then score, scrape, and clean off the glue without damaging your walls.
By cinchweb • November 5, 2026
Learn how to fix drywall screw pops for good: find the cause, reset the fasteners, patch in three coats, and stop them from coming back.
By cinchweb • November 2, 2026
Handyman drywall repair near me: learn when a handyman fits, how to vet one, what repairs cost, and how to check the finish. Sacramento homeowner guide.
By cinchweb • November 1, 2026
See what before and after popcorn ceiling removal really looks like, then follow four steps to scrape, skim, and finish a smooth ceiling yourself.
By cinchweb • October 31, 2026
Hire a popcorn ceiling removal professional the right way: test for asbestos, vet licenses, compare bids line by line, and prep your home.

Show More