
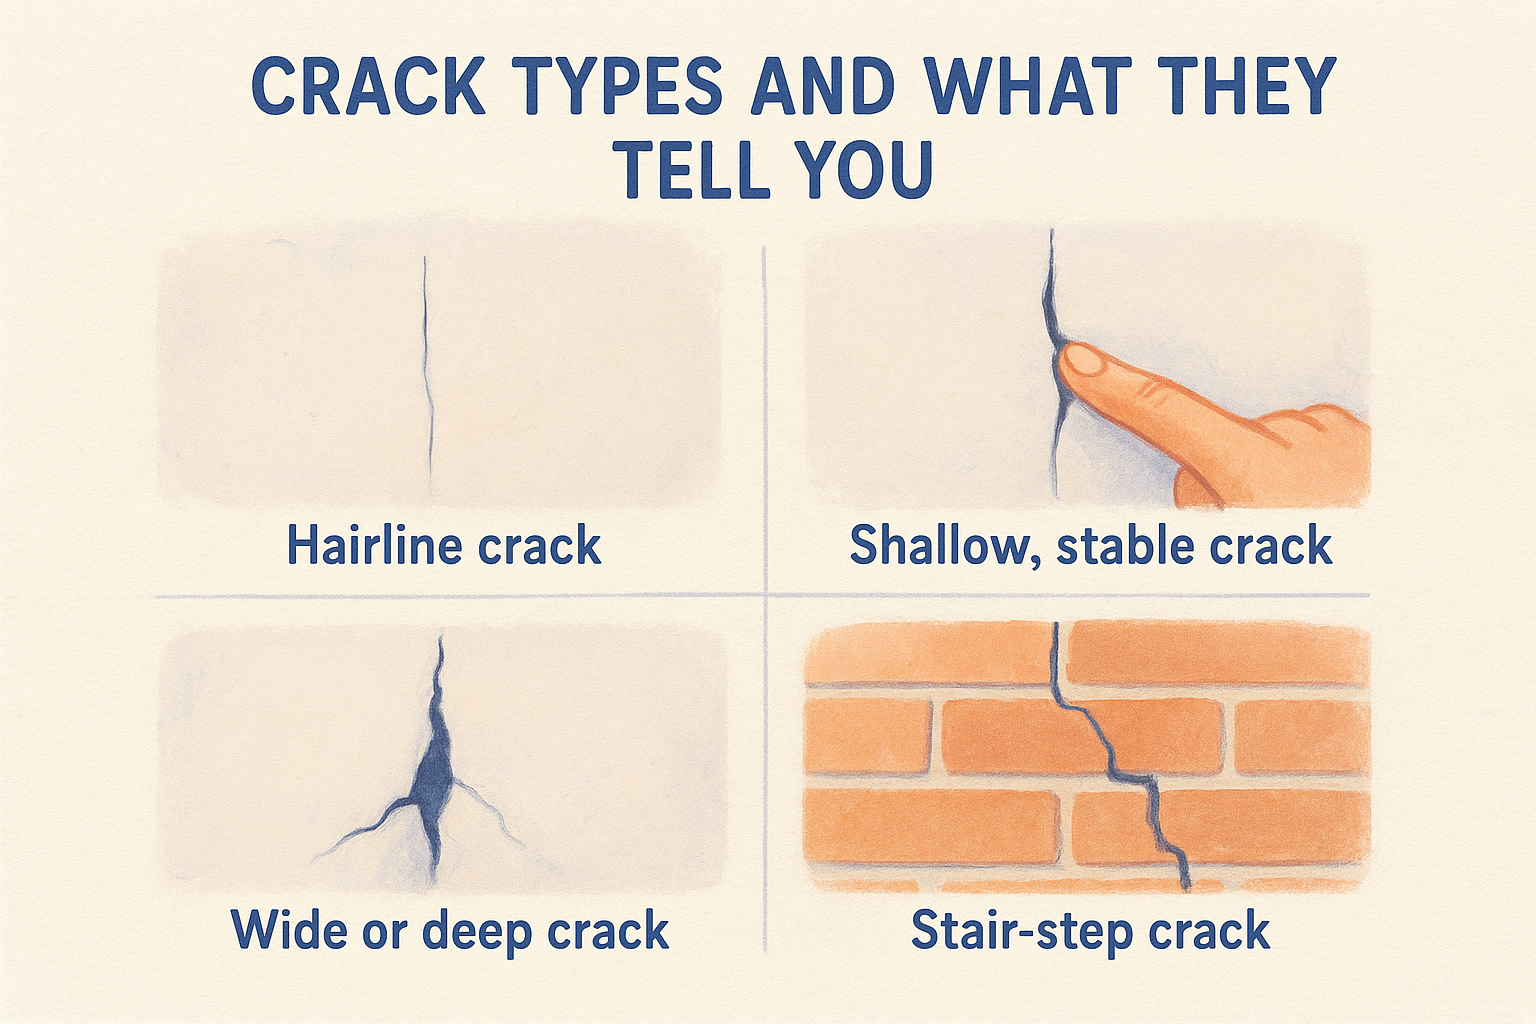
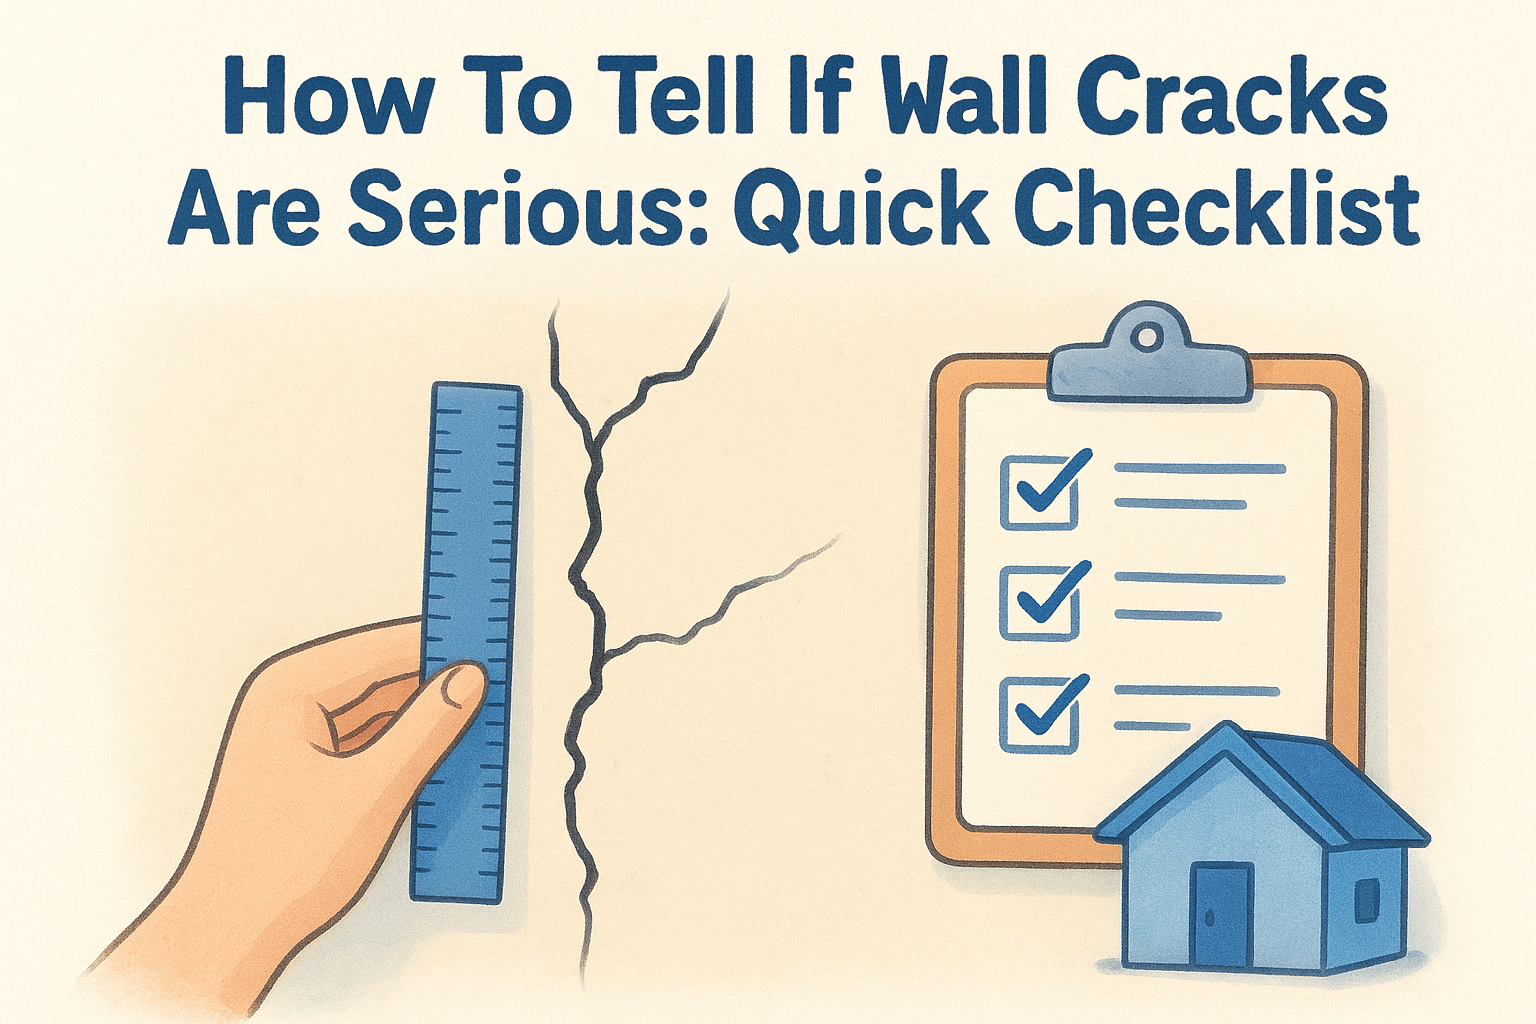
Learn how to tell if wall cracks are serious with our checklist. Identify structural risks, monitor growth, and know when to call a professional for repairs.
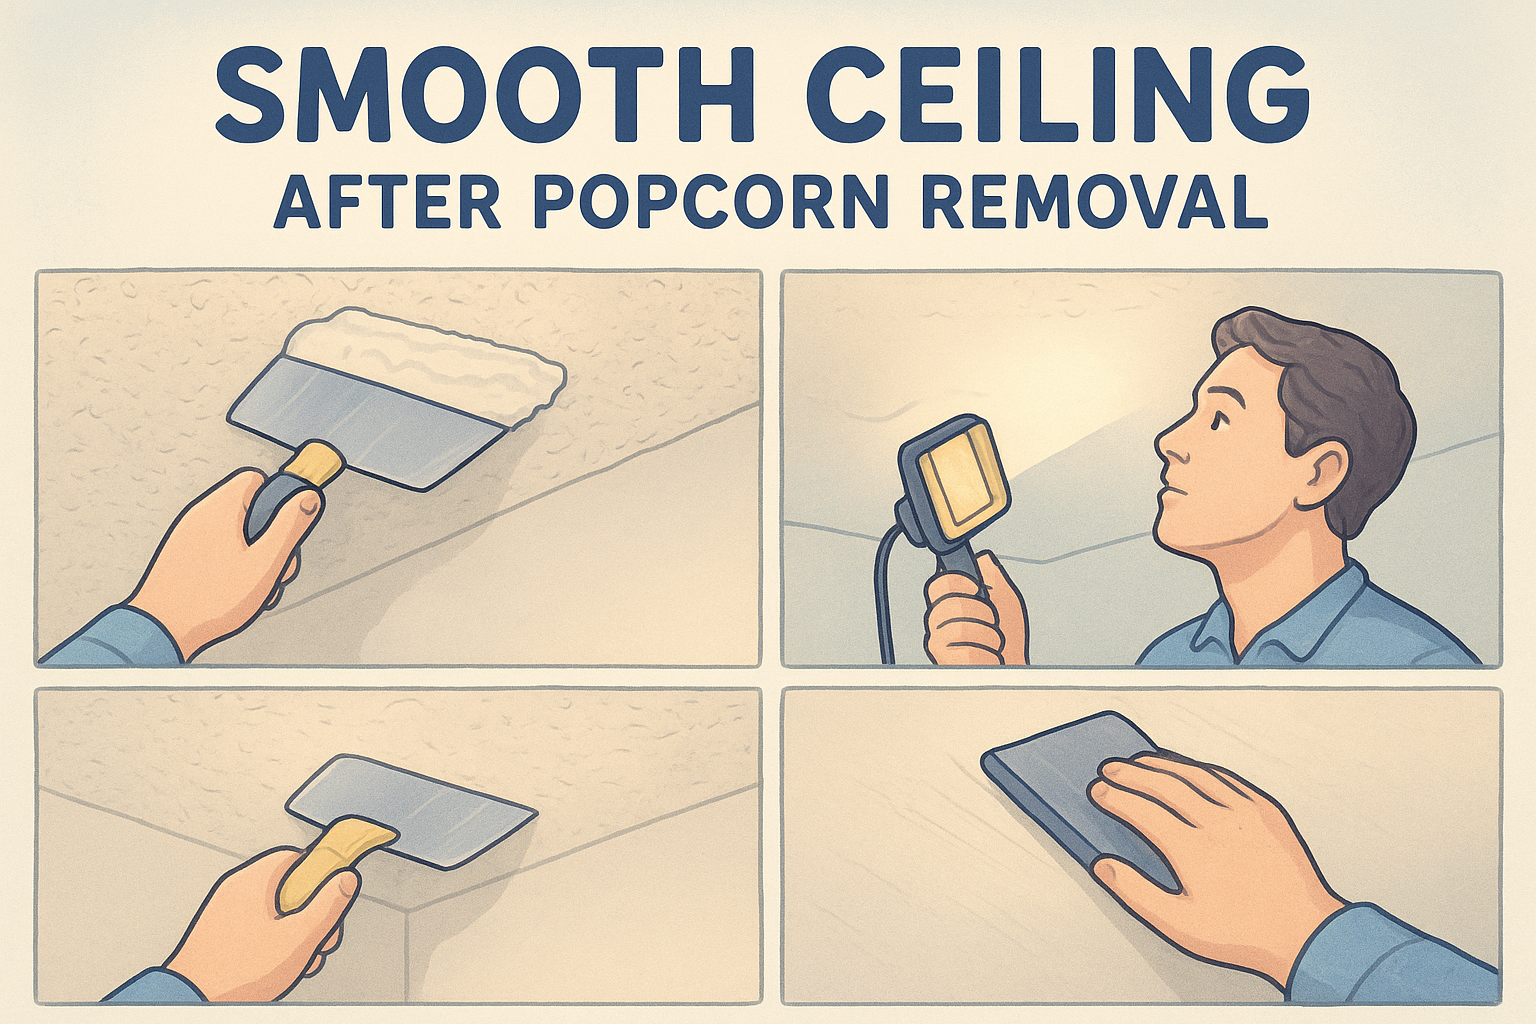
Learn how to get a smooth ceiling after popcorn removal. Our step-by-step guide covers skim coating, sanding, and priming for a professional, flat finish.
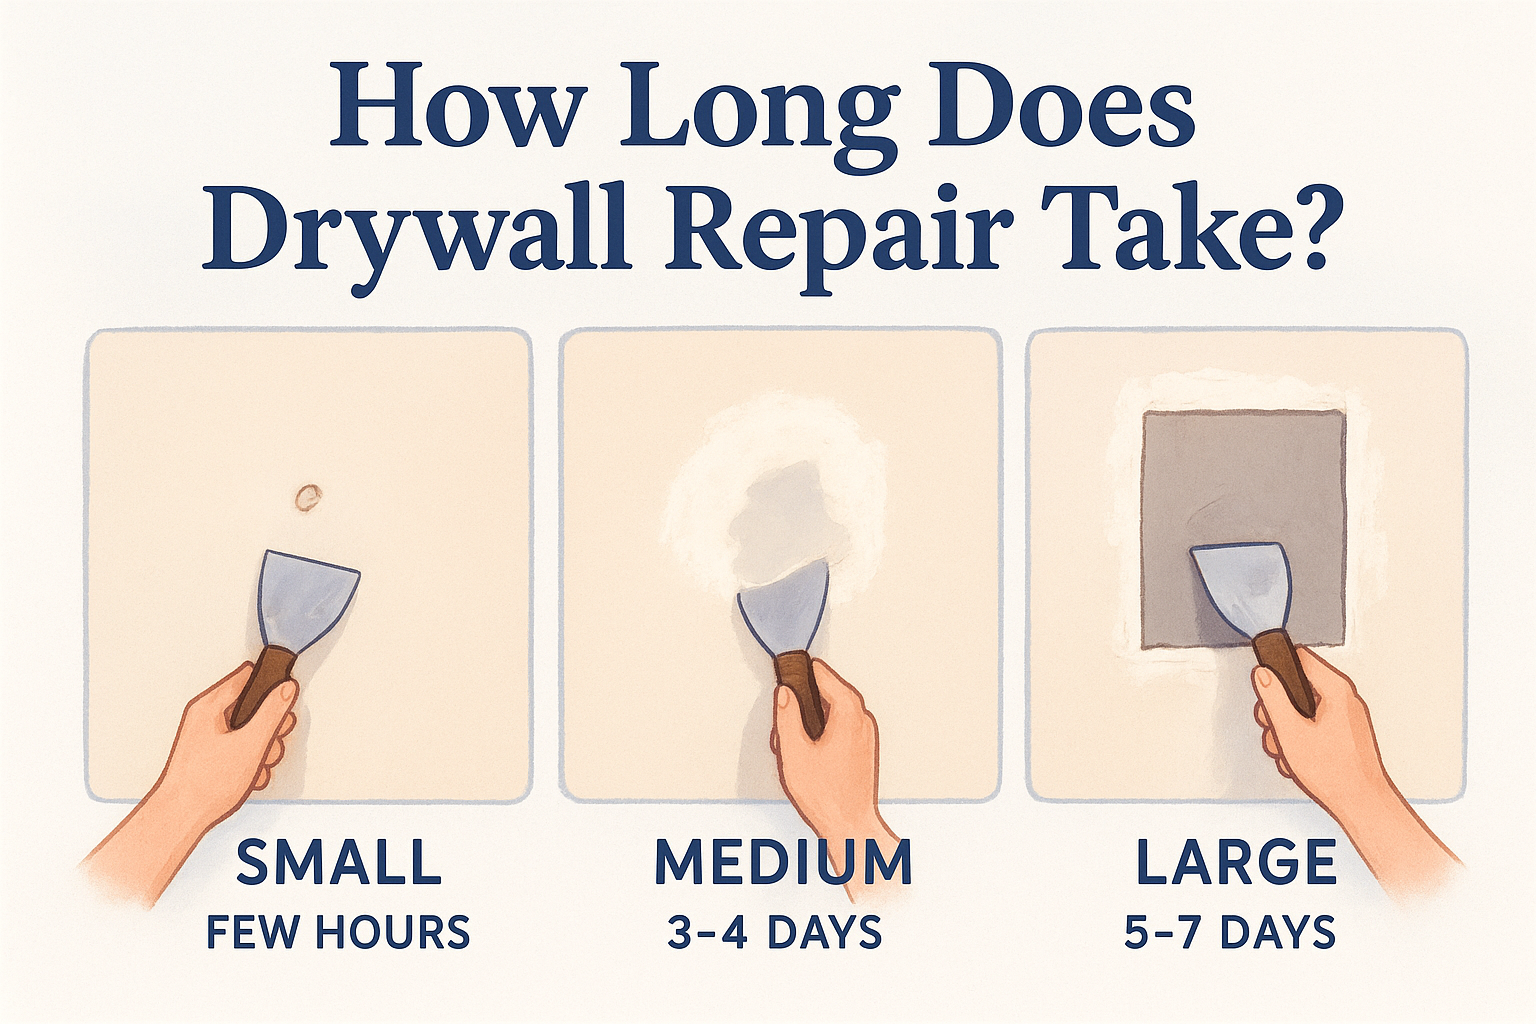
Learn how long does drywall repair take for projects of any size. We break down timelines by patch size, material choice, and drying steps for your home.
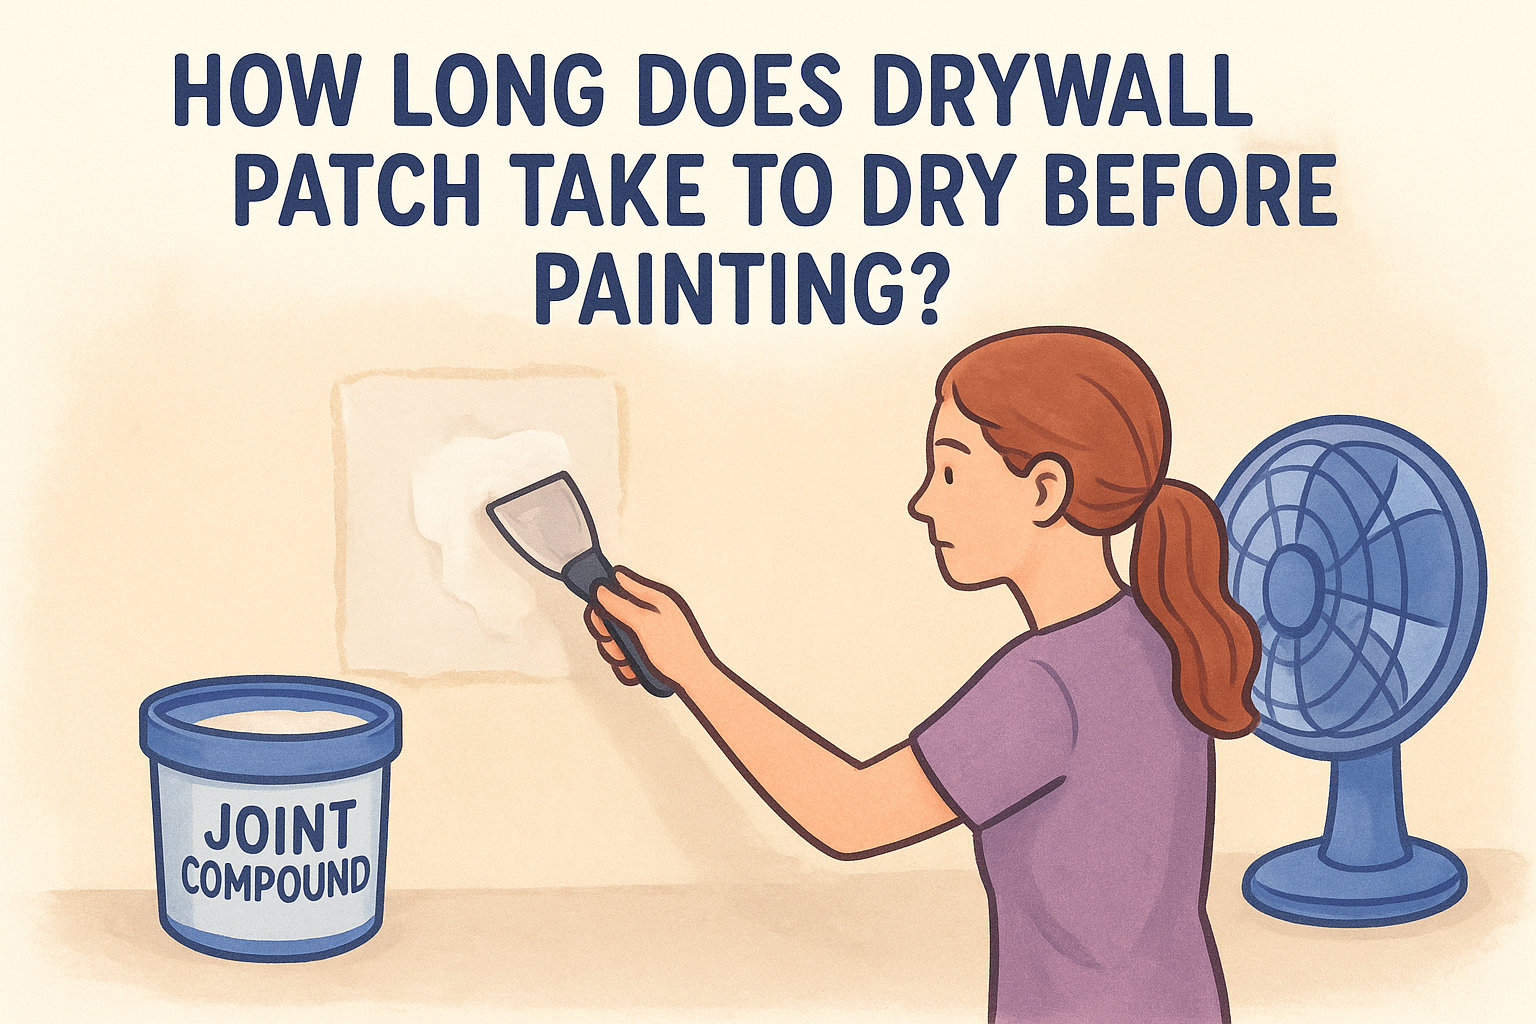
Learn how long does drywall patch take to dry before you paint. We cover drying times for various compounds and expert tips to finish your repair faster.

Spot leaks before they spread. Learn how to tell if drywall has water damage by identifying signs like mold, stains, and sagging to protect your home.
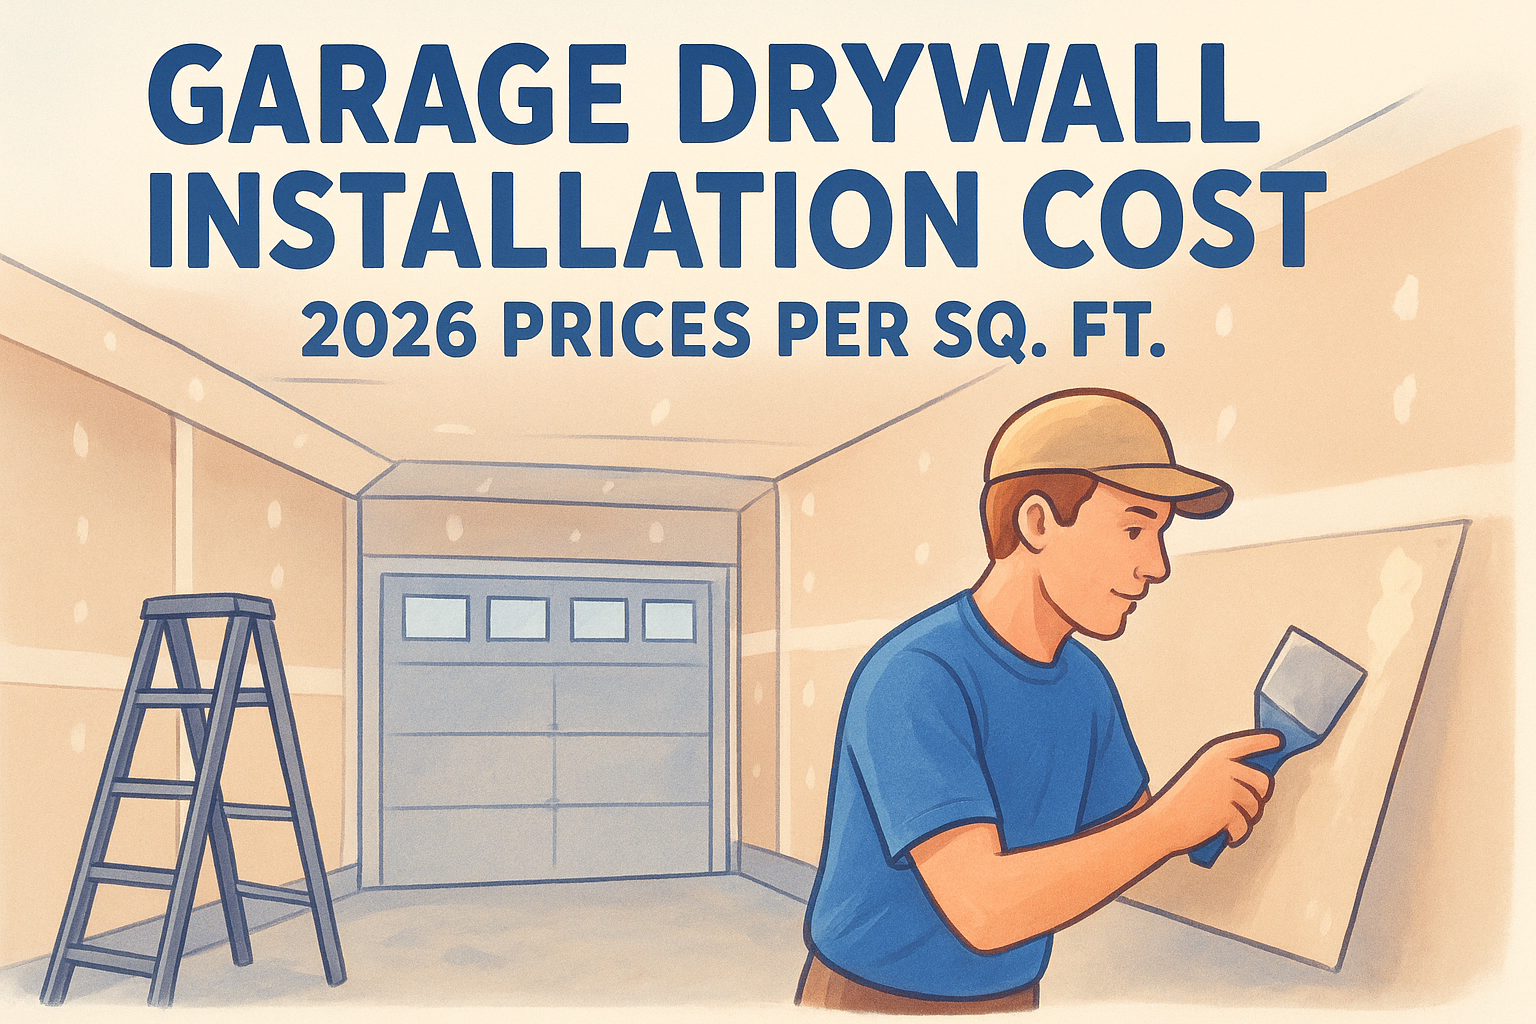
Estimate your 2026 project budget. Learn the garage drywall installation cost per square foot for labor, materials, and fire-rated panel options.
Find the 2026 popcorn ceiling replacement cost per square foot. See Sacramento labor rates, asbestos abatement fees, and pricing for premium finishes.
Compare 9 options for a wall crack repair service near me. Learn to spot structural damage and what questions to ask before you hire a professional.
Stop recurring damage. Learn how to prevent ceiling cracks by addressing framing stress, using reinforced patching, and controlling indoor humidity.
