Share this article

October 19, 2026

Patching a Plaster Wall with Drywall: 4 Steps That Blend In

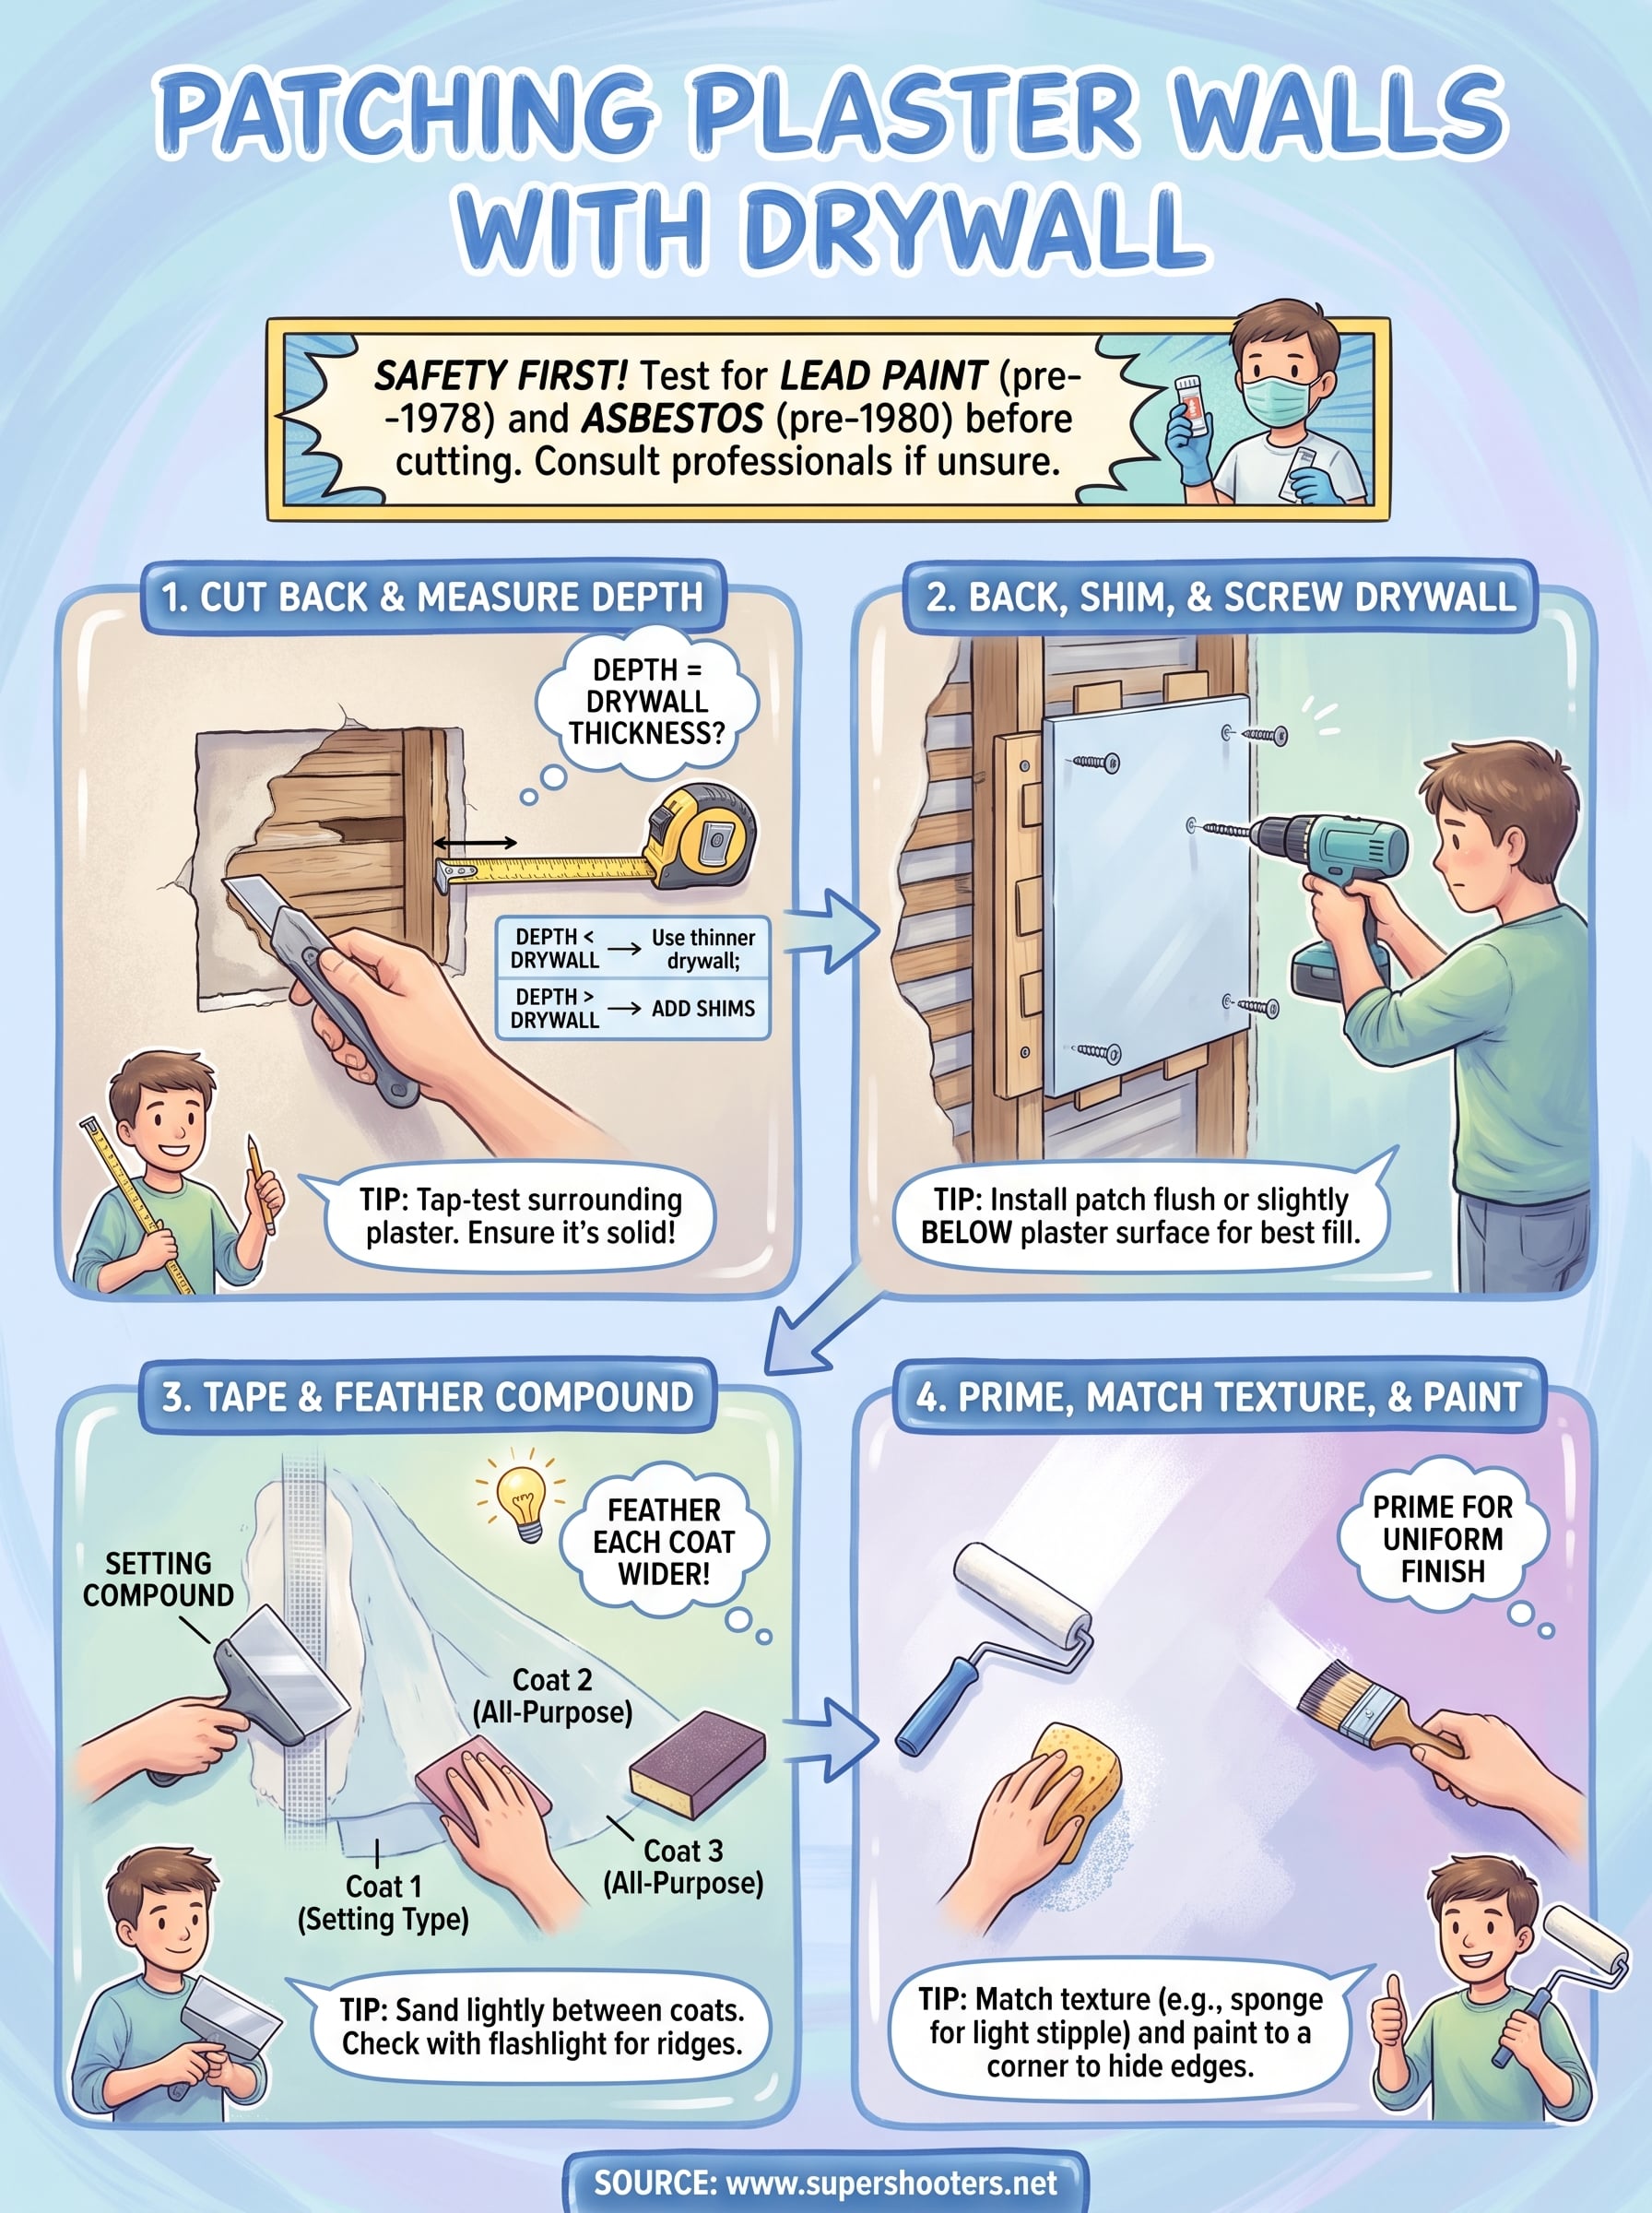
Patching a plaster wall with drywall works when the plaster around the hole is solid. Cut the damaged area back to a clean rectangle, measure how deep the opening is, and use drywall and shims so the patch sits flush with the plaster. Then tape the seams and feather three thin coats of joint compound past the edges. Prime and paint, and the repair disappears.

The hard part is that plaster walls are not uniform. They are thicker than modern drywall, they vary from room to room, and they sit on lath that may be wood, metal, or gypsum board. A patch that is an eighth of an inch too proud or too low shows up the moment light hits the wall. Fill a big hole with spackle alone and it cracks and sinks. Patch over plaster that has let go of its lath and the repair fails within months.

This guide walks you through the whole job in four steps: cutting back and measuring, installing the drywall, finishing with compound, and priming and texturing. We have repaired plaster and drywall in Sacramento Valley homes for more than 30 years, so we also flag the points where a DIY patch is the wrong call.

Why drywall works on plaster, and when it does not

Drywall is a sound way to patch plaster as long as the surrounding plaster is still firmly attached to its lath. Before you buy anything, confirm that, then gather the right tools and check for hazards in an older home.

Is it okay to patch plaster with drywall?

Yes. For holes from a few inches up to about two feet across, a drywall patch is the common modern repair. It is faster than rebuilding three coats of plaster, and you finish it with the same joint compound you would use on any drywall seam. The two ways it goes wrong are a thickness mismatch and patching over loose plaster .

Test the area first. Tap around the hole with your knuckles. Solid plaster sounds dense. Plaster that has lost its keys, the blobs of plaster that squeezed between the lath strips, sounds hollow and may flex when you press it. If a wide band around the hole sounds hollow, the plaster needs to be reattached or removed before any patch will hold. Also, if you want a period-correct lime plaster finish on a historic home, that is a plastering job, not a drywall job.

A drywall patch is only as good as the plaster it is attached to, so tap-test before you cut.

Tools, materials, and a safety check

Gather these before you start:

  • Utility knife or oscillating multi-tool, and a drywall saw
  • Tape measure, pencil, and a square
  • Drill with coarse-thread drywall screws, about 1 1/4 to 1 5/8 inches
  • Drywall scrap in the thickness you choose in Step 1
  • 1x3 scrap lumber for backing, plus shims or cardboard
  • Fiberglass mesh tape or paper tape
  • Setting-type compound and premixed all-purpose compound
  • 6-inch, 10-inch, and 12-inch knives
  • 120-grit and 220-grit sanding sponges, primer, and paint

Safety matters more here than on a new house. Homes built before 1978 can have lead paint , and textures or joint compounds in homes built before the 1980s can contain asbestos. Test a sample through a certified lab before you cut, scrape, or sand. If a test comes back positive, stop and hire a licensed abatement contractor.

Step 1. Cut back the damage and measure the depth

Start by removing everything that is loose, then measure how far the opening sits below the wall surface. That depth decides which drywall thickness you buy and how you shim it, which is the point where most plaster patches fail.

Trim to sound plaster

Pry out loose chunks and keep going until the edges hold when you press them. Then cut the opening into a clean square or rectangle with a utility knife, or an oscillating tool for thick plaster. Straight edges make the patch easier to cut and the seam easier to hide. Vacuum out dust and debris, and brush on a PVA bonding primer if the edges are dusty or crumbly.

A tip for patching plaster ceilings : work the same way, but wear eye protection and tap a wider area. Overhead plaster that sounds hollow is already sagging, and a drywall patch cannot hold it up.

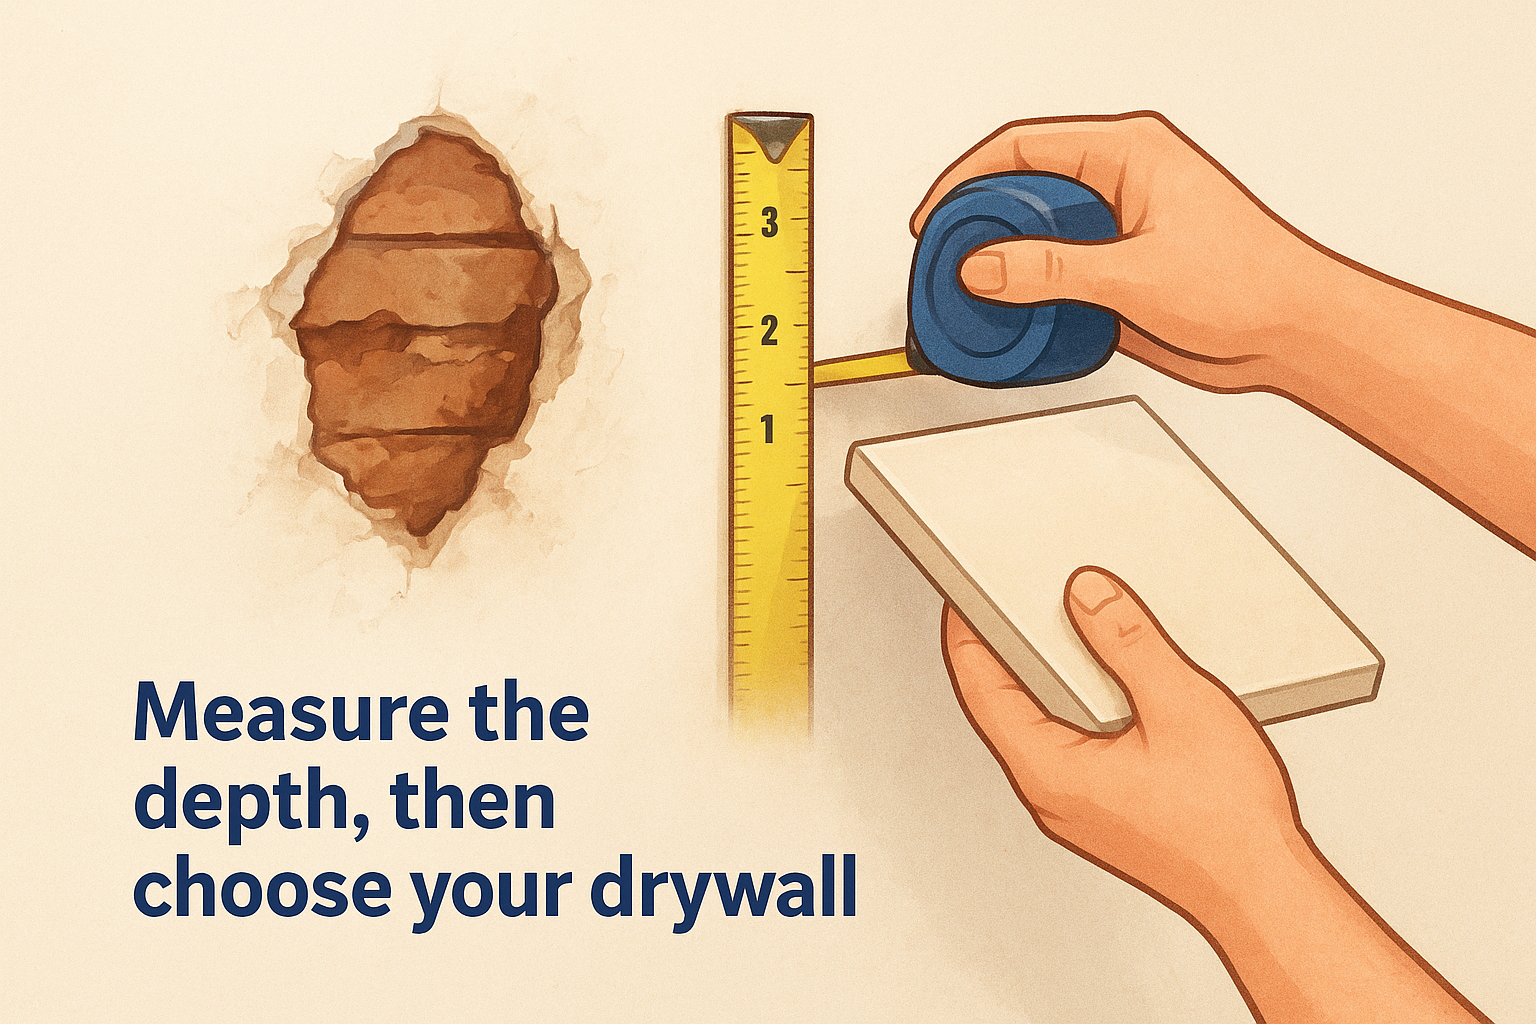
Measure the depth, then choose your drywall

Hold a tape measure at the wall surface and run it down to the face of the lath, or to the stud if the opening reaches one. Do not guess. Plaster thickness varies from wall to wall, and even within one room. Drywall comes in 1/4, 3/8, 1/2, and 5/8 inch thicknesses, so use the table to bridge the gap.

What you measure What to do
Depth equals a drywall thickness Screw that drywall straight to the lath or backing
Depth is more than your drywall Add cardboard, thin shims, or a second 1/4-inch layer behind it
Depth is less than your drywall Switch to 1/4 or 3/8 inch drywall

Measure the depth first, because the patch should end up flush with the plaster, not just close.

Step 2. Back, shim, and screw in the drywall

Install backing behind the opening, shim it to the right depth, and screw a drywall patch in place. The finished patch should sit flush with the plaster or a hair below it, never above it, so the compound can fill the difference.

Add backing

If the opening is wider than the lath spacing, you need something solid to screw into. Slide 1x3 strips behind the plaster so each one spans the hole by a few inches. Screw each strip to the studs, or to the lath through sound plaster. Pre-drill near the plaster edge so the plaster does not crack. On a ceiling, add extra backing and use more screws, because a hole overhead puts the patch's weight on its fasteners.

Cut, shim, and fasten the patch

Trace the opening onto your drywall, then cut the piece about 1/8 inch smaller on every side. That small gap lets compound lock the patch in place. Add shims or cardboard to the backing if your measurement from Step 1 called for them. Screw the drywall every 6 inches or so, and drive each screw until the head sits just below the surface without tearing the paper.

For a hole too small for backing strips, try the paper-flap method. Cut a piece of drywall about an inch larger than the hole, score the back, and snap off the gypsum core. That leaves a flange of face paper around the edge. Mud the paper and the plaster edge, press the patch in, and smooth the flap flat to the wall.

Leave the patch slightly below the plaster surface, because compound can fill a dip but you cannot sand away a ridge cleanly.

Step 3. Tape and feather the joint compound

Fill the gaps and embed tape with a first coat, then add two wider coats that fade into the wall. Patching plaster with drywall only looks invisible if each coat is thin and extends past the one before.

Pick the right compound

Joint compound is the right material for patching plaster with drywall, and the answer to "can you patch with drywall mud" is yes. Use setting-type compound (the 20 to 90 minute powders) for the first coat. It hardens by chemical reaction, shrinks very little, and fills the gap around the patch. Switch to premixed all-purpose compound for the finish coats, because it sands easily.

Spackle is a different tool. It suits nail holes and small dings, but it shrinks and cracks in deep fills. Plaster patching products are harder and set quickly, which is fine on plaster but unforgiving to sand.

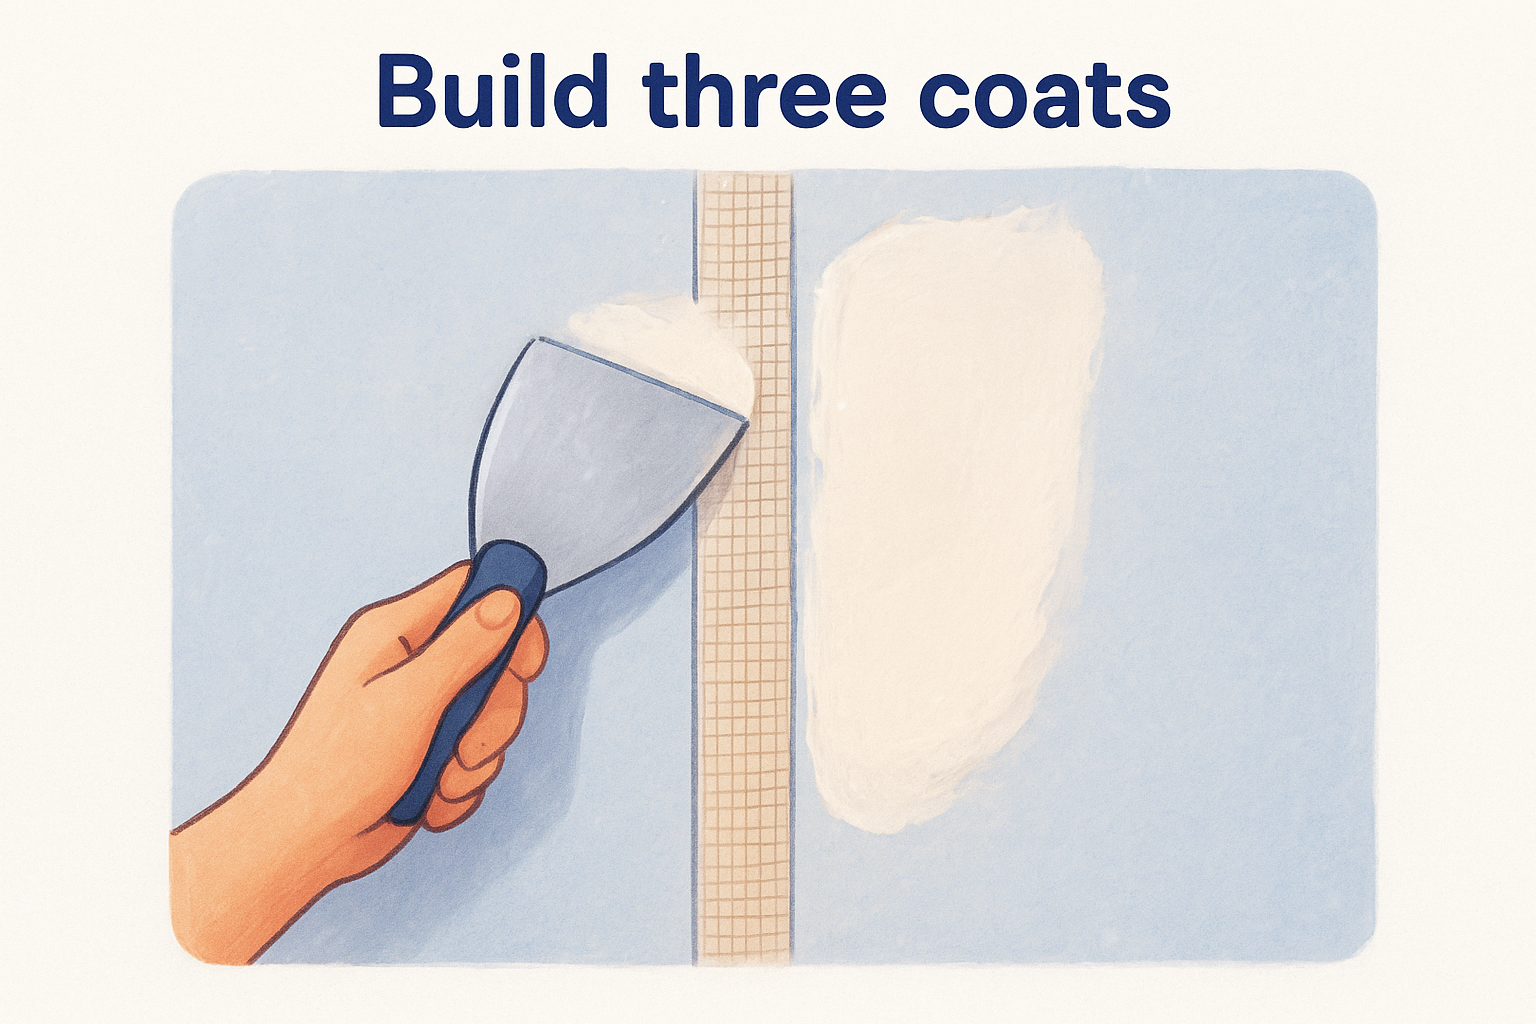
Build three coats

Press mesh or paper tape over the seam and embed it with the first coat. Scrape the knife flat so the tape lies tight. Let each coat dry fully before the next. Premixed compound often needs overnight, and setting compound only needs the time on the bag. Here is a worked example for an 8-inch square patch:

Coat Compound Width of the coat
1 Setting type, fill gaps and embed tape About 12 inches square
2 All-purpose, thin About 16 inches square
3 All-purpose, thinnest About 20 inches square

Sand lightly with 120-grit after the second coat. After the third, sand with 220-grit and focus on the outer edges first, then the center. Hold a flashlight flat against the wall to catch ridges before you prime.

Each coat should reach about two inches farther than the last, because a wide, thin feather is what hides the edge.

Step 4. Prime, match the texture, and paint

Prime the whole patch, match any wall texture, and then paint the full wall or at least to a natural break. Raw compound drinks paint differently from old plaster, so skipping primer leaves a dull patch you can see from across the room.

Prime and match texture

Roll on a PVA or drywall primer, and let it dry. If your wall is smooth, you are nearly done. If it has a light texture, dab a damp sponge over the final coat of compound before it dries. This stipples the surface and mimics hand-troweled plaster. For heavier textures such as knockdown or orange peel, a spray texture or a hand-applied knockdown matches better.

Paint and know when to stop

Paint two coats, and cut in or roll to a corner, because stopping mid-wall exposes the patch under changing light. If the patch still shows after two coats, the primer coat was probably too thin or the compound was not fully sanded.

Some jobs are better left to a pro. Call one if the plaster keeps cracking after the patch, if large areas sound hollow, if water caused the damage, or if your test turns up asbestos or lead. A contractor can also match textures that are hard to fake.

Prime the patch before you paint, and extend the paint to a corner so no edge is left visible.

A patch you cannot find

A good drywall patch in plaster comes down to a few moves. Test the plaster, measure the depth, shim so the patch sits flush, fill with setting compound, and feather thin coats outward before priming. Do those in order and the wall looks untouched.

If the hole is bigger than you want to tackle, or the plaster around it is crumbling, we can handle it. Super Shooters does plaster wall repair, drywall patching, and texture matching across the Sacramento Valley, with free in-home estimates and no payment until the job is done. For a quote, talk to us about drywall patching and plaster repair.

Recent Posts

By cinchweb • October 19, 2026
Fire rated drywall installation in 4 steps: pick Type X or C, count layers for 1- and 2-hour walls, seal joints and penetrations, and pass inspection.
By cinchweb • October 19, 2026
Compare drywall repair companies near me in Sacramento: five provider types, license checks, cost factors, and which one fits your repair.
By cinchweb • October 19, 2026
Learn how asbestos ceiling removal works in California: test first, weigh DIY against a licensed pro, vet contractors, and budget the job.
By cinchweb • October 15, 2026
Learn how to pick a drywall patching panel, match its thickness, and install it in five steps, from marking the cut to priming the finished patch.
By cinchweb • October 15, 2026
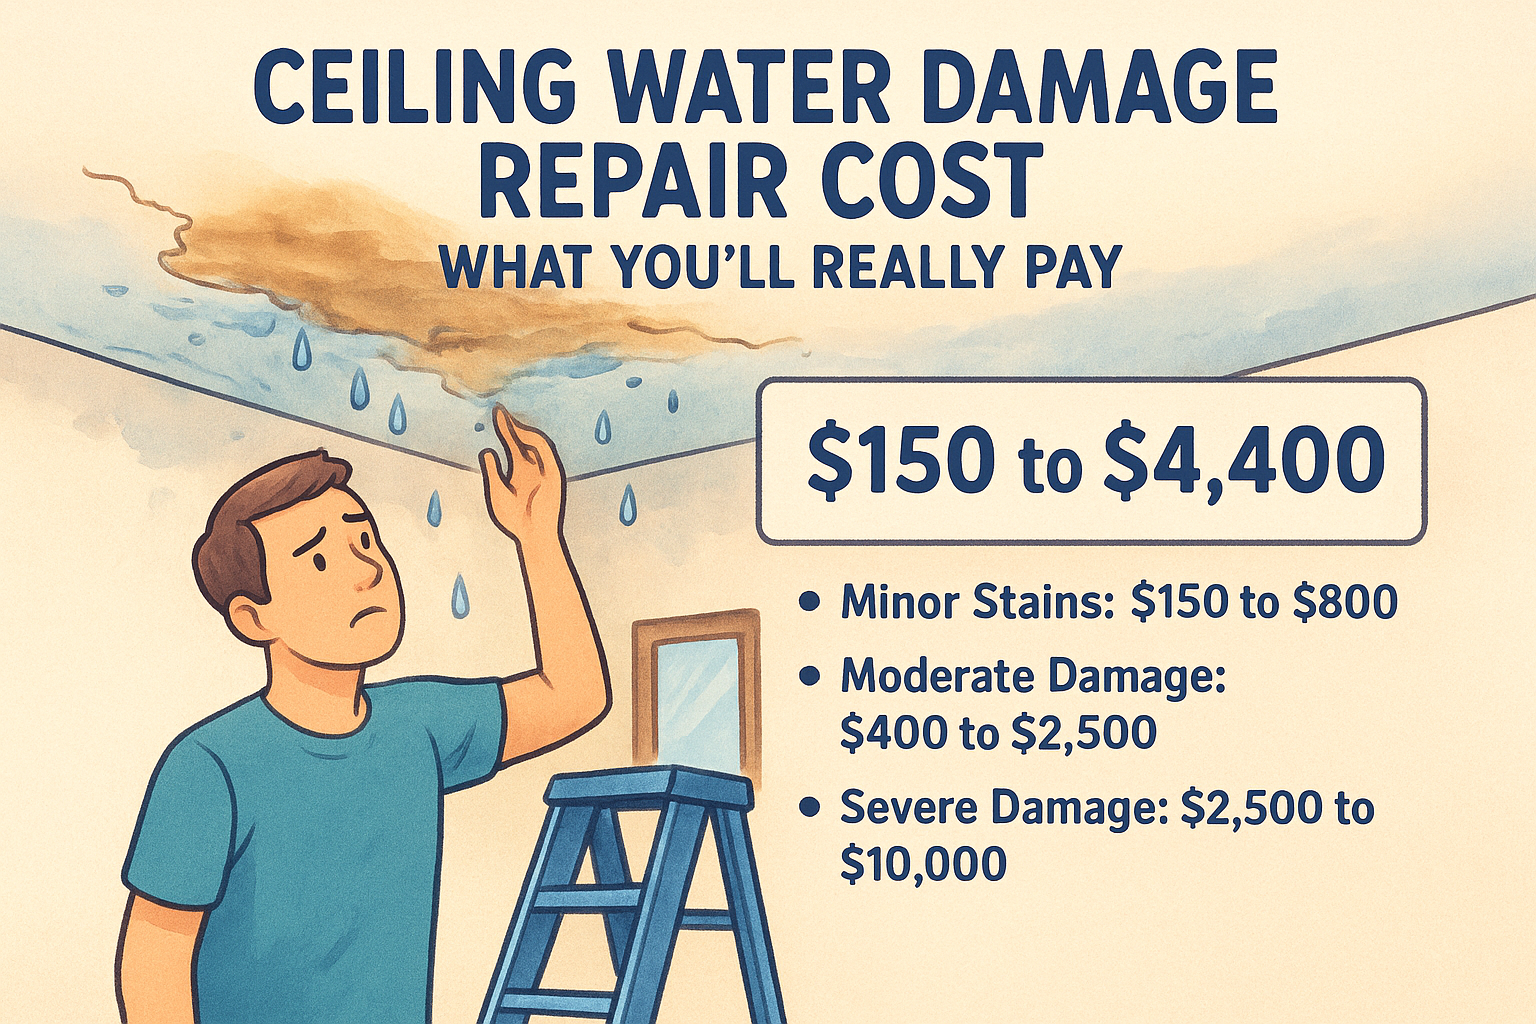
Ceiling water damage repair cost runs $150 to $4,400, or $45 to $55 per square foot. See price tables by severity and how to judge a quote.
By cinchweb • October 13, 2026
Compare five kinds of drywall repair contractors near me, see who each suits, and learn how to check licenses, reviews, and estimates before you hire.
By cinchweb • October 12, 2026
How long does asbestos testing take? See timelines for sampling, PLM, PCM, and TEM results, plus what speeds up or delays your report. Plan your project.
By cinchweb • October 10, 2026
Learn how to sand drywall without dust using 5 clean methods: seal the room, thin coats, wet sanding, and HEPA vacuums. Plus when to call a pro.
By cinchweb • October 9, 2026
Learn how to patch a large hole in drywall with mesh. Get the tools list, three-coat mud method, sanding and paint tips for a 2–6 inch repair.

Show More