
Share this article

October 20, 2026

Painted Popcorn Ceiling Removal: How to Do It Step by Step

The best approach to painted popcorn ceiling removal is to test the texture for asbestos first, then break the paint seal with light sanding or a ceiling-safe chemical remover. Soften the texture in small sections and scrape with a wide knife held at a shallow angle. Plain water alone usually fails because paint blocks it. Plan to skim coat and repaint afterward, because a painted ceiling rarely comes off perfectly clean.

Paint is what makes this job hard. On an unpainted ceiling, water soaks into the texture and the bumps slide off. On a painted one, water beads up and the paint film glues the bumps to the drywall. You scrape the tops off the bumps, or you push harder and gouge the paper face of the drywall. That is how many DIY attempts end in a ceiling that is half bumpy and half torn.

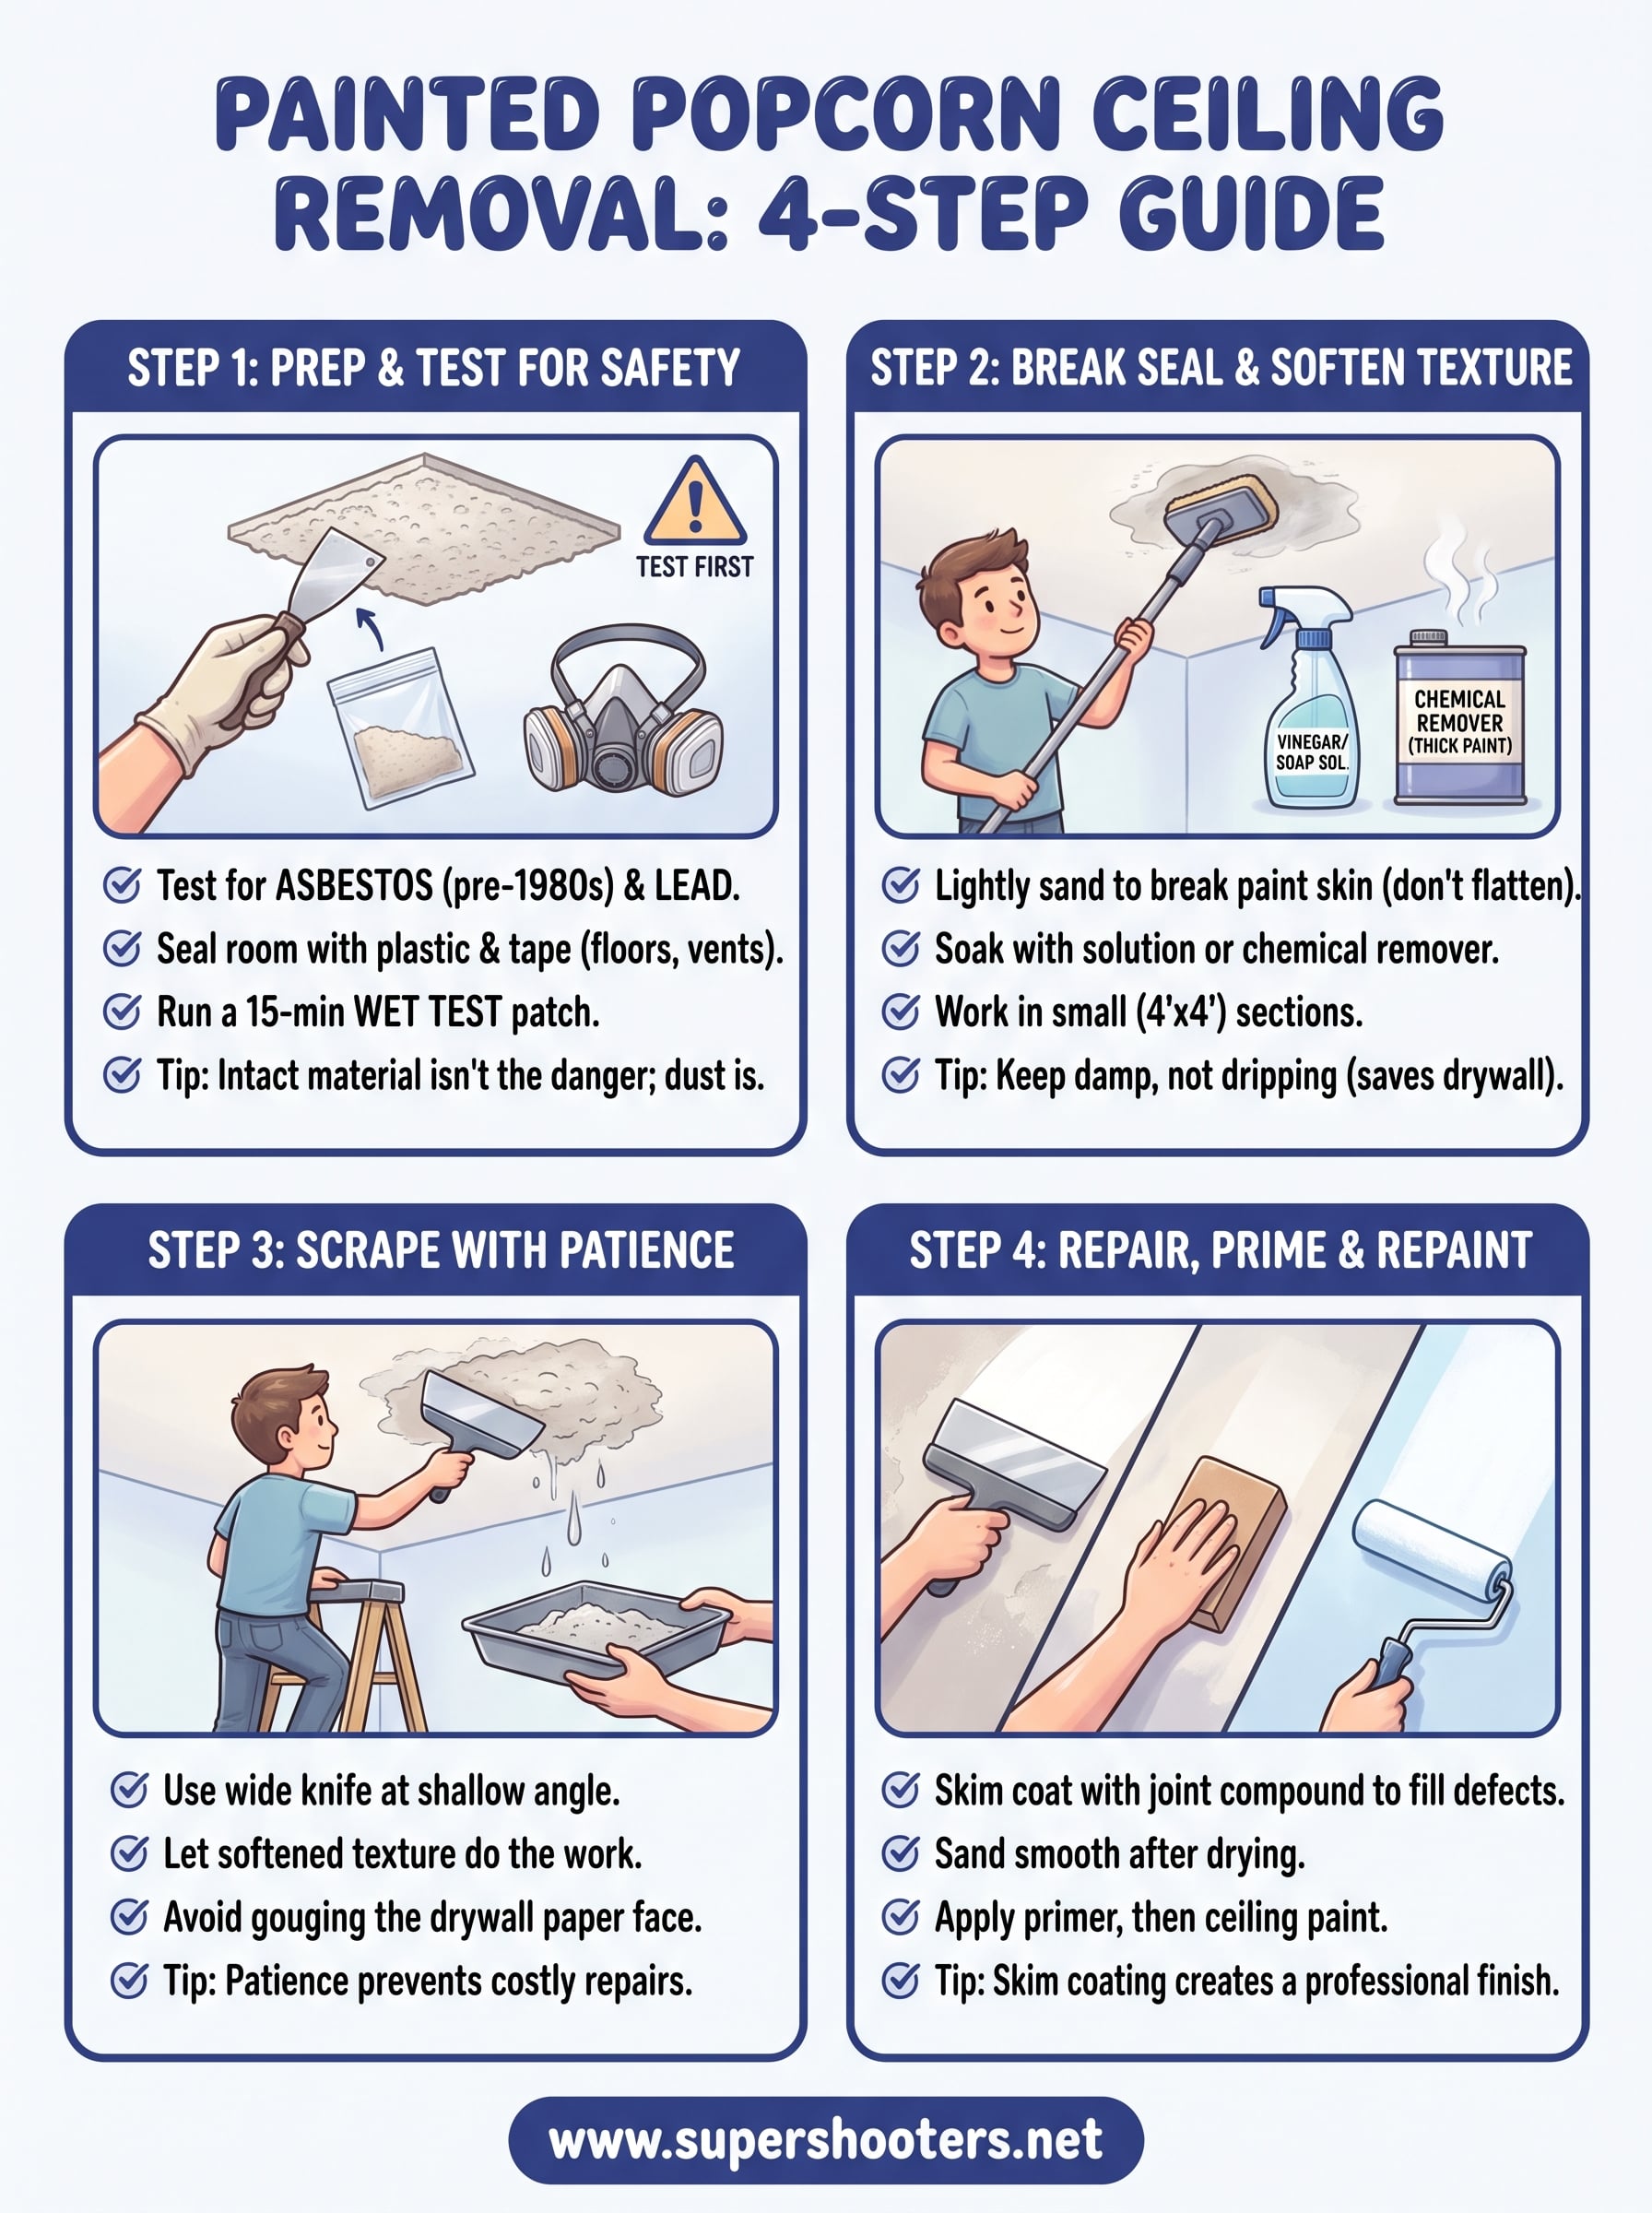
This guide covers what to check before you start, then four steps: prepping the room, breaking the paint seal, scraping, and finishing. Super Shooters has removed ceilings in Sacramento Valley homes for over 30 years, so the advice comes from real jobs. It also tells you when the job is worth handing to a professional.

Why paint makes the job harder and what to check first

Paint seals the texture so moisture can't reach it, which is why a method that works on bare popcorn stalls on yours. Before you buy a single scraper, confirm the ceiling is safe to disturb and decide whether removal is really what you want.

Test for asbestos and lead first

Texture applied before the 1980s may contain asbestos, and paint on older ceilings may contain lead. Intact material is not the danger. Scraping and sanding release fibers and dust into the air. Collect a small sample and send it to an accredited lab , or have a testing service take it for you. Do not scrape the whole ceiling while you wait for results.

If the test is positive, stop. Asbestos ceilings need trained crews, containment and proper disposal. Our asbestos acoustic ceiling removal service covers that work.

Test before you touch it, because paint hides the age of a ceiling but not its risks.

Remove it or paint over it?

Painting over popcorn is cheaper and faster, but it keeps the texture, the dust-collecting bumps and the dated look. Remove it if you plan to retexture, update the room, or patch around new lighting. Painting again is fine if the ceiling is in good shape and you like it.

Removal cost depends on ceiling square footage, how many paint layers sit on the texture, and how much drywall repair follows. DIY costs are mostly materials: sheeting, respirator, scrapers, sprayer, joint compound, primer and paint. Professional quotes vary by job, which is why we give free in-home estimates and take no payment until the work is done.

Gather your tools

You need:

  • Plastic sheeting and painter's tape
  • A P100 respirator (an N95 is the minimum), goggles and a hat
  • A pump or garden sprayer
  • A 6-inch and a 10 to 12-inch drywall knife
  • A pole sander or sanding block with 80-grit paper
  • A ceiling-safe popcorn remover, if your paint is thick
  • A plastic-lined paint tray, joint compound, primer and ceiling paint

Step 1. Prep the room and test a patch

Prep takes longer than most people expect, and it decides how bad the cleanup is. Clear the room, protect every surface, then run a small wet test to see how stubborn your paint is.

Protect the room

Remove furniture, or cover what stays. Turn off the power at the breaker, take down light fixtures and ceiling fans, and cap the wires. Shut off the HVAC and tape plastic over every vent. Cover floors with plastic that runs about 12 inches up the walls , and tape it down. For reference, our crews use two layers of plastic over furnishings and floors plus an extra layer on the walls. Remove breakables and glass-top furniture before work begins.

Run a test patch

Pick a 2 by 2 foot corner. Spray it with warm water and a few drops of dish soap, wait 15 minutes, then try scraping gently. If the texture comes off in soft clumps, water may be enough. If water beads and you only shave the tops, the paint is sealed, and you need Step 2 in full.

A 15-minute test patch tells you which method to use before you commit the whole ceiling.

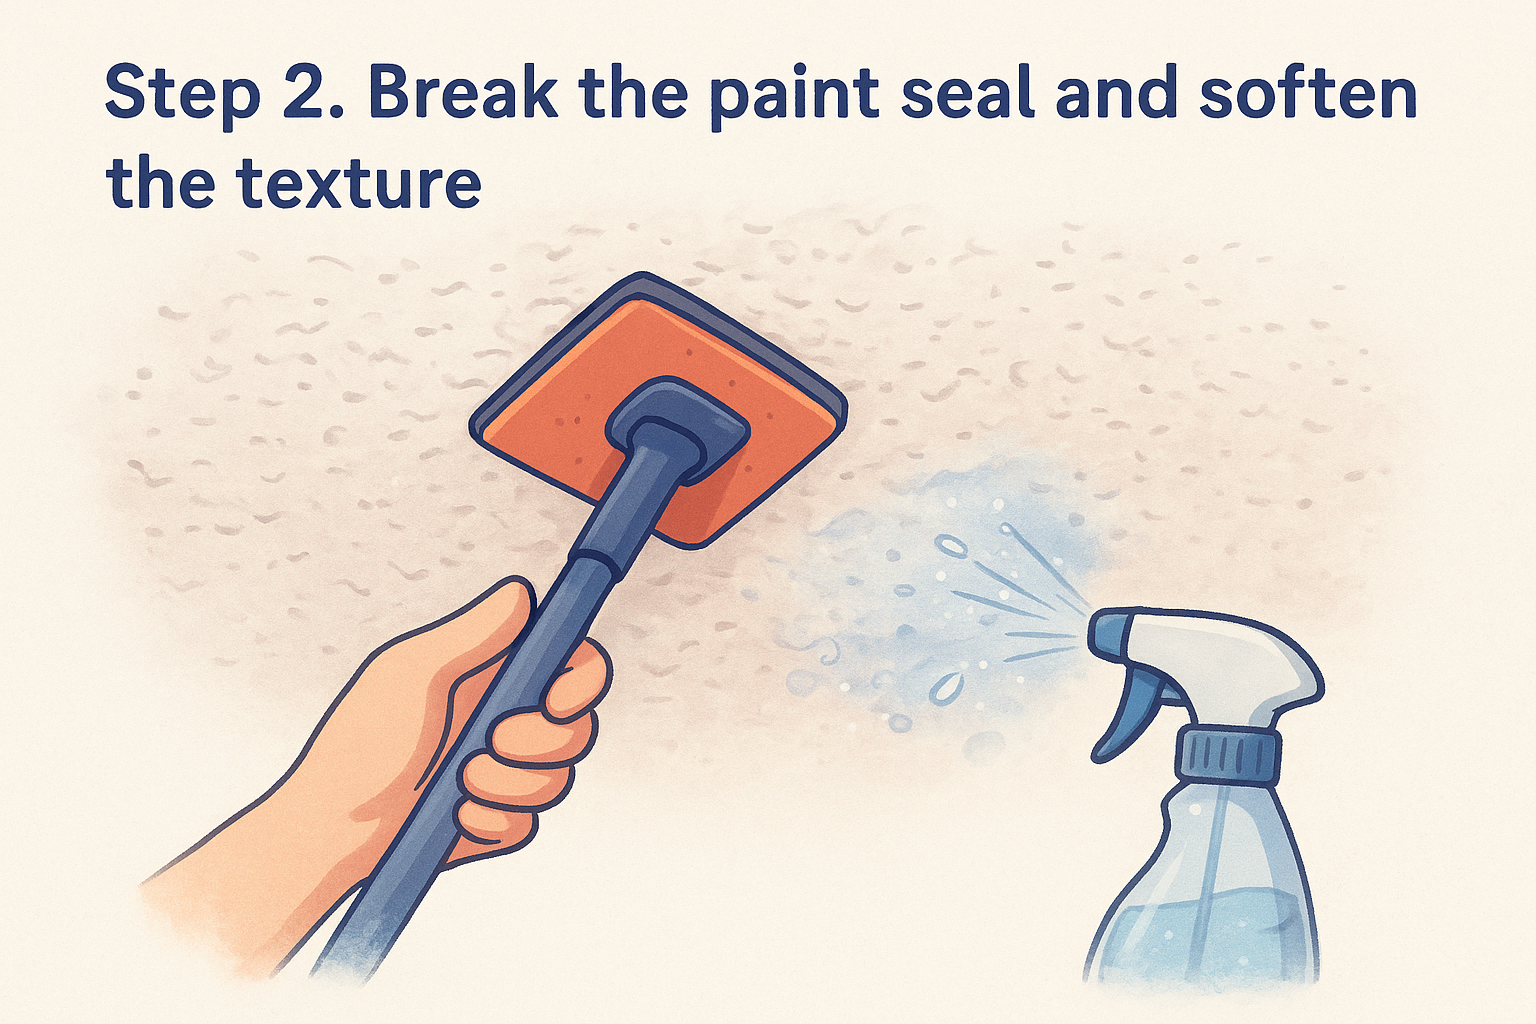
Step 2. Break the paint seal and soften the texture

To soften painted popcorn, you must first get through the paint film. Scuff the surface, then soak it with a vinegar or soap solution, or apply a ceiling-specific remover when there are several coats.

Scuff, then soak

Lightly sand the bump tops with 80-grit paper on a pole sander. You only need to break the glossy skin, not flatten the ceiling. Then spray a mix of one part white vinegar to ten parts water , or hot water with a little dish soap. Work in 4 by 4 foot sections, wait 10 to 15 minutes, and re-wet any dry spots. Keep the surface damp, not dripping. Too much water soaks the drywall, which can cause sagging and stains.

Choose the right softening method

Method Best for Watch out for
Sand, then vinegar solution One or two thin coats of paint Slow, needs repeated wetting
Hot water and dish soap Thin paint or patchy coverage Over-wetting the drywall
Ceiling-specific chemical remover Several paint layers Long wait, ventilation, label directions

For the chemical route, buy a remover made for painted popcorn ceilings and confirm the label says it is safe for drywall. Roll or brush it on, then wait. Label wait times range from about an hour to 12 hours depending on paint layers and texture thickness, so test a small spot. Covering the area with plastic during long waits helps the product penetrate. Open windows and wear your respirator.

When water beads on the surface, use a remover, because more water only soaks the drywall.

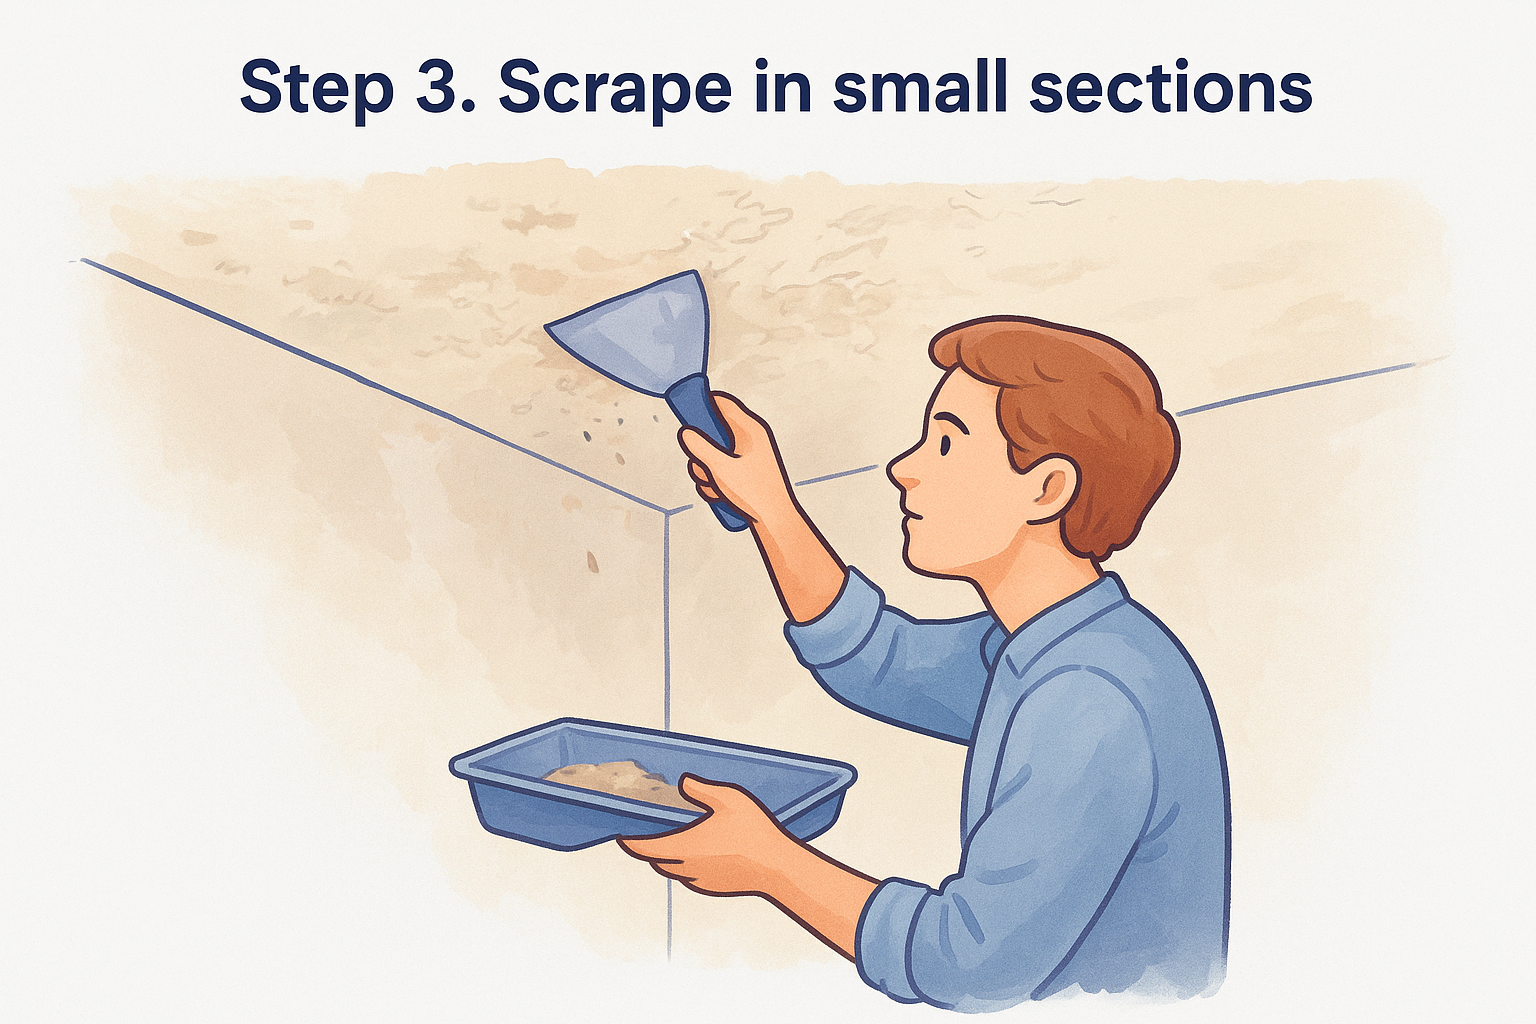
Step 3. Scrape in small sections

Scraping goes best with a wide, flexible knife, a low angle and light pressure, working one softened section at a time. Rushing is what tears the drywall paper.

Use the right technique

Hold a 10 to 12-inch knife nearly flat to the ceiling, about 30 degrees, and push with both hands in overlapping strokes. Let the softened texture do the work, not your arm. Use the 6-inch knife near corners and edges. Hold a plastic-lined paint tray under the knife to catch debris, and keep the sprayer in your other hand to re-wet stubborn spots.

A 12 by 12 foot room is 144 square feet, which is nine 4 by 4 foot sections. Plan on a full day to scrape it and a second day to finish, with drying time between. Our crews usually clear whole ceilings in one to two days, and up to three for a large house.

Fix trouble spots and clean up

If only the bump tops come off, re-apply the remover or re-soak and wait longer. If the knife gouges, stop adding water and let the ceiling dry before you continue. Bag the wet debris, then wipe surfaces with damp cloths and use a HEPA vacuum . Never sweep dry dust into the air.

Section by section, patience beats force, because every gouge becomes a repair you pay for later.

Step 4. Repair, prime and repaint

Once the texture is off, the ceiling will have scrapes, ridges and leftover paint flakes. A skim coat, sanding and primer turn that into a smooth, paintable surface.

Skim coat and sand

Let the ceiling dry for at least a day. Scrape off loose flakes, then spread a thin skim coat of joint compound with a 12-inch knife, filling gouges and ridges. After it dries, sand with a drywall sanding stick or pole sander and wipe the dust away. Repeat in rough areas. Deep tears in the paper face may need patching, which is drywall patching rather than a skim coat.

Prime and paint

Apply a drywall primer, or a stain-blocking primer if the ceiling shows water marks. Then roll two coats of flat ceiling paint, cutting in the edges first. If you want texture instead of smooth, spray or roll a knockdown or orange peel finish before priming. We supply paint for new ceiling texture when we do the work, which is worth asking about when you compare quotes.

Skim coating is what turns a scraped ceiling into one that looks professionally finished.

Ready to scrape or call a pro?

Painted popcorn ceiling removal comes down to four moves: test for asbestos, break the paint seal, soften and scrape in small sections, then skim coat and repaint. Skipping the test or flooding the drywall are the two mistakes that cost the most.

If the test comes back positive, the paint is thick, or you'd rather not spend a weekend overhead in a respirator, bring in a crew. Our popcorn ceiling removal team offers a free in-home estimate across Sacramento and surrounding areas, with payment due only after the job is complete.

Recent Posts

By cinchweb • October 20, 2026
A popcorn ceiling removal tool with bag catches much of the mess. Learn what to test first, how to scrape, and how to finish the ceiling smooth.
By cinchweb • October 19, 2026
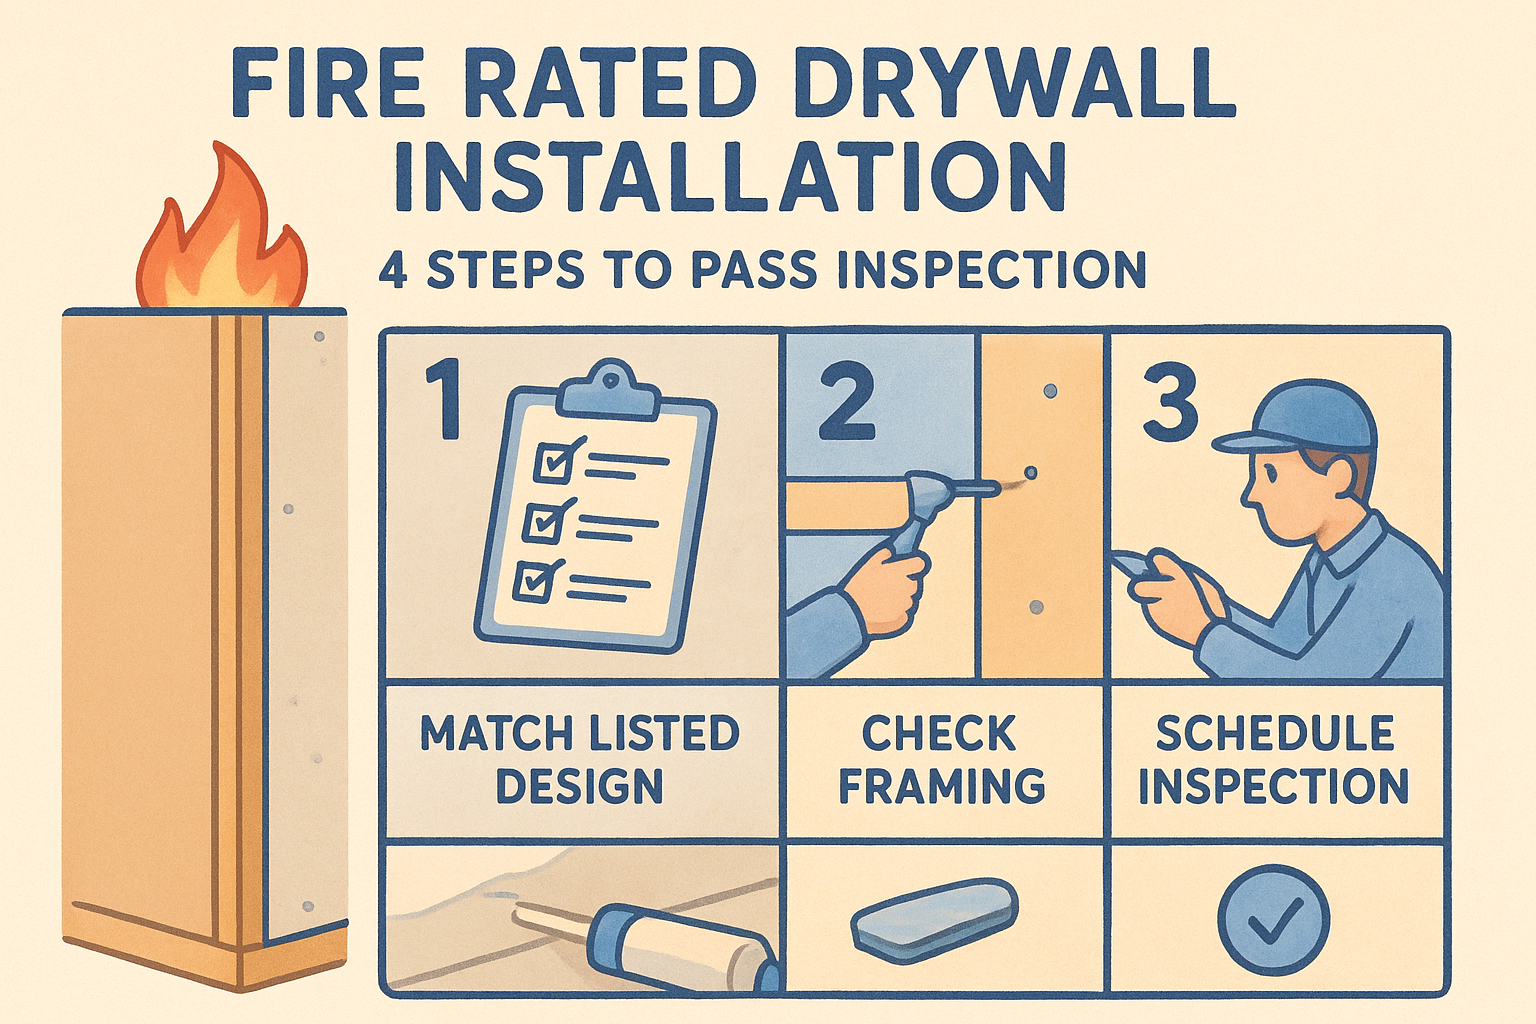
Fire rated drywall installation in 4 steps: pick Type X or C, count layers for 1- and 2-hour walls, seal joints and penetrations, and pass inspection.
By cinchweb • October 19, 2026
A step-by-step guide to patching plaster wall with drywall: match the thickness, tape the seams, and finish with joint compound so the repair disappears.

By cinchweb • October 19, 2026
Compare drywall repair companies near me in Sacramento: five provider types, license checks, cost factors, and which one fits your repair.

By cinchweb • October 19, 2026
Learn how asbestos ceiling removal works in California: test first, weigh DIY against a licensed pro, vet contractors, and budget the job.

By cinchweb • October 15, 2026
Learn how to pick a drywall patching panel, match its thickness, and install it in five steps, from marking the cut to priming the finished patch.

By cinchweb • October 15, 2026
Ceiling water damage repair cost runs $150 to $4,400, or $45 to $55 per square foot. See price tables by severity and how to judge a quote.
By cinchweb • October 13, 2026
Compare five kinds of drywall repair contractors near me, see who each suits, and learn how to check licenses, reviews, and estimates before you hire.
By cinchweb • October 12, 2026
How long does asbestos testing take? See timelines for sampling, PLM, PCM, and TEM results, plus what speeds up or delays your report. Plan your project.

Show More