Share this article

October 19, 2026

Fire Rated Drywall Installation: 4 Steps to Pass Inspection

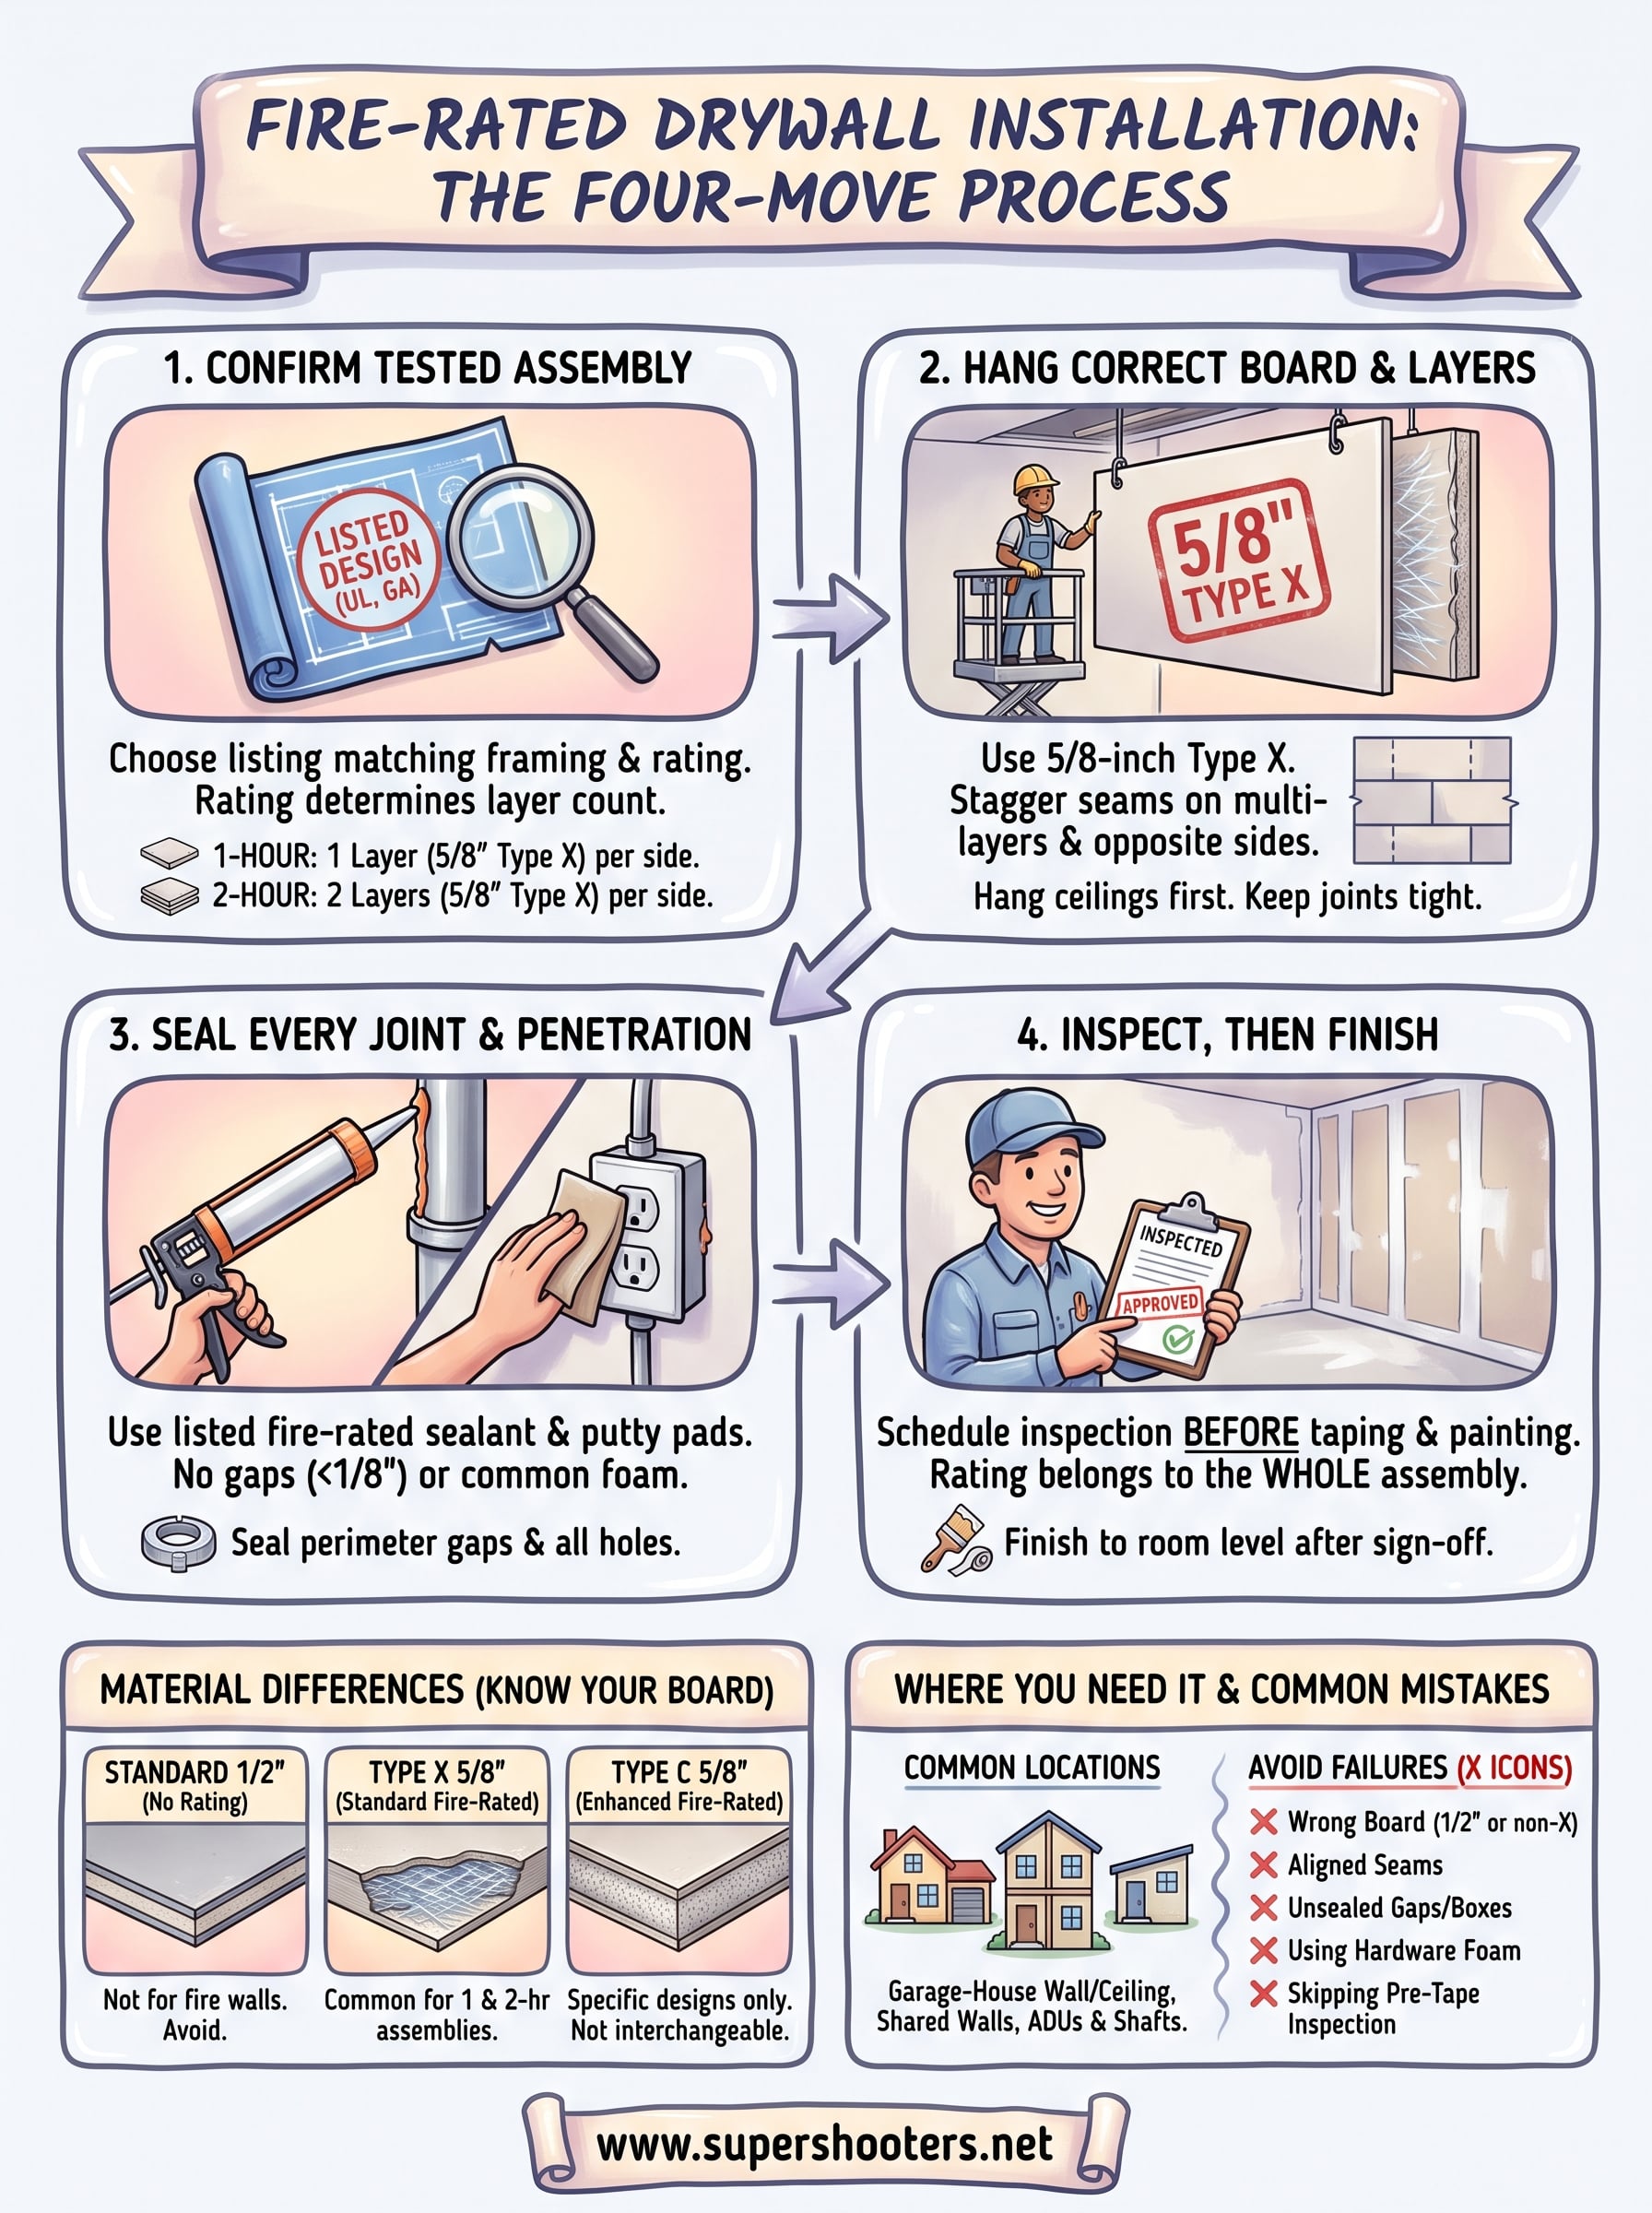
Fire rated drywall installation comes down to four moves. Confirm the tested wall or ceiling assembly your project needs. Hang 5/8-inch Type X board with the right layer count, which is one layer per side for a 1-hour rating and two layers per side for 2 hours. Seal every joint and penetration with fire-rated materials. Then get the work inspected before you finish it. The rating belongs to the whole assembly, not to the board alone.

Fire-rated board looks the same as standard board once it is taped and painted, which is exactly why mistakes hide. A 1/2-inch panel gets swapped in, a gap opens behind an outlet box, or someone fills a pipe hole with hardware-store foam. The wall still looks fine, but it fails inspection, or worse, it fails in a fire.

This guide covers where homes need fire-rated drywall, how Type X and Type C differ, and the four steps for installing it correctly. We have hung drywall across the Sacramento Valley for over 30 years, and the details below cover what homeowners, garage remodelers, and ADU builders need to know. Code details here are general, so confirm your exact requirements with your local building department.

Where you need fire-rated drywall and what to buy

Fire-rated drywall goes wherever the building code wants a wall or ceiling to slow fire between two spaces. In a house, that mostly means the garage, shared walls, and some ADUs . Knowing which of those applies to you decides everything else in this guide.

Where homes need fire-rated drywall

The garage is the most common job. Under the residential code, the wall between a garage and the living space needs at least 1/2-inch gypsum board on the garage side. A garage ceiling below a bedroom or other habitable room needs 5/8-inch Type X. Many builders simply use 5/8-inch Type X on every garage surface so nobody has to remember which is which.

These are the usual places a homeowner runs into a required rating:

  • Walls and ceilings between an attached garage and the house
  • Common walls between townhomes or duplex units, usually built as a 1-hour assembly
  • Attached ADUs or units over a garage, where the inspector may require a rated separation
  • Shaft and stair enclosures, and any wall your plans mark with a fire rating

Rated walls are normally flagged on the plan set with an hour designation or a wall legend. If you have no plans, ask the building department before you buy a single sheet.

If the plans or the inspector call for a rating, the rating is what you have to prove, not the label on the board.

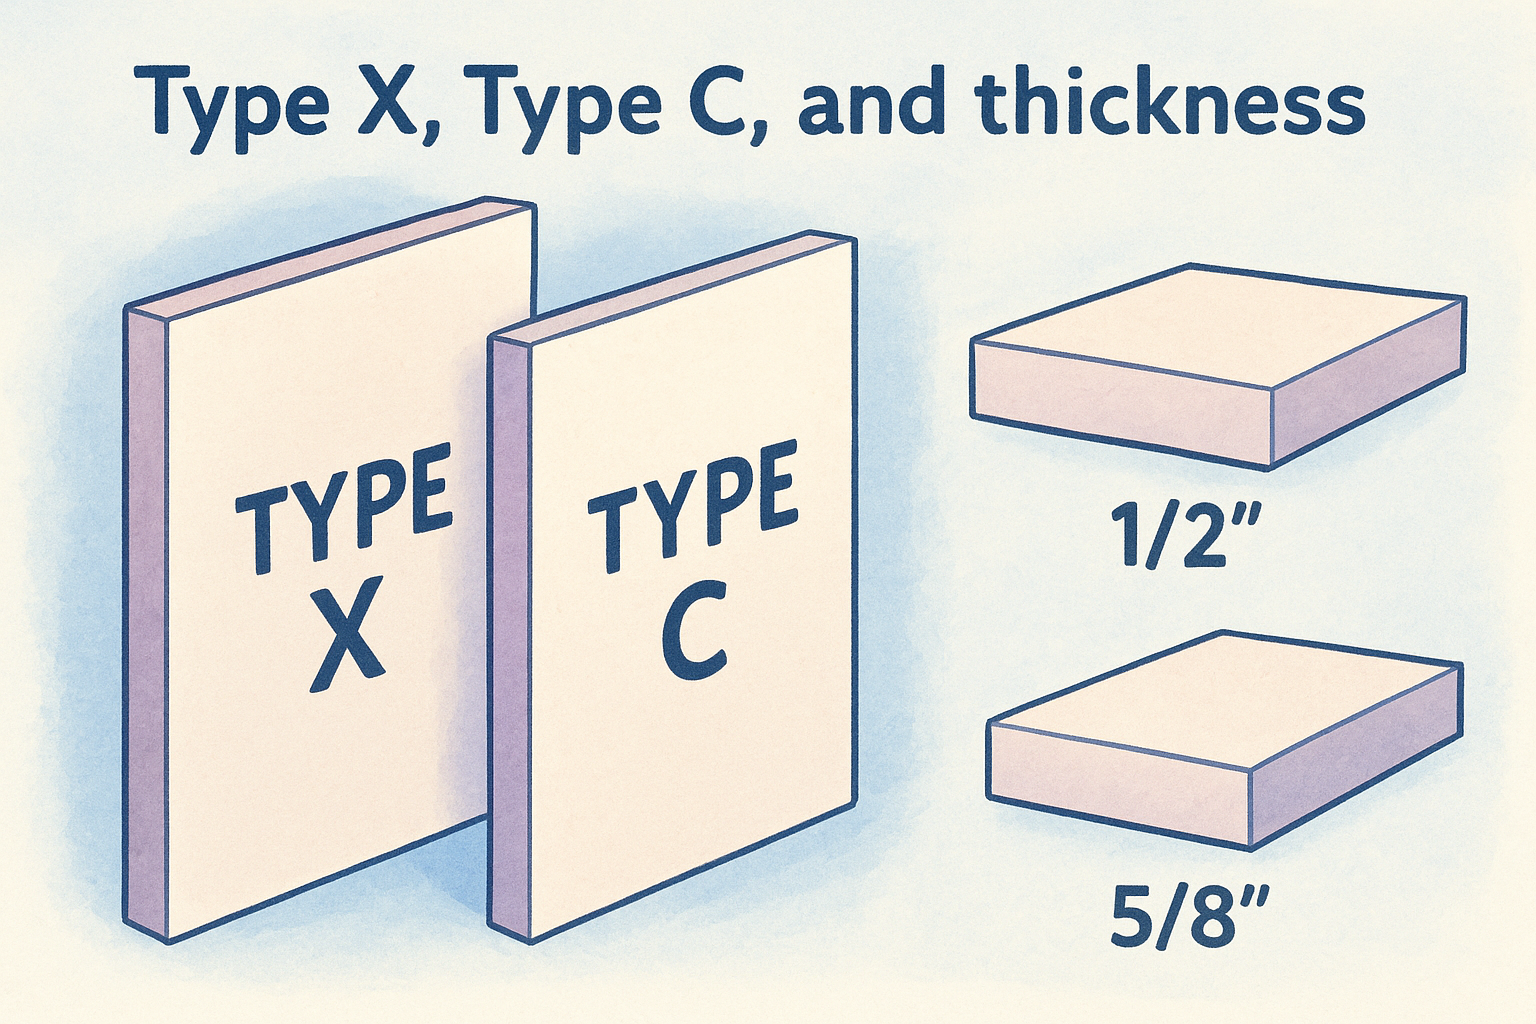
Type X, Type C, and thickness

Type X is the default fire-rated board. It is 5/8-inch gypsum with glass fibers in the core, and it earns its 1-hour rating in a listed one-layer-per-side assembly. Type C uses a denser additive package that expands more under heat, so it appears in specific proprietary designs with higher ratings. Never swap one for the other unless the listed design allows it.

Board Typical use What to know
Standard 1/2-inch General walls with no rating Not fire-rated, so keep it out of rated assemblies
Type X, 5/8-inch 1-hour and 2-hour assemblies The common choice, stocked at most supply yards
Type C, 5/8-inch Specific listed designs Use only when the design names it
Cement board Tile backing in wet areas Non-combustible, but not a drop-in for rated walls

Some manufacturers sell lighter 1/2-inch panels marketed as fire-rated. They carry ratings only in particular listed designs, so do not assume a 1/2-inch panel can stand in for 5/8-inch. Read the face or edge stamp for "Type X" or "Type C" before you load the truck.

Step 1. Match the rating to a tested assembly

Start by picking a listed design that fits your framing, then buy materials to match it. The layer count, screw type, and spacing all come from that design, so the choice has to come first.

Layer counts for 1-hour and 2-hour ratings

In the most common stud-wall designs, a 1-hour wall takes one layer of 5/8-inch Type X on each side of the studs. A 2-hour wall takes two layers on each side. These numbers come from fire tests under ASTM E119 and are published as listings by UL, Intertek, and the Gypsum Association.

Rating Typical wall build Typical ceiling build
1-hour 1 layer of 5/8-inch Type X on each side of 2x4 studs at 16 inches on center 1 layer of 5/8-inch Type X under the joists, per the listing
2-hour 2 layers of 5/8-inch Type X on each side of the studs 2 layers of 5/8-inch Type X, per the listing

Stud size, spacing, insulation, fasteners, and whether the wall is load-bearing all change which listing applies. If you can only reach one side of a wall, one-sided designs exist, but they usually add layers or specialty board. Ask a design professional or the board manufacturer's technical line for that situation.

Pick the listed design that fits your framing first, then buy to that design, never the other way around.

Materials and a worked example

Gather these before you start hanging:

  • 5/8-inch Type X board with the stamp visible
  • Type W screws for wood framing or Type S screws for steel studs
  • Paper tape and joint compound
  • Fire-rated sealant and putty pads for outlet boxes

Screw length depends on the layer. A common pairing on wood framing is 1-1/4 inch screws for a single or base layer and 1-7/8 inch screws for a face layer. On steel studs, a face layer commonly takes 1-5/8 inch Type S screws. Check your listing for the exact lengths.

Here is a worked example. Say you are finishing a 20 by 20 foot garage ceiling under a bedroom. That is 400 square feet, and a 4 by 8 sheet covers 32 square feet. Divide 400 by 32 and you get 12.5 sheets. Add 10 percent for cuts and waste, which makes 440 square feet, or 13.75 sheets, so buy 14 sheets . If the listing calls for two layers, you need 28. Each sheet weighs about 70 pounds, so rent a drywall lift for the ceiling.

Step 2. Frame and hang the layers

Hang each layer exactly as the listing describes, with tight joints, the right screws, and staggered seams. Most fire-rating failures at this stage come from small shortcuts that look harmless once the wall is closed.

Check the framing first

Confirm the studs or joists match the design before any board goes up. Most listed wood-stud designs use 16-inch on-center spacing , and 24 inches only works if the listing says so. Studs should be straight, with solid backing at corners and board edges. Replace twisted lumber now, because a bowed stud opens gaps between layers.

Finish and get approval on electrical and plumbing rough-in before closing the cavity. Moving a pipe after the board is up means cutting into a rated assembly and sealing it again.

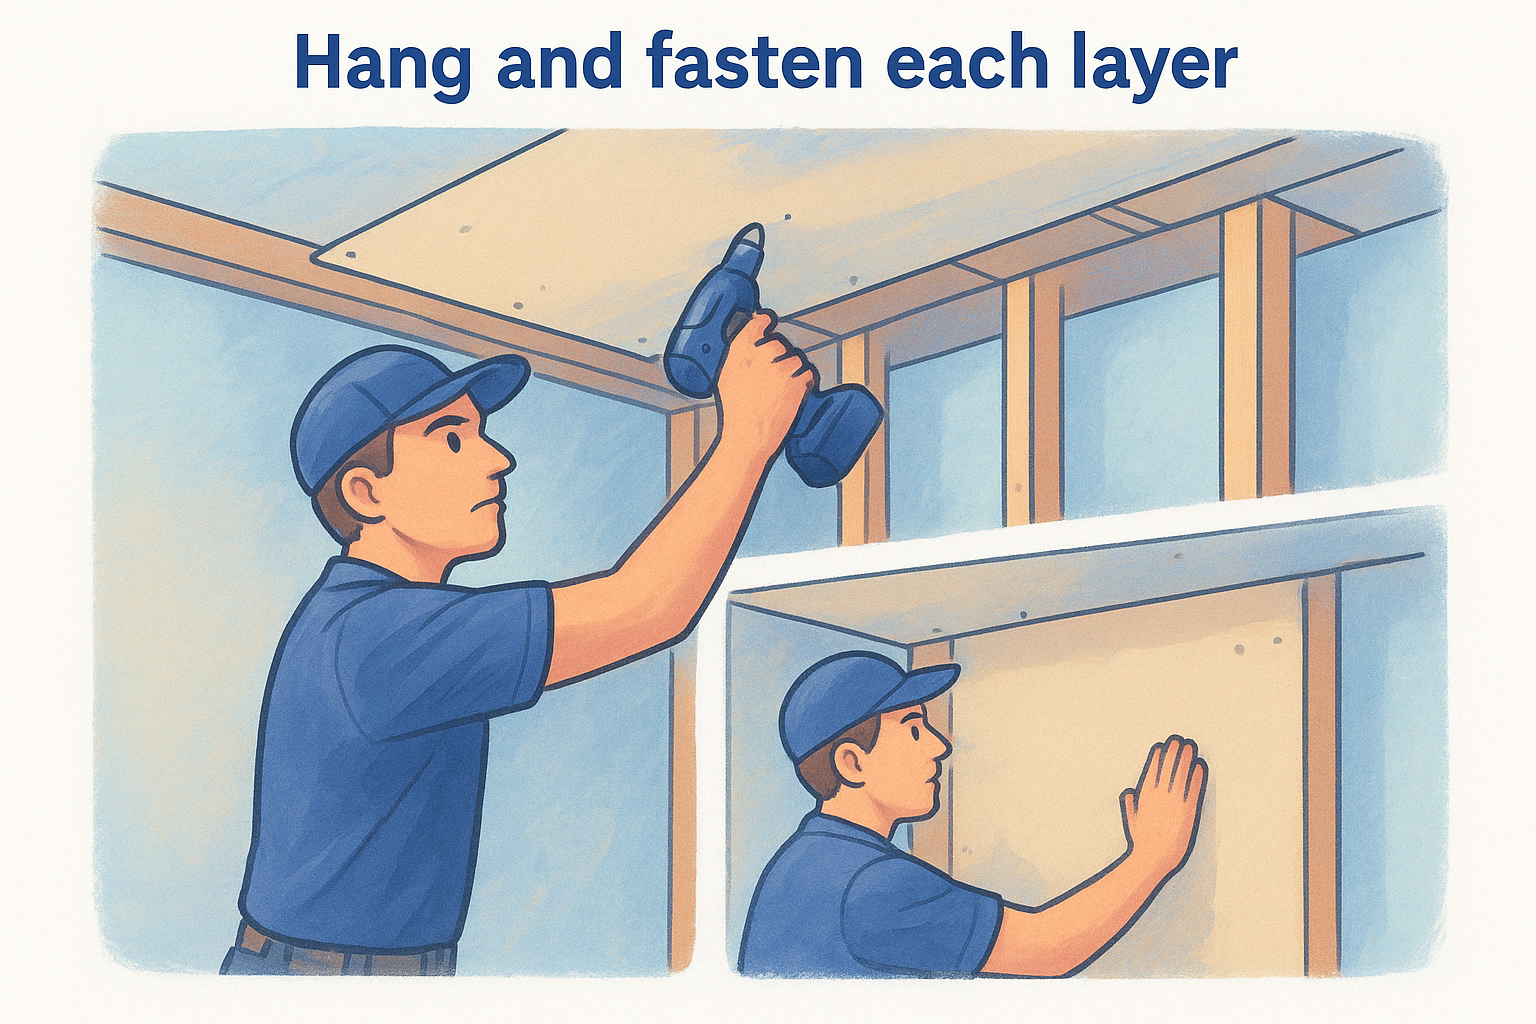
Hang and fasten each layer

Follow this sequence for each layer:

  1. Hang the ceiling first, then the walls, so wall board helps support the ceiling edges.
  2. On ceilings, run the board perpendicular to the joists and land every edge on framing.
  3. Butt the factory edges together tightly. Keep gaps at or under 1/8 inch.
  4. Fasten with the screw length and spacing from your listing. Many designs call for 8 to 12 inches on center, with screws about 3/8 inch from edges.
  5. Drive each screw just below the paper surface without tearing the paper.
  6. For a second layer, offset every seam from the base layer by at least one framing space, such as 16 inches. Offset the seams on the opposite side of the wall too.
  7. Fasten the face layer with the longer screws from the listing so they bite into the framing, not only the base layer.

Do not mix thicknesses within a layer, and do not bridge a gap with a shim of scrap board. If a sheet lands short of the framing, cut a new piece and add backing. A rated assembly is only as strong as its weakest seam.

Tight joints, staggered seams, and the screw length from the listing are what turn two boards into a rated wall.

Step 3. Seal joints, penetrations and edges

Sealing is the step most often skipped, and it is where a 2-hour wall quietly becomes a 20-minute wall. Fire and smoke travel through gaps faster than through board, so every opening needs a listed material.

Joints and perimeter gaps

Check the listing for which joints need tape and compound. Many single-layer assemblies need taped and finished joints . In many two-layer assemblies the base layer joints can stay untreated while the face layer gets finished. Do not assume, because the design controls this.

Seal the perimeter too. Gaps where the board meets the floor, the ceiling, or an adjoining wall get fire-rated sealant, not ordinary painter's caulk. In a garage, also seal around the top plate and any joints where the rated surface meets framing.

Outlets, pipes, lights, and doors

Every hole in a rated surface needs the right treatment. Use this table as a field reference.

Opening What to do
Electrical outlet box Cut the hole tight, keep gaps to 1/8 inch or less, and wrap the box with a putty pad. On opposite sides of a rated wall, keep boxes at least 24 inches apart horizontally, a common code rule.
Pipes and cables through plates or board Use a listed firestop caulk or collar for that pipe type. Never use expanding foam from a hardware store.
Recessed lights Use fire-rated housings or boxes, because a standard can light removes protection from the ceiling.
Ducts Residential code calls for ducts passing through a garage separation to be at least 26-gauge steel with no openings into the garage.
Door from garage to house Use a solid wood door at least 1-3/8 inches thick, a similar solid or honeycomb steel door, or a 20-minute fire-rated door.

Cut openings with a rotary tool so they match the box instead of leaving a ragged hole. Oversized holes get patched with the same Type X board, not filled with joint compound alone.

Every opening in a rated surface needs a listed seal, because fire finds the one gap you skipped.

Step 4. Inspect, finish and avoid common mistakes

Call the inspector before you tape, finish, or cover anything, then finish the surface to the level the room needs. The order matters, because an inspector cannot verify fasteners and sealants once they are buried.

Get inspected before you tape

Many building departments inspect fastening on rated assemblies before taping and mudding. Ask when you pull your permit, and keep the board stamps visible until the inspector signs off. Have your listing or plan detail on hand so the inspector can check your build against it line by line.

Finish only after approval. Joint compound, primer, and paint do not change the rating, so finish to the level the room calls for. A smooth, painted living space usually needs Level 4. A garage wall often needs far less, so ask what the inspector expects.

Mistakes that fail the wall

These are the most common problems that fail rated walls and ceilings:

  • Using a 1/2-inch panel where the plans called for 5/8-inch Type X
  • Lining up seams between the base and face layers
  • Leaving gaps behind outlet boxes or around pipes
  • Using standard caulk or foam instead of listed firestop products
  • Letting a plumber or electrician cut new holes later without sealing them
  • Patching a damaged spot with standard board instead of Type X

A rated wall needs the same care for repairs as it did for construction. If a hole shows up years later, patch it with matching Type X board and reseal the edges.

A wall passes when every layer, seam, and opening matches the listing, not when it merely looks finished.

Getting your fire-rated wall right

Fire rated drywall installation works when you treat it as a system. Pick a listed assembly, use 5/8-inch Type X in the layer count it names, keep joints tight and staggered, seal every gap and penetration with listed materials, and schedule the inspection before you tape. Skip any one of those and the rating on paper no longer matches the wall on site.

If you would rather hand the job off, Super Shooters is a licensed contractor (License No. 1077675) serving the Sacramento Valley, with garage wall finishing and ADU drywall alongside standard installation. We give free in-home estimates and ask for no payment until the job is complete. Tell us what your plans call for, and request a quote for drywall installation.

Recent Posts

By cinchweb • October 19, 2026
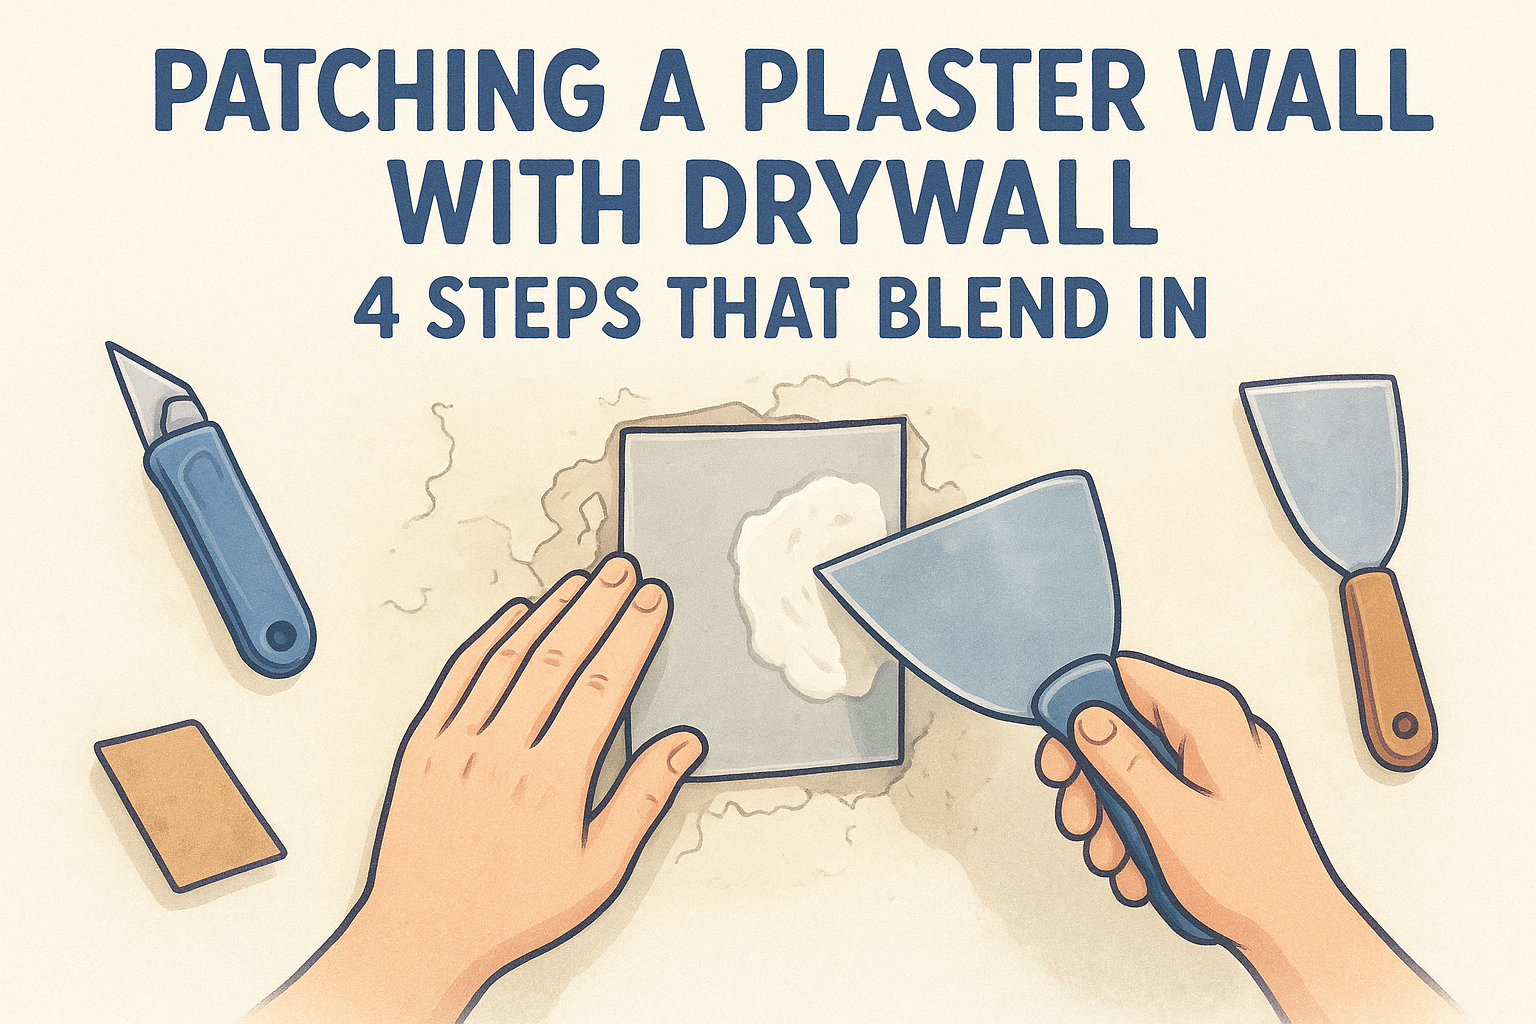
A step-by-step guide to patching plaster wall with drywall: match the thickness, tape the seams, and finish with joint compound so the repair disappears.
By cinchweb • October 19, 2026
Compare drywall repair companies near me in Sacramento: five provider types, license checks, cost factors, and which one fits your repair.
By cinchweb • October 19, 2026
Learn how asbestos ceiling removal works in California: test first, weigh DIY against a licensed pro, vet contractors, and budget the job.
By cinchweb • October 15, 2026
Learn how to pick a drywall patching panel, match its thickness, and install it in five steps, from marking the cut to priming the finished patch.
By cinchweb • October 15, 2026
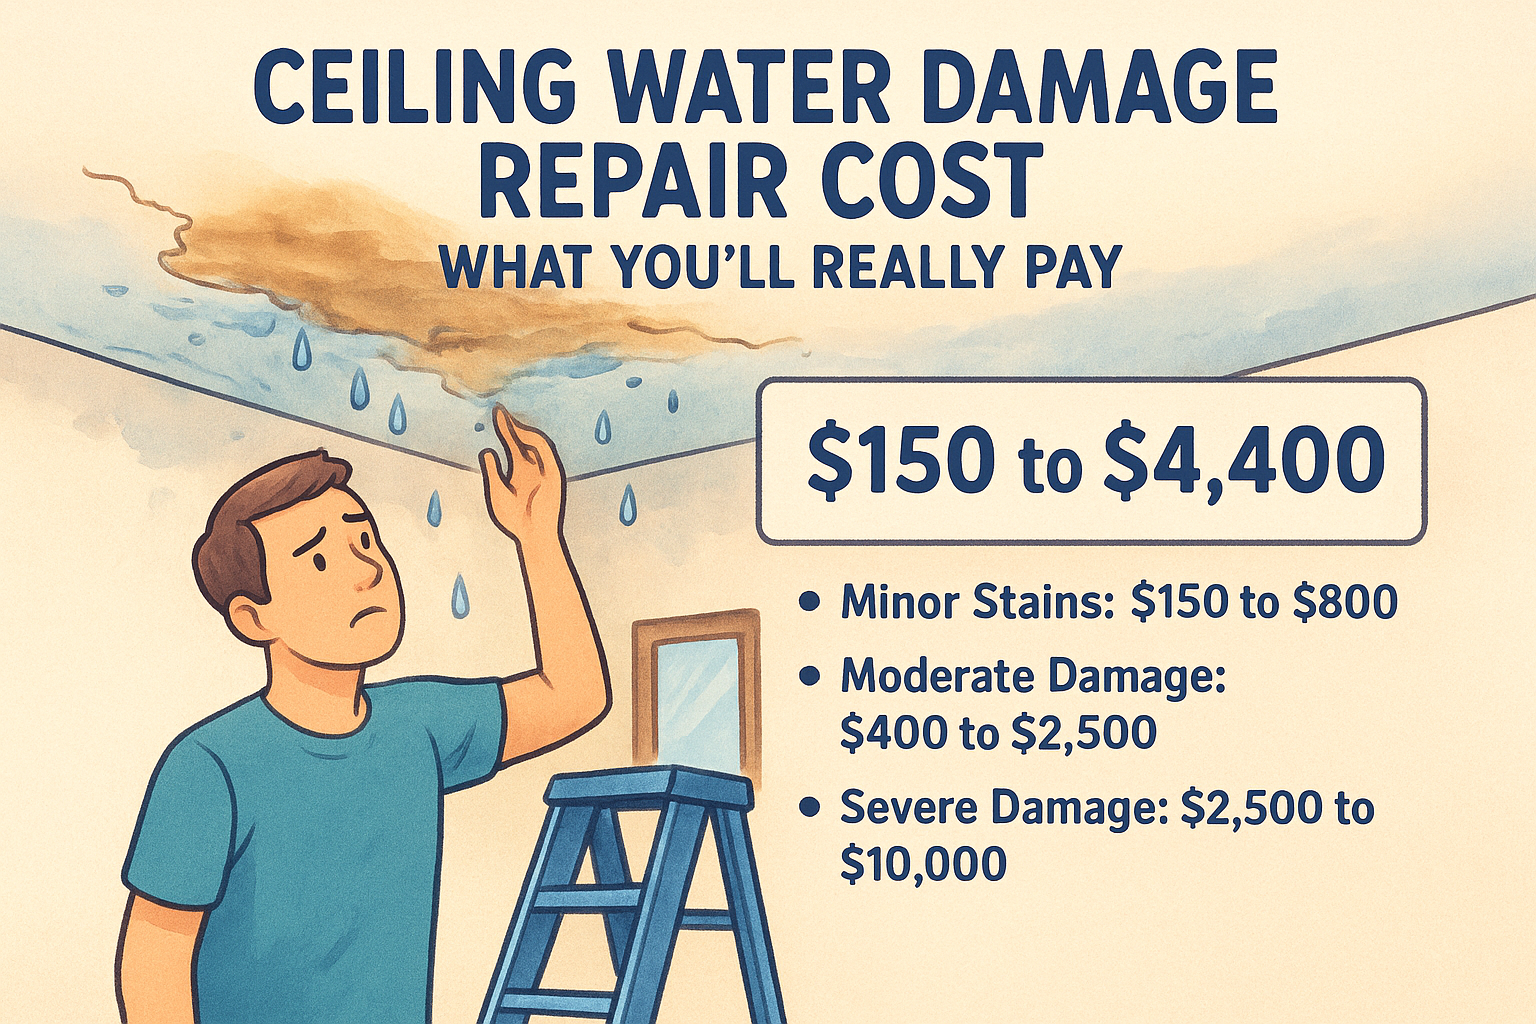
Ceiling water damage repair cost runs $150 to $4,400, or $45 to $55 per square foot. See price tables by severity and how to judge a quote.
By cinchweb • October 13, 2026
Compare five kinds of drywall repair contractors near me, see who each suits, and learn how to check licenses, reviews, and estimates before you hire.
By cinchweb • October 12, 2026
How long does asbestos testing take? See timelines for sampling, PLM, PCM, and TEM results, plus what speeds up or delays your report. Plan your project.
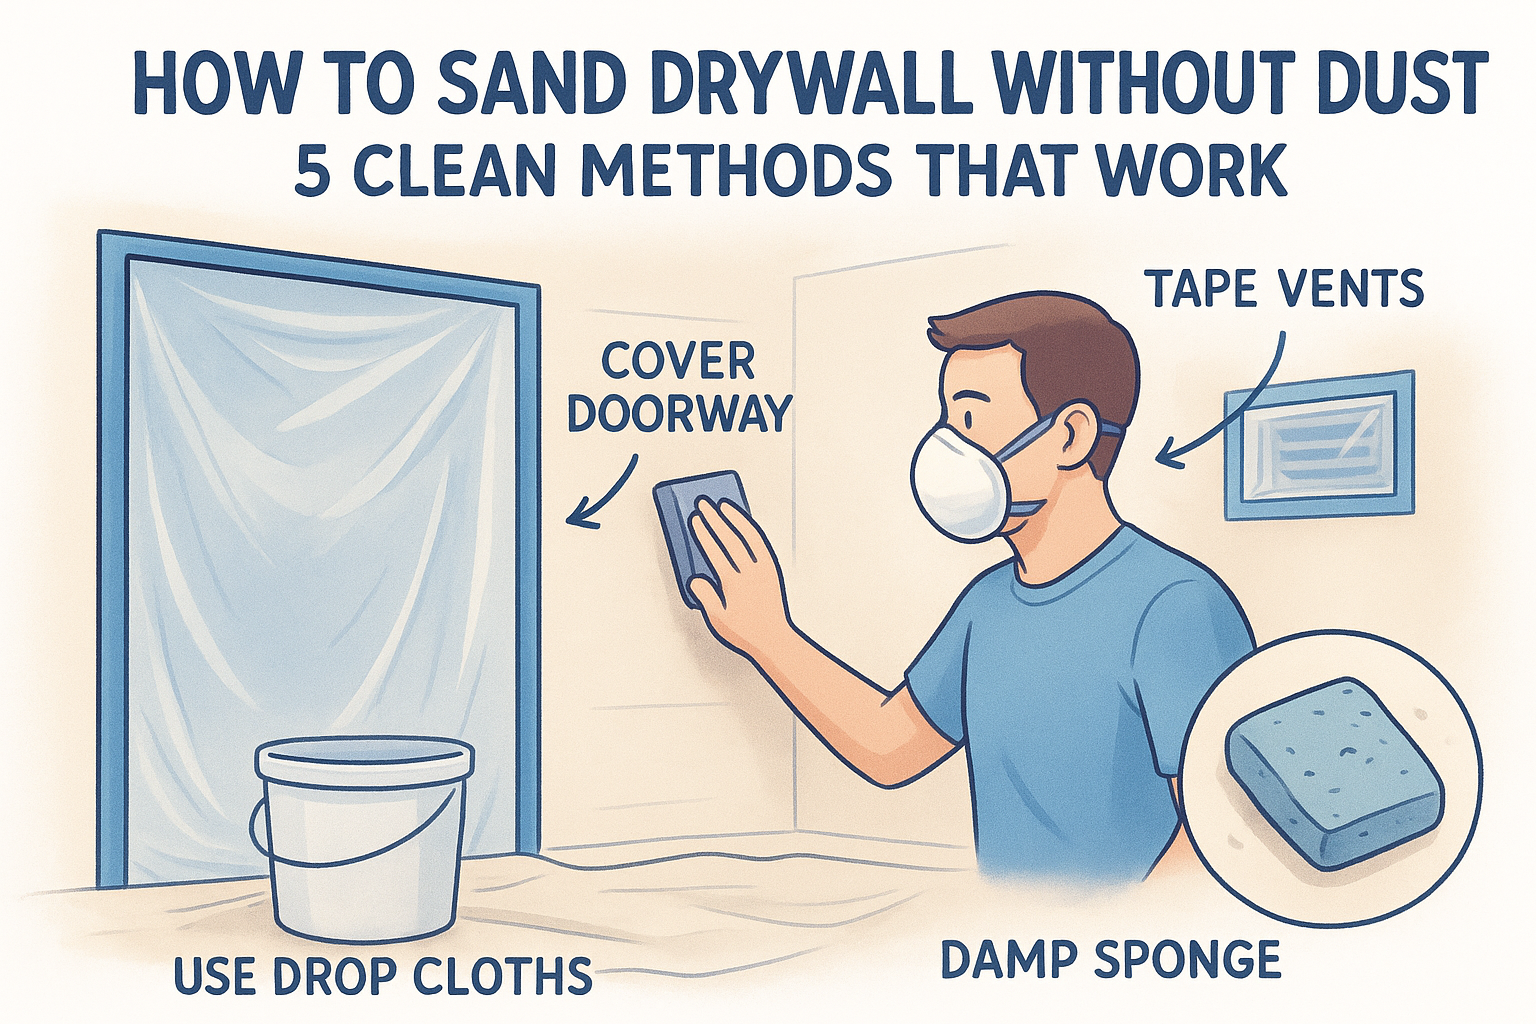
By cinchweb • October 10, 2026
Learn how to sand drywall without dust using 5 clean methods: seal the room, thin coats, wet sanding, and HEPA vacuums. Plus when to call a pro.
By cinchweb • October 9, 2026
Learn how to patch a large hole in drywall with mesh. Get the tools list, three-coat mud method, sanding and paint tips for a 2–6 inch repair.

Show More