
July 10, 2026
How to Clean Walls Before Painting: Step-By-Step Guide
Paint doesn't stick to dirt, grease, or dust. If you skip how to clean walls before painting , you'll see it later in peeling edges, flat spots, and a finish that looks patchy instead of smooth, even with a premium paint. We've patched and repainted thousands of Sacramento Valley walls over 30 years, and almost every callback traces back to prep, not product.
Here's the direct answer: wash walls with a mild degreaser like Dawn dish soap diluted in warm water for everyday grime, and reach for TSP (trisodium phosphate) when you're dealing with kitchen grease, nicotine stains, or garage walls. Rinse thoroughly, let the surface dry completely, and spot-treat any mold or mildew before you open a paint can.
Below, we walk through the full process step by step: gathering supplies, choosing the right cleaner for your wall type, handling stubborn stains and settlement cracks, and knowing when a wall needs more than soap and water, like a texture repair or a fresh coat of drywall compound before paint goes on.
Why cleaning walls before painting matters
Paint is basically glue with color in it. Surface contamination like grease, dust, and body oils creates a barrier between the wall and the primer coat, so instead of bonding to drywall or plaster, the paint bonds to a thin layer of grime. That's why you see peeling near light switches, around doorframes, and in kitchens within months of a fresh coat. Cleaning walls before painting isn't a nice-to-have step, it's the difference between paint that lasts ten years and paint that flakes off in one.
A clean wall is the only surface paint can actually bond to.
Humidity and cooking residue make this worse in bathrooms and kitchens. Airborne grease from cooking settles on walls as an invisible film, and bathroom walls pick up soap scum and moisture that paint simply won't grip. We've pulled up peeling paint in Sacramento kitchens where the homeowner used top-shelf paint on a wall that hadn't been washed in a decade. The paint job looked fine for a few weeks, then failed at every seam.
Older homes in the Sacramento Valley add another wrinkle: nicotine stains, water spots, and years of accumulated dust on textured or popcorn ceilings and walls. If you're painting over a wall that's dealt with any of that, skipping the wash step means you're sealing the problem under new paint, not fixing it. Stains bleed through even multiple coats if they aren't cleaned or primed first.
Think of cleaning as insurance for your paint job. It costs you an hour or two upfront. Skipping it costs you a full repaint down the road, plus the frustration of watching a project you thought was finished start peeling within a season.
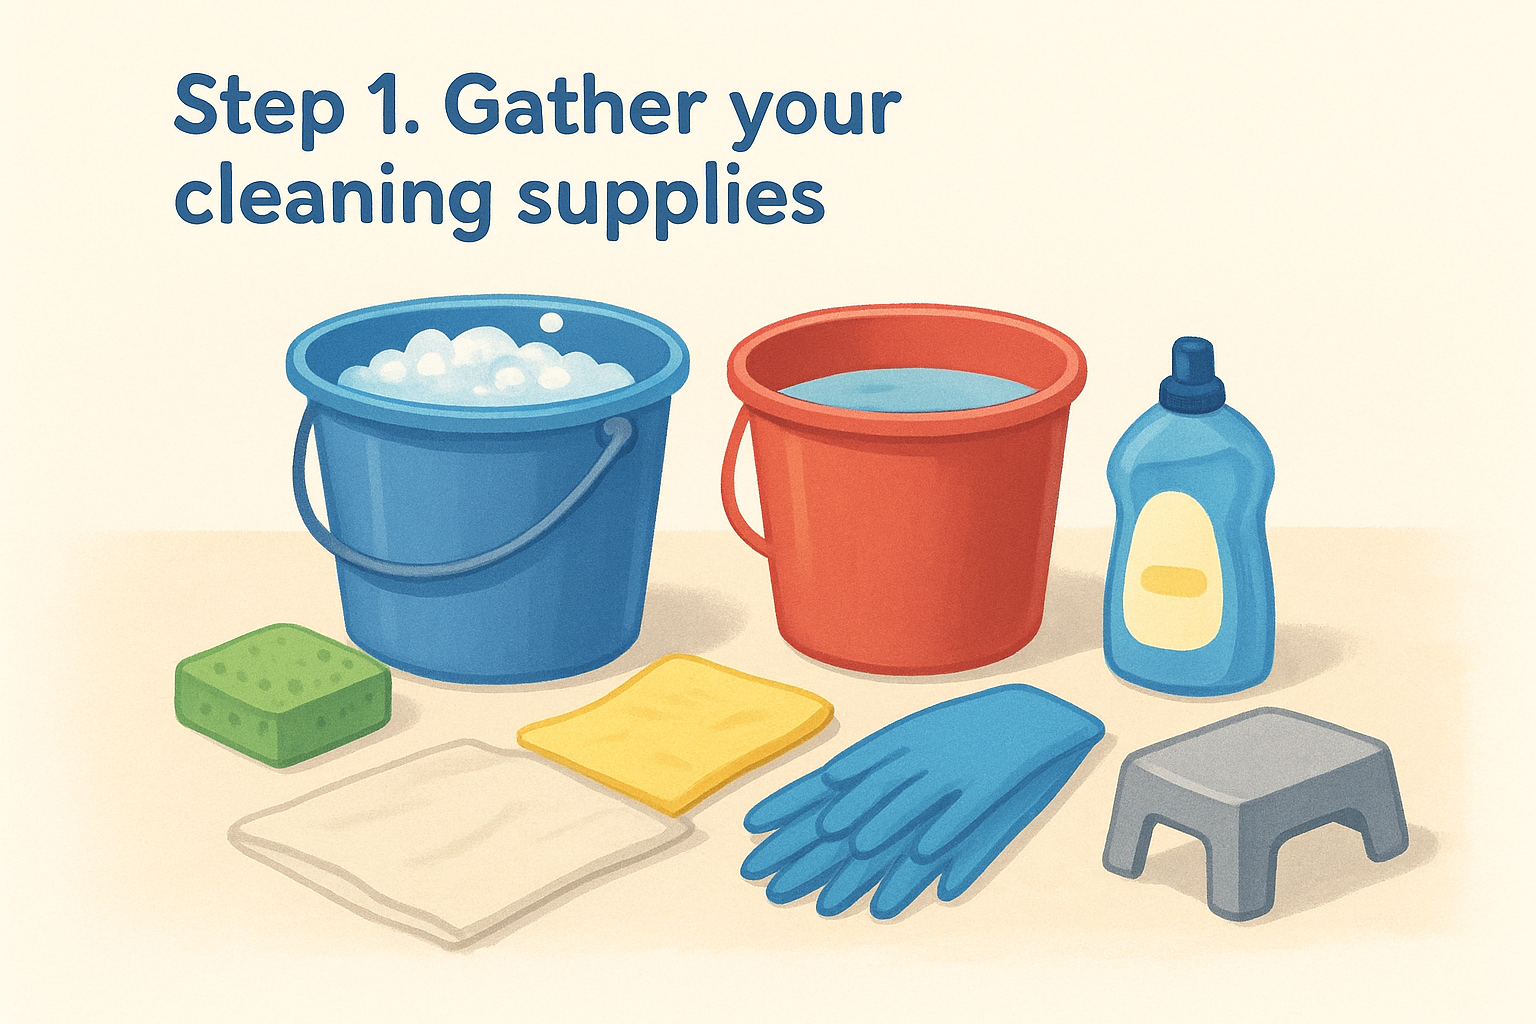
Step 1. Gather your cleaning supplies
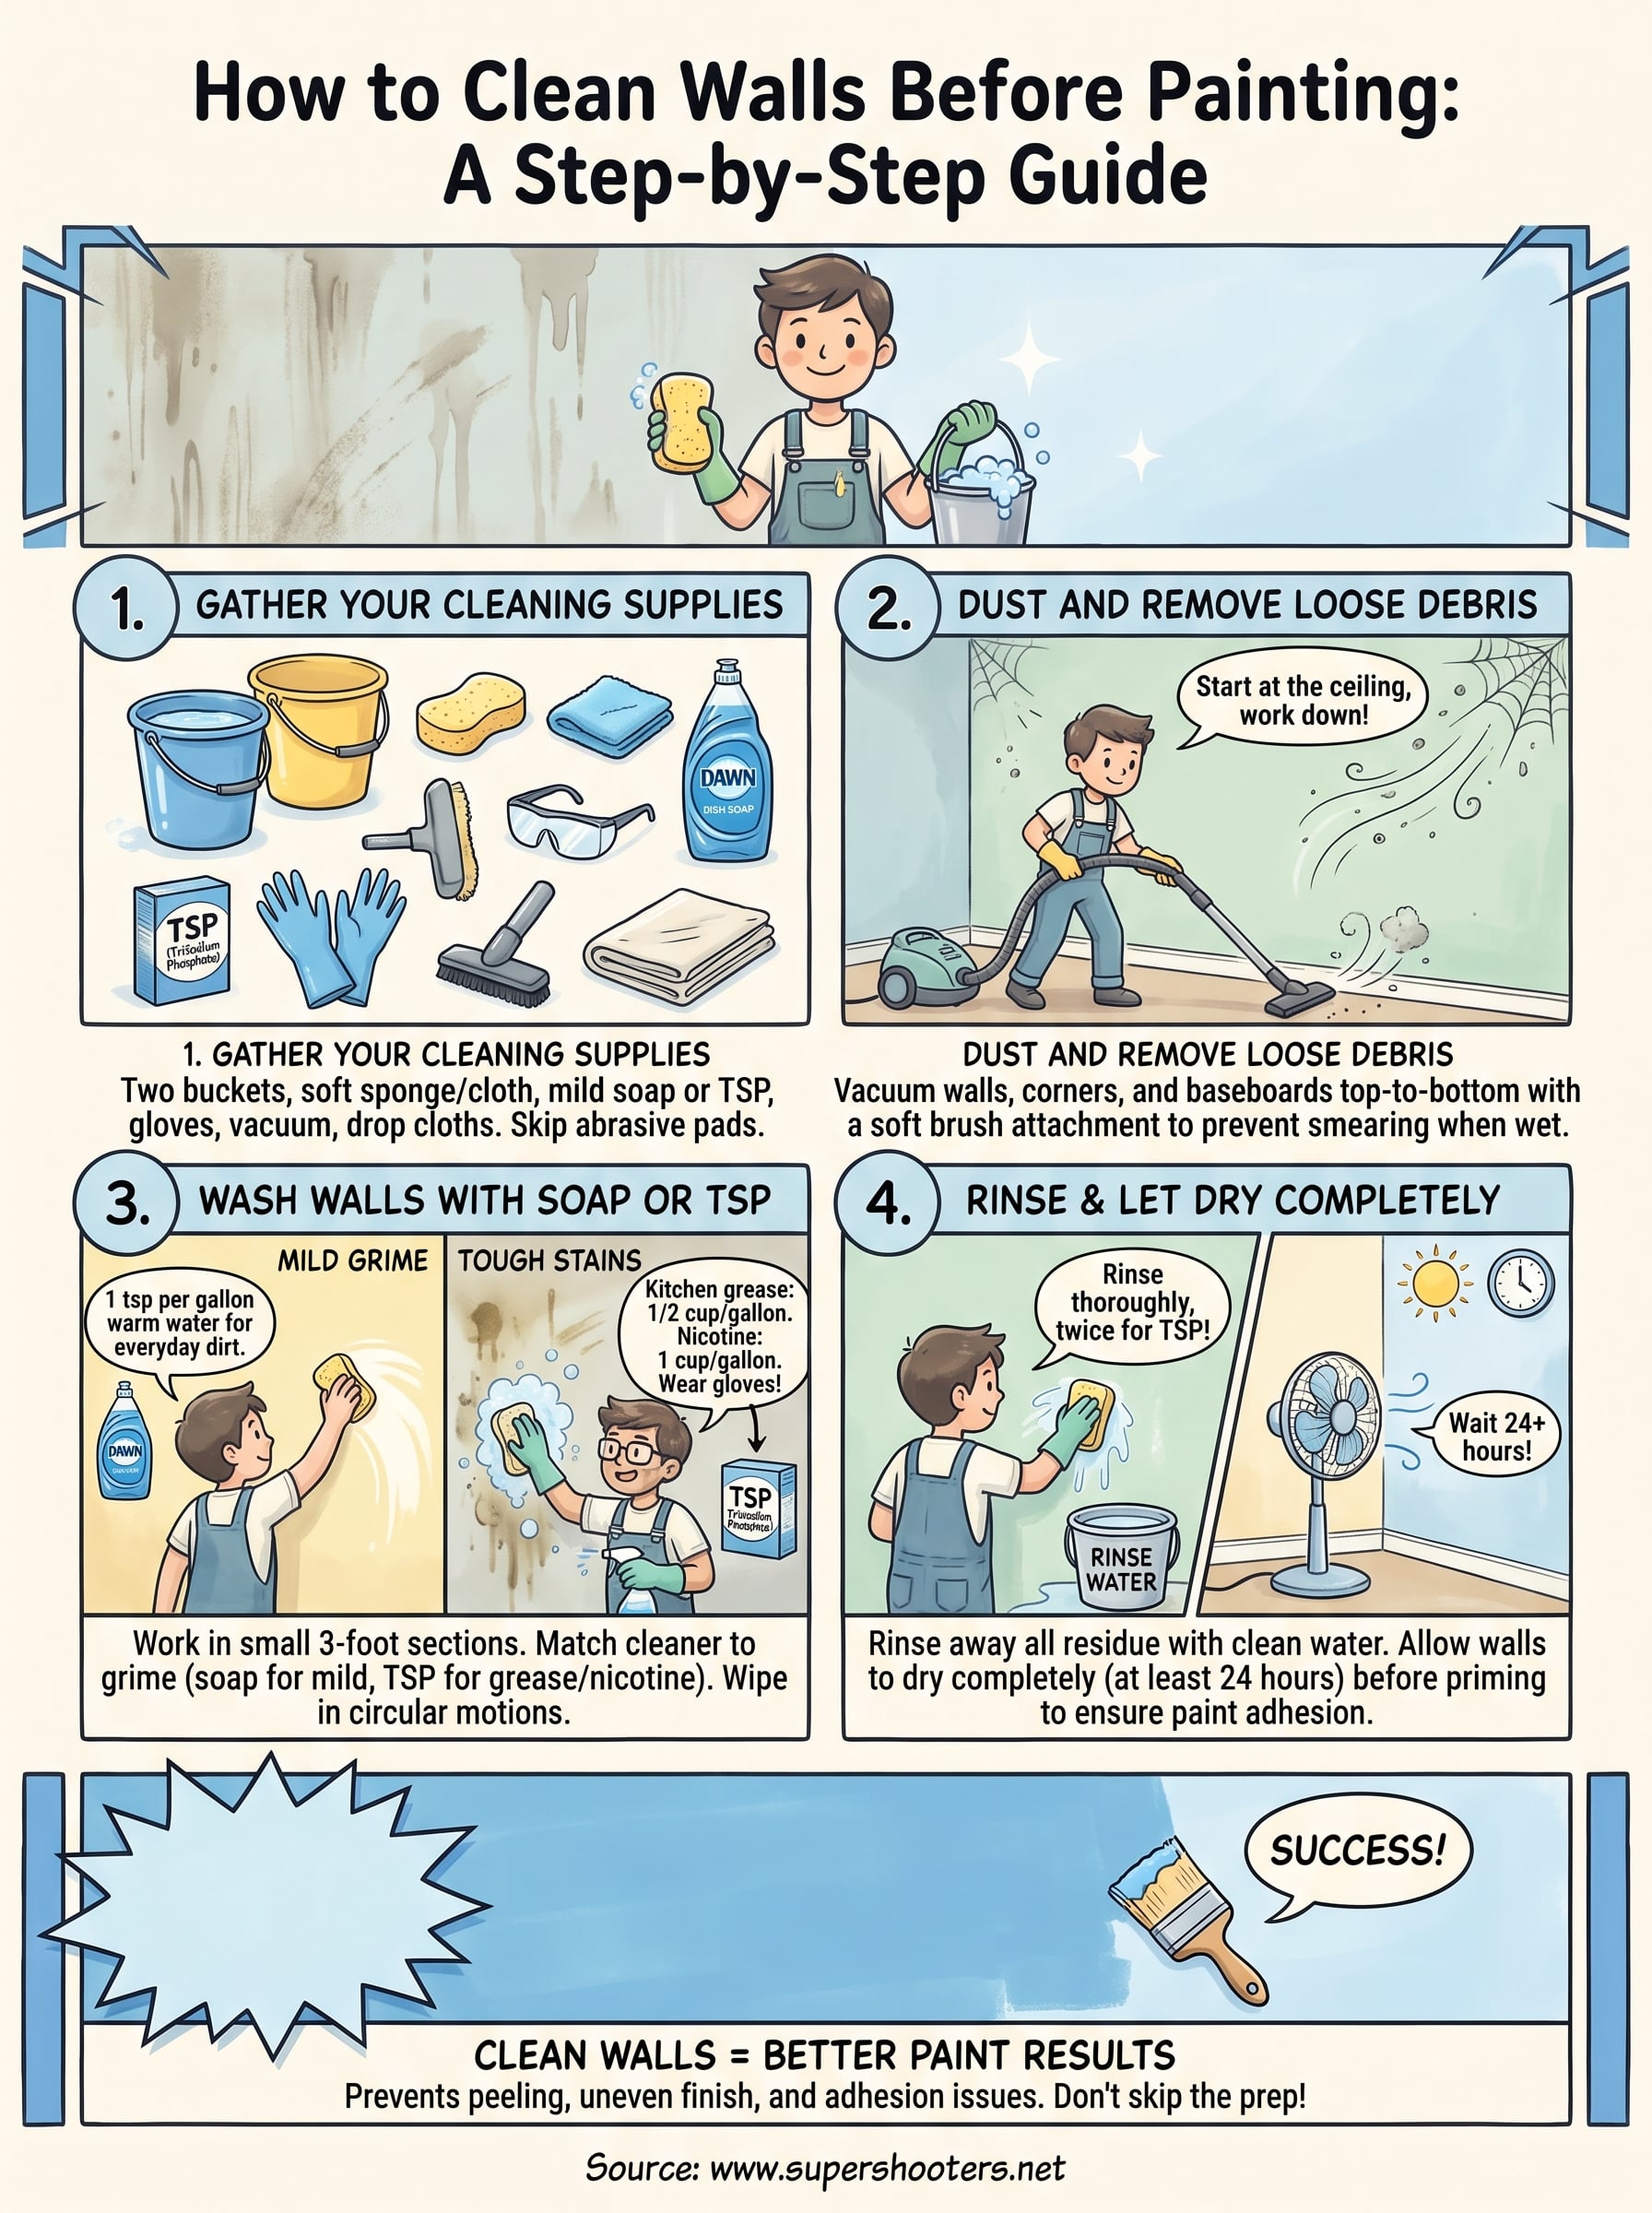
Getting everything together before you start saves you from dripping soapy water across the floor while you hunt for a rag. Basic wall washing needs only a few household items, but if you're tackling grease or nicotine stains, add TSP or a TSP substitute to your kit before you touch the wall.
What you'll need
- Two buckets (one for cleaning solution, one for rinse water)
- Soft sponges or microfiber cloths, not scrub brushes
- Dawn dish soap or a TSP substitute
- Rubber gloves and safety glasses if using TSP
- A soft-bristle broom or vacuum attachment for dust
- Painter's drop cloths for the floor and baseboards
- A step stool for reaching high walls or ceiling lines
Skip abrasive pads and steel wool. They scratch drywall paper and texture, and those scratches show up under new paint, especially with satin or semi-gloss finishes. If you're working in a kitchen or garage with heavy grease buildup, TSP outperforms dish soap every time, but always ventilate the room and wear gloves since it's caustic. Stock up before you start so you're not pausing mid-project to run to the hardware store.
Step 2. Dust and remove loose debris
Before any soap touches the wall, get rid of loose dust and cobwebs. Dry debris turns to mud the moment it meets a wet sponge, and now you're smearing grime into the drywall instead of lifting it off. Skip this step and you'll spend twice as long on the wash pass, chasing streaks that were never actually cleaned.
Start at the ceiling line and work down. Gravity does half the work for you if you dust top to bottom instead of bottom to top.
How to dust walls before washing
- Attach a soft brush or dusting head to your vacuum and run it across the whole wall, corners included.
- Use a dry microfiber cloth on baseboards, trim, and switch plates where dust collects thick.
- Check popcorn ceilings and textured walls closely. Loose texture flakes hide in the ridges and need a light touch, not scrubbing.
- Sweep the floor and wipe down drop cloths so debris doesn't kick back up onto the wet wall later.
Cobwebs in corners and behind furniture often go unnoticed until they get wet and streak black. Pull furniture away from the wall first, and give yourself two feet of clearance to work without knocking things over.
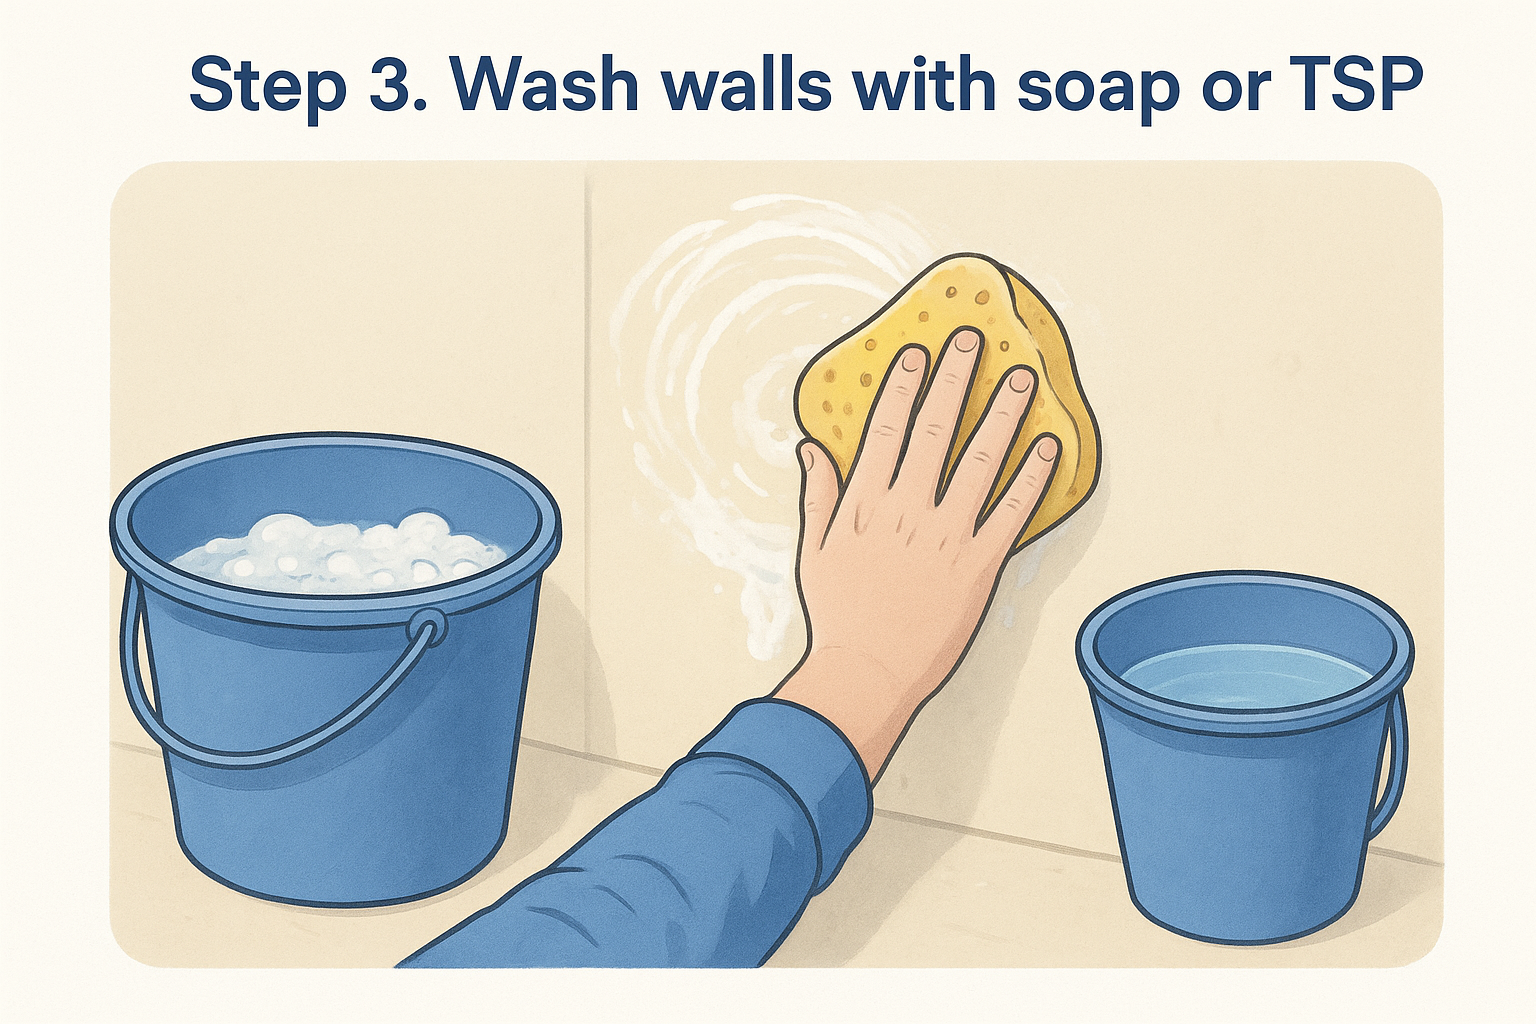
Step 3. Wash walls with soap or TSP
Grab your first bucket and mix a cleaning solution suited to how dirty the wall actually is. Mild soap and water handles everyday dust and fingerprints, while TSP cuts through grease, nicotine, and years of kitchen buildup that soap alone won't touch.
Match the cleaner to the grime, or you'll scrub twice and still leave residue behind.
Mixing ratios
| Wall Condition | Cleaner | Ratio |
|---|---|---|
| Light dust, fingerprints | Dawn dish soap | 1 tsp per gallon warm water |
| Kitchen grease, garage walls | TSP | 1/2 cup per gallon warm water |
| Nicotine stains | TSP | 1 cup per gallon warm water |
Washing technique
Work in small three-foot sections so the solution doesn't dry before you rinse it. Dip your sponge, wring it out, and wipe in overlapping circular motions instead of dragging straight lines that leave streaks. Rinse the sponge often in your second bucket, and swap that rinse water once it turns cloudy. Pay extra attention to areas around light switches and handrails where hand oils build up fastest, and never let TSP solution sit on the wall longer than a minute before wiping it clean.
Step 4. Rinse and let walls dry completely
Rinse away every trace of residue
Rinsing is not optional, even with plain soap and water. Leftover soap film sits on the wall like a light wax coating, and primer beads up on it instead of soaking in. Dip a clean sponge in fresh water, wring it out well, and wipe each section right after washing it. Change your rinse water often, since cloudy water just redeposits grime you already lifted off. For TSP, rinse twice. That chemical leaves a chalky residue if you don't flush it completely, and that residue shows up as dull patches under satin or eggshell paint.
Give the wall time to dry
Drying time matters as much as the wash itself. Wet drywall traps moisture under paint, and trapped moisture leads to bubbling, peeling, or mildew behind the new coat within weeks. Open windows, run a fan, or use your HVAC system to move air across the wall. Most walls need 24 hours minimum before priming, longer in humid Sacramento summers or poorly ventilated bathrooms.
Paint over a damp wall and you're painting over a problem, not fixing it.
Touch the wall before you grab a roller. If it feels cool or damp, wait longer.
Clean walls, better paint results
A clean, dry wall is what turns a good paint job into a lasting one. Dust, grease, and soap residue all work against adhesion, and skipping the wash step just hides problems under a fresh coat instead of solving them. Follow the steps above, match your cleaner to the grime, rinse twice with TSP, and give the wall real time to dry before you prime.
Sometimes cleaning uncovers more than dirt. Cracked drywall, water stains that won't lift, or crumbling texture mean the wall needs repair, not just a wash, before paint will hold. If your walls have damage that soap and water can't fix, don't paint over it and hope. Get it patched right the first time with our drywall repair and patching services, and start your next paint job with a wall that's actually ready for it.