October 22, 2026
How to Patch Painted Drywall So the Repair Won't Show
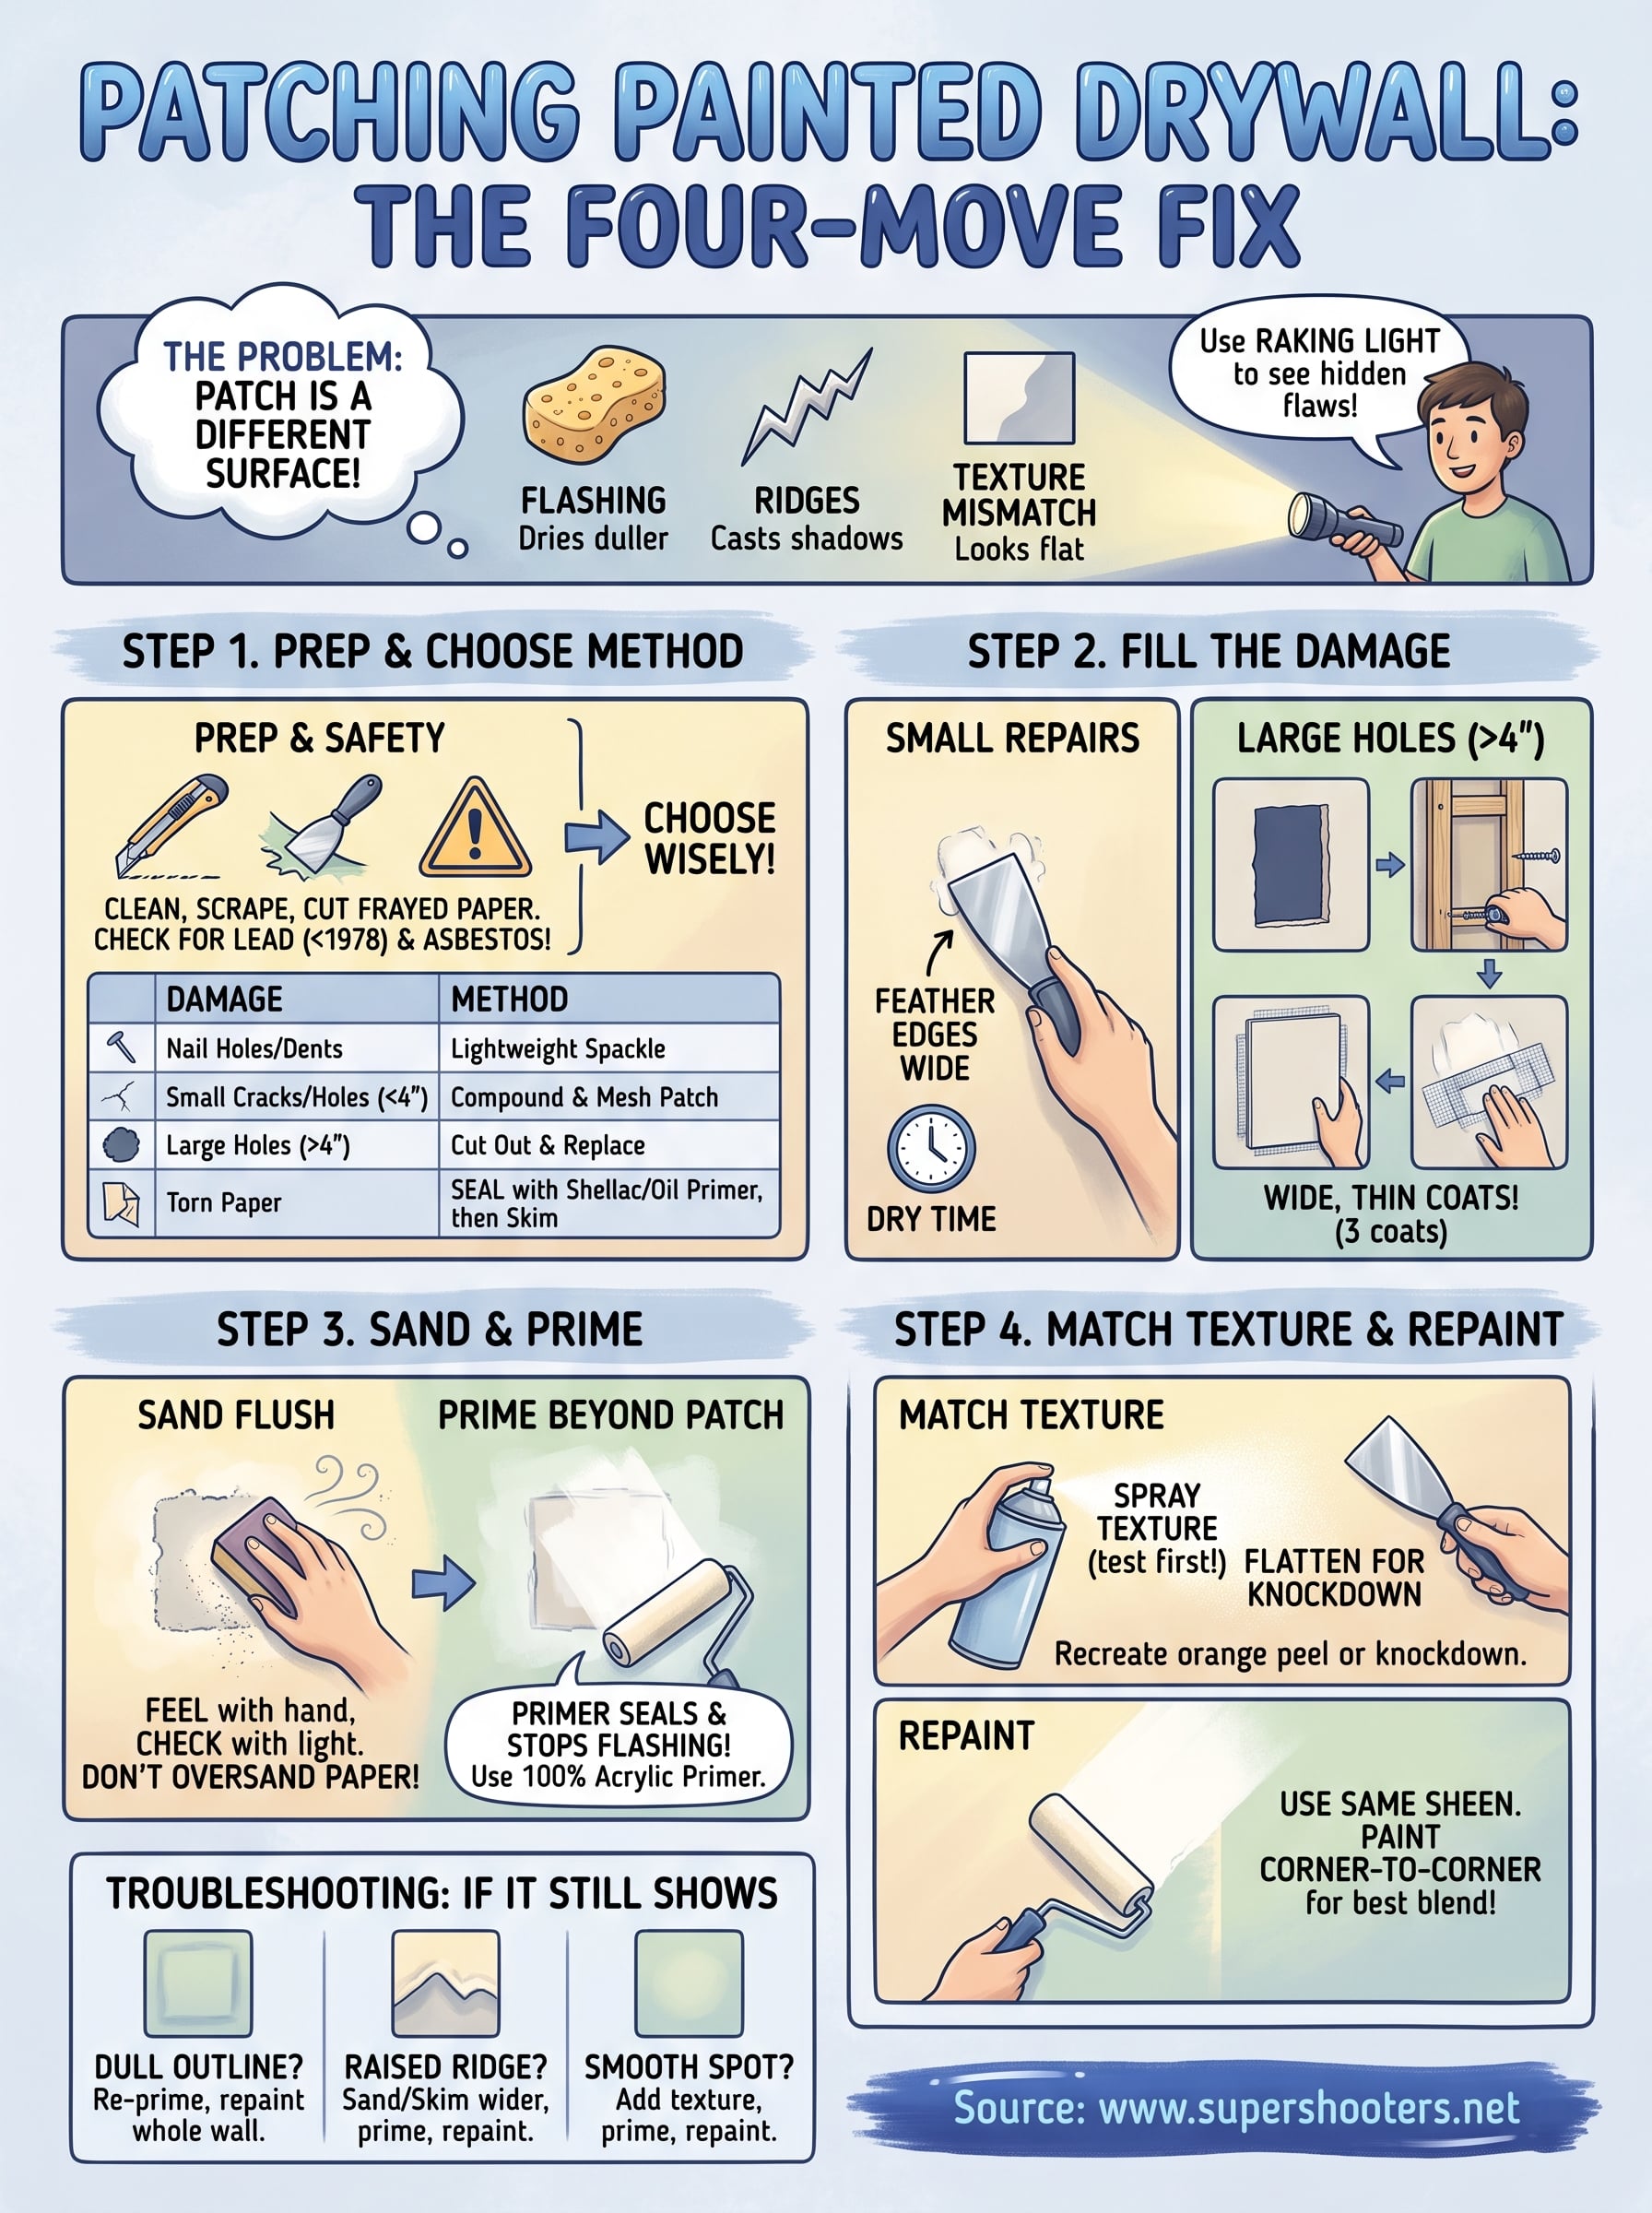
Patching painted drywall comes down to four moves: prep the damaged spot, fill it with the right compound for the size of the hole, sand and prime the repair, then match the wall's texture and repaint. The priming and painting are what make a patch vanish. Skip them and even a perfectly flat patch glows through the finish.
The problem is that a patch is a different surface from the wall around it. Fresh compound is porous and flat, while the old paint is sealed and often textured. The new paint dries with a different sheen, and the repair shows up like a bruise. Most DIYers fill the hole well and then lose the job at the finishing stage.
This guide walks through each stage, from nail holes and torn paper to holes bigger than your hand. It also covers how to fix a patch that already shows through paint. Super Shooters has repaired and finished walls across the Sacramento Valley for more than 30 years, so the advice here reflects what holds up on real walls.
Why patches show through paint and what you need
Patches show because new compound soaks up paint differently than the sealed wall around it, and because the patch rarely matches the wall's edges and texture. Fix those problems and the repair stops being visible.
The three reasons a patch stays visible
- Flashing: Bare compound is porous. It drinks paint and dries duller than the wall. Primer evens this out.
- Ridges: A patch with sharp edges casts a shadow in side light. Wide feathering removes it.
- Texture mismatch: A smooth patch on an orange peel or knockdown wall reads as a flat spot.
Before you start, hold a flashlight flat against the wall so the beam skims the surface. This raking light exposes ridges, pits and texture gaps that you cannot see head-on. Use the same trick after sanding and again before the final coat of paint.
A patch disappears only when it matches the wall in three ways: level, texture and sheen.
Tools and materials
Gather everything first, because compound starts drying the moment you open it. For most repairs you need:
- 4-inch, 6-inch and 12-inch drywall knives
- Lightweight spackle for dents and nail holes
- Joint compound, plus self-adhesive mesh patches and fiberglass mesh tape
- A utility knife, a drywall saw, scrap lumber and drywall screws for large holes
- A 120 to 220 grit sanding sponge
- Drywall primer or 100% acrylic primer, plus the leftover wall paint
- A small roller, a brush, a drop cloth and a damp rag
- Spray texture, if your wall is textured
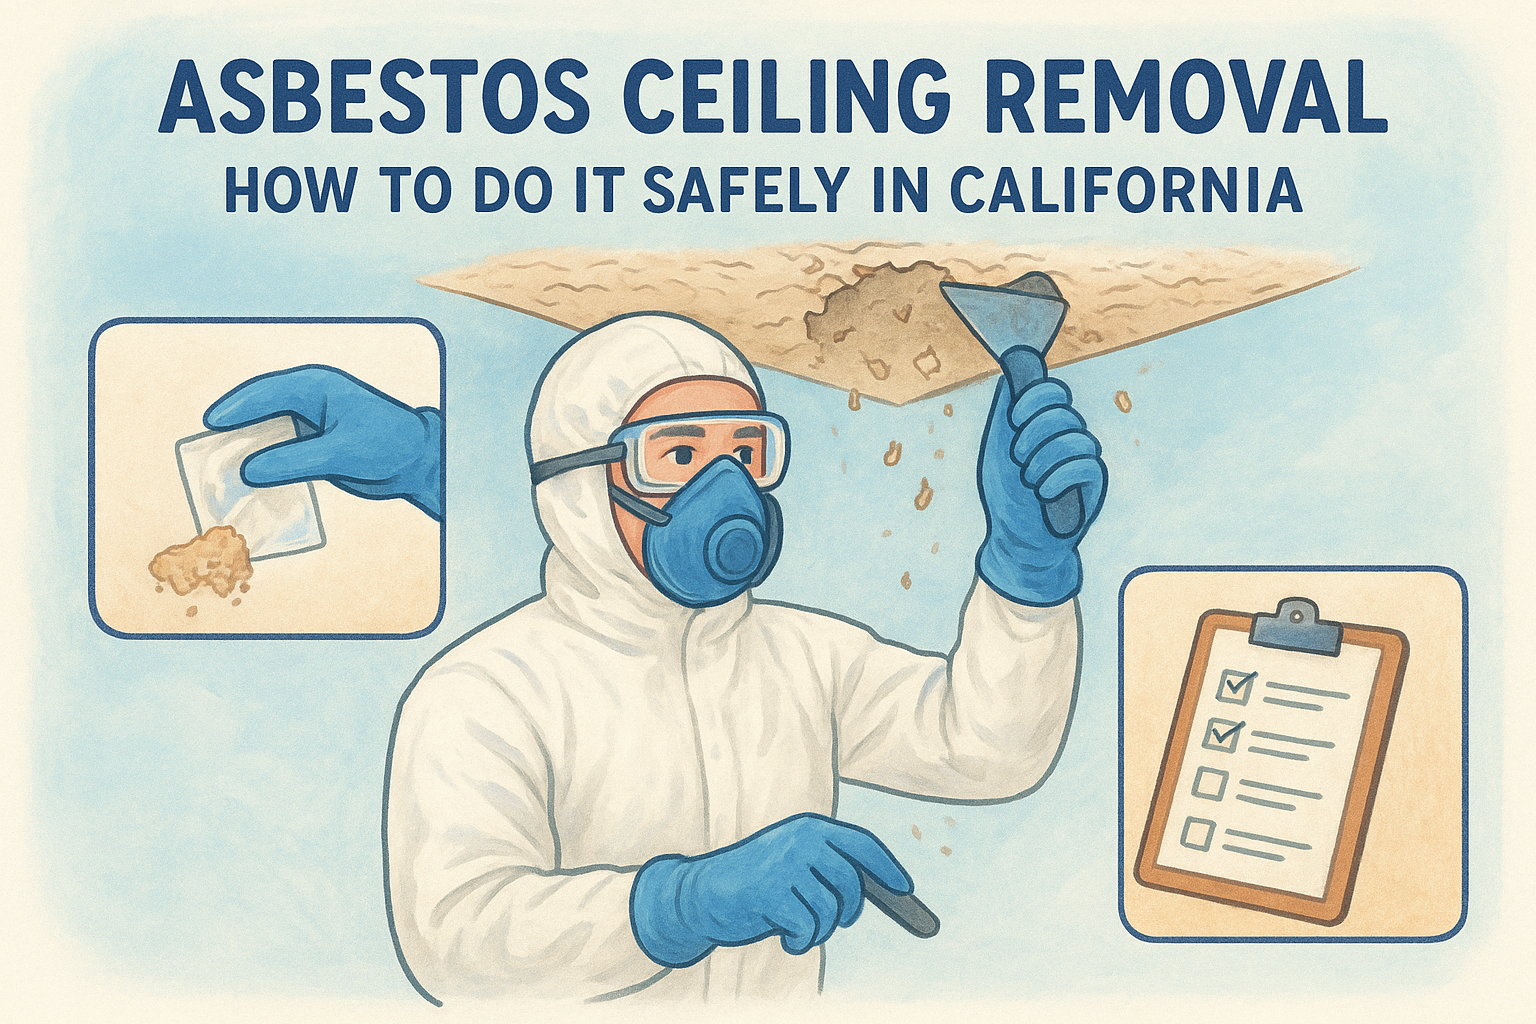
Check your home's age before sanding. Paint in homes built before 1978 may contain lead, so read the EPA's lead guidance first. Older textured ceilings can also contain asbestos. If you suspect it, stop and have it tested before you scrape or sand.
Step 1. Prep the wall and choose your method
Start by cleaning and scraping the damaged area, then pick the repair method that fits the damage size. Good prep takes ten minutes and prevents most of the problems people blame on paint.
Clean, scrape and inspect
Scrape off loose or flaking paint around the damage and cut away frayed paper with a utility knife. Wipe greasy or dusty spots with a damp rag, since compound will not bond to grime. Then press on the wall around the damage. Soft or crumbly drywall means moisture got in, so cut out that section rather than patching over it.
If the problem is a popped nail, drive a drywall screw 1 to 2 inches above it and sink the head just below the surface. Then reset the nail. Both get covered with compound later.
Match the method to the damage
| Damage | Method |
|---|---|
| Nail holes, small dents | Lightweight spackle, one or two coats |
| Hairline to 1/2-inch cracks | Widen slightly with a utility knife, fill with compound |
| Cracks wider than 1/2 inch | Fiberglass mesh tape plus compound |
| Torn or ripped paper face | Seal with primer, then skim with compound |
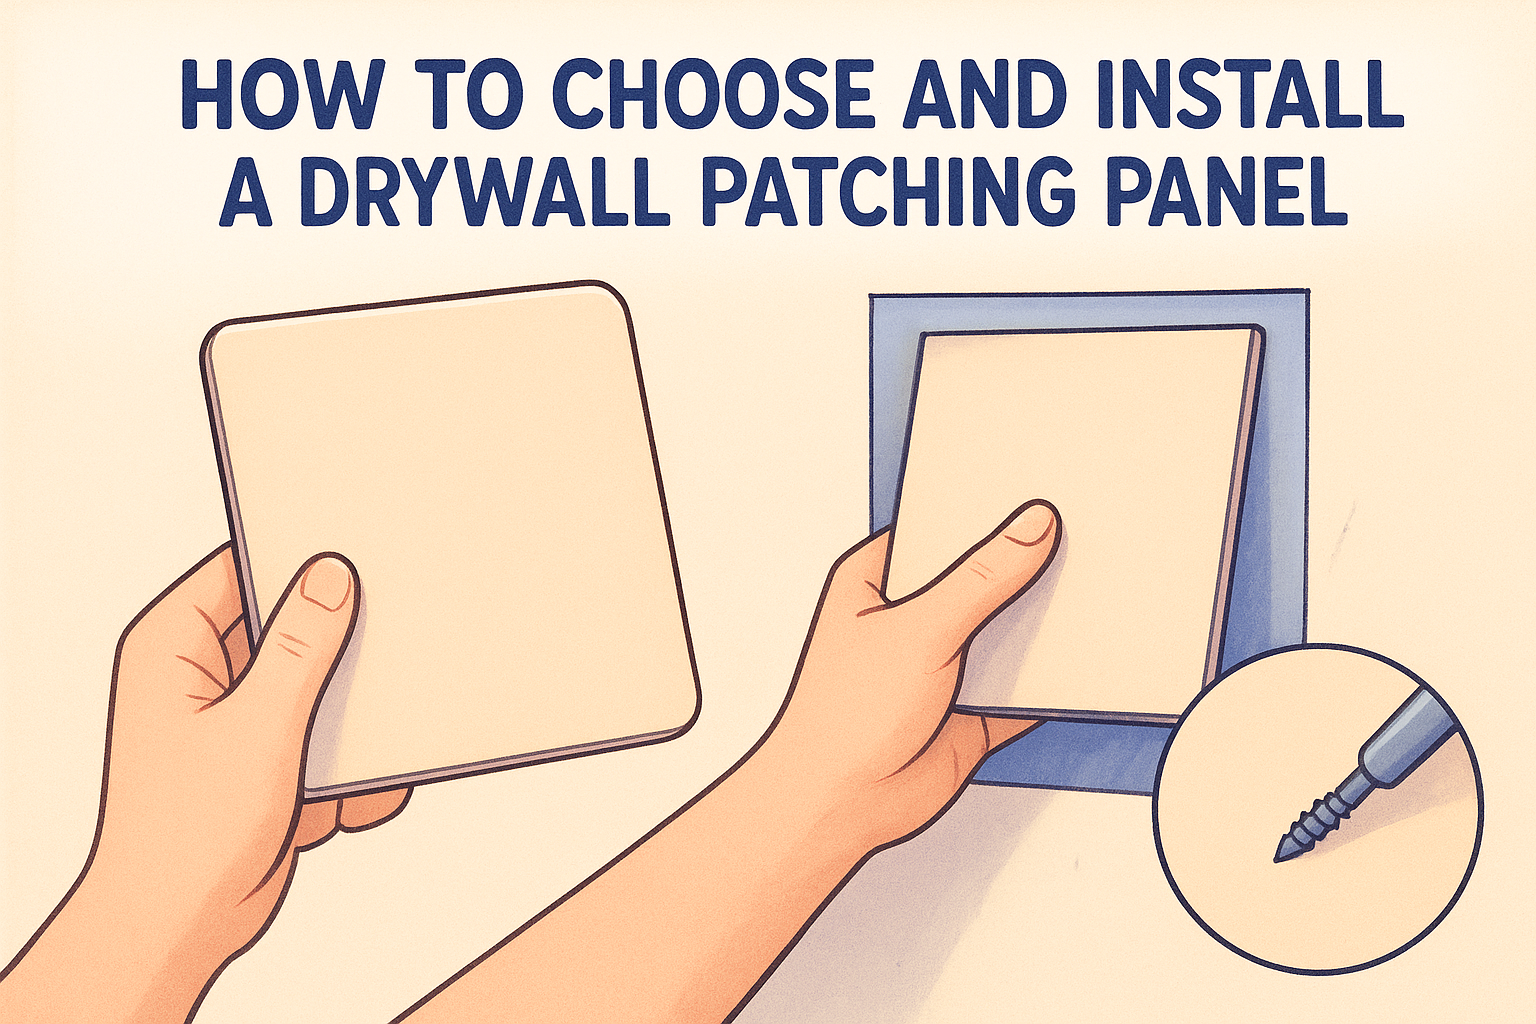
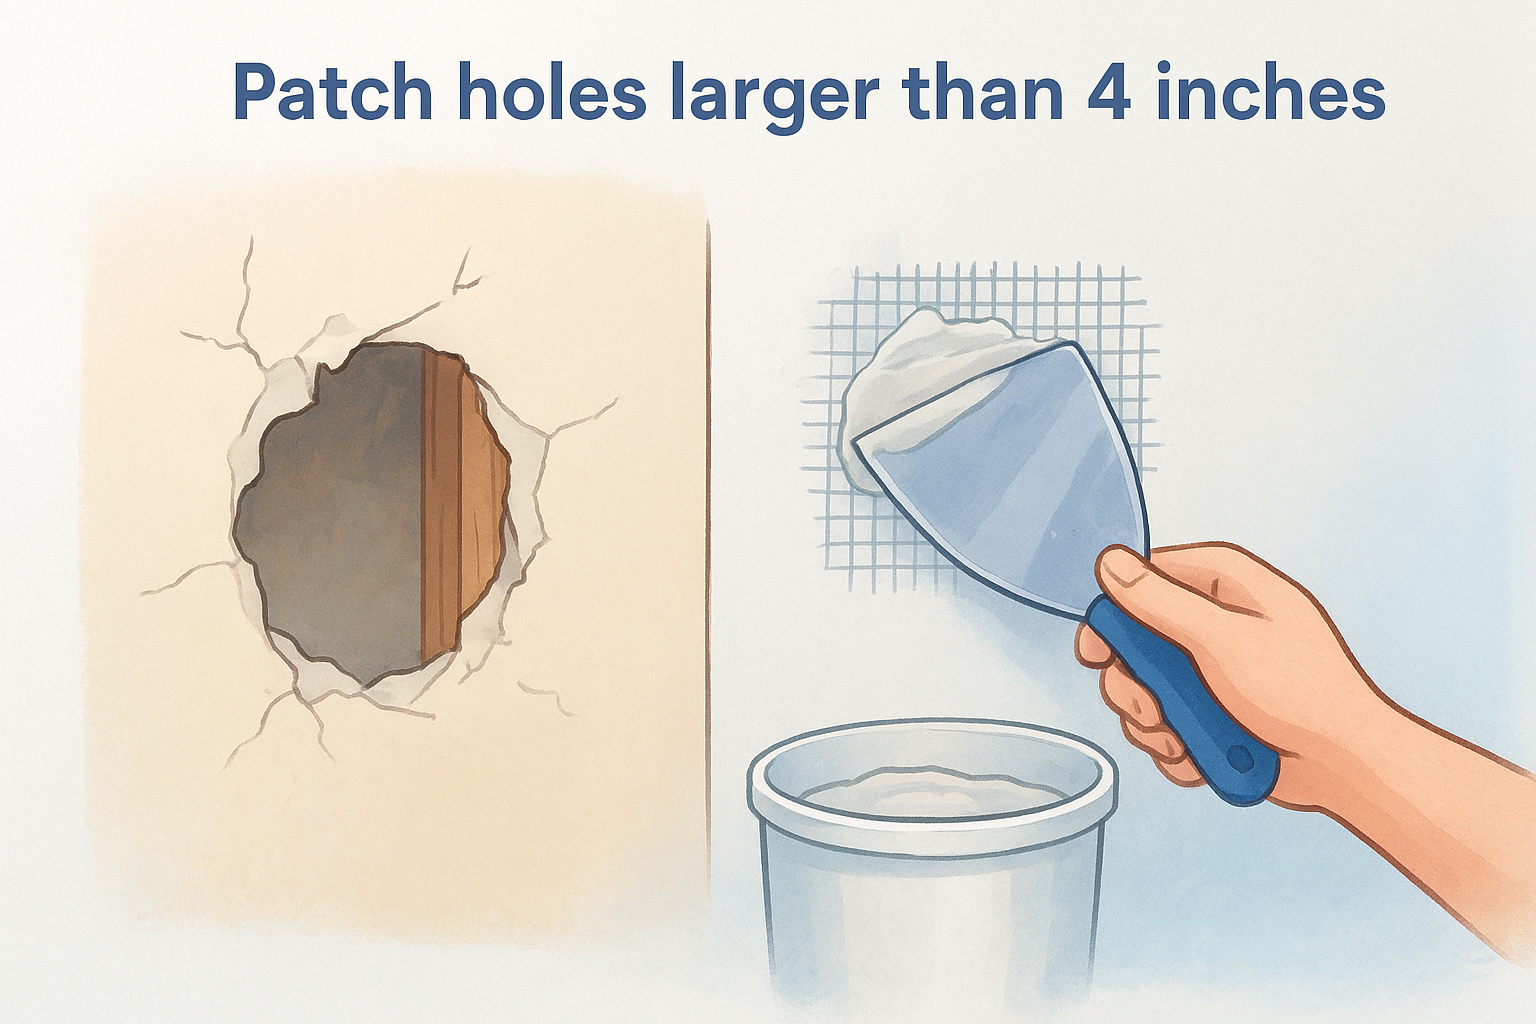
| Holes up to about 4 inches | Self-adhesive mesh patch plus compound |
| Holes larger than 4 inches | Cut out, back with supports, install a new drywall piece |
Pick the repair method by hole size, because a patch that is too weak for the hole will crack through the paint later.
Step 2. Fill the damage
Fill small damage with spackle or compound in thin layers, and rebuild large holes with a new piece of drywall. Thin layers dry faster and sand easier than one thick glob.
Fill small holes, cracks and torn paper
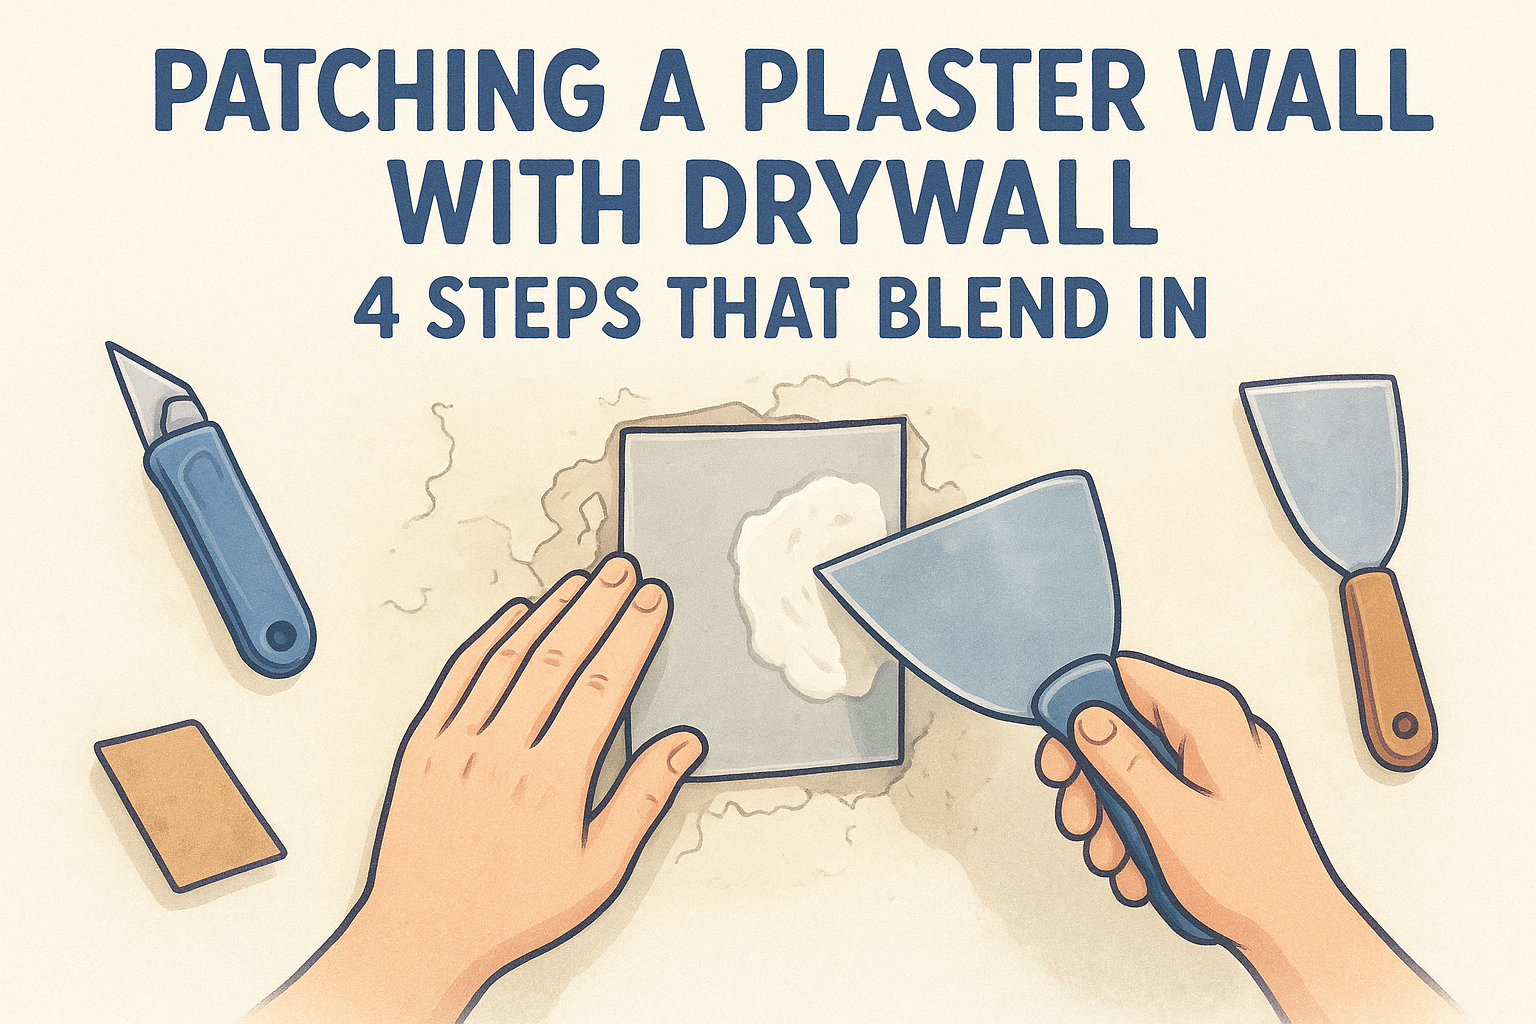
For nail holes and dents, press spackle in with a putty knife until it sits level, then let it dry. Shallow fills dry in 15 to 30 minutes, but deeper ones need longer, so follow the label. For holes up to 4 inches, stick a mesh patch over the hole . Spread compound across it in a crisscross pattern, then feather the edges well beyond the patch. Apply a second coat after the first dries, which can take up to 24 hours.
Torn paper needs one extra move. Exposed gypsum swells and bubbles under water-based compound, so seal the bare area with an oil-based or shellac primer first. Then skim it with compound. If your drywall tape is peeling under old paint, cut out the loose tape, re-tape with mesh tape and apply fresh compound over it.
Patch holes larger than 4 inches
Locate the studs and check for wires before cutting, and shut off power to nearby outlets. Then follow these steps:
- Cut a clean rectangle around the damage with a drywall saw, reaching the center of a stud on each side if possible.
- Screw scrap lumber supports vertically behind the opening.
- Cut a drywall piece the same thickness as the wall and screw it in, keeping screws an inch from the edges and just below the surface.
- Cover the seams with mesh tape.
- Spread a first coat with a 6-inch knife and let it dry overnight.
- Apply a second coat, then a third with a 12-inch knife, widening each coat.
Wide, thin coats beat thick narrow ones, because the width is what hides the edge of the patch.
Step 3. Sand and prime
Sand the dry compound until the patch is flush with the wall, then prime every repaired spot. Primer is the step that stops flashing, so never paint straight over compound.
Sand until the edges disappear
Use a 120 to 220 grit sanding sponge and light, circular strokes. Sand the edges more than the center so the patch blends into the wall. Close your eyes and run your palm across the area, because your hand finds ridges before your eyes do. Check with the flashlight, then wipe off the dust with a damp rag.
Stop before you rub through the paper face of the drywall. If you do, seal the spot with primer and add another thin coat of compound. Never sand heavily on pre-1978 painted surfaces without following lead-safe practices.
Prime beyond the patch
Use drywall primer or a 100% acrylic primer , which bonds well to both compound and old paint. Brush or roll it over the patch and extend it about an inch past the repair. Skimmed or large patches usually need two coats. Let the primer dry fully, then sand lightly if it raised any grit.
Primer seals the porous compound so the final paint dries at the same sheen as the rest of the wall.
Step 4. Match the texture and repaint
Recreate the texture first, then repaint with the same paint and sheen, rolling past the patch to a natural break. This is where most visible patches are won or lost.
Recreate the wall texture
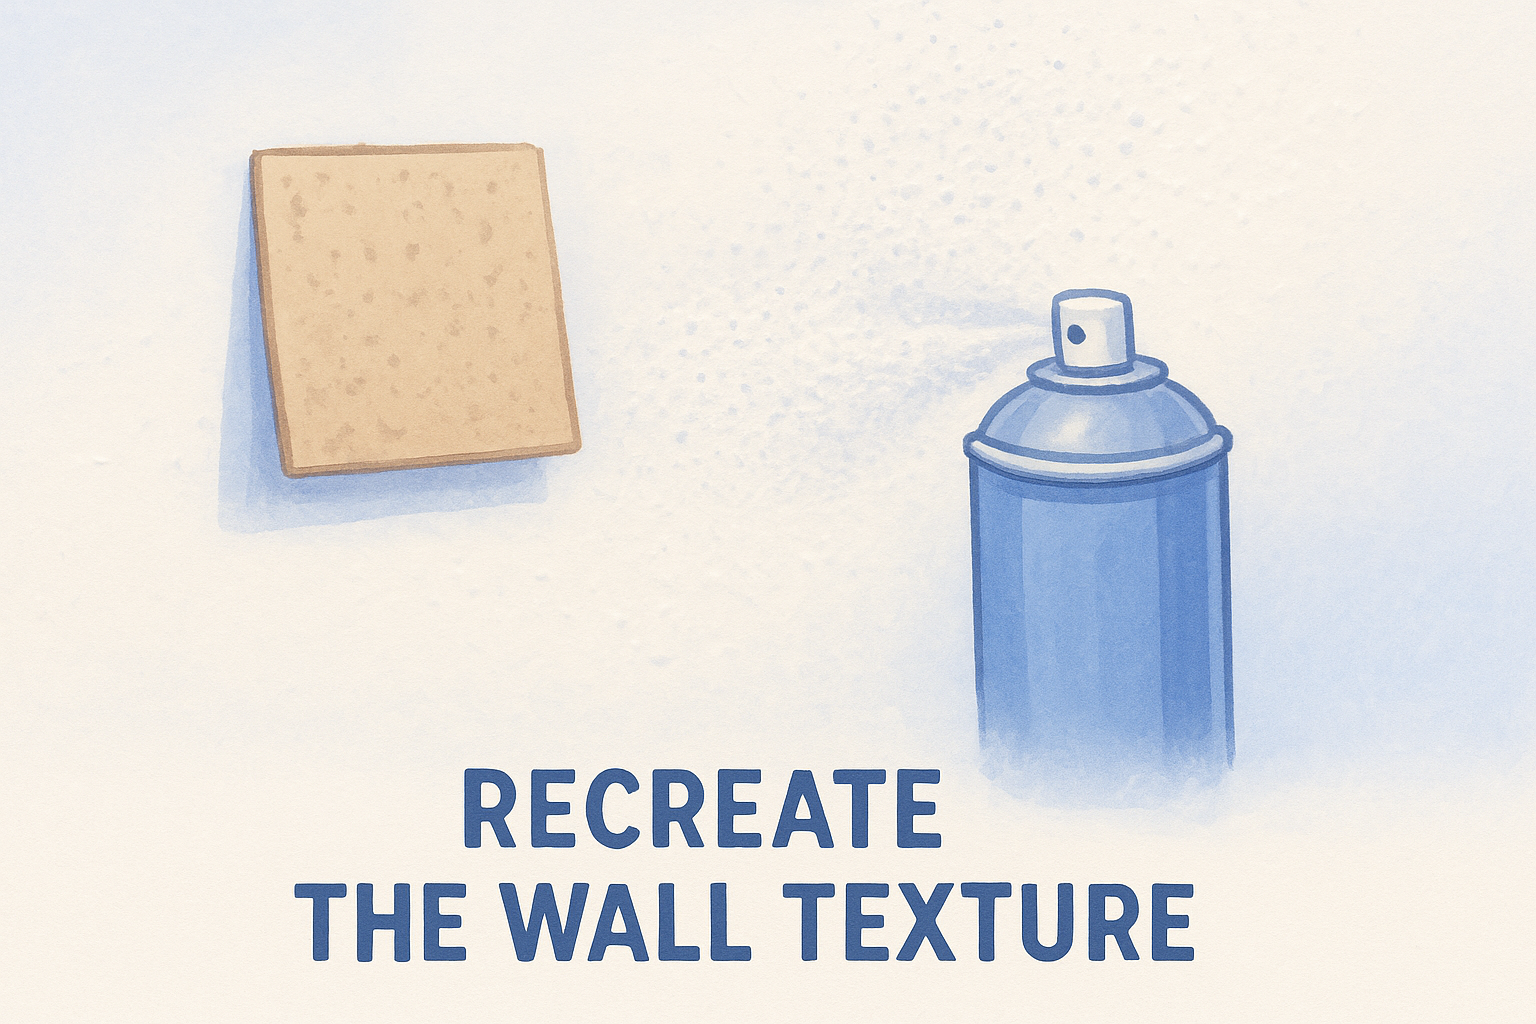
On a smooth wall, skip ahead. On an orange peel wall, test a can of spray texture on cardboard first, then mist the patch in light passes and let it dry. For knockdown, spray and then flatten the peaks with a clean knife once the texture sets, as the can directs. Feather the spray outward so no hard edge forms. Large textured areas are hard to match by hand, and texturing is one of our services if you want it done for you.
Prime the texture after it dries, because spray texture is as porous as compound.
Repaint, then fix what still shows
Stir the leftover paint well and use the same sheen. Apply two thin coats with a brush at the edges and a roller on the field. Old paint fades, so paint the whole wall corner to corner when the color is more than a few years old. Roll into a corner or trim line so no stop mark is left in the middle of the wall.
If a repair still shows after painting, match the symptom to the fix:
| Symptom | Fix |
|---|---|
| Dull or shiny patch outline | Prime the patch again, then repaint the whole wall |
| Raised ridge in side light | Sand wider, skim with thin compound, prime and repaint |
| Smooth patch on textured wall | Add spray texture, prime, repaint |
| Bubbling at taped seams | Cut out loose tape, re-tape, compound, prime, repaint |
| Crack returns after patching | Likely settlement or movement, so have it inspected |
Almost every visible patch traces back to missing primer, narrow feathering or skipped texture.
A repair you can't find
Patching painted drywall works when you treat the patch as three jobs: fill it level, seal it with primer, and match the texture and paint around it. Thin coats, wide feathering and a corner-to-corner repaint do more for the result than any special tool.
Some damage deserves a professional. Large water-damaged sections, cracks that keep returning and wide textured areas are hard to blend by hand. If that describes your wall, request a free estimate for drywall repair and patching in the Sacramento Valley. We quote in your home, and payment is due only after the work is complete.