October 20, 2026
Popcorn Ceiling Removal Tool with Bag: How to Use One
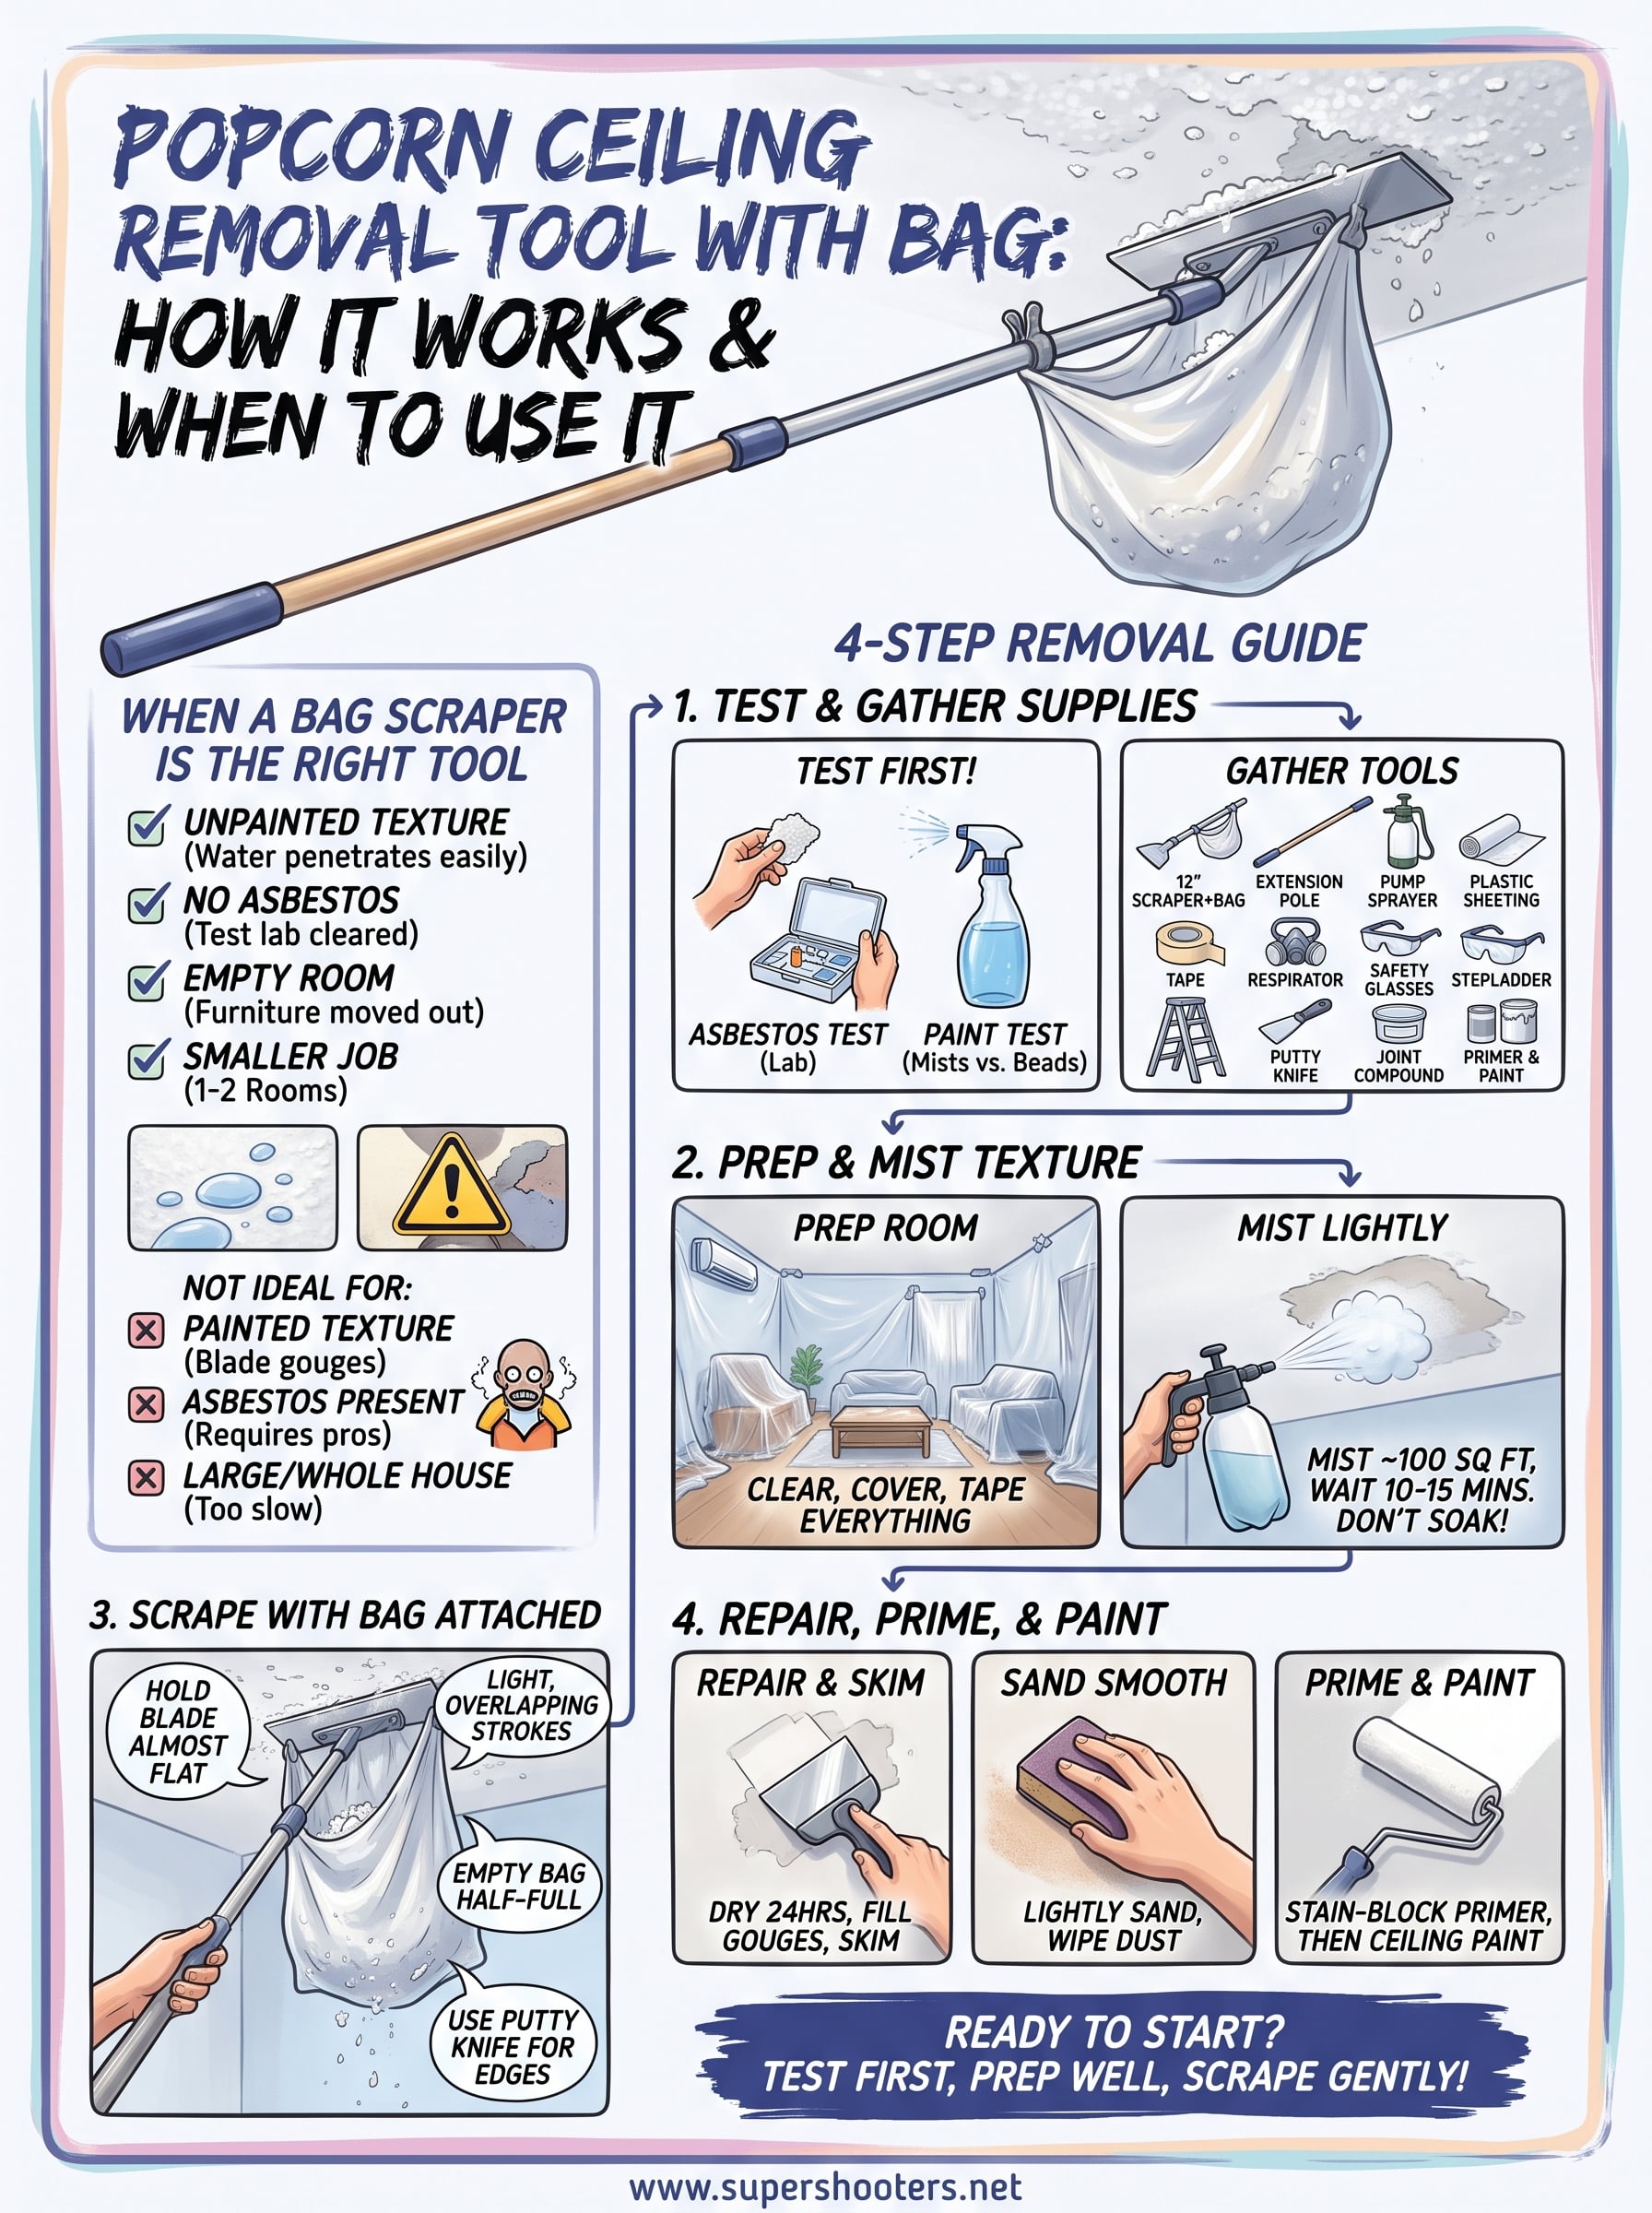
A popcorn ceiling removal tool with bag is a 12-inch scraper blade on an extension pole with a bag clipped underneath to catch falling texture. To use it well, test the ceiling for asbestos and paint first. Then mist the unpainted texture with water and scrape in light, overlapping strokes with the bag attached. Finish by skimming, sanding, priming, and painting. A scraper for popcorn ceiling removal is one of the cheapest ways to take off texture, and it works well on the right ceiling.
Most DIY jobs go wrong before the first stroke. People scrape painted texture dry and gouge the drywall. They skip the asbestos test on an older home. Or they trust the bag to catch everything and end up with debris on the floor and in their hair. Bag scrapers get mixed reviews for exactly this reason. The bag cuts the mess a lot, but it is not a vacuum.
This guide covers when a bag scraper is the right tool, then four steps: test and gather supplies, prep and mist, scrape, and repair and finish. Super Shooters has removed popcorn and acoustic ceilings in Sacramento Valley homes for over 30 years, so the advice below comes from what goes wrong on real ceilings.
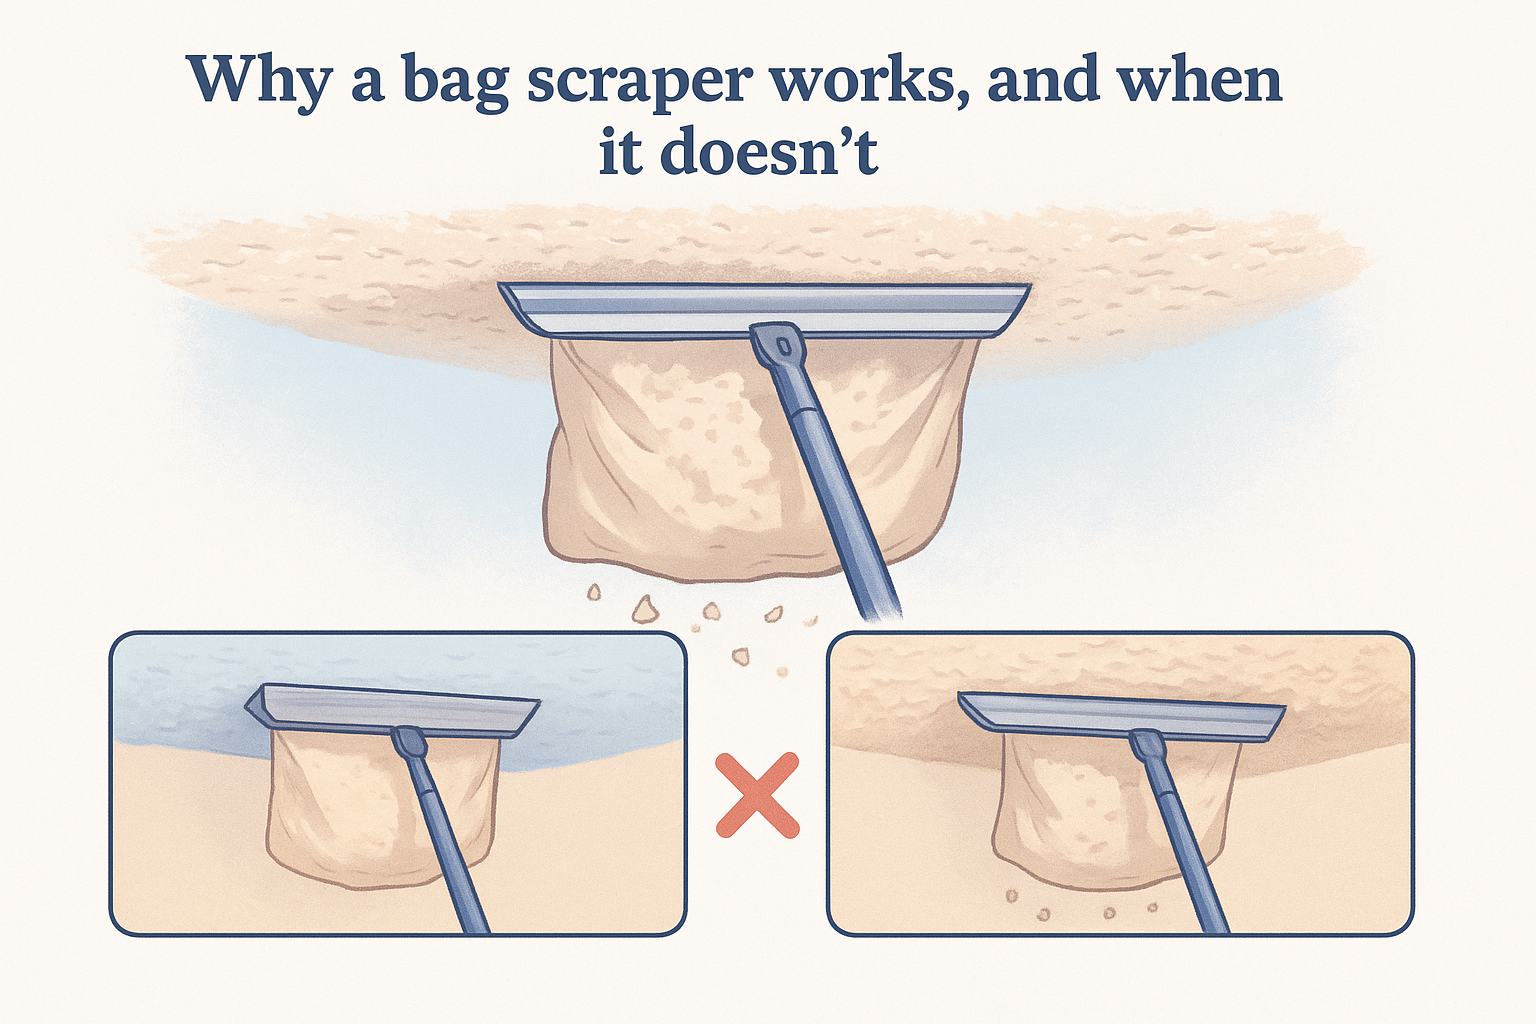
Why a bag scraper works, and when it doesn't
A bag scraper works best on unpainted, non-asbestos texture in a room you can empty. It is a hand tool with no motor, so it is slow on heavy paint and unforgiving on a ceiling that has been painted several times.
How the bag attachment works
The tool has a steel blade about 12 inches wide and a threaded handle that screws onto a standard extension pole. A bag attachment sits just behind the blade. Softened texture slides off the ceiling and drops into the bag instead of the floor. The Homax scraper, the model most shoppers compare, follows this design. Its bag and extension pole are sold separately, so budget for both.
The maker says you can finish a 10' x 10' ceiling in 30 minutes or less. Treat that as a best case. Reviewers say the bag catches a good share of the debris, not all of it, so you still need plastic sheeting below.
The bag catches a good share of the falling texture, but plastic sheeting on the floor is still not optional.
When a different method is better
Check the ceiling against this table before you buy anything.
| Method | Best for | Mess level |
|---|---|---|
| Bag scraper | Unpainted texture, one or two rooms | Moderate, bag catches much of it |
| Wet scraping with a putty knife | Small patches, tight corners | Higher, texture lands on the floor |
| Pole sander with vacuum port | Lightly painted texture, final smoothing | Low if the vacuum is attached, but slow and loud |
| Professional removal | Asbestos, thick paint, large or whole-house jobs | Contained by the crew |
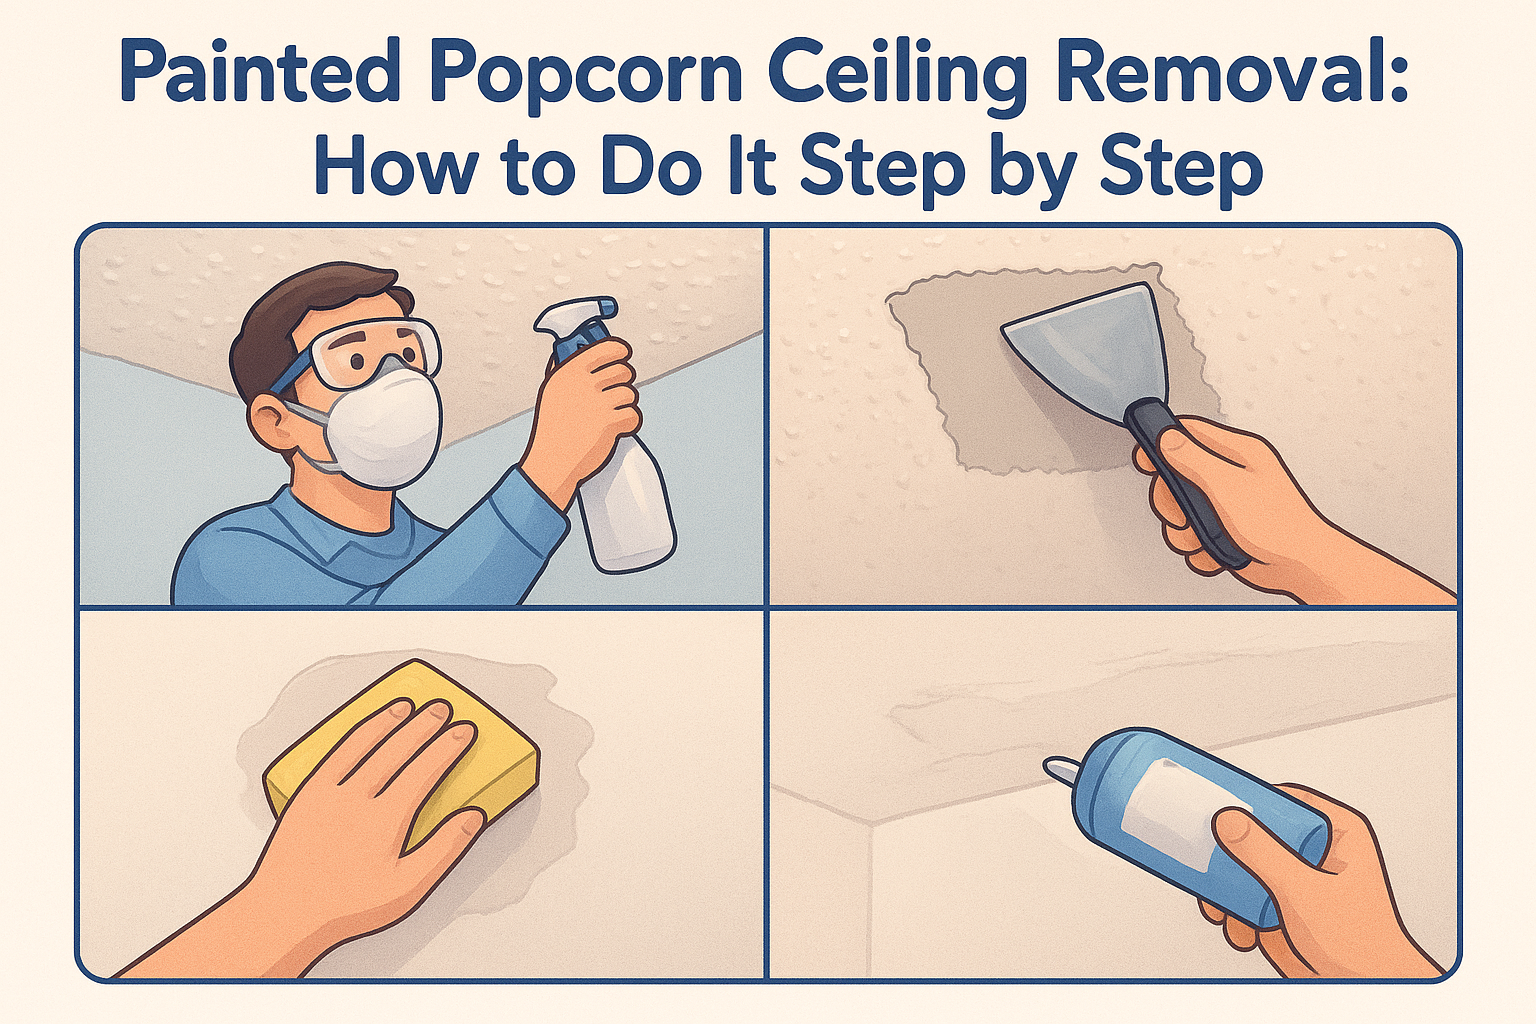
Paint is the deciding factor. Water cannot soak through painted texture, so the scraper has to cut dry material, and the blade digs into the drywall. If your texture is painted, a sander or a pro is usually the safer choice.
Step 1. Test the ceiling and gather supplies
Test for asbestos and paint before you buy or scrape anything. Both tests take minutes and decide whether a bag scraper is even an option.
Test before you touch it
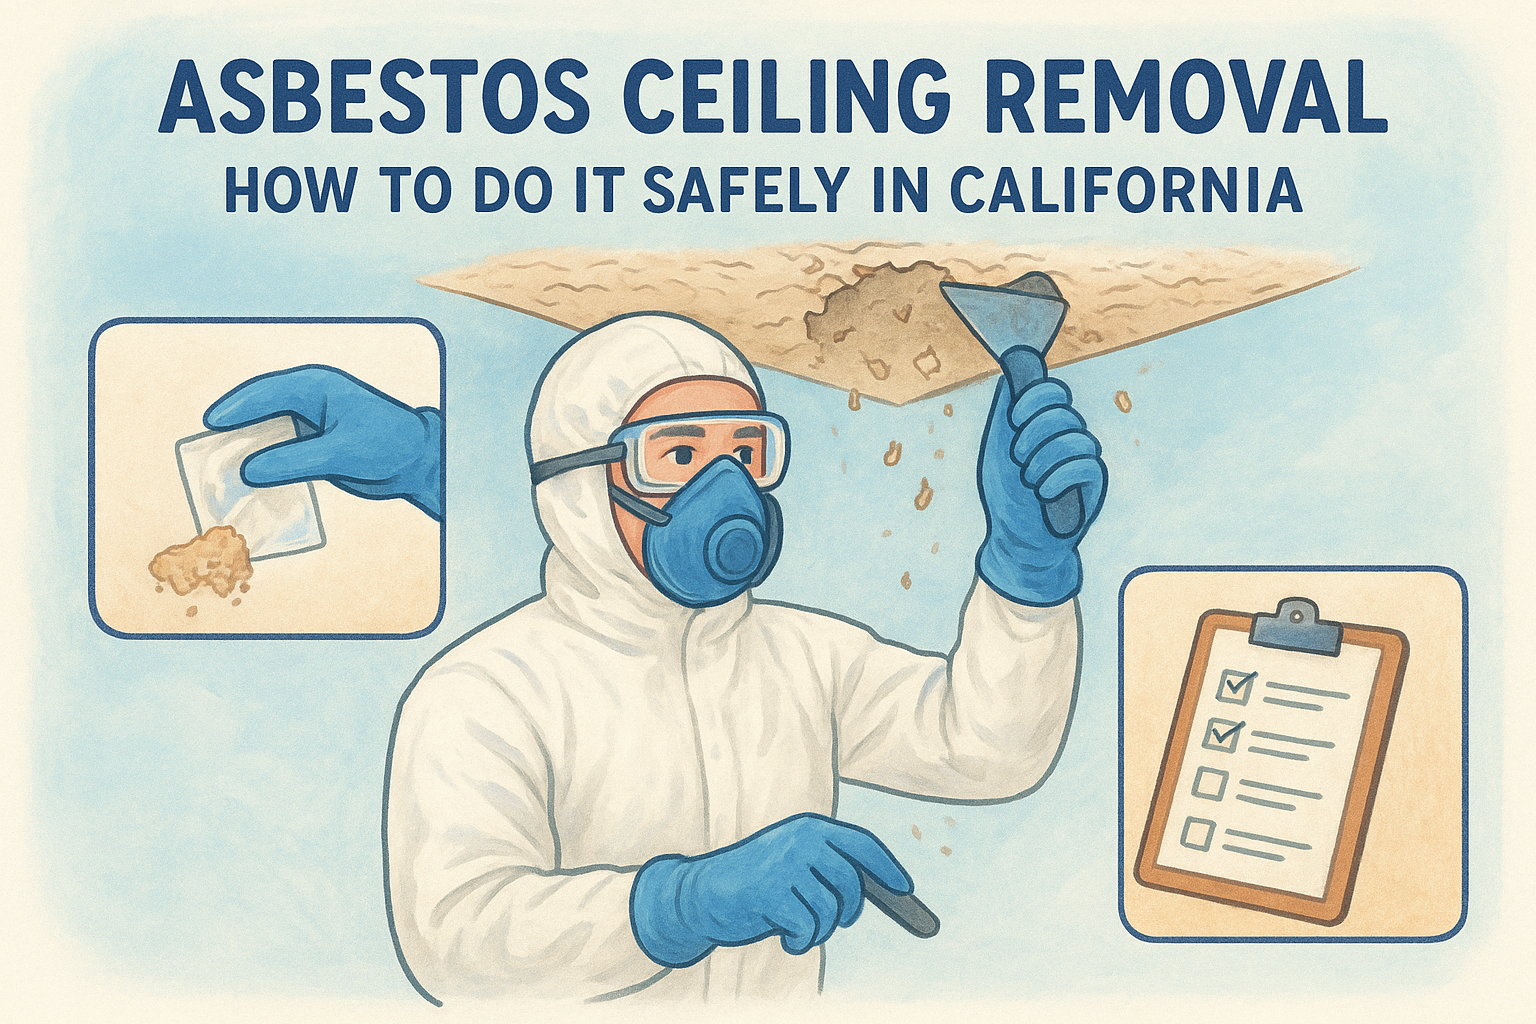
Homes built before the 1980s can have asbestos in the texture, and some later homes do too. Do not scrape, sand, or poke it to find out. Cut a small sample following the lab's instructions, wet it first, and send it to an accredited asbestos testing lab. If the result is positive, stop. Asbestos ceilings need a licensed asbestos abatement crew.
Next, find out whether the texture is painted. Spray a small spot in a closet corner with water. If it darkens and softens within a few minutes, it is unpainted and a good candidate for this method. If water beads up, the texture is sealed by paint. If the house predates 1978 and the paint is old, also test for lead before you disturb it.
Never scrape a ceiling until a lab has cleared it for asbestos. A tool decision comes second.
Gather your supplies
Collect everything before you start, so you are not climbing down with wet texture on the blade.
- A 12-inch scraper with a bag attachment, plus bags that fit it
- A threaded extension pole, since most bag scrapers do not include one
- A garden pump sprayer filled with plain water
- Heavy plastic sheeting and painter's tape
- A 6-inch putty knife for corners and edges
- An N95 respirator or better, safety glasses, and a hat
- A stepladder, joint compound, a 10-inch drywall knife, a sanding sponge, primer, and ceiling paint
Step 2. Prep the room and mist the texture
Prepping takes longer than scraping, and it is where you save the most cleanup. Clear the room, cover everything, then wet the texture lightly in sections.
Clear and cover the room
Move out every piece of furniture you can. Switch off the power to the room at the breaker, then remove light fixtures and ceiling fans. Close and tape over HVAC vents so dust stays out of your ducts. Cover the floor with plastic sheeting and tape the sheets together. Then hang plastic down the walls from the ceiling line.
Professionals use two layers of plastic over floors and furnishings and an extra layer on the walls. Copy that. Wet texture is heavy and sticky, and a single thin sheet tears under a ladder.
Mist, then wait
Pump the sprayer and apply a light, even mist to a section of about 100 square feet. Wait 10 to 15 minutes so the water soaks in and softens the texture. Wet a second small section while you scrape the first. Do not soak the ceiling. Drywall paper that gets saturated tears, bubbles, and can show stains through new paint.
Mist lightly and wait 10 to 15 minutes. Soft texture lifts easily, and a soaked ceiling is a repair job.
Test a 2-foot strip first. If the texture scrapes off cleanly, you are ready. If it stays crusty, mist again and wait a few more minutes.
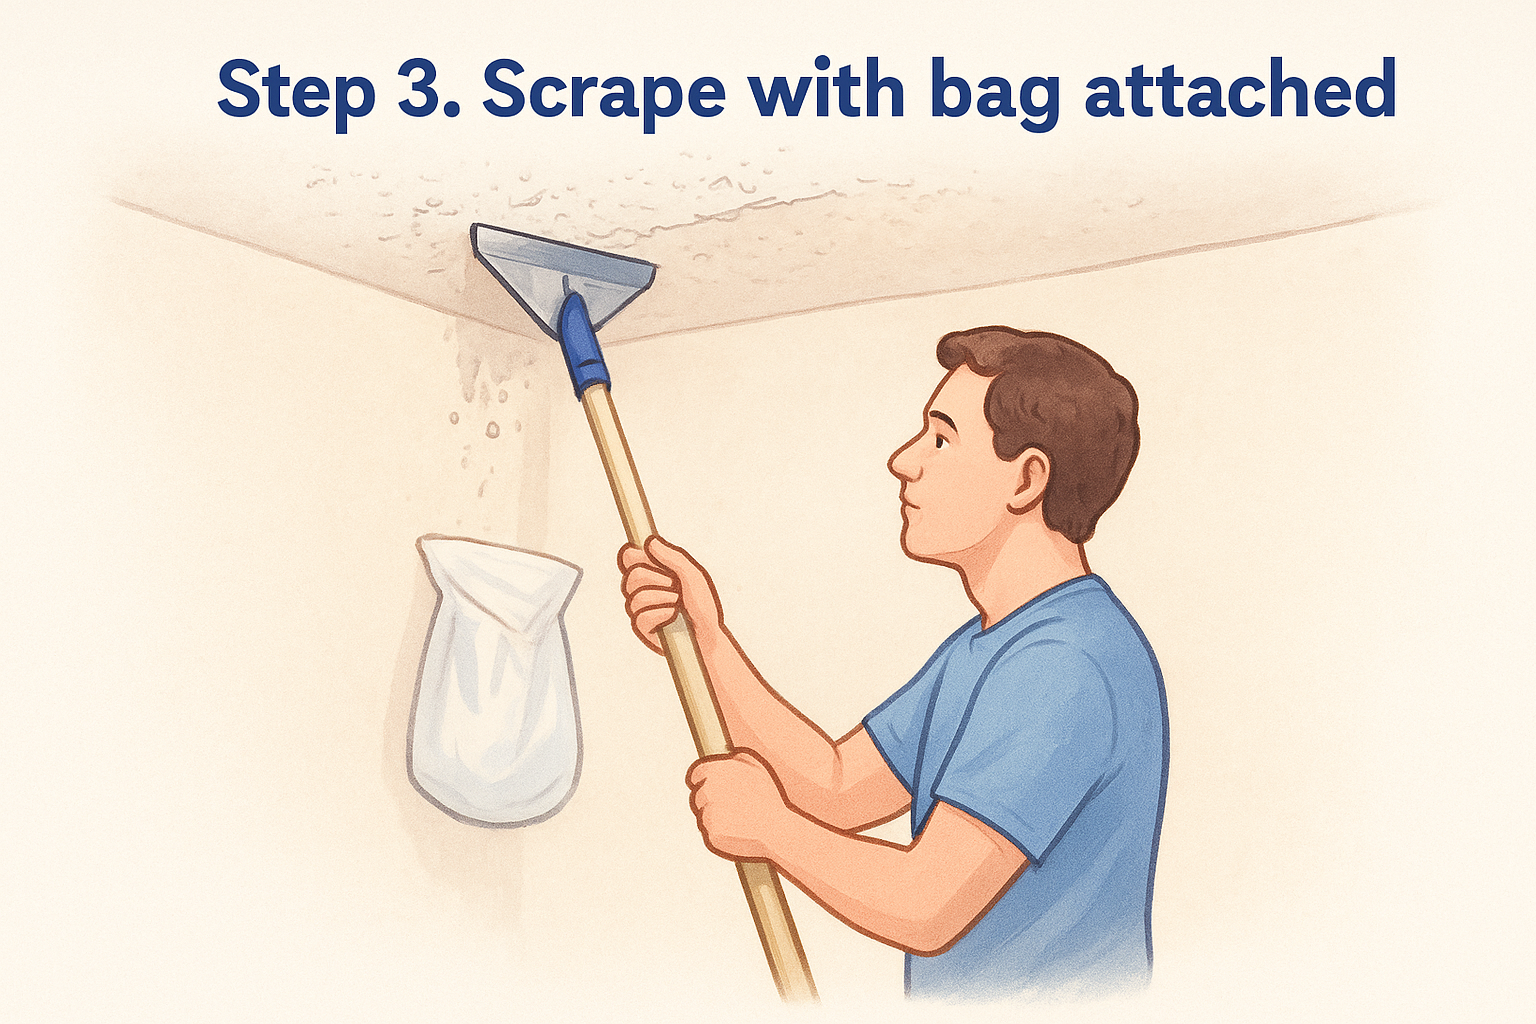
Step 3. Scrape with the bag attached
Attach the bag, hold the blade almost flat, and push in light, straight strokes. Let the water do the work rather than your arms.
Set up the tool and hold the angle
Screw the scraper onto the pole, clip the bag on, and check that it hangs below the blade without sagging. Tilt the blade slightly so the leading edge slides under the texture. Push forward with light pressure. If the blade is digging in, flatten the angle.
Overlap each stroke by an inch or two so you do not leave ridges. Empty the bag when it is about half full. Wet texture gets heavy fast, and a full bag pulls the blade off the ceiling. Use the 6-inch putty knife along the walls and in corners, because the 12-inch blade cannot reach them.
Plan your time
Use a worked example to set expectations. A 12' x 14' bedroom is 168 square feet. At the maker's pace of 100 square feet per 30 minutes, that is roughly 50 minutes. Add time for misting, moving the ladder, emptying the bag, and your first-time learning curve, and plan on 1.5 to 2 hours of actual scraping . Those are planning figures, not guarantees. They vary with texture thickness and how well it softened.
After each section, run your hand across the ceiling. Raised spots mean more texture, and dark patches mean the drywall paper is exposed and needs care later.
Step 4. Repair, prime, and paint
Scraping leaves a ceiling that is rough, patchy, and absorbent, so it is not ready for paint. Let it dry fully, fix the damage, and seal it.
Skim and sand
Let the ceiling dry for at least 24 hours. Fill gouges and torn paper with a thin coat of joint compound, feathered out with the 10-inch knife. Let it dry, then sand lightly with a sanding sponge. Wipe off the dust with a damp cloth. Large areas of exposed paper may need a full skim coat to look even. If you find many deep gouges or cracks, a drywall repair pro can fix them faster than you can.
A dry, primed ceiling hides far more flaws than any amount of extra scraping.
Prime, paint, and clean up
Apply a stain-blocking primer, then roll on flat ceiling paint. Primer matters here because bare drywall and patched areas soak up paint at different rates and show through as blotches.
For cleanup, roll the plastic inward with the debris inside, double-bag it, and check your local rules for disposal. Wet-mop any residue and empty the scraper bag into a sturdy trash bag.
Ready to scrape, or ready to hand it off?
A bag scraper gets the job done when the texture is unpainted and asbestos-free. Test first, prep like a pro, mist lightly, scrape gently, and finish with joint compound and primer. If the ceiling is painted, positive for asbestos, or simply bigger than a weekend should hold, stop buying tools and call someone.
If you live in the Sacramento Valley, Super Shooters offers a free in-home estimate, and you pay only after the job is complete. We remove acoustic ceilings in one to two days, sometimes three for a large house. You can start by requesting a popcorn ceiling removal quote from our crew.