May 1, 2026
Drywall Crack Repair: How To Fix Drywall Cracks for Good
A crack in your drywall doesn't always mean something is seriously wrong with your house, but it does mean something. Whether it showed up after a hot summer, a minor earthquake, or just years of your home doing what homes do (settling), knowing how to fix drywall cracks the right way saves you from patching the same spot over and over. The good news: most drywall cracks are straightforward repairs that you can handle yourself with the right materials and technique.
At Super Shooters, we've completed over 10,000 drywall and ceiling projects across the Sacramento Valley in our 30+ years of business. Settlement cracks, stress cracks, water damage, our crews have seen and repaired every type of wall damage that Sacramento-area homes can throw at us. That hands-on experience is exactly what shaped this guide, so you're getting real field-tested advice , not recycled theory.
Below, we'll walk you through the different types of drywall cracks, what causes them, and step-by-step instructions to fix each one permanently. We'll also cover when a crack is telling you something bigger is going on, and when it makes sense to call a professional instead of grabbing the mud pan yourself.
What to check before you repair a drywall crack
Before you mix a single drop of joint compound, spend five minutes diagnosing the crack . Skipping this step is the main reason repairs fail within months. If you don't know what caused the crack or whether it's still active, you'll end up patching the same spot repeatedly, and that wastes your time and money.
Is the crack still moving?
An active crack is one that's still shifting , either from ongoing settlement, seasonal wood movement, or a structural issue. If you patch an active crack with standard compound and paint over it, the crack will reappear, often within a few weeks. The simplest way to check is to mark the crack's endpoints with a pencil , write the date next to the marks, and check again after two weeks. If the crack has grown or shifted, it's still active.
If a crack keeps coming back after you've already repaired it once, that's a strong sign the underlying movement hasn't stopped.
You can also stick a thin strip of masking tape across the crack width. If the tape tears or buckles over the next week or two, the crack is still moving. Active cracks need a flexible repair approach , like fiberglass mesh tape combined with setting-type compound, rather than a quick skim coat that will just crack again.
What type of crack is it?
Not all drywall cracks are the same , and the type tells you a lot about the cause and the correct fix. Knowing how to fix drywall cracks starts with identifying exactly what you're dealing with. Here's a breakdown of the most common types:
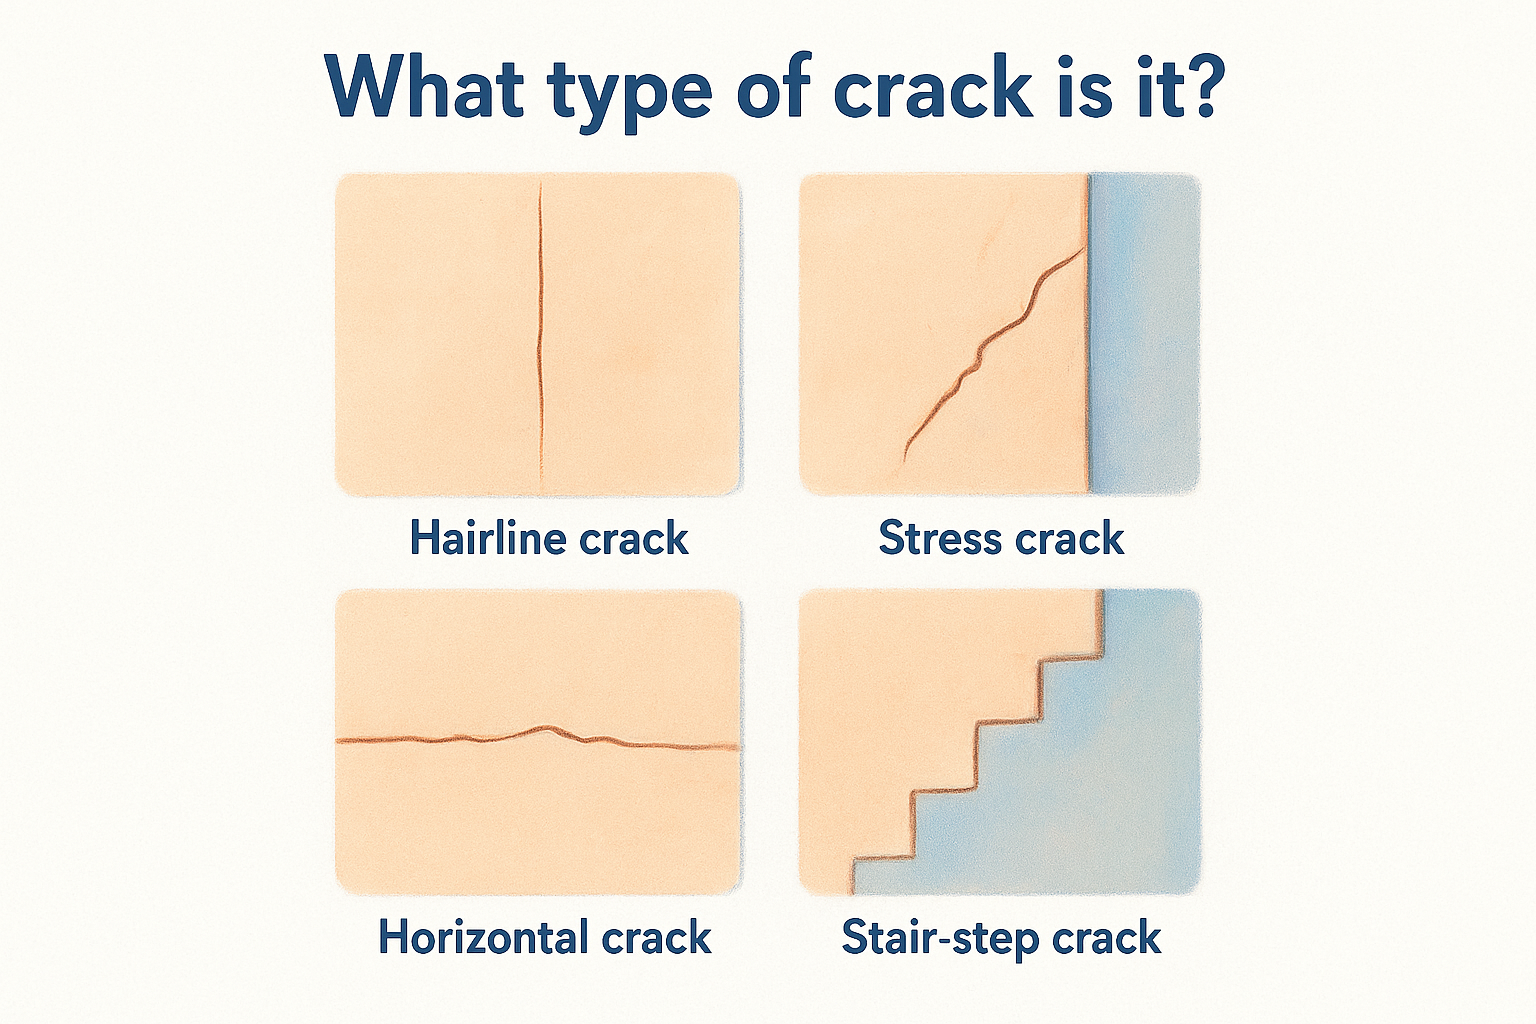
| Crack Type | Appearance | Likely Cause |
|---|---|---|
| Hairline crack | Very thin, shallow | Normal settlement or paint shrinkage |
| Stress crack | Diagonal, often at door or window corners | Seasonal movement or framing shifts |
| Horizontal crack | Runs along seams | Tape failure or moisture intrusion |
| Stair-step crack | Follows the drywall seam in a stair pattern | Foundation movement or significant settling |
| Wide or jagged crack | Irregular, wider than 1/4 inch | Serious structural movement or impact damage |
Stair-step cracks and cracks wider than 1/4 inch deserve extra attention before you attempt any DIY repair. These patterns often point to foundation movement, which a surface patch alone won't resolve.
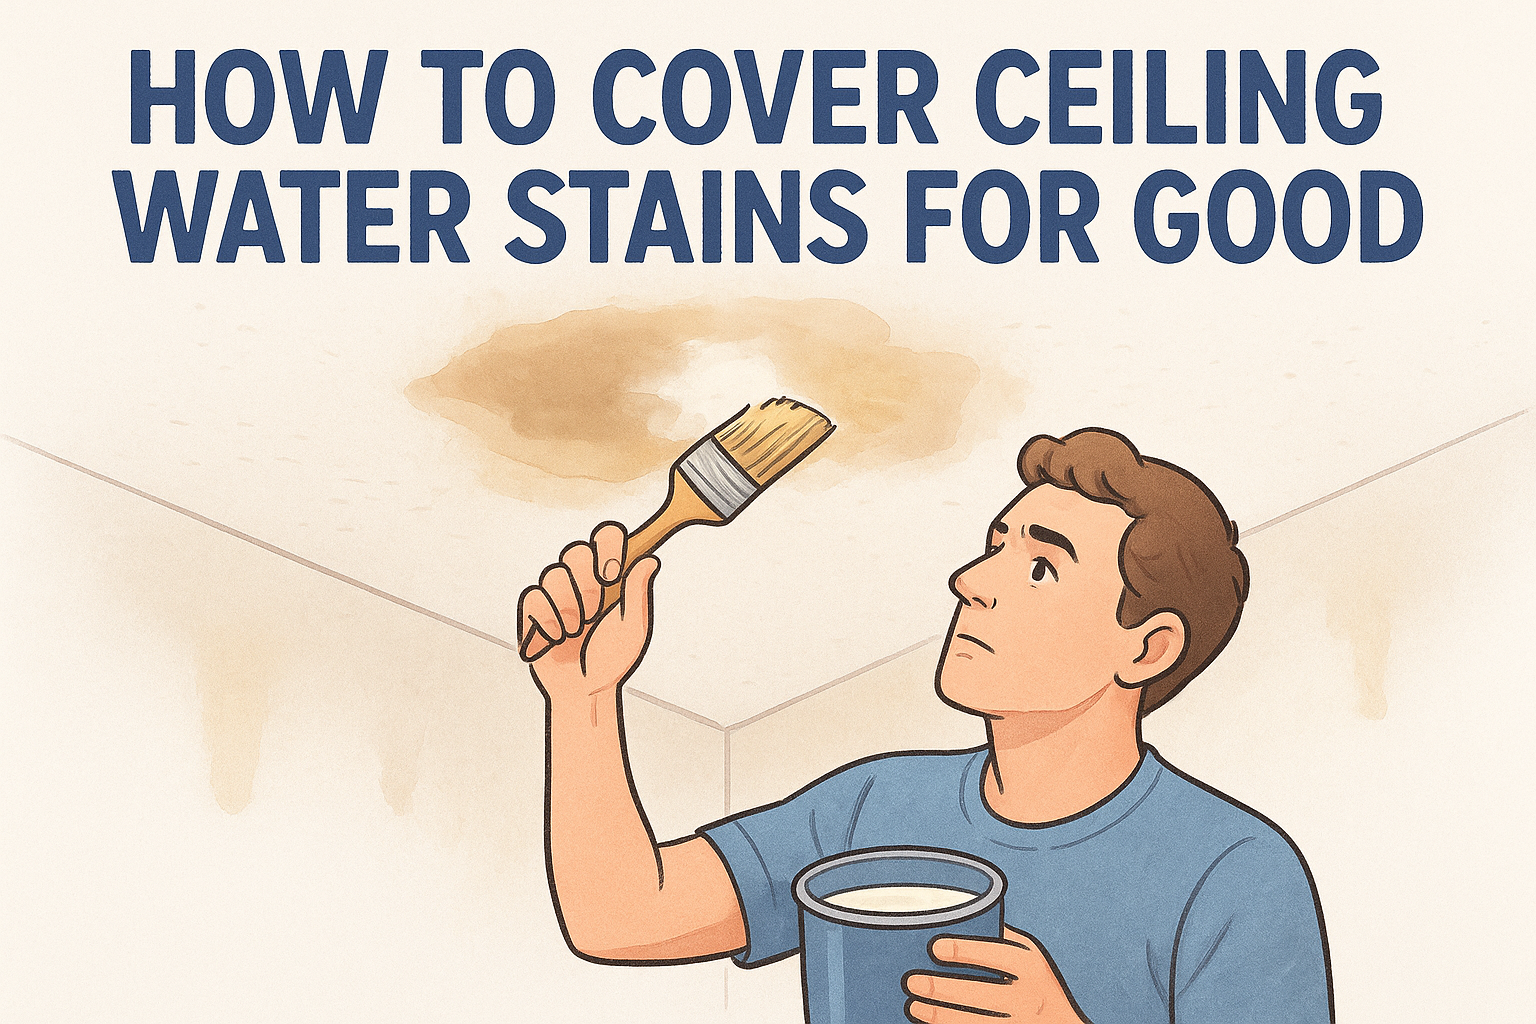
Look for signs of water damage
Water changes how you approach a drywall crack repair entirely. If the area around the crack has brown or yellow staining , soft paper facing, or crumbling gypsum, water is involved. You need to find and stop the water source before touching the crack. Patching over wet or compromised drywall leads to mold growth and a repair that falls apart fast.
Press gently on the drywall around the crack. Soft or spongy material means the core is saturated or has been wet long enough to break down structurally. In that situation, the damaged section typically needs to be cut out and replaced entirely, not patched. Confirm the wall is dry and solid before you pick up a taping knife.
Tools and materials that make repairs last
Using the wrong materials is the fastest way to guarantee a repair fails. When you learn how to fix drywall cracks correctly, half the battle is choosing products designed for the specific job. A standard pre-mixed all-purpose compound works fine for small surface cracks, but it shrinks as it dries , which means it can pull away from the edges of a crack and leave you right back where you started.
Choose the right compound for the job
Setting-type compound (also called "hot mud") is the better option for cracks wider than a hairline or any crack that showed movement. Unlike pre-mixed compound, setting-type compound cures through a chemical reaction rather than water evaporation, so it shrinks far less and bonds harder. You'll find it labeled by working time: 20-minute, 45-minute, and 90-minute versions are the most common. For most crack repairs, the 45-minute version gives you enough working time without rushing.
Pre-mixed compound stays workable in the bucket for months, but setting-type compound begins hardening the moment you add water, so only mix what you'll use in one session.
Pre-mixed lightweight joint compound is still a good choice for the final skim coat, because it sands easily and leaves a smooth surface for paint or texture.
What to have on hand before you start
Pulling together your materials before you touch the wall prevents mid-job trips to the hardware store. Here's what a solid crack repair kit looks like:
| Item | Purpose |
|---|---|
| 4-inch and 6-inch taping knives | Applying and feathering compound |
| Fiberglass mesh tape | Reinforcing cracks prone to movement |
| Paper tape | Flat seams and stable hairline cracks |
| Setting-type compound | Primary fill layer |
| Lightweight pre-mixed compound | Final skim and feathering |
| 120-grit and 220-grit sandpaper | Two-stage sanding for a smooth finish |
| Primer | Sealing compound before paint |
Quality tools matter more than most people expect. A flexible taping knife lets you feather compound thin at the edges, which is what makes a repair invisible once the wall is painted.
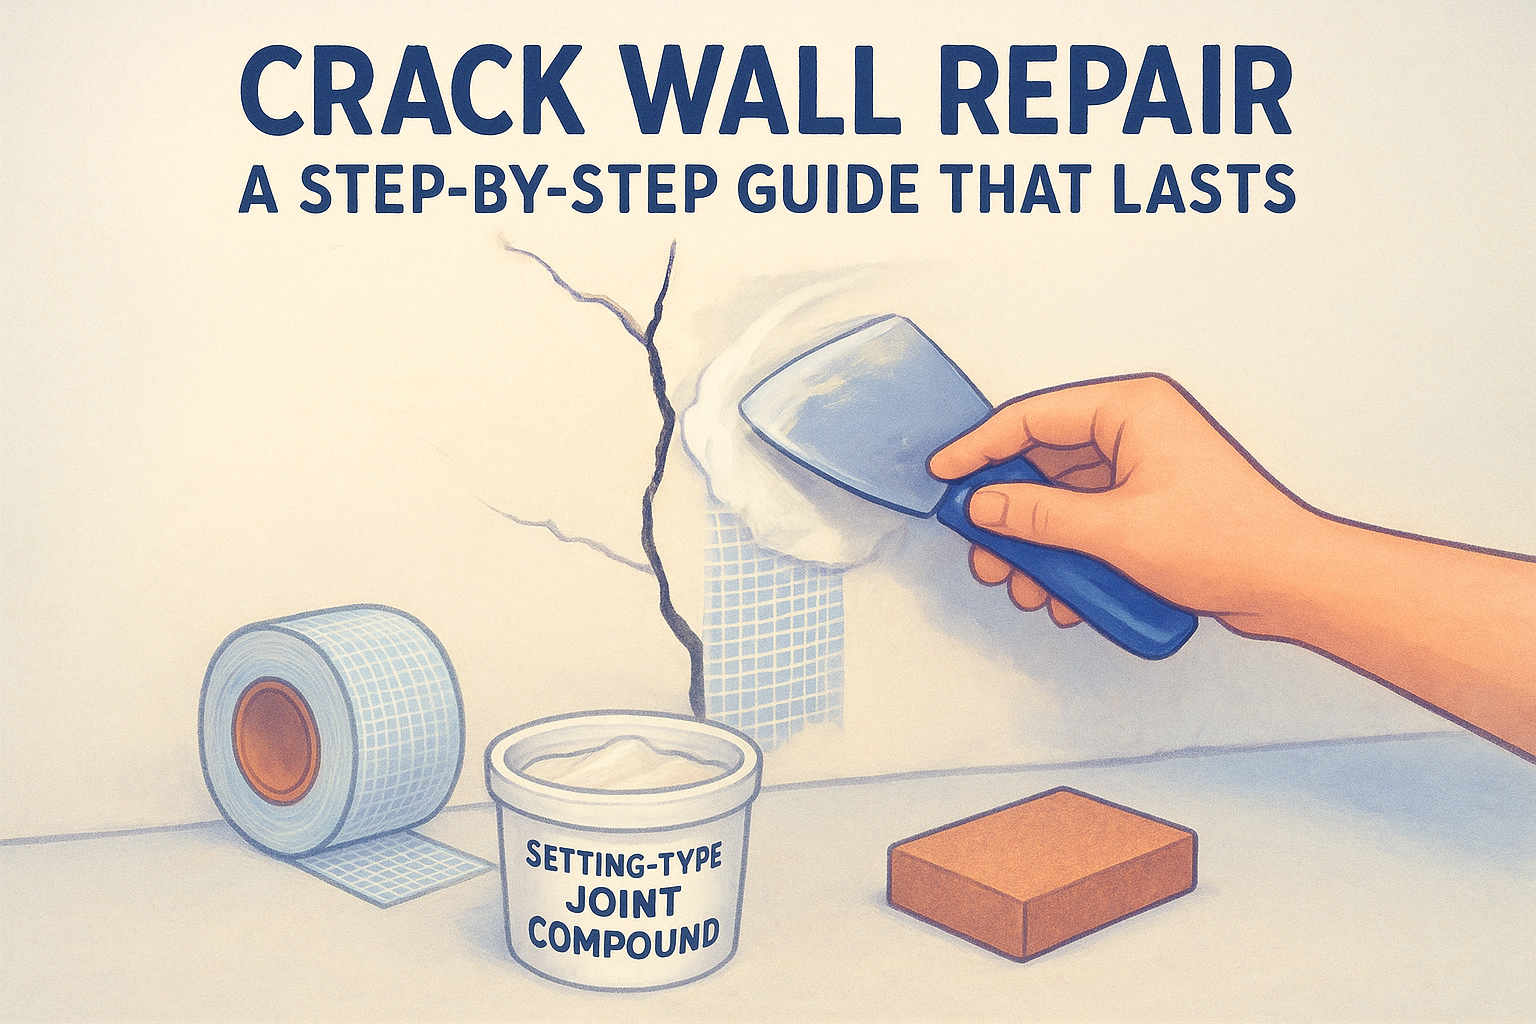
Step 1. Prep the crack and stop movement
Good prep work separates permanent repairs from patches that fail in a season. Before you apply any tape or compound, you need to make sure the crack is clean, stable, and ready to hold the repair material. Skipping this step is the single biggest mistake homeowners make when figuring out how to fix drywall cracks on their own.
Widen and clean the crack
It sounds counterintuitive, but slightly widening a hairline crack before you fill it is the right move. Use a utility knife to cut a small V-channel along the crack, roughly 1/8 inch wide and deep. This gives the joint compound something to grip instead of just sitting on top of a thin sliver. After cutting, knock off any loose gypsum or lifted paper facing with the edge of your taping knife, then vacuum or brush out the dust completely.
A clean, dust-free surface is not optional - primer and compound bond far better to material that isn't coated in drywall dust.
Wipe the area down with a damp cloth and let it dry fully before moving on. If any paper facing is bubbled around the crack, trim it flush with a utility knife so it doesn't show through your finished repair.
Stop movement before you seal anything
If your earlier check confirmed the crack is still actively shifting , address that before you patch anything. For cracks caused by seasonal wood framing movement, drive drywall screws about 2 inches above and below the crack on both sides to pull the panel tight against the studs. This limits flex in the drywall and reduces the stress that keeps reopening the surface.
For cracks near door or window corners, press a thin bead of flexible paintable caulk into the crack first, let it cure completely, and then skim over it with joint compound. The caulk absorbs minor movement so the finished surface stays intact instead of cracking through again after the next temperature swing.
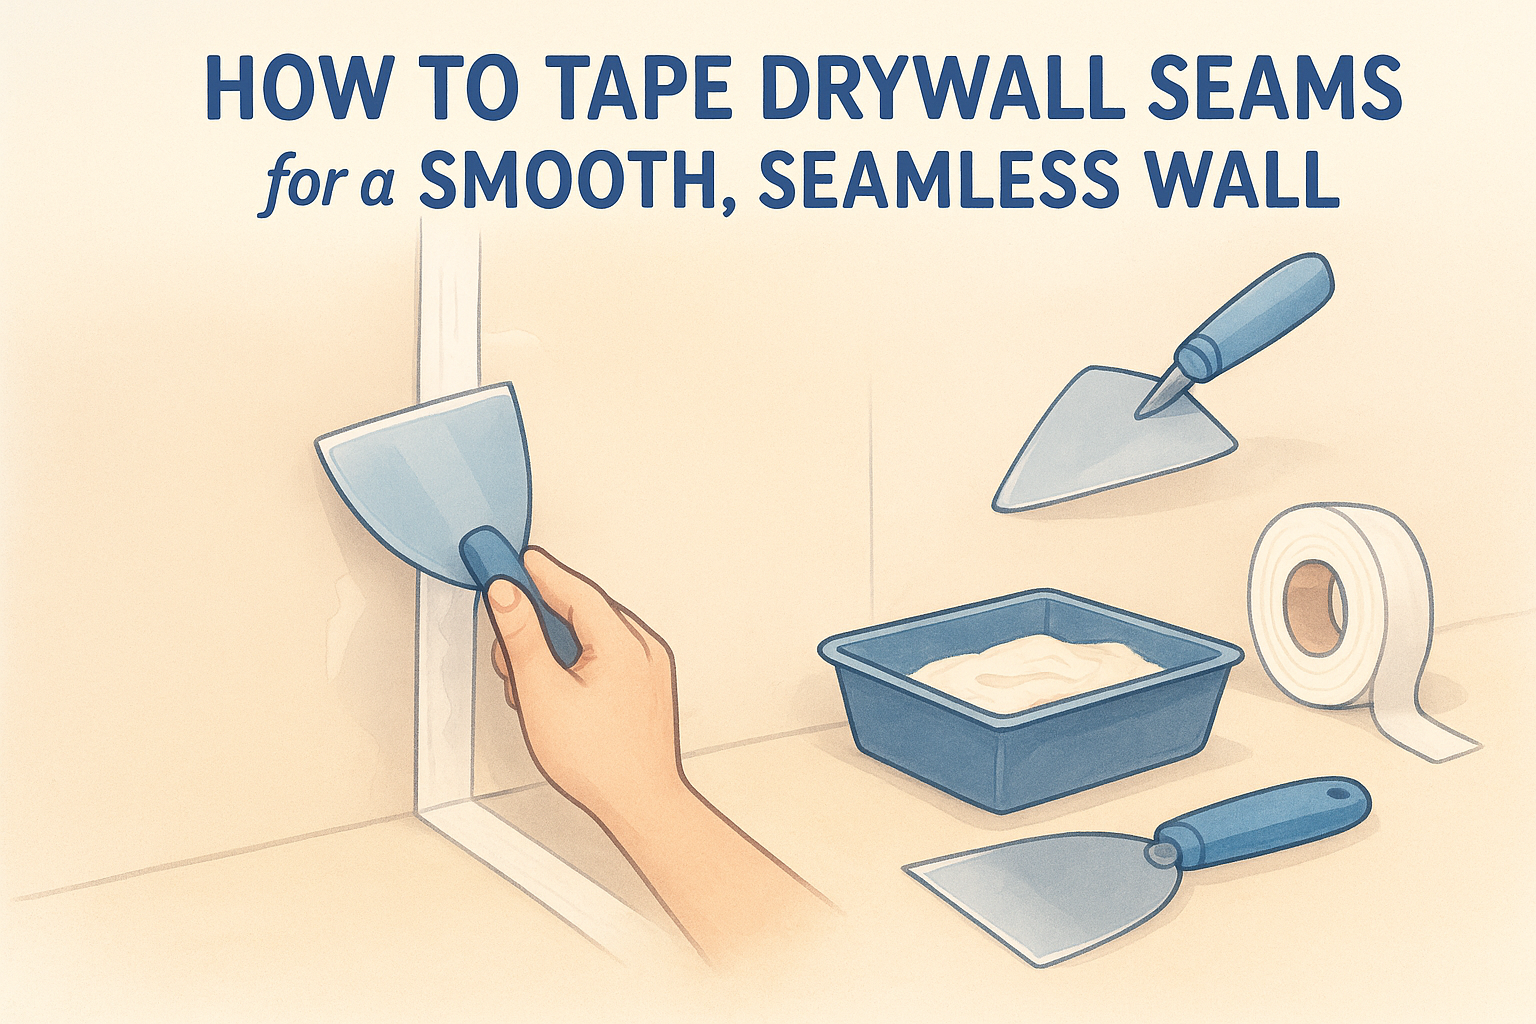
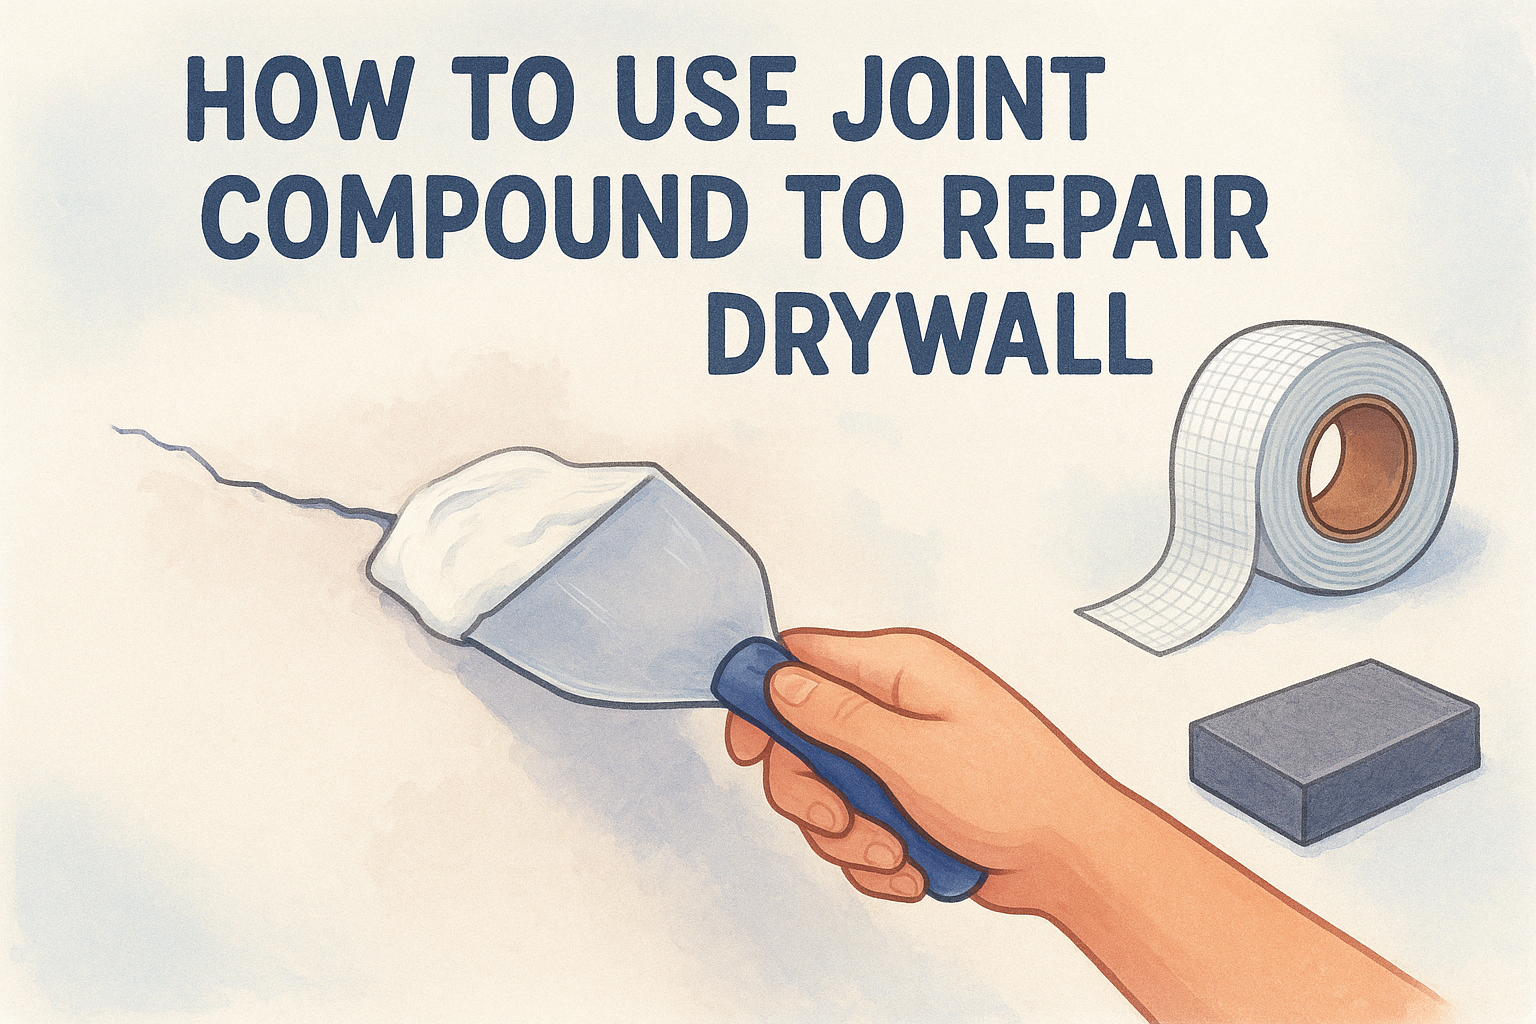
Step 2. Tape and mud the crack the right way
Once the crack is prepped and stable, taping and mudding correctly is what actually seals it for the long term. This step is where most DIY repairs fall short: people apply too much compound at once or skip tape entirely on a crack that needs reinforcement. Getting this step right is the core of how to fix drywall cracks so they don't come back in six months.
Embed the tape into a base coat
Start by spreading a thin base coat of setting-type compound directly over the crack with your 6-inch taping knife. You want just enough to wet the surface and act as adhesive for the tape. Press fiberglass mesh tape (for moving or wide cracks) or paper tape (for stable hairline cracks) directly into the wet compound, centering it over the crack. Run your knife firmly along the tape to press it flat and squeeze out air bubbles, working from the center toward both ends.
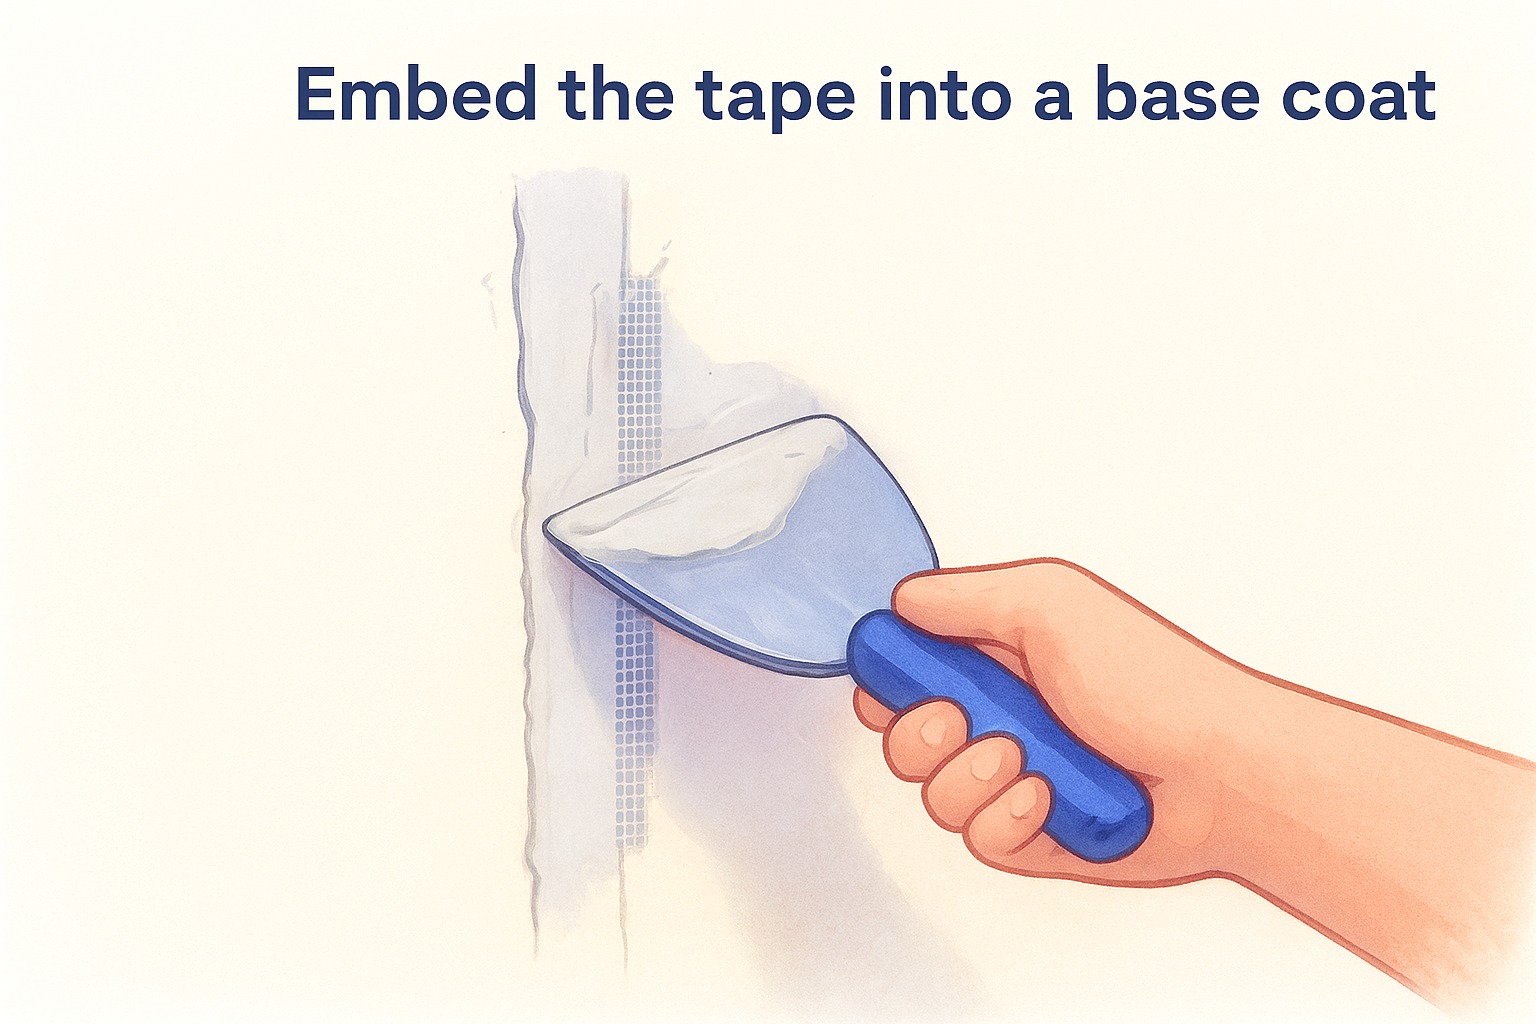
Paper tape is stronger in tension than mesh tape, which makes it the better choice for flat seams and stable cracks where reinforcement matters more than flexibility.
After pressing the tape flat, use your knife to scrape away excess compound from around the tape edges, keeping the base coat as thin as possible. Thick first coats trap air and increase the chance of the surface cracking again as the compound dries and shrinks.
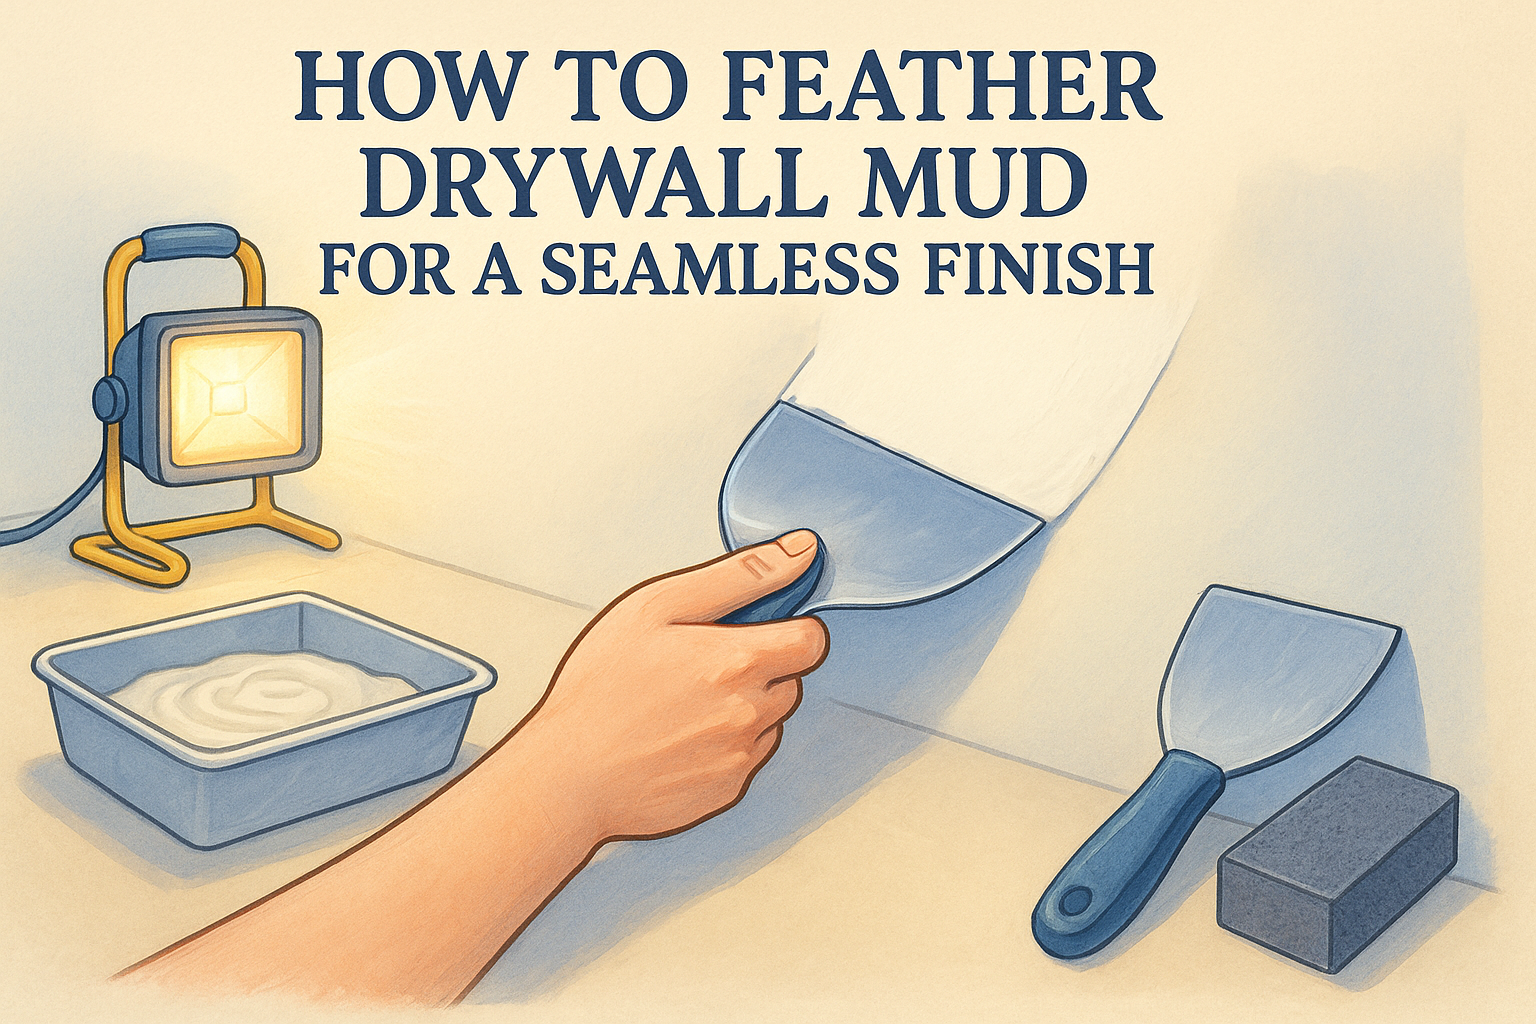
Build your mud coats gradually
Let the base coat dry completely before adding your next layer. With pre-mixed lightweight compound , apply a second coat that extends roughly 4 inches beyond each side of the tape. Feather the edges thin with the flat of your knife so there's no hard ridge when it dries. Allow it to dry fully, then apply a third and final skim coat extending another 2 to 3 inches wider than the second. Each coat should be thinner than the last. This gradual widening is what blends the repair invisibly into the surrounding wall surface.
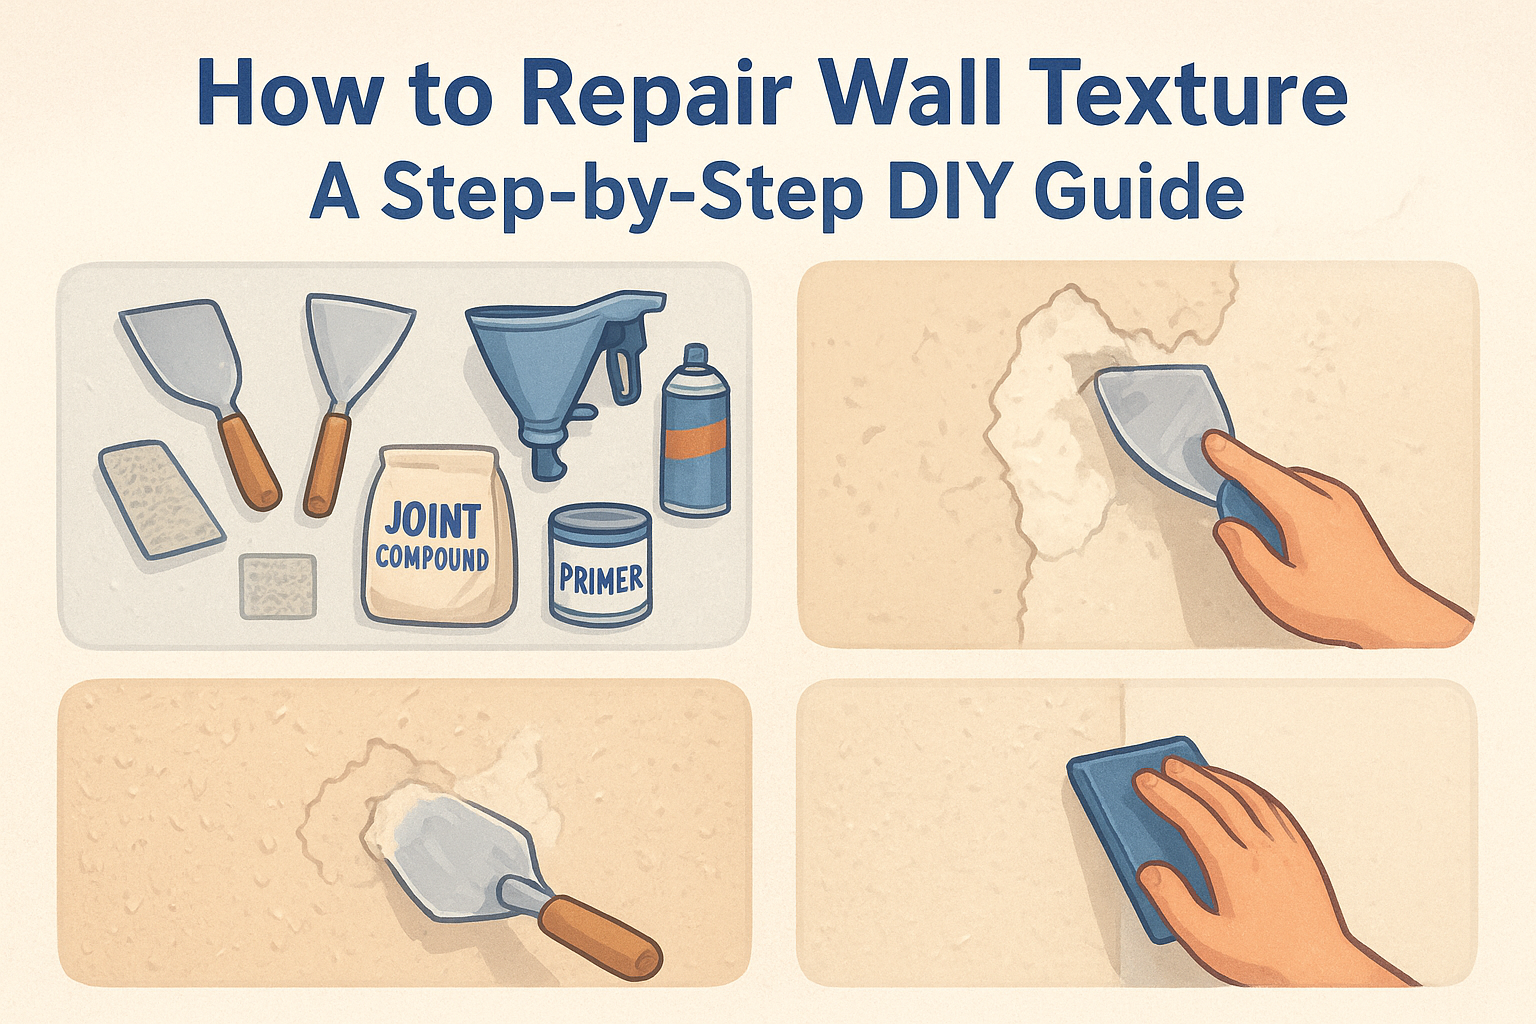
Step 3. Sand, match texture, and paint
Once your final mud coat is fully dry and hard , the repair is only half done. Sanding, matching the surrounding texture, and priming before paint are the steps that make a repair invisible. Rushing any of these will leave you with a patch that reads as a flat spot or color difference on the finished wall, even if the compound work underneath is solid.
Sand smooth without cutting through
Start with 120-grit sandpaper to knock down ridges and high spots from the dried compound, then finish with 220-grit for a surface smooth enough to paint. Work in long, light strokes rather than scrubbing in circles. The most common sanding mistake is pressing too hard and cutting through the compound into the paper facing of the drywall below, which raises the surface fibers and creates a fuzzy texture that shows under paint.
Wear a dust mask while sanding drywall compound - the fine particles are easy to inhale and difficult to filter out of the air without proper protection.
Keep a work light held at a low angle to the wall surface as you sand. Raking light reveals ridges and thin spots that look invisible under normal lighting, and catching them now saves you from repainting the same wall twice.
Match the existing wall texture
Smooth walls are straightforward, but most Sacramento-area homes have textured drywall , and a flat repair patch will stand out immediately once it's painted. Identify your texture type before you do anything else.
| Texture Type | Application Method |
|---|---|
| Orange peel | Spray can texture or hopper gun on a low setting |
| Skip trowel | Light random trowel passes with a rounded knife |
| Knockdown | Thin compound spattered, then flattened lightly |
| Smooth | Thin skim coat, no texture needed |
Practice your texture application on a spare piece of cardboard first so you can match the density and pattern before touching the wall.
Prime and paint for a seamless finish
Bare joint compound is highly porous and absorbs paint unevenly , which causes the repaired area to look duller than the surrounding wall even after two coats of paint. Apply a coat of drywall primer to the entire repaired area and let it dry completely before you paint. This step is non-negotiable if you want to fully understand how to fix drywall cracks so the result disappears into the wall.
Paint the repaired section with the same sheen and color as the existing wall. If you're unsure of the exact color, bring a paint chip cut from a low-visibility area of the wall to your local paint store for a match rather than guessing.

Wrap up and when to call a pro
You now have a complete process for how to fix drywall cracks that actually holds up over time. The key steps are diagnosing the crack before touching it, choosing the right compound for the job, prepping the surface properly , embedding tape into a base coat, building mud coats gradually, and finishing with texture and primer before paint. Follow each step in order and you avoid the repeat-repair cycle that frustrates most homeowners.
Some cracks, though, signal problems that surface patching alone won't solve. Stair-step patterns, cracks wider than 1/4 inch, or any crack that keeps returning after a solid repair point to foundation movement or structural issues that need a professional assessment. Water damage that has compromised the drywall core is another situation where replacement beats patching every time.
If your crack falls into any of those categories, the Sacramento drywall repair experts at Super Shooters offer free in-home estimates with no upfront payment required .
Recent Posts