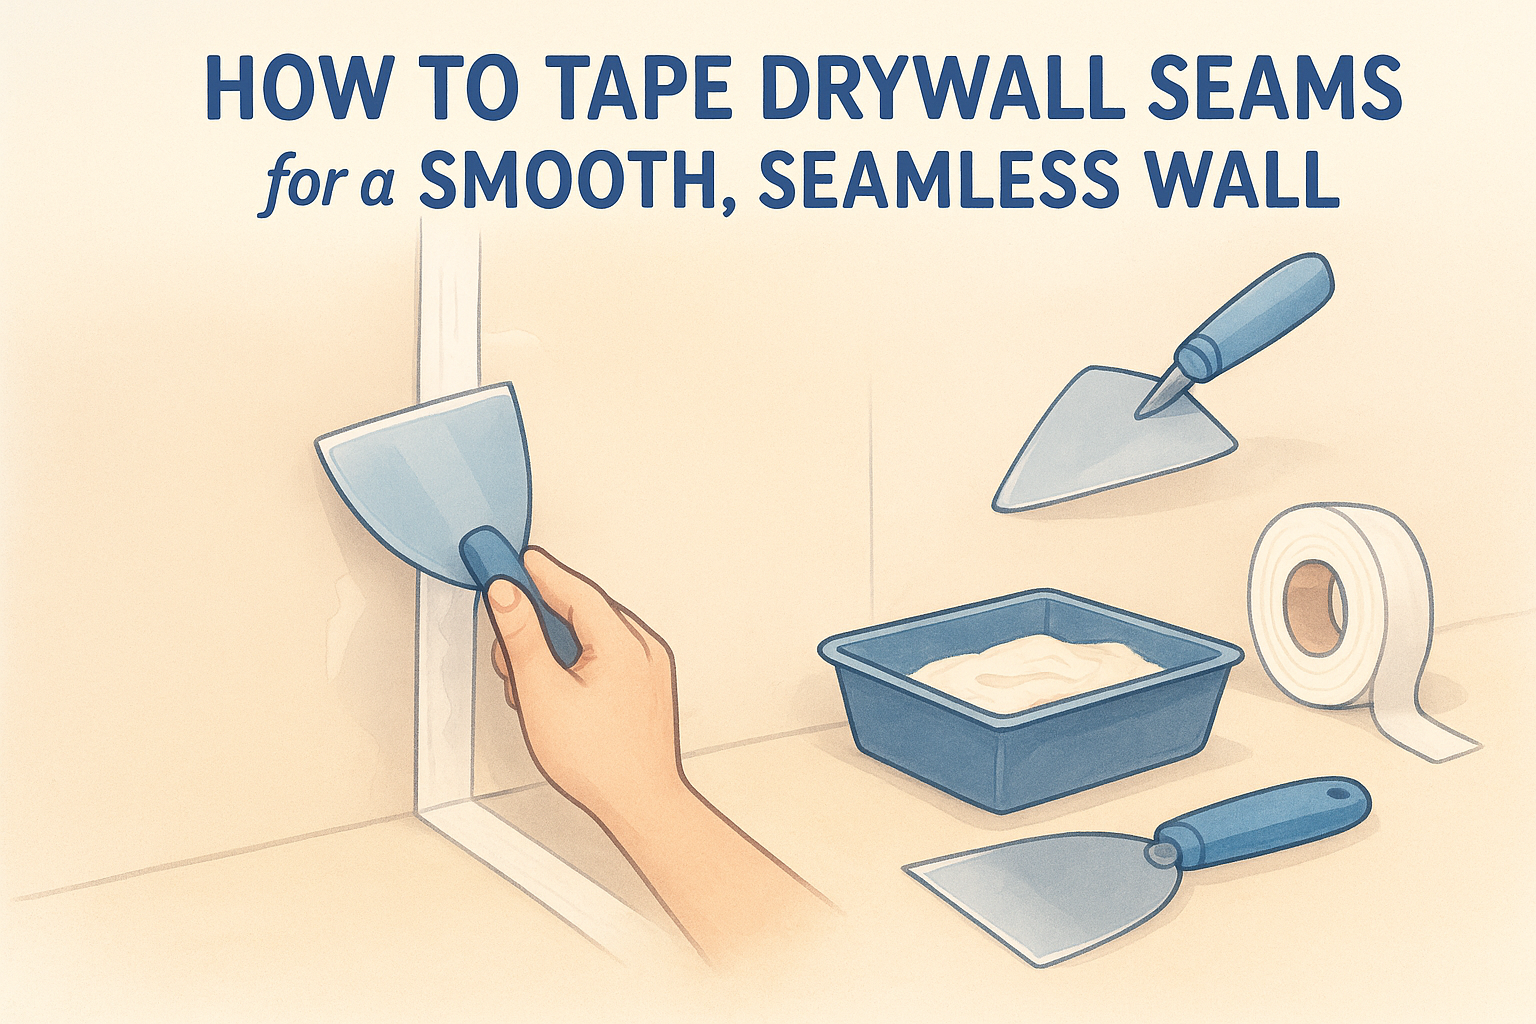
Learn how to tape drywall seams step-by-step, from mudding tools to feathering coats, plus when to call Sacramento Valley pros instead.
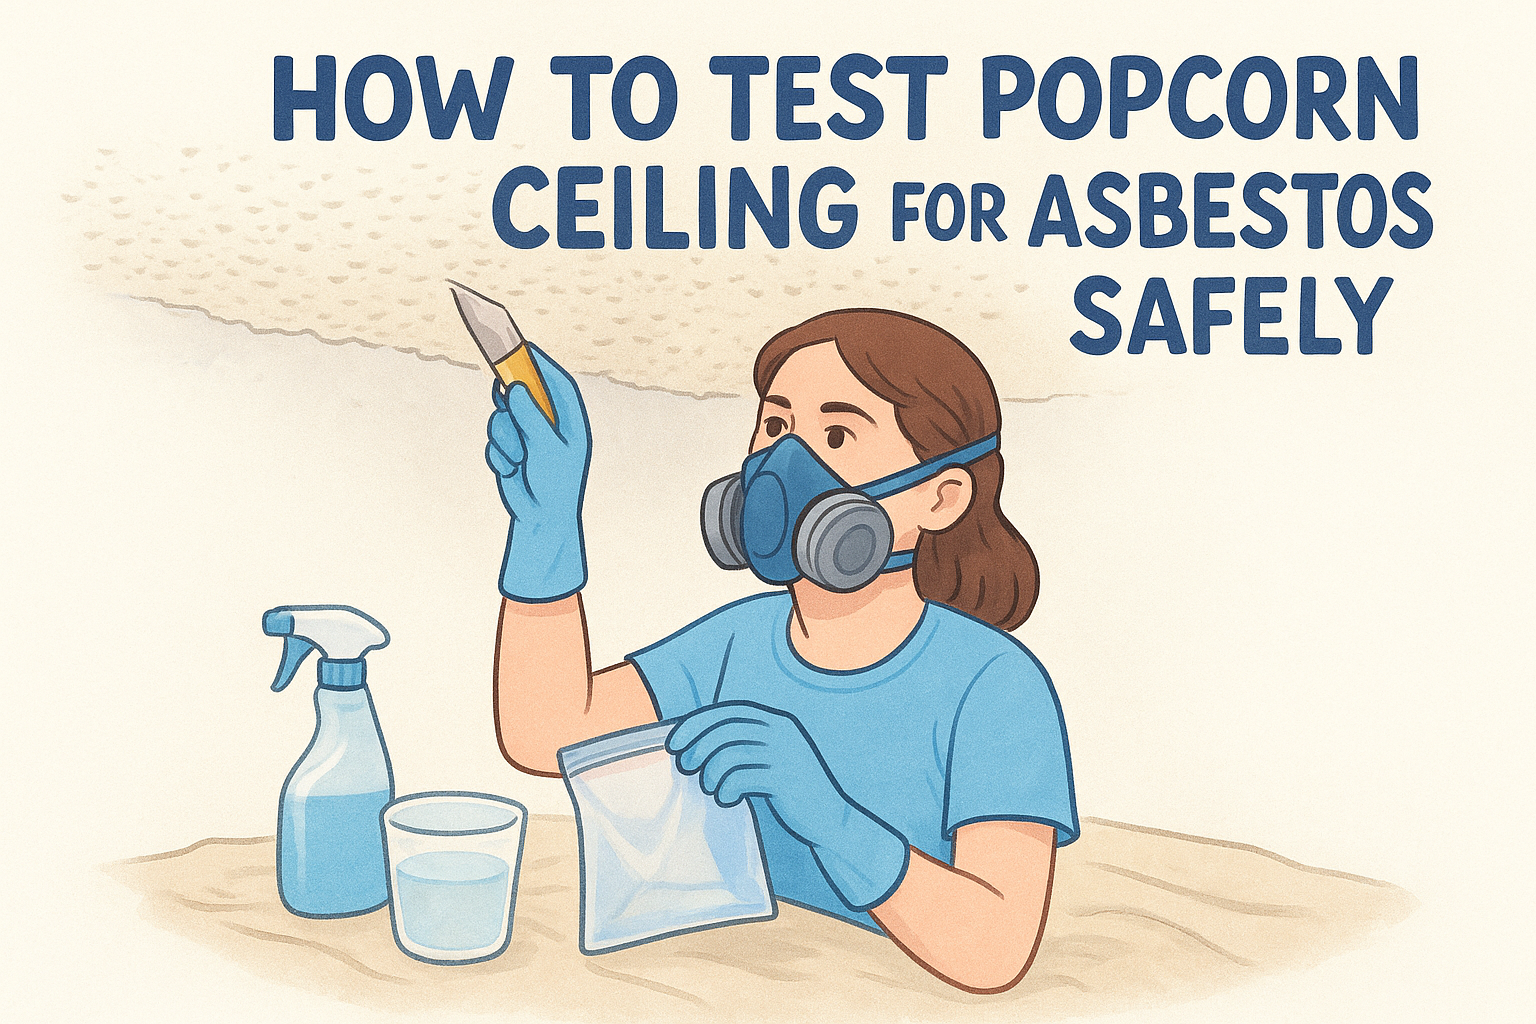
Learn how to test popcorn ceiling for asbestos safely with a step-by-step DIY sampling guide, plus when to call Sacramento Valley abatement pros.
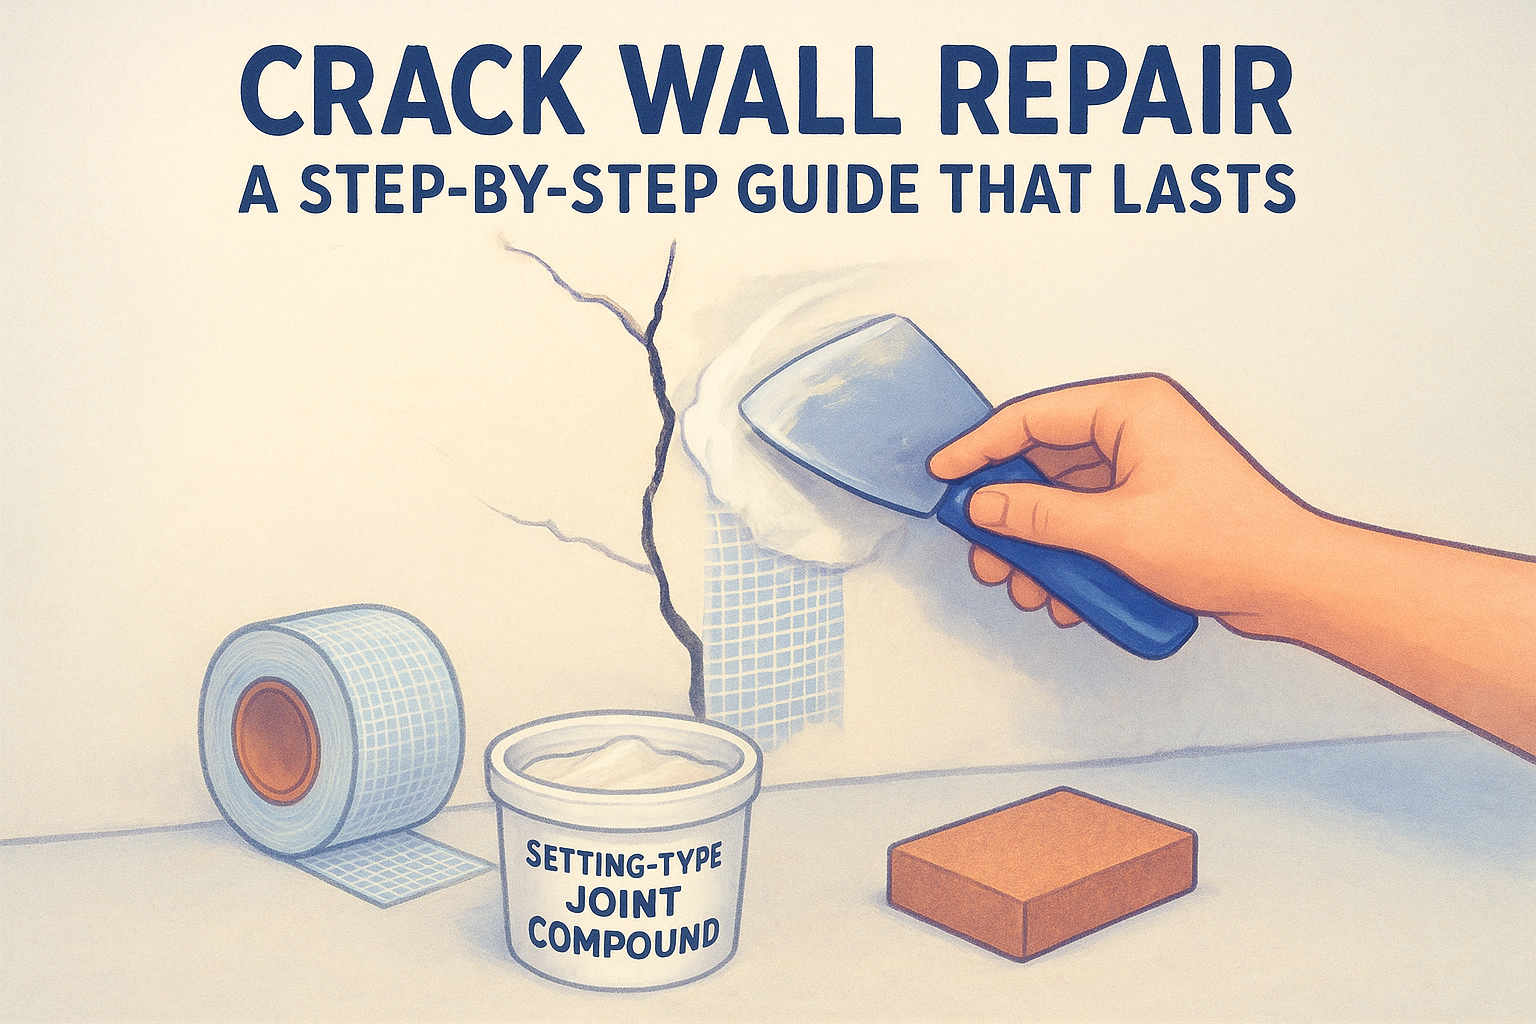
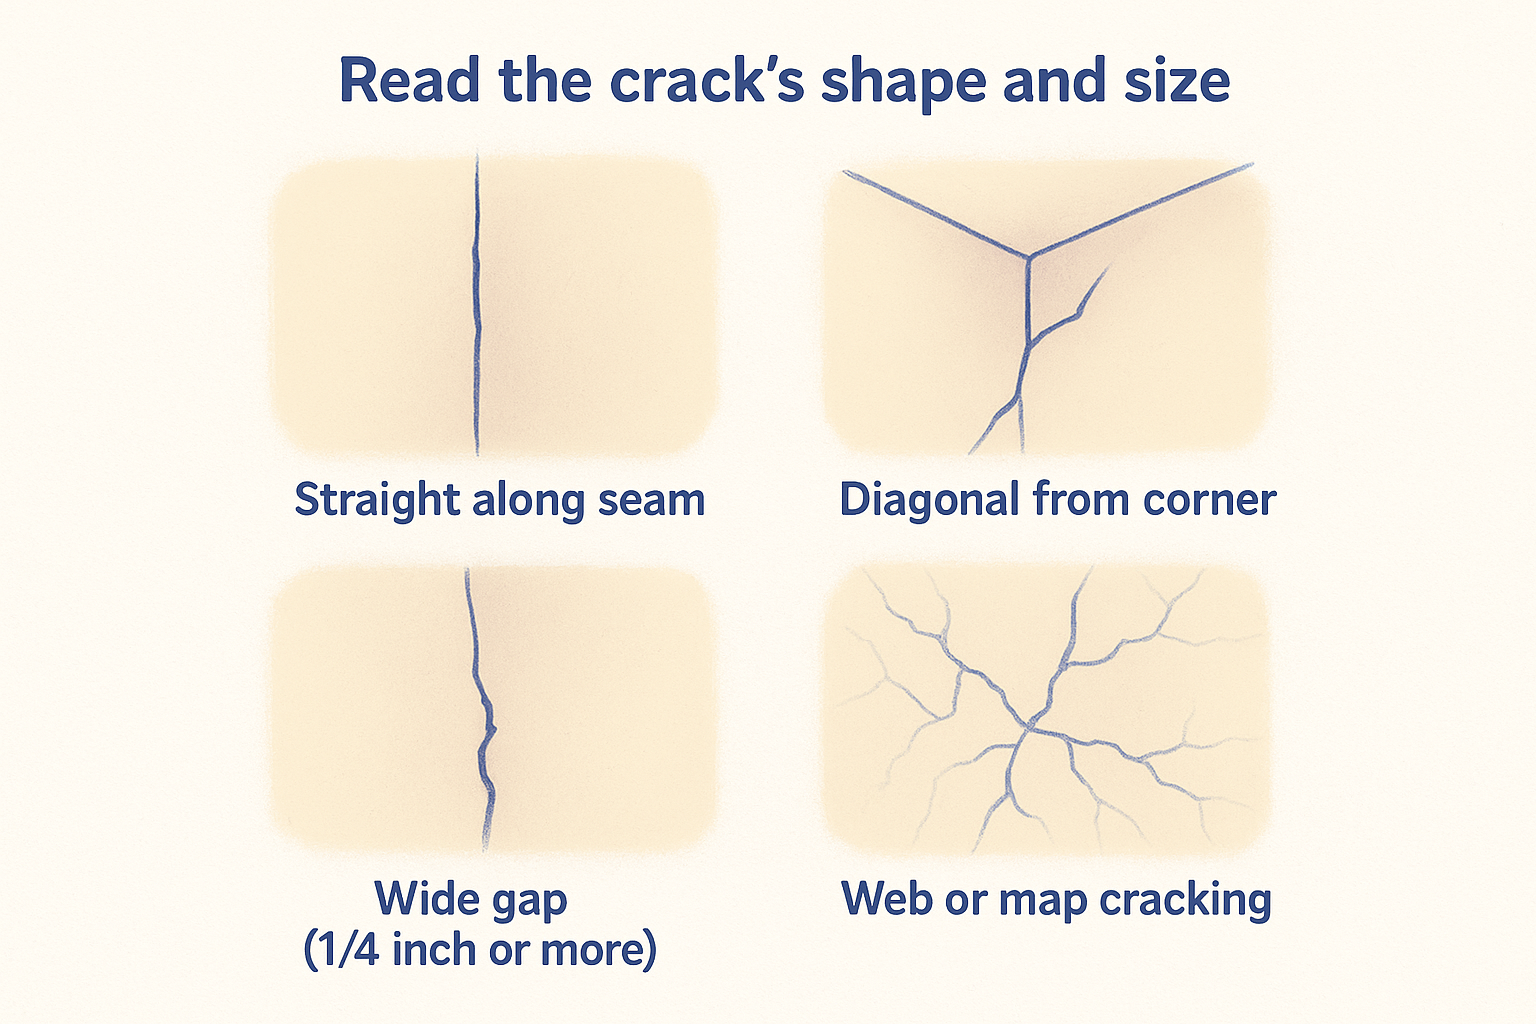
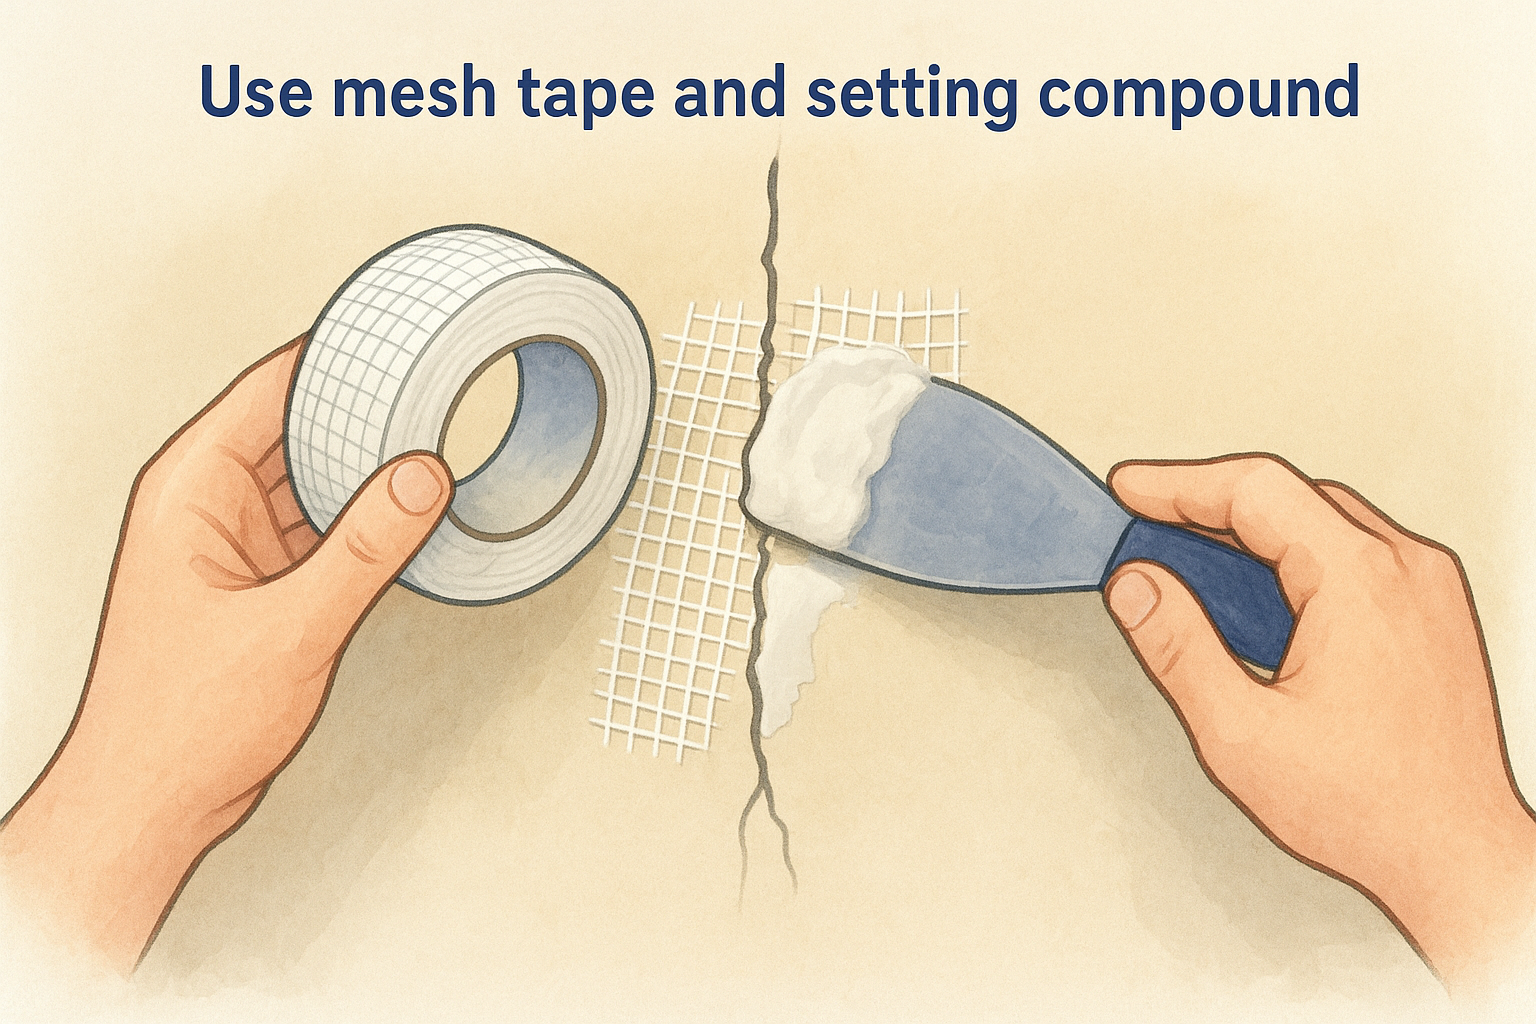
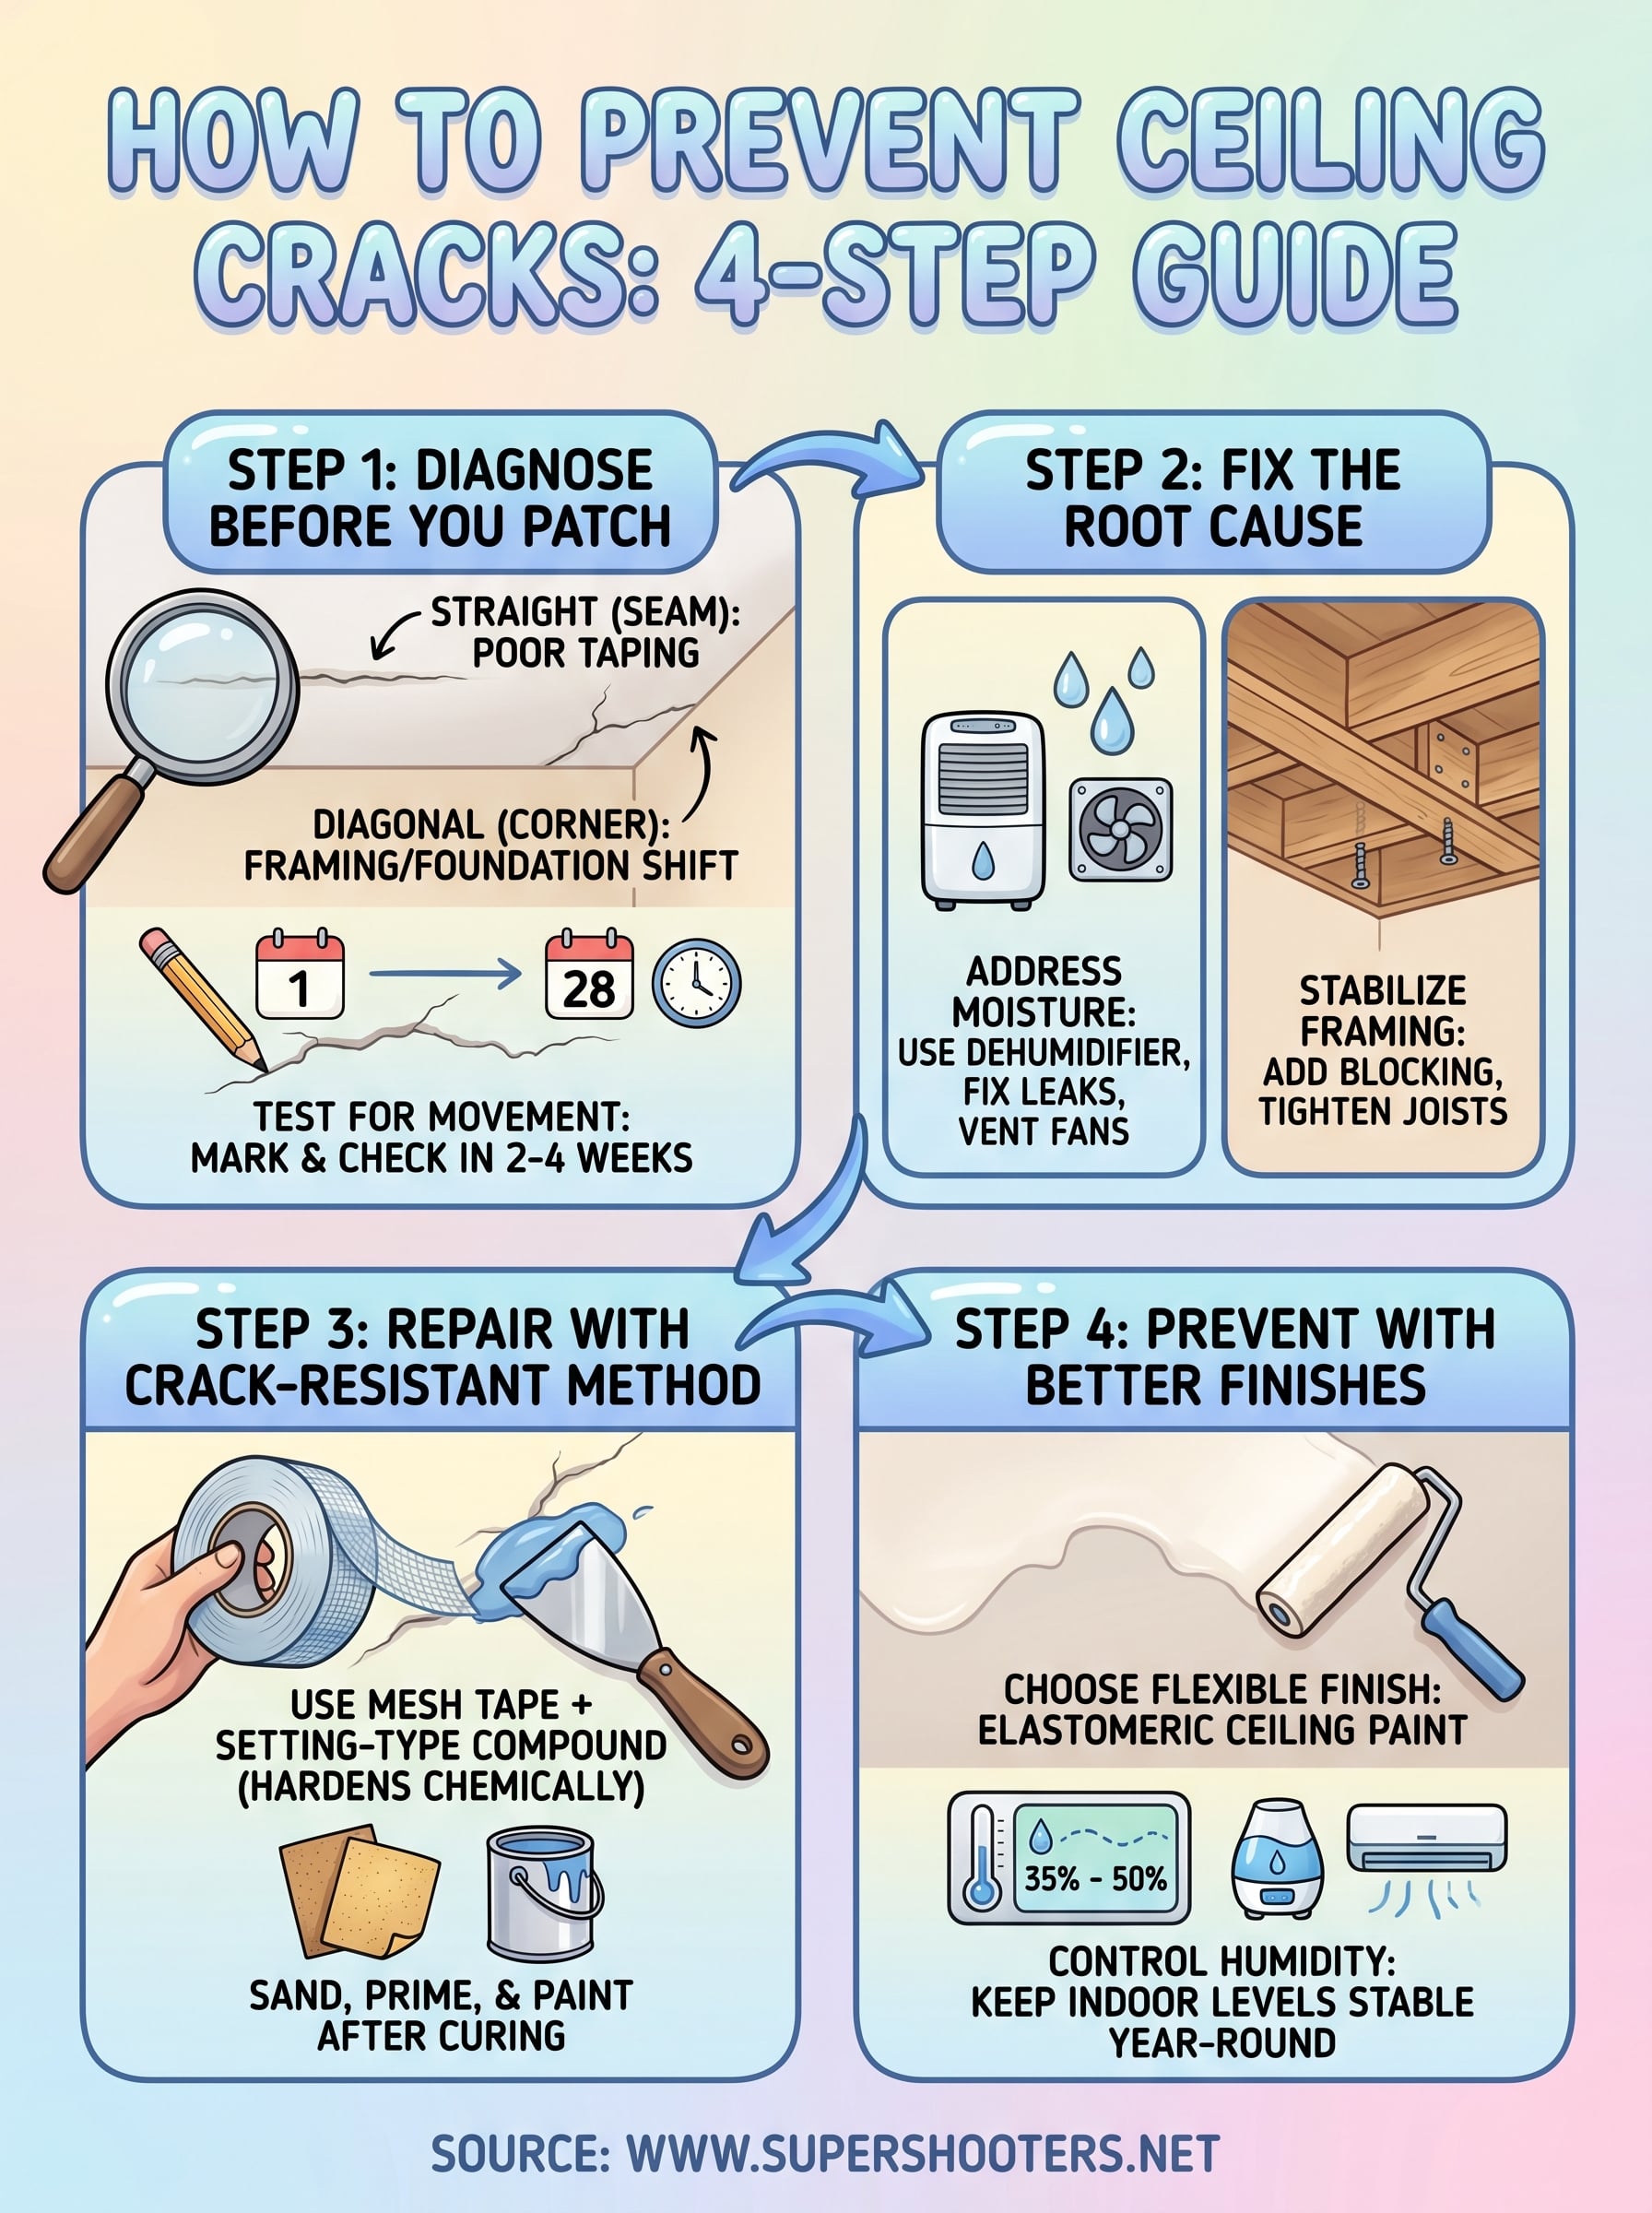
Learn a lasting crack wall repair method: tools, V-groove prep, mesh tape, setting compound, and when to call a Sacramento Valley pro.
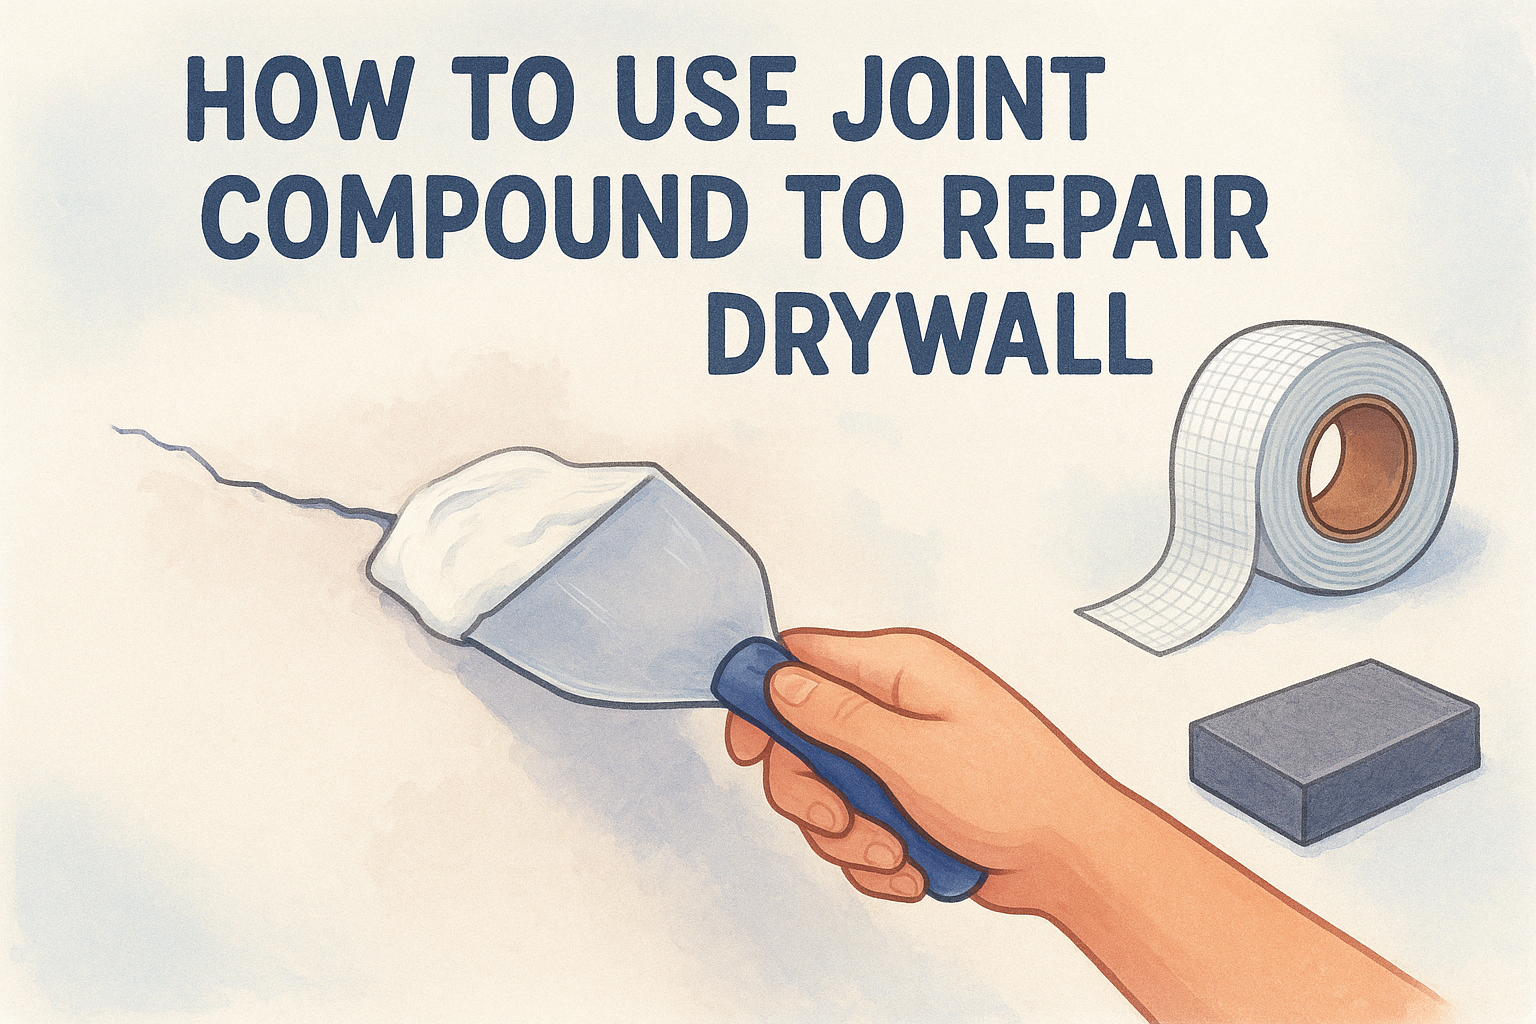
Learn how to use joint compound to repair drywall with step-by-step prep, taping, sanding, and priming tips for a seamless, professional finish.
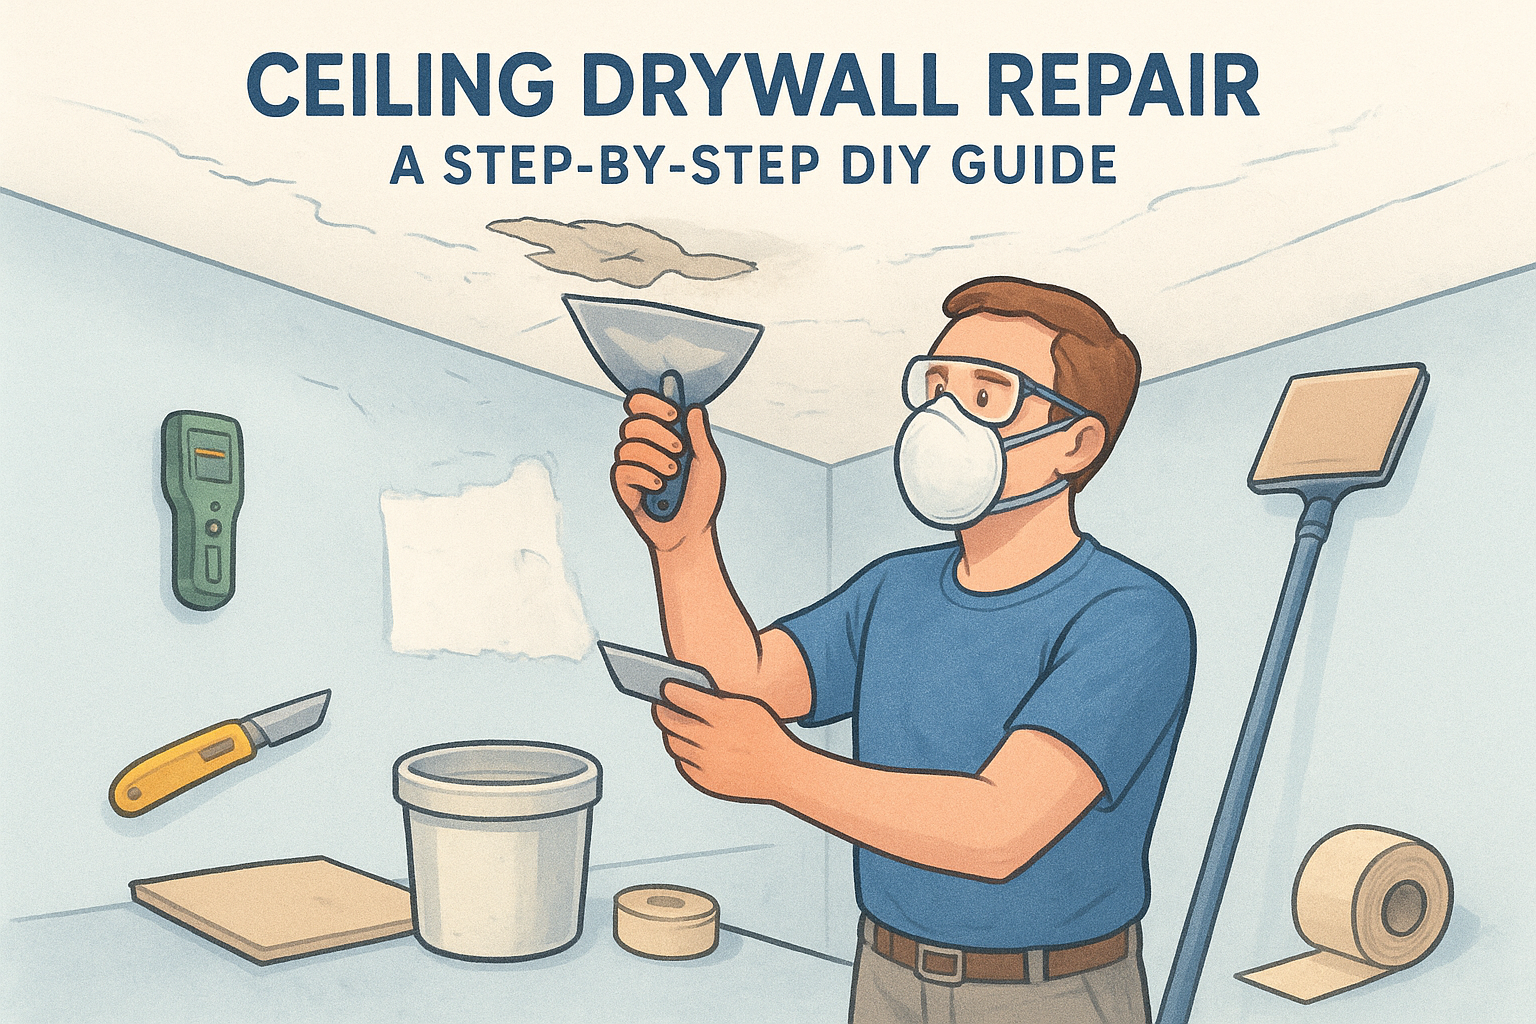
Learn step-by-step ceiling drywall repair: prep, patch, tape, texture & paint—plus when to call Super Shooters for Sacramento Valley jobs.
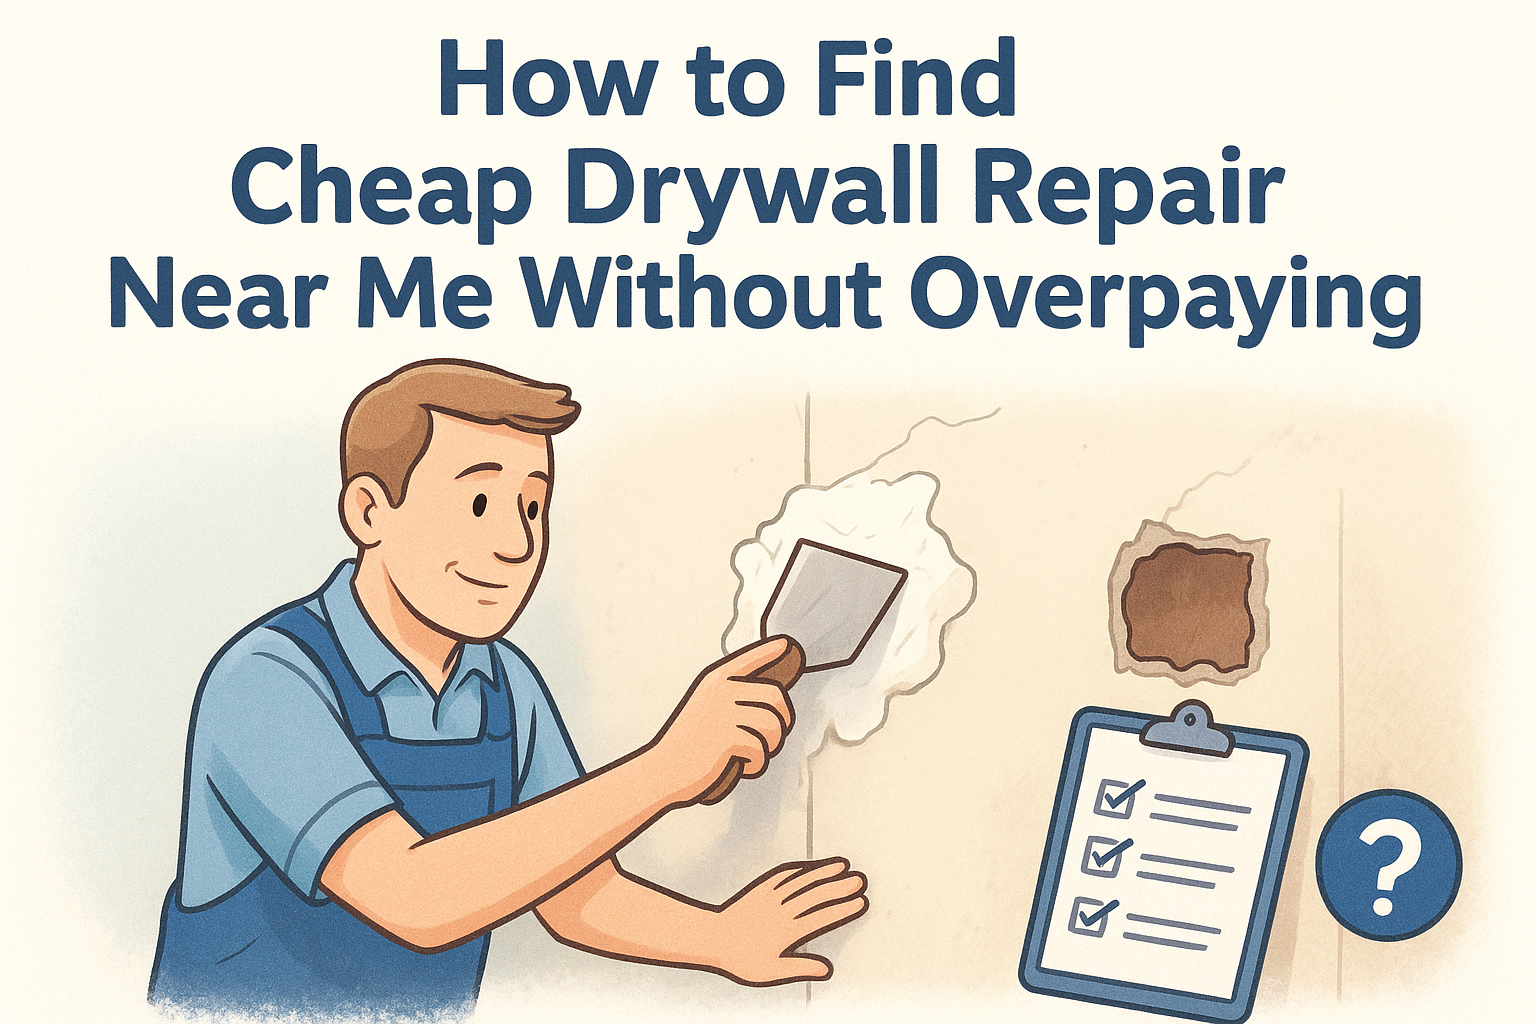
Find cheap drywall repair near me without overpaying: get real Sacramento Valley price ranges, quote tips, and vetting steps from Super Shooters.
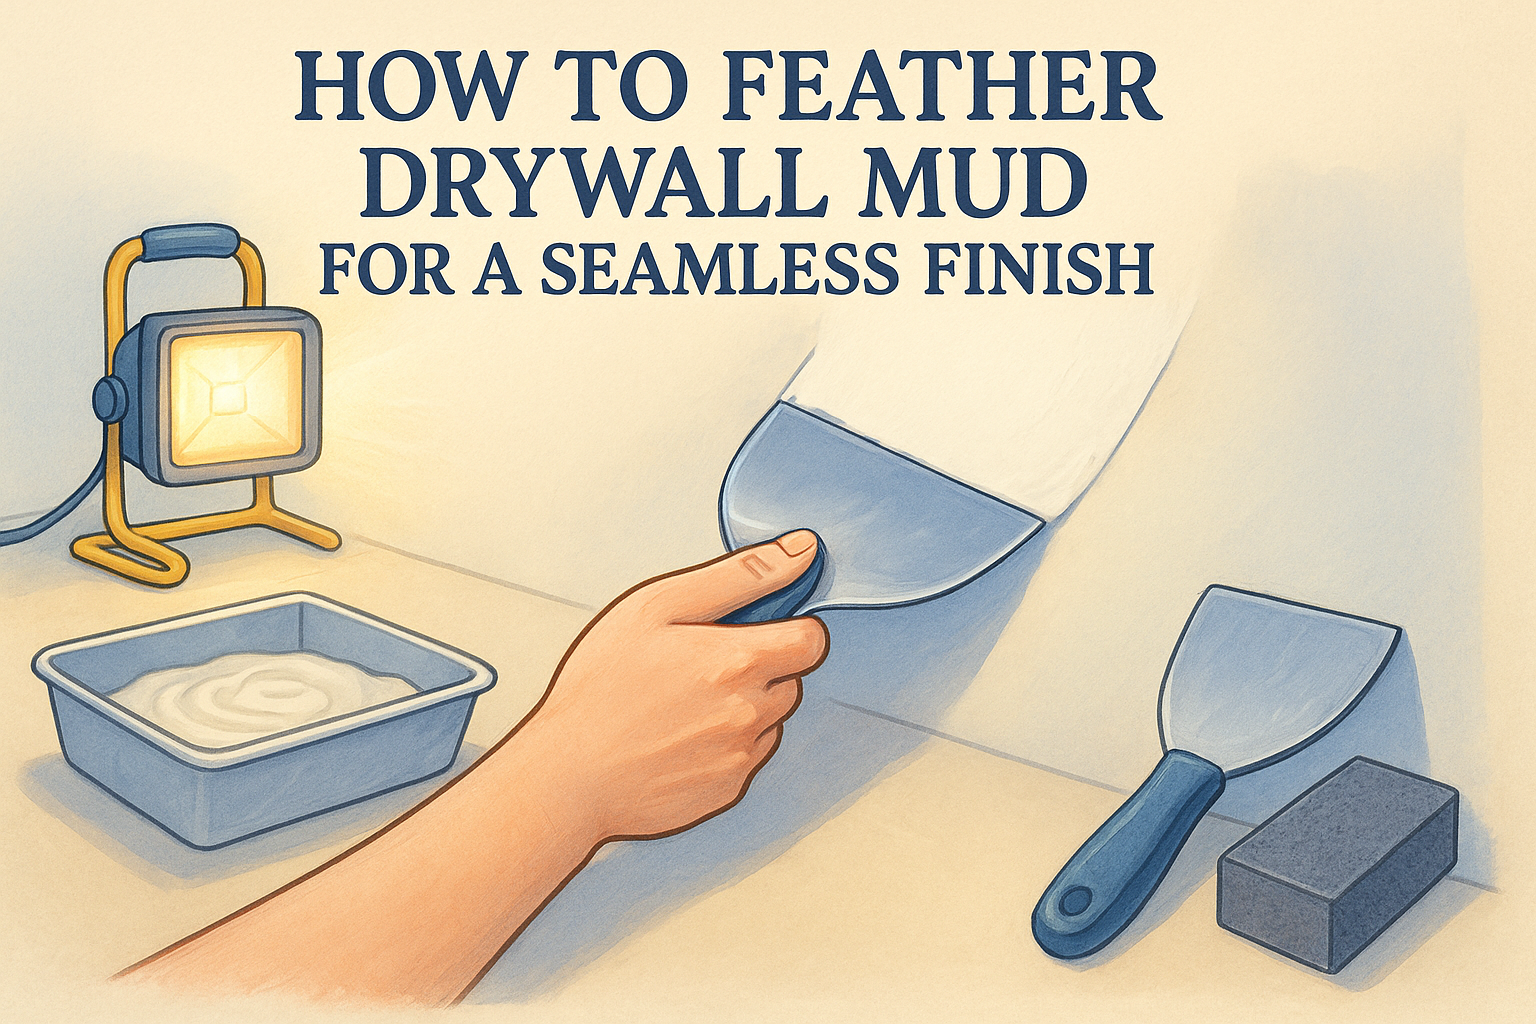
Learn how to feather drywall mud step by step—thin, widening coats, sanding tips, and raking-light checks for a seamless, ridge-free repair.
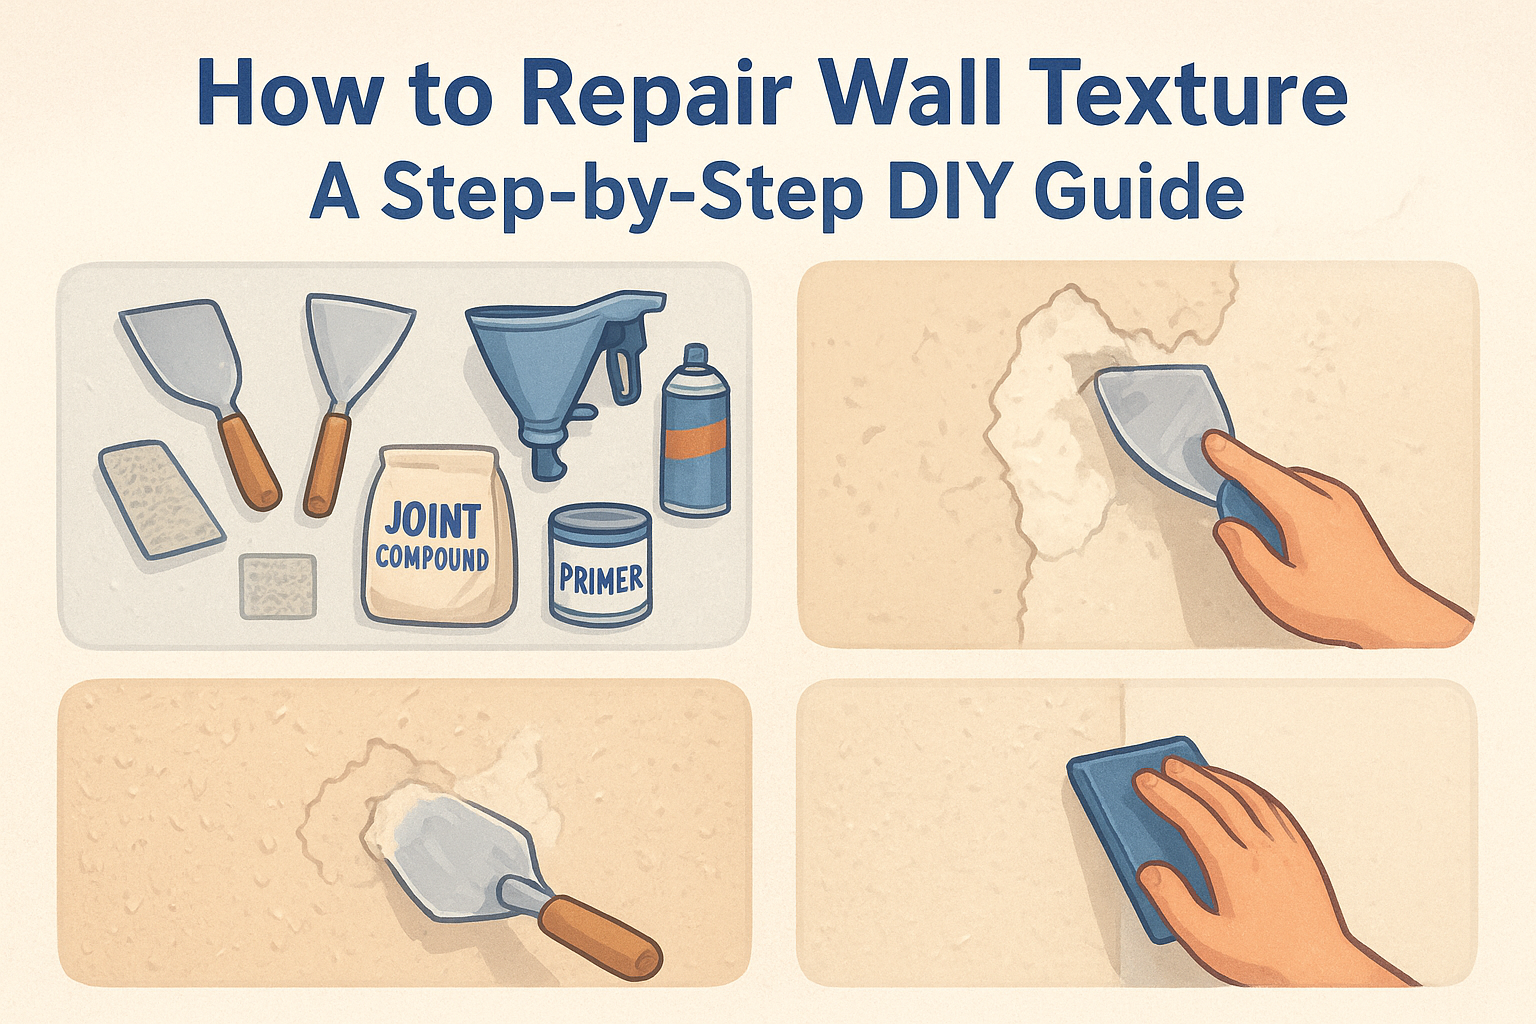
Learn how to repair wall texture step-by-step, from matching patterns to blending patches, plus when to call Super Shooters in Sacramento Valley.
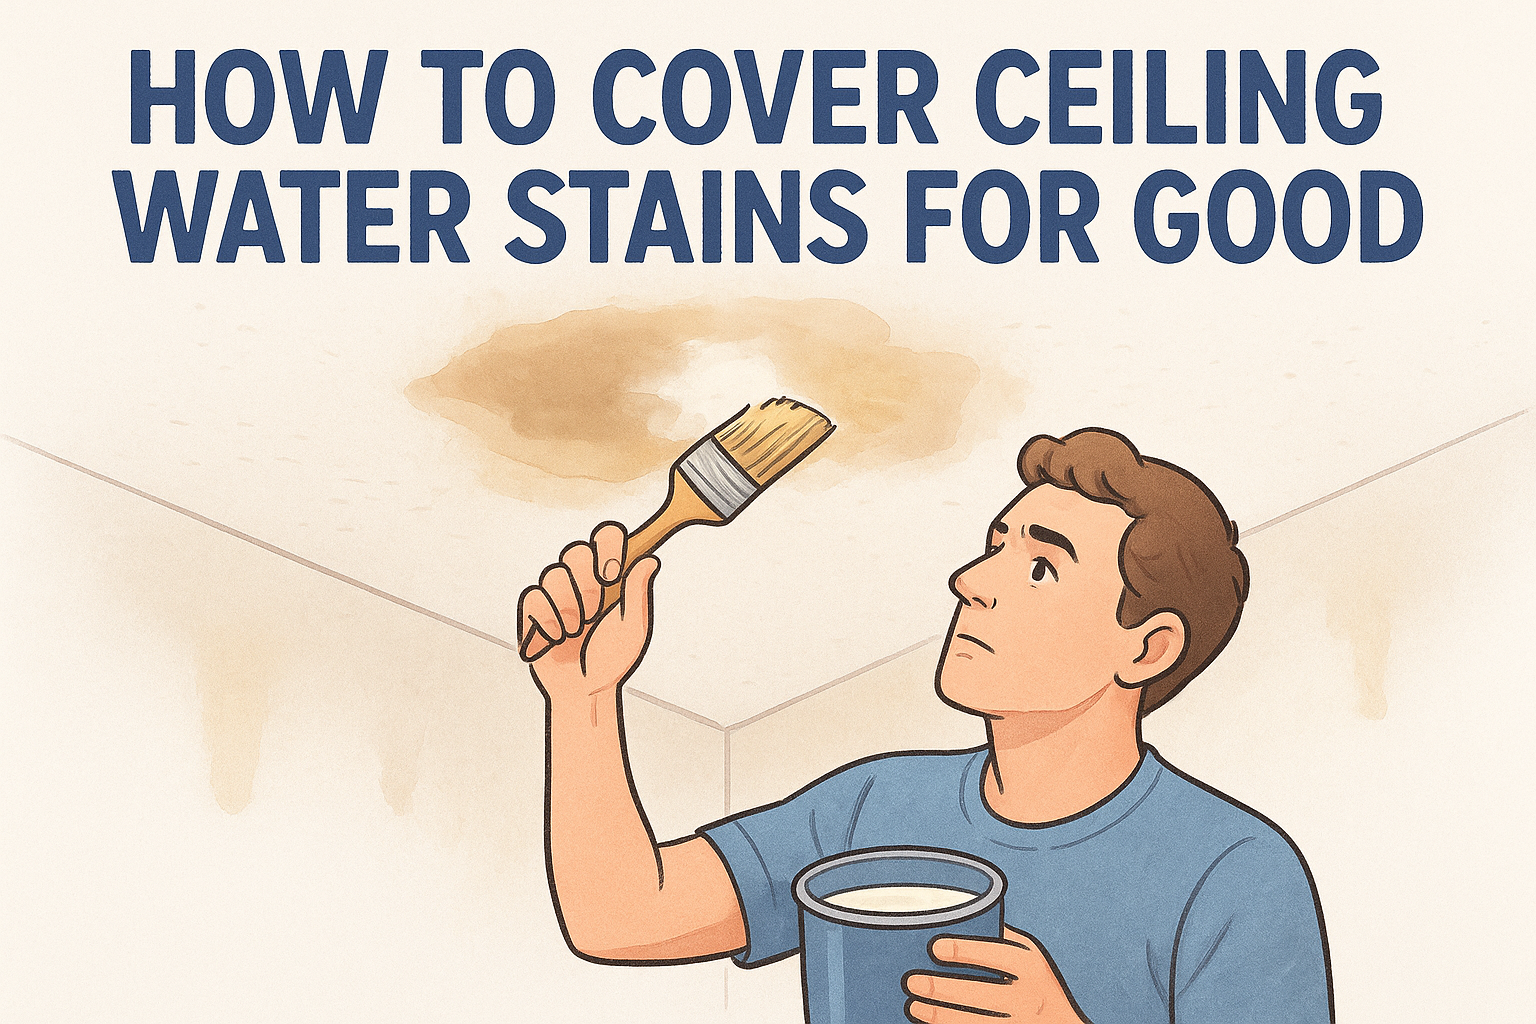
Learn how to cover ceiling water stains for good: fix the leak, prime with shellac, and repaint to stop bleed-through permanently.