
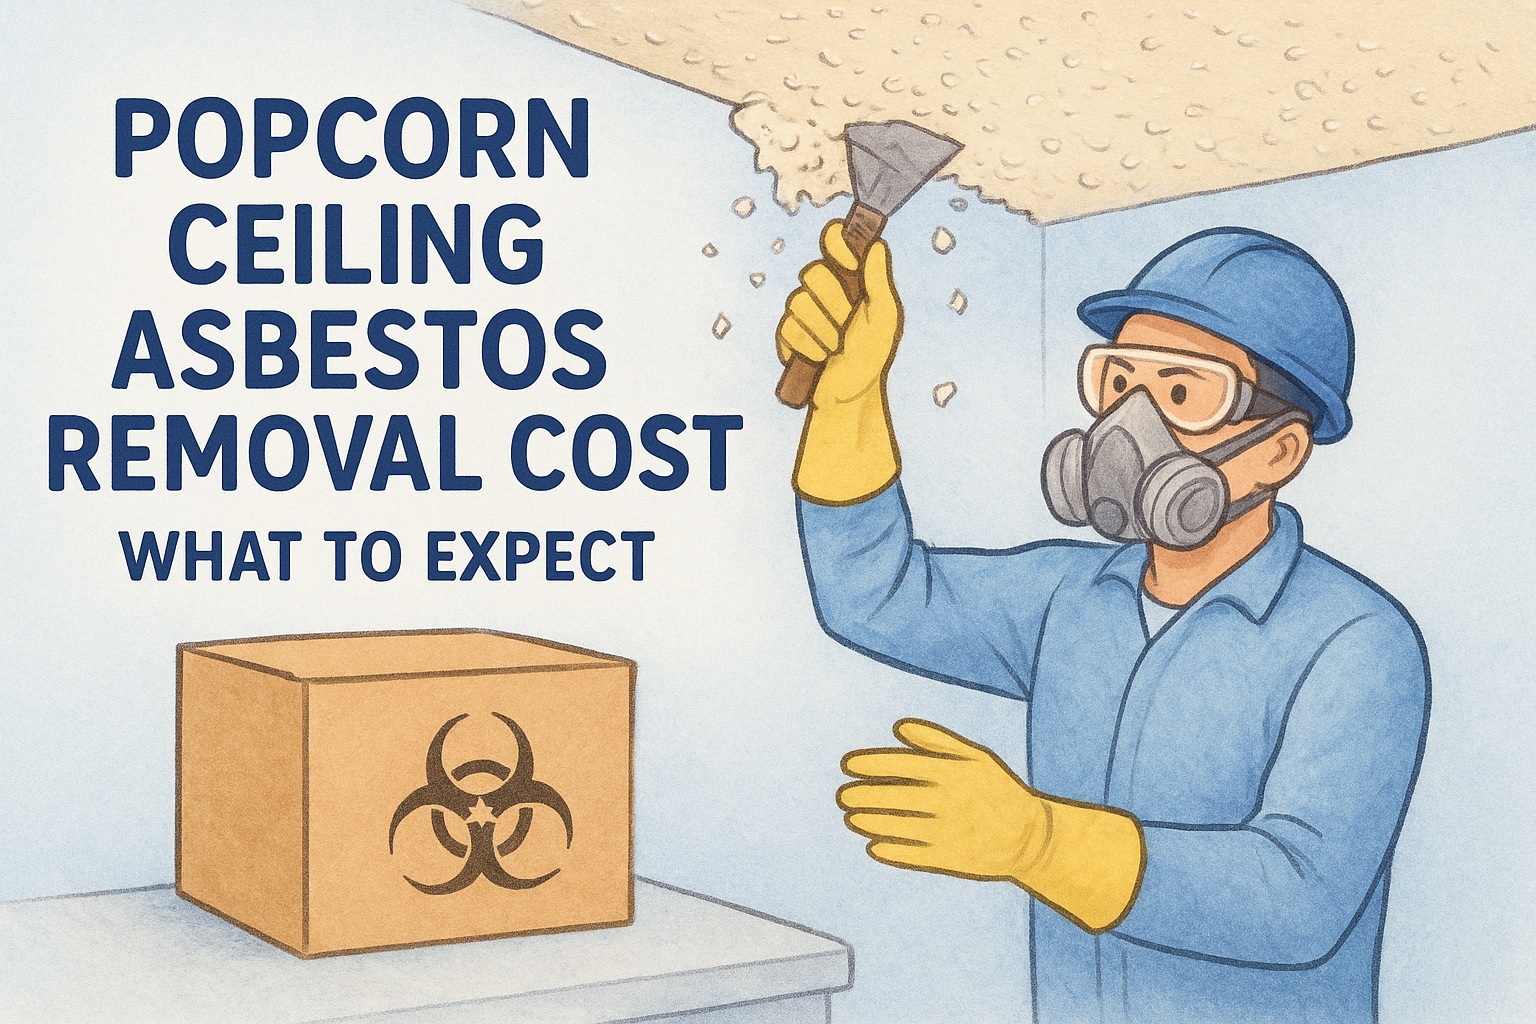
See the real popcorn ceiling asbestos removal cost per room and square foot, plus permits, testing, and disposal fees homeowners often miss.
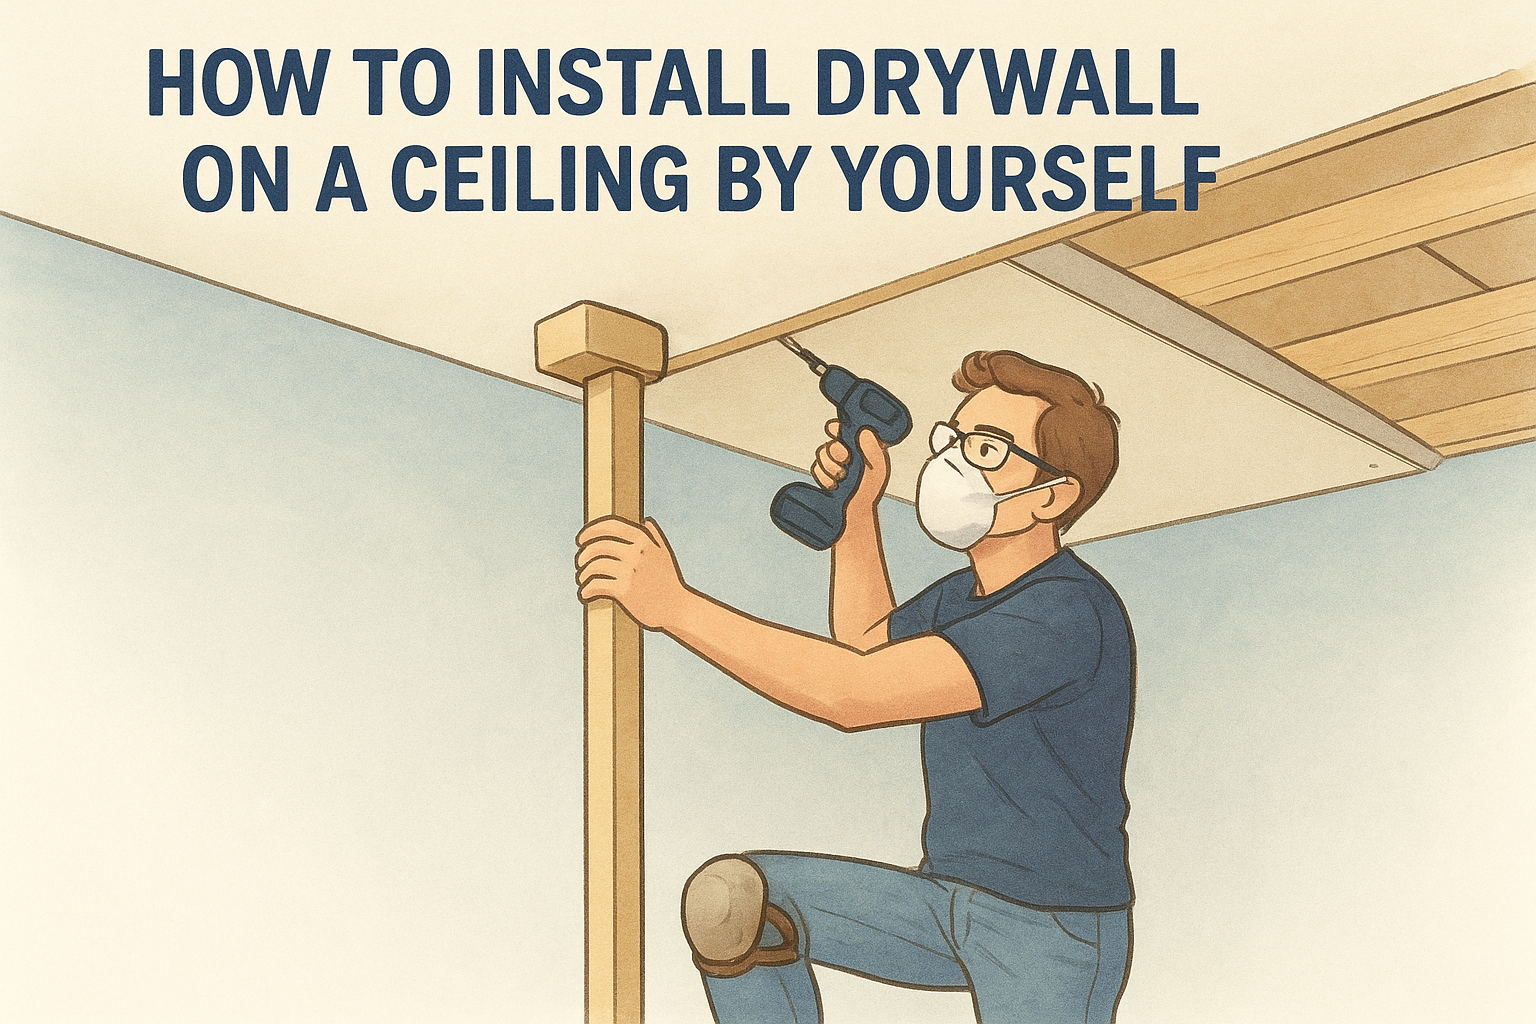
Learn how to install drywall on ceiling alone using a DIY T-brace, chalk lines, and screw patterns—plus when to call Super Shooters for help.
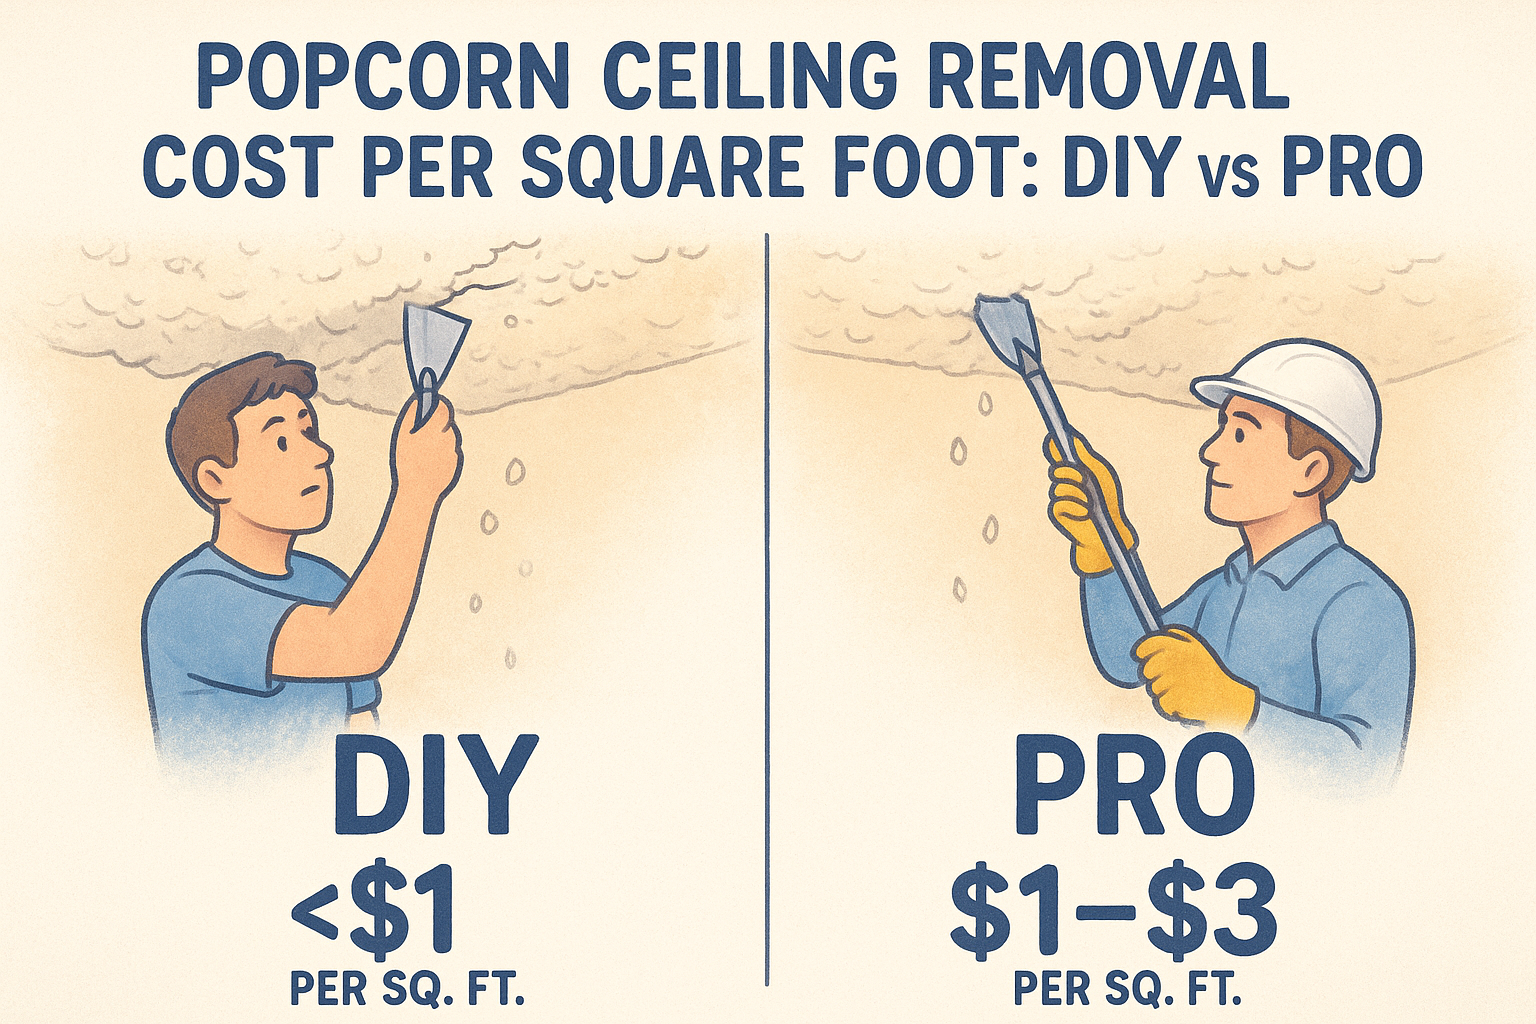
See how popcorn ceiling removal cost per square foot breaks down by room size, asbestos testing, and DIY vs. pro rates—plus real Sacramento Valley pricing.

Learn drywall taping tips and tricks for pro-smooth walls: mud consistency, tape embedding, feathering coats, and corner finishing techniques.
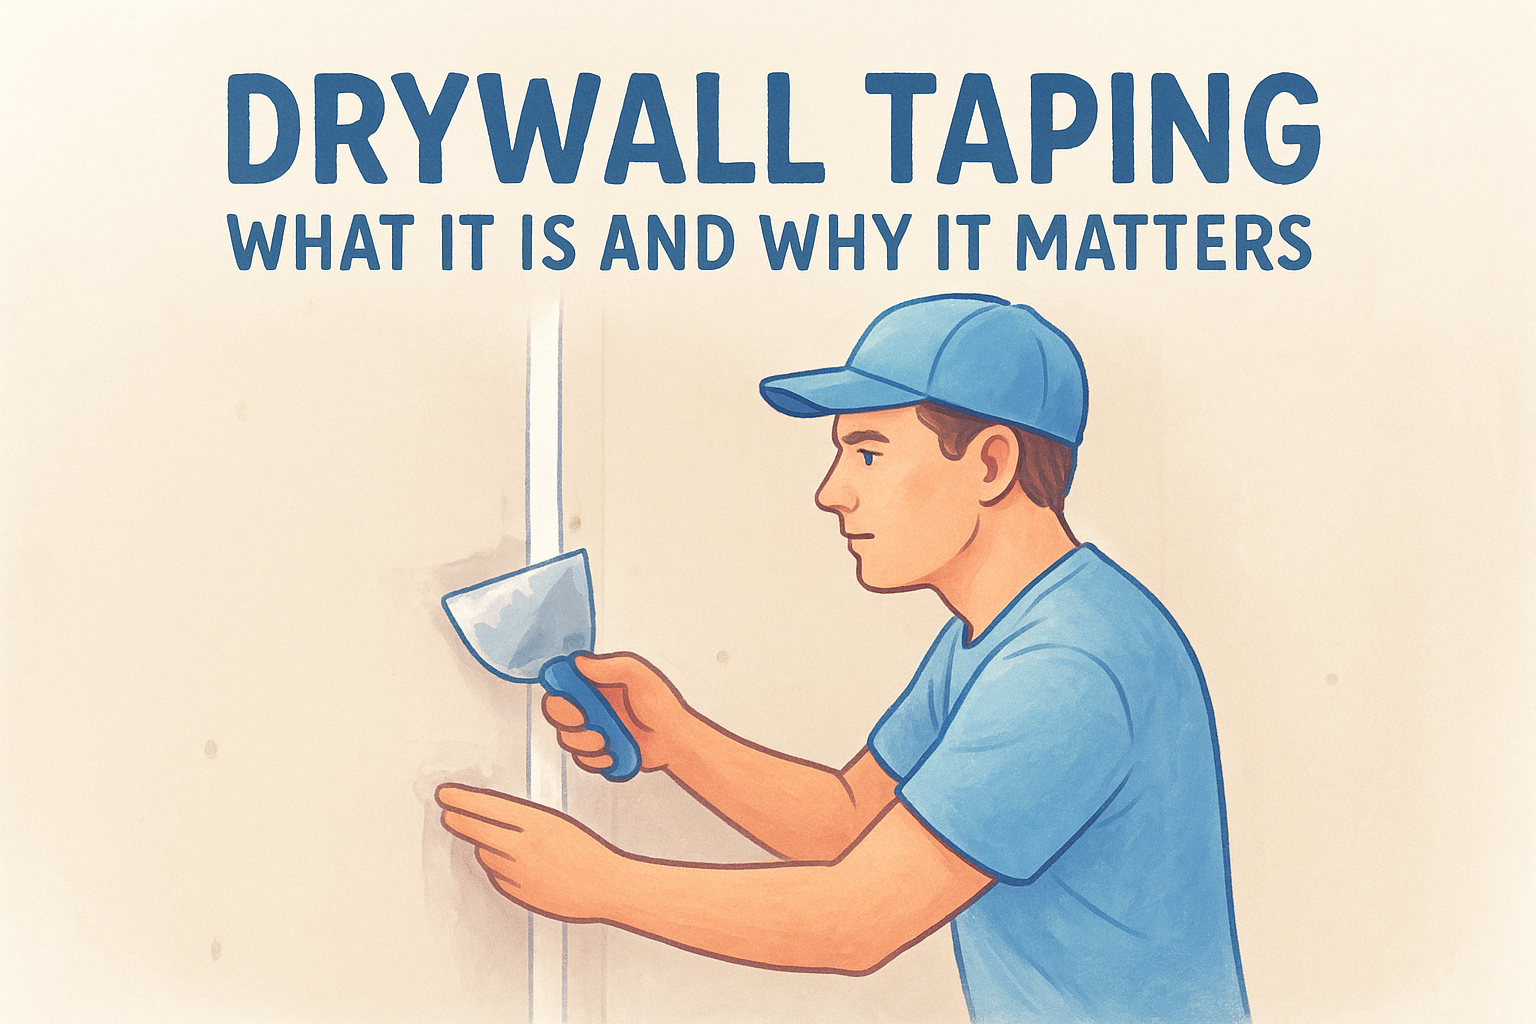
Learn what drywall taping is, the 5-step process, paper vs mesh tape, tools needed, common mistakes, and costs from Sacramento Valley pros.
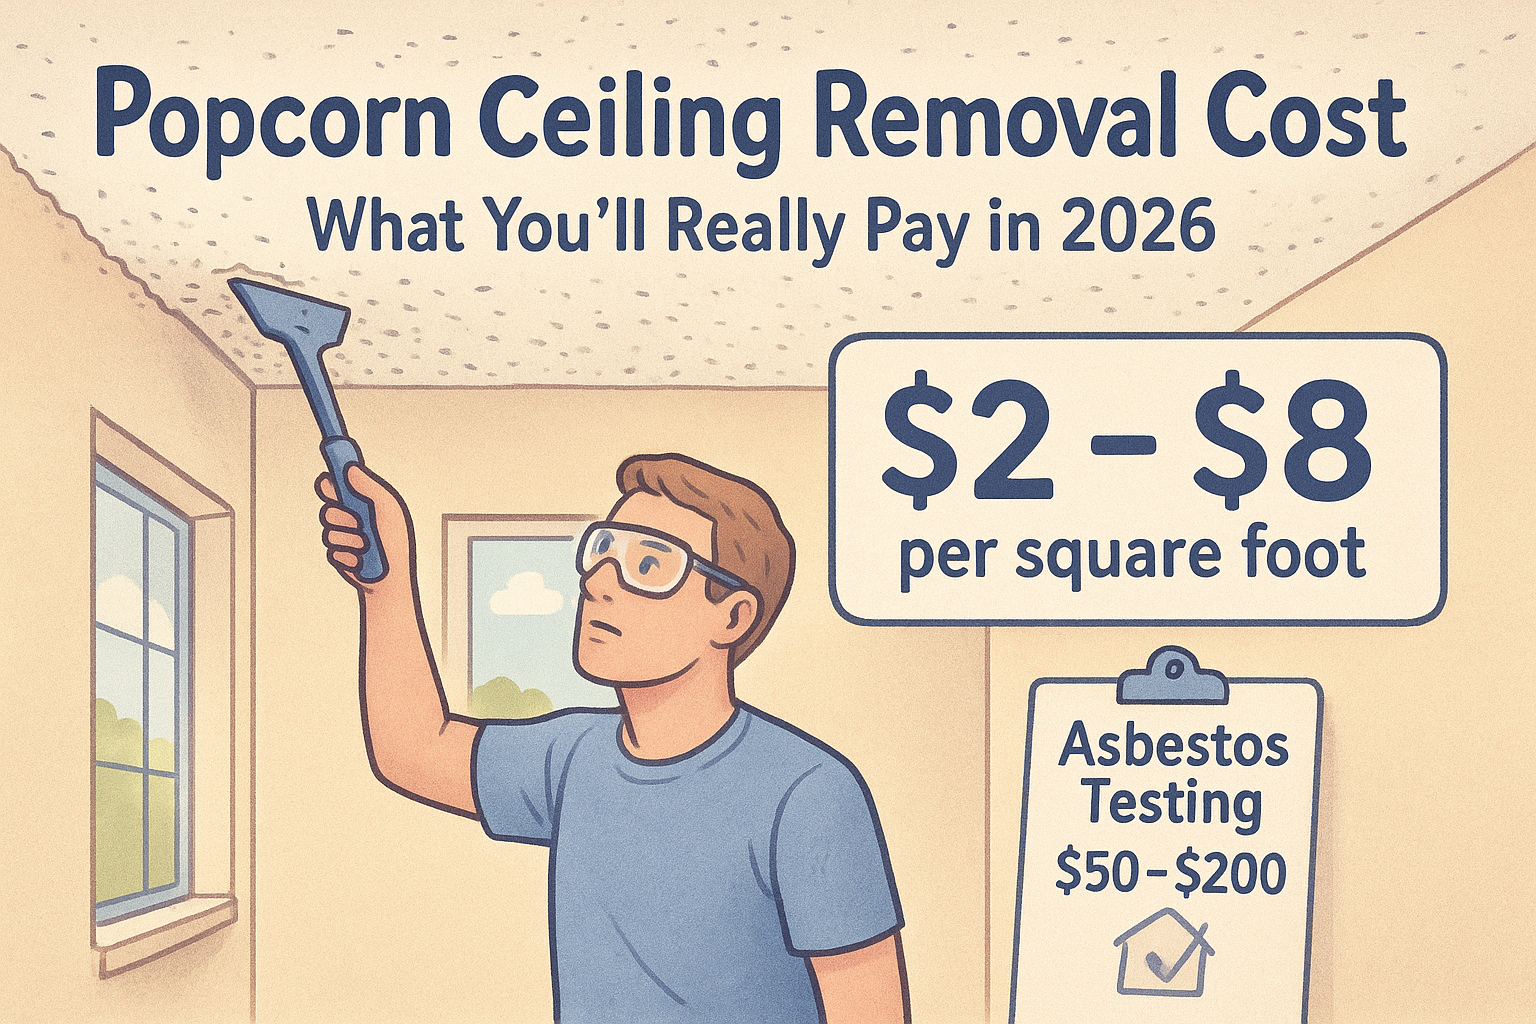
See real 2026 price ranges by room and learn how much does popcorn ceiling removal cost near Sacramento Valley, plus hidden fees to budget for.
Learn how to clean walls before painting with our step-by-step guide covering supplies, dust removal, TSP mixing, rinsing, and drying to prevent peeling.
Learn how many coats of drywall mud you need, the tools for each pass, drying times, finish levels, and common mistakes to avoid.
Learn how to tape drywall corners like a pro: prep tools, bed and feather coats, fix cracks, and get smooth finishes step by step.
