
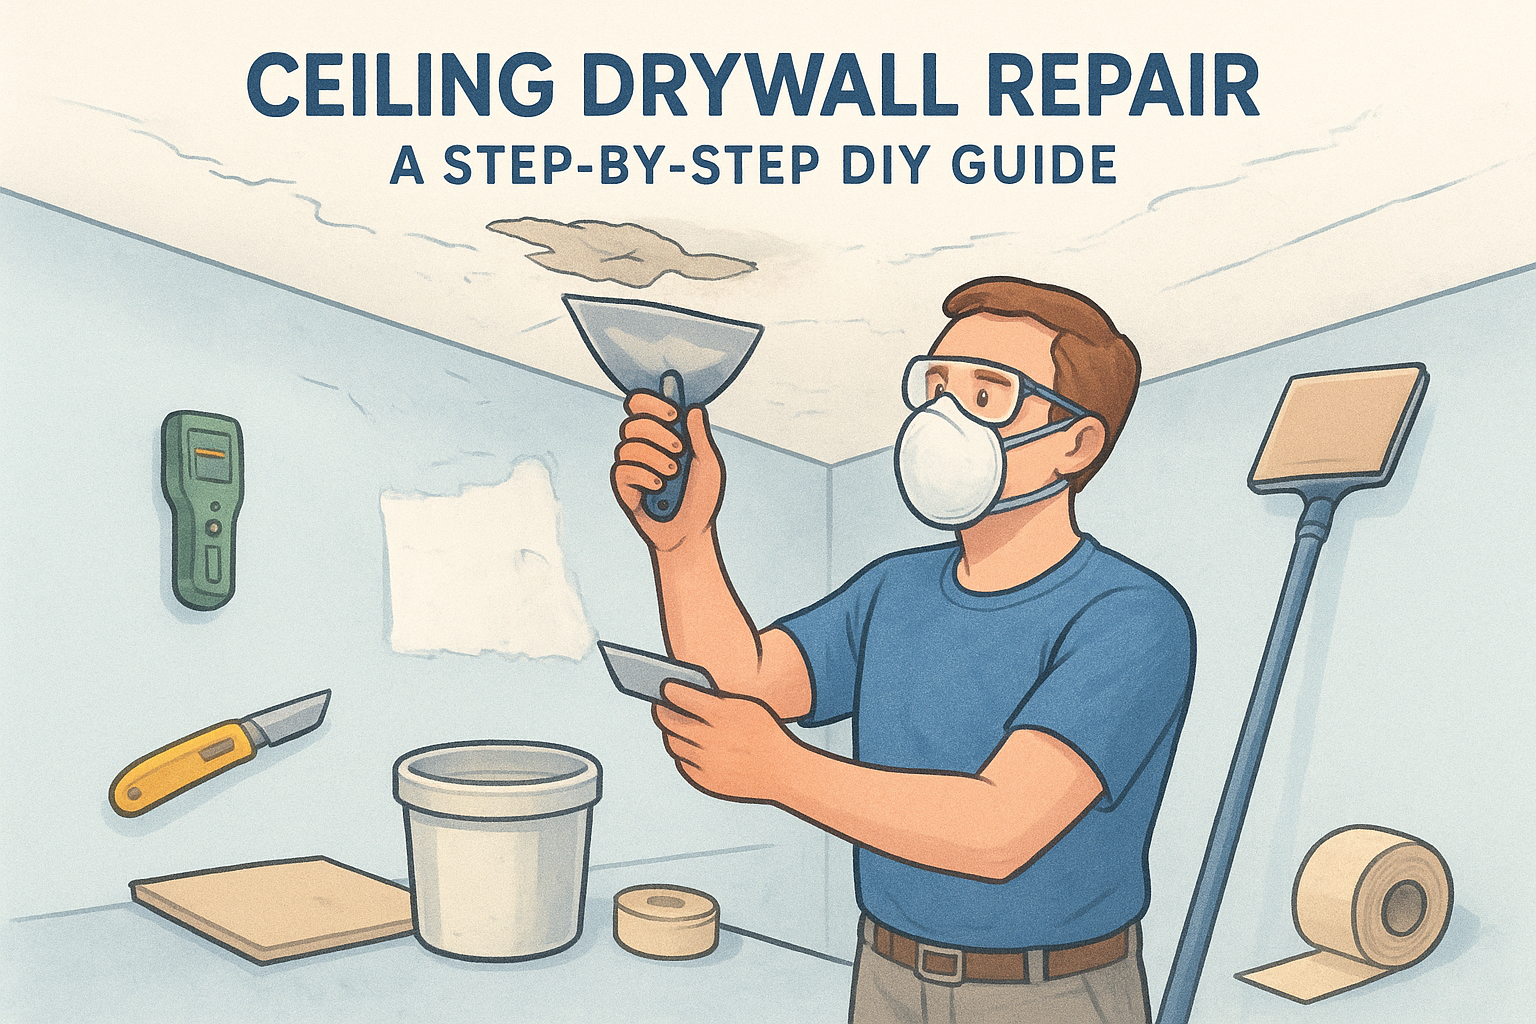
Learn step-by-step ceiling drywall repair: prep, patch, tape, texture & paint—plus when to call Super Shooters for Sacramento Valley jobs.

Find cheap drywall repair near me without overpaying: get real Sacramento Valley price ranges, quote tips, and vetting steps from Super Shooters.
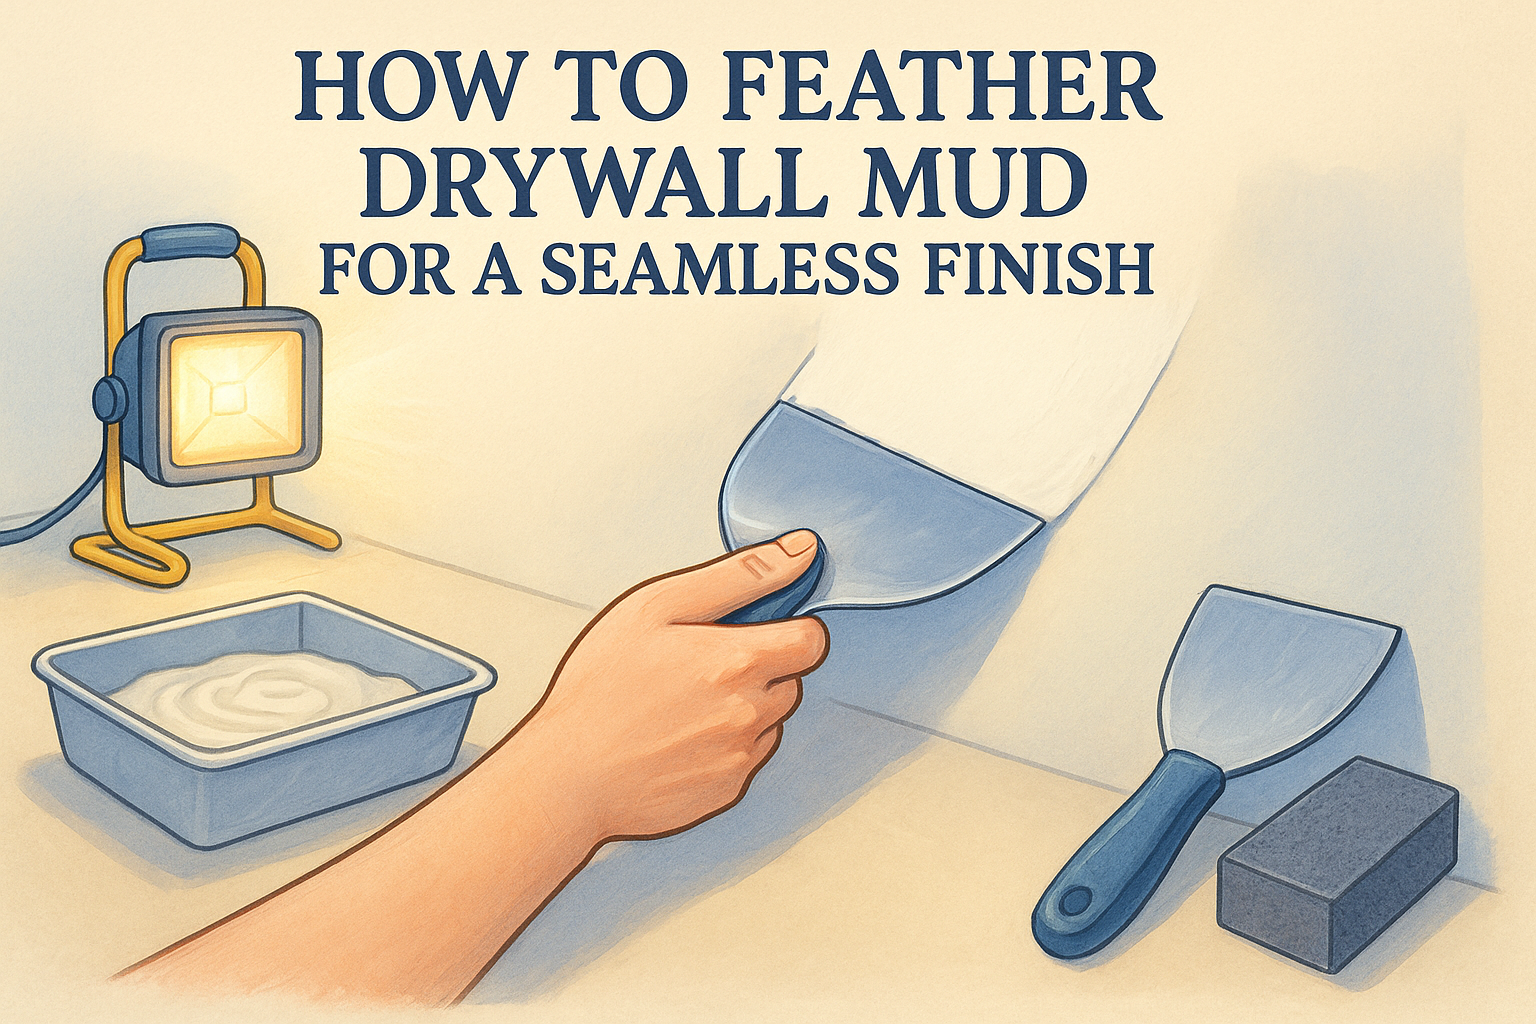
Learn how to feather drywall mud step by step—thin, widening coats, sanding tips, and raking-light checks for a seamless, ridge-free repair.
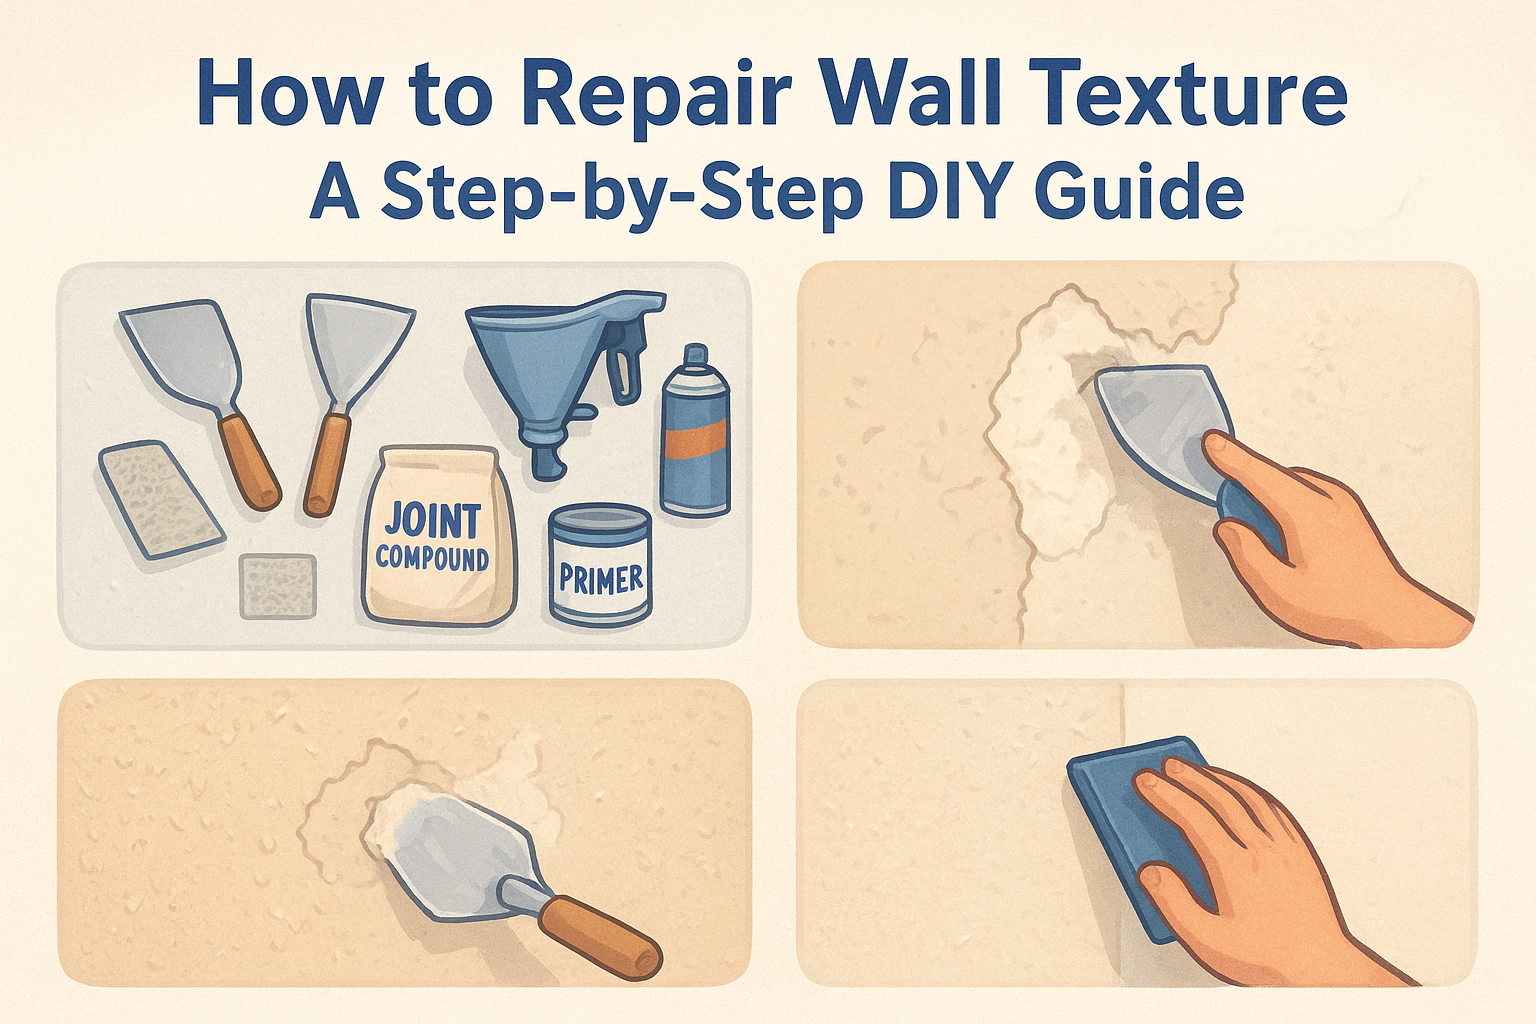
Learn how to repair wall texture step-by-step, from matching patterns to blending patches, plus when to call Super Shooters in Sacramento Valley.
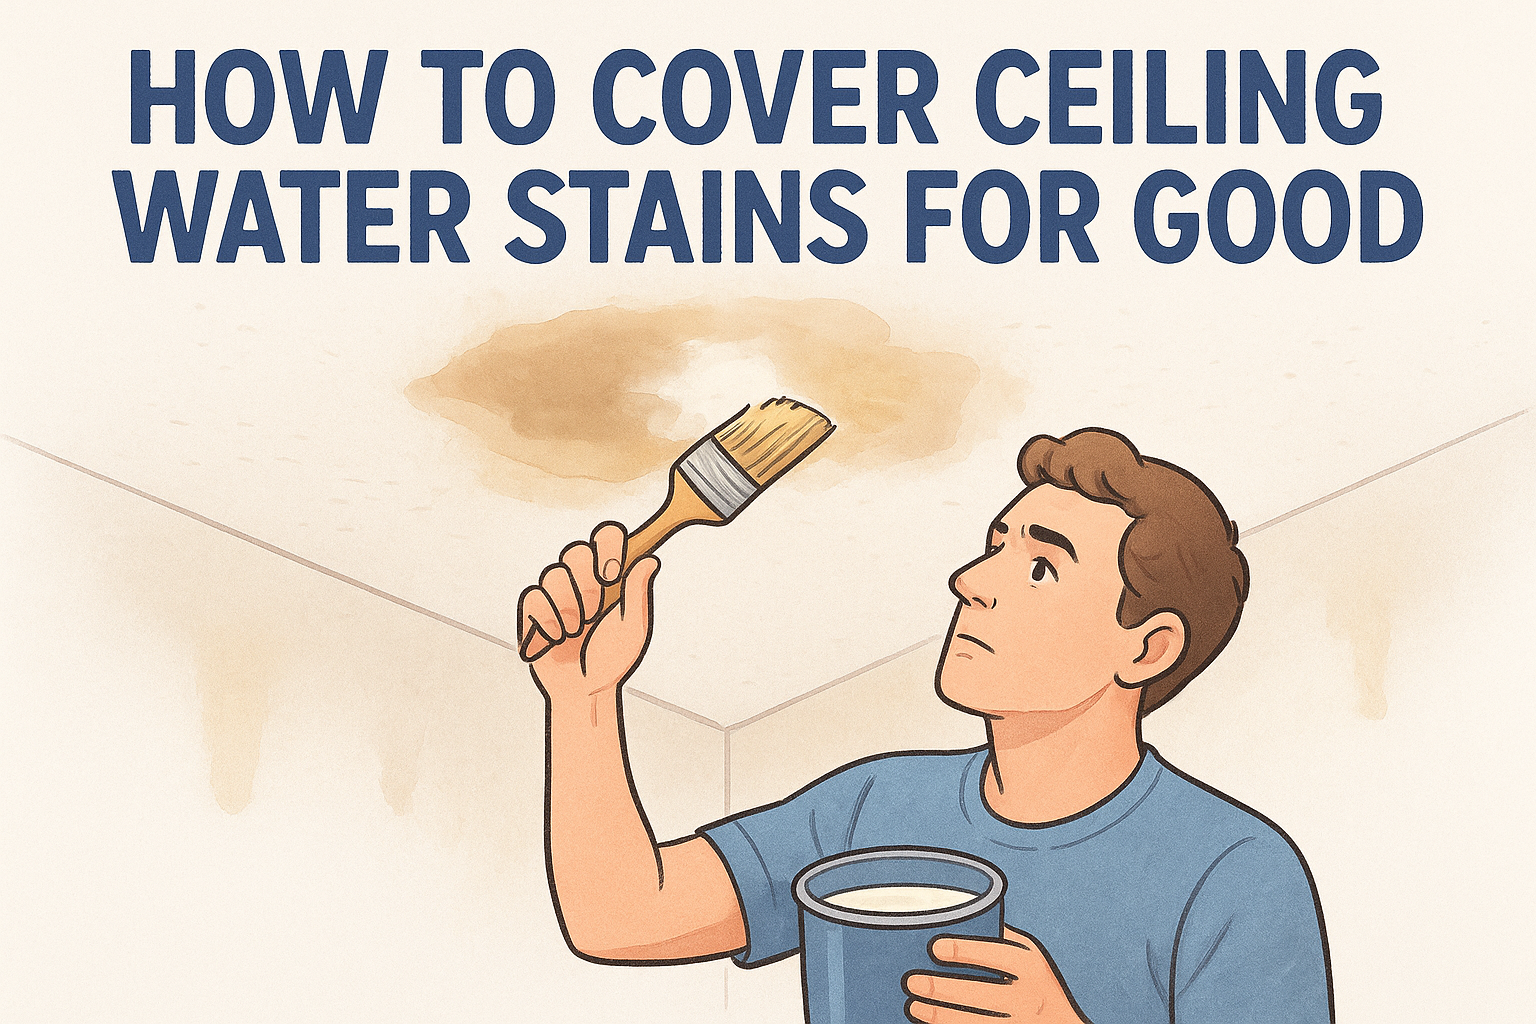
Learn how to cover ceiling water stains for good: fix the leak, prime with shellac, and repaint to stop bleed-through permanently.
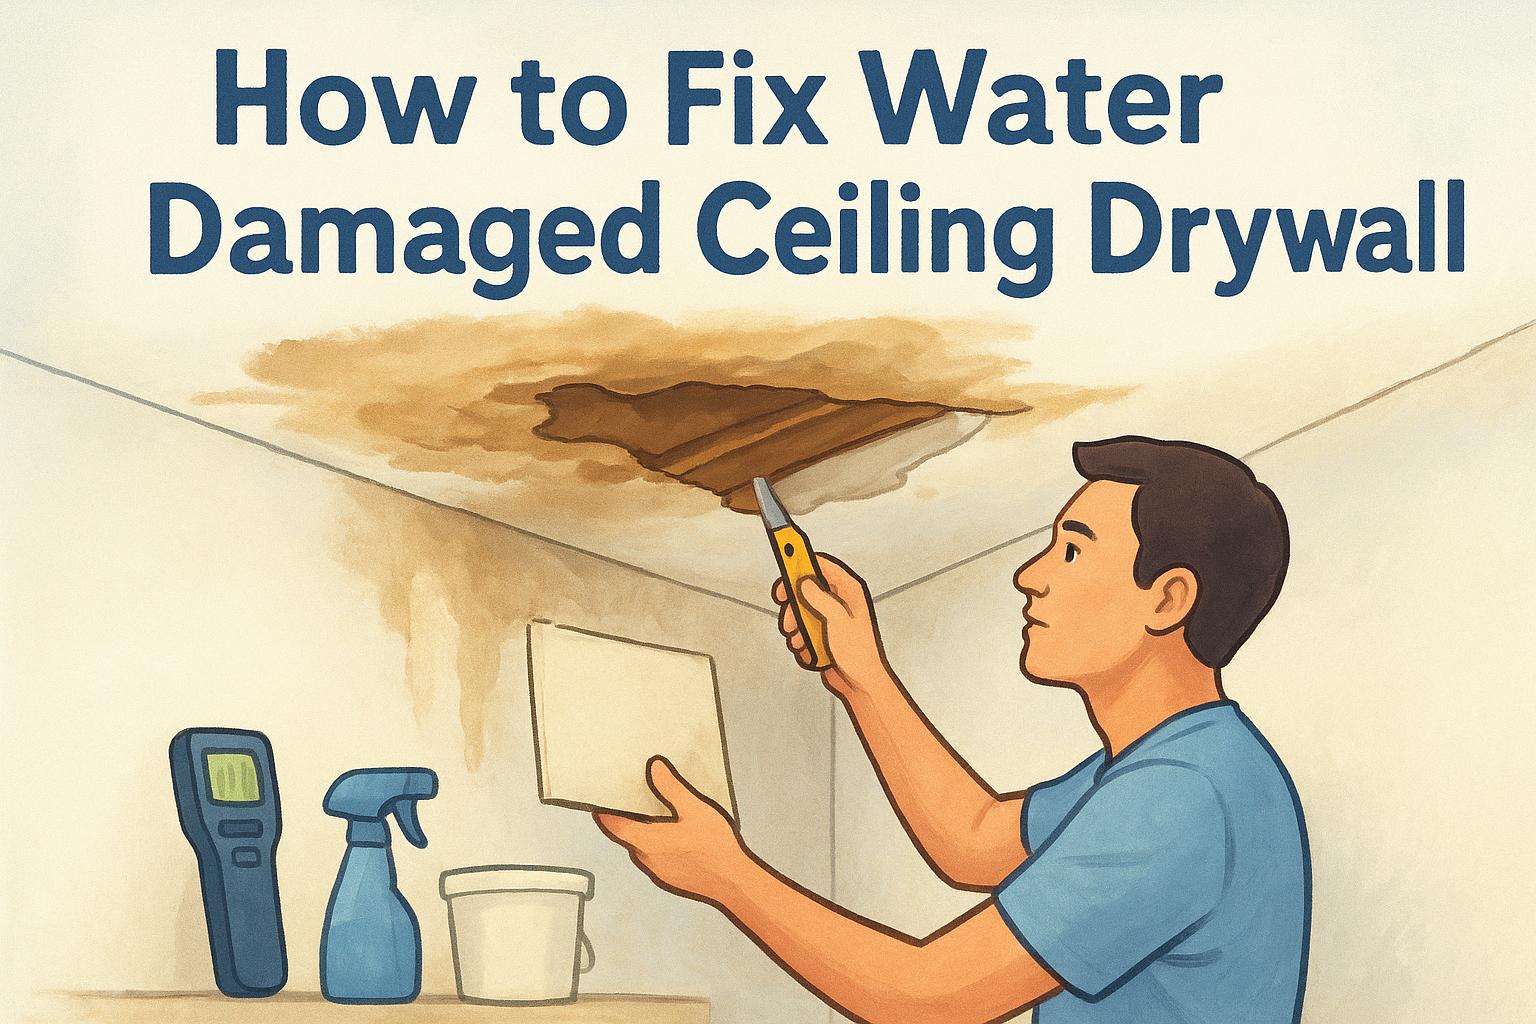
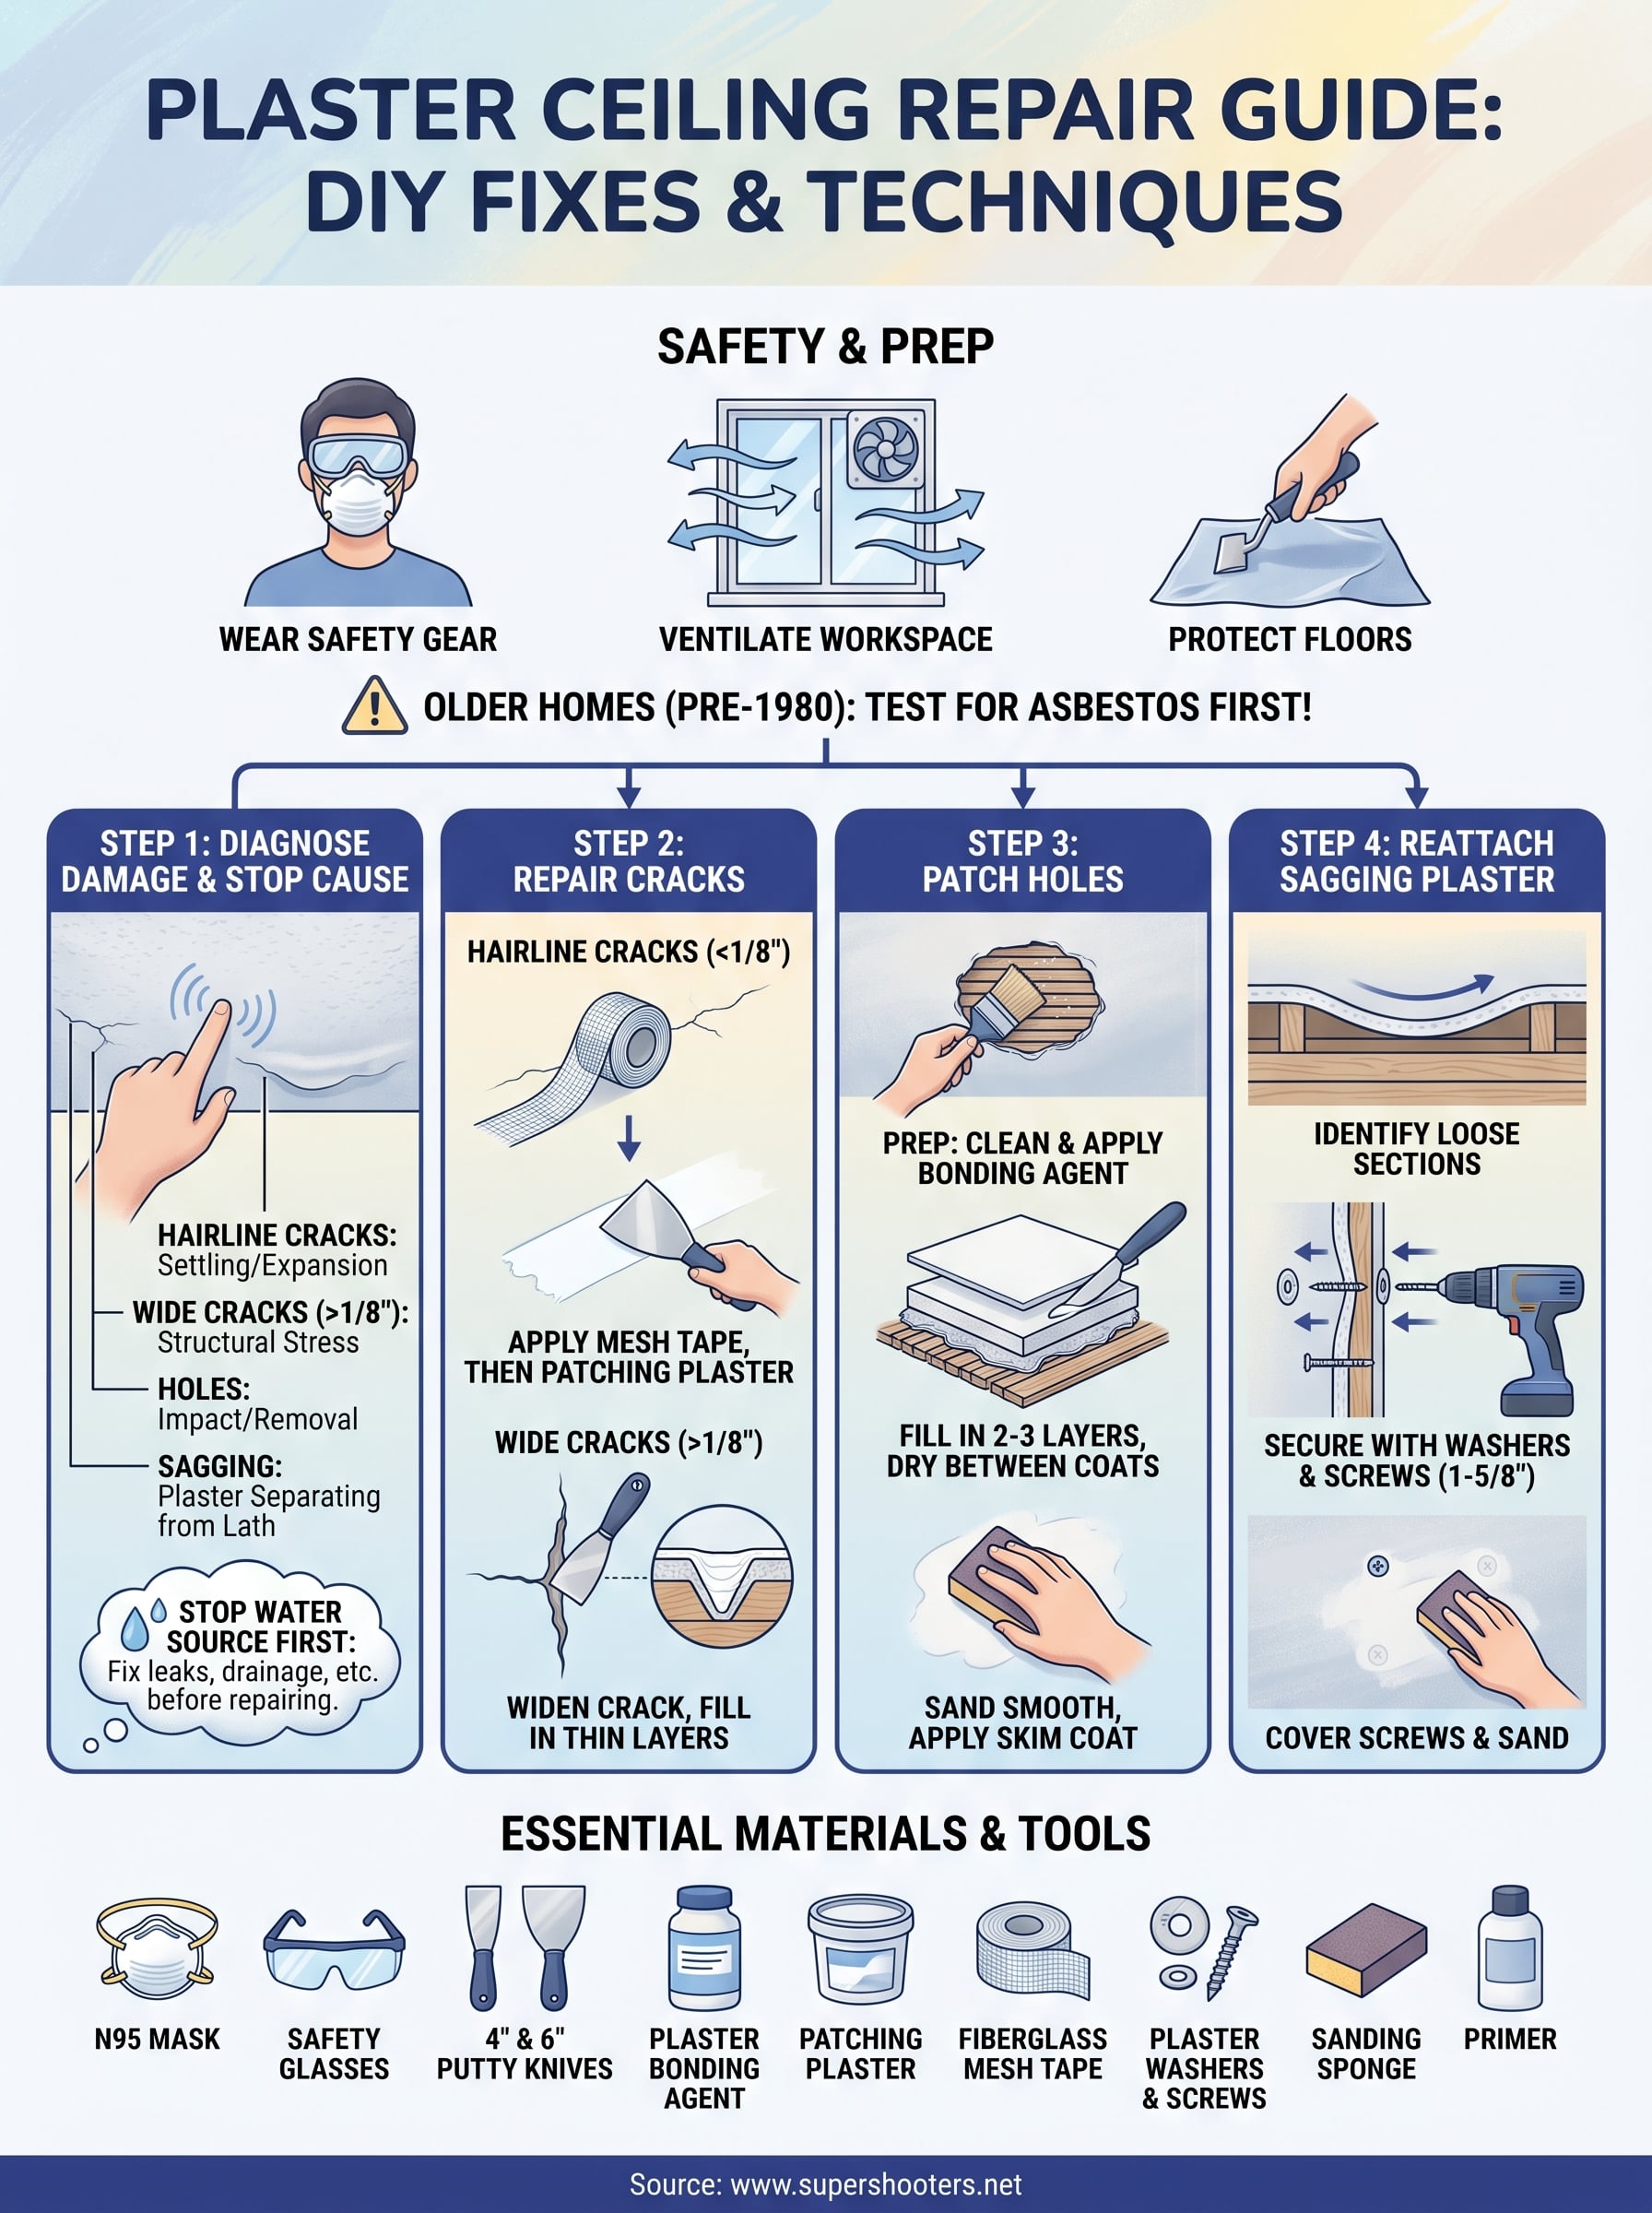
Learn how to fix water damaged ceiling drywall: find the leak source, cut and patch drywall, match texture, and know when to call Super Shooters.
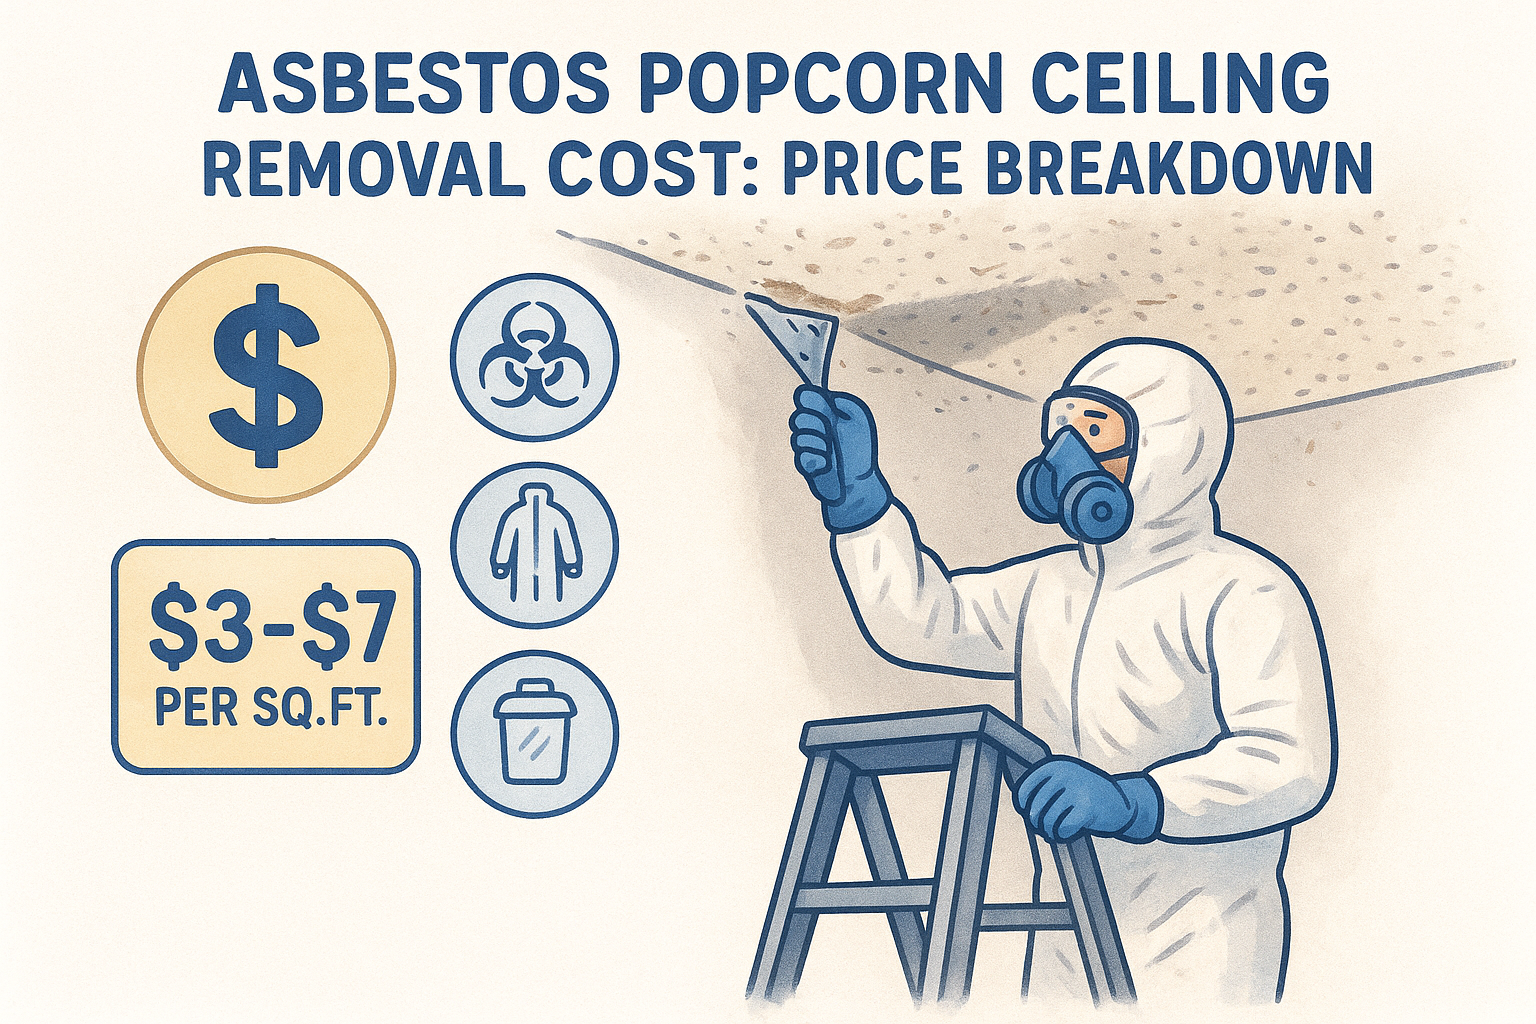
See a full asbestos popcorn ceiling removal cost breakdown by room, plus testing, disposal, and finishing fees. Get a free itemized estimate today.
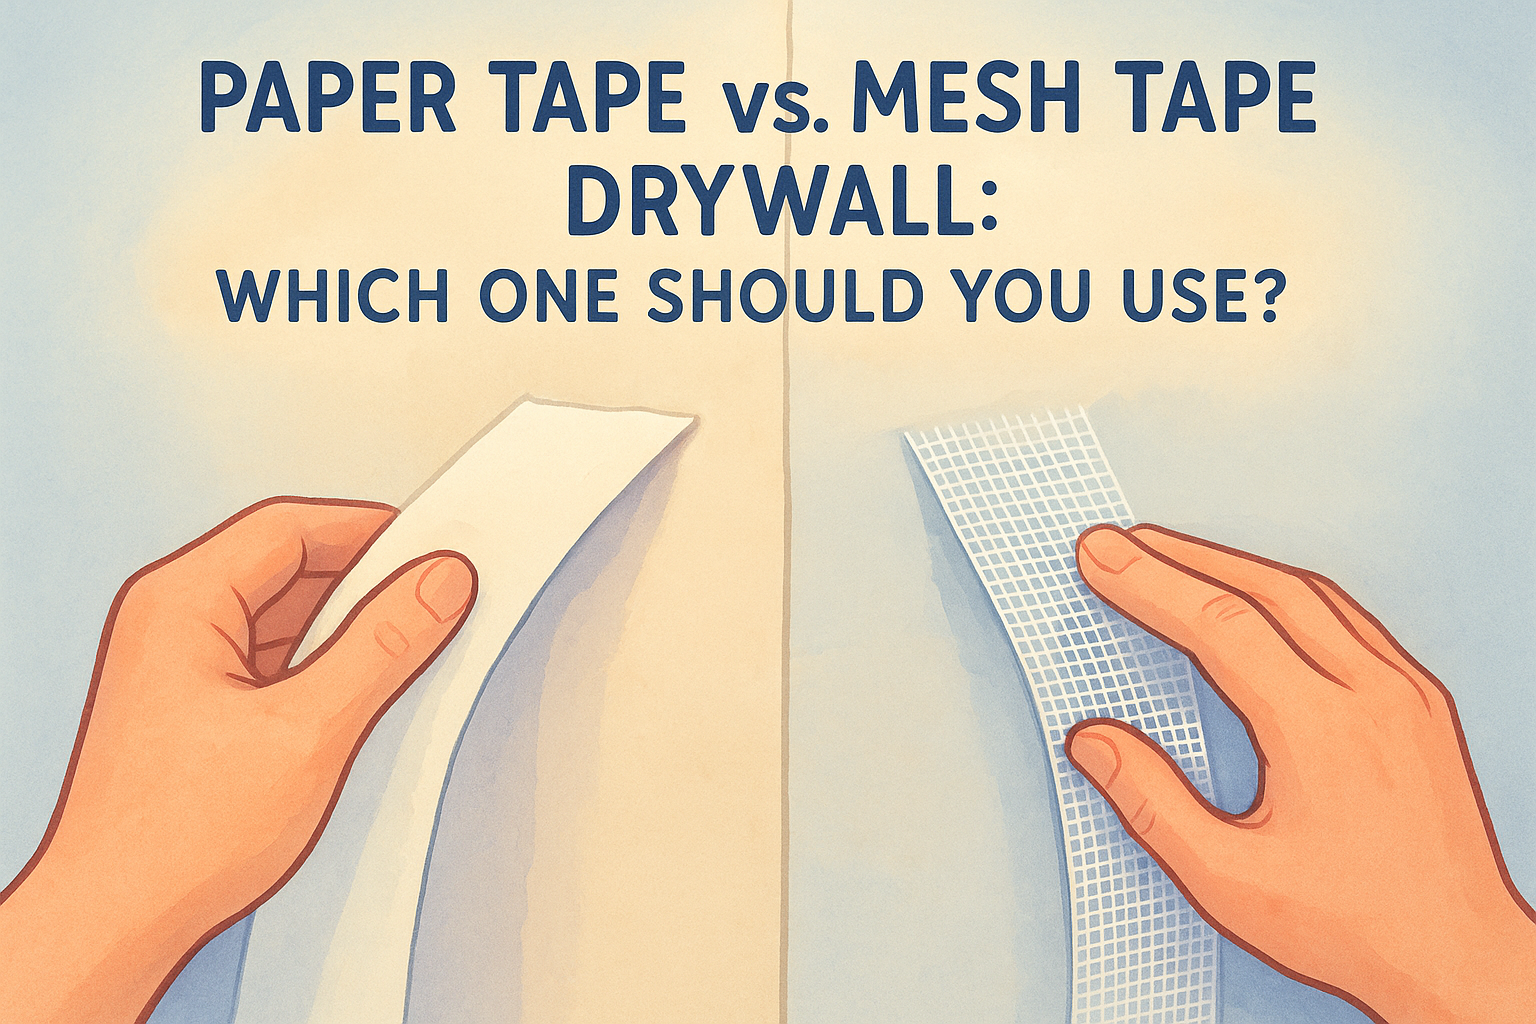
Paper tape vs mesh tape drywall: learn which suits butt joints, corners, and patches to avoid bubbling, cracking, and seam failures in Sacramento homes.
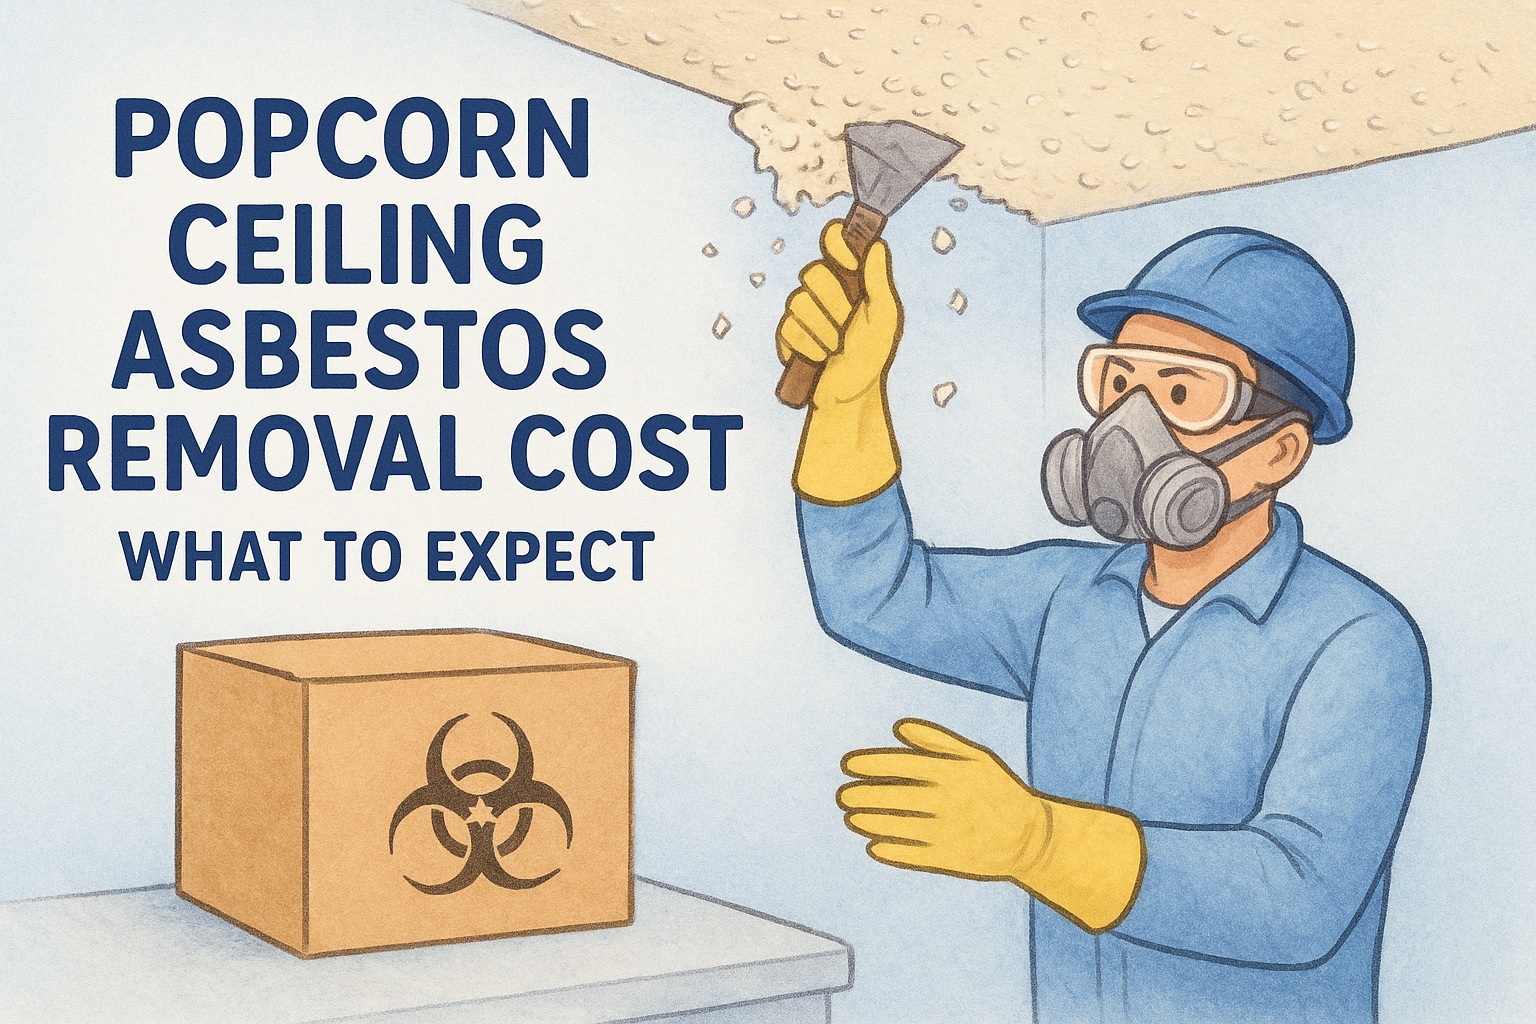
See the real popcorn ceiling asbestos removal cost per room and square foot, plus permits, testing, and disposal fees homeowners often miss.
