October 15, 2026
How to Choose and Install a Drywall Patching Panel
To fix a hole with a drywall patching panel , buy a panel that matches your wall's thickness (usually 1/2 inch), cut out the damaged area, add wood backing behind the opening, screw in a piece cut from the panel, then tape, mud, sand, and prime. Holes up to 6 inches need no backing at all. Plan on a weekend, because joint compound needs drying time between coats, but the tools are basic.
Most people get stuck in the store aisle. Panels come in two thicknesses, the right repair method changes with the size of the hole, and one wrong guess leaves a patch that shows through the paint or cracks along its edges within a few months. Failed patches almost always share the same three causes: mismatched thickness, no backing, and compound troweled on thick and lumpy.
Super Shooters has repaired walls and ceilings across the Sacramento Valley for over 30 years, and patching holes is routine work for our crews. This guide helps you pick the right panel, then walks through five steps, from marking the cut to priming the finished repair, with the same details we use on the job.
What to know before you buy a patching panel
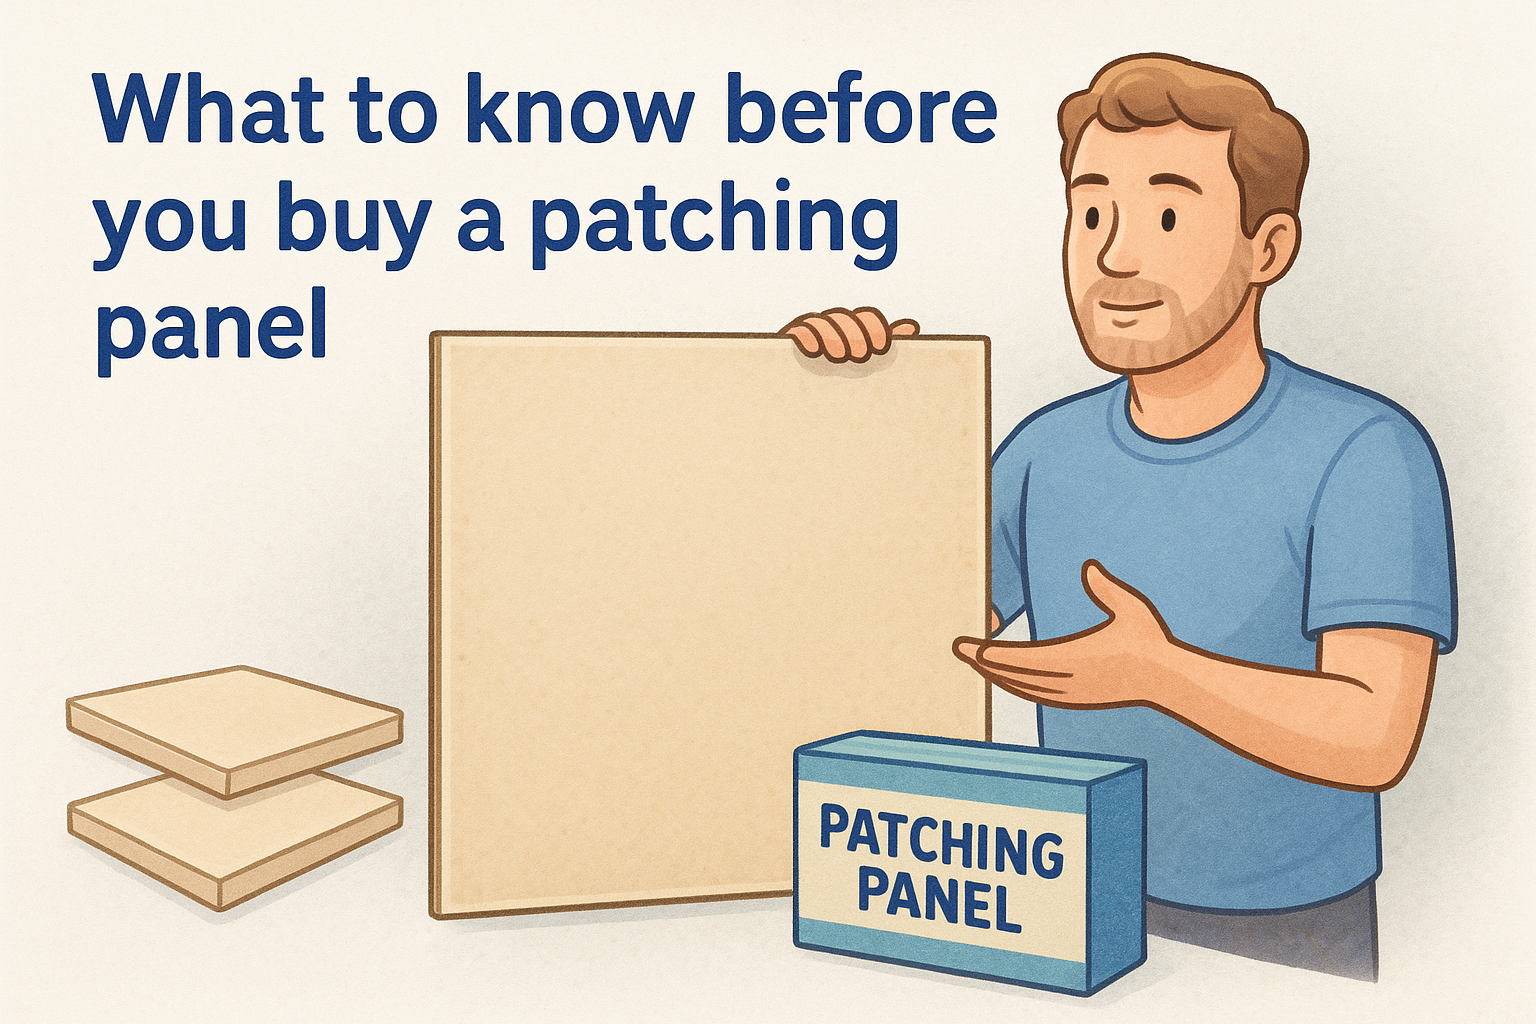
A drywall patching panel is a small, pre-cut piece of real gypsum board, sold so you do not need to buy a full 4 by 8 sheet for one hole. The standard size is about 2 by 2 feet, and you choose between 1/2 inch and 5/8 inch thickness . This section covers how to pick the right panel and which repair method fits your hole.
What a patching panel is and what it replaces
Sheetrock Brand Patch & Repair Panels, for example, measure 23-5/8 by 23-5/8 inches and come in both thicknesses. Other manufacturers, including Gold Bond, sell similar repair panels. They are sold as lightweight and easy to cut, which suits a one-person weekend job.
You can also use a small piece of drywall for patching, such as an offcut from a remodel. That works if you know its thickness. Scraps cost nothing, but they are often the wrong thickness , chipped at the edges, or damp from storage. A panel gives you a known thickness and clean factory edges , and that saves the most time at the finishing stage.
Do patching panels work? Yes, because they are drywall. A panel gives you a rigid, full-thickness fill that is stronger than the self-adhesive mesh patches made for small holes. It still needs backing, tape, and compound to disappear into the wall, and those steps are what the rest of this guide covers.
Choose the right thickness and size
Match thickness first. Most interior walls in modern houses use 1/2 inch drywall , while 5/8 inch shows up on ceilings, garage walls, and fire-rated assemblies. Measure the broken edge of the hole with a tape, or pull off an outlet cover plate and measure the board edge in the gap.
Match the thickness first, because joint compound can hide a seam but not a patch that sits 1/8 inch proud of the wall.
Size comes second. A 2 by 2 foot panel covers most household damage, from doorknob dents to a failed plumbing access cut. For holes under 2 inches, skip the panel. Spackle or a self-adhesive mesh patch is faster. Home centers stock the panels, and the label states size and thickness. If a search for a drywall patching panel near you turns up only 1/2 inch stock, call a local drywall supplier.
Fire-rated walls need extra care. If the wall separates a garage from the house, match the original board's type and thickness , which is often 5/8 inch Type X. Check the board edge or ask a licensed contractor before you patch, because a thinner patch weakens the fire protection the wall was built to give.
Match the method to your hole size
The right method depends on the size of the damage, not on the panel. This table shows which approach fits and how the panel gets used.
| Hole size | Best method | How the panel is used |
|---|---|---|
| Under 2 in. | Spackle or self-adhesive mesh patch | Not needed |
| 2 to 6 in. | California patch | A patch with a paper flange is cut from the panel |
| 6 to 20 in. | Backed patch | A piece cut from the panel is screwed to backing strips |
| Stud to stud, up to about 23 in. tall | Cut to the studs, screw directly | The panel is trimmed to fit the stud bay |
| Larger than 2 ft | Section from a full sheet | The panel is too small |
One panel covers a lot of ground, but not everything. The practical limit is about 20 inches on the longest side , which leaves room to cut a clean piece from a 23-5/8 inch square. When studs sit 16 inches apart, the open space between them is 14-1/2 inches , so a panel trimmed to that width fits a stud bay up to about 23 inches tall. Bigger damage calls for a section of full sheet or a professional.
Gather your tools and materials
Collect everything before you cut, because setting-type compound will not wait while you hunt for a knife. This list covers a backed patch, and a California patch uses the same items minus the backing and screws.
- Drywall patching panel in the thickness of your wall
- Furring strips (1x2 or 1x3) or scrap lumber for backing
- 1-1/4 inch coarse-thread drywall screws and a drill or screw gun
- Drywall saw, utility knife with spare blades, tape measure, speed square, pencil
- Stud finder
- Self-adhesive fiberglass mesh tape, or paper tape
- Setting-type joint compound (20 or 45 minute) and lightweight premixed compound
- 6, 10, and 12 inch taping knives and a mud pan
- Medium and fine sanding sponges, dust mask, drop cloth
- Drywall primer and matching paint
Step 1. Check behind the wall and mark the cut
Before you cut anything, locate the studs, wires, and pipes behind the damage, then mark a clean outline around it. This takes about ten minutes and prevents the two costly mistakes in any drywall patching panel job: a cut wire and a patch with nothing to screw into.
Locate studs, wires, and pipes
Run a stud finder across the area and mark each stud edge in pencil. Studs usually sit 16 inches apart, sometimes 24. Wires attach to studs and run to outlets and switches, so damage within a foot of either calls for caution. Switch off the breaker for that circuit, and keep your saw shallow , since 1/2 inch is all the board you need to cut through.
Shut off the circuit and scan the wall before you cut, every time.
Older homes add a second check. If your house was built before the 1980s , wall texture, joint compound, and ceiling spray can contain asbestos, and paint from before 1978 can contain lead. Do not cut or sand suspect material until it has been tested. The EPA's asbestos page explains the risks. If you have an acoustic or popcorn ceiling in the Sacramento Valley, our asbestos acoustic ceiling removal crew handles the removal of asbestos-containing ceilings.
Trim the damage and mark the outline
Work through these steps in order:
- Cut away loose paper and crumbled gypsum with a utility knife until the edge of the hole is solid board.
- Pick your method from the table. Holes up to 6 inches get a California patch, so skip ahead to the California patch part of Step 2.
- For larger holes, hold a speed square against the wall and draw a rectangle that encloses the damage with about 1 inch to spare on each side.
- If a stud sits within a few inches of one side, extend that side to the stud's center line. The cut edge then lands on the center of the stud, which leaves 3/4 inch of wood to screw the patch to.
- Measure the board thickness at the cut edge one more time and confirm it matches your panel.
Square lines matter more than they seem. A true rectangle makes the panel cut easy and keeps the seams narrow, so you spend less time with compound later.
Step 2. Cut the opening and the patch
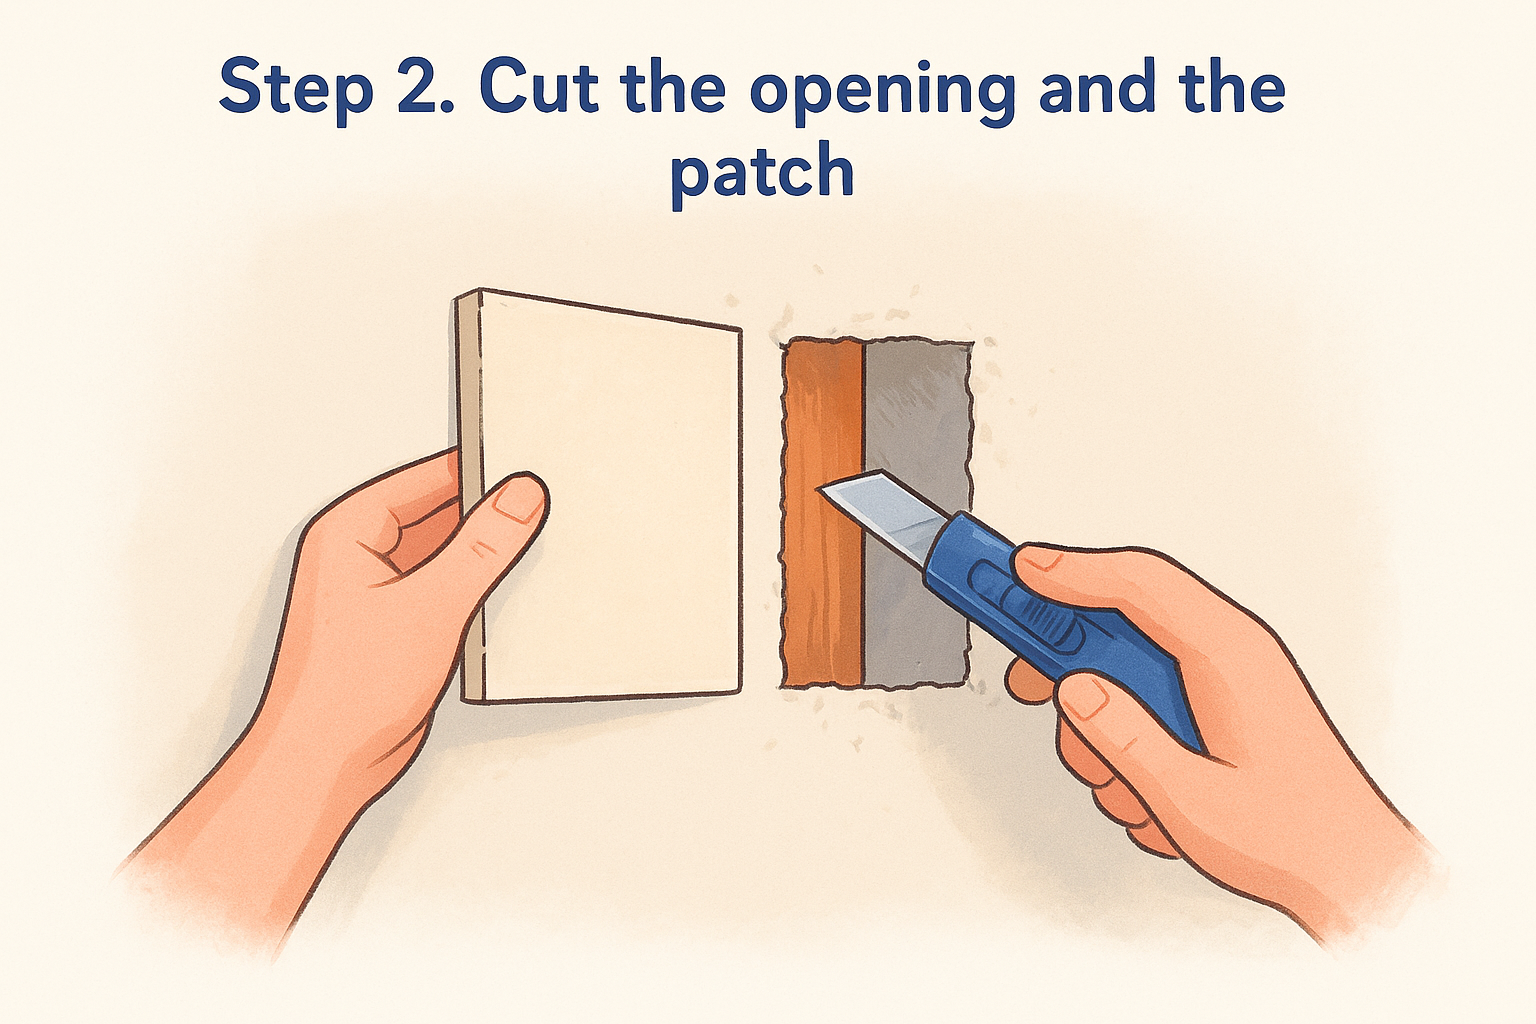
Cut the opening and the patch to match each other, and add backing if the hole is over 6 inches. A backed patch handles holes from 6 to about 20 inches, and a California patch made from the panel handles holes up to 6 inches.
Backed patch for holes over 6 inches
Score along your marked lines with a utility knife, then cut through with a drywall saw. Scoring first keeps the face paper from tearing past the line. Lift out the damaged piece and vacuum the dust from the cavity so you can see the wall's back side clearly.
Now add backing on every side that does not land on a stud. Cut furring strips a few inches longer than the side they support. Drive a screw partway into each strip as a handle, slide the strip into the opening so half sits behind the old drywall , and screw through the wall board into it every 6 inches. Leave the other half exposed. That exposed half is what the patch will screw into.
Backing is what makes a patch last, so never skip it on a hole over 6 inches.
Then cut the patch. Measure the opening's height and width in two or three places, because walls are rarely square, and transfer the smaller numbers to the panel. Score with the knife, snap along the line, and cut the paper on the back. The piece should be snug, with no more than a 1/8 inch gap on any side. A tight fit means less compound and a stronger seam.
California patch for holes up to 6 inches
A California patch turns a piece of the panel into a self-supporting patch with its own paper flange, so it needs no backing. Follow these steps:
- Mark a square that fully encloses the damage, up to 6 inches wide.
- Cut a square from the panel that is 2 inches larger than that square in both width and height.
- On the gypsum side, score about 1 inch in from every edge, cutting through the gypsum but not the paper on the other face.
- Snap the gypsum strips off and peel them away, leaving a 1-inch paper flange on all four sides.
- Hold the patch over the damage, trace around the gypsum core (not the paper), and cut the opening along that line.
Test the fit before moving on. The core should drop into the opening with a gap of no more than 1/8 inch, and the flange should lie flat against the wall. If the opening is too tight, shave the opening with the knife, not the patch, so the flange stays intact.
Step 3. Fasten the patch and fill the gaps
Screw a backed patch to its backing every 6 inches, or bed a California patch in joint compound, then confirm the surface sits flush before you tape. A flat start means less compound and less sanding at the end of your drywall patching panel repair.
Set the patch in place
For a backed patch, drop the panel piece into the opening and drive 1-1/4 inch drywall screws through it into the backing strips and any studs. Space the screws about 6 inches apart around the perimeter. Set each head just below the surface without breaking the paper. A screw that tears the paper holds nothing, so back it out and drive a new one an inch away.
For a California patch, spread a thin, even layer of joint compound on the back of the paper flange. Press the patch into the opening and smooth it from the center outward with a 6-inch knife. This squeezes out the excess compound and leaves a flange thin enough to disappear later. Wipe the squeeze-out off the wall before it dries.
A patch that sits flat before you tape needs two light coats of compound, and one that sits proud will fight you through every coat.
Check flatness and fill the gaps
Lay a straightedge or a 12-inch knife across the patch and slide it over each seam. The patch should sit flush with the wall or a hair below it. A patch that stands proud has to be sanded down, which fuzzes the paper, so drive the screws a little deeper or press the California flange again before the compound sets. A patch recessed up to about 1/16 inch is fine, because the compound fills that.
Next, fill every gap wider than 1/8 inch before taping. Pack setting-type compound into the gap with a 6-inch knife, and let it harden. A 20-minute product works well here. Once it is hard, scrape off high ridges with the knife edge. If you skip this, the tape bridges an empty void, and that is where a crack will reopen later.
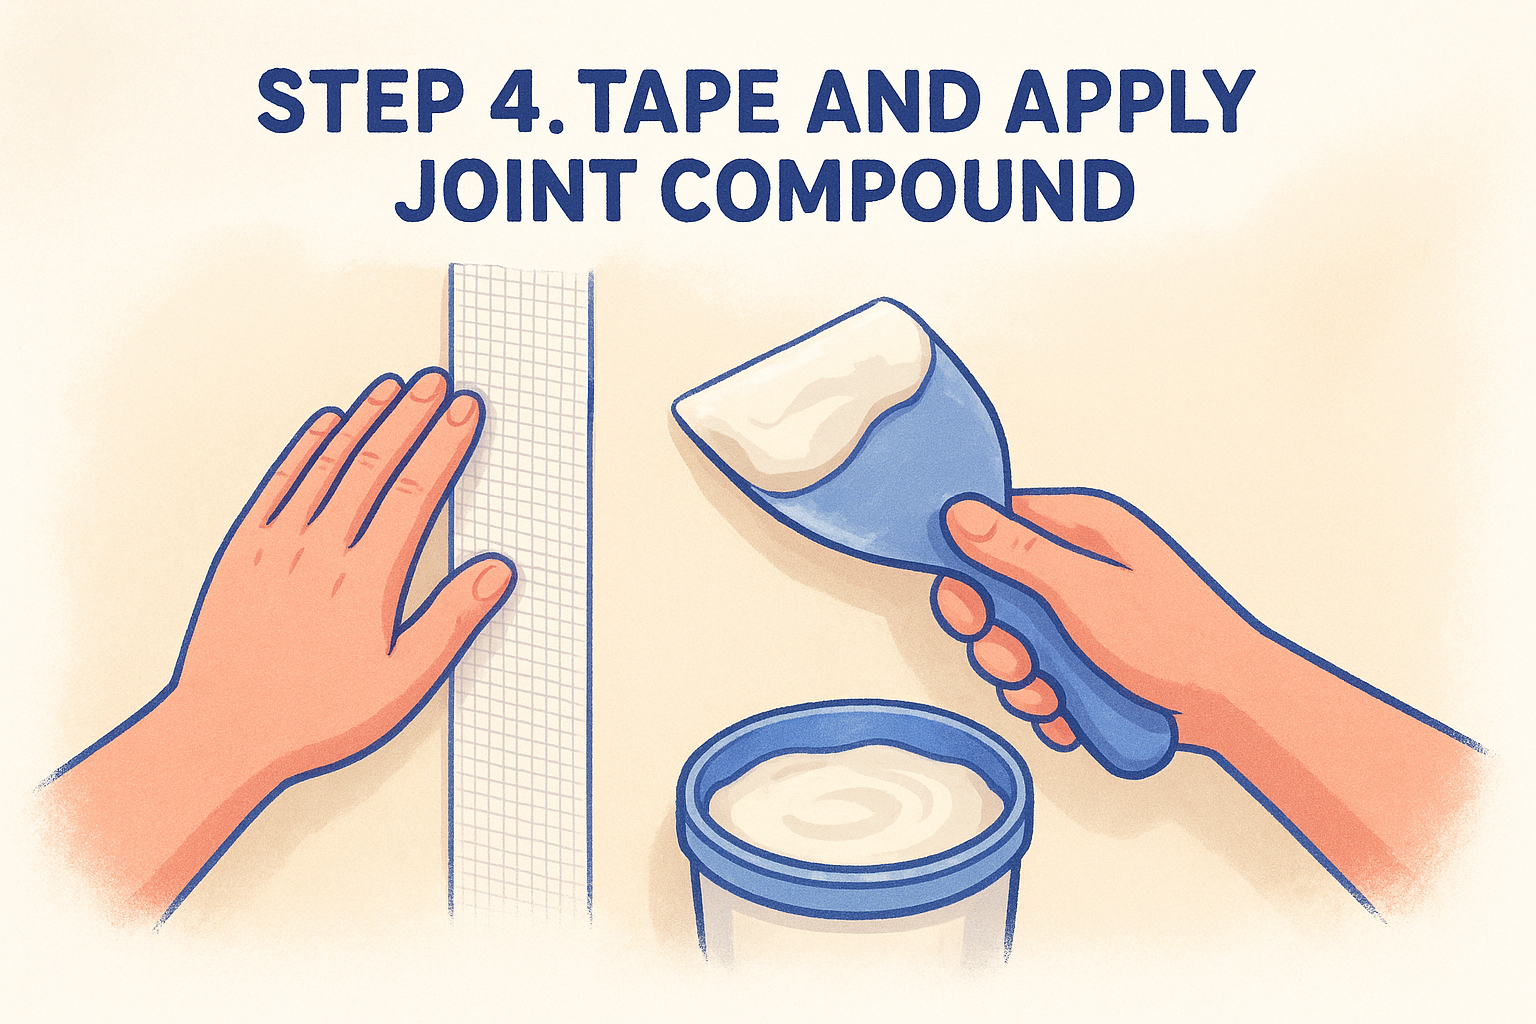
Step 4. Tape and apply joint compound
Cover every seam with tape, then build three thin coats of compound, each one wider than the last, letting each dry before the next. This is the step that makes a drywall patching panel repair invisible, and it rewards patience more than skill.
Pick your tape and compound
Choose the combination before you open any bucket. This table compares the common options for patches.
| Combination | Best for | Watch out for |
|---|---|---|
| Self-adhesive mesh tape with setting-type compound | Durable repairs and fast recoats | Powder must be mixed, and it sets quickly |
| Paper tape with premixed all-purpose compound | Flat seams and strong inside corners | Bubbles if you press out too much compound |
| Mesh tape with premixed compound | Convenience | Premixed compound dries softer under mesh |
In our experience, mesh tape with setting-type compound gives the strongest small repair. Setting compounds come in 5, 20, 45, and 90 minute versions, and the number is the working time. If this is your first patch, choose the 45 minute version. Mix the powder with clean water to a thick, lump-free paste, and mix only what you can use before it sets. Switch to lightweight premixed compound for the second and third coats, because it sands easier.
Apply the tape and three coats
Follow this sequence:
- Tape. Press mesh tape over every seam, centered on the joint, and overlap the tape where seams cross. Cut the pieces with a utility knife. For paper tape, spread a thin bed of compound first, embed the tape, and wipe it flat.
- Coat 1 (6 inch knife). Press compound through the mesh and scrape it flat so the tape is just covered. Let it set or dry.
- Coat 2 (10 inch knife). Spread a band several inches wider on each side than the first. For a 10-inch knife, that works out to a strip about 20 inches across each seam.
- Coat 3 (12 inch knife). Spread wider again, to about 30 inches across the seam, and feather the outer edge to nothing. Hold the knife at a low angle and press harder at the outer edge.
Do not rush the drying. Setting-type compound hardens on the clock stated on the bag, while premixed compound usually needs several hours or overnight , and the label is your guide. Compound that is still damp shrinks and cracks under the next coat. If a coat looks rough, leave it alone and fix it with the next one, because overworking wet compound often makes it worse.
Three thin coats beat one thick coat every time, because thin coats dry hard, sand easily, and do not crack.
Step 5. Sand, prime, and match the texture
Sand the final coat smooth, prime the whole repair, then match the wall's texture and paint. Primer is not optional, because bare compound soaks up paint differently than the wall and shows through as a dull patch.
Sand without damaging the patch
Use a medium-grit sanding sponge on hard setting-type compound and a fine-grit sponge on lightweight compound. Press lightly and sand in broad circles, so you flatten the ridges rather than carve into the paper. Pressing too hard gouges the soft compound and can cut through the tape, and then you are back to mudding.
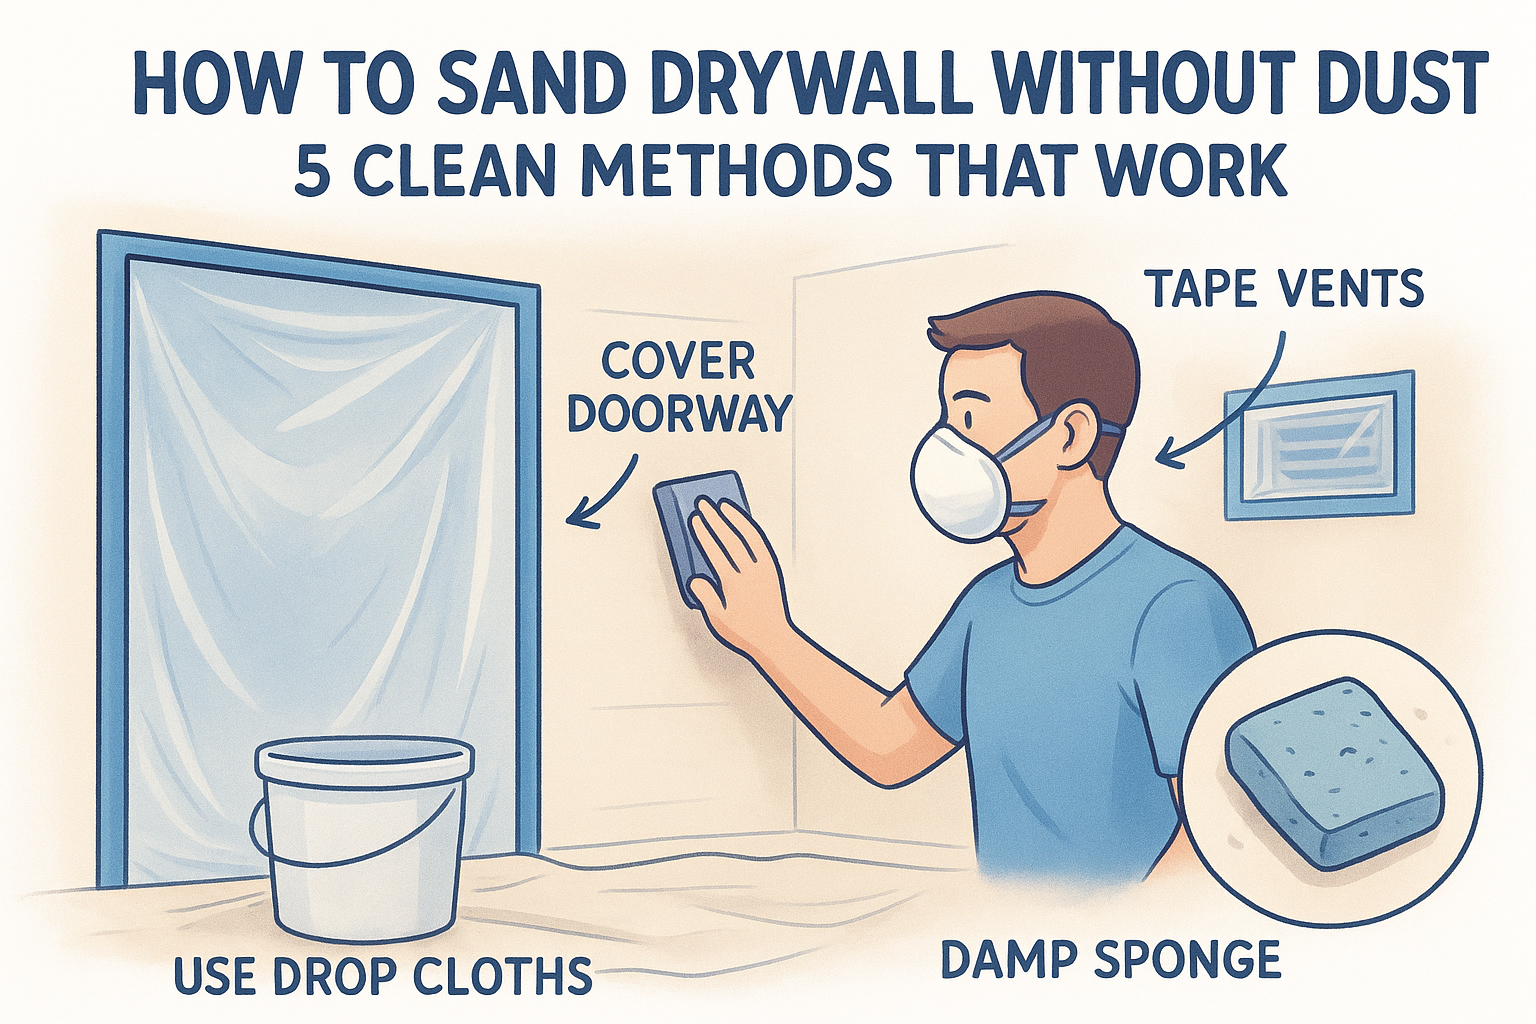
Find the ridges with your hand and a light. Hold a work light flat against the wall so it rakes across the surface, then run your palm over the patch. Your hand feels a ridge that your eye misses. Wear a dust mask, close the doors, and keep a drop cloth under the work. Wipe the patch with a damp sponge when you finish, since dust left on the surface keeps primer from bonding.
Prime, texture, and paint
Apply a coat of drywall primer over the entire patch and a few inches past it, and let it dry. Semi-gloss and gloss paints exaggerate every difference in surface, so primer matters most under shiny finishes. On a smooth wall, you can go straight to paint once the primer is dry.
On a textured wall, match the texture after priming, or before priming if you plan to prime the whole wall. For a knockdown or splatter finish, mix 4 parts joint compound with 1 part water. Dip a stiff brush, hold it bristles-up near the wall, and flick the bristles with a gloved finger, then lightly flatten the peaks with a knife as the compound starts to dry. For orange peel, an aerosol wall texture sprayed 6 to 18 inches from the wall is simpler. Practice on cardboard first.
Texture and paint decide whether a patch disappears, so test both on scrap before you touch the wall.
Paint the whole wall corner to corner if you can. A spot-painted patch often shows even with perfect compound work, because fresh paint rarely matches paint that has aged for years.
A patch that disappears into the wall
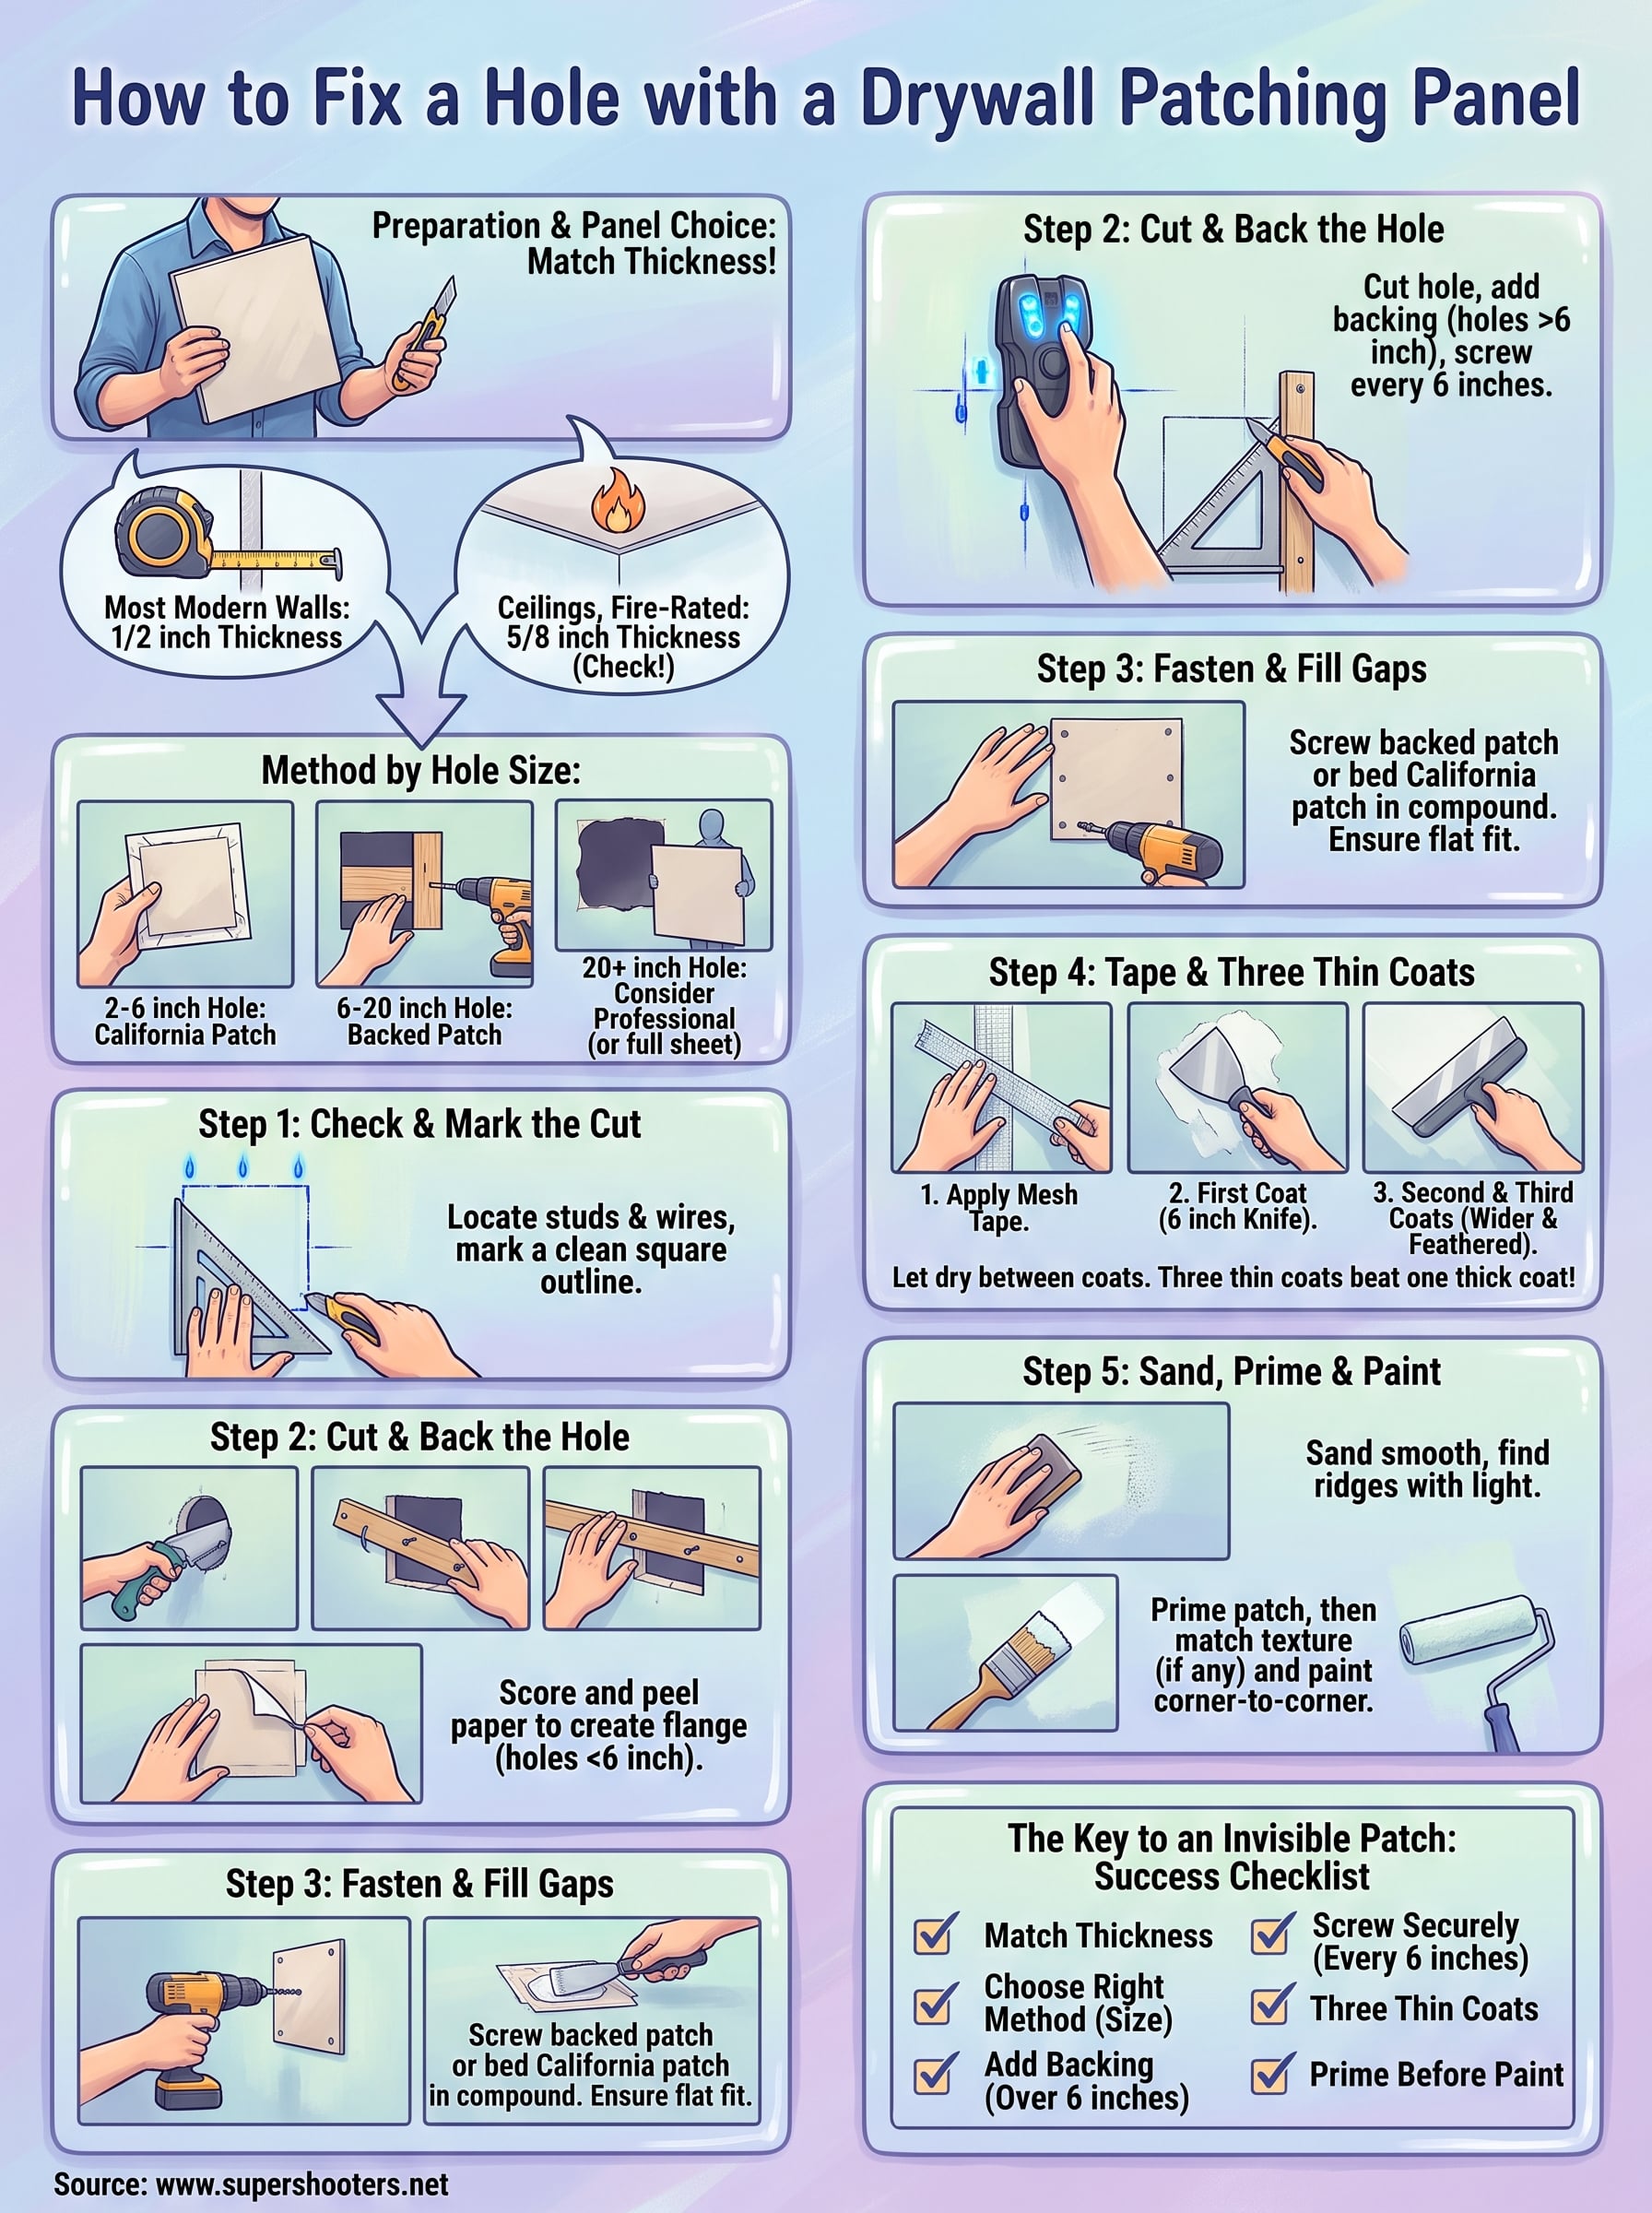
A good patch comes from six decisions: a panel that matches your wall's thickness, a method sized to the hole, backing behind anything over 6 inches, screws every 6 inches, three thin coats of compound, and primer before paint. Get those right and the panel does its job. Cheap or mismatched choices show up in the finish, not in the hardware aisle.
Some jobs are not worth a weekend, such as damage wider than 2 feet, a hole near wiring, a fire-rated wall, or a textured ceiling you cannot match. If that sounds like your wall, our crews can take it from here. Request a free drywall patching estimate from our crew, and we will come out and look at it.
Recent Posts