September 2, 2026
Ceiling Drywall Repair Cost: What You'll Pay in 2026
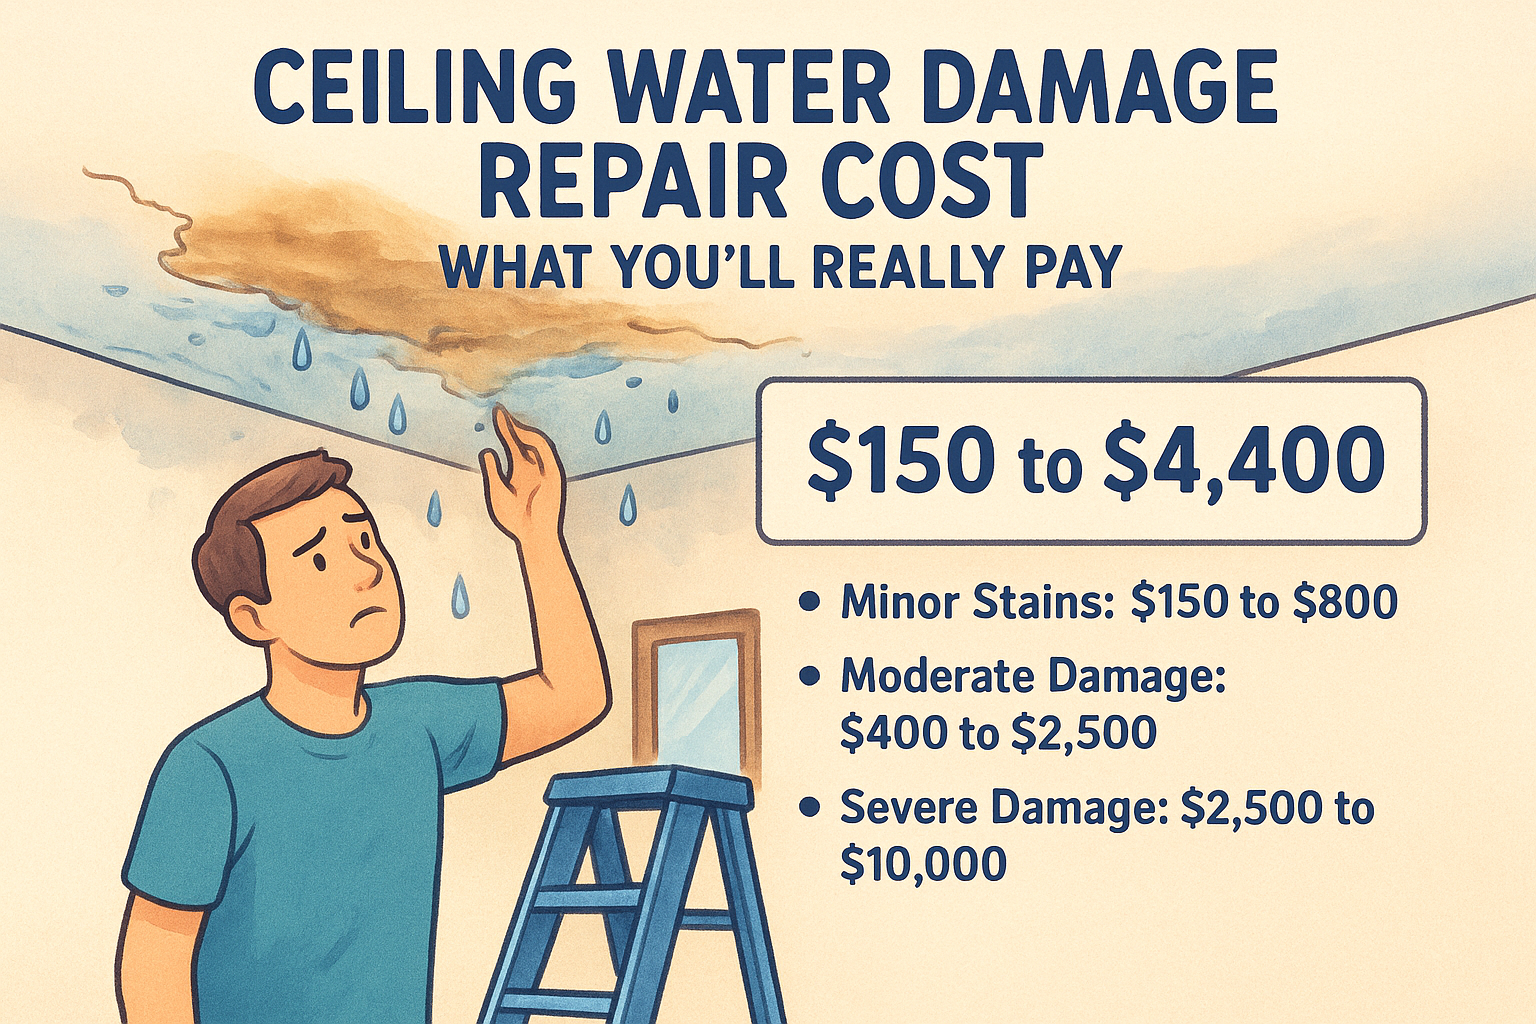
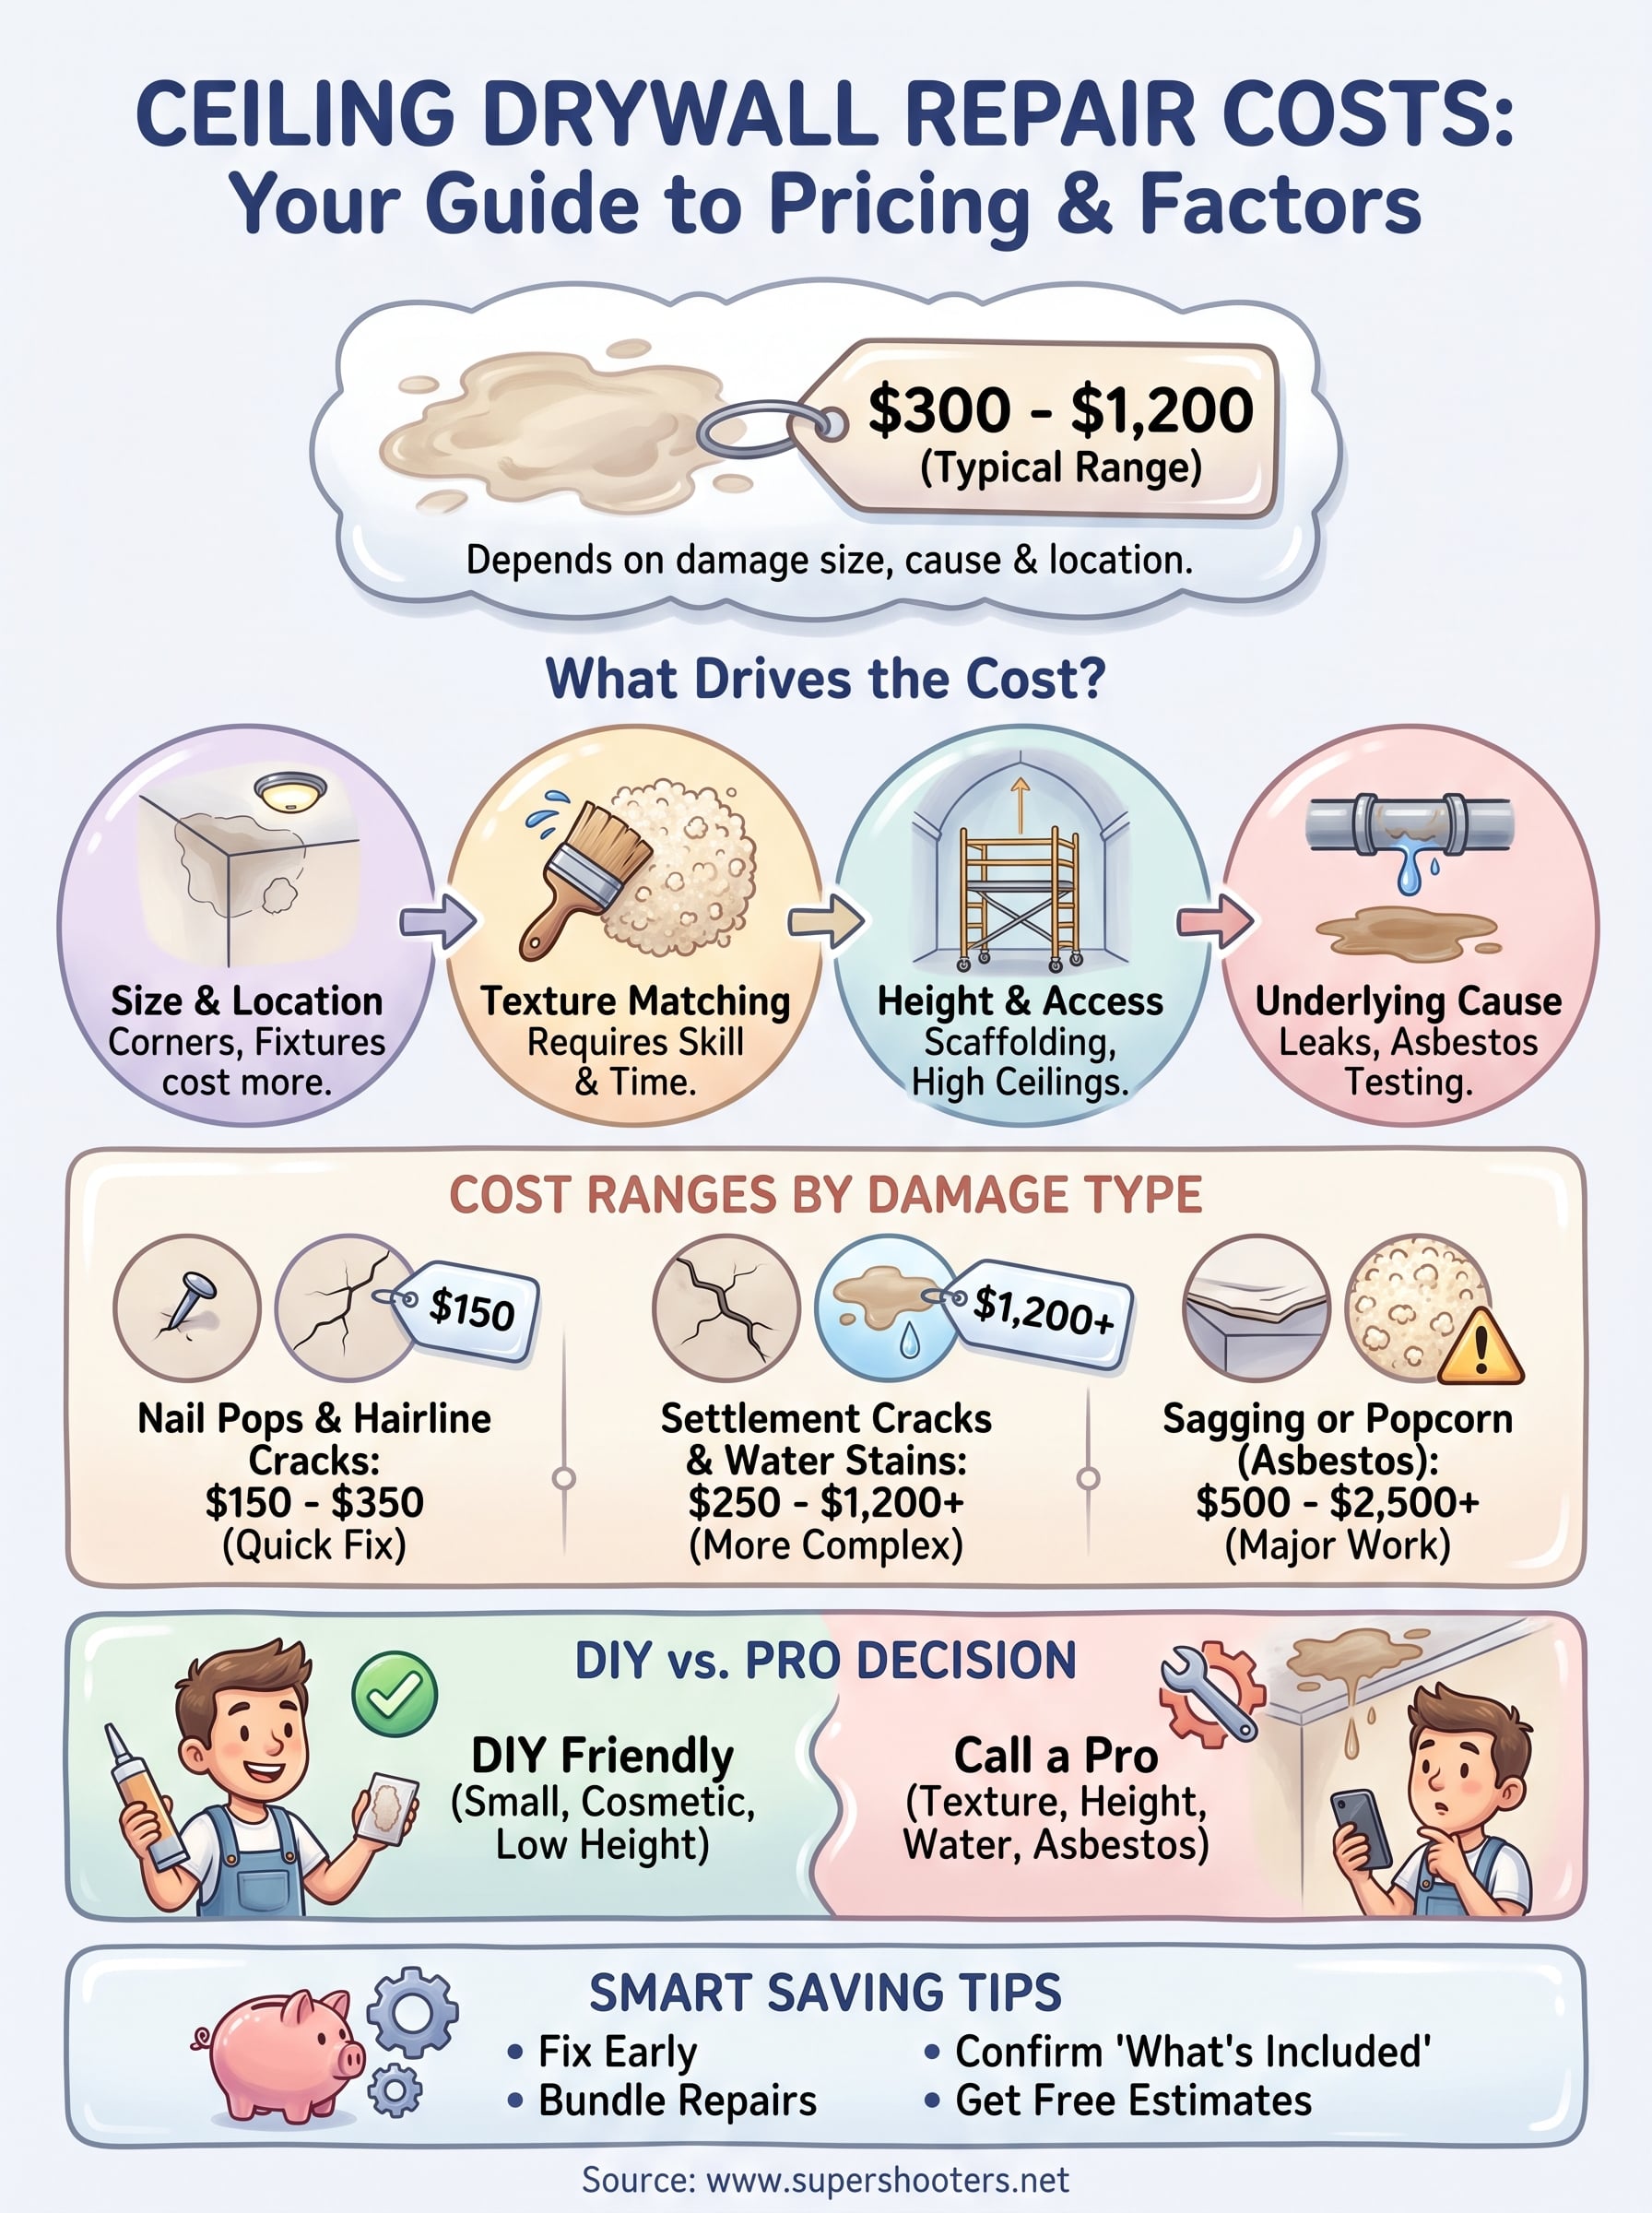
You've got a water stain, a crack, or a sagging patch on your ceiling, and you need to know what it's going to cost before you call anyone out. Ceiling drywall repair cost in the Sacramento Valley typically runs from $300 to $1,200 for most jobs, depending on the size of the damage and what caused it. Small nail pops or hairline cracks land on the low end, while water damage repairs or full ceiling sections push toward the higher numbers.
The price you'll pay depends on a handful of specific factors: square footage, whether the crew needs to match existing texture, ceiling height, and whether there's an underlying issue like a roof leak or old popcorn ceiling hiding asbestos. A fair quote accounts for all of this upfront, not just the patch itself.
This guide breaks down real price ranges by damage type and size, explains what drives costs up or down, and gives you the questions to ask so you can tell a solid estimate from one that's cutting corners. We've repaired over 10,000 ceilings across the region, so these numbers reflect what homeowners actually pay, not industry averages pulled from a spreadsheet.
Why ceiling drywall repair costs vary so much
Ask five contractors to quote the same water stain and you might get five different numbers. That's not because someone's padding the bill. Ceiling repairs involve more variables than wall repairs because gravity, moisture, and old building materials all work against you in ways they don't on a vertical surface. Understanding these variables helps you spot a lowball quote that's missing something, or a high quote that's justified.
Size and location of the damage
Square footage drives the baseline cost, but location on the ceiling matters almost as much. A patch in the middle of an open living room is straightforward. The same size patch near a light fixture, HVAC vent, or where two ceiling planes meet at an angle takes longer because the crew has to cut around obstacles and match seams in tight spaces. Damage near corners or fixtures almost always costs more per square foot than the same size patch out in open ceiling.
Texture matching complications
This is the factor most homeowners underestimate. If your ceiling has knockdown, orange peel, or the classic popcorn texture, the patched area has to match the surrounding surface or it'll stick out like a bandage. Matching ceiling and wall texture takes skill and the right equipment, and it's a big reason two quotes for the same job can differ by hundreds of dollars. A contractor who skips this step, or does it poorly, leaves you with a visible patch even after paying full price.
The patch itself is rarely what makes ceiling repair expensive. Matching the texture around it is.
Ceiling height and access
Standard 8-foot ceilings are the easiest and cheapest to work on. Vaulted ceilings, stairwell ceilings, or anything above 10 feet requires scaffolding or extended ladders, which adds labor time and sometimes a second worker for safety. If you've got a great room with a 16-foot peak, expect that portion of the job to cost noticeably more than a comparable repair in a standard bedroom.
Underlying causes that change the scope
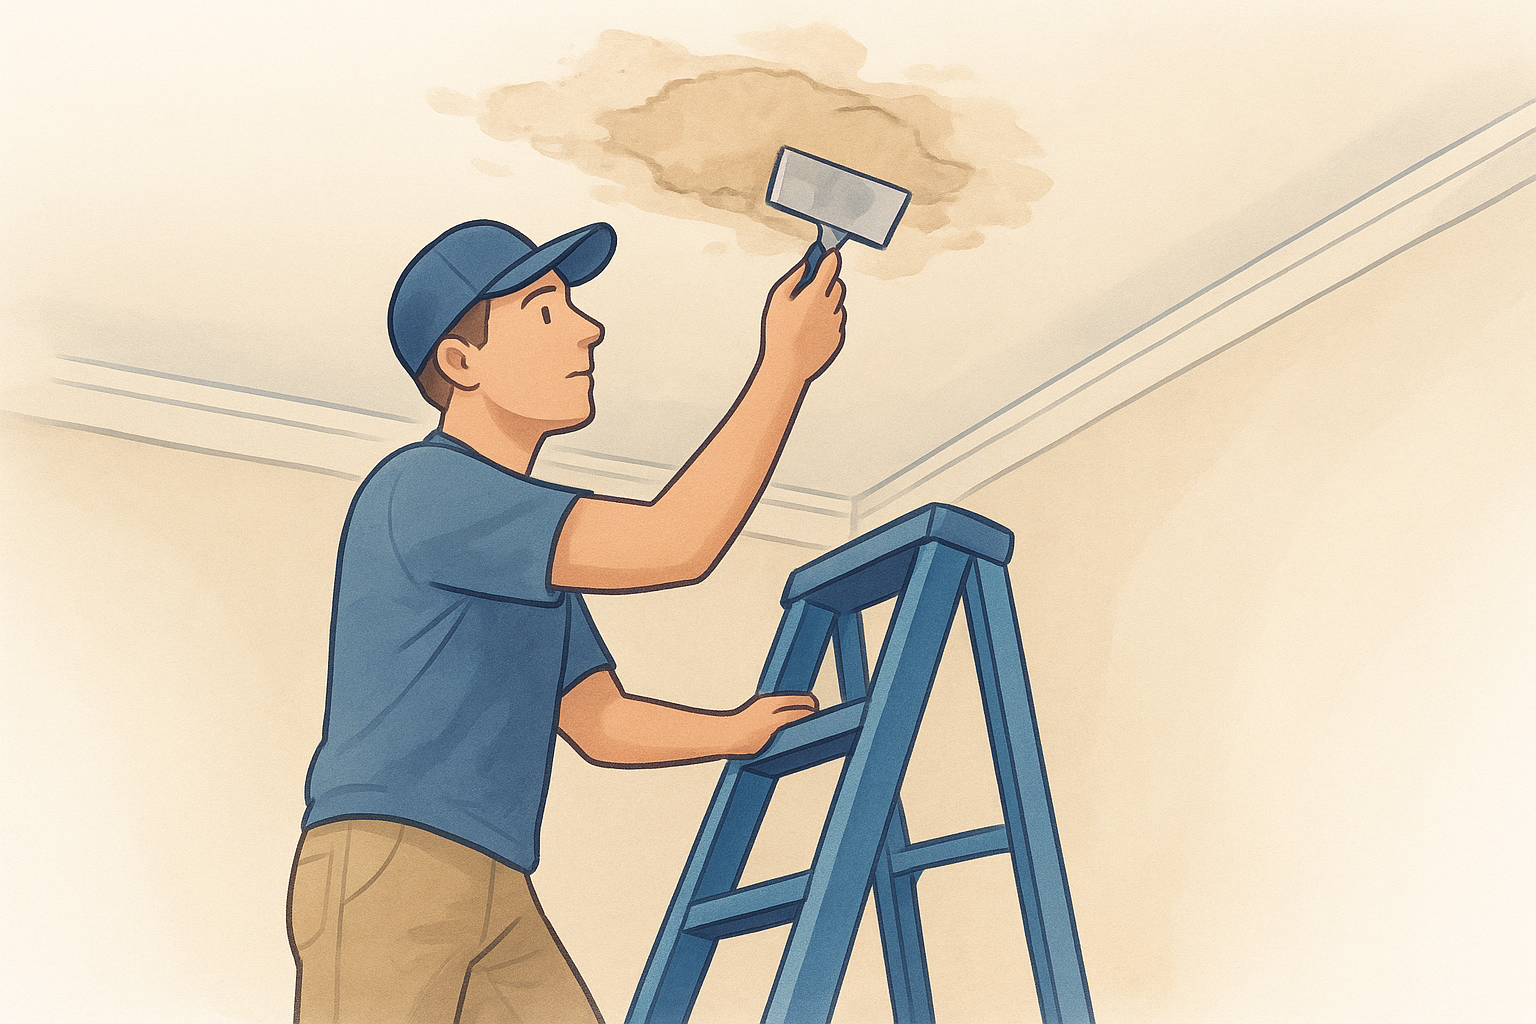
The visible damage is often just the symptom. A brown ring on the ceiling means water got in somewhere, and that source has to be found and fixed before any drywall repair makes sense, otherwise you're paying to patch the same spot again in a year. Sagging drywall can mean the water damage is more extensive than the stain suggests, sometimes requiring a full section replacement instead of a simple patch.
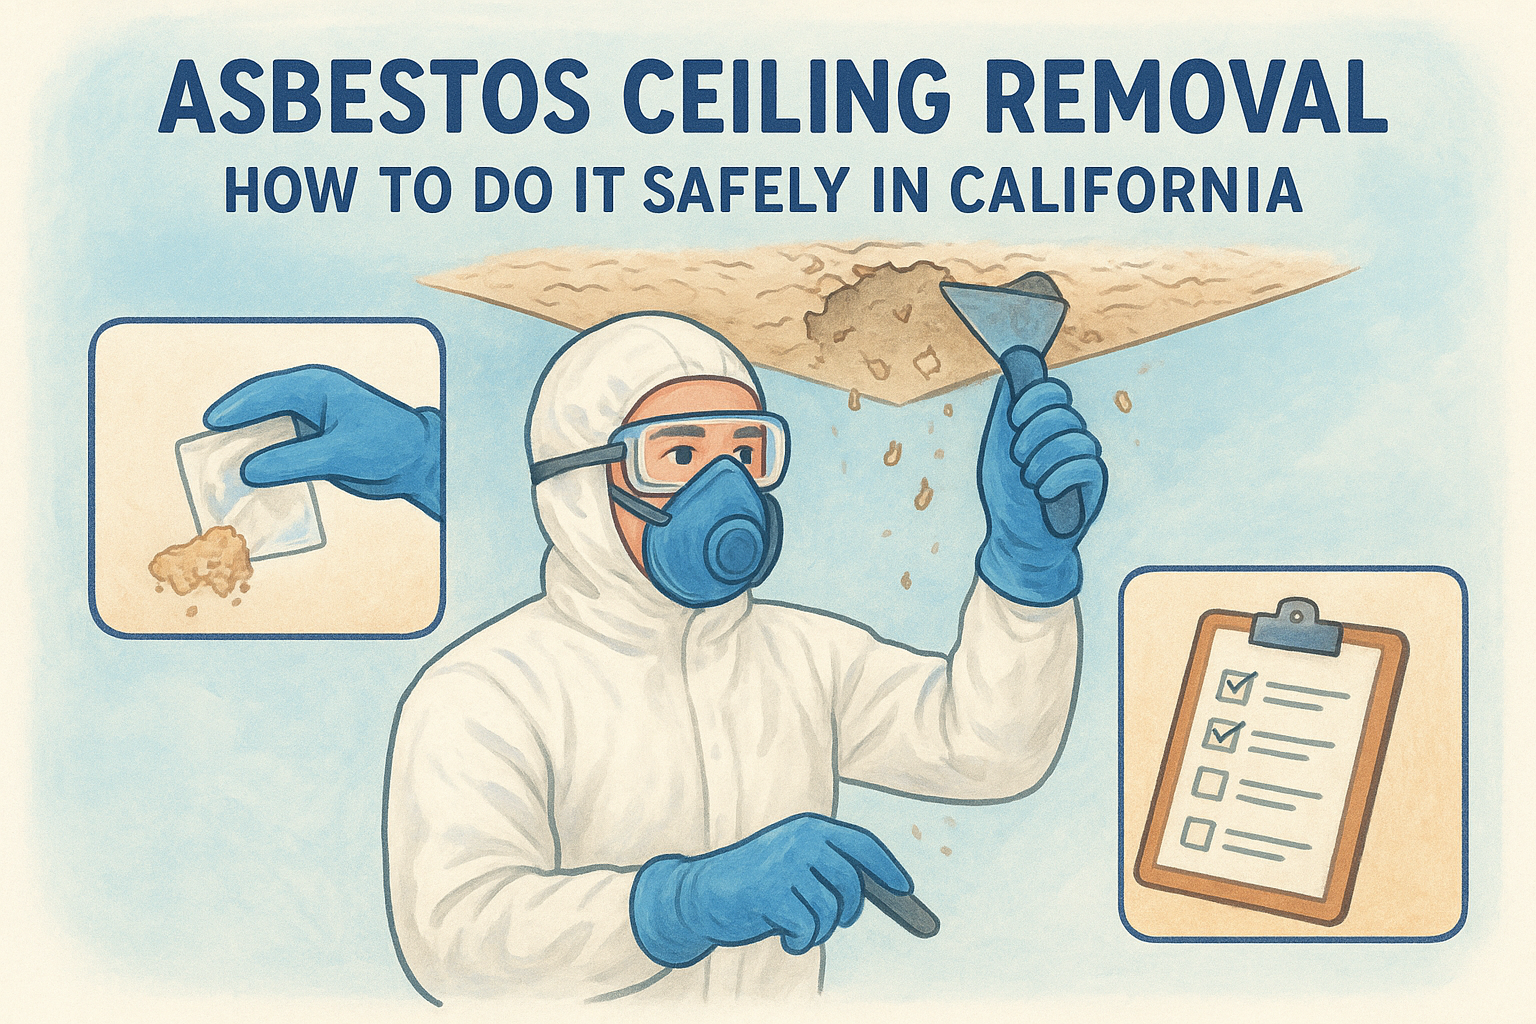
Homes built before the late 1970s add another wrinkle: many original popcorn ceilings contain asbestos. If your ceiling hasn't been tested or previously abated, a contractor has to treat it as a possible asbestos-containing ceiling until proven otherwise, which changes the entire scope of work and what asbestos ceiling removal costs per room. The EPA has clear guidance on why this material needs specialized handling rather than standard demolition, and any reputable contractor will flag this before touching a suspect ceiling ( EPA asbestos guidance).
Here's how these factors typically stack up in terms of cost impact:
| Factor | Cost Impact | Why |
|---|---|---|
| Damage size | Low to moderate | More square footage means more material and labor time |
| Texture matching | Moderate to high | Requires skill, specific tools, and drying time |
| Ceiling height/access | Moderate | Scaffolding, extra labor, and safety precautions |
| Water damage source | High | May require additional repairs beyond drywall |
| Suspected asbestos | High | Testing and abatement rules add cost and time |
Once you know which of these apply to your ceiling, you're in a much better position to read a quote and know whether it's accounting for the real scope of the job, or just the patch you can see.
How to estimate your ceiling drywall repair cost
Most contractors price ceiling drywall repair by the square foot, then add flat fees for complications like texture matching or height. You can get a reasonably accurate ballpark before anyone shows up, just by measuring the damage and walking through the same checklist a pro would use. This won't replace an in-home estimate, but it'll tell you if a quote is in the right neighborhood.
Measure the damaged area
Start by measuring the length and width of the visible damage in inches or feet, then add a buffer. Repairs almost always require cutting back beyond the visible stain or crack to reach solid drywall, so the actual patch is usually 20 to 30 percent larger than what you can see. A water stain that looks like a two-foot circle often becomes a three-by-three-foot patch once the contractor finds where the drywall is truly compromised.
Apply a per-square-foot range
Once you have your square footage, multiply it against typical per-square-foot pricing for the Sacramento Valley market, then compare it to our 2026 drywall repair cost estimates:
| Job size | Typical cost range |
|---|---|
| Small patch (under 2 sq ft) | $150 to $350 flat |
| Medium repair (2 to 10 sq ft) | $40 to $75 per sq ft |
| Large section (10+ sq ft) | $25 to $50 per sq ft |
Smaller jobs carry a flat minimum because setup, mixing compound, and drying time cost the same whether you're patching one square foot or three. Larger jobs benefit from economy of scale, which is why the per-foot rate drops as the area grows.
A quote that ignores square footage and just names a round number is guessing, not estimating.
Factor in the extras
Before you compare your number to a contractor's quote, add line items for anything that applies to your situation:
- Texture matching : add $50 to $150 depending on complexity
- Ceiling height over 10 feet : add $75 to $200 for scaffolding or lift access
- Primer and paint : add $1 to $2 per square foot if the whole ceiling needs a fresh coat to blend the patch
- Water source repair : separate cost, often $200 to $800, handled outside the drywall estimate
- Asbestos testing : $20 to $50 for a lab sample if your ceiling predates 1980 and hasn't been tested
Running your own numbers this way gives you a solid range to hold a contractor's estimate against. If a quote comes in far below your calculation, ask what's being left out. If it's far above, ask them to walk you through which factors are driving the extra cost.
Ceiling drywall repair cost by type of damage
The cause of the damage matters just as much as its size when you're pricing out a repair. A hairline crack and a water stain might look similarly small on the ceiling, but one takes twenty minutes to fix and the other might require tracing a leak through your attic first. Here's how the most common types of ceiling damage typically price out in the Sacramento Valley.
| Damage type | Typical cost range | What drives the price |
|---|---|---|
| Nail pops or hairline cracks | $150 to $350 | Minimal material, quick labor, easy texture match |
| Settlement cracks | $250 to $600 | May recur if foundation movement continues |
| Water stains and leaks | $400 to $1,200+ | Source repair, drying time, possible mold check |
| Sagging or bulging sections | $500 to $1,500 | Often requires full section replacement |
| Holes from impact | $200 to $500 | Depends on size and backing support needed |
| Popcorn ceiling with suspected asbestos | $800 to $2,500+ | Testing, abatement, and disposal rules apply |
Cracks and nail pops
Small cracks and nail pops sit at the bottom of the cost range because they're usually cosmetic. Nail pop repairs involve resetting or replacing the fastener, filling the small hole, and blending texture over an area smaller than a dinner plate. Settlement cracks cost more when they run along a seam that keeps reopening, since fixing a ceiling crack permanently sometimes means adding a mesh tape reinforcement rather than just filling the gap.
Water stains and structural sagging
Water damage sits at the top of most homeowners' cost concerns, and for good reason. Finding the leak source, letting the area dry fully, and replacing compromised drywall all add time before the visible patch work even starts, which is why water damage drywall repair pricing sits above a standard patch.
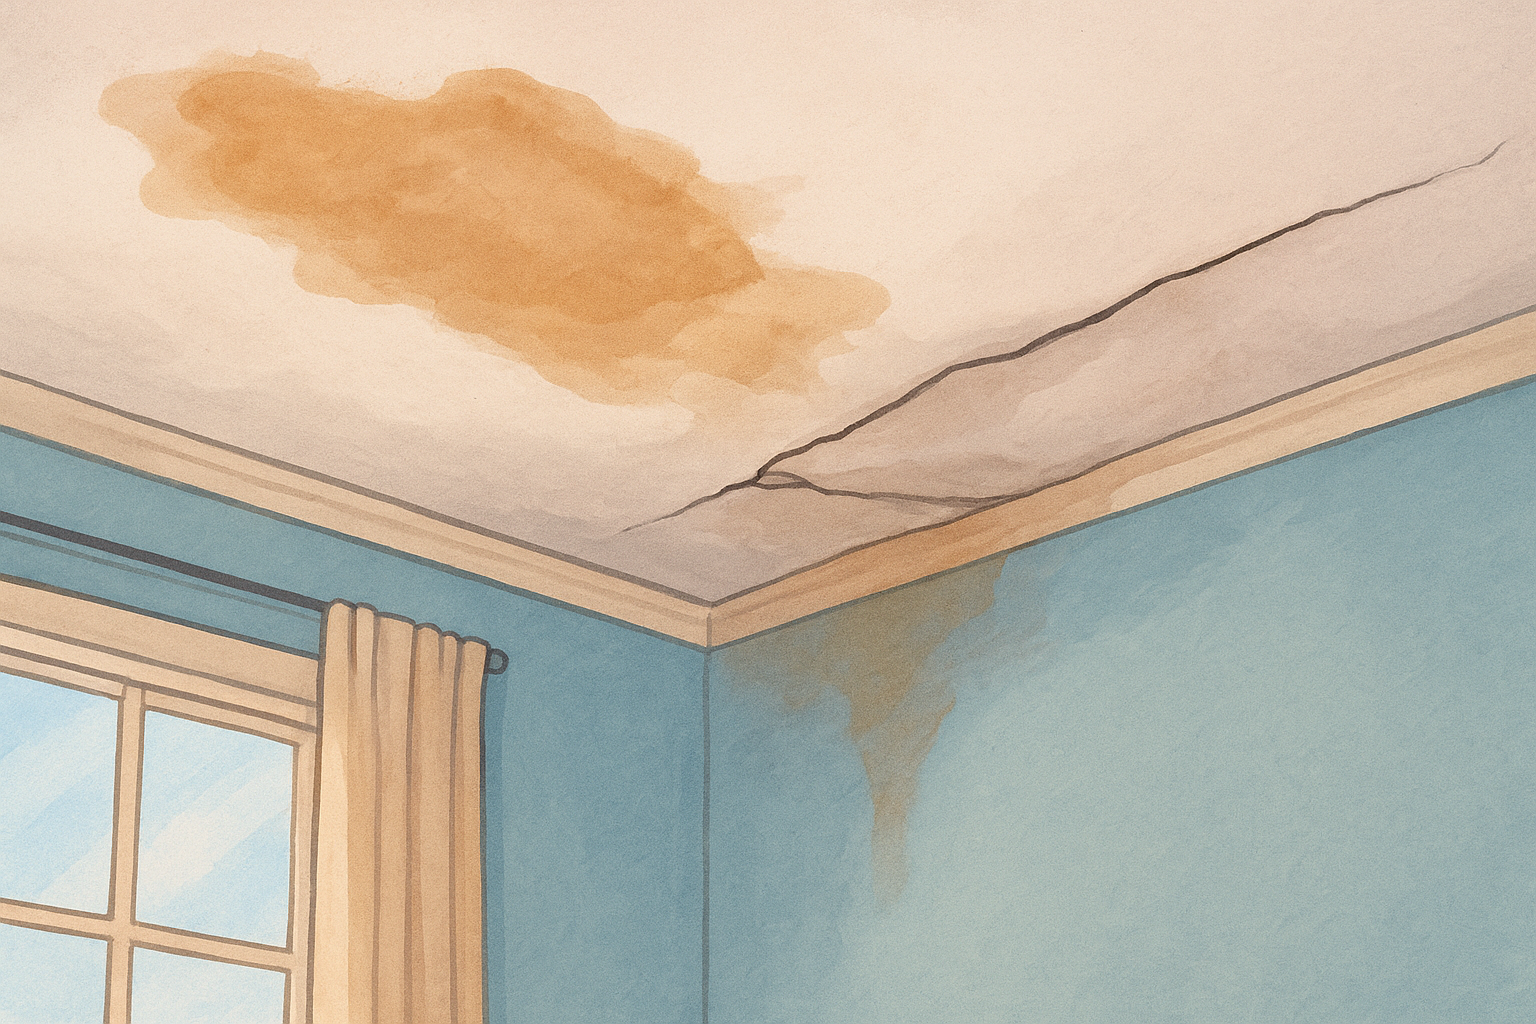
Fixing the stain without fixing the leak just buys you a second repair bill next year.
Fixing a sagging ceiling costs even more because gravity has already done damage you can't see from below. Once drywall pulls away from the framing, patching won't hold, and the crew has to cut out and replace the whole section.
Popcorn ceilings and asbestos considerations
Greater caution comes into play with older popcorn ceilings, since any repair that disturbs a suspect surface has to follow abatement rules until testing rules out asbestos. Our asbestos ceiling testing and abatement crew handles this testing and disposal as part of the same visit, which keeps the project moving instead of stalling on a second appointment.
DIY repair vs hiring a professional
Plenty of homeowners look at a small ceiling patch and figure they can save the labor cost with a tube of joint compound and a weekend. Sometimes that's true. Other times a DIY attempt turns a $200 fix into a $600 fix once a professional has to undo the mistakes before starting the real repair. The right call depends on the size of the damage, your comfort working overhead, and whether the cause has already been identified.
When DIY makes sense
Small, cosmetic damage with a known, resolved cause is the sweet spot for tackling it yourself. A nail pop, a hairline settlement crack that isn't growing, or a small scuff from moving furniture usually falls into this category. DIY-friendly repairs share a few traits:
- The damaged area is under 1 square foot
- The ceiling has a flat or lightly textured finish that's easy to blend
- You've already confirmed there's no active leak or moisture behind the drywall
- The ceiling is at a standard 8-foot height, not vaulted or hard to reach
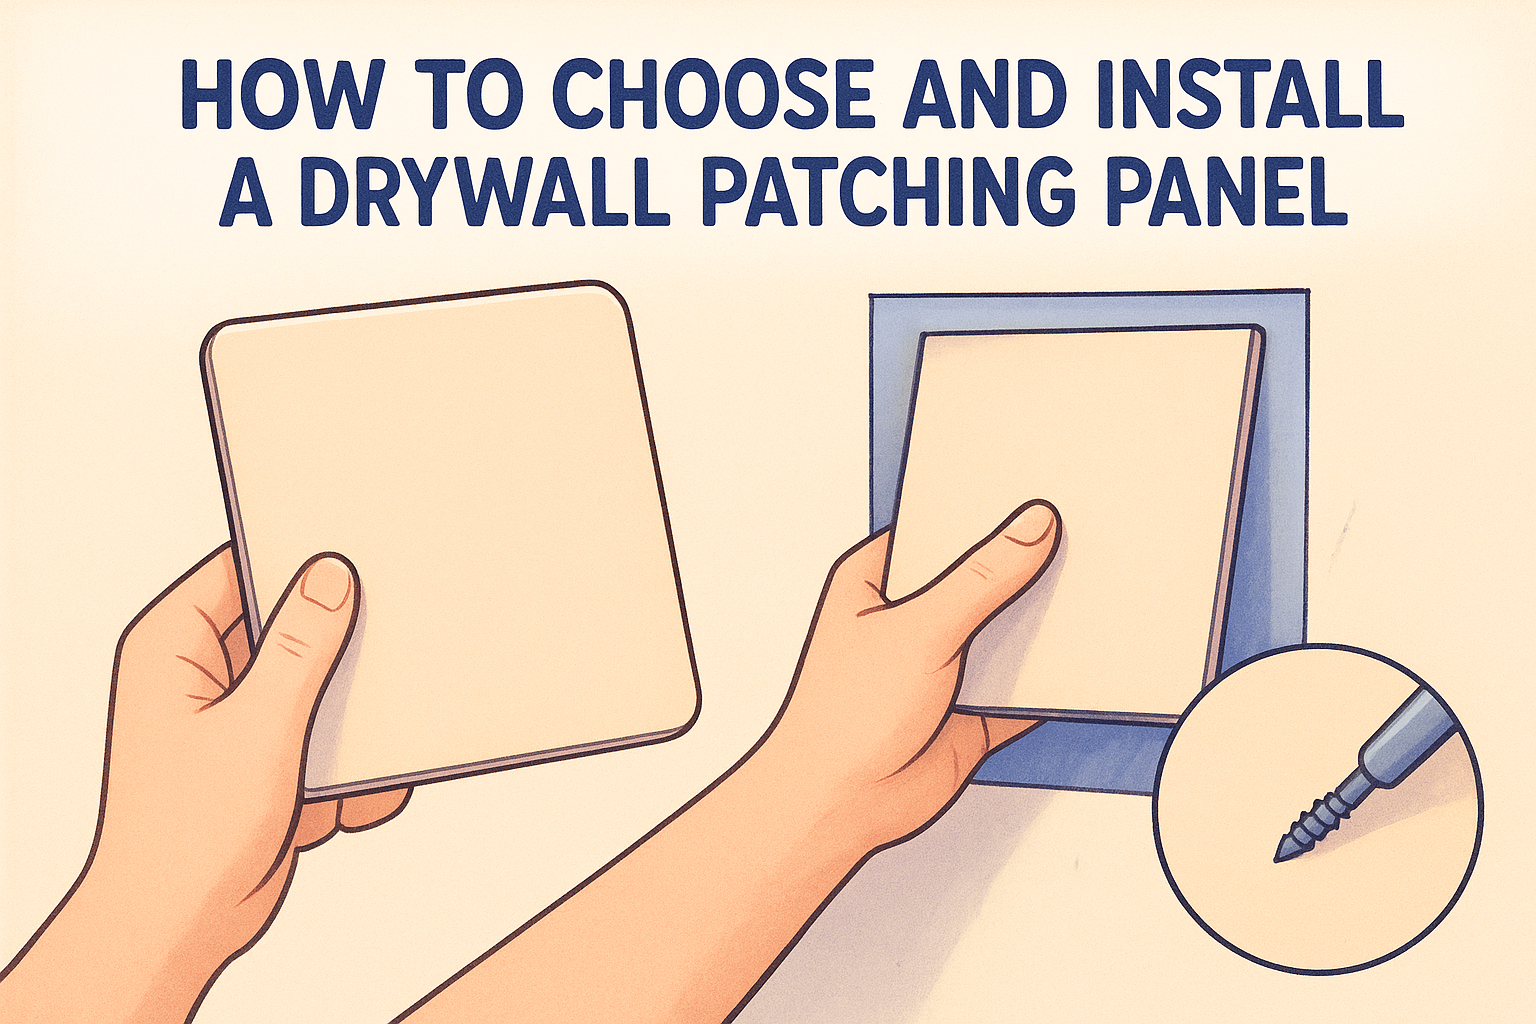
If your repair checks all four boxes, a $15 tube of spackle, an hour of patience, and a complete guide to patching and repairing drywall can genuinely close the gap.
When a pro earns their fee
Once texture matching, height, or an unknown cause enters the picture, the math shifts fast. Matching knockdown or popcorn texture from a spray can rarely fools anyone up close, and a botched attempt means stripping the patch and starting over, this time with someone who does it for a living. Height adds real risk too: working overhead on a ladder near a vaulted ceiling is a different job than patching a wall at eye level.
A DIY patch that doesn't match the texture isn't a repair, it's a preview of the repair you'll eventually pay for.
Water stains and sagging sections belong firmly in professional territory. Locating a leak source, checking for hidden moisture, and deciding whether drywall needs replacing rather than patching takes tools and experience most homeowners don't have on hand. Older popcorn ceilings raise the stakes further, since disturbing a surface that turns out to contain asbestos creates a health hazard that's expensive to remediate after the fact.
The real cost of a DIY mistake
Getting the scope wrong is where DIY repairs actually cost more than hiring it out from the start. Underestimating water damage, painting over a patch that hasn't fully dried, or missing a structural issue behind the drywall all lead to repeat repairs. Our ceiling and drywall patching crew sees this often: a homeowner's weekend patch bought a few months of peace before the same stain reappeared, this time larger and more expensive to fix properly.
Tips to save money on ceiling drywall repair
Even with a legitimate range of $300 to $1,200, you have real room to control what you pay. Most savings come from timing, communication, and catching problems before they grow, not from cutting corners on the repair itself, and knowing how to find low-cost drywall repair without overpaying helps too. Here's what actually moves the needle on your final bill.
Fix small problems before they become big ones
Small drives most of the savings math here. A hairline crack costs $150 to $350 to fix today. Left alone through a rainy Sacramento Valley winter, that same crack can widen, let moisture in, and turn into a $500+ sagging repair. Early intervention is the single cheapest thing you can do, and it costs nothing but a phone call.
The cheapest ceiling repair is always the one you catch early.
Bundle repairs into one visit
If you've got a nail pop in the hallway and a water stain in the bedroom, get both quoted and fixed together. Contractors charge a setup fee, whether it's mixing compound, covering floors, or hauling in equipment, and that cost gets divided across more square footage when jobs are combined. Bundling repairs also means one round of texture matching and one paint touch-up instead of two, which trims labor hours significantly.
Ask what's included before you sign
A lower quote isn't always the better deal. Some contractors leave out texture matching, primer, or paint to look competitive on paper, then add it back as a change order once work starts. Before accepting any bid, confirm in writing:
- Does the price include texture matching to the surrounding ceiling?
- Is primer and paint included, or billed separately?
- Who covers testing if the ceiling might contain asbestos?
- Is there a warranty if the patch fails or the stain returns?
A contractor who answers these clearly upfront is giving you an honest ceiling drywall repair cost , not a teaser rate, and it's one of the first things to check when picking a drywall repair contractor.
Take advantage of free estimates
Getting a second opinion costs you nothing if the contractor offers free in-home estimates, which most reputable companies do. Comparing two or three quotes side by side often reveals which one is padded and which one is priced fairly for the actual scope. We offer free consultations and estimates for exactly this reason, so homeowners can compare real numbers instead of guessing.
Lastly, don't assume the lowest bid saves you money long term. A rushed patch that doesn't match texture or misses a moisture source often costs more once you factor in the repeat visit.
Getting a fair price for your ceiling repair
Most ceiling drywall repairs in the Sacramento Valley land between $300 and $1,200, and now you know exactly why any given job falls where it does. Size, texture matching, height, and the underlying cause all push the number up or down, and a contractor who walks you through each one is giving you a real quote, not a guess. Skip anyone who won't explain their number.
Use the ranges in this guide to sanity-check whatever bid lands in your inbox. If it's way off in either direction, ask why before you sign anything. A fair price reflects the actual scope of your ceiling, not a flat rate pulled out of thin air.
Ready to get real numbers for your ceiling? Request a free ceiling repair quote and find out exactly what your job costs, no upfront payment required.
Recent Posts