August 14, 2026
How to Repair Ceiling Cracks for Good
That crack running across your ceiling keeps coming back no matter how many times you skim it with joint compound. Learning how to repair ceiling cracks the right way means going beyond a quick patch job and actually addressing why the crack formed in the first place. Most homeowners paint over the same hairline crack two or three times before realizing the problem is structural, not cosmetic.
This guide walks you through the exact materials and steps needed to fix a ceiling crack permanently, from taping and mudding techniques to matching texture so the repair disappears. We'll also cover how to tell the difference between a harmless settling crack and one that signals foundation movement, water damage, or a failing ceiling substrate underneath.
We've handled over 10,000 ceiling and wall projects across the Sacramento Valley in more than 30 years of business, and cracked ceilings are one of the most common calls we get. Some homeowners tackle these repairs themselves successfully. Others discover mid-project that what looked like a simple crack is actually a sign of bigger issues. Either way, you'll know exactly what you're dealing with by the end of this guide.
Why ceiling cracks form and when to call a pro
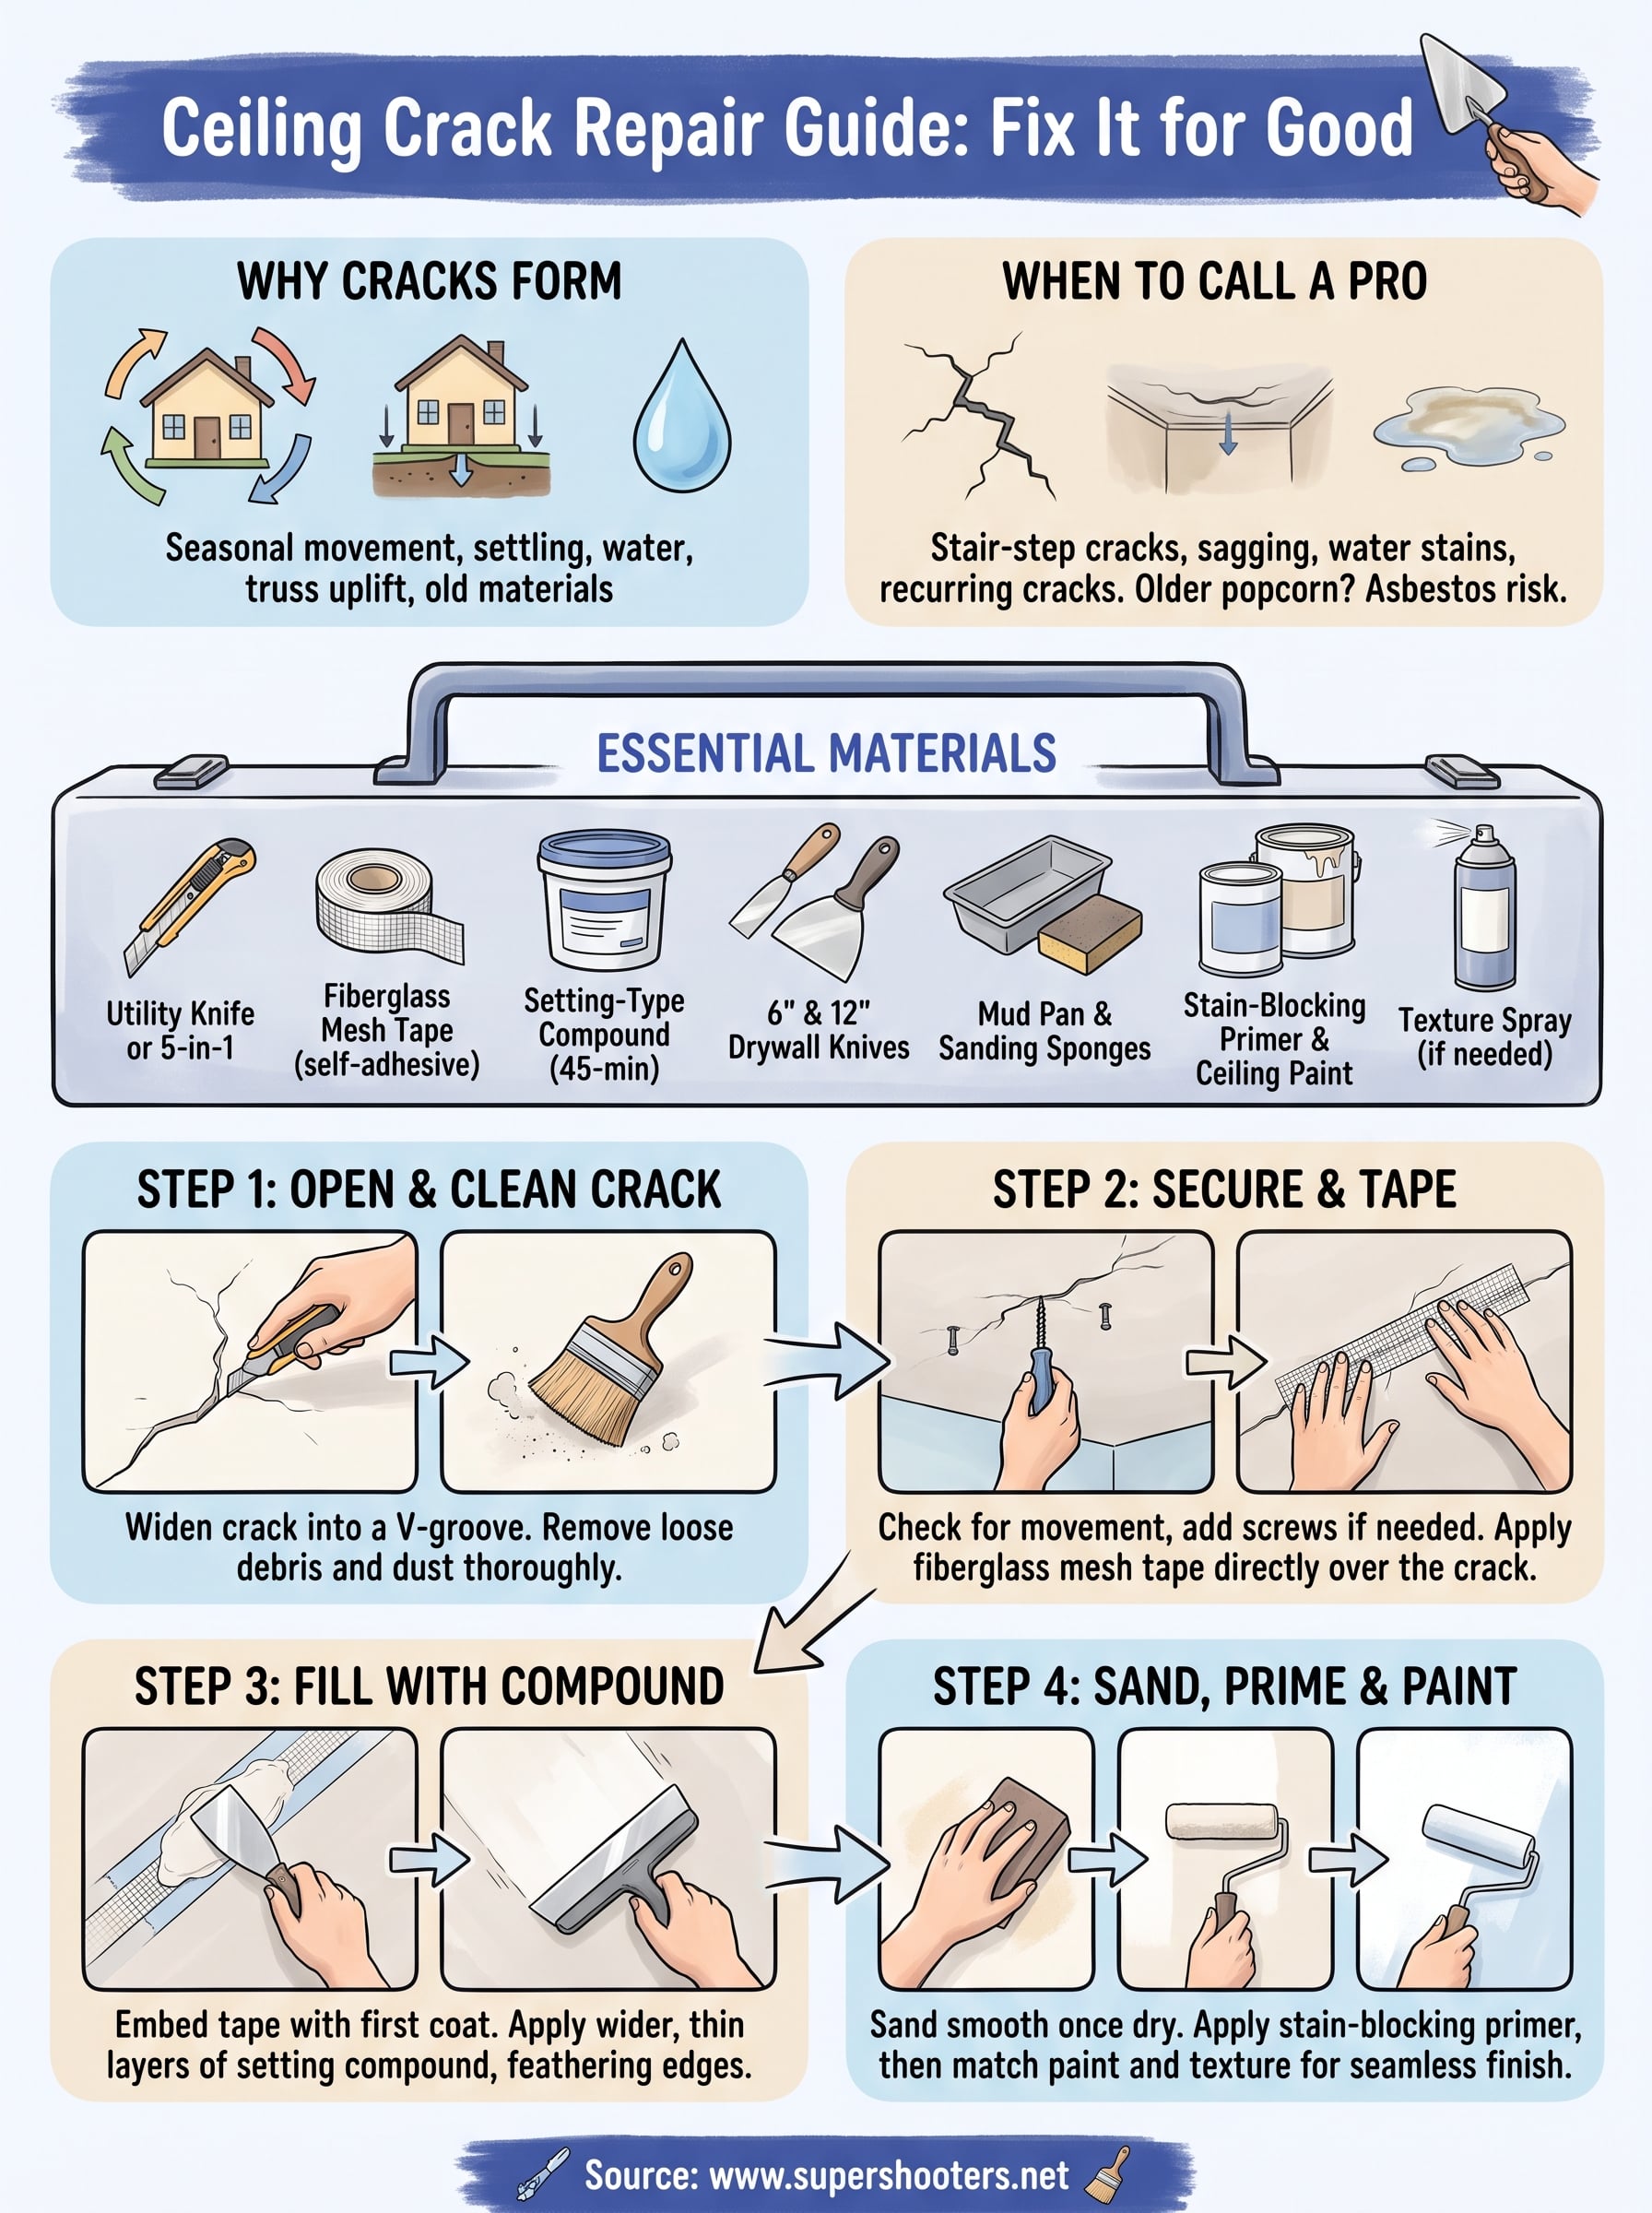
Every house moves. Wood framing expands and contracts with humidity, foundations settle unevenly over decades, and the drywall tape holding your ceiling seams together eventually loses its grip. These are the ordinary culprits behind most ceiling cracks, and they're the reason a single straight-line crack running along a seam or in the middle of a ceiling panel usually isn't cause for alarm. Temperature swings between summer and winter push and pull framing lumber just enough to stress the joint compound at seams, which is why so many homeowners notice new hairlines every fall.
What causes cracks in the first place
Older homes built with acoustic popcorn ceilings are especially prone to cracking because the original texture and substrate have had 40, 50, even 60 years to shift. Truss uplift, a seasonal phenomenon where roof trusses bow slightly and pull the ceiling drywall away from interior walls, creates a distinct crack that runs parallel to the wall a few inches in. Water intrusion from a roof leak or bathroom above will also crack and soften drywall, and that kind of crack almost always comes with staining or sagging.
Reading the warning signs
Not every crack calls for a contractor, but some absolutely do. Use this table to sort what you're looking at before you grab a putty knife.
| Crack type | What it looks like | Action needed |
|---|---|---|
| Hairline seam crack | Thin, straight, along a taped joint | DIY repair |
| Spider or web pattern | Several thin cracks radiating out | DIY repair, monitor |
| Stair-step crack | Zigzag pattern, often near corners | Call a pro |
| Crack with sagging | Ceiling dips or bulges nearby | Call a pro immediately |
| Crack with staining | Brown or yellow ring around it | Check for leaks first |
A crack that's widening, sagging, or paired with water stains isn't a painting problem, it's a structural one.
Growing cracks, ones wider than a quarter inch, or cracks that reappear within weeks of a repair point to foundation movement or a compromised ceiling joist, and no amount of tape and mud fixes that. If your home was built before 1979, that popcorn texture may also contain asbestos, and disturbing it yourself without proper containment is a health risk, not just a cosmetic decision. When you're unsure which category your crack falls into, a free in-home assessment from a licensed contractor beats guessing.
Step 1. Gather your tools and materials
Before you climb the ladder, get everything within reach. Running back and forth for a missing tool while balancing on a ladder is how people fall, and it's how repairs get rushed. A proper ceiling crack repair takes more than a tube of caulk, so skip the shortcuts here.
What you'll need
Here's the full kit for a repair that actually holds up over time, not just for a season:
- Utility knife or 5-in-1 tool to open and clean the crack
- Fiberglass mesh tape (self-adhesive works best for ceilings)
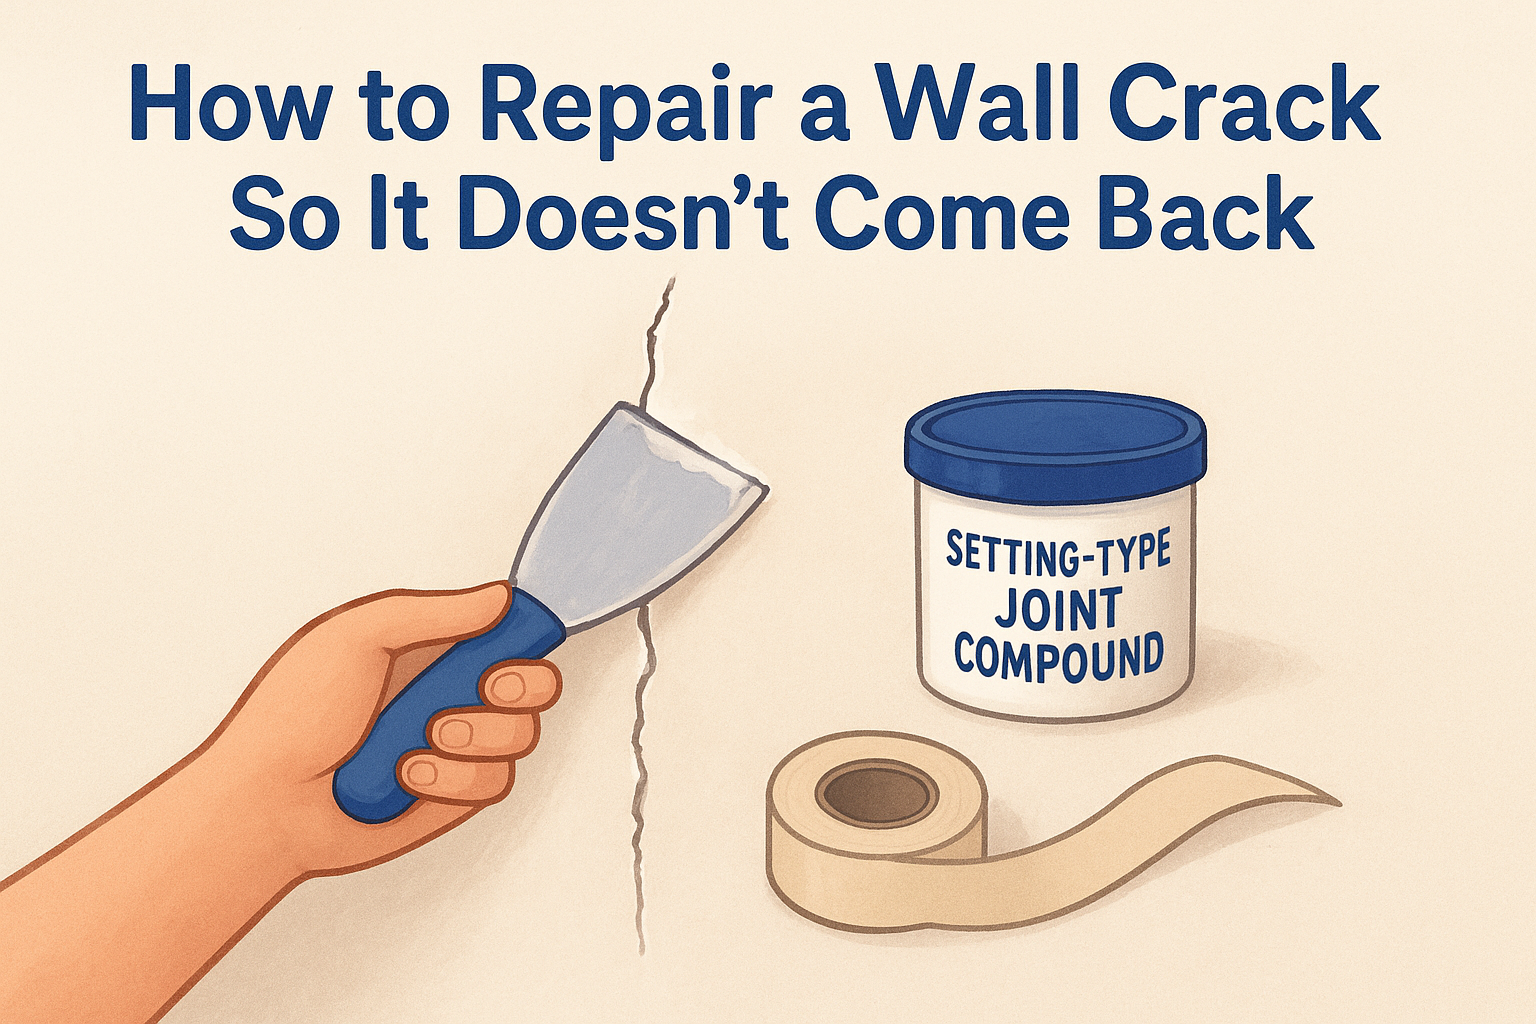
- Setting-type joint compound (not premixed, it shrinks less and bonds harder)
- 6-inch and 12-inch drywall knives for feathering layers
- Mud pan to keep compound workable
- 120-grit and 220-grit sanding sponges
- Stain-blocking primer
- Ceiling paint matched to the existing sheen
- Texture spray if your ceiling has orange peel, popcorn, or knockdown finish
- Drop cloths, safety glasses, and a dust mask
- Stable ladder rated for ceiling height work
Why setting compound beats premixed mud
Joint compound sold in a bucket, sometimes called all-purpose or premixed mud, dries by evaporation and shrinks as it does. Setting-type compound chemically hardens instead, which means it stays put in the crack and resists reopening. It comes as a powder you mix yourself, in bags labeled by set time, usually 20, 45, or 90 minutes. For ceiling cracks, grab the 45-minute bag. It gives you enough working time without dragging the project into a second day.
Skip the premixed mud for crack repairs. Setting compound is the difference between a fix that lasts and one you'll be redoing by spring.
One more thing worth checking before you start: match your ceiling's existing texture. Walk into the room, look up, and take a photo on your phone. You'll want it for reference once you get to the texturing step.
Step 2. Open and clean out the crack
Before any tape or mud goes on, you need to widen the crack instead of leaving it as a hairline. That sounds backward, but a crack left as-is has feathered, crumbling edges that won't hold compound. Opening the crack into a shallow V-groove gives the setting compound something solid to grip.
Cutting the groove
Run your utility knife or 5-in-1 tool along the crack, angling the blade to widen it slightly as you go. You're aiming for a groove about a quarter-inch wide and deep, shaped like a V rather than straight down. Work the full length of the crack, including a couple extra inches past each visible end, since cracks almost always extend further than what's visible under paint.
Clearing out debris
Once the groove is cut, switch to a stiff brush or the corner of your putty knife and scrape out every bit of loose gypsum, old paint chips, and dust. Any debris left behind creates a weak spot that cracks again within months. Vacuum the groove with a brush attachment, then wipe it with a slightly damp cloth to pull remaining dust out of the paper fibers.
A clean, dust-free groove is what makes setting compound bond instead of just sitting on top.
Checking for movement
Before you tape anything, press gently on both sides of the crack with your palm. If you feel any flex, spring, or hear crackling, the drywall isn't fully attached to the joist above it, and taping over that will fail fast. That's your cue to drive a few 1-5/8 inch drywall screws into the joist on either side of the crack, seating them just below the paper surface. Fixing that movement now saves you from redoing this whole repair in a few months.
Step 3. Tape and fill the crack
With the groove clean and any loose drywall screwed down, mix a small batch of your 45-minute setting compound to a consistency like thick pancake batter. Only mix what you'll use in the next 30 minutes, since setting compound hardens on a timer, not by drying, and won't loosen up again once it starts to firm.
Bedding the tape
Spread a thin layer of compound into the groove with your 6-inch knife, then press self-adhesive fiberglass mesh tape directly over the crack, centering it so it covers equal ground on both sides. Smooth the tape flat with your knife, pushing out any air bubbles and squeezing a little compound through the mesh as you go. Skipping drywall taping and just filling the groove with mud is the number one reason ceiling cracks come right back within a season.
Mesh tape bridges the crack and spreads stress across a wider area, which is exactly why the repair holds instead of splitting again.
Building up thin layers
Apply a second coat of compound over the taped area, feathering the edges out about 4 inches beyond the tape on each side with your 12-inch knife. Let this coat set completely, it'll feel hard to the touch and lose its shine, before adding a third, wider coat that feathers out even further, closer to 8 inches. Thin layers that fully set beat one thick layer every time, since a thick application shrinks unevenly and can crack along its own edges. Check your work at an angle under a work light between coats. Any ridges or gaps that catch shadow need another pass before you move to sanding.
Step 4. Sand, prime, and paint the repair
Once your final coat of setting compound has fully hardened, it's time to blend the repair into the surrounding ceiling so no one can tell where the crack used to be. Sanding smooth is what separates an amateur patch from one that vanishes under paint.
Sanding in stages
Start with a 120-grit sanding sponge and work in circular motions, checking often with your palm for ridges or high spots. Switch to 220-grit for the final pass, which knocks down fine scratches without gouging the surrounding drywall paper. Wipe the area with a slightly damp cloth afterward to pull off sanding dust, since any grit left behind will show up as texture under a fresh coat of paint.
A smooth, dust-free surface before priming is what makes the repair invisible once it's painted.
Matching texture
If your ceiling has orange peel, popcorn, or knockdown texture, this is where blending the patch texture with that reference photo from Step 1 earns its keep. Load your texture spray can according to the label, test the spray pattern on a scrap piece of cardboard first, and apply light passes from about 18 inches away until the pattern matches what's around it. Let it dry fully, usually a few hours, before moving on.
Priming and painting
Apply a coat of stain-blocking primer over the entire patched area, extending a few inches beyond the repair so the sheen transitions evenly. Once dry, roll on ceiling paint matched to your existing sheen, feathering the edges with a slightly damp roller to avoid a visible line. Two thin coats beat one heavy one for even coverage. Step back and check under natural light once dry. If you still see a shadow line, a second light coat usually clears it up.
Keeping your ceiling crack-free
A properly taped and feathered repair with setting compound should outlast the paint job around it, especially once you've addressed whatever caused the crack in the first place. Keep an eye on humidity swings in your attic, make sure roof leaks get fixed fast, and check that any cracks near corners aren't creeping back after a few months. Small hairlines are part of normal home aging, but repeat cracking in the same spot almost always means something underneath still needs attention, whether that's an unsecured joist, truss uplift, or settling you can't fix with a putty knife.
Not every ceiling problem is a weekend project, and that's fine. If your crack keeps returning, you're dealing with a popcorn ceiling that might contain asbestos, or the damage looks bigger than a single patch can handle, get a second set of eyes on it. Our team offers a free drywall repair and patching estimate across the Sacramento Valley, no upfront cost, no pressure, just an honest read on what your ceiling actually needs.