September 1, 2026
How to Use Spackling for Drywall Repair
Nail holes, doorknob dings, small cracks near a window frame. These are the everyday marks that make a wall look tired, and most of them don't need a drywall crew. Spackling for drywall repair is the fastest fix a homeowner can pull off in an afternoon, if you know which product to grab and how to apply it without leaving a lumpy patch behind.
This guide answers exactly that: which spackle works for which type of damage, and the step-by-step process for a smooth, paint-ready result. You'll learn the difference between lightweight spackle for pinholes and heavier compounds for gouges, plus the drying and sanding steps most DIY attempts skip.
We've spent over 30 years repairing walls and ceilings across the Sacramento Valley, and we've seen every version of a botched patch job. Small holes and hairline cracks are great DIY candidates. But once you're dealing with settlement cracks , water damage, or holes wider than a few inches, spackle won't hold and it's time to call in a pro. Read on to know exactly where that line is.
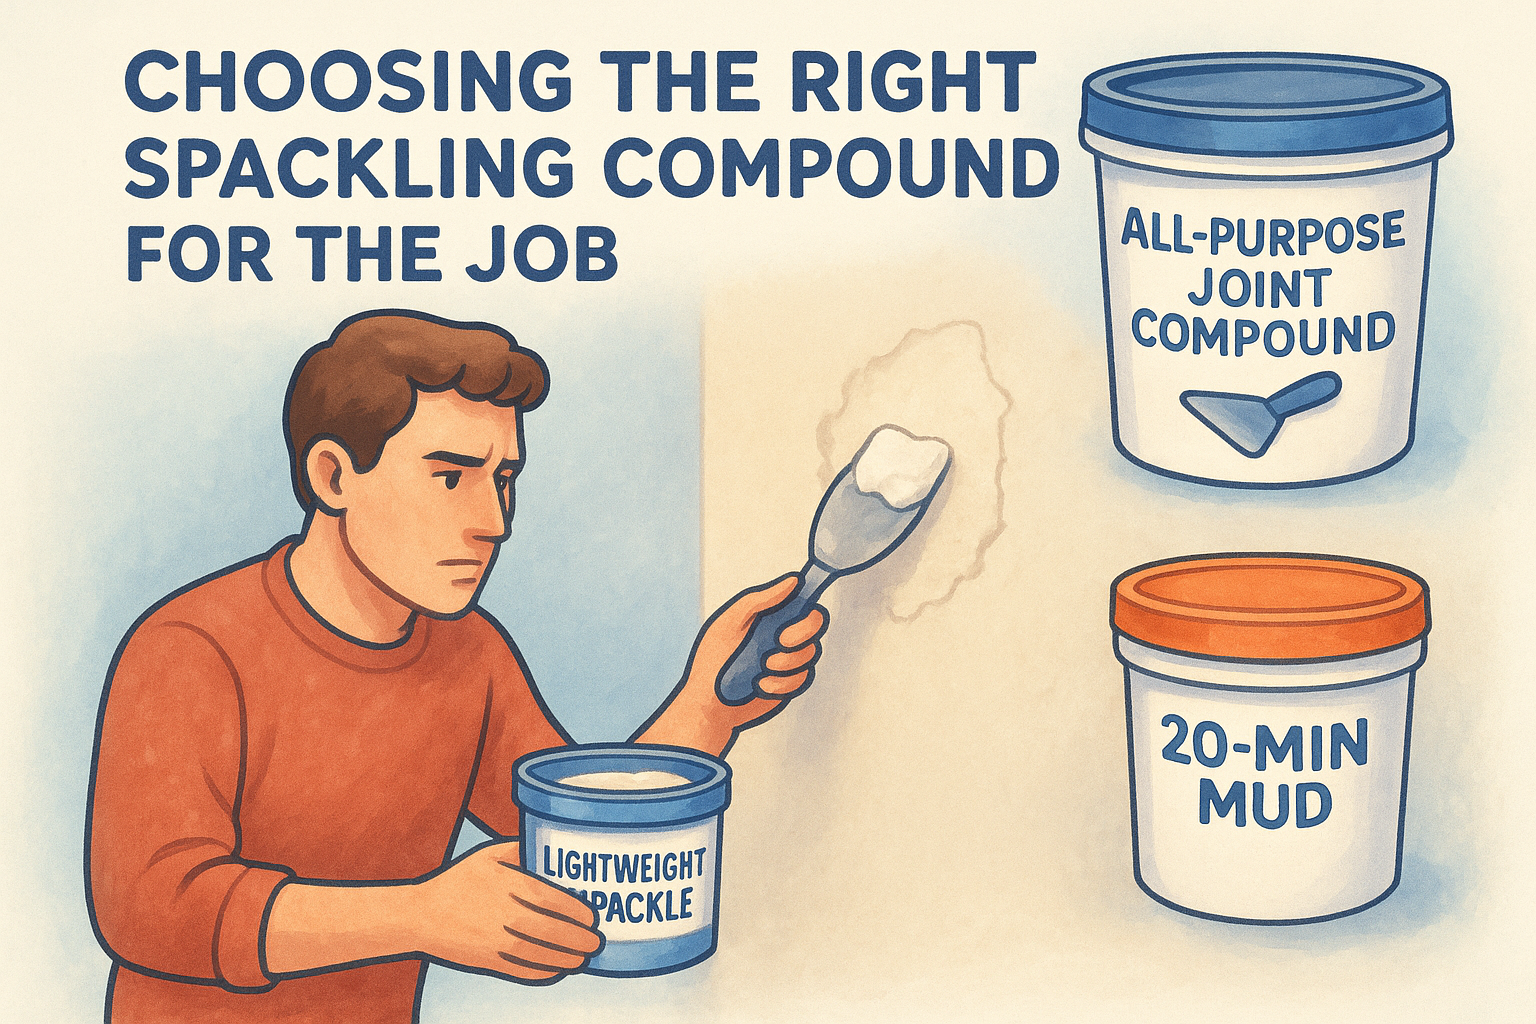
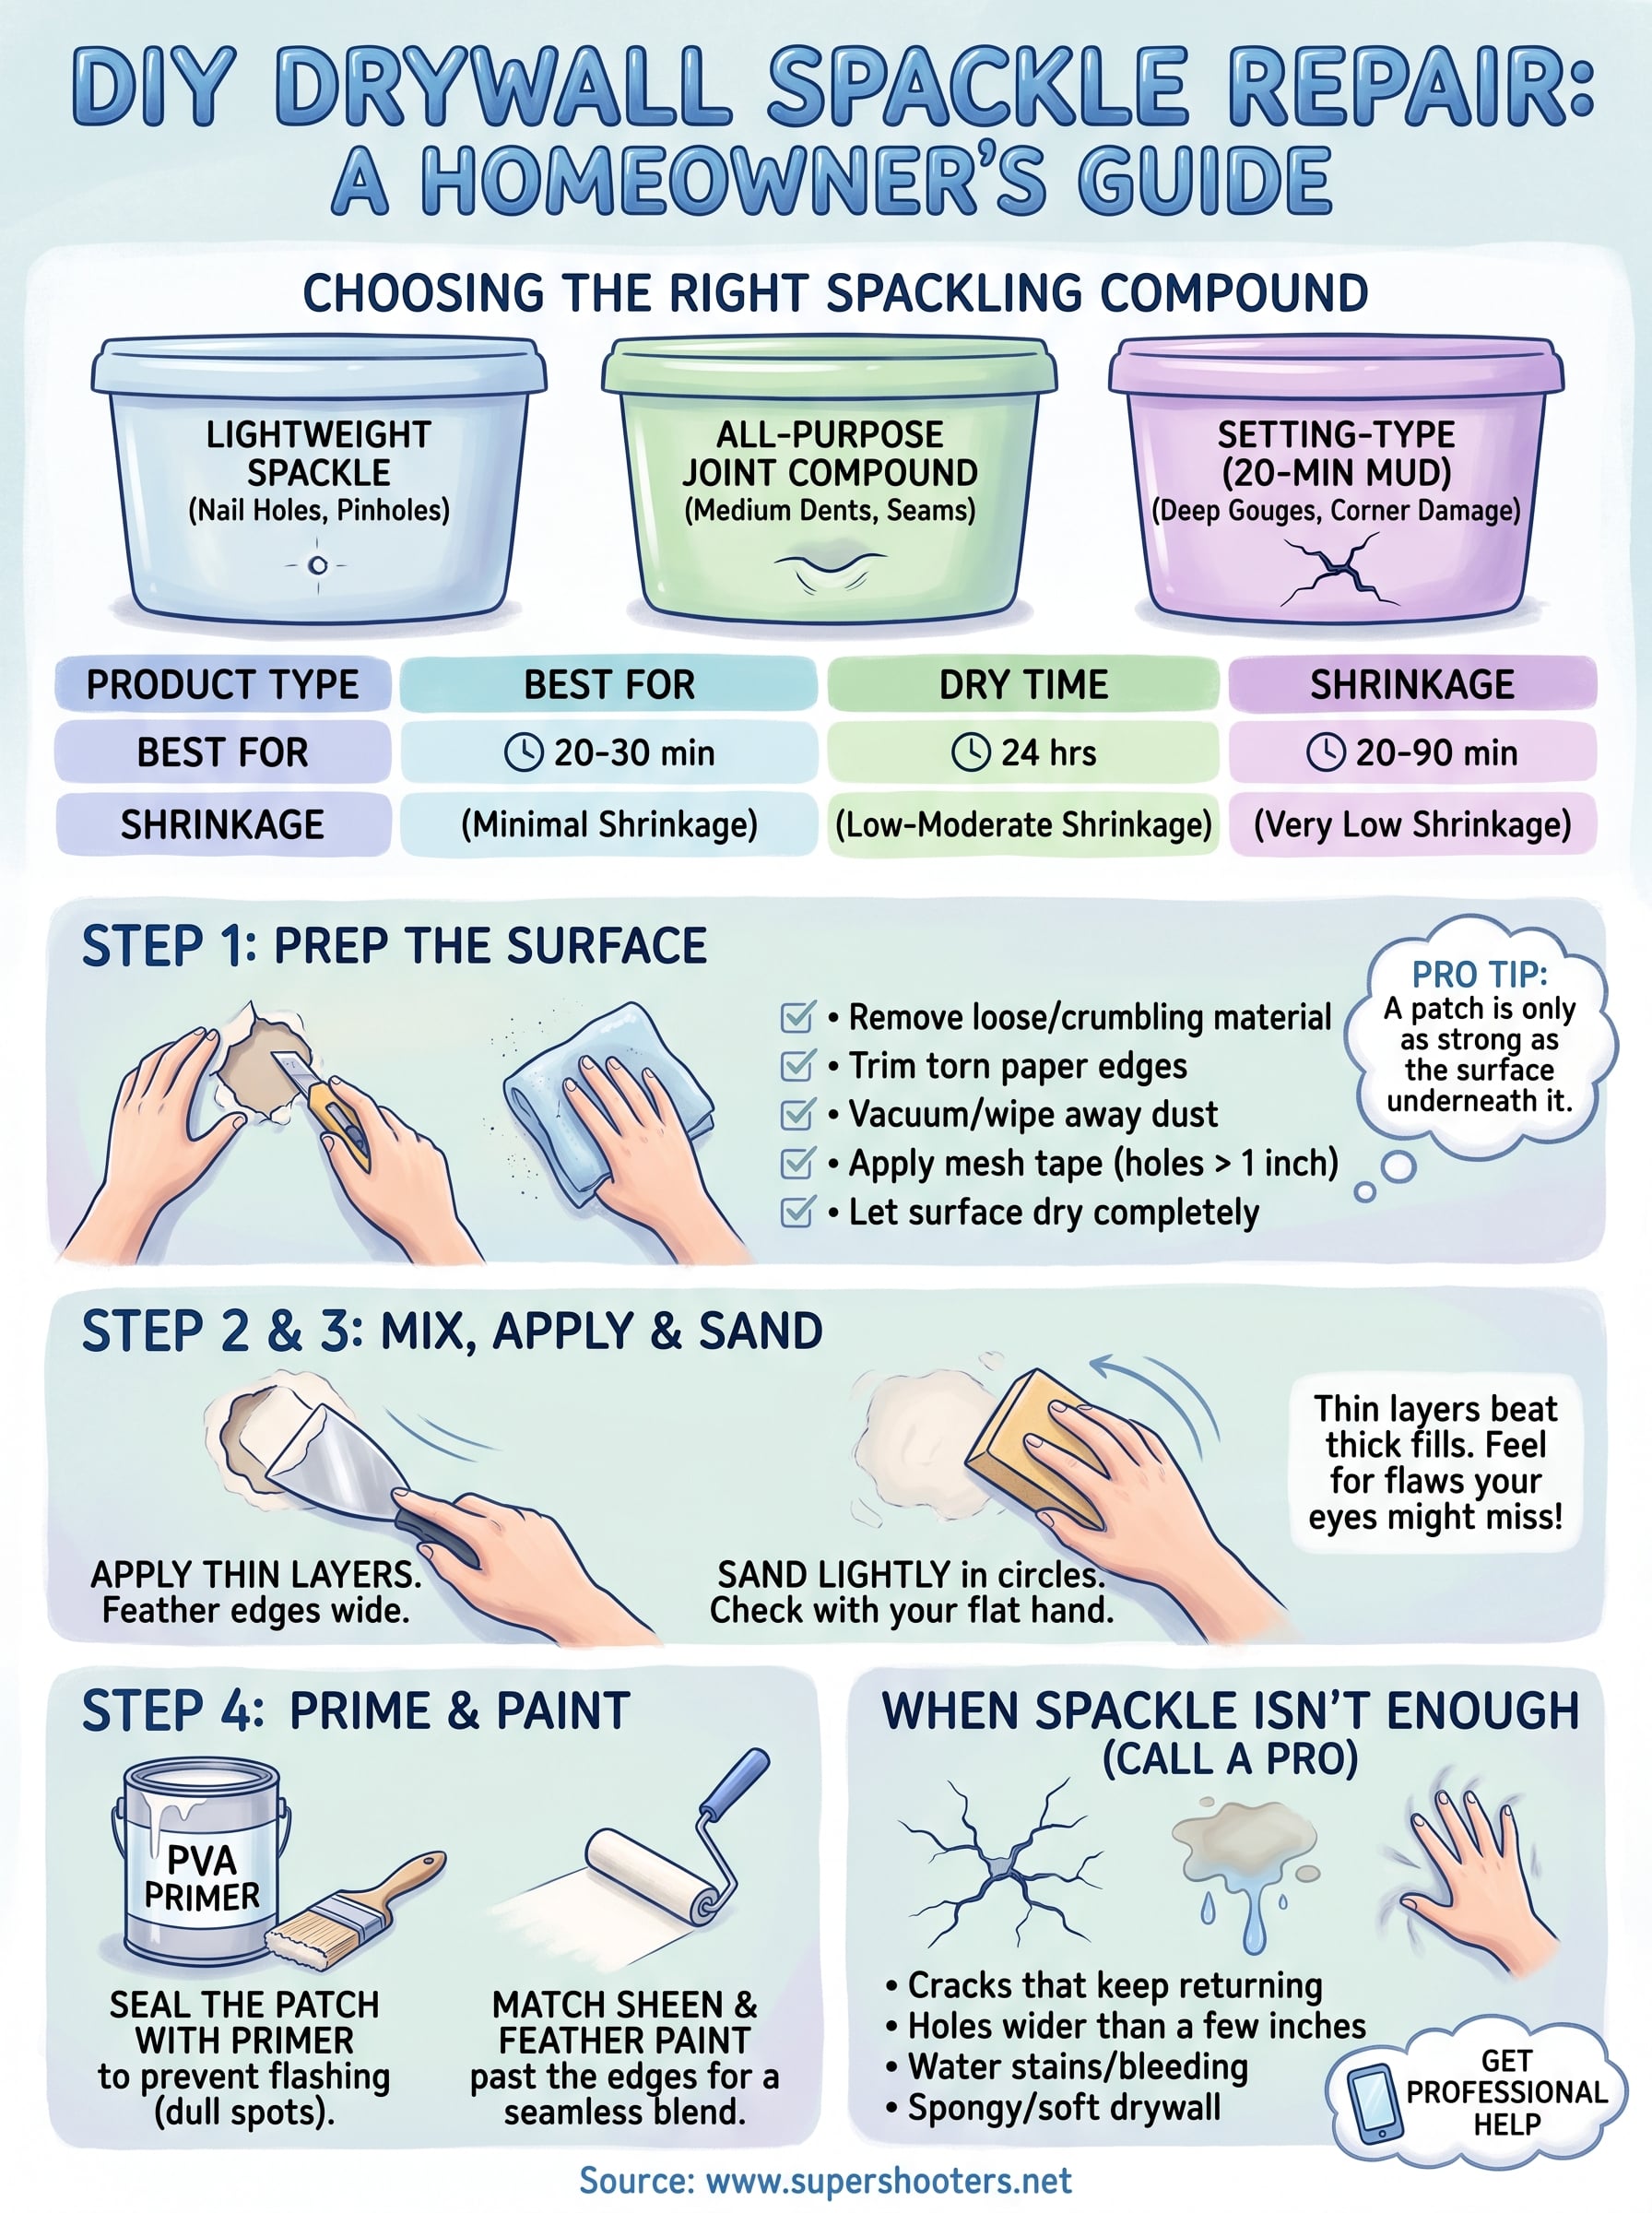
Choosing the right spackling compound for the job
Walk into any hardware store and you'll find a wall of tubs labeled spackle, joint compound, and patching plaster, and the differences between drywall mud, spackle, and plaster mean they are not interchangeable. Lightweight spackle is a vinyl or acrylic-based formula built for nail holes, small dents, and hairline surface cracks. It dries fast, shrinks very little, and sands to a feather edge in under an hour. Grabbing the wrong tub is the number one reason DIY patches crack or bulge later.
Heavier jobs need a different approach. For gouges bigger than a quarter or corner damage where the paper is torn, picking a joint compound for drywall repair such as a lightweight all-purpose compound or a setting-type patch (often sold as "20-minute mud") gives you more body and better adhesion. These products take longer to cure but resist shrinking on deeper fills, so it helps to know how long a patch needs to dry before painting when you're building up a repair in layers.
Match the product to the depth of the damage, not just the brand on the shelf.
Here's how the common options stack up:
| Product Type | Best For | Dry Time | Shrinkage |
|---|---|---|---|
| Lightweight spackle | Nail holes, pinholes, hairline cracks | 20-30 min | Minimal |
| All-purpose joint compound | Medium dents, seams, texture blending | 24 hrs | Low-moderate |
| Setting-type (20-min mud) | Deep gouges, corner damage, multi-layer builds | 20-90 min | Very low |
| Vinyl spackle | General small repairs, easy sanding | 1-2 hrs | Minimal |
Grabbing a small tub of lightweight spackle covers most household dings. But if you're patching anything deeper than half an inch or wider than a fist, pick a setting-type compound instead. Using spackle to repair drywall that's too thin for the job just means redoing the patch a week later when it cracks along the edges.
Step 1. Prepare the damaged drywall
Before any drywall spackle repair holds for good, the surface has to be clean and stable. Loose paper, crumbling gypsum, and dust are the main reasons patches fail within weeks, so start by knocking away anything that isn't solid. Use a utility knife to cut back torn paper edges until you reach drywall that's firmly attached, and press around the damaged area to check for soft spots that need trimming too.
A patch is only as strong as the surface underneath it.
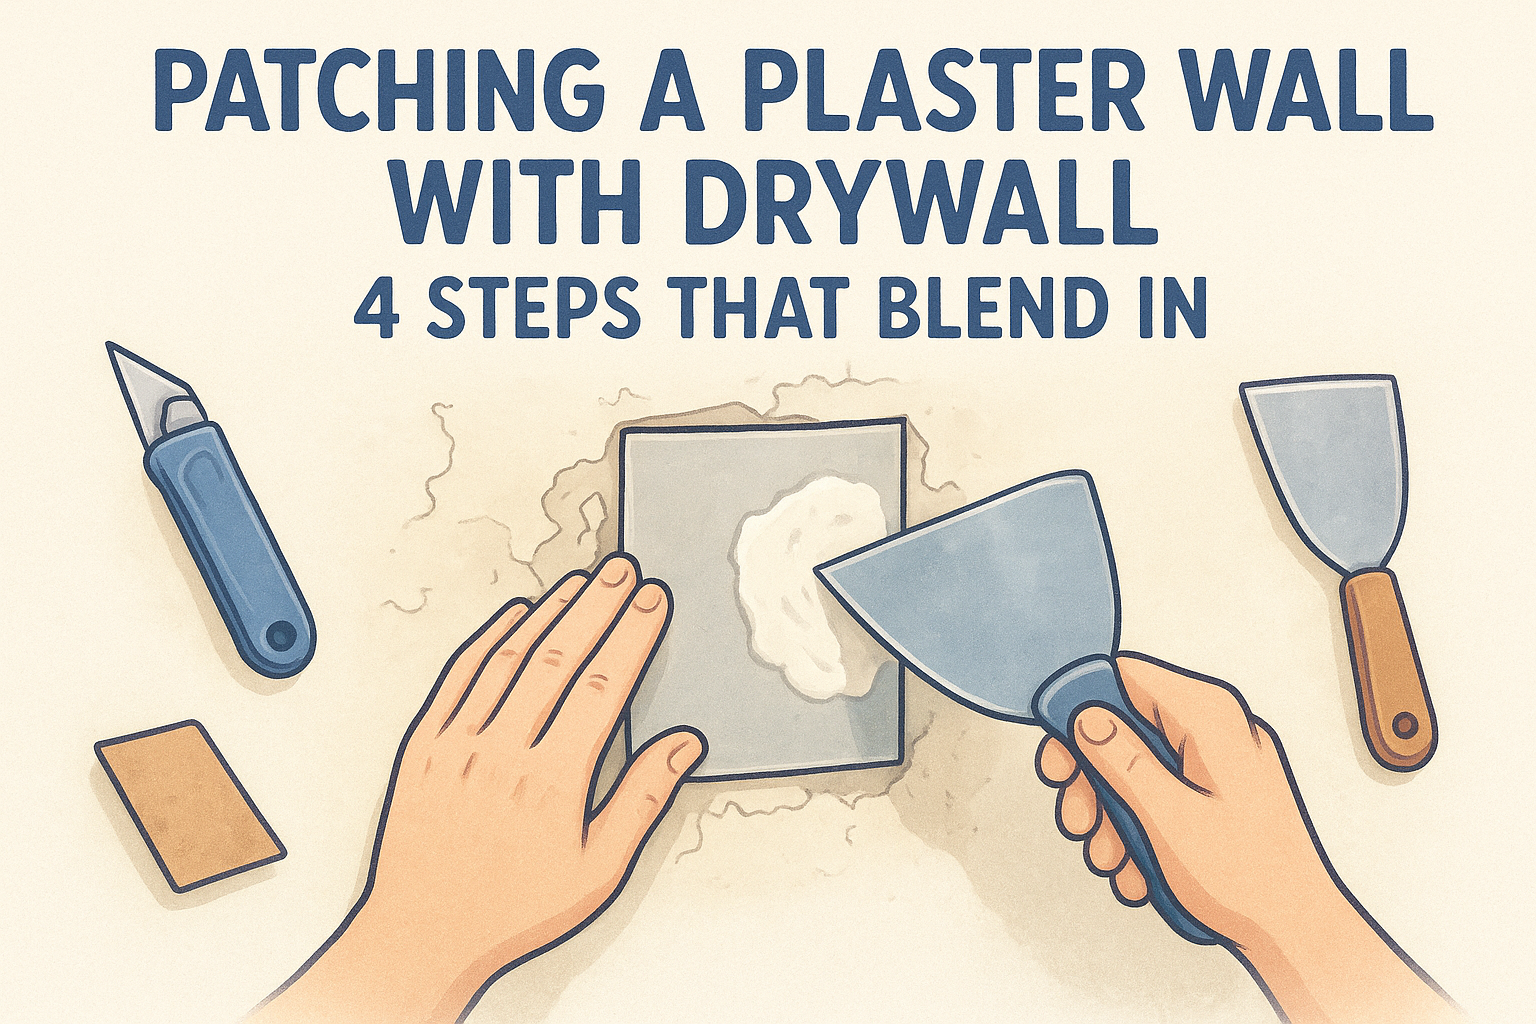
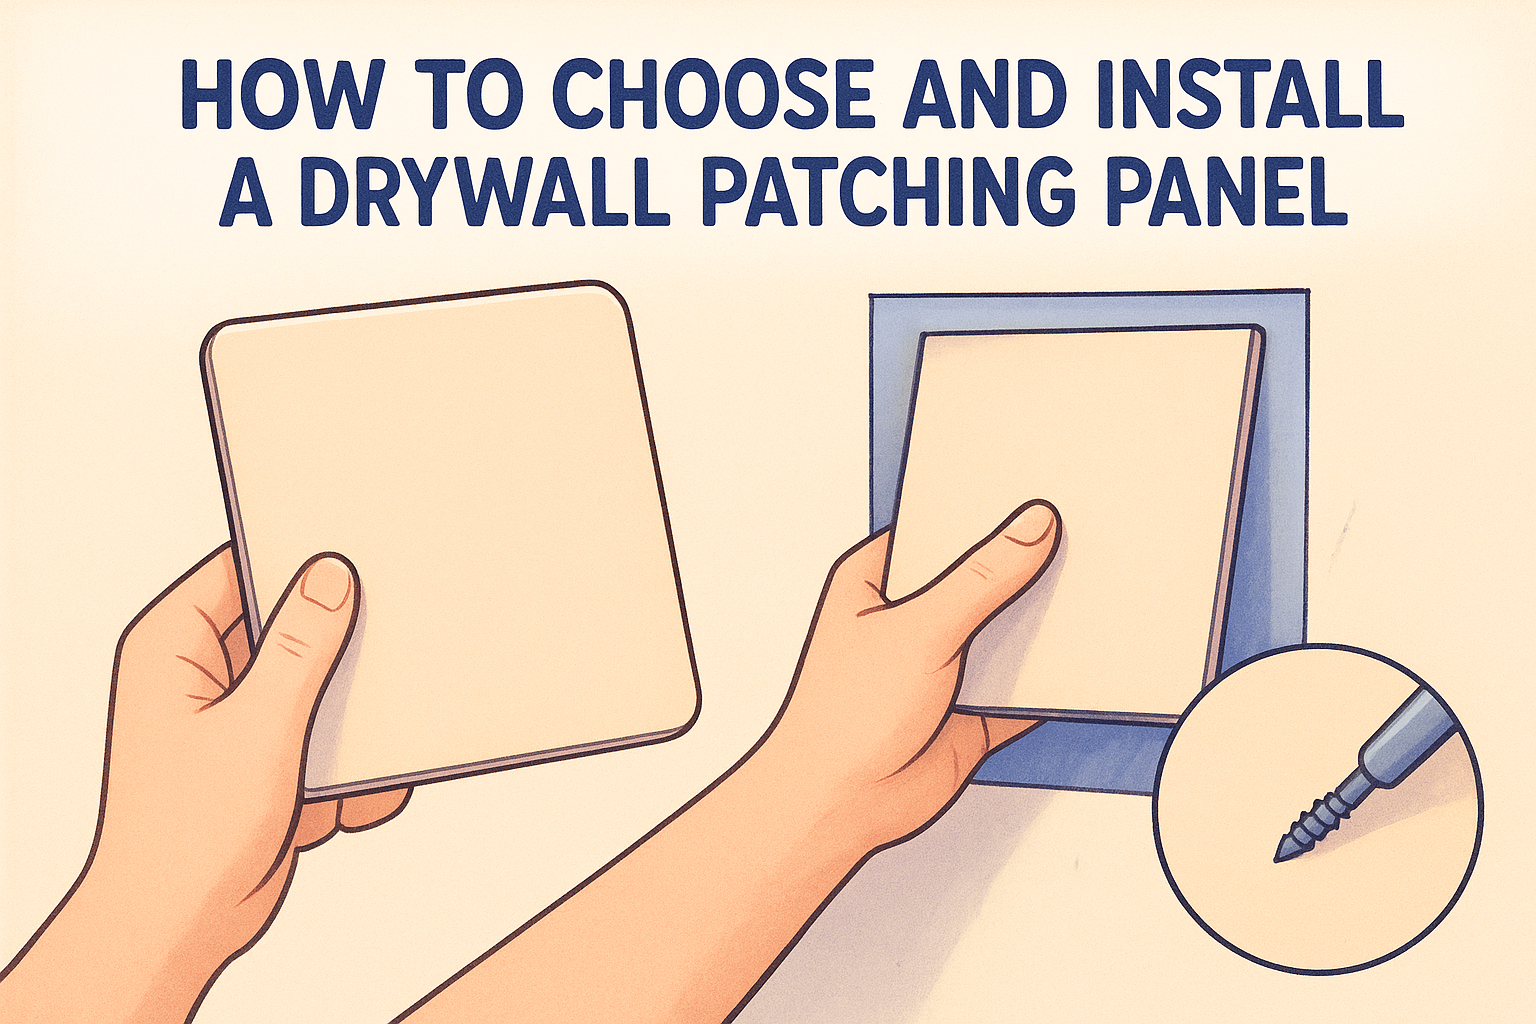
Dust is the silent killer of adhesion, so wipe the area with a damp cloth and let it dry fully before opening your spackle tub. For spackle drywall repair on deeper holes, try patching drywall with tape, backing the opening with fiberglass mesh tape or a scrap of drywall to give the compound something to grip.
Run through this checklist before mixing anything:
- Remove loose or crumbling material around the hole
- Trim torn paper edges with a utility knife
- Vacuum or wipe away dust and debris
- Apply mesh tape over cracks or holes wider than an inch
- Let the surface dry completely if you used water to clean it
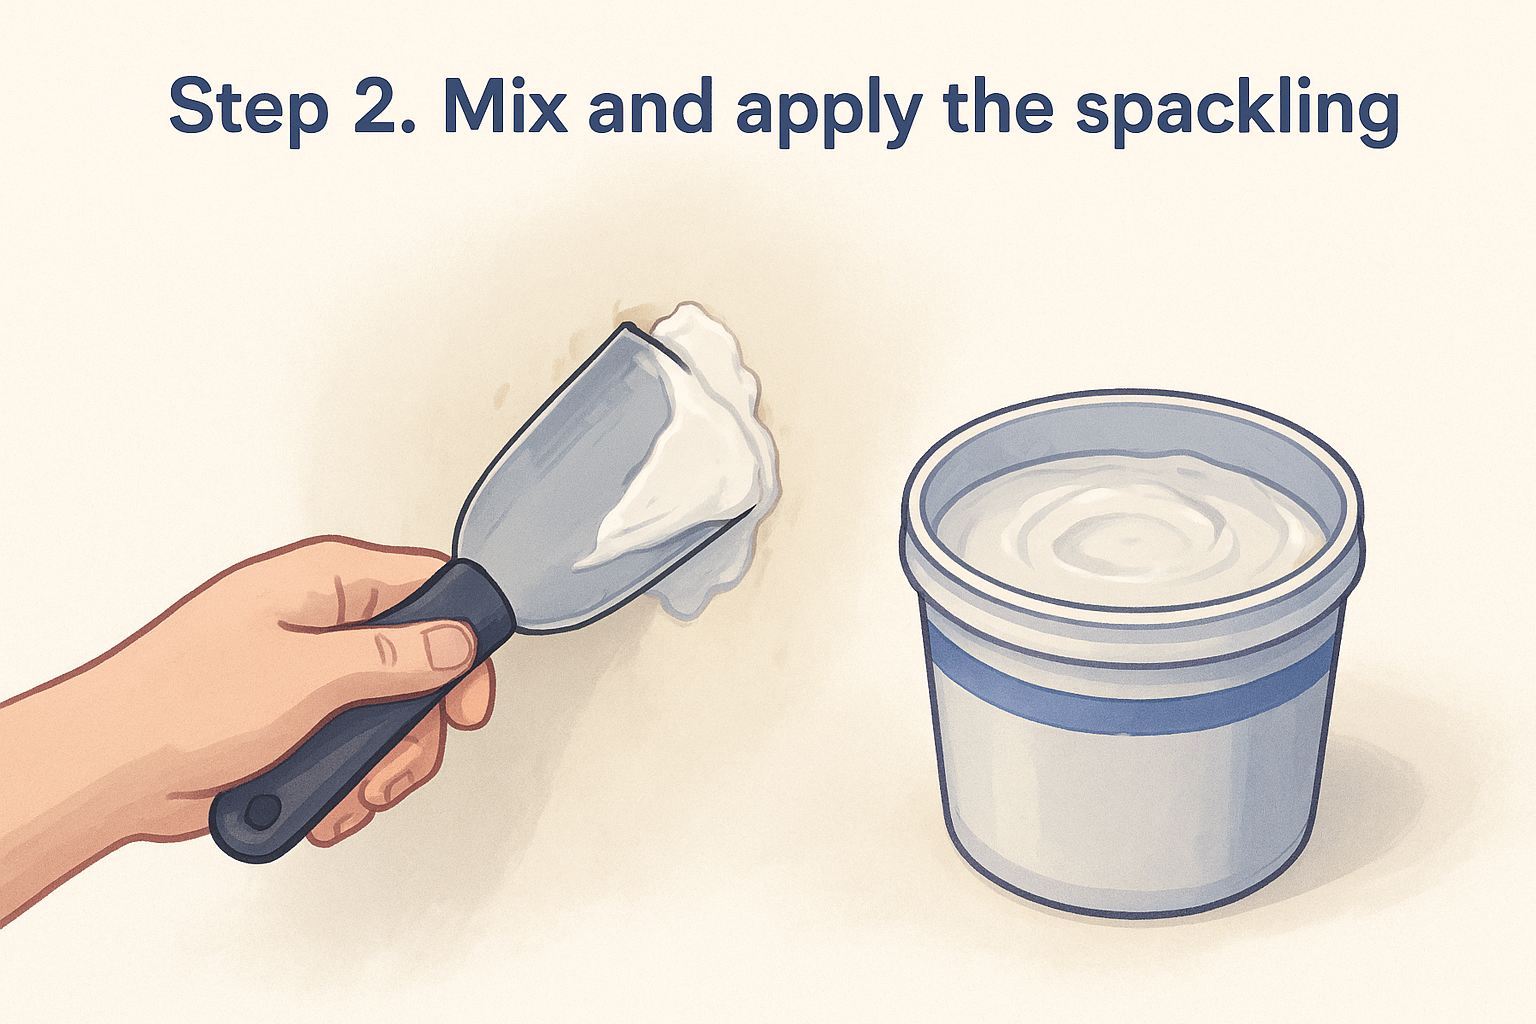
Step 2. Mix and apply the spackling
Once the prep work is done, grab a flexible putty knife and work the compound in thin layers rather than one thick glob. For premixed lightweight spackle, scoop a small amount onto the blade and press it into the hole at a slight angle, pulling across the damage in one smooth motion. If you're using a setting-type drywall repair spackle , mix only what you'll use in the next 20 minutes since it hardens fast in the bucket.
Thin layers beat one thick fill every time, because thick fills crack as they dry.
For holes deeper than a quarter inch, build the patch in stages:
- Apply a thin first layer and let it dry or set fully.
- Check for shrinkage or dips once dry.
- Add a second, slightly wider layer feathering out past the edges of the first.
- Repeat until the patch sits level with the surrounding wall.
Feathering the edges wide and thin is what keeps the repair invisible once it's painted, so resist the urge to pile compound in the middle and call it done.
Step 3. Sand the patch smooth
Once your final layer of spackling for drywall repair has cured completely, grab a sanding sponge or 150-220 grit sandpaper and work in small circles over the patch, the same way the pros sand walls smooth. Press lightly at first, checking often, since sanding too aggressively can gouge back into the compound and leave you patching the same spot twice. Feel the surface with your palm rather than relying on your eyes alone; a flat hand catches ridges and lips that lighting can hide.
Run your hand over the patch before you trust your eyes, because fingers catch flaws that lighting hides.
Work through this quick routine for a clean finish:
- Sand in light, circular motions, not hard back-and-forth strokes
- Wipe away dust with a dry cloth every minute or two
- Check for high spots or feathered edges with a flat hand
- Add a thin skim coat over any low spots and let it dry before resanding
Once the patch blends smoothly into the surrounding drywall with no visible edge, vacuum the area and wipe down the wall with a slightly damp cloth. Skipping this step leaves dust that ruins primer adhesion in the next stage.
Step 4. Prime and paint the repair
Skipping primer is the fastest way to make a perfect patch visible again. Drywall spackle absorbs paint differently than the surrounding wall, and that difference shows up as a dull, flat spot called "flashing" once the topcoat dries. A thin coat of PVA primer or a stain-blocking spray primer seals the porous patch so it takes paint the same way as the rest of the surface.
Skip primer and your invisible patch turns into a visible flaw the moment the paint dries.
Match the sheen, then blend
Painting over spackling for drywall repair works best when you feather the new paint beyond the patch edges instead of stopping right at the border. Use the same sheen as the original wall, since a mismatch in gloss level will catch light differently even with an exact color match.
- Let primer dry fully, usually 30 minutes to an hour
- Apply paint in thin, feathered coats extending past the patch
- Use a roller for texture matching, a brush for tight corners
- Check the wall in daylight before calling the repair finished
When a repair is bigger than a DIY fix
Spackle solves nail holes, dings, and hairline cracks every time, but it has limits. Cracks that keep coming back , holes bigger than a dinner plate, water stains that keep bleeding through paint, or drywall that feels soft and spongy are signs of a bigger problem underneath, not something a putty knife fixes. Wall cracks from foundation settlement, hidden leaks, and structural movement need diagnosis, not another layer of compound.
That's the line between a Saturday project and a call to a contractor. Pushing spackle into a repair that keeps failing just wastes time and money, and it can hide a problem that gets worse while it's covered up. We've patched enough Sacramento Valley walls to know when a DIY fix has run its course.
If your damage falls into that category, don't keep fighting it with another tub of compound. Get a free estimate on professional drywall repair and patching and let us handle the parts spackle can't fix.