September 26, 2026
How to Tell if Your Popcorn Ceiling Has Asbestos
You look up at that bumpy, spray-textured ceiling every day and wonder if it's just outdated or actually dangerous. Figuring out how to tell if your popcorn ceiling has asbestos matters before you touch a scraper, a sander, or even a ladder, because disturbing asbestos fibers without knowing it can turn a weekend project into a health hazard for your whole household.
The short answer: you can't confirm asbestos by eye alone, but there are strong clues that tell you when to worry. Home construction dates , ceiling texture patterns, and past renovation history all narrow down the risk, while lab testing is the only way to know for certain what you're dealing with.
In this guide, we'll walk through the visual and historical red flags that suggest asbestos, explain why homes built before 1980 deserve extra caution, and cover how sample collection and testing actually work. We'll also point out when it's time to stop guessing and call in a licensed professional, since our crew at Super Shooters has handled asbestos-containing popcorn ceilings across the Sacramento Valley for over 30 years.
Why you can't identify asbestos by looking alone
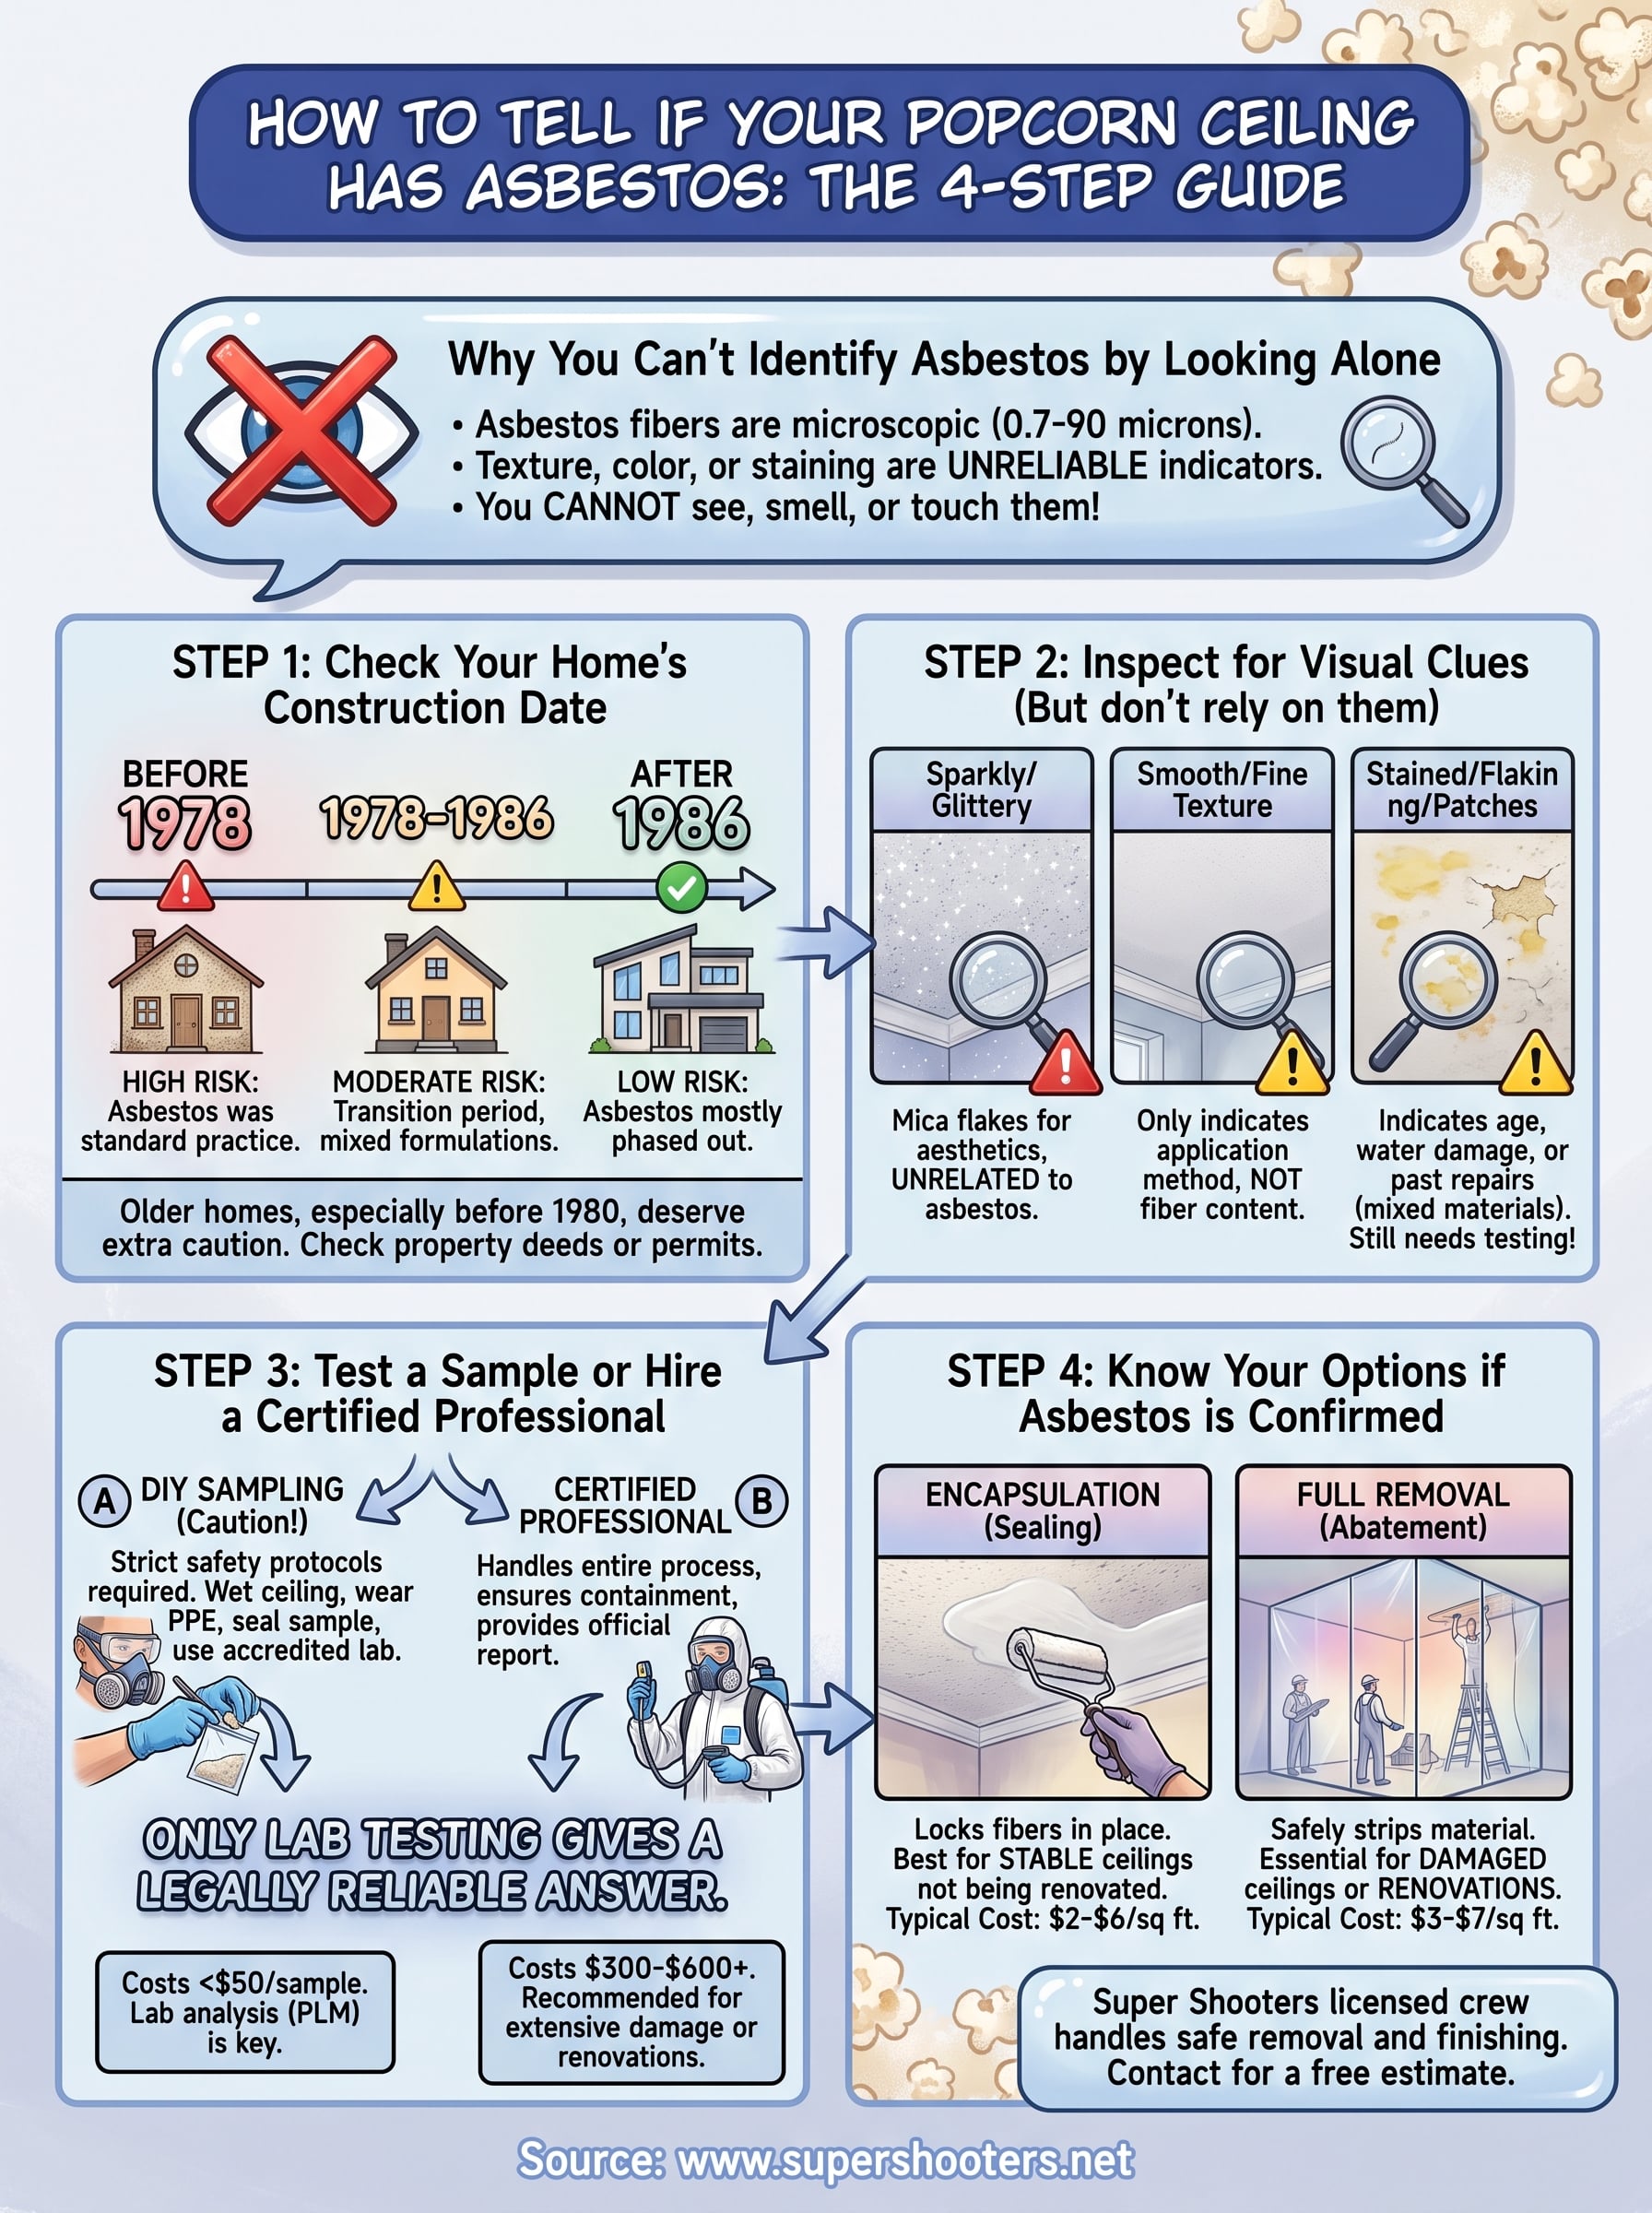
Asbestos fibers measure between 0.7 and 90 microns wide, roughly a thousand times thinner than a human hair. No amount of squinting at your ceiling from a ladder will reveal them, because asbestos identification happens at a microscopic level that no homeowner can replicate with the naked eye. Manufacturers mixed asbestos fibers into the same white, chalky compound used in non-asbestos popcorn texture, so the finished product looks identical whether it's safe or hazardous.
You cannot see, smell, or touch asbestos fibers, which is exactly what makes them dangerous.
Texture and color tell you nothing reliable
Some popcorn ceilings have a coarse, heavily clumped texture while others look almost smooth with light stippling. People assume the rougher texture means older material and therefore higher asbestos risk, but that assumption falls apart in practice. Ceiling texture variation comes from application technique, the amount of water mixed into the compound, and how many coats the installer sprayed, not from whether asbestos was in the mix. A perfectly smooth-looking ceiling from 1975 can contain just as much asbestos as a heavily textured one from the same era.
Color changes over time from yellowing, water staining, or nicotine exposure also mislead people into thinking they can spot asbestos by discoloration. None of that staining relates to fiber content. The compound's binder, filler, and pigment all react to age and environment the same way regardless of asbestos percentage.
Even contractors can't eyeball it accurately
Experienced contractors who've torn out hundreds of ceilings will tell you the same thing: visual inspection narrows the odds, but it never confirms anything. A crew member who's worked with popcorn texture for 20 years can guess based on the home's age and the product's brittleness, but that's still a guess. The only way any professional legally confirms asbestos content is through laboratory analysis, and reputable contractors won't claim otherwise. If someone tells you they can identify asbestos just by looking at your ceiling, that's a warning sign about their credibility, not a shortcut you should trust.
Common look-alike clues and what they actually mean
Homeowners often point to specific features as proof one way or the other. Here's why those clues fall short on their own:
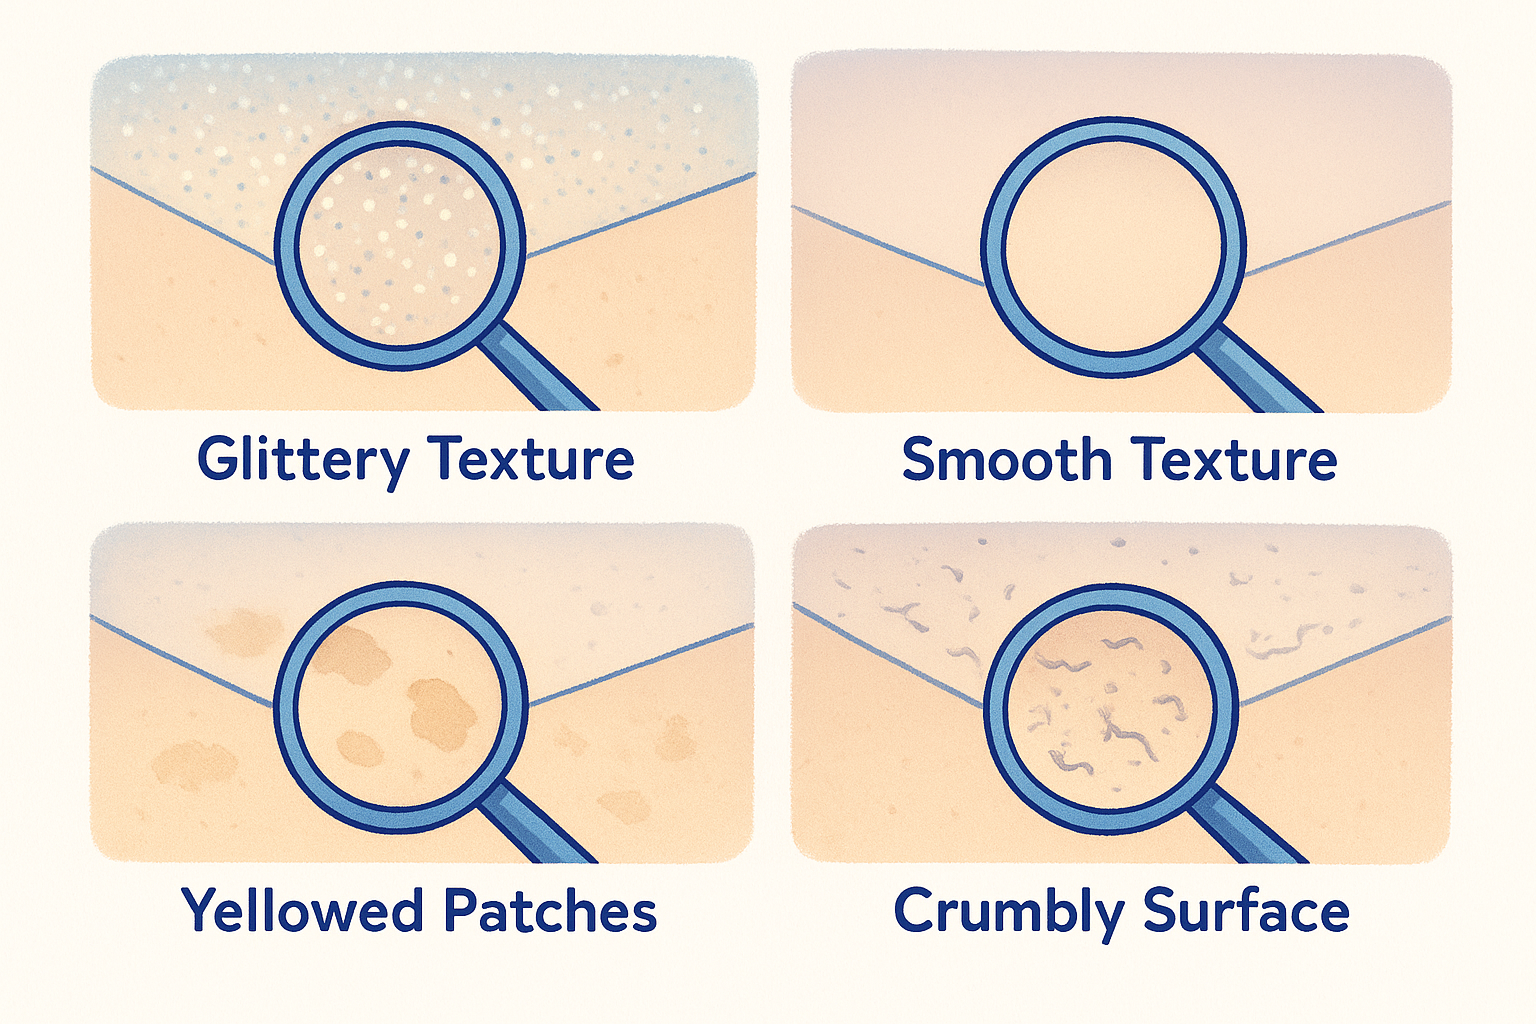
| Visual Clue | What People Assume | What It Actually Proves |
|---|---|---|
| Sparkly or glittery texture | Contains asbestos | Often just mica flakes added for aesthetics, unrelated to asbestos |
| Smooth, fine texture | Asbestos-free | Says nothing about fiber content, only application method |
| Yellowed or stained patches | Older, more likely asbestos | Reflects sun exposure or moisture, not material composition |
| Crumbly, flaking surface | Definitely asbestos | Indicates age and deterioration, not a specific hazard |
| Recently painted ceiling | Safe to disturb | Paint doesn't remove or neutralize asbestos fibers underneath |
Setting expectations here matters because guessing wrong in either direction causes problems. Assuming your ceiling is safe when it isn't puts you and your family at risk of inhaling fibers during a renovation. Assuming it contains asbestos when it doesn't means paying for unnecessary abatement costs or avoiding a simple, safe repair project out of fear. The next step is narrowing down your risk using something more reliable than a glance upward: your home's actual construction timeline.
Step 1. Check your home's construction date
Start your investigation with paperwork, not a ladder. Your home's construction date is the single strongest predictor of asbestos risk, because manufacturers phased out asbestos in spray-applied ceiling texture between 1978 and the mid-1980s after federal regulators restricted the material. Pull your property deed, check the county assessor's website, or look up the original building permit, most Sacramento Valley counties post this data online for free. If your house was built before 1980, treat the ceiling as a likely candidate for testing rather than an exception.
A home built before 1980 gives you every reason to test before you touch that ceiling.
Knowing the exact decade narrows things further, since asbestos risk in popcorn ceilings shifts by build year and regional suppliers kept selling existing stock even after federal action began. The table below gives you a rough sense of what your build year suggests, though it's a guideline for prioritizing caution, not a substitute for lab confirmation.
| Construction Era | Asbestos Likelihood in Popcorn Ceiling |
|---|---|
| Before 1978 | High, asbestos-containing texture was standard practice |
| 1978 to 1986 | Moderate, transition period with mixed formulations |
| After 1986 | Low, most manufacturers had removed asbestos from texture products |
Older homes bought secondhand deserve extra scrutiny, especially if a previous owner remodeled or added a room using leftover materials from an earlier era. Renovation history can muddy the timeline, since a 1990s addition might still carry ceiling texture applied by a crew using older stock or a different contractor's supply. Documentation from past permits, if your seller kept them, tells you whether the ceiling in question dates to the original build or a later remodel.
County records sometimes list only the year the lot was subdivided rather than when the structure went up, so cross-reference with your title company's report or a home inspection report if you have one. Buyers who skipped a full inspection during purchase can still request historical data through the county recorder's office. This step alone won't confirm popcorn ceiling asbestos , but our construction dates and testing guide explains how seriously to take the visual inspection and testing steps that follow.
Step 2. Inspect the ceiling for visual clues
Grab a flashlight and get close enough to see the actual surface, not just the overall look from across the room. Visual inspection won't confirm asbestos, but it flags details worth photographing before you call a lab or contractor. Look for patch inconsistencies where one section of texture looks slightly different from the rest, since that often means a repair happened at some point using a different compound batch, possibly from a different era than the original application.
Check for mismatched repairs and edges
Repairs and additions matter because they can hide a mix of old and new material on the same ceiling. Mismatched texture patterns near light fixtures, vents, or ceiling seams suggest a patch job, and that patched section could contain asbestos even if the surrounding original texture doesn't, or vice versa. Edges along walls or around recessed lighting sometimes show a thinner texture layer, which can reveal the base coat underneath and give you a sense of how many layers were sprayed over the years.
One ceiling can hold two different generations of material, so a single visual read is never the full story.
Look for sagging, water stains, and brittleness
Sagging sections, brown water stains and other drywall water damage signs, or a surface that flakes when you brush it lightly with a gloved hand all point to material breakdown, and deteriorating texture releases fibers more easily whether or not asbestos is present. Note any spot where the ceiling looks disturbed already, such as a section missing texture entirely or scraped down to bare drywall, since someone may have removed material there before, possibly without proper precautions.
Here's what to document during your walkthrough:
- Photograph any section with visibly different texture or color from the rest of the ceiling
- Note rooms added or remodeled after the home's original construction date
- Mark areas with sagging, staining, or flaking for closer attention
- Record which rooms have never been touched since the home was built, since these are your most reliable original-material samples
Gathering this information before testing helps you and any lab technician choose the right sampling spots. A ceiling with obvious repair patches needs samples from each distinct section, not just one spot near the door. This groundwork sets you up for the next step, where a proper sample or a certified inspector turns your observations into an actual answer.
Step 3. Test a sample or hire a certified professional
Once you've flagged suspicious areas, you have two paths forward: collect a sample yourself and send it to an accredited lab , or bring in a certified asbestos inspector who handles the entire process. Neither option is complicated once you understand the steps, but skipping straight to demolition without either one is how homeowners end up with contaminated air ducts and a much bigger cleanup bill.
Only a lab test gives you a legally reliable answer, no amount of guessing ever will.
Collecting a sample yourself
DIY sampling is legal in most states and costs far less than a professional visit, but it requires strict precautions, so follow a step-by-step guide to sampling a ceiling safely since disturbing the material is exactly what releases fibers. Follow these steps if you choose this route:
- Turn off any HVAC system and leave the room, then seal doorways with plastic sheeting.
- Wear an N95 respirator, disposable gloves, and eye protection before approaching the ceiling.
- Lightly mist the target spot with water to keep dust down, then cut a small chunk with a utility knife.
- Drop the sample into a sealable plastic bag or film canister immediately.
- Wipe the cut area with a damp cloth and dispose of gloves and rags in a sealed trash bag.
- Ship the sample to an EPA-accredited lab using NVLAP-listed facilities for polarized light microscopy analysis.
Results typically arrive within a few business days, and most labs charge under $50 per sample, with polarized light microscopy analysis explained here if you want the full picture.
When to call in a certified professional
Hiring an inspector makes more sense when your ceiling shows extensive damage, when you're planning a large-scale renovation, or when you'd rather not handle suspect material at all. A certified asbestos inspector collects samples using the same lab-grade process but carries liability insurance and follows containment protocols that protect the rest of your home during sampling. This route costs more upfront, usually $300 to $600 depending on your home's size, but it removes any risk of contaminating adjacent rooms, and it helps to compare inspector, DIY kit, and accredited lab prices before booking.
Our team at Super Shooters coordinates sampling and, when results come back positive, moves directly into licensed asbestos abatement, step by step without the delay of finding a separate contractor afterward.
Step 4. Know your options if asbestos is confirmed
Getting a positive lab result doesn't mean you need to panic or gut your ceiling that same afternoon. Asbestos-containing material that's stable, undamaged, and left undisturbed poses far less risk than a crumbling ceiling that's already shedding dust. Your first decision is whether to manage the material in place or remove it entirely, and that choice depends on the ceiling's condition, your renovation plans, and how much disruption you can tolerate.
Encapsulation versus full removal
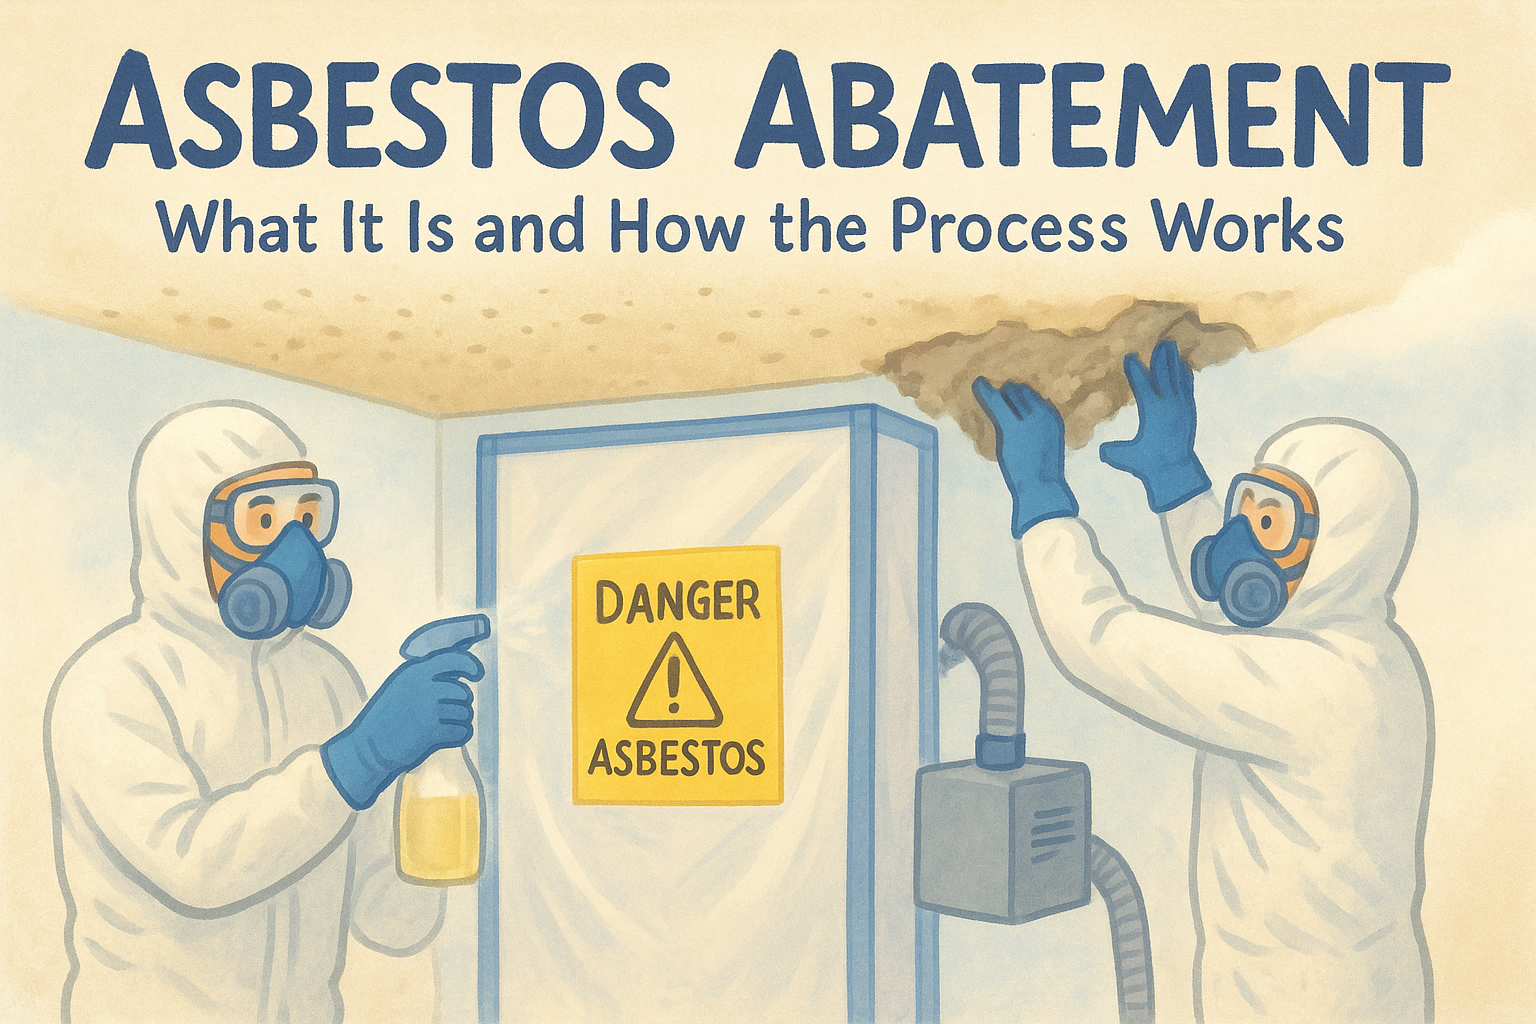
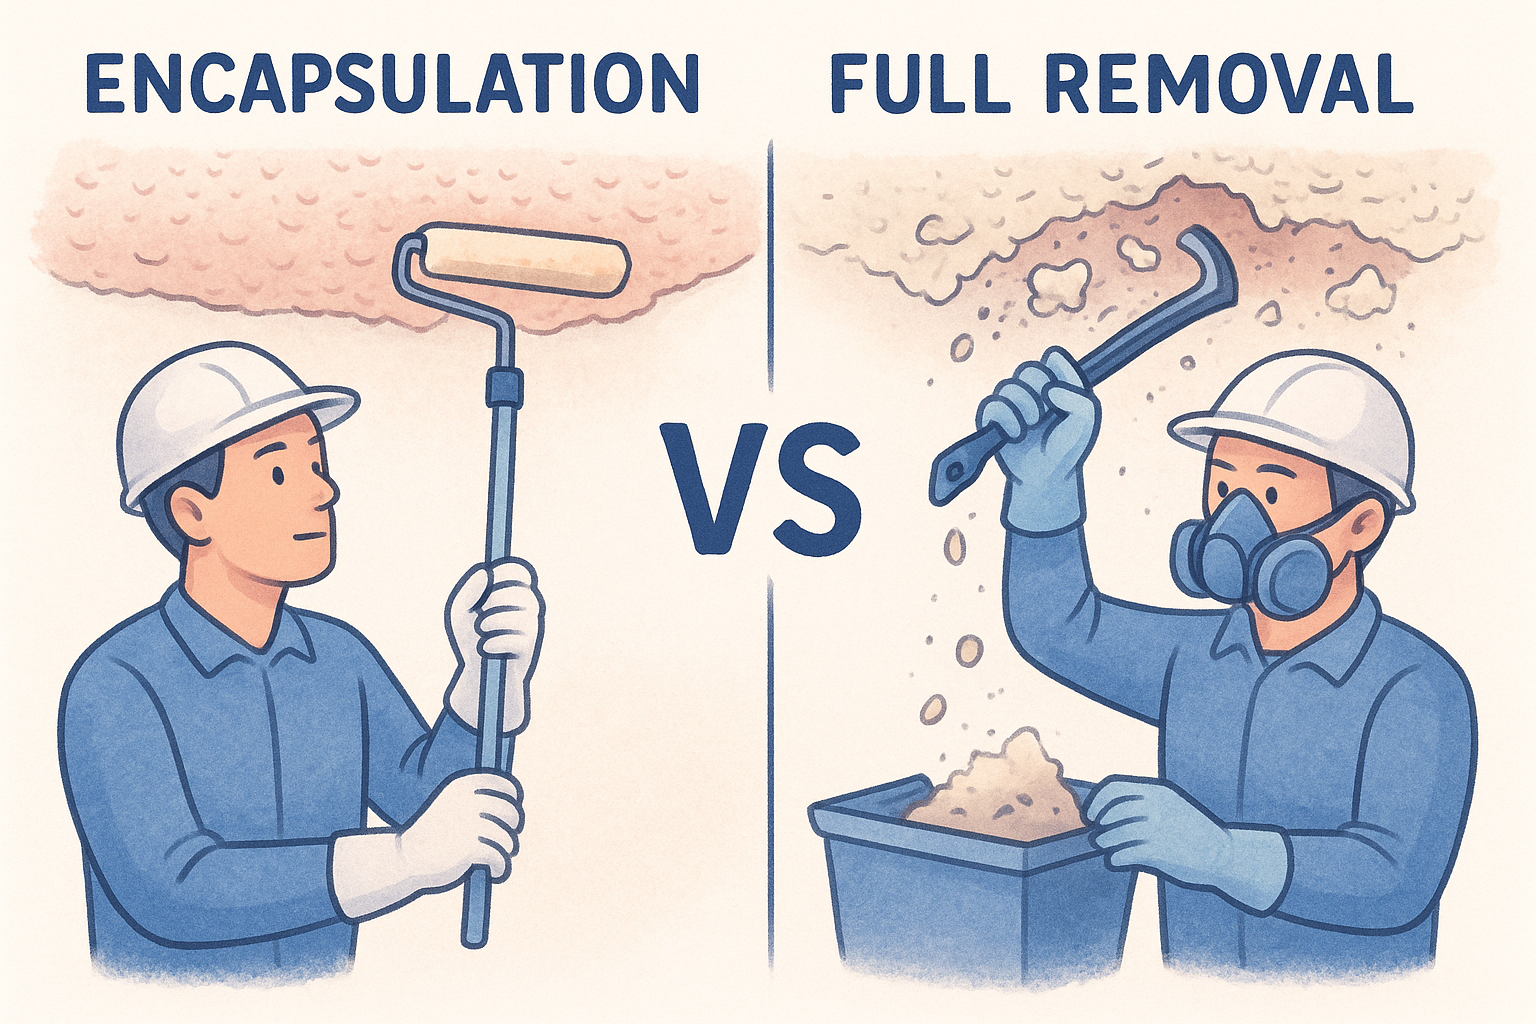
Encapsulation involves sealing the existing texture under a specialized coating that locks fibers in place, which works well for ceilings in good shape that you're not planning to sand or scrape. Removing an asbestos popcorn ceiling safely strips the material entirely and replaces it with new texture or a smooth finish, and this route makes sense when you're renovating anyway or the ceiling shows visible damage. Here's how the two compare, with a fuller price breakdown by room, testing, and disposal if you're budgeting:
| Option | Best For | Typical Cost Range |
|---|---|---|
| Encapsulation | Stable ceilings, no renovation planned | $2 to $6 per square foot |
| Full removal | Damaged ceilings, planned remodels | $3 to $7 per square foot |
Sealing works for a ceiling you can leave alone, removal is the only real fix for one you plan to renovate.
When removal is the only real choice
Leaving asbestos in place stops being an option once you plan to add can lights, run new electrical, or open the ceiling for any reason. Sanding, drilling, or even scraping loose flakes releases fibers into your home's air, and no encapsulation coating protects you once that material gets disturbed. Damaged sections that are already sagging or flaking also push you toward removal, since encapsulation can't reliably seal a surface that's actively breaking apart.
Hiring a licensed abatement contractor matters here because California requires specific certification, containment procedures, and disposal documentation for any asbestos project, and skipping those steps creates legal liability if you sell the home later. Our crew at Super Shooters handles the entire abatement process under license 1077675, from containment setup through disposal paperwork, then finishes with fresh texture or a smooth ceiling depending on what you want. Getting one crew through both phases saves you the coordination headache of hiring separate companies for removal and finishing work.
Staying safe until you know for sure
Until you get a lab result back, treat your ceiling as a question mark, not a green light. Leave the texture undisturbed , keep kids and pets from bumping ladders against it, and skip any sanding or drilling until you know what you're working with. The steps in this guide, checking your build date, scanning for patch inconsistencies, and pulling a proper sample, give you a clear path from guessing to knowing.
Once results come back, you're not stuck figuring out next steps alone. Whether your ceiling needs full abatement or just a straightforward texture refresh, our licensed crew at Super Shooters has handled this exact situation across the Sacramento Valley for over 30 years. Reach out for a free estimate and let our Sacramento asbestos acoustic ceiling removal crew walk you through your options, built around your home's actual test results, not guesswork.
Recent Posts