September 15, 2026
How to Safely Remove a Popcorn Ceiling with Asbestos
If your home was built before 1990, that bumpy popcorn texture overhead might contain asbestos, and scraping it off without knowing could put fibers into the air you breathe every day. Asbestos ceiling popcorn removal isn't a project you want to guess your way through, because once those fibers are disturbed, you can't undo the exposure. That's the reality homeowners across older Sacramento Valley neighborhoods run into every day.
The short answer is yes, it can be done safely, but only when you follow the right sequence: test first, contain the space, and either handle a small, confirmed-safe patch yourself or bring in a licensed abatement crew for anything larger. Popcorn ceiling asbestos removal done wrong is one of the most common ways homeowners contaminate an entire house, so knowing where the line sits between DIY and professional work matters more than saving a weekend.
We've spent over 30 years on acoustic ceiling removal across Sacramento, Roseville, Folsom, and the surrounding valley, and this guide walks through exactly how we assess, contain, and remove asbestos-containing ceilings, plus what it costs and when you genuinely need a licensed abatement contractor instead of a scraper and a tarp.
What to know before removing an asbestos popcorn ceiling
Age tells you almost everything about your risk level. Homes built before 1990 are the ones to worry about, since manufacturers phased out asbestos in ceiling texture products through the late 1970s and 1980s, though some contractors used up existing stock well into the following decade, which is why how common asbestos is in popcorn ceilings depends on your build year. If your Sacramento Valley home dates to that window and still has the original ceiling texture, treat it as asbestos-containing until a lab tells you otherwise. Guessing based on how the texture looks is a mistake we see constantly, since knowing whether your popcorn ceiling contains asbestos comes down to construction dates and a lab result. Asbestos fibers are microscopic, and a ceiling that looks perfectly intact can shed dangerous fiber counts the moment a scraper touches it.
California treats this project as regulated work, not a weekend chore. Cal/OSHA classifies asbestos-containing material disturbance under strict work practice standards, and your local air quality management district requires notification before certain removal projects begin, especially anything beyond a small, isolated repair. The EPA's asbestos guidance is a good starting reference for understanding why these rules exist: inhaled fibers lodge in lung tissue permanently and are linked to mesothelioma and asbestosis, diseases that can take decades to show symptoms. That latency period is exactly why so many homeowners underestimate the danger. You won't feel sick from a Saturday afternoon of scraping. The damage shows up years later.
Asbestos exposure doesn't cause symptoms on removal day. It causes disease decades later, which is exactly why the safety steps matter more than the shortcut.
When you can legally do it yourself
Small, contained repairs on confirmed asbestos ceilings sometimes fall outside professional abatement requirements, but the threshold is narrow and county-specific. Generally, disturbing a small area, patching a single water stain, or repairing a small crack in an otherwise intact ceiling may be handled by a homeowner working carefully. Anything larger, or any full-ceiling removal, crosses into territory that requires a licensed abatement contractor in most California jurisdictions.
Quick self-check before you decide
Run through this list before touching anything overhead:

- Was your home built or textured before 1990?
- Has the ceiling been tested, or are you assuming based on age alone?
- Are you planning to remove more than a small patch?
- Do you have children, pets, or family members with respiratory conditions living in the home?
- Are you comfortable following strict containment and disposal protocols without shortcuts?
If you answered yes to the first three questions, professional testing and likely professional removal are the responsible path forward.
DIY versus professional, side by side
| Factor | Small confirmed patch | Full ceiling removal |
|---|---|---|
| Legal requirement | Often DIY-permissible | Licensed abatement typically required |
| Containment complexity | Low, single room seal | High, full HVAC and airflow control |
| Disposal | Double-bagged, sealed | Manifested hazardous waste hauling |
| Health risk if mishandled | Moderate | Severe, whole-house contamination possible |
Professional crews carry the equipment, training, and disposal contracts that make large-scale removal safe. If your project falls into that second column, Super Shooters' asbestos ceiling removal service handles the testing, containment, and disposal so you're not the one deciding whether a room is safe to breathe in again, and you can request a free asbestos ceiling removal quote to get started.
Step 1. Test your ceiling for asbestos
Before you touch a scraper, water hose, or even a stepladder, get a sample of your ceiling texture tested. Popcorn ceiling asbestos removal starts with lab confirmation, not a visual guess, because asbestos fibers are invisible to the naked eye and every popcorn ceiling from the right era looks the same whether it's contaminated or clean. Skipping this step is the single most common mistake we see homeowners make, and it's the one that turns a simple repair into a full-house contamination event.
Collecting the sample yourself is possible if you follow strict precautions, though many people prefer to have a professional pull it instead, and our guide to sampling a popcorn ceiling for asbestos without exposing yourself walks through the details. If you go the DIY route, here's the process:
- Turn off any HVAC system running in the room to stop fiber circulation.
- Mist the small test area with water using a spray bottle to keep dust down.
- Wearing an N95 or better respirator and disposable gloves, cut a small square of ceiling material, roughly one inch, using a utility knife.
- Seal the sample immediately in a double ziplock bag or a container labeled for lab submission.
- Wipe down the area with a damp cloth and dispose of gloves and wipes as you would any contaminated waste.
Send the sample to an accredited lab. The EPA maintains guidance on finding accredited asbestos testing laboratories that follow polarized light microscopy standards, and results typically come back within a few business days for standard turnaround or 24 to 48 hours if you pay for expedited service.
Waiting for lab confirmation feels slow when you're eager to start a renovation, but doing asbestos testing on popcorn ceilings the right way is the only way to know what you're actually dealing with. Testing before disturbance protects everyone in the house, not just you.
A ten-dollar lab test is the cheapest insurance you'll ever buy against a five-figure decontamination bill, and a room-by-room breakdown of asbestos popcorn ceiling removal pricing shows where the rest of the budget goes.
If you'd rather skip the sample collection entirely, or you're not confident handling even that small a disturbance safely, a licensed contractor can pull the sample as part of an in-home consultation, and it's worth comparing local asbestos ceiling testing options and what each one costs first. That's often the smarter move for anyone dealing with asbestos in popcorn ceiling removal for the first time, since a professional already knows exactly where texture tends to be thickest and most likely to shed fibers during collection.
Step 2. Gather safety gear and prepare the room
Once your lab confirms asbestos, stop thinking about this as a home improvement project and start treating it like a containment job. Popcorn ceiling removal with asbestos confirmed present requires gear that goes beyond a dust mask and old clothes, and skipping any piece of it is how fibers end up in your carpet, your ductwork, and your lungs. This is the step where most DIY attempts fail, not because people are careless, but because they underestimate how thorough the containment needs to be.
The gear you actually need
Don't improvise with whatever's in your garage. Here's the minimum equipment list for handling a small, confirmed patch:
| Item | Purpose |
|---|---|
| P100 respirator (not N95) | Filters asbestos fibers, N95 masks aren't rated for this |
| Disposable coveralls with hood | Prevents fibers from clinging to clothing and hair |
| Nitrile gloves | Keeps fibers off skin, replace often |
| 6-mil poly sheeting | Seals floors, walls, and doorways |
| Painter's tape or spray adhesive | Secures sheeting so it doesn't shift mid-job |
| HEPA-filter vacuum | Standard shop vacs push fibers back into the air |
| Spray bottle with water | Wets material before disturbance |
| Heavy-duty asbestos disposal bags | Double-bagging for sealed transport |
Every item on that list matters. A regular dust mask, for example, has gaps around the seal that let asbestos fibers straight through, which is why a P100 respirator isn't optional.
The gear that stops asbestos fibers is specialized for a reason, and a hardware store dust mask won't do the job.
Sealing off the work area
Gathering the right equipment only helps if the room itself is properly contained. Seal the doorway with poly sheeting and tape, covering every seam so air can't move between the work room and the rest of the house, following the same containment setup we use to seal a room before scraping. Cover the floor completely, running sheeting up the walls a foot or two to catch anything that drifts sideways during scraping. Turn off your HVAC system and cover any vents in the room with sheeting too, since a running air handler will pull fibers through the ductwork and distribute them into every other room in the house within minutes.
Homeowners tackling asbestos acoustic ceiling removal on even a small patch should also remove or cover furniture, light fixtures, and anything else that can trap dust. If you're not confident your containment is airtight, that's a signal to call in a licensed crew instead of pushing forward on your own.
Step 3. Wet and scrape the popcorn texture
With the room sealed and your gear on, the actual removal of asbestos popcorn ceiling material comes down to one rule: keep it wet from start to finish. Dry scraping is what turns a contained job into a contamination event, because dry asbestos fibers become airborne the instant a scraper breaks the surface. Water weighs the fibers down and keeps them from floating into your respirator, your clothes, and eventually the rest of the house.
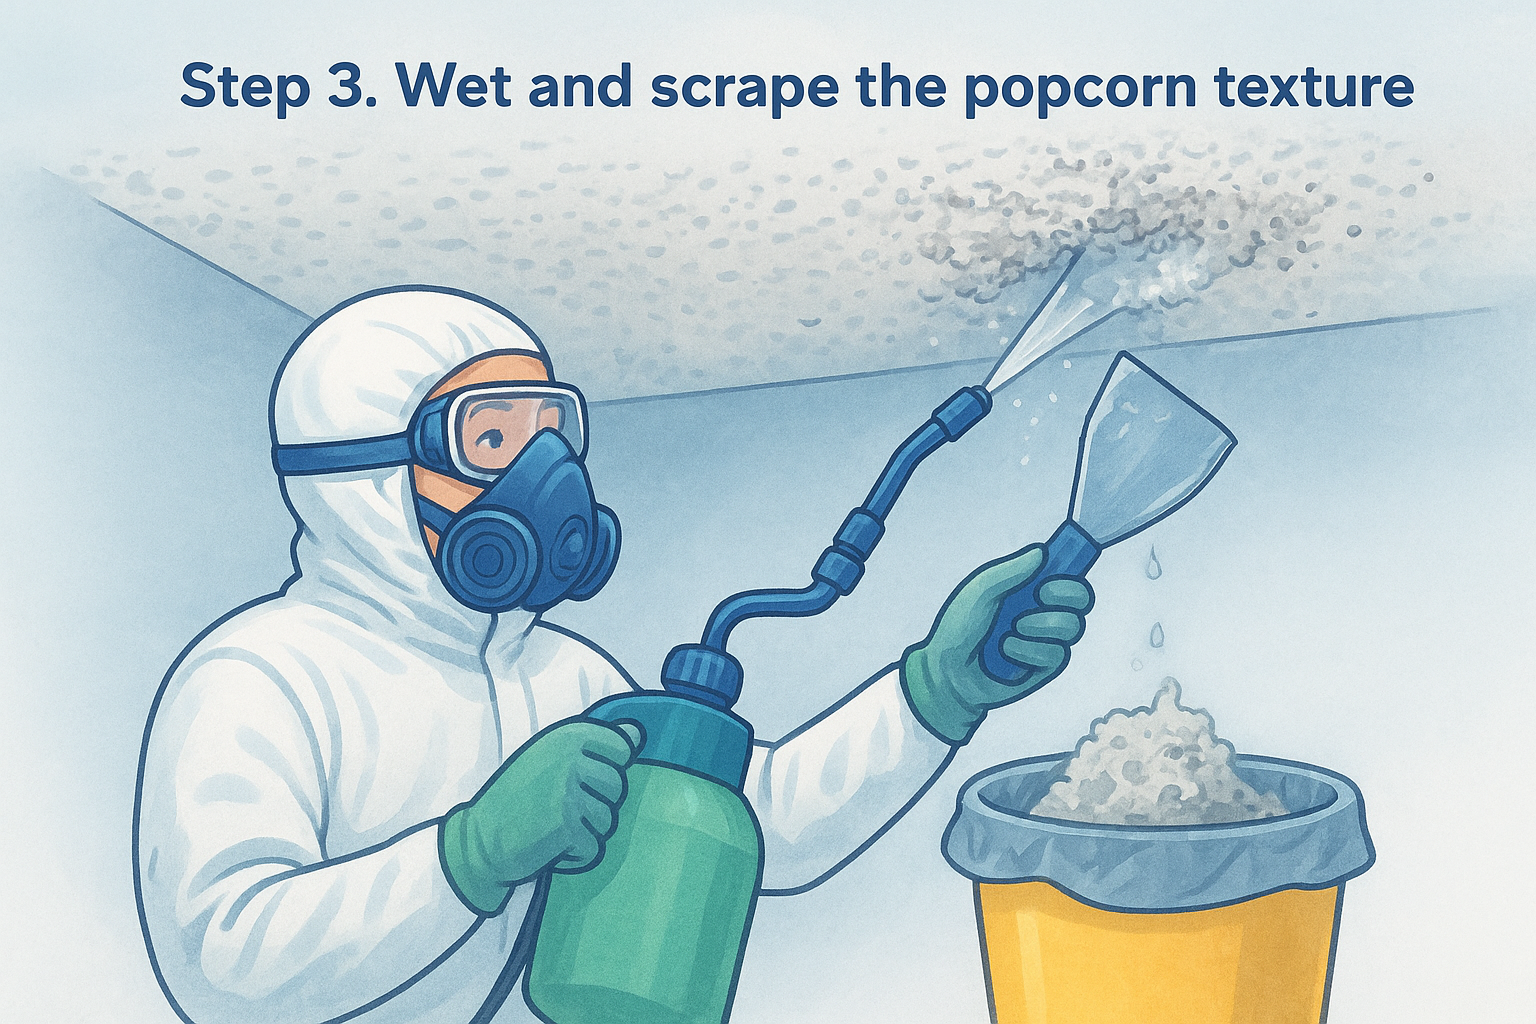
Keep the texture wet at every second of contact, because dry fibers are the ones that end up in your lungs.
The wetting and scraping process
Work in small sections, no larger than a few square feet at a time, so the water doesn't dry out before you get to scraping. Here's the sequence we follow on every job:
- Fill a garden pump sprayer with water and a small amount of dish soap, which helps the water penetrate the textured surface instead of beading off.
- Saturate a small section of ceiling thoroughly, then wait two to three minutes for the water to soak in.
- Test the texture with a light touch. It should feel soft and slightly heavy, not still dry underneath.
- Using a wide, flexible putty knife or one of the scrapers and sanders built for low-dust ceiling work, apply gentle, even pressure at a low angle to lift the material off in soft, wet clumps.
- Drop the wet debris directly into a lined bucket or asbestos disposal bag as you go, rather than letting it pile up on the poly sheeting.
- Re-wet the next section before moving on, and never let more than a small area sit exposed and dry.
Common mistakes to avoid
Scraping too aggressively is the biggest error we see, since gouging into the drywall underneath creates repair work you didn't need and can release more fibers than a clean, gentle pass. Rushing through sections without re-wetting is a close second. If your sprayer runs dry or you notice dust rising instead of wet clumps falling, stop immediately, re-saturate the area, and don't continue until the texture is properly wet again. Popcorn asbestos ceiling removal done at a slow, methodical pace with constant moisture is what keeps a small DIY patch job from turning into a house-wide cleanup.
Step 4. Clean up and dispose of asbestos debris
Once the last section of texture is off the ceiling, the job isn't finished, it's shifted into cleanup mode, and this stage carries just as much risk as the scraping itself. Asbestos removal popcorn ceiling work generates fine debris that settles into every crevice of the room, and a rushed cleanup undoes all the careful containment you built earlier. Keep your respirator and coveralls on through this entire phase. Fibers don't stop being dangerous just because the visible scraping is done.
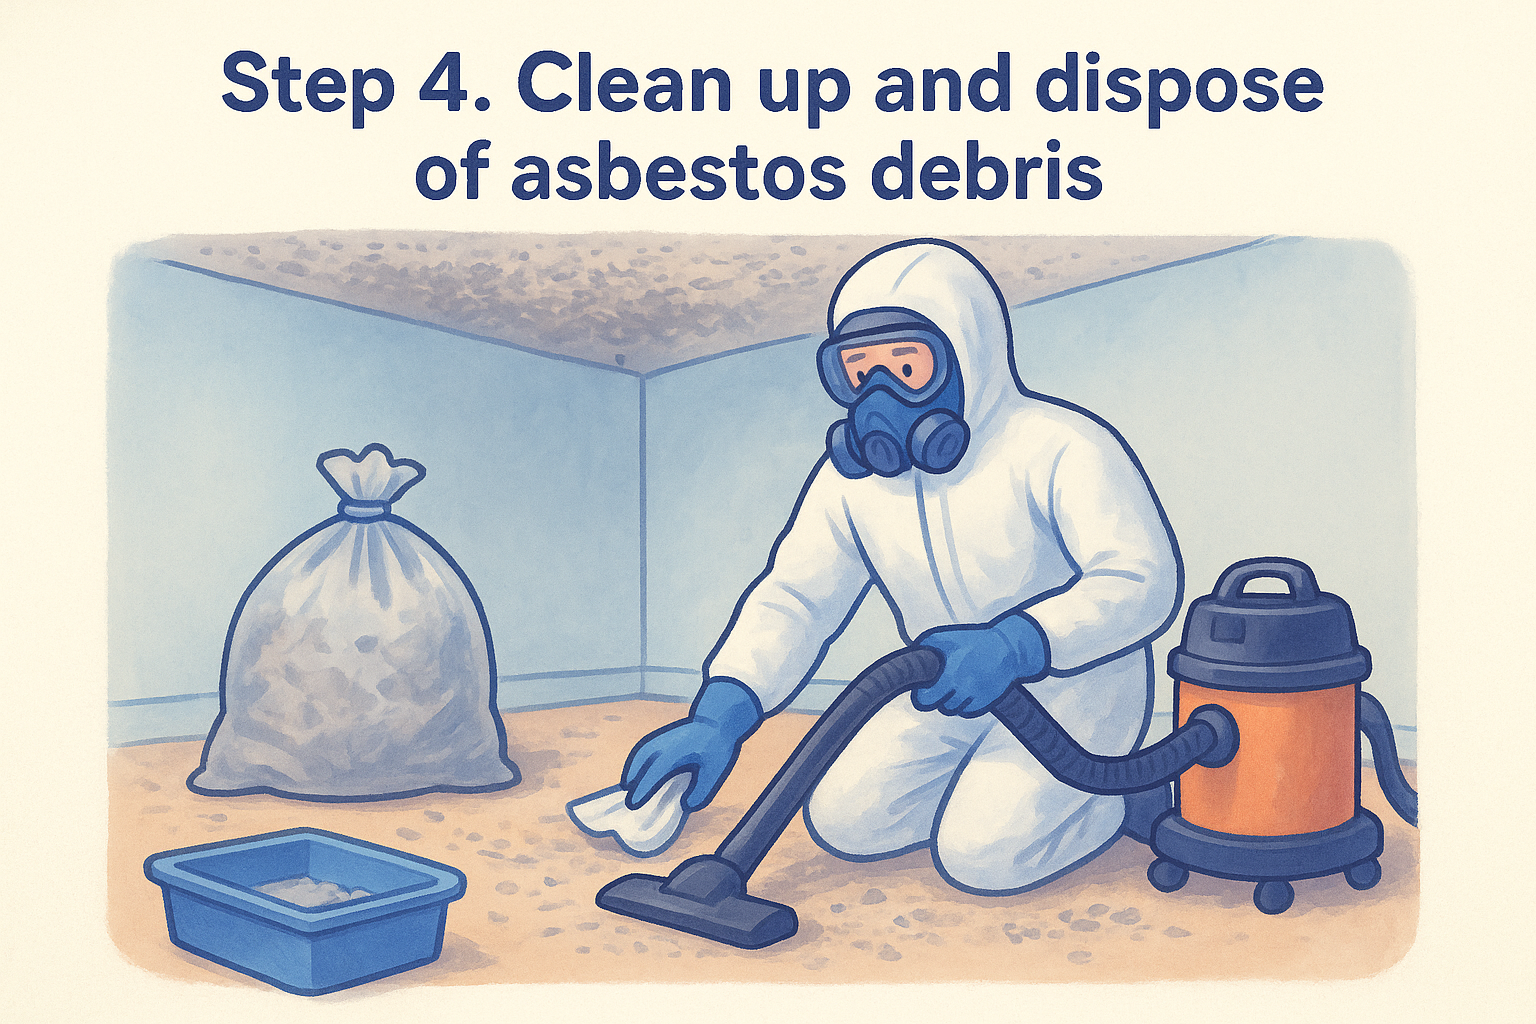
HEPA vacuum and wet wipe, in that order
Start with a HEPA-filter vacuum on the poly sheeting, the floor, and any exposed surfaces, moving slowly rather than dragging the nozzle quickly across the plastic. A regular shop vacuum recirculates fine particles right back into the air through its exhaust, which defeats the entire purpose of a careful cleanup. After vacuuming, follow with a damp cloth or sponge on every hard surface in the room, wiping down window sills, baseboards, and light fixture housings where dust settles and hides.
Skipping the wet wipe after vacuuming leaves behind exactly the fine dust that causes long-term exposure.
Bagging and disposal steps
Double-bagging is non-negotiable for removal of popcorn ceiling with asbestos debris, and each bag needs a proper hazard label before it leaves the room. Follow this sequence:
- Seal all wet debris and used sheeting into heavy-duty asbestos disposal bags, filling each no more than two-thirds full.
- Twist and tape the first bag closed, then place it inside a second bag and seal that one the same way.
- Label every bag clearly as asbestos-containing waste.
- Store sealed bags in a garage or covered area away from foot traffic until transport.
- Deliver bags to a landfill permitted to accept asbestos waste, since regular curbside pickup won't take them.
California requires a manifest tracking where hazardous waste travels from your property to final disposal, and most county landfills that accept asbestos debris will walk you through the paperwork when you arrive. The EPA's guidance on asbestos waste disposal covers the federal rules behind these requirements if you want the full picture before you load your truck.
Once every bag is sealed, run the HEPA vacuum through the room one final time before removing your poly sheeting, folding it inward so any trapped dust stays contained rather than shaking loose into the air.
Step 5. Finish and repaint the ceiling
With the poly sheeting down and the room vacuumed clean, you're left staring at bare, slightly rough drywall where your popcorn texture used to be. Finishing an asbestos popcorn ceiling removal project means repairing any gouges from scraping, applying a fresh texture or smooth coat, and priming and painting, which is the same sequence of next steps after popcorn ceiling removal we follow before calling a room done. This step has zero asbestos risk since the contaminated material is already bagged and gone, but rushing it produces a patchy, uneven ceiling that makes the whole project look unfinished.
Repair before you texture
Inspect the ceiling under bright light, since gouges and thin spots are easy to miss in dim rooms, and sanding drywall to a paint-ready finish depends on catching them early. Fill any dents or scraper marks with joint compound, let it dry fully, then sand it smooth before moving forward, or hand the deeper damage to a ceiling patching crew. Skipping this step means every flaw telegraphs right through your new texture or paint, especially under angled light from windows or overhead fixtures.
Texture, prime, and paint
Homeowners handling a small popcorn ceiling with asbestos removal patch usually have three finish options once the repair is smooth:
- Skip texture entirely for a smooth, modern ceiling, common in updated Sacramento Valley homes, which takes a skim coat applied in stages.
- Apply a light knockdown or orange peel texture to match adjoining ceilings that weren't touched.
- Match the original popcorn look with a texture spray, though most homeowners use this project as the excuse to move away from it for good.
Whichever you pick, prime the entire ceiling before painting, even the untouched sections, so the sheen and color read consistently across the whole surface. Two coats of a flat ceiling paint typically finish the job.
A ceiling that's been repaired, primed, and painted properly should be indistinguishable from one that was never touched.
When to bring in a finishing crew
Matching texture on a patch surrounded by decades-old popcorn is harder than it looks, and a mismatched patch is the most common complaint we hear from homeowners who tried this last step alone. Sacramento Valley homeowners who want a seamless result, or who are converting an entire ceiling to smooth drywall, often bring in a finishing crew for this stage even after handling the removal themselves. Super Shooters' knockdown, orange peel, and custom ceiling texture work covers exactly this transition, so your ceiling looks intentional rather than patched.
Protecting your home and health throughout the project
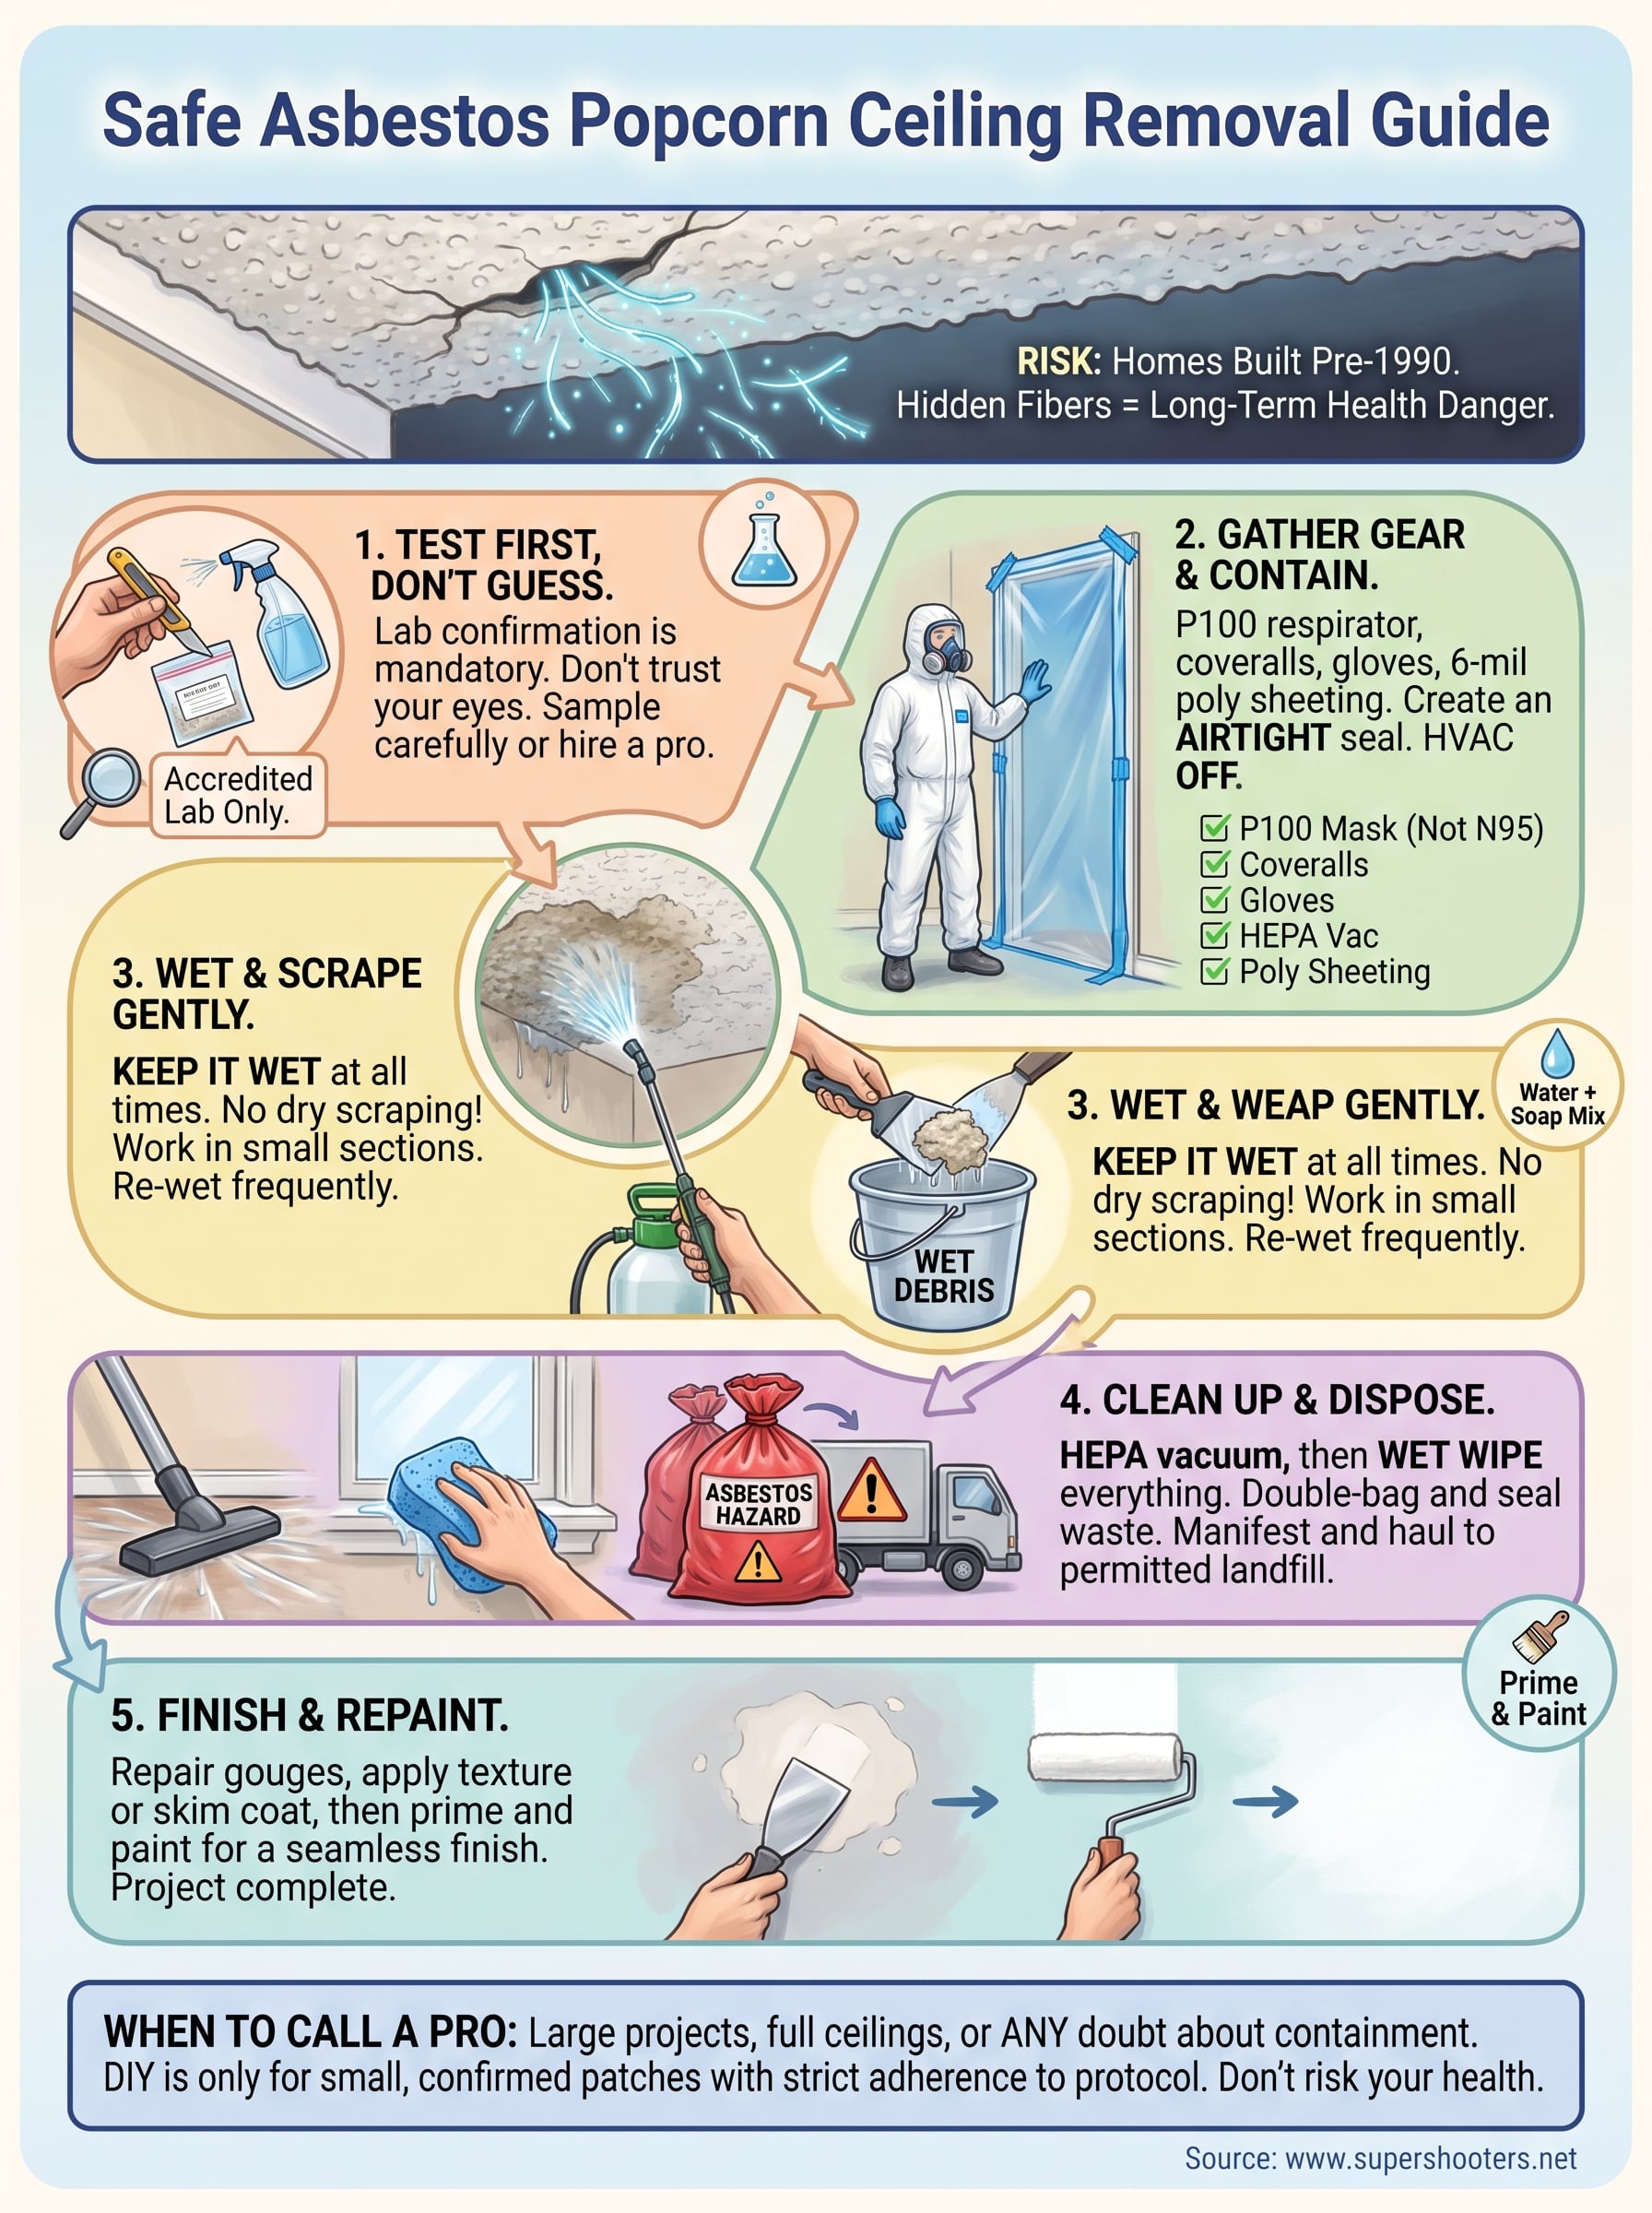
Every step in this guide points back to the same principle: test before you touch anything, keep the material wet the entire time you're working, and never let contaminated dust travel beyond the room you've sealed. Asbestos ceiling popcorn removal rewards patience and punishes shortcuts, and the homeowners who get through it safely are the ones who follow the sequence in order instead of skipping to the scraping.
Small, confirmed patches are reasonable DIY territory if you respect every containment step. Full ceilings, large square footage, or any hesitation about your own setup are signs to stop and call in help instead of gambling on your family's air quality. That's a decision worth making before the first scraper touches your ceiling, not after fibers are already airborne.
If your project falls outside the small-patch category, talk to our licensed Sacramento asbestos ceiling abatement crew before you buy a single sheet of poly plastic.
Recent Posts