


Share this article

September 25, 2026

Drywall Installation Cost Calculator: How to Estimate Your Price

You need a number before you can plan a drywall project, whether that's one patched wall or a full room after water damage. A drywall installation cost calculator gives you that number fast, but only if you know what to plug into it. Sheet size, labor rates, texture finish, and how much of the old ceiling or wall needs tearing out all change the math, and skipping one of those variables can throw your estimate off by hundreds of dollars.

This guide walks you through how to estimate drywall costs yourself, step by step, using the same factors contractors weigh when they quote a job. You'll see how to break a project into square footage, material costs, and labor, then apply a drywall installation cost per square foot figure that actually matches your home's condition instead of a generic online average.

We've built and repaired drywall across more than 10,000 Sacramento Valley homes over 30 years, so we know where DIY estimates usually go wrong: old plaster, hidden asbestos in popcorn ceilings, or settlement cracks that need more than a patch. Read on for a practical drywall installation cost estimator approach, plus what to do when your project turns out more complicated than expected.

What determines your drywall installation cost

Several variables stack together before you land on a final number, and skipping any one of them skews your drywall installation cost per square foot estimate. Sheet thickness, room size, ceiling height, texture style, and how much demolition the job requires all pull the price in different directions. A single patched wall in a garage costs nothing like a full ceiling replacement in a home with popcorn texture and hidden asbestos.

Get the square footage and the finish level right, and every other number in your estimate falls into place.

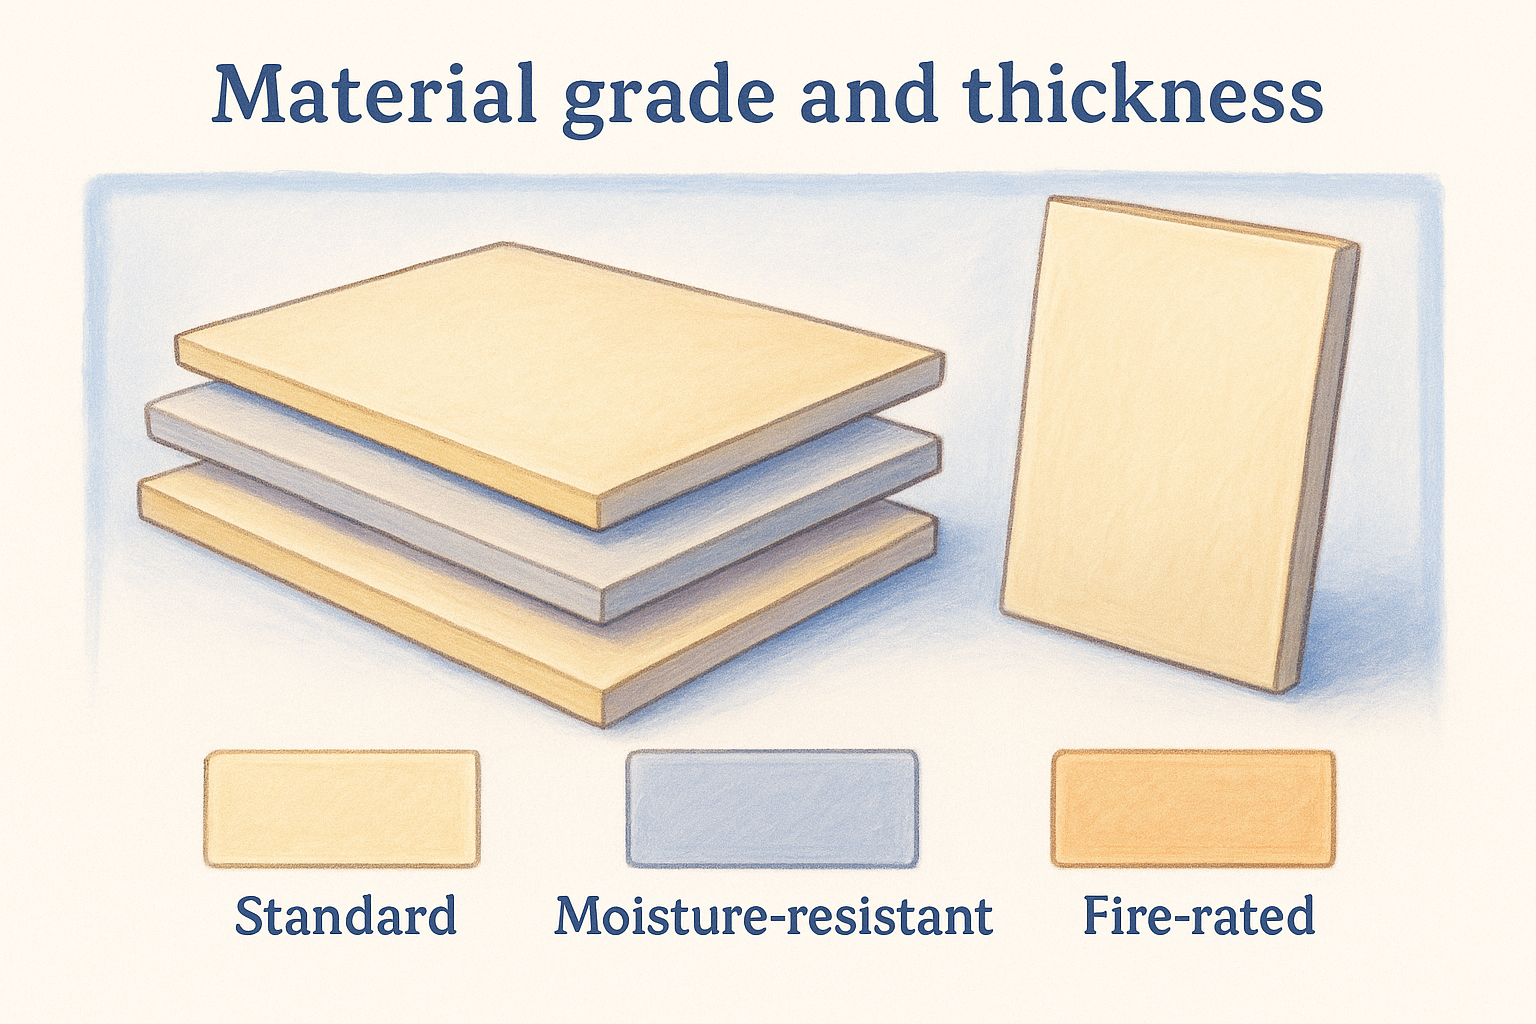
Material grade and thickness

Drywall itself is the cheapest part of most jobs, but the type you choose still moves your total. Standard half-inch panels work for most walls, while moisture-resistant or fire-rated board costs more and gets specified for bathrooms, garages, and shared walls.

Drywall type Typical cost per 4x8 sheet
Standard 1/2" $12-$16
Moisture-resistant $16-$22
Fire-rated (Type X) $18-$25
5/8" heavy-duty $20-$28

Labor, finish level, and site conditions

Labor usually costs more than materials, and it's where estimates go wrong most often. Taping, mudding, sanding, and texturing all add hours, and a smooth or knockdown finish takes longer than a basic orange peel, which is why finishing prices per square foot change with each finish level. Older homes add another wrinkle: settlement cracks, uneven framing, or ceilings that need asbestos testing before anyone touches them slow the job down and raise the quote. Factor those conditions in now, before you start comparing numbers, so your estimate reflects your actual house instead of a textbook job.

Step 1. Measure your walls and ceilings

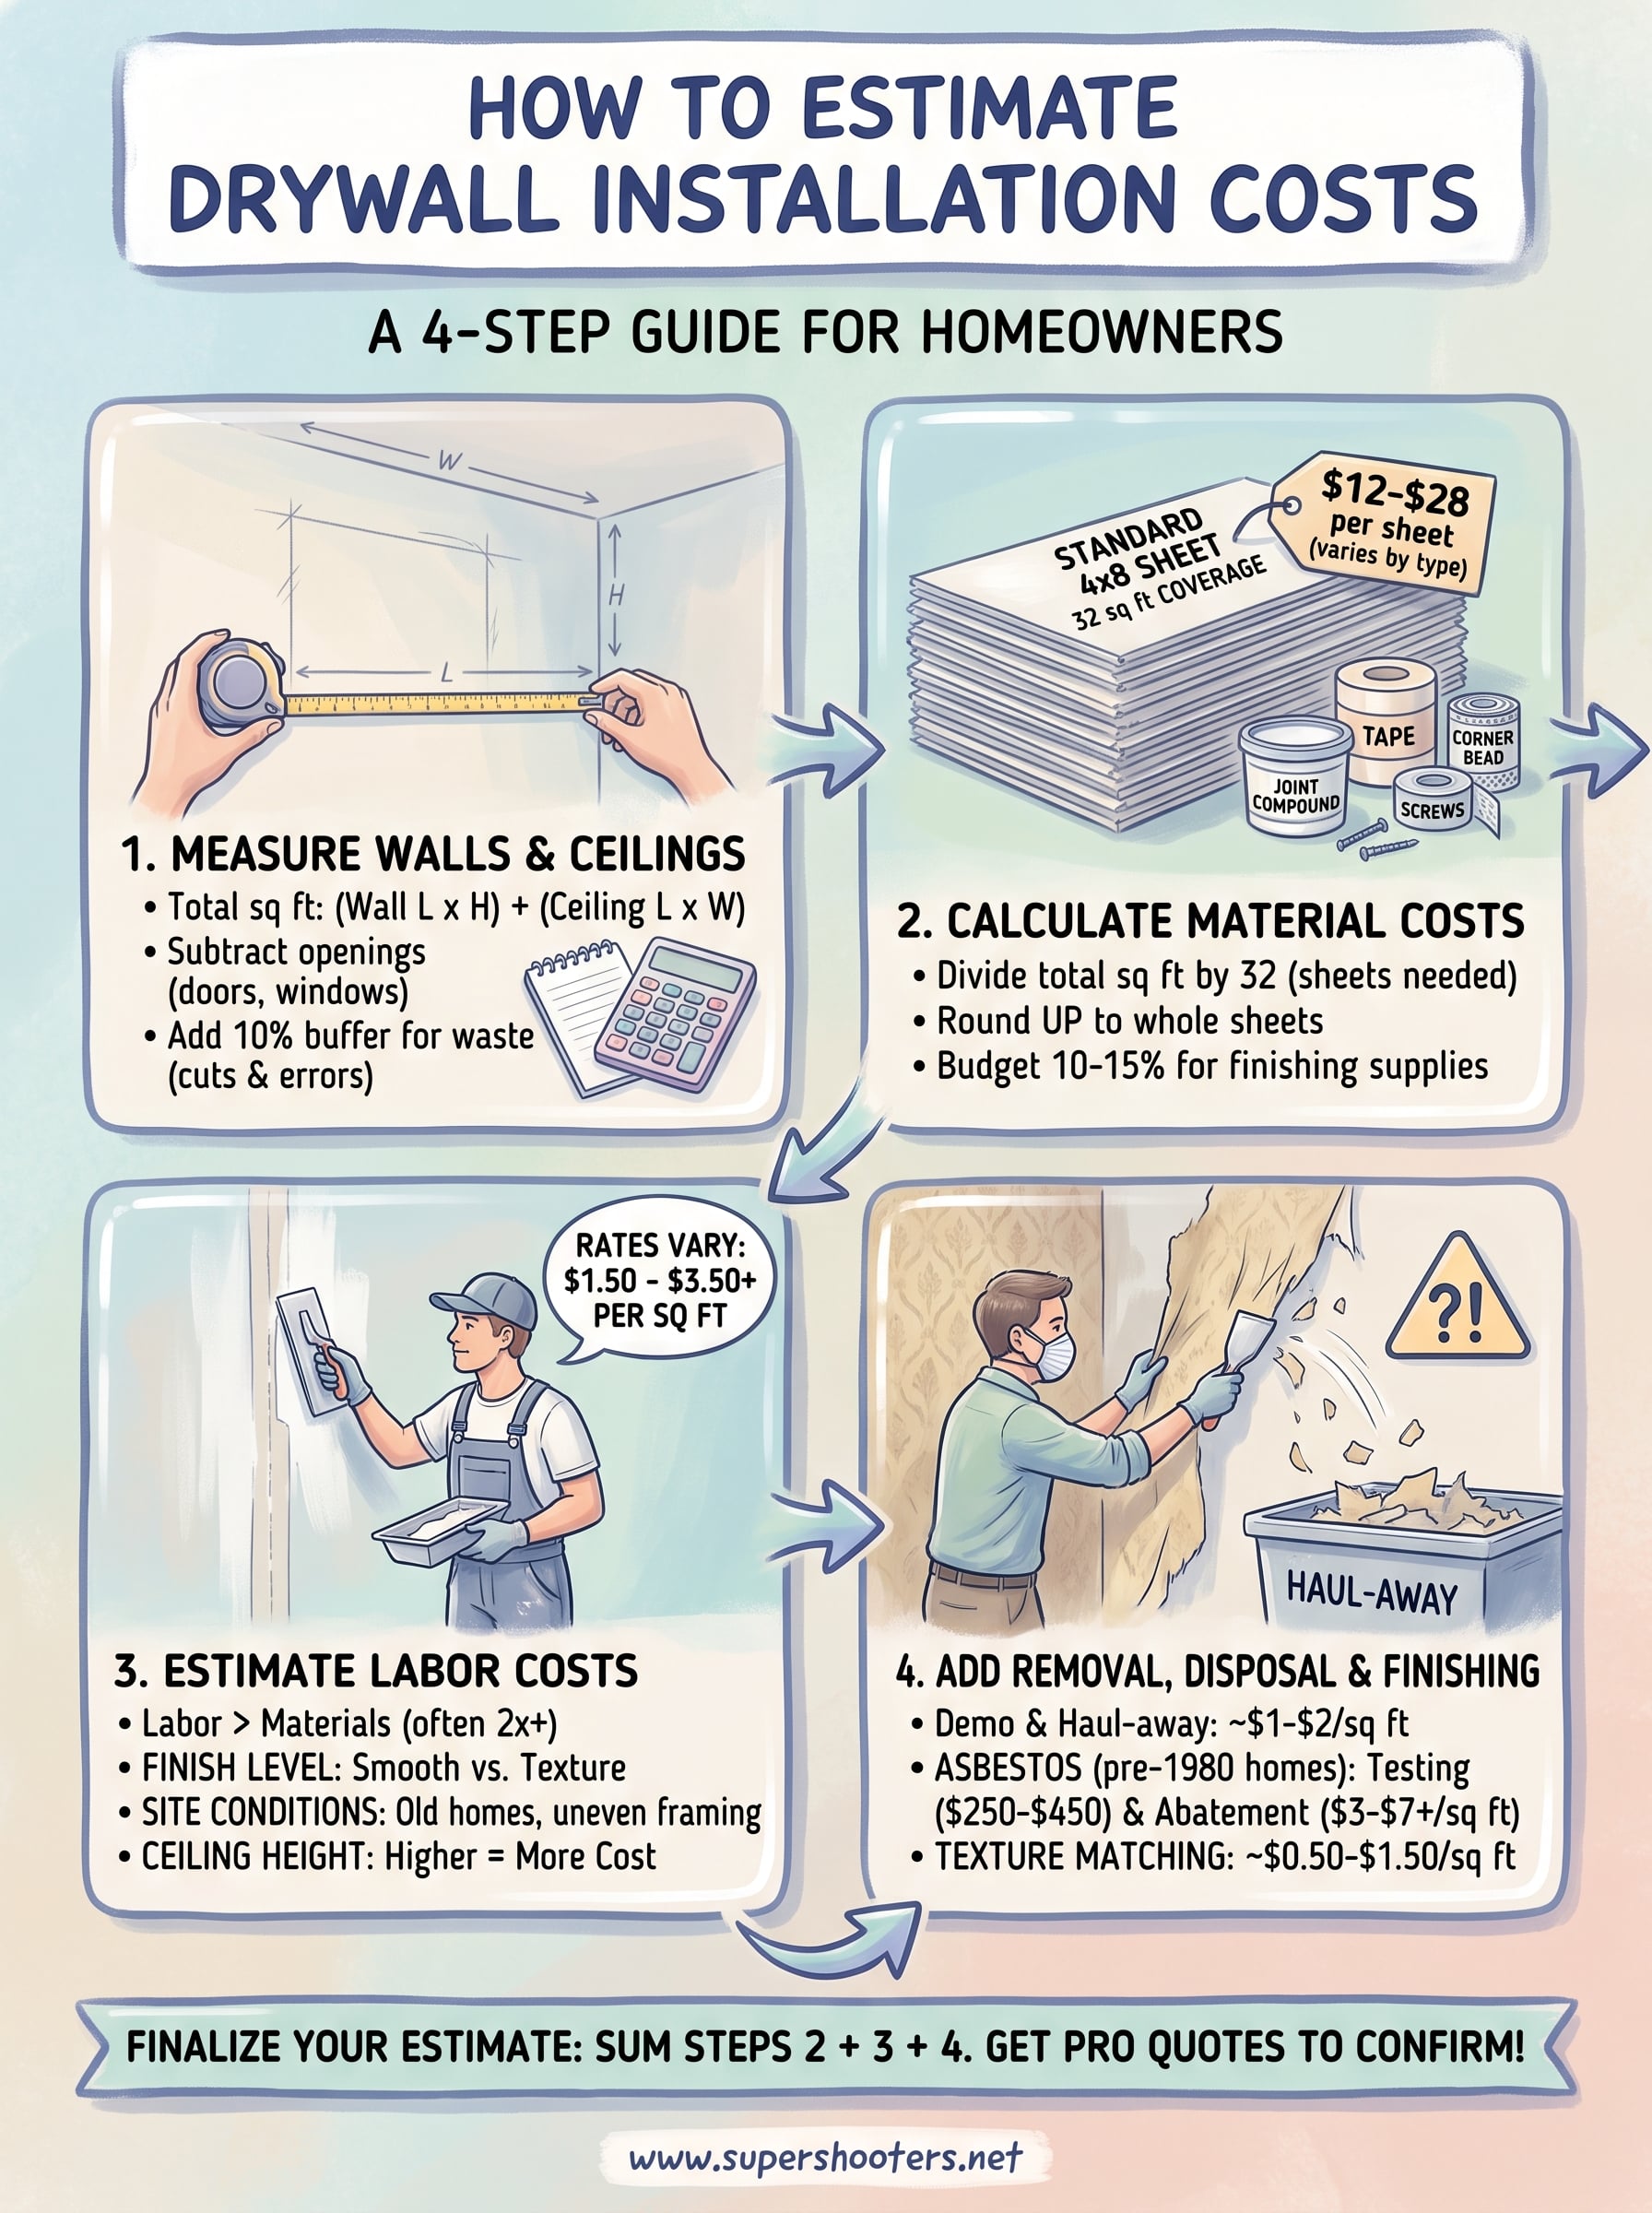
Grab a tape measure, a notepad, and start with the room's perimeter. Multiply the length of each wall by its height, then add those numbers together to get your total wall square footage, the same drywall estimating method contractors use to count sheets. For ceilings, multiply the room's length by its width. Don't skip closets, alcoves, or that awkward nook behind the water heater. Every surface you're covering counts toward your drywall installation cost per square foot calculator result.

A tape measure and ten minutes of math will get you closer to an accurate quote than any online average.

Subtract openings you won't be covering, since drywall doesn't go over doors and windows themselves:

  • Standard door : subtract about 21 square feet
  • Standard window : subtract about 15 square feet
  • Large window or sliding door : subtract 30+ square feet

Round your final total up by 10%. Sheets come in fixed sizes, cuts create waste, and you'll almost always need a little more material than the raw math suggests. That buffer keeps you from running short mid-project and having to place a second material order.

Step 2. Calculate your material costs

Divide your total square footage by 32, since a standard 4x8 sheet covers 32 square feet, and that gives you the number of panels to buy, or work through the easy room formula for how many drywall sheets you need. Round up to a whole sheet every time, because a store won't sell you a partial one and your 10% waste buffer from Step 1 already covers the leftover cuts. Multiply that sheet count by the price for your chosen drywall type, and you've got the core of your drywall installation cost estimator .

Beyond the sheets themselves, budget for the finishing supplies that hold everything together:

Material Typical cost
Joint compound (5-gallon bucket) $15-$20
Paper or mesh tape (roll) $5-$8
Drywall screws (1 lb box) $6-$10
Corner bead (per 8-ft piece) $4-$7

Add roughly 10-15% of your sheet total for these extras on an average room. Texture material, primer, and paint sit outside this calculation and get added once you know your finish choice.

Material costs are predictable. Labor is where most homeowners underestimate the real number.

Keep every receipt and quantity noted, since you'll compare this against contractor quotes later.

Step 3. Estimate your labor costs

Labor rates for drywall work in the Sacramento Valley typically run $1.50 to $3.50 per square foot , depending on the finish level and how much taping and texturing the job needs, and it helps to cross-check that against 2026 drywall labor rates per sheet for hanging and finishing. A basic hang-and-tape job on a single wall sits at the low end, while a full ceiling with knockdown texture and multiple coats of mud pushes toward the top. Multiply your total square footage by a mid-range rate to get a starting labor figure, then adjust up if your ceilings run higher than 8 feet or your walls need extra coats to hide seams.

Labor is where a rough guess turns into a real number, so price it against your actual finish, not a generic average.

Older homes rarely fit the standard rate. Cracked plaster, uneven studs, or a ceiling that needs asbestos testing before anyone can touch it all add hours a flat per-square-foot number won't capture.

Job type Labor cost per sq ft
Basic wall patch $1.50-$2.00
Full room, smooth finish $2.00-$2.75
Ceiling with knockdown texture $2.75-$3.50

Compare a few local quotes once you've built your own estimate, since regional labor rates shift year to year.

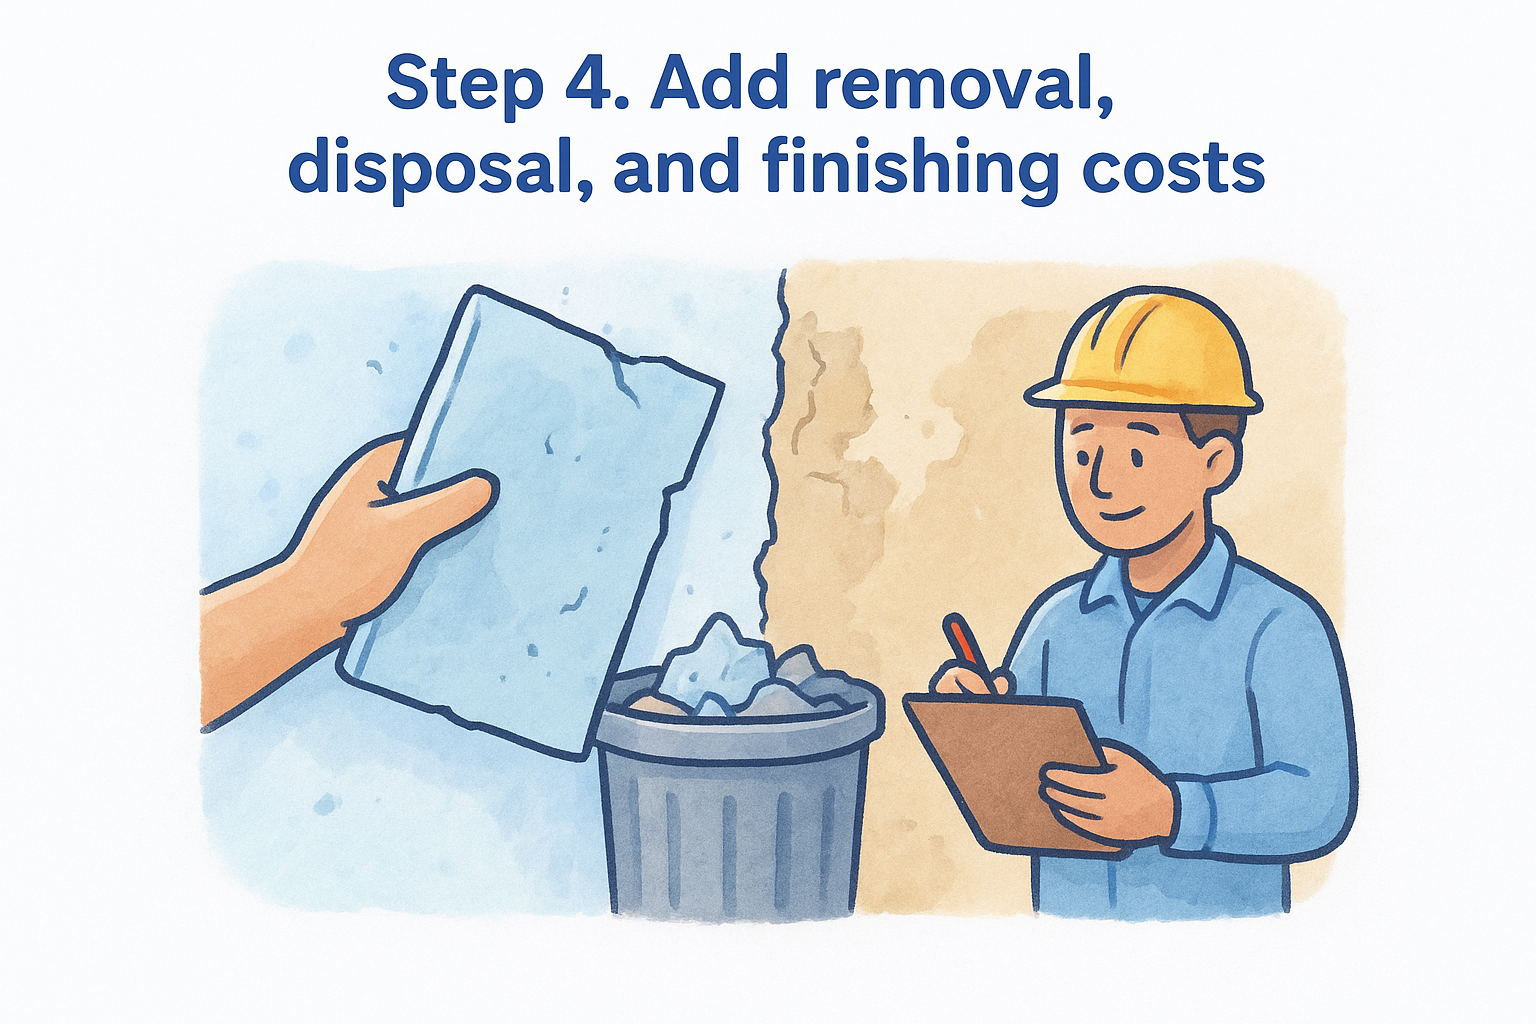
Step 4. Add removal, disposal, and finishing costs

Removing old material almost always costs more than installing new drywall, and it's the step most drywall installation cost calculator tools skip entirely. Tearing out popcorn ceilings, water-damaged sections, or old plaster runs $1 to $4 per square foot on top of your install cost (see popcorn ceiling teardown pricing by the square foot), and that number jumps sharply if the ceiling tests positive for asbestos, since abatement requires licensed handling and disposal under strict safety rules.

Removal and disposal can double your total cost on an older home, so never estimate off the install price alone.

Budget for these add-ons separately from your material and labor totals:

Add-on Typical cost
Standard demo and haul-away $1-$2 per sq ft
Asbestos testing $250-$450 per sample
Asbestos abatement $3-$7+ per sq ft
Texture matching (existing walls) $0.50-$1.50 per sq ft

If your home was built before 1980, don't skip the testing step. Our licensed asbestos ceiling removal crew handles that process safely, then finishes the job with matching texture so the new drywall blends into the rest of the room.

Turning your estimate into a finished project

Running these four steps gives you a real number, not a guess pulled from a national average. You've measured your square footage, priced materials, estimated labor, and accounted for removal and disposal, which is more homework than most homeowners do before calling a contractor. That preparation pays off twice: it helps you spot a lowball or inflated quote, and it makes the conversation with your contractor faster because you already know what drives your cost.

Numbers on paper only get you so far, though. Once you factor in asbestos testing, uneven framing, or texture matching, a professional walkthrough catches details a calculator can't. If your project is ready to move from estimate to install, schedule a free drywall installation quote and get a number built around your actual home, not a spreadsheet.

Recent Posts

By cinchweb • September 26, 2026
Learn how to tell if popcorn ceiling has asbestos with build-date checks, inspection tips, and safe sampling steps before calling Super Shooters.
By cinchweb • September 24, 2026
Compare 5 popcorn ceiling removal services near Sacramento Valley, from franchises to asbestos specialists, plus why Super Shooters' 30-year expertise stands out.
By cinchweb • September 24, 2026
Learn how asbestos abatement works, from certified testing to clearance air testing, plus warning signs and pricing factors before you remodel.
By cinchweb • September 22, 2026
Learn how to repair a huge hole in drywall step-by-step, from cutting and backing to texturing, plus when to call Sacramento Valley pros.
By cinchweb • September 21, 2026
Wondering can you paint a popcorn ceiling without damage? Learn testing, prep, and painting steps, plus when removal beats painting instead.
By cinchweb • September 20, 2026
Learn how to mud and tape drywall step-by-step: tools, coats, corners, sanding, and priming tips to avoid cracks and visible seams.
By cinchweb • September 19, 2026
Learn drywall ceiling repair cost by damage type, DIY vs pro pricing, and Sacramento Valley rates, plus free estimates from Super Shooters.
By cinchweb • September 18, 2026
Learn how to remove ceiling texture safely: asbestos testing, wet-scrape method, sanding, patching, and priming tips from Sacramento Valley pros.
By cinchweb • September 18, 2026
Learn patching drywall with mesh step by step, sizing, priming, and when to call Sacramento Valley pros instead of DIY.

Show More
