
September 28, 2026
How to Repair a Wall Crack So It Doesn't Come Back
That hairline crack over your doorway keeps coming back no matter how many times you slap joint compound on it, and that's because most patch jobs treat the symptom instead of the cause. If you've searched how to repair the wall crack and found yourself with the same crack six months later, you're not alone. Sacramento Valley homes deal with a lot of seasonal soil movement, and that shifting is usually what's opening these seams in the first place.
This guide walks you through repairing a wall crack the right way, whether you're working with drywall or old plaster. You'll learn how to tell a cosmetic crack from a structural one, which materials actually hold up over time, and the exact sequence of steps that keeps the repair from cracking open again next season.
We'll cover the tools and materials you need, from mesh tape to setting-type joint compound, plus texture matching so the patch disappears instead of standing out. And if you get into the wall and find something more serious, like a settlement crack tied to a shifting foundation, we'll tell you when it's time to call in a licensed contractor for settlement crack repair instead of reaching for another tube of caulk.
Understanding wall cracks before you start
Before you touch a putty knife, figure out what kind of crack you're dealing with. Not every gap in your wall needs the same fix, and guessing wrong is exactly why so many wall crack repairs fail within a year. Sacramento Valley clay soil expands when it's wet and shrinks hard during our dry summers, and that constant movement stresses your foundation and, in turn, your walls, which is what causes cracks in walls here more often than anything else. A crack caused by seasonal shifting behaves differently than one caused by a truss lifting or old age settling into a house that's been standing for 60 years.
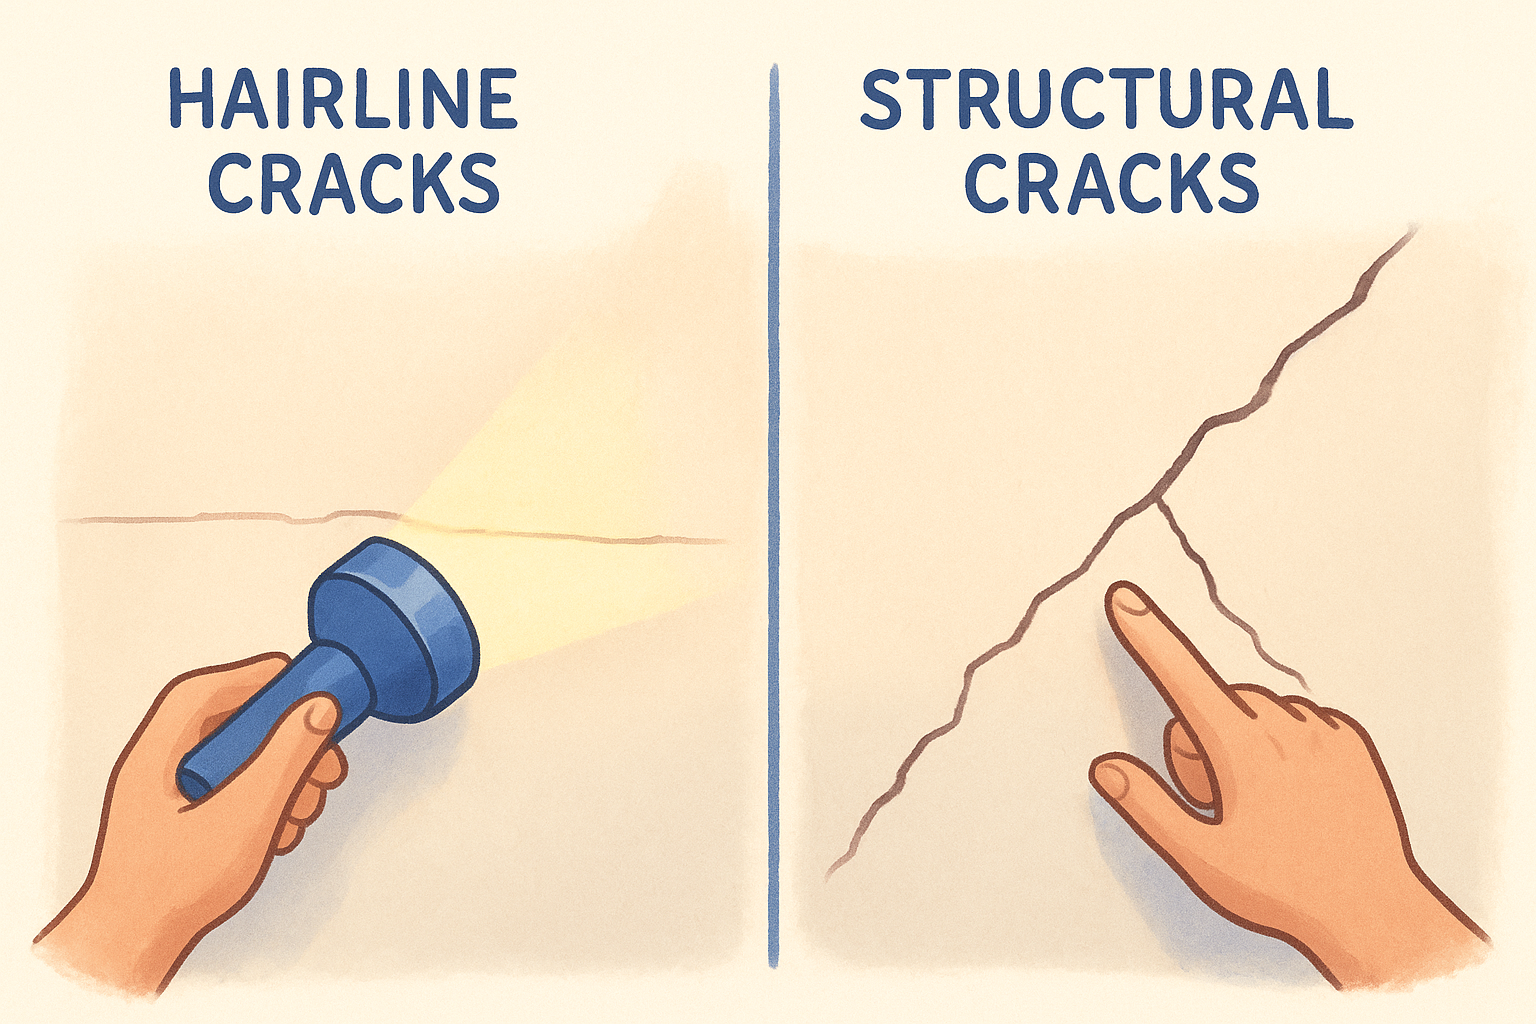
Hairline cracks versus structural cracks
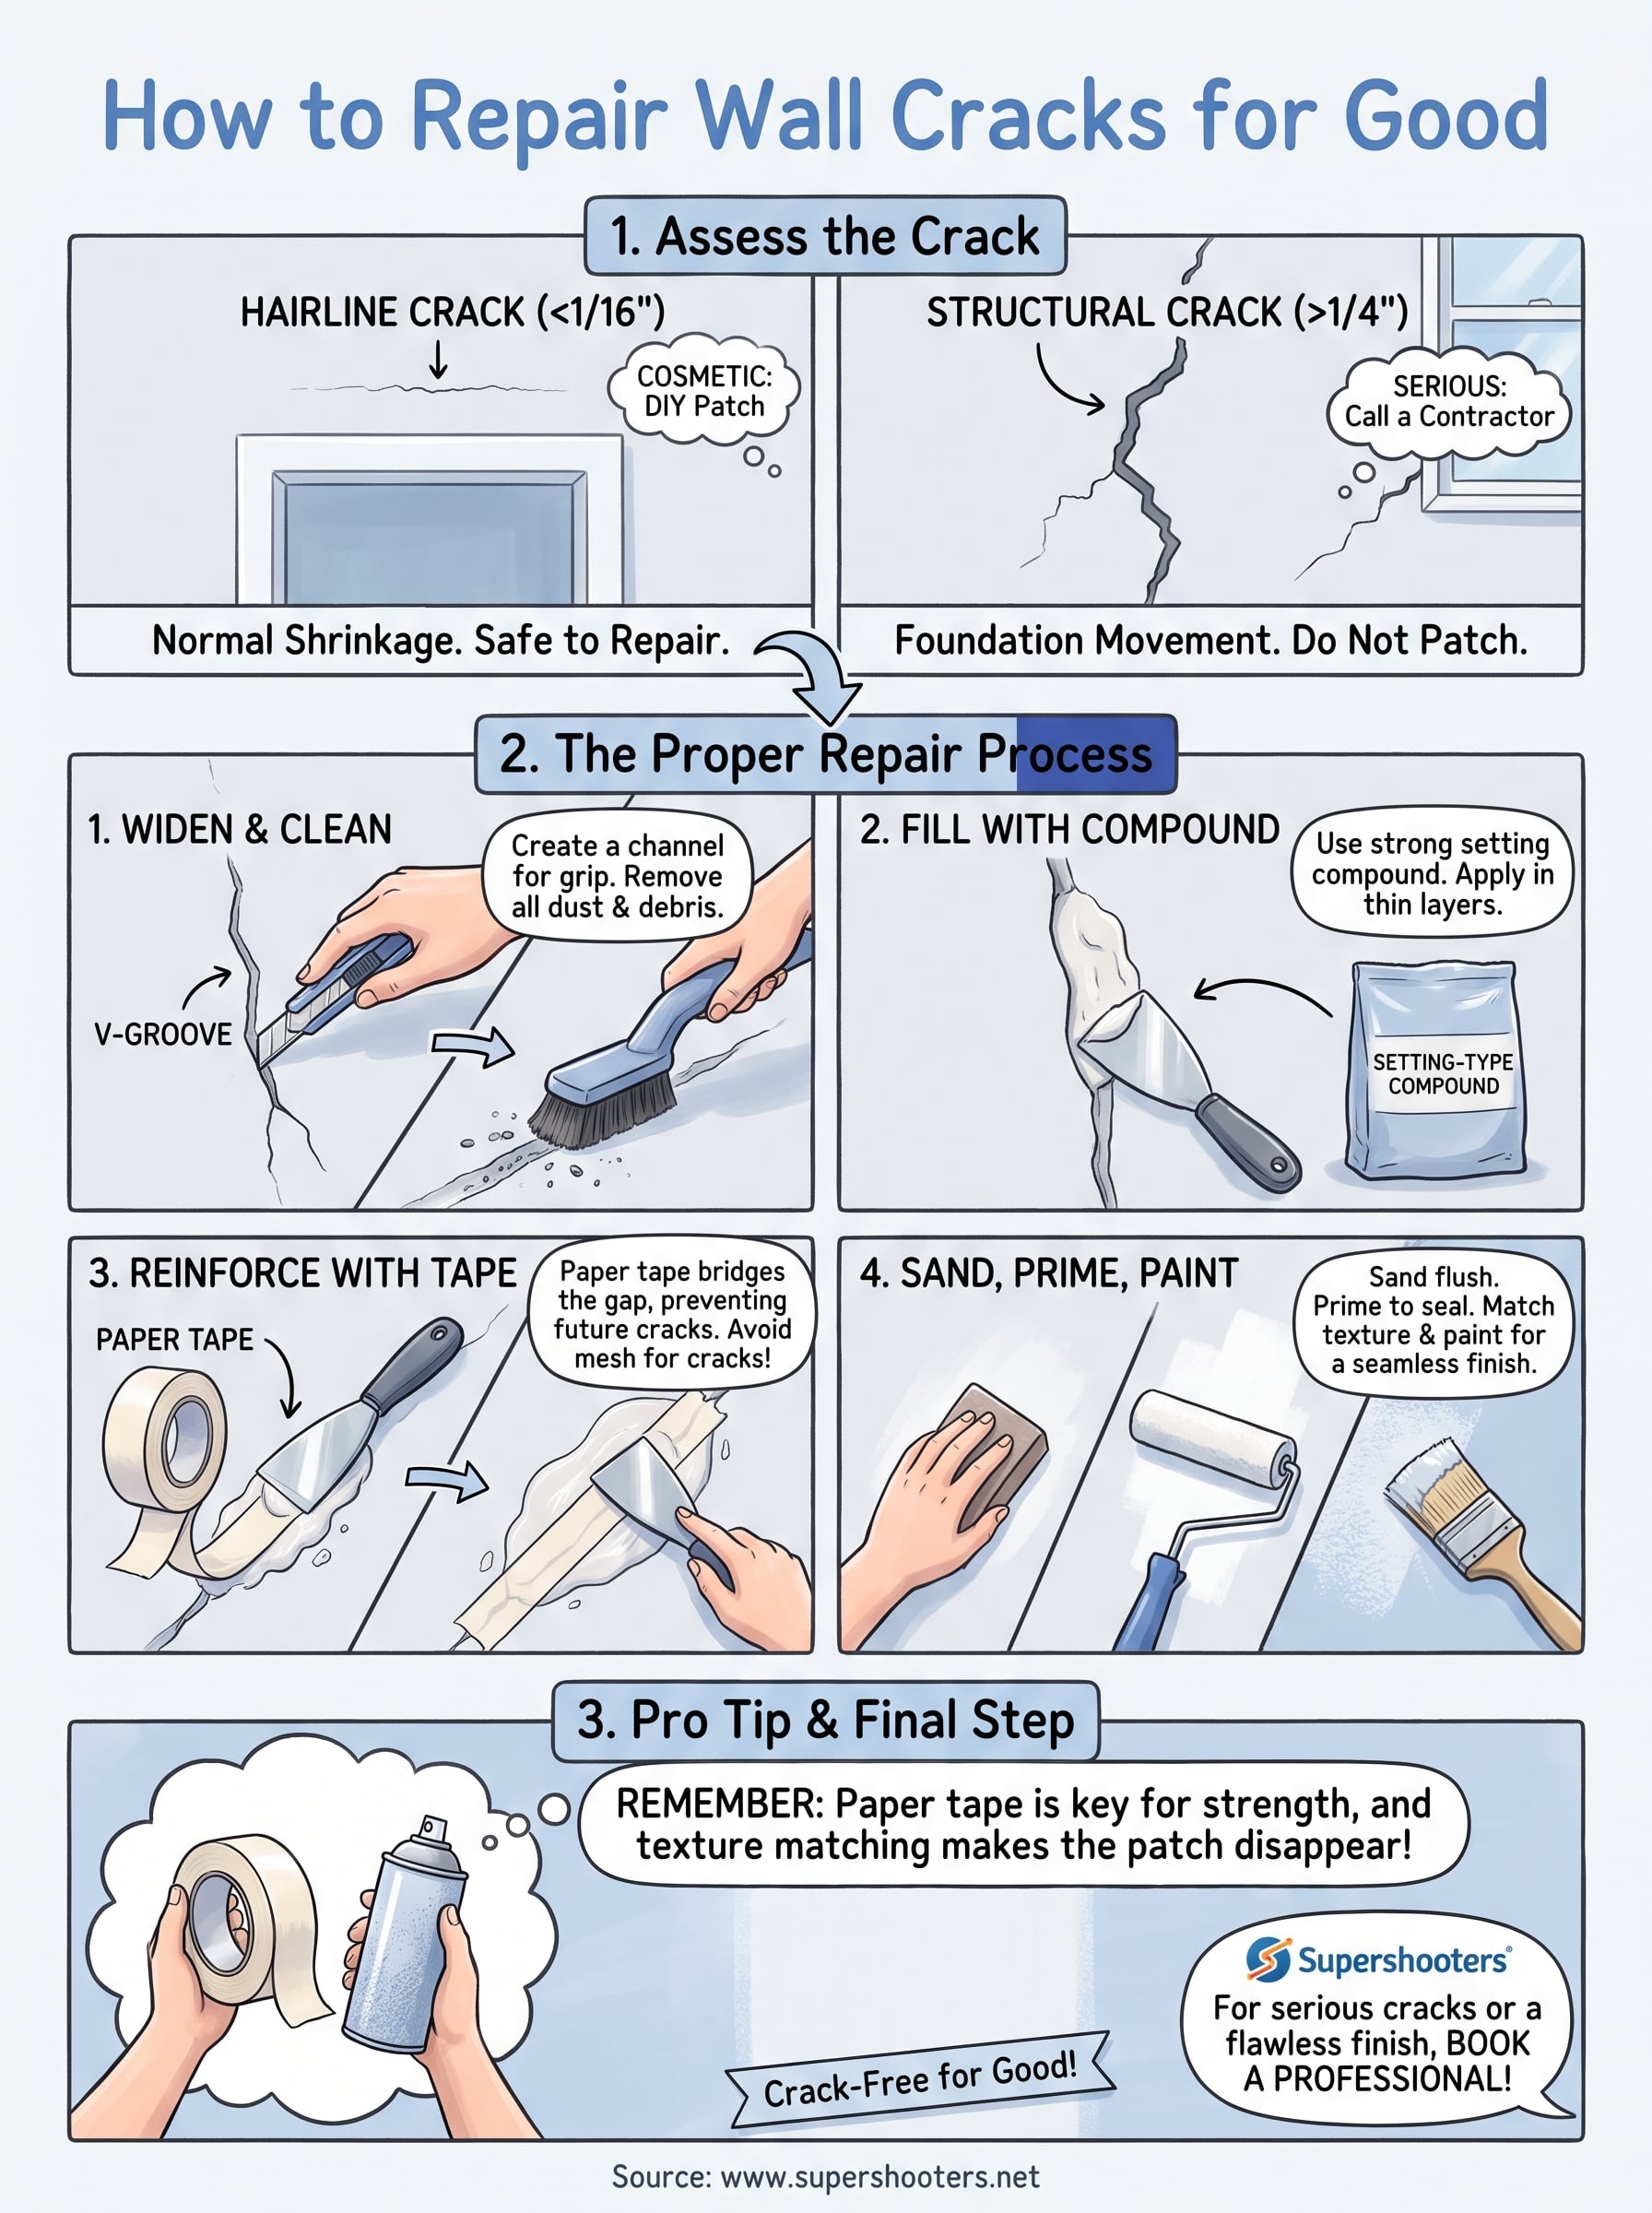
Grab a flashlight and look at the crack's shape, width, and location. Diagonal cracks running from a doorway or window corner toward the ceiling, or any crack wider than 1/4 inch, point to structural movement rather than simple surface stress, and this checklist for telling whether a wall crack is serious walks through the rest of the warning signs.
| Crack type | Appearance | Likely cause | Action |
|---|---|---|---|
| Hairline | Thin, straight, under 1/16 inch | Normal drywall shrinkage | DIY patch |
| Stair-step | Zigzag along mortar or seams | Foundation settling | Monitor, may need pro |
| Diagonal from corners | 45-degree angle, widens at one end | Structural shift | Call a contractor |
| Wide horizontal | Runs the length of a wall | Serious foundation issue | Call a contractor immediately |
A crack that's wider at one end than the other is telling you something is still moving, and no amount of compound will stop that.
Drywall versus plaster differences
Figuring out whether you're repairing a crack in a wall made of drywall or old plaster changes your material list, so it helps to know how drywall and plaster walls differ. Plaster, common in homes built before the 1950s, sits on wood lath and cracks differently, often in long spiderweb patterns because the material is rigid and brittle. Drywall cracks tend to follow taped seams, since that's the weakest point in the assembly. If your home has plaster, expect the repair to take a little longer since you're bonding compound to an older, less porous surface. Either way, once you've confirmed it's cosmetic and not structural, you're ready to start the actual repair work.
Step 1. Widen and clean the crack
Grabbing a putty knife and smearing compound over a hairline crack feels like the fast fix, but it's the number one reason patches fail. You need to widen and clean the crack first so the compound has something real to grip instead of just sitting on top of a thin surface line. Skipping this step is why so many homeowners end up redoing the same patch every year.
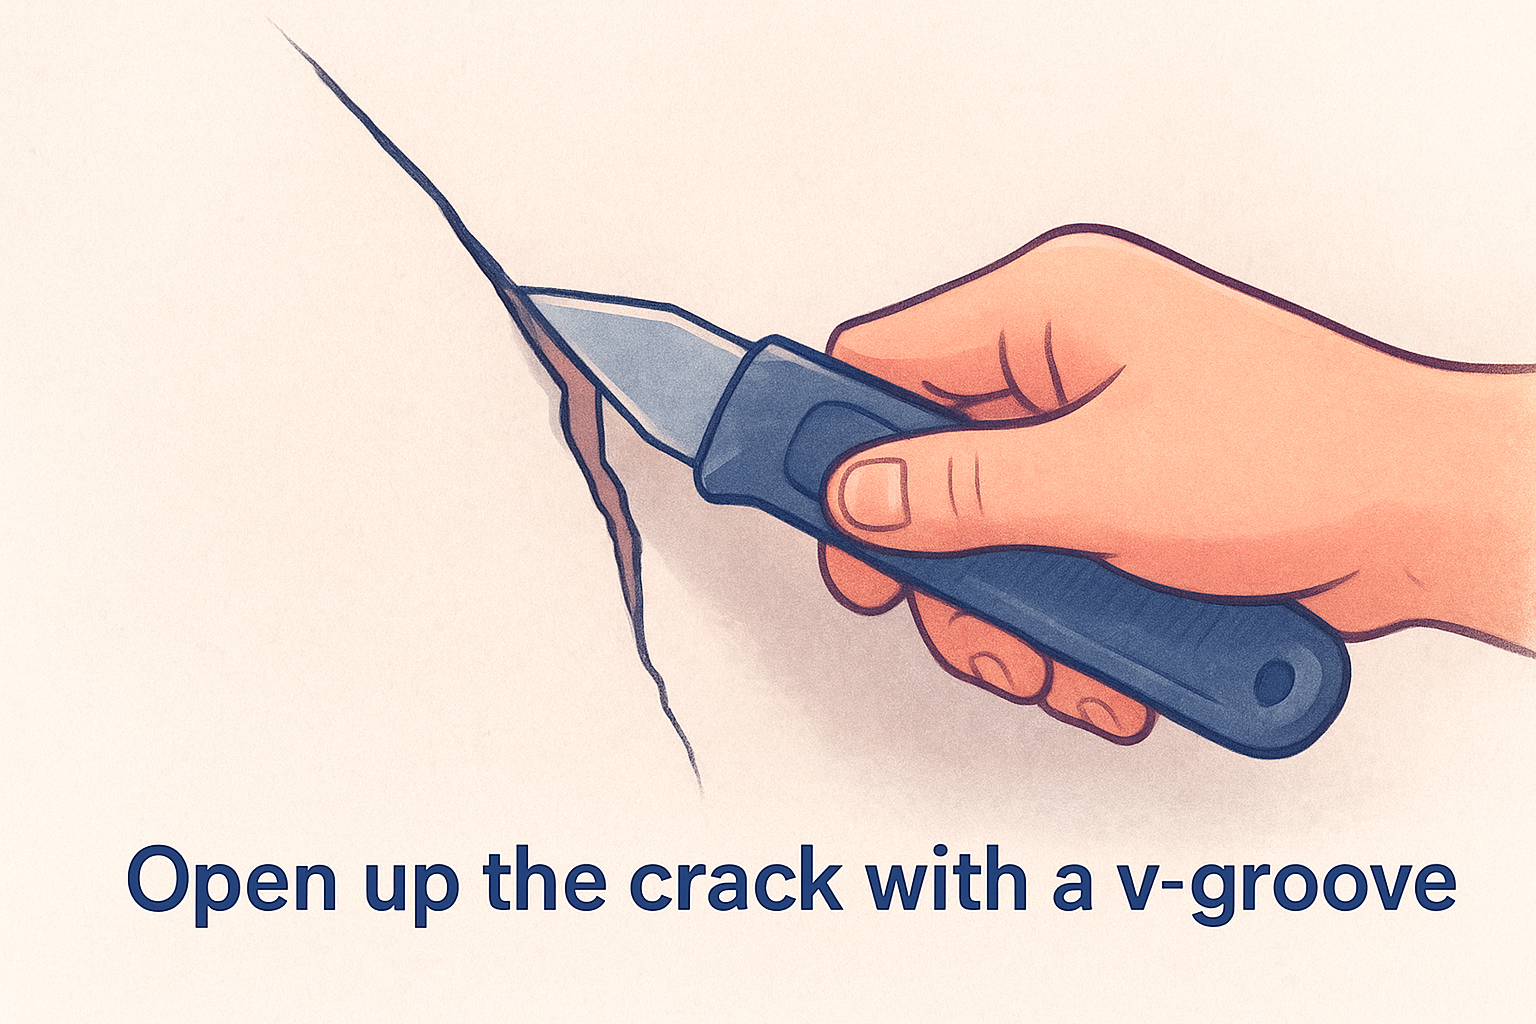
Open up the crack with a v-groove
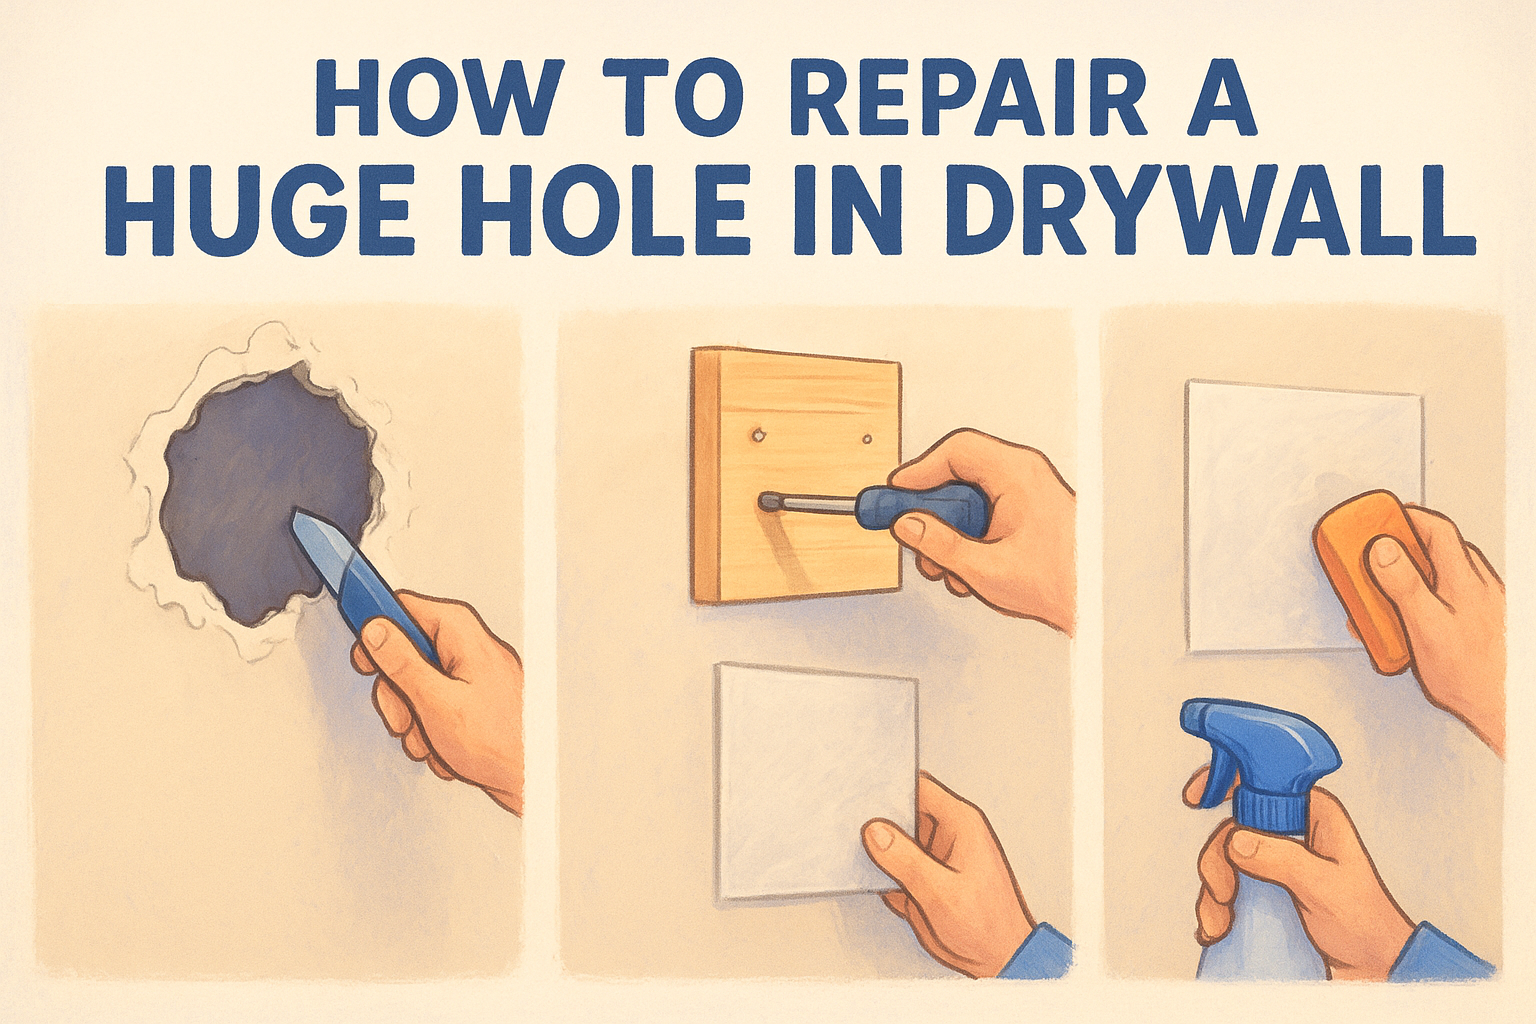
Use a utility knife or a can opener tool to carve out a shallow V-shaped groove along the entire length of the crack, about 1/8 to 1/4 inch deep. This gives the compound a channel to key into rather than a flat surface it can pop off of later.
A crack you don't widen first is a crack you'll be patching again next year.
Clean out all the debris
Once the groove is cut, clear out every bit of loose material before you fill anything.
- Vacuum the groove with a brush attachment to pull out dust and crumbled drywall or plaster
- Wipe the area with a slightly damp cloth to remove remaining grit
- Let the surface dry fully, usually 10 to 15 minutes, before moving on
- Check for any loose paint edges around the crack and scrape those back too
Don't rush this part. Any dust left behind creates a weak bond between the wall and your wall crack repair , and that's exactly where the next crack starts.
Step 2. Fill the crack with compound
Now that the groove is clean and dry, it's time to actually fill the crack with compound . Skip lightweight all-purpose mud here. For anything wider than a hairline, you want setting-type joint compound (the kind that comes in a bag, not a tub), because it chemically hardens instead of just drying, and that gives you a much stronger bond that resists flexing.
Choose the right compound
Setting-type compounds like Durabond come in different working times, usually 20, 45, or 90 minutes, and it's worth understanding how to choose the right joint compound for the job in front of you. For a single crack repair, grab the 45-minute version. It gives you enough time to work without rushing, but it still sets up firm the same day.
Standard all-purpose mud shrinks as it dries, and shrinkage is exactly what reopens a crack you just fixed.
Apply in thin layers
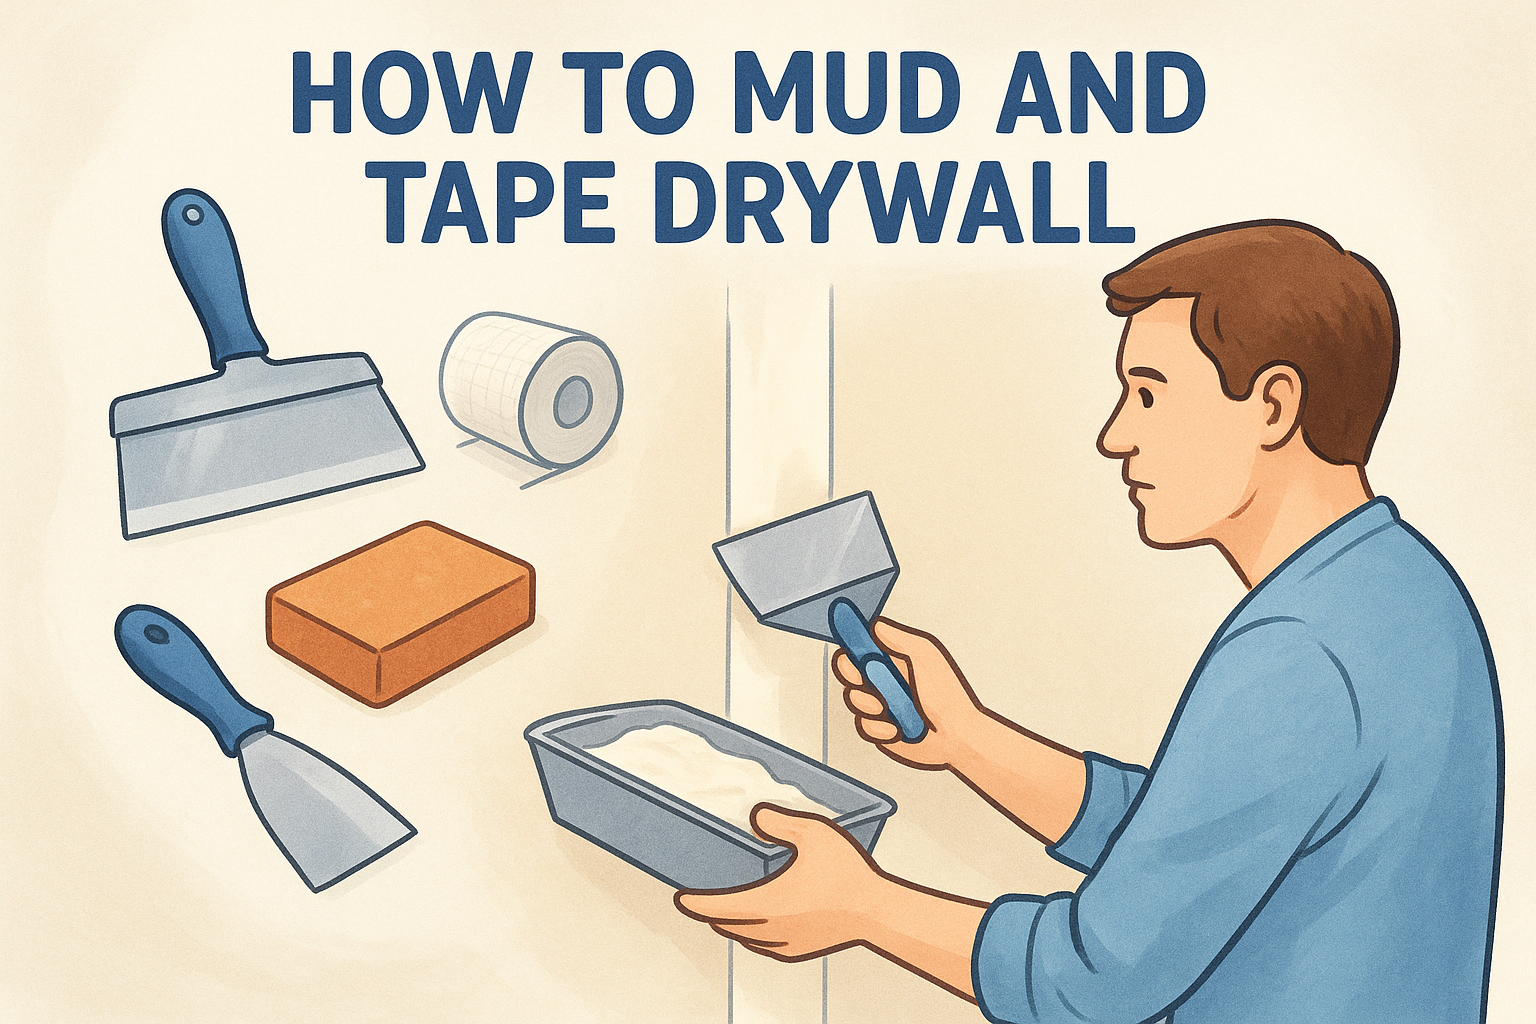
Mix only what you'll use in the working window, then apply with a 4-inch putty knife.
- Press the first layer firmly into the V-groove so there are no air pockets
- Scrape the surface flush, don't build it up thick in one pass
- Let it set fully before adding a second thin coat if the groove hasn't filled level
- Feather the edges out about 2 inches beyond the crack so the patch blends into the surrounding wall
Once this base layer is solid, you're ready to reinforce the repair so it holds long term.
Step 3. Reinforce with jointing tape
Skipping tape is the second big reason cracks come back. Compound alone flexes with the wall, but jointing tape bridges the gap and spreads any future stress across a wider area instead of letting it concentrate right back on that same line. This step is what actually separates a repair that lasts years from one you'll be redoing by next spring.
Choosing paper tape over mesh
For crack repair specifically, and this is the heart of the paper versus mesh tape debate, paper tape bonds better than self-adhesive mesh tape. Mesh is great for new drywall seams, but it's more flexible and lets compound squeeze through the tiny holes, which weakens the bond right where you need it most. Paper tape embeds directly into wet compound and creates a rigid, seamless layer once it dries.
Tape isn't optional here, it's the difference between a patch that holds and one you'll be redoing by spring.
Embedding the tape correctly
- Apply a thin layer of setting-type compound over the dried first coat, covering about 3 inches on either side of the crack
- Lay the paper tape directly into the wet compound, centered over the crack
- Use your putty knife to press the tape flat, working from the center outward to push out air bubbles
- Smooth a thin skim coat over the top of the tape, feathering the edges
- Let it dry completely, usually a few hours depending on humidity, before moving to the next coat
Once the tape is fully embedded and dry, you've got a repair with real structural backing instead of a cosmetic bandage.
Step 4. Sand, prime, and paint
Once your final skim coat is bone dry, usually overnight, it's time to blend the patch into the rest of the wall. This last stage is where a solid repair either disappears completely or announces itself as an obvious patch job, so don't rush the finishing work.
Sand for a seamless surface
Grab a sanding sponge or a pole sander with 150-grit paper and work in circular motions across the patch, sanding a patch flush without leaving ridges as you feather out into the surrounding wall. Wipe away dust with a damp cloth between passes so you can actually see low spots or ridges. Hold a work light at an angle across the wall; shadows reveal high spots you'd otherwise miss under normal room lighting.
A patch you can feel with your hand is a patch you'll see under the paint, so keep sanding until it's truly flush.
Prime before you paint
Always prime the repaired section with a stain-blocking primer before painting. Compound is far more porous than painted drywall, and skipping primer leaves a flat, dull patch showing through even matched paint, sometimes called "flashing."
Match texture and paint
If your wall has orange peel, knockdown, or popcorn texture, match it before painting using a texture spray can or hopper gun, blending the patch texture so it disappears well past the patch edges. Our texture matching services handle this step for homeowners who'd rather not risk a mismatched wall. Finish with two thin coats of matching paint, cutting in with a brush and rolling the rest.
Keeping your walls crack-free for good
Follow these four steps in order, don't skip the tape, and you'll end up with a repair that outlasts the next few Sacramento Valley dry seasons instead of splitting open by spring. The whole process comes down to giving the compound something to grip, spreading stress with paper tape, and matching the texture so the patch actually disappears. That's the difference between a wall crack repair you do once and one you're redoing every year.
But if you widen that crack and find crumbling plaster, a gap that keeps growing, or a diagonal line tracking toward your foundation, stop patching and get a professional opinion. Some cracks are cosmetic. Others are your house telling you something bigger is happening underneath the surface. When you'd rather hand the whole job to someone who's patched thousands of Sacramento Valley walls, book our professional wall crack and drywall patching crew and get it done right the first time.