November 12, 2026
Soundproof Drywall Installation: A 4-Step Guide for Walls
The best soundproof drywall installation for a home wall combines four things: a second layer of 5/8 inch drywall, a damping compound such as Green Glue between the layers, mineral wool in the stud cavity, and acoustical sealant on every gap. QuietRock panels give you the damping built into a single board. Do the build right and the wall blocks noticeably more noise. Skip the sealing and the rest barely matters.
Most people start by screwing one extra sheet over the old wall, or by stapling foam panels up, and then wonder why they still hear the TV next door. Standard half-inch drywall is light, and it is fastened rigidly to studs that carry vibration straight through to the other side. Sound also takes the easy route through any open gap, like an outlet box or an unsealed bottom edge.
This guide gives you a four-step process you can follow in your own home. You will choose between double layers, Green Glue, and QuietRock, then prepare the wall, hang the board, and seal and finish it. Our crews hang and finish drywall, so the details on seams, gaps, and finishing come from the work itself.
What soundproof drywall does and what you need
Soundproof drywall works by making a wall heavier, damping its vibration, and breaking the rigid path between its two faces. It does reduce noise, but only when gaps are sealed, because sound leaks through openings far more easily than it passes through board.
Why regular drywall falls short
A basic wall with half-inch drywall on both sides of 2x4 studs and an empty cavity is commonly rated around STC 33. At that level you can still follow normal speech through it. STC stands for Sound Transmission Class, and a higher number means less sound gets through. A gain of about 10 points sounds roughly half as loud.
Four levers raise that number:
- Mass: a second layer of 5/8 inch drywall.
- Damping: Green Glue or a laminated board like QuietRock turns vibration into tiny amounts of heat.
- Decoupling: resilient channel or isolation clips keep the two wall faces from sharing studs.
- Absorption and sealing: mineral wool in the cavity and acoustical sealant at every gap.
Mass and damping do the heavy lifting, but one unsealed gap can undo both.
What to gather before you start
Buy everything up front so you can hang the layers in one session while the glue is wet.
- 5/8 inch drywall, enough for two layers
- Green Glue tubes, or QuietRock panels
- Mineral wool batts, 3.5 inch for 2x4 walls
- Acoustical sealant and a caulk gun
- Putty pads for electrical boxes
- Drywall screws, tape, and joint compound
- Drill, drywall saw, tape measure, safety glasses, and a dust mask
Step 1. Choose your method and count sheets
Pick the method by the noise you need to stop, then count whole sheets so you buy glue and board once. For voices and TV, double drywall with Green Glue is the best value. For drums or a home theater, add decoupling.
Compare the four methods
| Method | What it adds | Best for | Trade-off |
|---|---|---|---|
| Double 5/8 inch drywall | Mass | Tight budget, modest reduction | Weak against bass |
| Double layer plus Green Glue | Mass and damping | Voices, TV, most DIY rooms | Glue cost, cure time |
| QuietRock panels | Built-in damping | Thin walls, fewer layers | Higher panel price, heavy |
| Channel or clips plus glue | Decoupling | Drums, theaters, loud music | Easy to install wrong |
Some QuietRock versions, such as ES, score and snap like regular board, which makes cutting easier. Resilient channel only works if no screw touches a stud, so read the manufacturer's instructions first.
Work out your material list
Divide your wall area by 32, the square feet in a 4x8 sheet, and round up. A 12 foot by 8 foot wall is 96 square feet, so that is 3 sheets per layer and 6 sheets for two layers. Buy one spare for cutouts and mistakes.
Green Glue is generally applied at about two tubes per 4x8 sheet, so a glued second layer of 3 sheets needs 6 tubes. If you treat both sides of the wall, double everything. To estimate your total cost, multiply sheets, tubes, and insulation by your local prices. QuietRock costs more per panel than standard board, so compare quotes before you commit.
Count whole sheets first, because every sheet adds two tubes of glue and real weight to carry.
Step 2. Prepare the wall
Preparation depends on whether you can open the wall. Open framing lets you insulate the cavity. A finished wall can still be upgraded by building over it.
If you can open the wall
Turn off the power, remove the old drywall, and fill every stud cavity with mineral wool. Fill the cavity fully but do not compress the batts, because squashed insulation absorbs less. Seal gaps in the framing at the floor and top plate with acoustical sealant.
Check your electrical boxes. Boxes on opposite sides of the wall should sit in different stud bays, not back to back. Wrap each box with a putty pad so it does not become a hole in the wall.
If you are building over existing drywall
Yes, you can add soundproofing after drywall is up. Find and mark the studs, fix any screw pops, and clean off dust so the glue bonds. Then glue and screw a new layer of 5/8 inch board over the old one.
The wall gets thicker by the new board. Plan for electrical box extensions and for trimming door and window casings. You will not gain the cavity insulation, so expect a smaller improvement than a full rebuild.
Insulate the cavity if you can open the wall, and build over it if you cannot.
Step 3. Hang the layers
Hang the first layer snug and screwed to the studs. Then spread the damping compound, add the second layer right away, and stagger every seam. This step is where most of the noise reduction comes from.
Hang the first layer
Cut the first layer of 5/8 inch board about a quarter inch short of the floor, ceiling, and corners. That gap gets sealed in Step 4. Screw into the studs roughly every 12 inches and sink each screw just below the paper without breaking it.
If you are using QuietRock instead, hang it the same way with the seams tight. Panels are heavy, so work with a helper. Many builders use QuietRock as the only layer on each side, and some add a second layer for extra performance.
Glue and hang the second layer
Apply Green Glue to the back of each second-layer sheet in a random pattern, about two tubes per 4x8 sheet. Keep it about 2 inches back from the edges so it does not squeeze onto the seams. Press the sheet on right away, before the glue skins over.
Offset the second layer's seams so they never line up with the first layer's. Use screws long enough to reach the studs through both layers, and keep the same quarter inch gap at the edges.
Ceilings need extra care
The method is the same overhead, but board is heavy. Rent a drywall lift or use two helpers. Older homes may have a textured or popcorn ceiling, and many installed before the 1980s contained asbestos. Do not sand, drill, or screw into one until it has been tested.
Glue the second layer immediately and stagger the seams, or you lose the damping you paid for.
Step 4. Seal, finish, and give it time
Seal every gap with acoustical sealant first, then tape and finish the seams. Full performance takes time, because Green Glue needs about a month to cure.
Seal every gap
Fill the quarter inch gaps at the floor, ceiling, and corners with acoustical sealant, which stays flexible. Regular rigid caulk cracks and foam leaks. Seal the cutouts around outlet boxes, switches, and any pipes or ducts through the wall. Baseboard and crown molding will hide the sealant afterward.
Finish the seams and let the glue cure
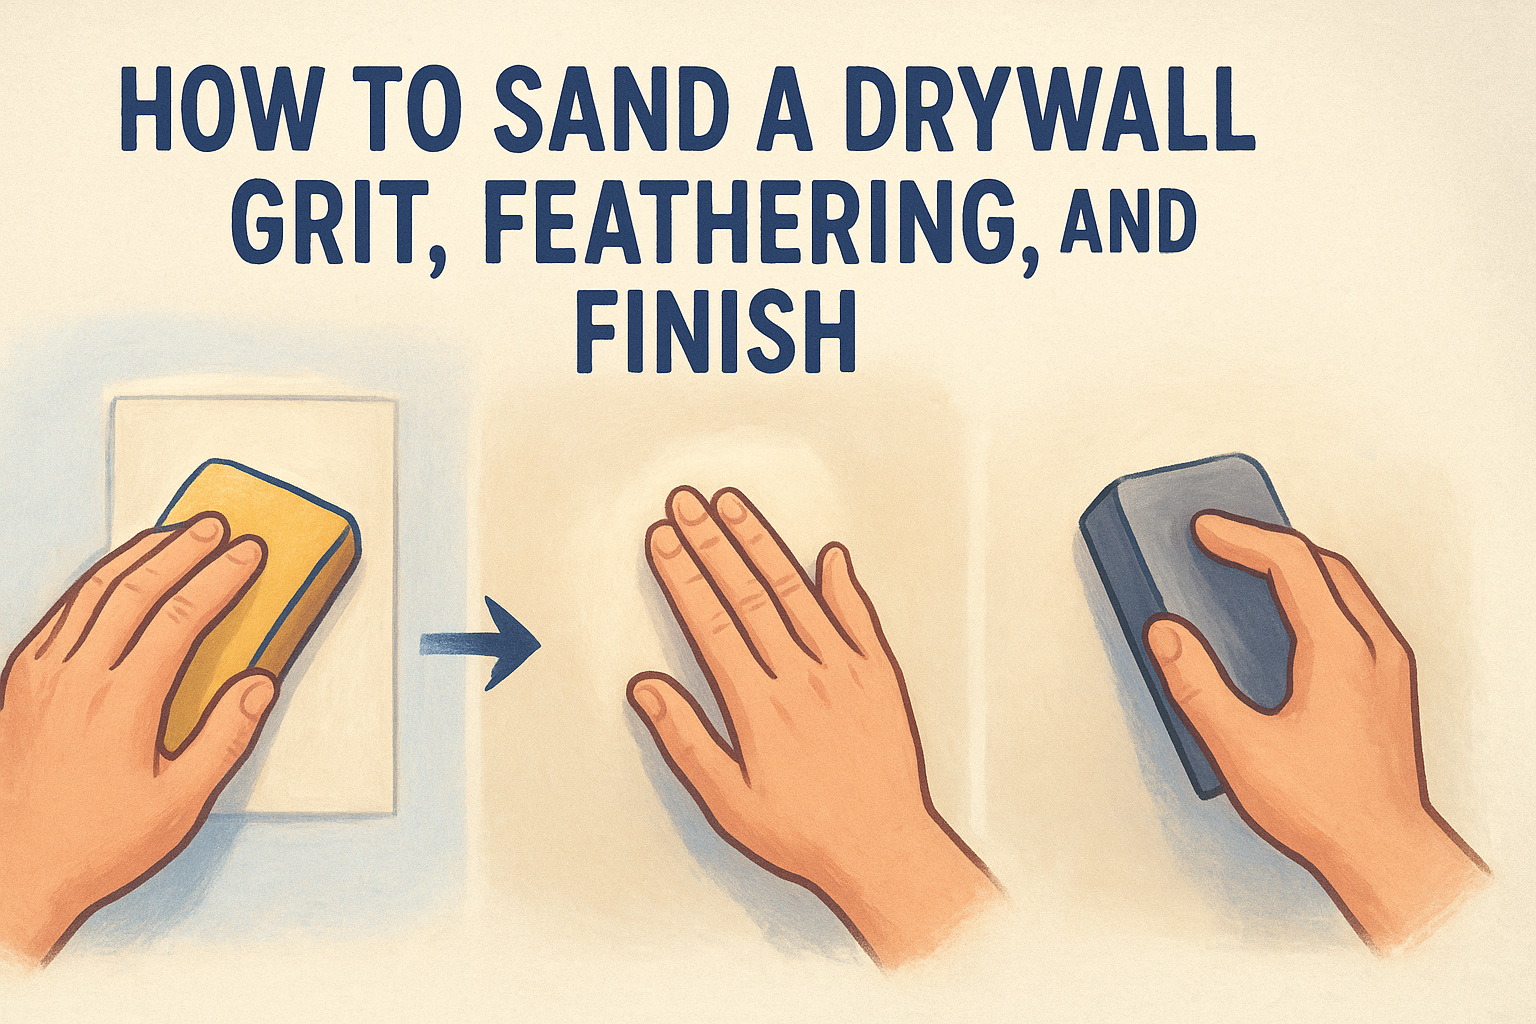
Tape the joints, then apply three thin coats of joint compound and sand between coats. Prime the wall before painting. Thin coats dry faster and sand cleaner than one thick coat.
Expect the full effect after about 30 days, so judge your results then, not on day one. If you still hear noise, check the outlets and the floor edge before you add more board, because a leak is the usual cause.
Seal first and finish second, since a perfectly taped wall with open gaps still leaks sound.
Hang it right once
Soundproof drywall installation comes down to a short list: add a second layer of 5/8 inch board, damp it with Green Glue or use QuietRock, fill the cavity with mineral wool, and seal every gap. Count your sheets, stagger your seams, and give the glue a month before you judge the result.
If you would rather have an experienced crew handle the hanging and finishing, ask about our drywall installation service. We offer free in-home estimates across the Sacramento Valley, and you pay only after the job is complete.