

Share this article

September 18, 2026

How to Patch a Hole in Drywall with Mesh

That doorknob-sized hole in your hallway wall isn't going away on its own, and calling a contractor for one patch feels like overkill. Patching drywall with mesh is the fastest fix for small to medium holes, and you can do it in an afternoon with tools from any hardware store.

If you're searching for how to patch a hole in drywall with mesh , here's the short answer: cut the patch to size, press the self-adhesive mesh over the hole so it overlaps the edges by at least an inch, then apply joint compound in thin layers, letting each one dry before sanding smooth. The mesh works as a bridge for the compound, so you get a flat, stable repair without cutting out a full section of drywall. The amount of mesh and compound you need changes depending on whether you're covering a nail hole or a fist-sized gap, and getting that ratio wrong is the most common reason patches crack later.

Below, we walk through the exact steps, the mesh and compound amounts for different hole sizes, and the finishing techniques that make a patch disappear under paint. If the damage goes beyond what mesh can handle, our drywall repair team across the Sacramento Valley is a call away.

What you need before patching drywall with mesh

Grabbing the wrong size patch or skimping on compound is why so many DIY repairs crack within a few months. Before you touch the wall, lay out every drywall repair tool you need for DIY patching so you're not scraping wet compound off a putty knife while running to the hardware store. Self-adhesive mesh patches come in several standard sizes, and matching yours to the hole matters more than most people realize, since too small a patch leaves the edges of the hole unsupported and prone to bulging once you load compound over it.

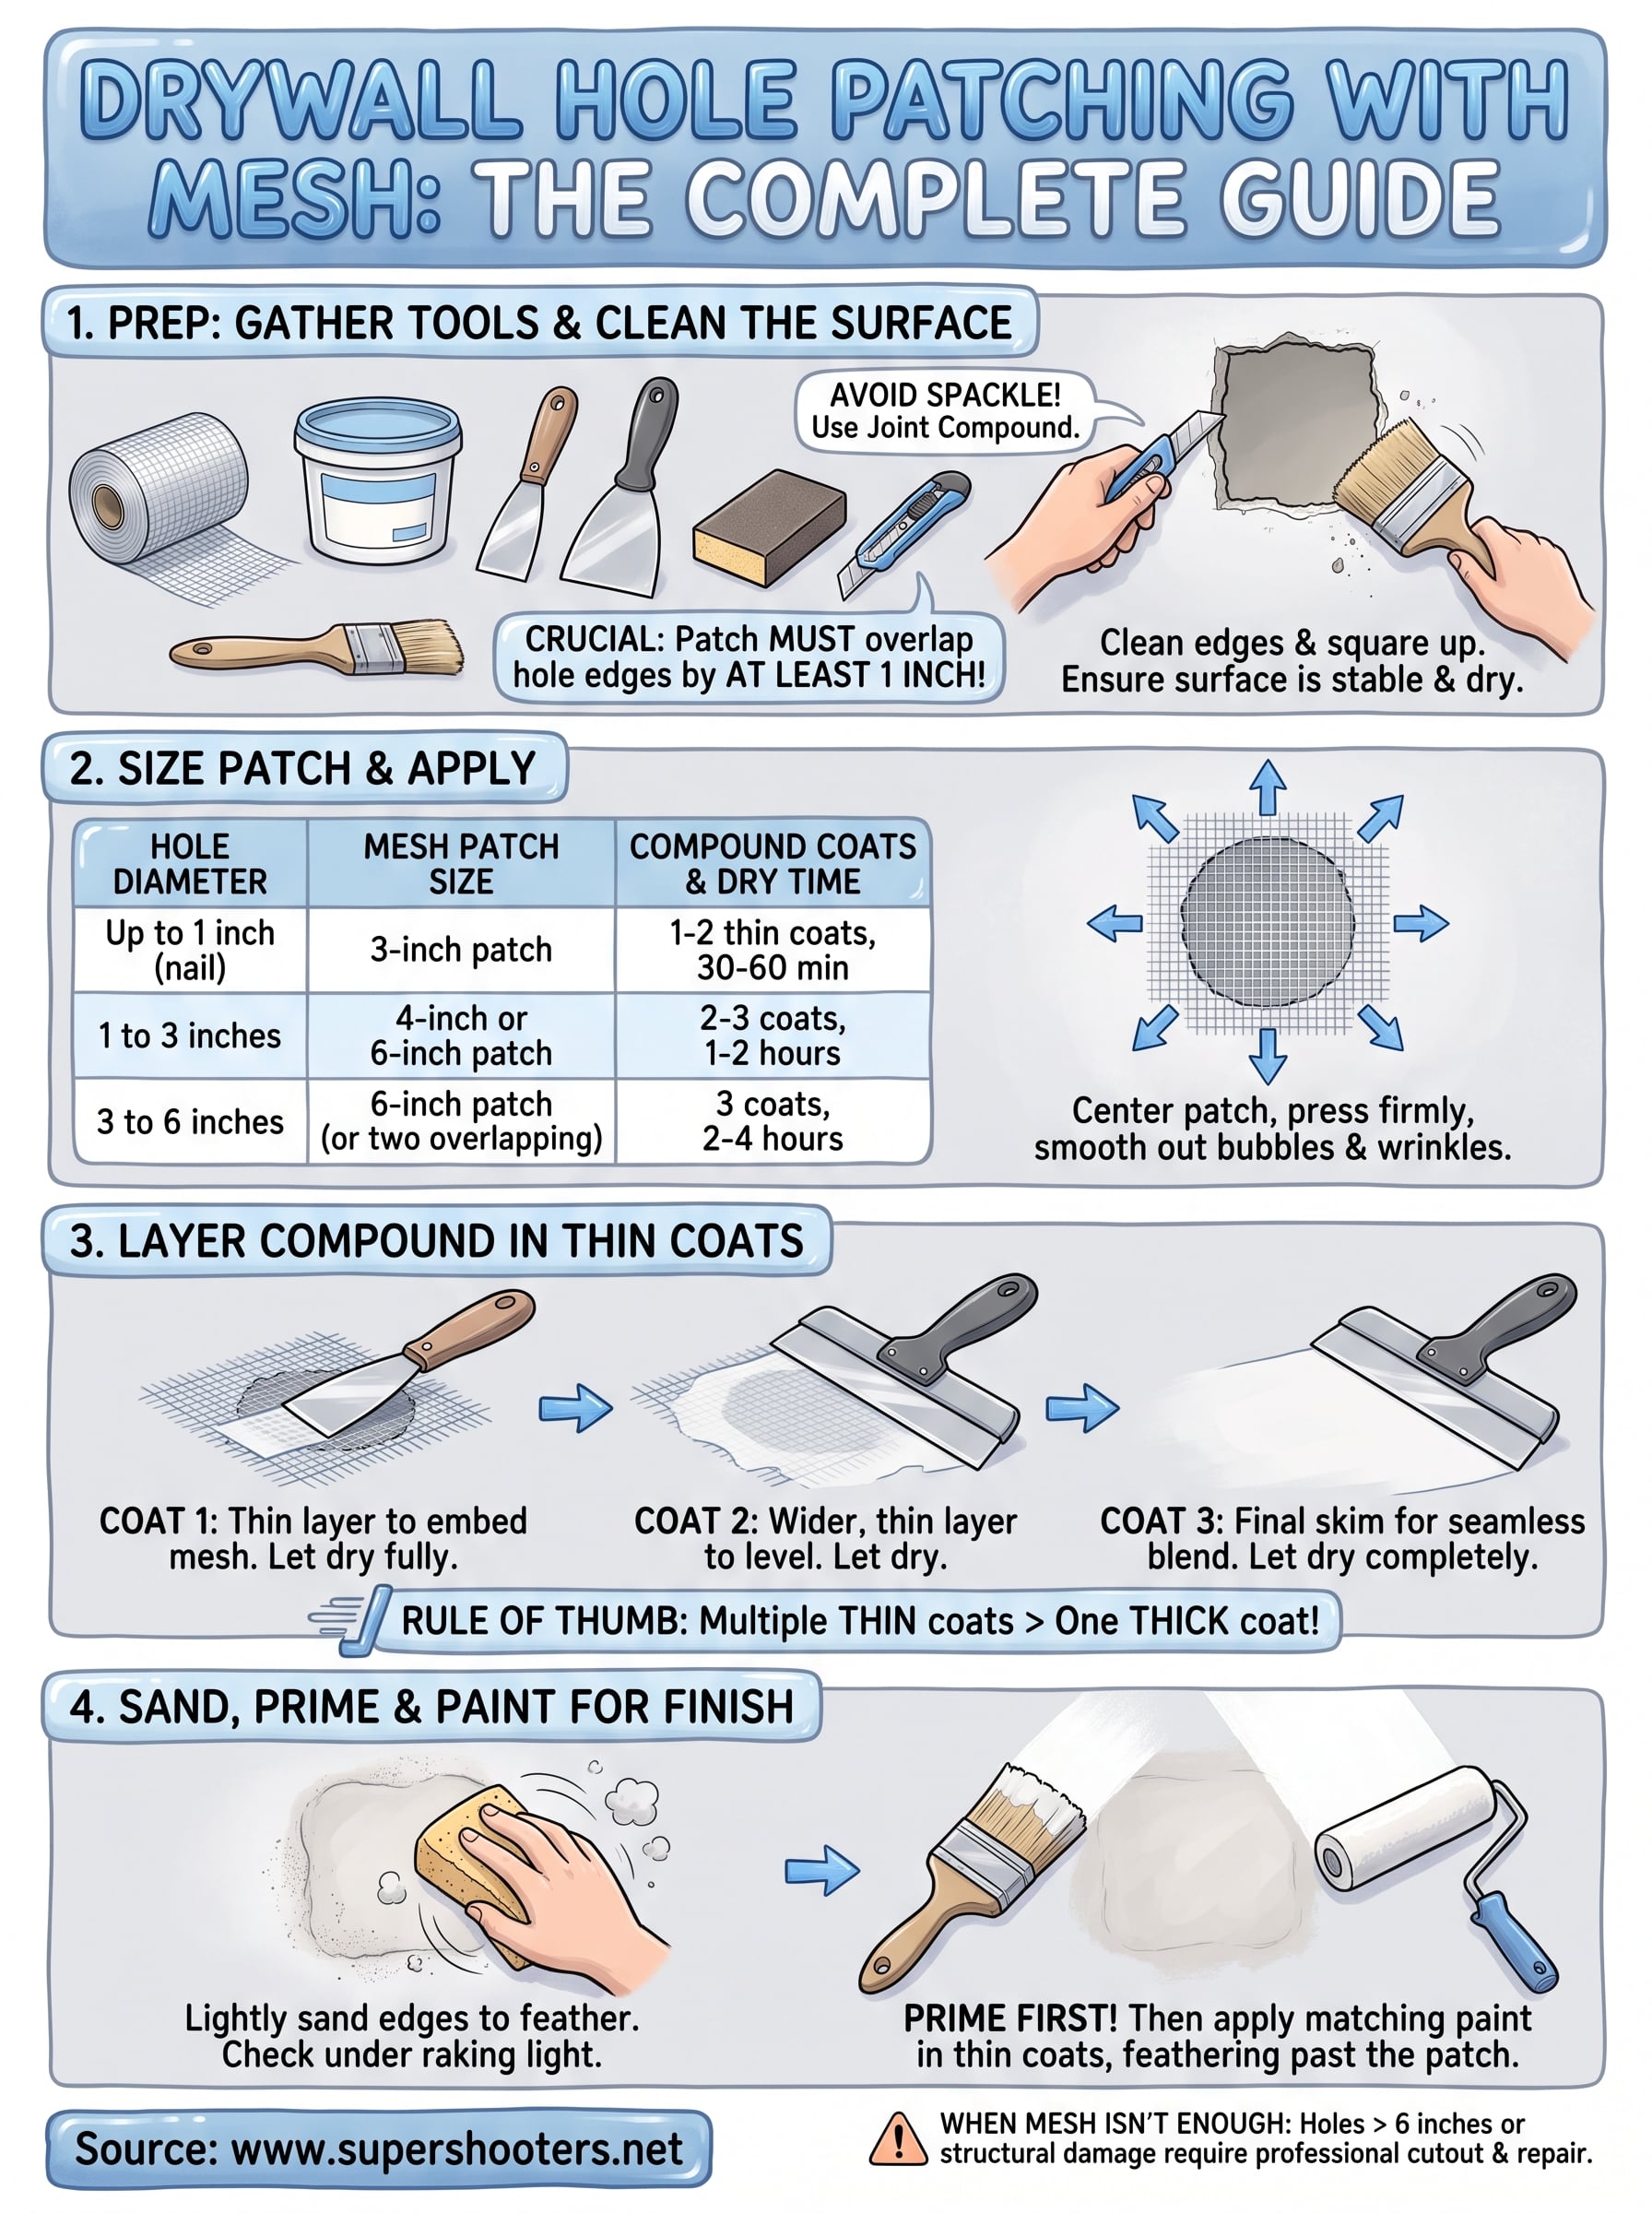
Tools and materials to gather

Hardware stores sell mesh drywall patch kits sized for every hole for under ten dollars, and you likely already own most of the other tools. Here's what to have on hand before you start:

  • Self-adhesive fiberglass mesh patch (sized to your hole)
  • Pre-mixed or powdered joint compound (also called drywall mud)
  • 4-inch and 6-inch putty knives
  • Medium-grit sandpaper (120 to 150 grit) or a sanding sponge
  • Drop cloth or old towel for dust control
  • Utility knife for trimming loose drywall paper
  • Primer and matching paint for the final touch-up

Skip the spackle you might have left over from a nail-hole job. Spackle doesn't bond well with mesh and tends to shrink as it dries, leaving a visible dip once the paint goes on, which is one of the clearest differences between spackle and drywall mud.

Picking the right mesh size for the hole

Mesh patches only work reliably up to about 6 inches across. Beyond that, the fiberglass mesh can't support enough compound weight without sagging, and you're better off cutting in a small piece of drywall instead. Use the table below as a general guide for sizing your patch and estimating how much compound you'll need.

Hole diameter Mesh patch size Compound coats Approx. drying time between coats
Up to 1 inch (nail/screw holes) 3-inch patch 1-2 thin coats 30-60 minutes
1 to 3 inches 4-inch or 6-inch patch 2-3 coats 1-2 hours
3 to 6 inches 6-inch patch, or two overlapping patches 3 coats 2-4 hours

A patch that overlaps the hole's edge by at least an inch on every side is the single biggest factor in whether your repair holds up long-term.

Once you've matched your patch to the hole and confirmed your compound isn't dried out in the bucket, you're ready to prep the wall itself.

Step 1. Prep the hole and surrounding wall

Good prep is what separates a patch that lasts ten years from one that fails by spring. Before any mesh touches the wall, you need a clean, stable surface for it to bond to. Loose paper, crumbling gypsum, and dust all work against the adhesive backing on the patch, so don't rush this part even though it feels like busywork.

Clear the hole of loose material

Start by removing anything that isn't solid. Run your fingers around the edges of the hole and knock away crumbling drywall until you hit firm material.

  • Brush away loose gypsum dust with a dry cloth or small brush
  • Trim any torn or curling paper facing with a utility knife
  • Wipe the surrounding wall with a slightly damp rag to pull off remaining dust
  • Let the wall dry fully before applying the patch

A patch only holds as well as the surface underneath it, so five minutes of cleanup now saves a redo later.

Square up rough or irregular edges

Jagged holes make it harder to seat the mesh flush against the wall, since gaps under the patch create weak points where compound can crack. Square off the opening with your utility knife if the edges are ragged, cutting away just enough drywall to leave a clean, roughly rectangular or round shape.

Finally, check the area around the hole for soft or damaged drywall , especially if the hole came from water exposure or an old repair. Press gently on the wall a couple inches out from the edge. If it flexes or feels spongy, that section needs to come out too, since mesh won't hold over compromised gypsum. Once the hole is clean, dry, and solid at the edges, you're ready to size and set the patch.

Step 2. Apply the self-adhesive mesh patch

With the hole clean and dry, center your mesh patch directly over the opening. Peel the backing off in one motion rather than working it off in small sections, since the adhesive grabs fast and you don't want fingerprints or lint stuck under it. Press firmly from the center outward, working toward the edges so no air bubbles get trapped underneath.

Positioning the patch correctly

Centering matters more than people expect. If the patch sits off to one side, you end up with a thin margin on one edge that can't hold compound weight without cracking later.

  • Hold the patch up to the hole first to confirm at least a 1-inch overlap on all sides
  • Peel the adhesive backing and place the patch straight down, no sliding it into position
  • Smooth outward with your fingers or a putty knife handle to flatten any wrinkles
  • Check that the mesh lies flat against the wall with no gaps or lifted corners

For holes near the upper size limit, six inches or wider, use two overlapping patches rather than stretching one to cover the gap. Overlap them by at least an inch in the middle, since a single seam of exposed drywall between two patches is a weak point that shows through paint later.

A patch that isn't centered and flat against the wall will telegraph through your paint job no matter how well you finish it.

Run your hand across the entire surface once more before moving to the compound stage. Any part of the mesh that lifts or flexes under light pressure needs more pressing down now, because compound won't fix a poorly seated patch, it just hides the problem until the wall gets bumped again. Once the mesh sits flush and secure, you're ready to build up the joint compound in layers.

Step 3. Cover the patch with joint compound

Now comes the layering work that actually builds the repair. Load a small amount of joint compound onto your 4-inch putty knife and spread it over the mesh in a thin, even coat, feathering the edges out about 2 inches beyond the patch itself. Resist the urge to load it on thick in one pass. A thin first coat locks the mesh in place and gives the fiberglass something to grip, while a thick coat is more likely to sag, crack, or trap air pockets underneath.

Building up thin coats instead of one thick layer

Anyone learning how to patch a hole in drywall using mesh for the first time usually makes the same mistake: piling on compound to finish faster. Thin coats dry more evenly and shrink less, which means fewer cracks down the road, so it helps to know how many coats of mud a patch really needs.

  • Apply coat one, just enough to cover the mesh pattern, and let it dry fully
  • Apply coat two with the 6-inch knife, feathering wider than the first layer
  • Apply a third coat only if the patch still shows a visible dip or ridge
  • Check drying time against the table above, since rushing a coat is the top cause of surface cracking

Three thin coats that each dry fully will always outlast one thick coat rushed to save time.

Keeping the surface level as you go

Between coats, hold your putty knife at a low angle and drag it across the patch to knock down ridges before they harden. This keeps you from fighting a lumpy surface later during sanding. Check the patch under raking light, a flashlight held sideways against the wall, since shadows reveal high spots and dips that are invisible in normal room lighting. Once the final coat is dry and the patch feels solid with no soft spots, you're ready to sand it smooth.

Step 4. Sand, feather, and paint the repair

Grab your sanding sponge once the final coat has dried completely, since sanding drywall smooth while the compound is still wet just gums up the paper and drags gypsum dust into the wet spots. Work in circular motions with light pressure , checking your progress often instead of grinding away in one spot. The goal isn't a perfectly smooth patch yet, it's knocking down ridges and blending the edges into the surrounding wall so nothing catches the light at an angle.

Feathering the edges so the patch disappears

Hold a flashlight sideways against the wall again, the same raking-light trick from the last step, and look for any hard edges where the patch meets the original drywall. A visible ring around the repair means you need another thin skim coat, blending each coat wider than the last, then sanded again once dry.

  • Sand with 120 to 150 grit paper in light, even passes
  • Wipe away dust with a slightly damp cloth between passes
  • Recheck under raking light for shadows or ridges
  • Apply a final skim coat if edges still show, then re-sand

A patch you can't see or feel with your palm is a patch that's ready for paint.

Priming and matching the paint

Painting straight over bare compound is the fastest way to end up with a flat, dull patch staring back at you every time the light hits it, since unprimed compound absorbs paint differently than the rest of the wall. Prime the repair first, wait until the patch is dry enough to paint, then apply your wall paint in thin coats, feathering slightly past the primed area so the sheen blends. If your wall has texture, blend the patch texture for a seamless match before priming, not after, or the patch will read as a smooth spot on a textured wall no matter how well the paint matches.

When a mesh patch isn't enough

Mesh works great for holes up to 6 inches, but it has real limits. If you're patching the same spot for the third time, if the wall around the hole feels soft or crumbly, or if the damage traces back to a plumbing leak or foundation settling, mesh alone won't fix the underlying issue. Larger holes need a proper drywall cutout, and repairing water damaged drywall often means replacing more gypsum than the surface suggests.

Getting the mesh, compound, and sanding steps right will handle most everyday holes, from doorknob dings to accidental drywall punches. But structural damage and repeat cracking are signs the wall needs more than a patch kit. When that's the case, don't keep throwing compound at a problem that needs a real repair. Our team handles everything from small patches to full sections across the Sacramento Valley, and estimates are always free. Schedule your free drywall patching estimate and we'll get your wall looking new again.

Recent Posts

By cinchweb September 18, 2026
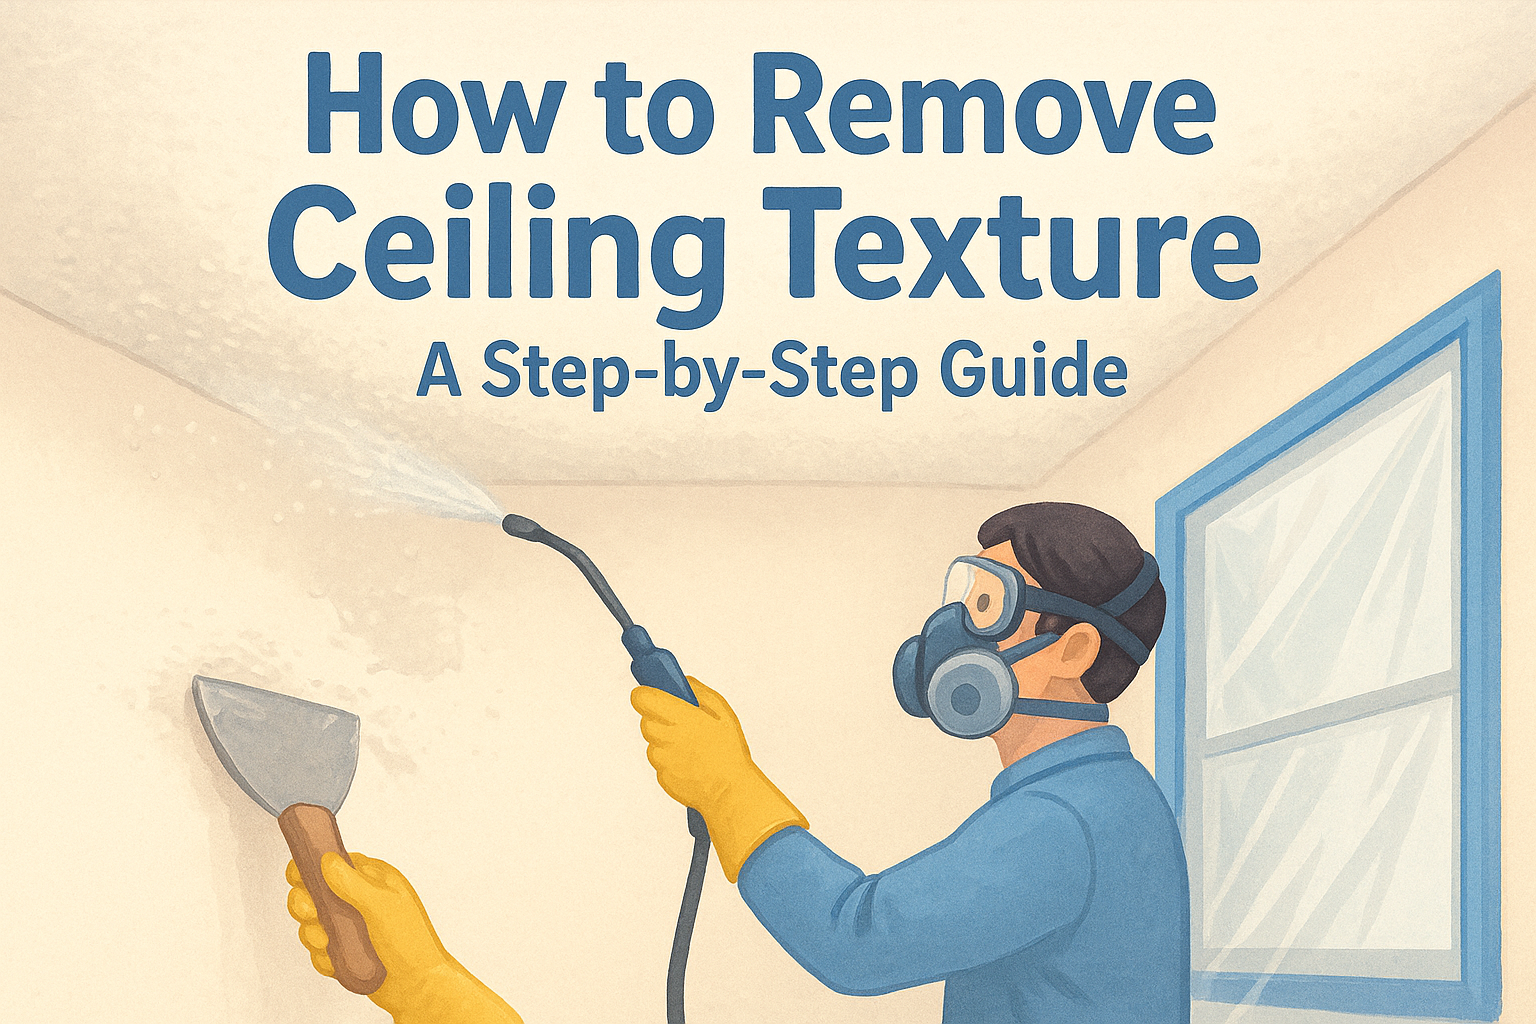
Learn how to remove ceiling texture safely: asbestos testing, wet-scrape method, sanding, patching, and priming tips from Sacramento Valley pros.
By cinchweb September 17, 2026
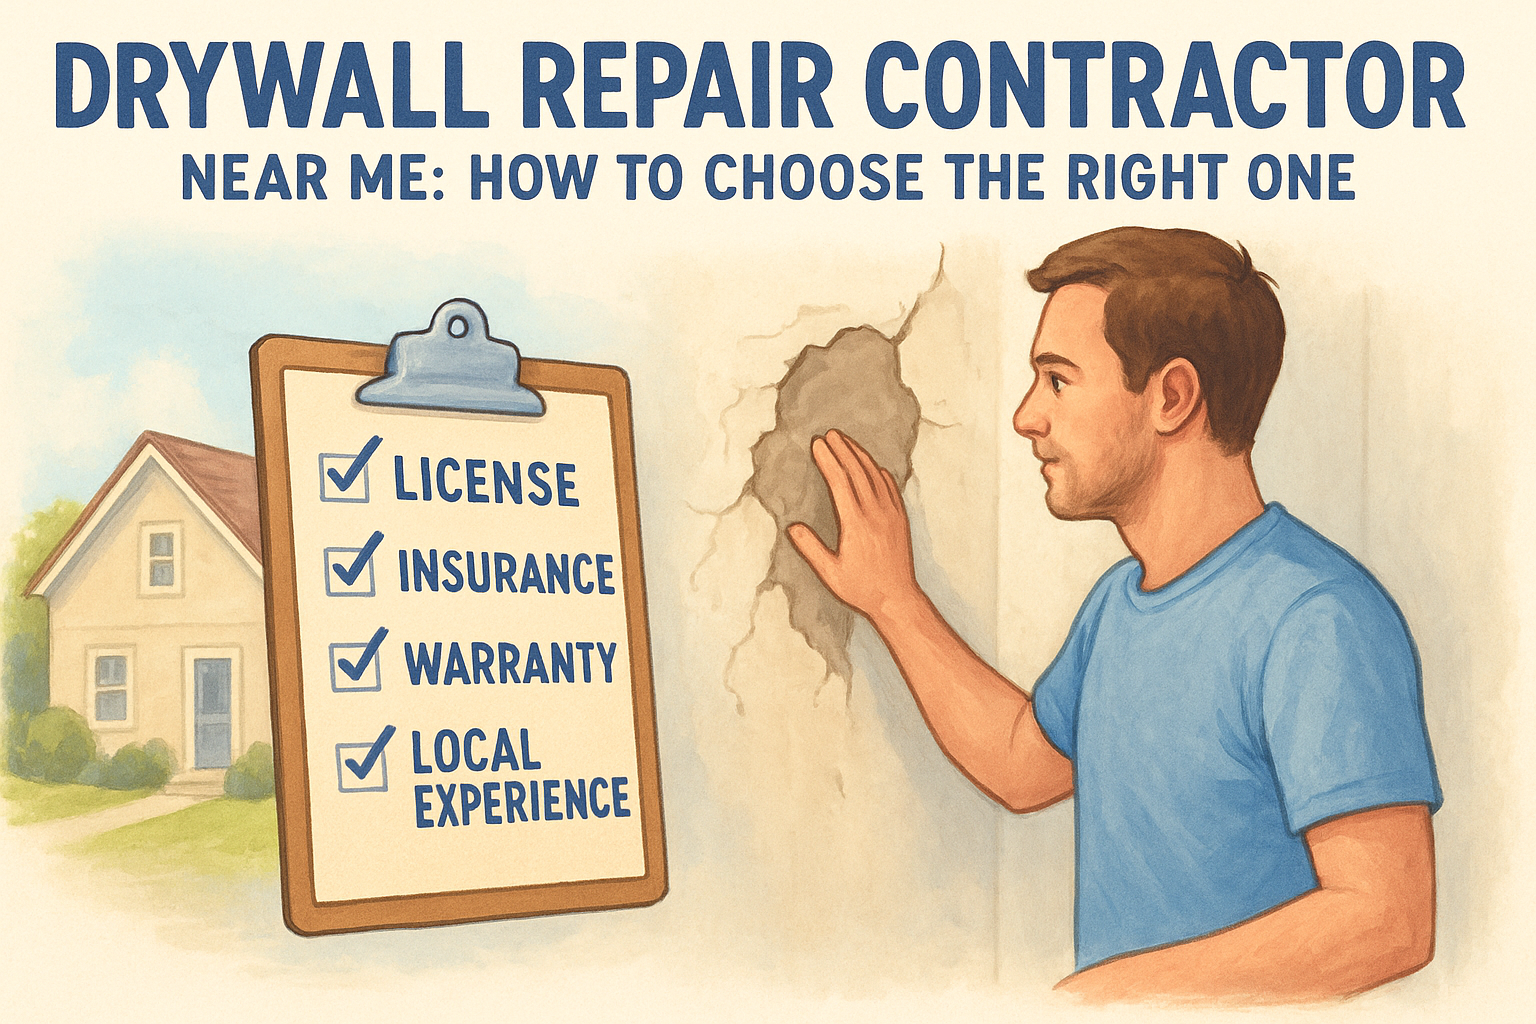
Find a trustworthy drywall repair contractor near me in Sacramento Valley: check licenses, spot asbestos risks, compare costs, and avoid bad phone quotes.
By cinchweb September 15, 2026
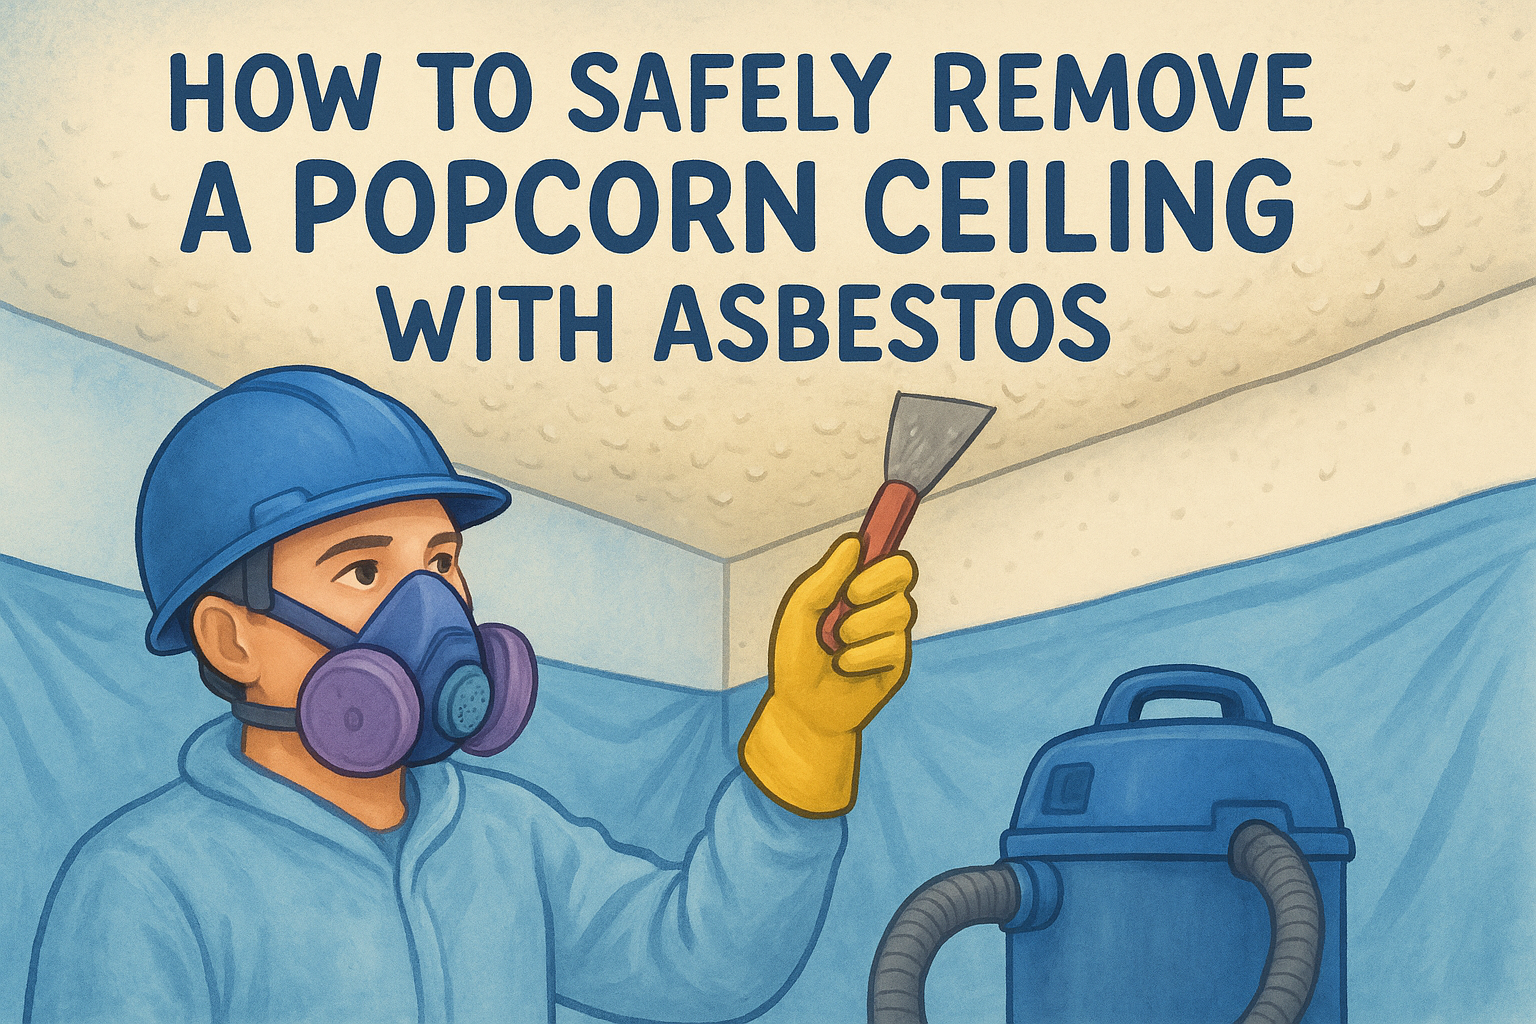
Learn safe asbestos ceiling popcorn removal steps: testing, gear, wet scraping, cleanup, and disposal, plus when to call licensed abatement pros.
By cinchweb September 14, 2026
See real Sacramento Valley pricing by room and learn what drives drywall ceiling installation cost, plus tips to save with a free in-home estimate.

By cinchweb September 13, 2026
Compare 7 top popcorn ceiling removal machine options, costs, and rentals, plus when Sacramento homeowners should hire Super Shooters instead.
By cinchweb September 12, 2026
Learn how to sand drywall like a pro: grit progression, raking light checks, and asbestos safety tips for Sacramento Valley homes. Get expert help from Super Shooters.
By cinchweb September 11, 2026
Learn how to mix and apply joint compound for ceiling texture, from consistency tips to drying times, plus when to call Sacramento Valley pros.
By cinchweb September 10, 2026
Learn drywall repair how to fix nail holes, cracks, and big holes step by step, plus when to call Super Shooters for asbestos or larger jobs.
By cinchweb September 9, 2026
Compare 5 ceiling popcorn removal machine options by cost, texture type, and room size, plus why pre-1980 homes need asbestos testing first.

Show More
